

I have a soft spot for a messy bun. It is the one hairstyle that looks like you tried and didn’t try at the same time, and on petite frames it does something extra special: it lifts the whole face and lets movement do the talking.
The trick is never the bun itself. It is all the little bits around it — the loose pieces, the placement, the volume in exactly the right spot.
Below you’ll find 28 messy bun hairstyles for petite women, all chosen to add beautiful movement without hiding your face. Some lean old money hair, some lean romantic goth hairstyles, and a few pull in the 2026 hairstyles you keep seeing, like the quiet luxury bob and the hime cut.
Every single look is quick. Pick one, twist, and go.
Why Messy Buns Work So Well on Petite Frames

A messy bun doesn’t add width to your frame the way long, heavy hair can. It pulls everything up and back, so your neck looks longer and your features get the spotlight.
On a petite frame, the goal is lift plus softness. Too tight and it turns harsh. Too loose and it slides down by lunch.
Keep these three things in mind:
- Placement: a bun at the crown or just above it lengthens your face.
- Texture: a little grit gives grip, so pins actually hold.
- Escape routes: leave two or three pieces out on purpose.
That’s the whole formula. Everything below is just a variation.
The 3-Second Volume Trick Before You Twist
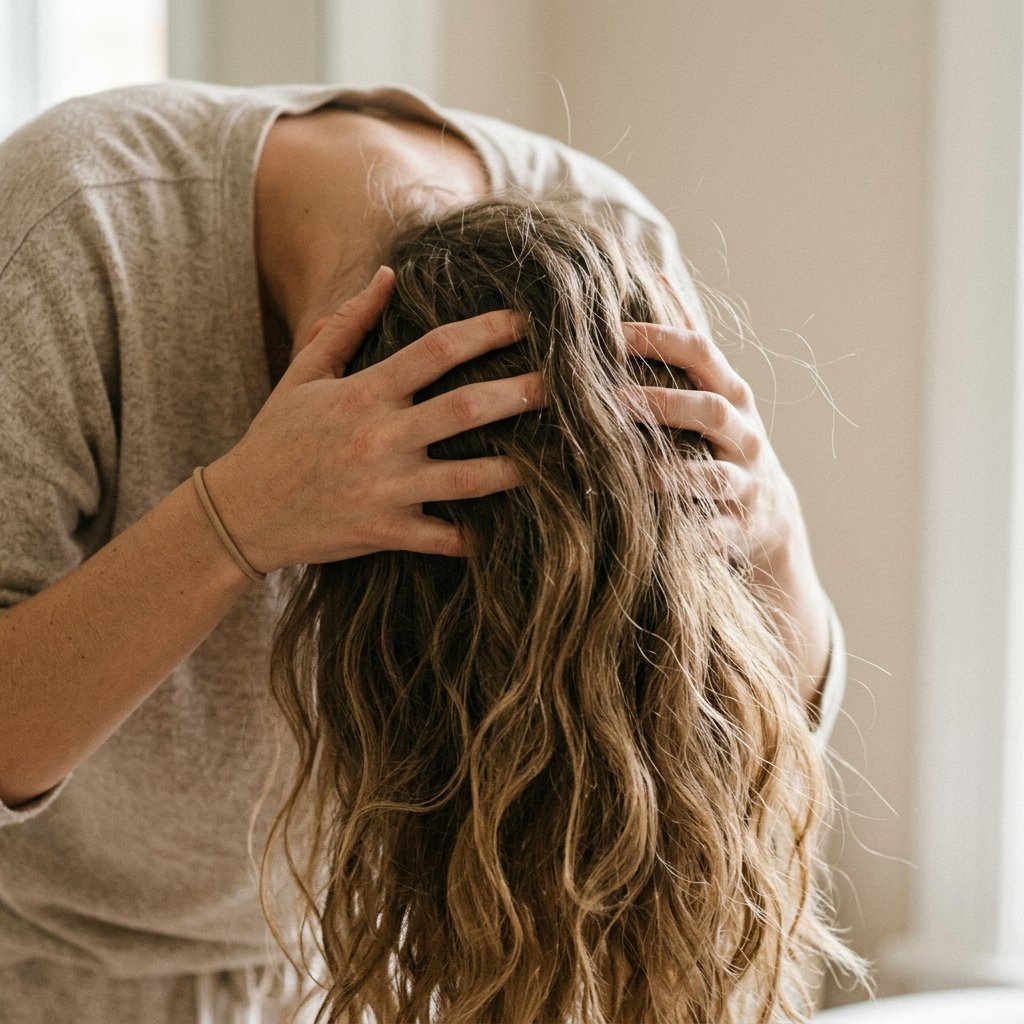
Before you gather your hair, do this one thing: flip your head upside down and shake your roots for three seconds. That’s it.
Why it works: fine and medium hair clumps flat at the scalp when you pull it back, and a flat scalp makes any bun look small and tight.
Then follow this little order:
- Mist a little texturizing spray at the roots.
- Shake upside down.
- Gather loosely and pull through on the last loop.
You’ll get a softer base, which means more natural movement once you pin.
Face-Framing Tendrils: The Movement Maker

If you only steal one tip, steal this one. Tendrils are what make a bun feel alive instead of ballerina-strict.
Pull out two pieces in front of your ears and one near your part. Keep them thin — thick chunks hide your cheekbones.
- Curl them with a small wand, then break the curl with your fingers.
- Or twist each piece around a finger and pin it for two minutes.
Petite faces look best when pieces stop around your jaw or collarbone. Longer tendrils drag the eye down, while shorter ones keep everything lifted and bright.
2026 Hairstyles Are All About Soft, Lived-In Texture
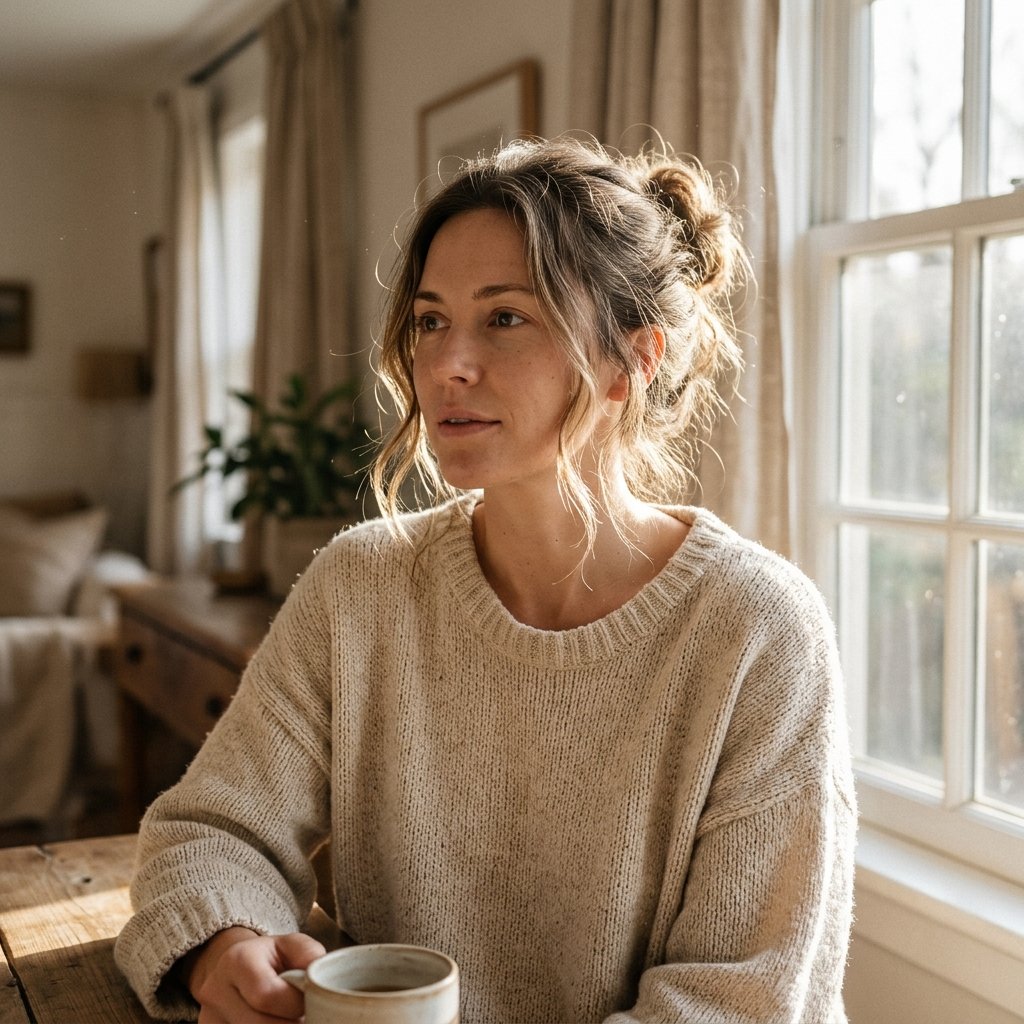
The 2026 hairstyles I keep seeing are not fussy. They are soft, brushed-out, and a little undone — the kind of hair that looks like it had a good night’s sleep.
That is great news for messy bun lovers. You don’t need a blowout. You need texture.
Three texture boosters I lean on:
- Sea salt spray on damp hair for grip
- Dry shampoo at the roots on day two
- A pea-sized drop of light cream on the ends only
Skip heavy oils at the crown. They flatten roots and make a bun look greasy instead of lived-in.
Styles 1–4: The Everyday Soft Buns
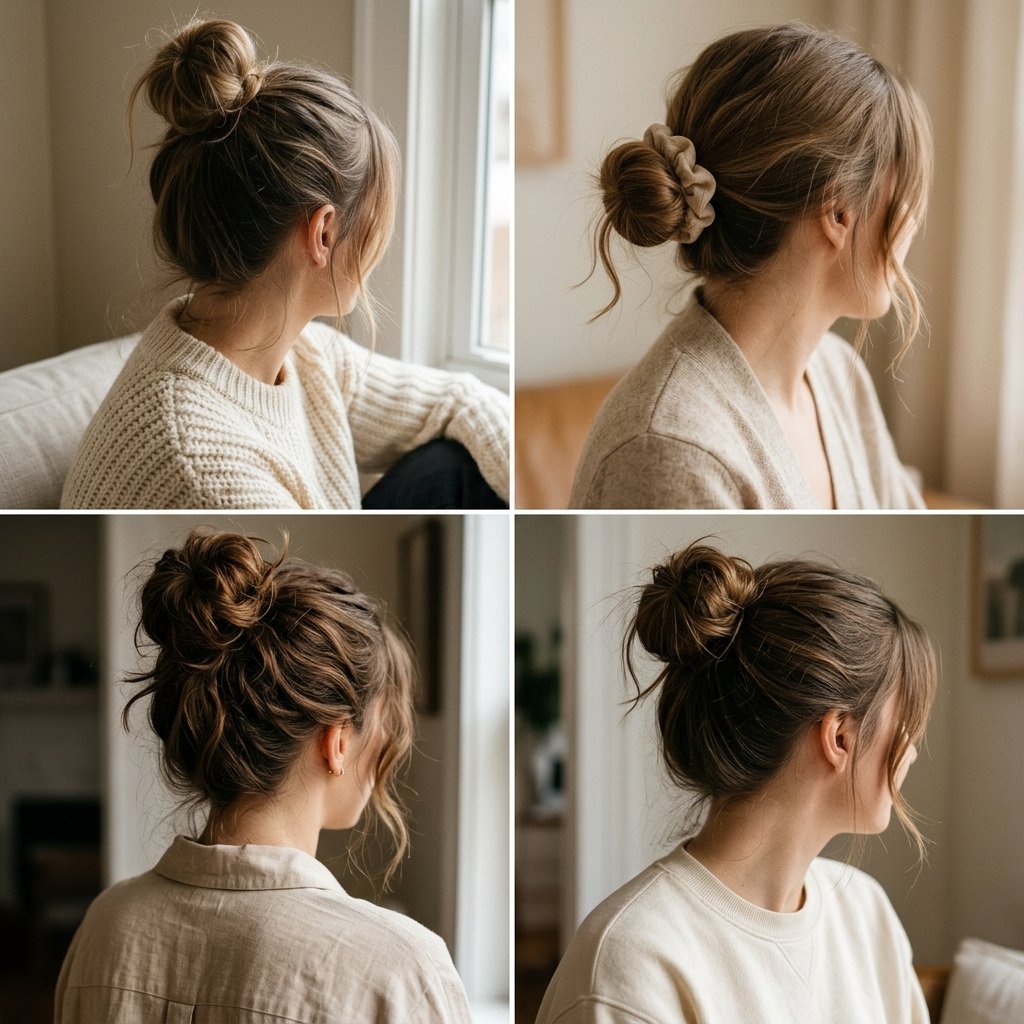
These are the ones you’ll wear on a Tuesday with no plan at all.
- The Twist and Pin. Gather, twist upward, pin in four places.
- The Loop Bun. Pull through on the last loop and leave the tail out.
- The Knot Bun. Tie once, tuck the ends, pin.
- The Coffee Run Bun. High, loose, one tendril, done.
Keep all four slightly off-center. A perfectly centered bun can look formal, while an off-center one reads effortless and modern.
Styles 5–8: Old Money Hair Buns
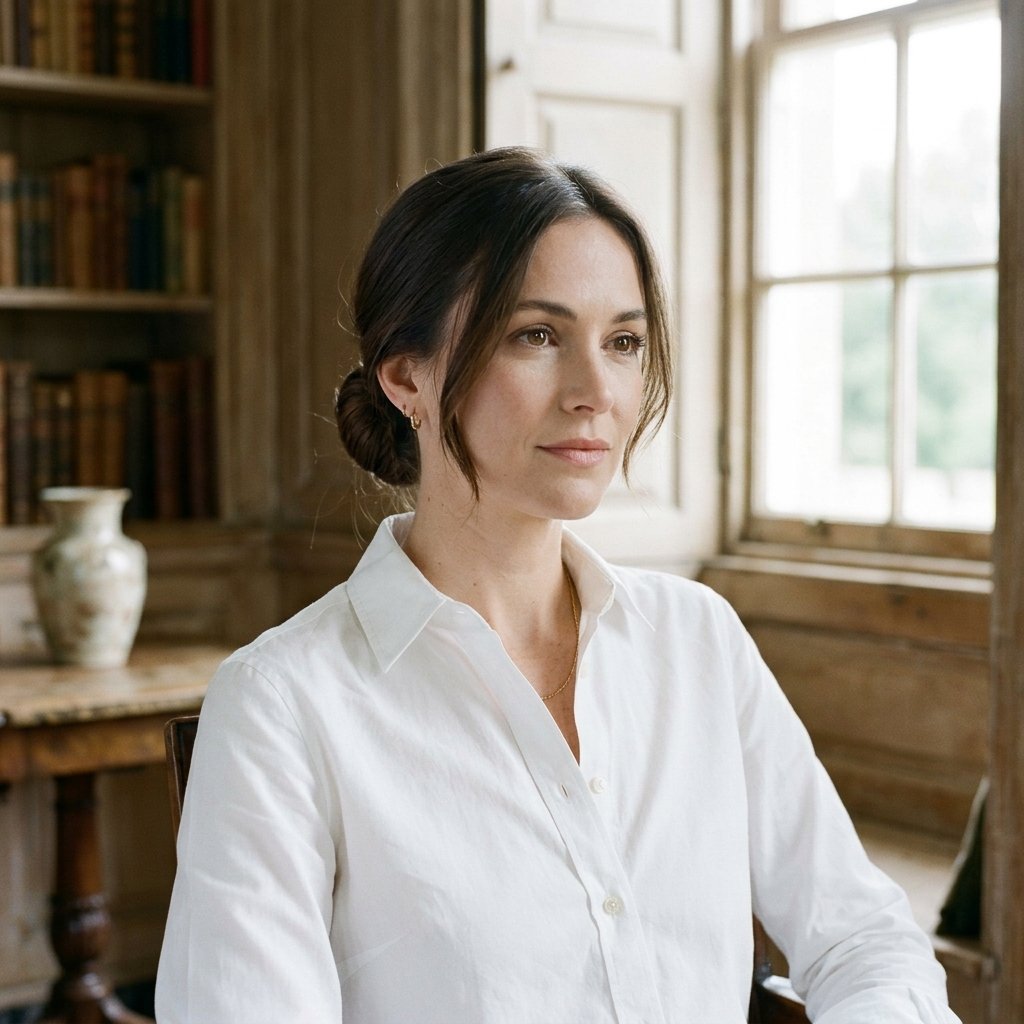
Old money hair is smooth on top, soft at the edges, and never shiny in a plastic way. The bun itself stays low and neat.
- The Low Slip Bun. Brush the top smooth, keep the back soft.
- The Pearl Pin Bun. Two small pearls above one ear.
- The Tennis Club Bun. Low loop with a ribbon tied underneath.
- The Silk Scarf Bun. Scarf wrapped once, ends tucked in.
Pair these with a collared shirt or a fine knit. The contrast between a crisp collar and soft hair is the entire old money hair look.
Styles 9–11: The Quiet Luxury Bob Bun Hybrid
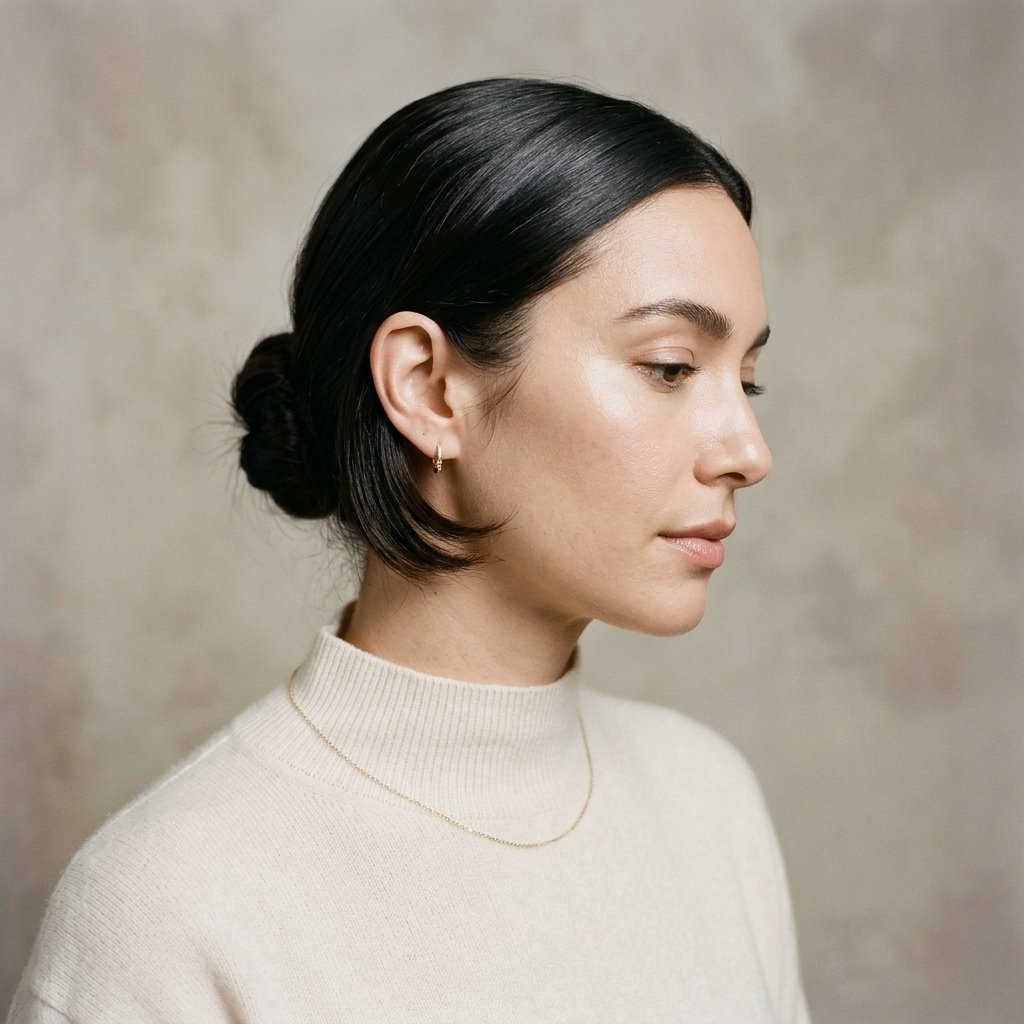
Short hair girls, this one is for you. A quiet luxury bob or an asymmetrical lob can still turn into a bun — it just becomes a smaller, chicer version.
- The Half Loop. Pull the top half back, loop it, pin.
- The Faux Bun. Twist short ends into a knot at the nape.
- The Lob Tuck. Fold the lob under and pin into a low cushion.
Leave the front swept and sleek. With short hair, neatness at the front and softness at the back keeps the shape from looking accidental.
Styles 12–14: Romantic Goth Hairstyles With Messy Buns
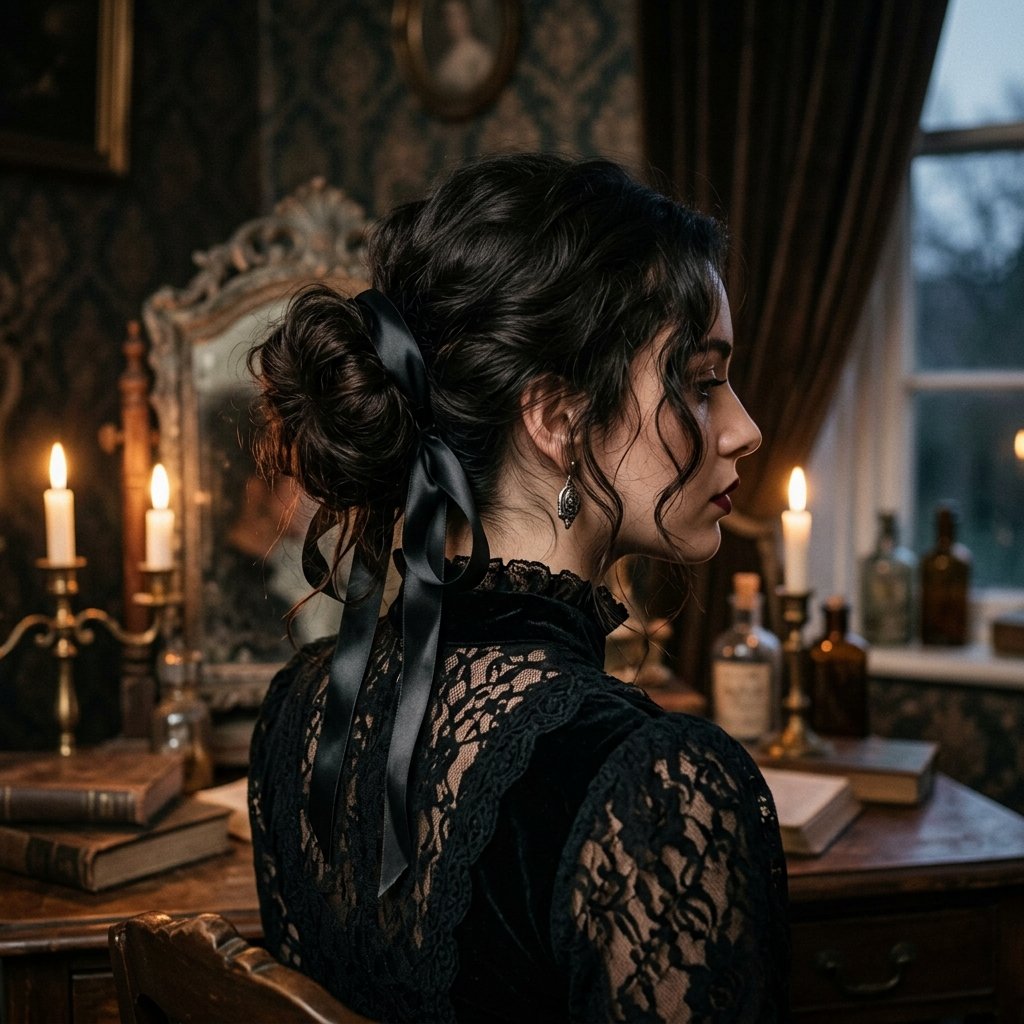
Romantic goth hairstyles are much softer than people expect. Think loose texture, black ribbon, and face-framing pieces.
- The Ribbon Bun. Black satin ribbon laced through the loop.
- The Velvet Pin Bun. One velvet bow set at the crown.
- The Wispy Goth Knot. Long tendrils, soft top, dark pins.
Style with a little matte texture rather than high shine. If your hair is fine, backcomb the crown gently before you twist. Keep the tendrils soft and the pins invisible, and the whole look turns romantic instead of costume-y.
Styles 15–17: Glitchy Glam Hair Buns
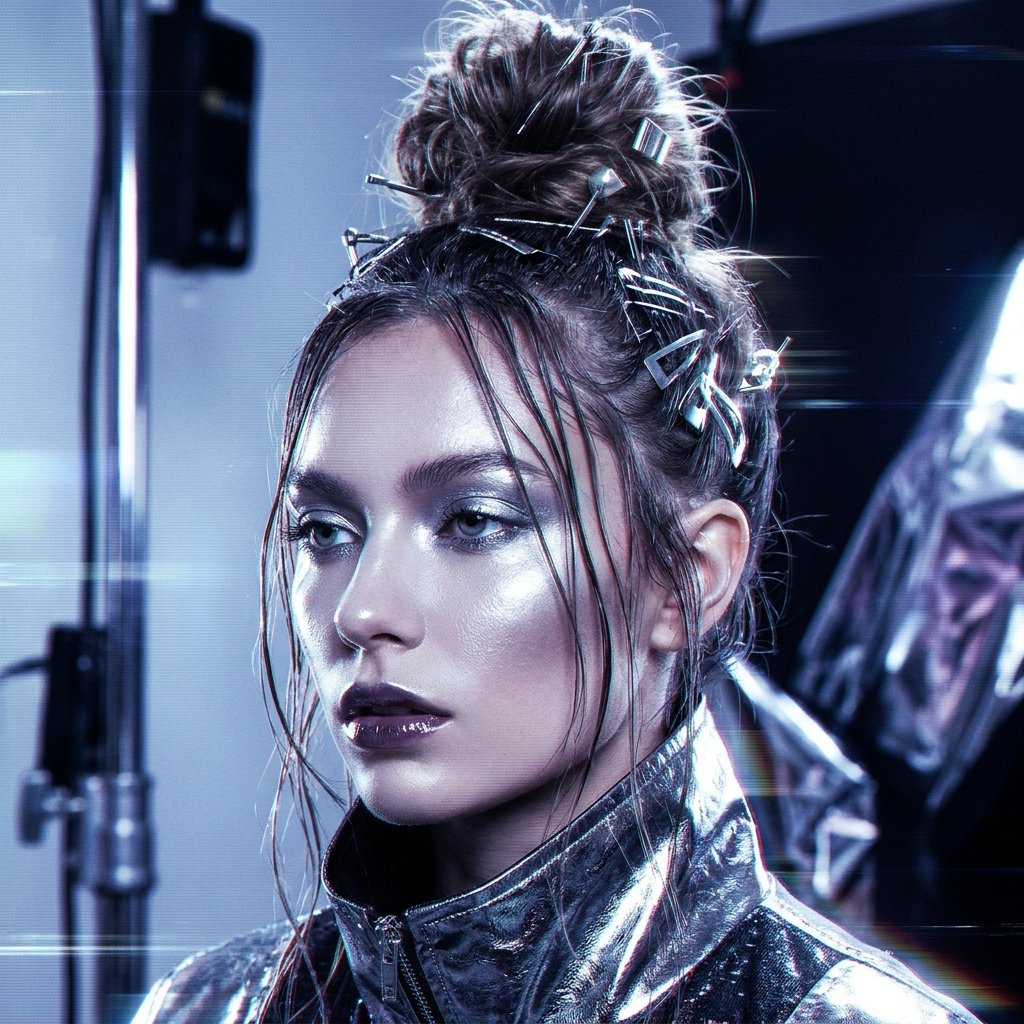
Glitchy glam hair is my favorite wildcard. It is messy on purpose, with one sharp detail to make it feel intentional.
- The Chrome Pin Bun. Silver pins in a loose figure-eight.
- The Baby Braid Bun. Two thin braids pulled into the bun.
- The Crooked Loop. High bun, set slightly off to one side.
Add one little jolt: a tiny braid, shine spray on just the front, or a single colored clip. Keep it to one feature so the look stays editorial instead of confusing. It pairs beautifully with graphic liner or a sharp jacket.
Styles 18–20: Asymmetrical Lob and Bun Combos
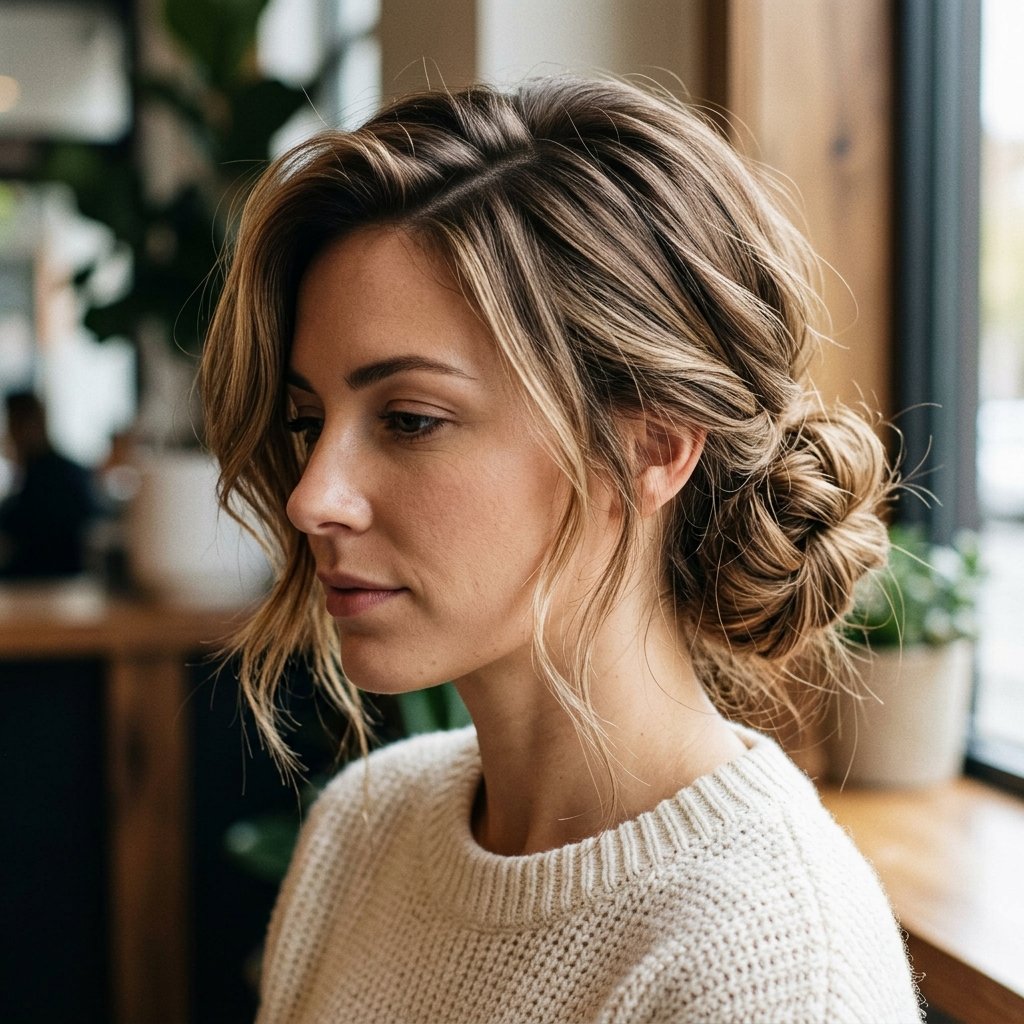
An asymmetrical lob gives you the best of both worlds: length in front, freedom in back.
- The Side Sweep Bun. Sweep front pieces to one side, low bun.
- The Split Lob Bun. Long side out, short side pinned back.
- The Curtain Loop. Curtain bangs down, bun tucked behind ears.
These work because the asymmetry creates movement without you doing anything extra. On a petite frame, a deep side part plus a low bun adds length and shifts focus to your eyes. Skip the middle part here.
Styles 21–23: Vampire Haircut Energy in a Bun
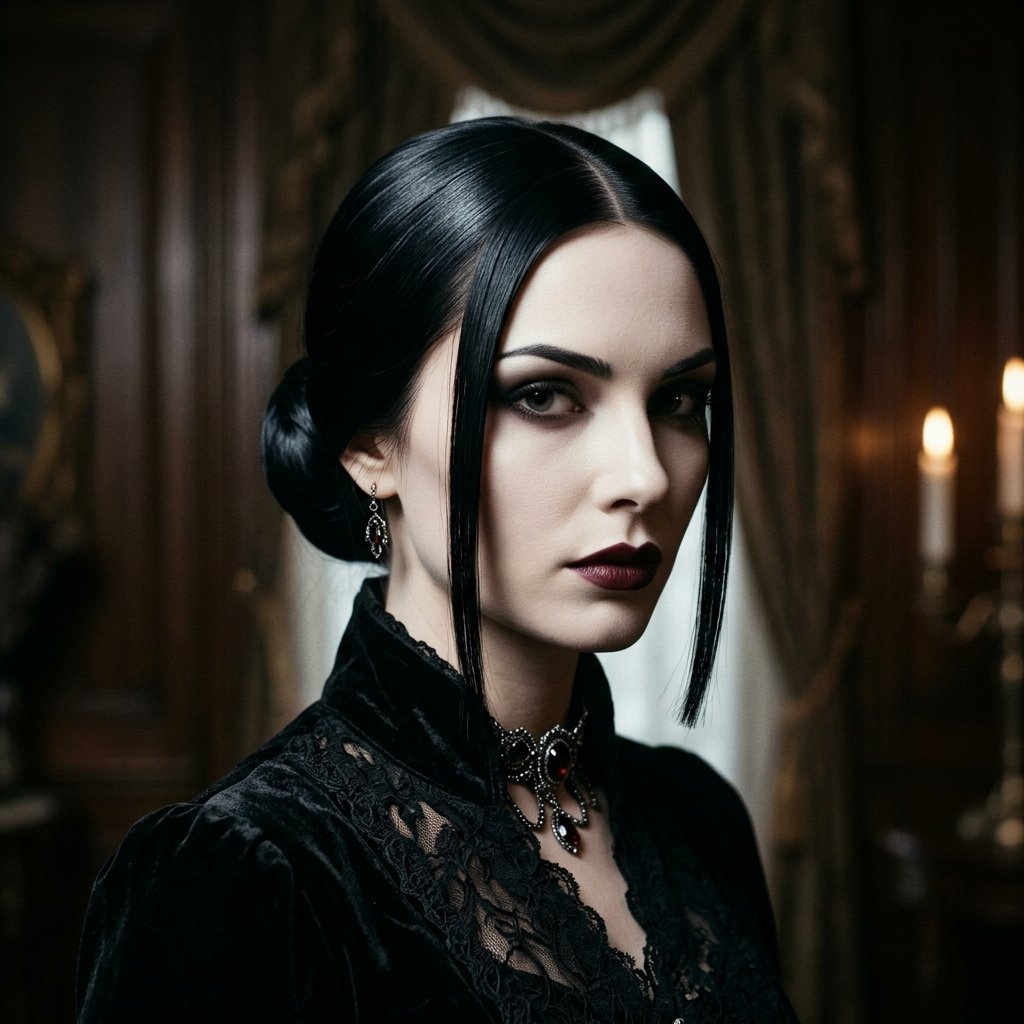
The vampire haircut — that soft, face-framing layered cut with a bit of a bite — is made for buns. The graduated layers give you built-in movement.
- The Sleek Vampire Bun. Smooth front, tight nape, loose crown.
- The Bite Bun. Two sharp tendrils, everything else up.
- The Layered Low Knot. Let the layers do the work.
Keep the front smooth and let the back stay messy. That contrast is what makes it feel moody and elegant instead of just undone. A little styling cream on the front pieces keeps them crisp while the bun stays soft.
Styles 24–26: Hime Cut Meets Messy Bun
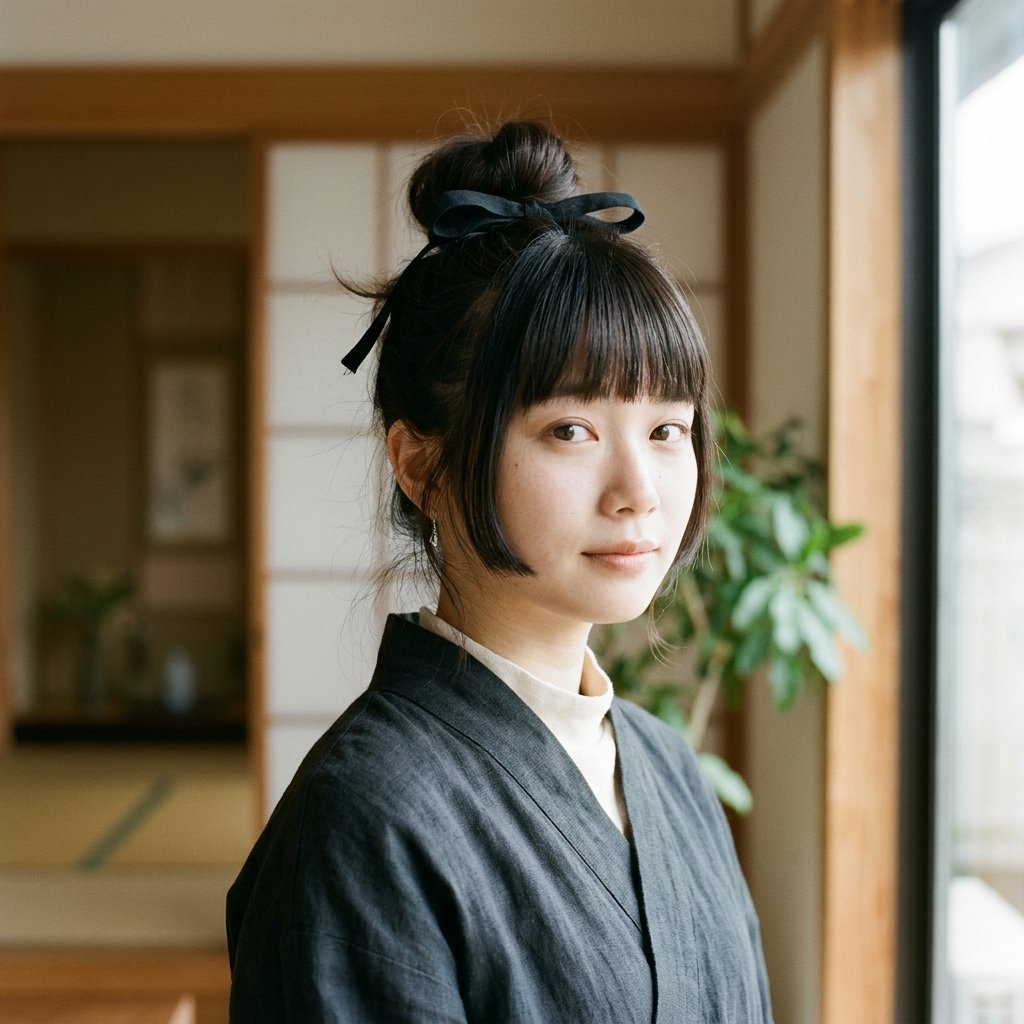
The hime cut — blunt cheek-length side pieces with long back hair — is dramatic on its own. In a bun, it becomes something special.
- The Blunt Side Bun. Keep the side pieces sharp, bun high.
- The Princess Loop. Blunt pieces forward, ribbon in back.
- The Half Hime. Pin the length up, leave the cut visible.
Iron the side pieces straight so they stay crisp against a soft bun. That blunt line next to all that texture is the entire point, and it photographs beautifully.
Styles 27–28: Statement Buns for Big Moments
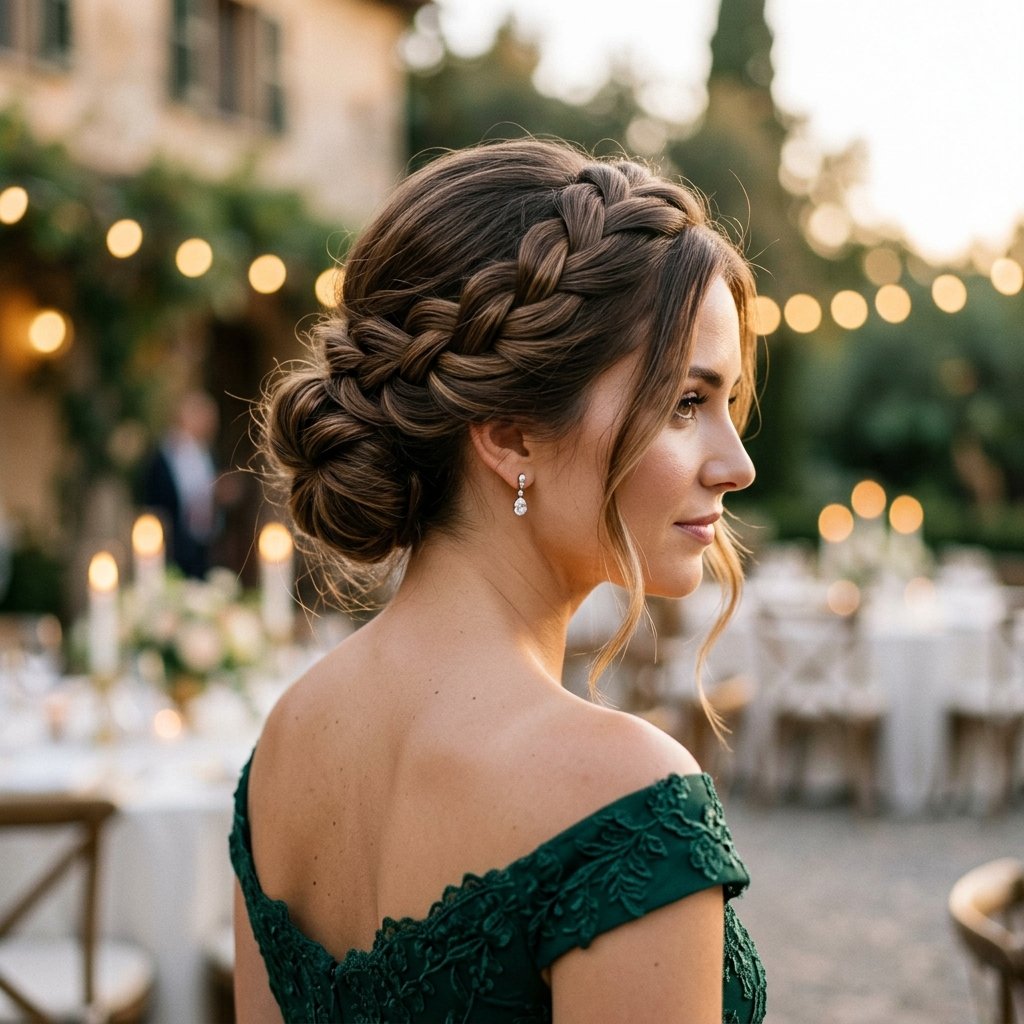
Two buns that go a little further, for weddings, dinners, or the days you want to feel like the main character.
- The Sculpted Bun. Section the hair, pin in panels, leave the front soft.
- The Braided Crown Bun. A loose braid across the crown, ends tucked into a low bun.
Both look expensive and take about ten minutes. Use a fine-tooth comb for the front and your fingers for everything else. The looser you keep the crown, the more modern it looks.
How to Make a Messy Bun Hold All Day
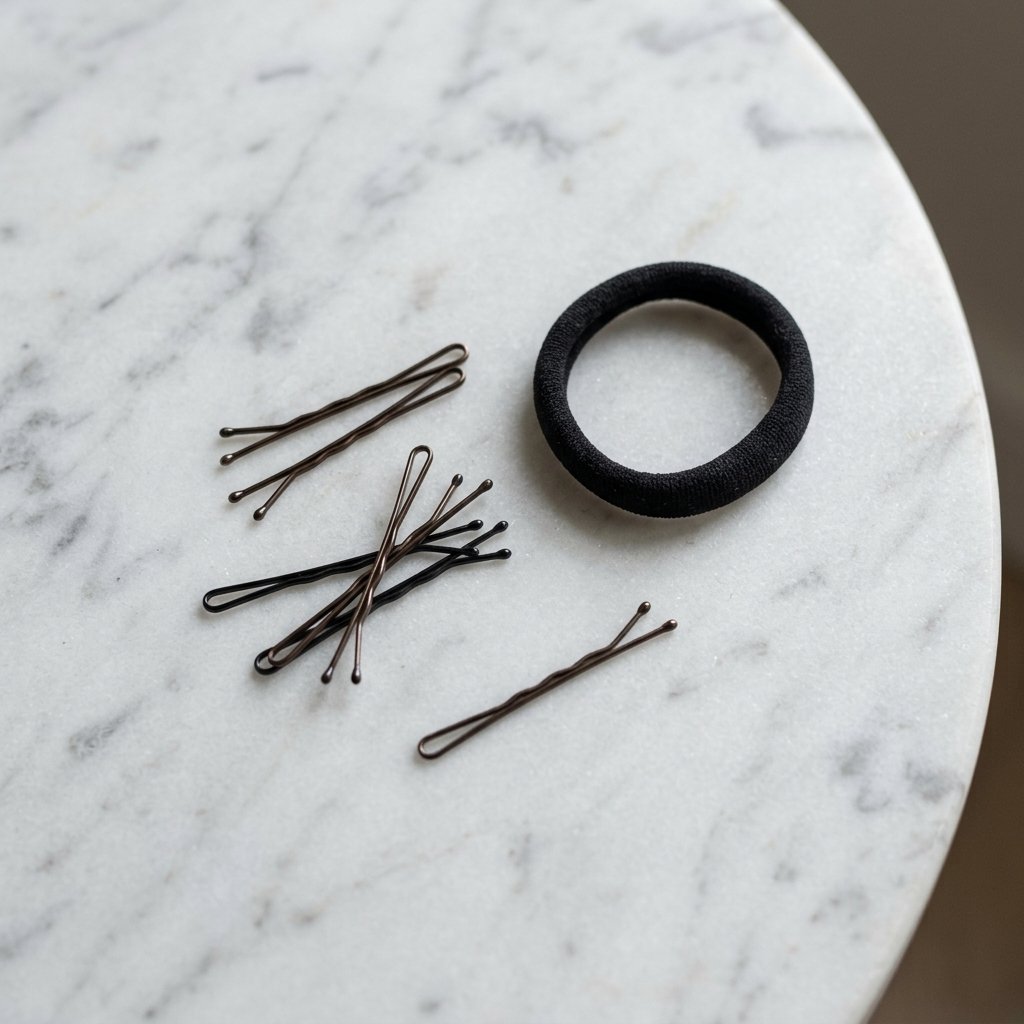
A messy bun that falls by noon is not a style, it’s a disappointment. Here is what actually holds.
- Start on day-two hair, or add dry shampoo for grip.
- Use two hair ties: one for the base, one for the loop.
- Cross your bobby pins in an X so they lock together.
- Skip the all-over hairspray — it stiffens the movement.
Anchor the bottom of the bun first. That’s the part that sags. If your hair is very slippery, one small clear elastic at the base buys you hours.
Bobby Pins vs. Claw Clips vs. Hair Ties
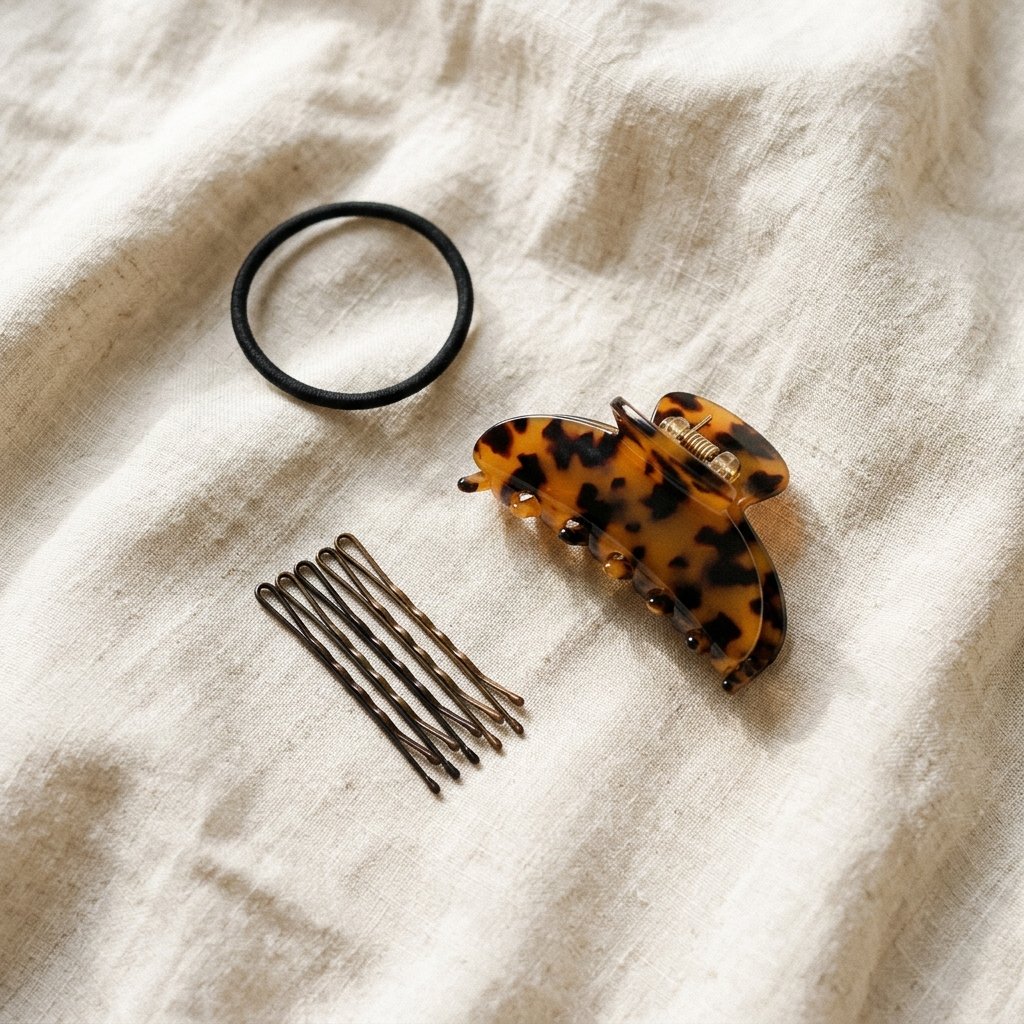
Quick comparison so you can grab the right thing:
- Bobby pins: best for control and hiding ends. Buy the ones with tiny grip bumps.
- Claw clips: best for a five-second bun and instant volume.
- Hair ties: best as the base, not the whole style.
For petite frames, smaller clips look better than oversized ones. Big accessories can overwhelm a small face and neck. Blend the hardware into the hair instead of letting it steal the show.
The Hair Accessory Edit for Petite Faces

Keep accessories small, intentional, and placed where you want eyes to go.
- Two small pins on one side
- A thin ribbon at the nape
- One pearl or metal clip near the part
- A thin headband pushed back an inch
Placement matters more than size. A single pin above the ear lifts the whole face, while a cluster at the crown makes the head look top-heavy. Choose one accessory and let the hair be the main event.
Messy Buns for Fine Hair

Fine hair makes beautiful buns. It just needs a little help getting there.
- Add grit with dry shampoo or texturizing spray before you twist.
- Wrap the hair around two fingers, not your whole hand.
- Gently pull the loop wider for a fuller shape.
- Pin the bun to the scalp, not to itself.
Avoid brushing the top flat. A little lift at the crown makes fine hair look twice as thick. And a smaller, honest bun always beats a big faked one.
Messy Buns for Thick or Curly Hair
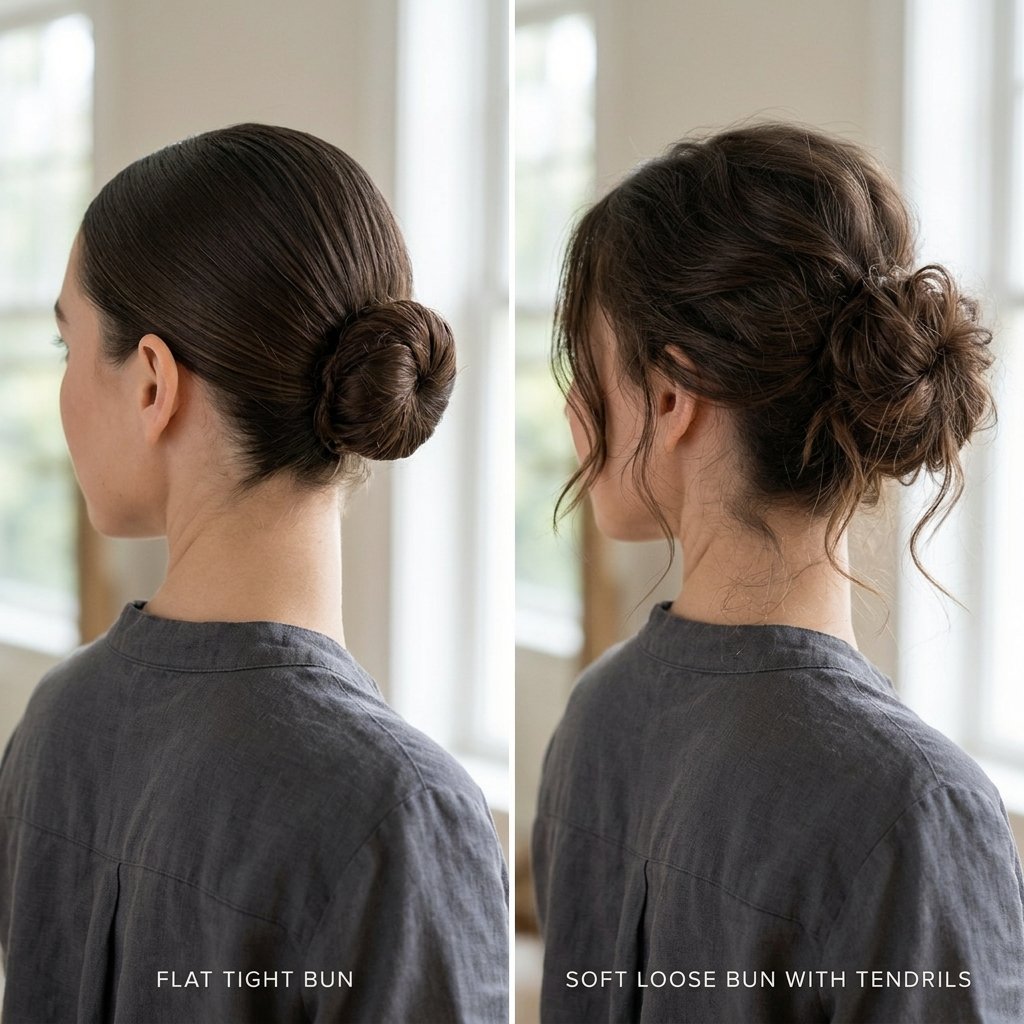
Thick hair has the opposite problem: the bun gets heavy and slides.
- Split the hair into two sections first.
- Use a claw clip or a strong elastic at the base.
- Twist loosely so the curls stay intact.
- Pin the outer edge down.
Curly girls, don’t brush dry curls out. Smooth the front, gather the rest with your fingers, and let the pattern create the texture. This keeps the shape and gives you that soft romantic volume that reads beautifully in photos.
Messy Bun Mistakes That Add Weight, Not Movement
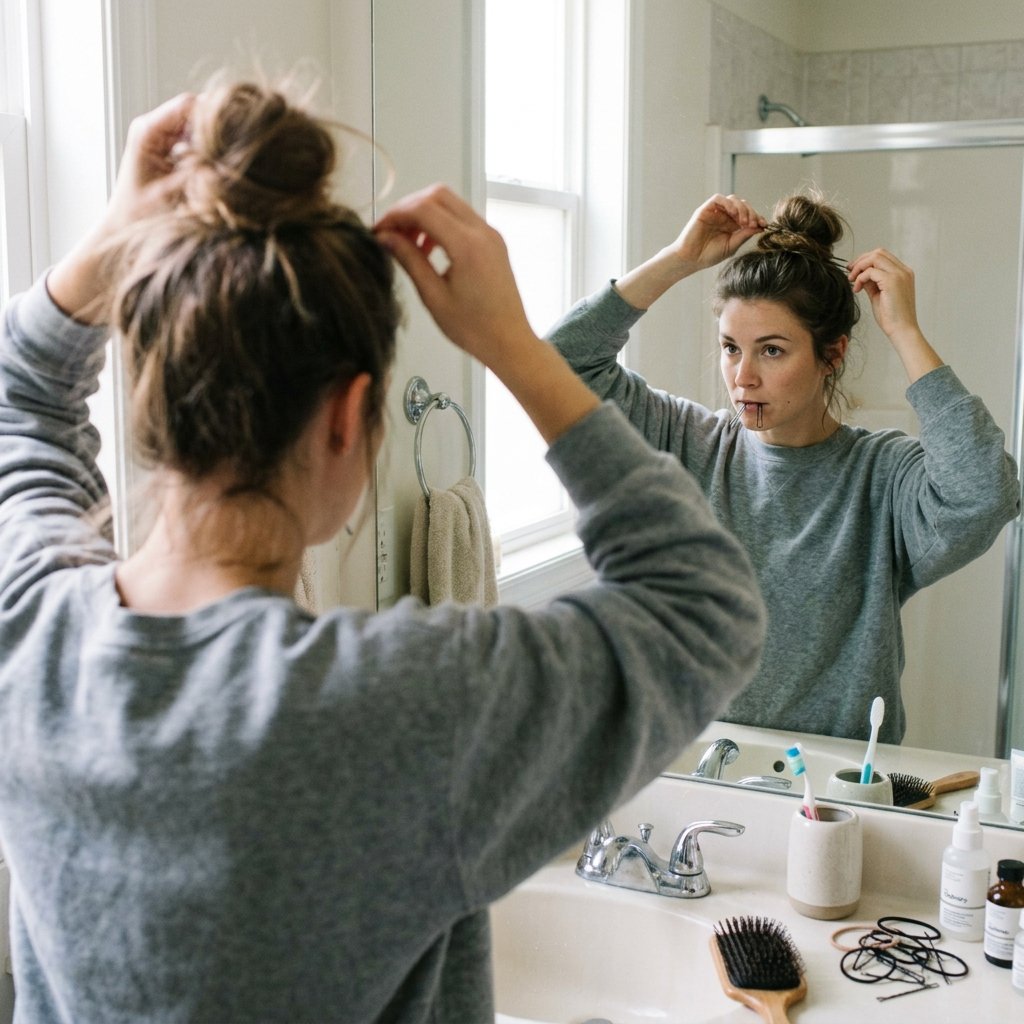
I have made every one of these.
- Twisting too tight, which flattens the crown.
- Pulling every strand back with nothing left out.
- Using heavy product near the roots.
- Making the bun too big for your frame.
The fix is always the same: loosen the front by an inch, pull two pieces out, and check the shape from the side, not just straight on. Side-view checks catch the flat spots your front mirror hides.
Quick Fixes When Your Bun Falls Flat
It happens. Here is your rescue plan.
- Spray dry shampoo on the crown.
- Rub your fingertips at the roots to wake it up.
- Repin the sagging part with an X pin.
- Add one tendril to pull the eye down and distract.
If the whole thing is sliding, take it down, add a clear elastic at the base, and rebuild. It takes thirty seconds and saves the day. Keep a couple of pins in your bag — it’s the cheapest way to look put together at 4 p.m.
Messy Buns for Work, Date Night, and Travel
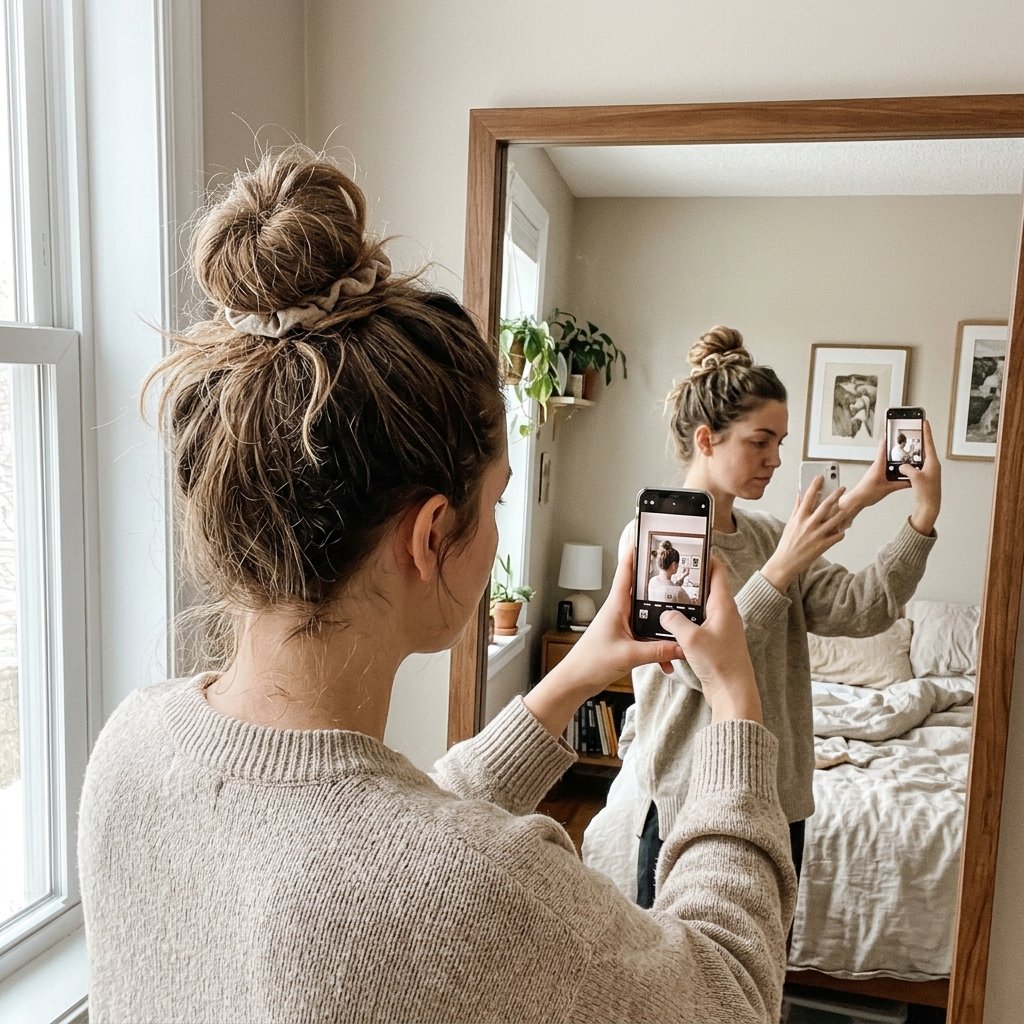
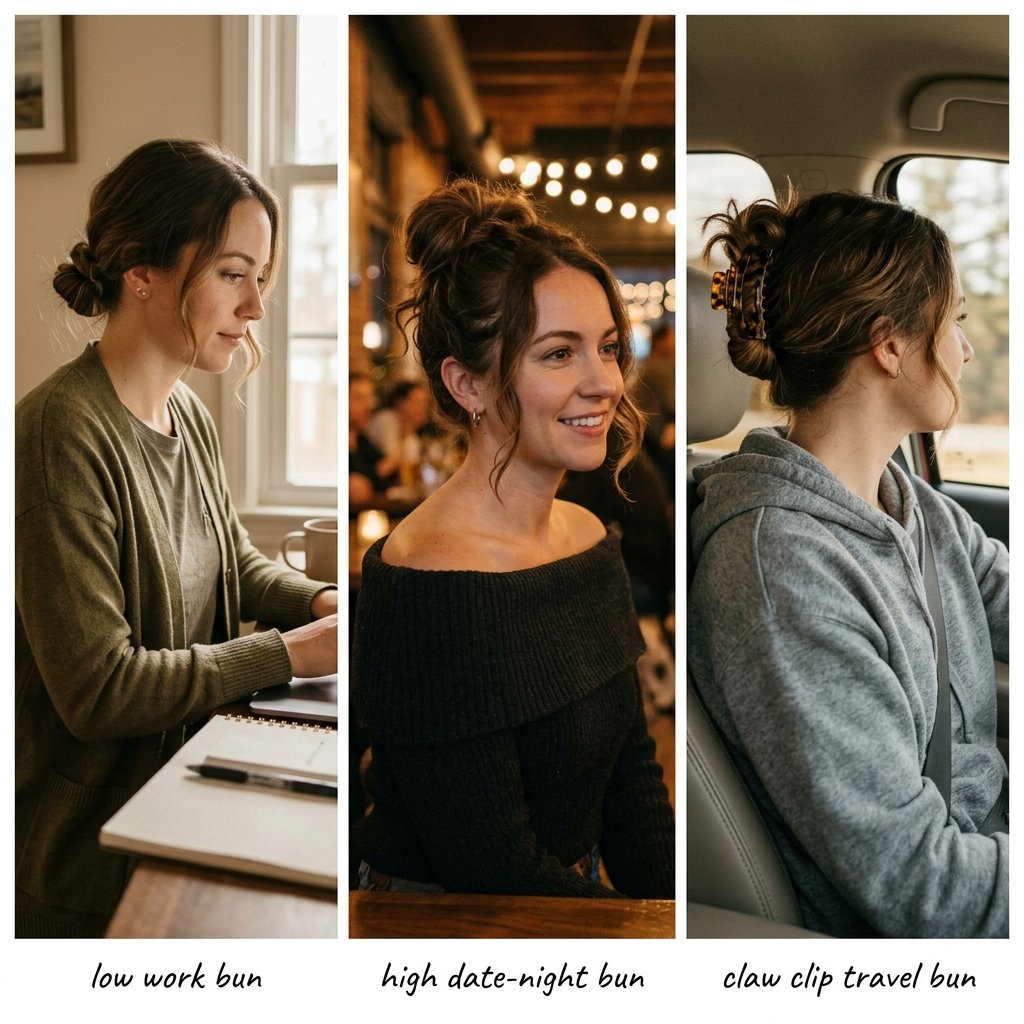
One bun, three settings. Here’s how I switch it up:
- Work: low loop bun, smooth front, one small pin.
- Date night: high bun, two soft tendrils, one shiny clip.
- Travel: claw clip bun, no pins, no fuss.
On travel days, a clip bun means you can take it down at security and rebuild it in the car. For date night, keep the bun slightly loose and add shine spray on the tendrils so the movement catches the light.
How to Take Better Bun Photos for Pinterest
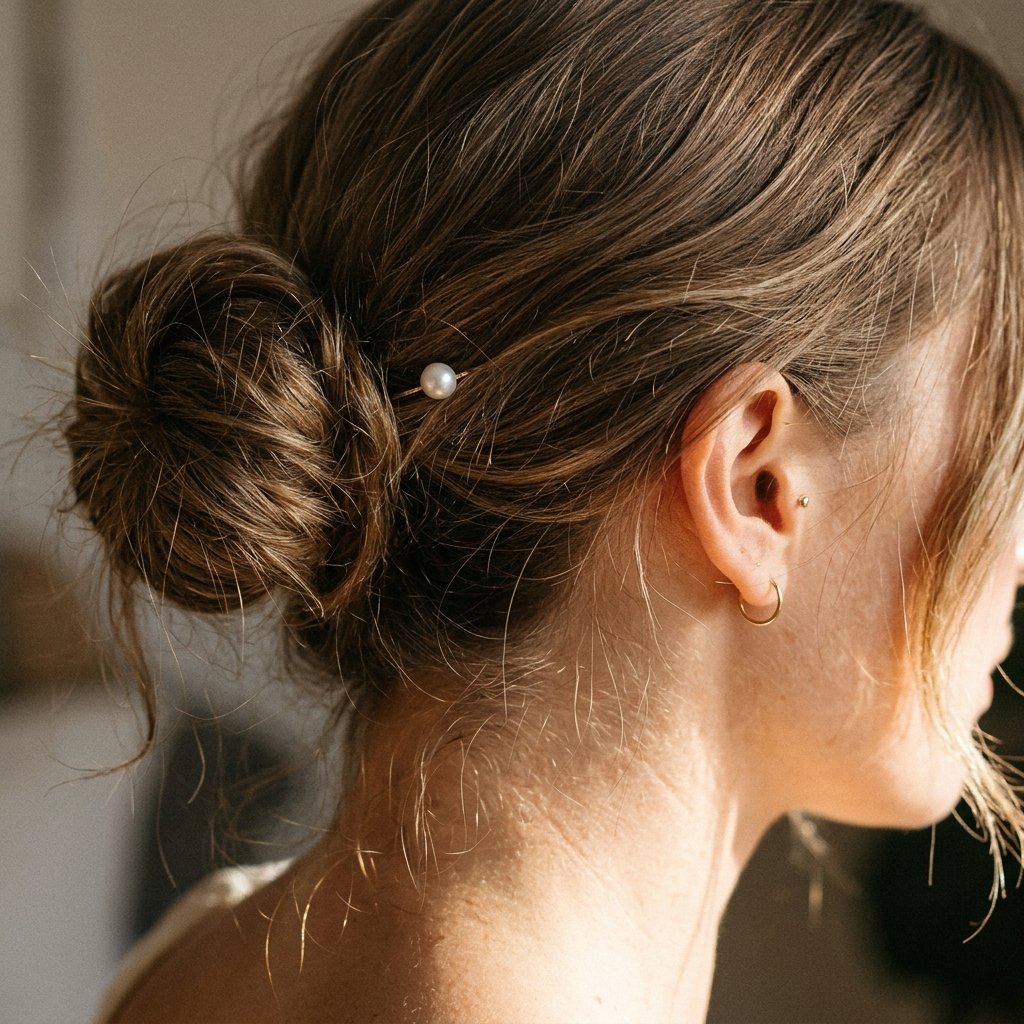
Good light beats good hairspray every time.
- Face a window, not with the light behind you.
- Turn your head slightly so the bun actually shows.
- Let one tendril fall forward.
- Zoom in on the pins and texture.
Natural light shows the movement, which is the whole point of these styles. Take three shots: front, side, and back. The side angle is almost always the one that gets saved.
A Little Love Note Before You Twist
You don’t need 28 styles memorized. Pick two or three that match your hair texture and your actual life, and let the rest be inspiration for a day when you feel like playing.
The buns that add the most movement are never the perfect ones. They are the slightly off-center, slightly messy, one-tendril-out versions that look like you have somewhere better to be. That’s the whole energy.
Save this post to Pinterest so you can find your favorite the next time you’re standing in front of the mirror with five minutes to spare.
And tell me — which number are you trying first? Drop it in the comments, because I genuinely want to know which bun wins for petite frames.

