
Let me guess. You got caramel balayage, you loved it for about six weeks, and now you are staring at your roots wondering if you should book an appointment or just live in a hat until spring.
I have been exactly there. Twice.
Here is the good news. Rooted caramel brunette balayage is basically designed for this moment. When it is done right, your grow-out is not a problem to hide. It is part of the look. That soft, lived-in root is the whole point.
In this post I am sharing 27 techniques that make the grow-out seamless, from what to ask your colorist to the little habits that stretch your color for months. Let’s get into it.
1. What Rooted Caramel Brunette Balayage Really Means
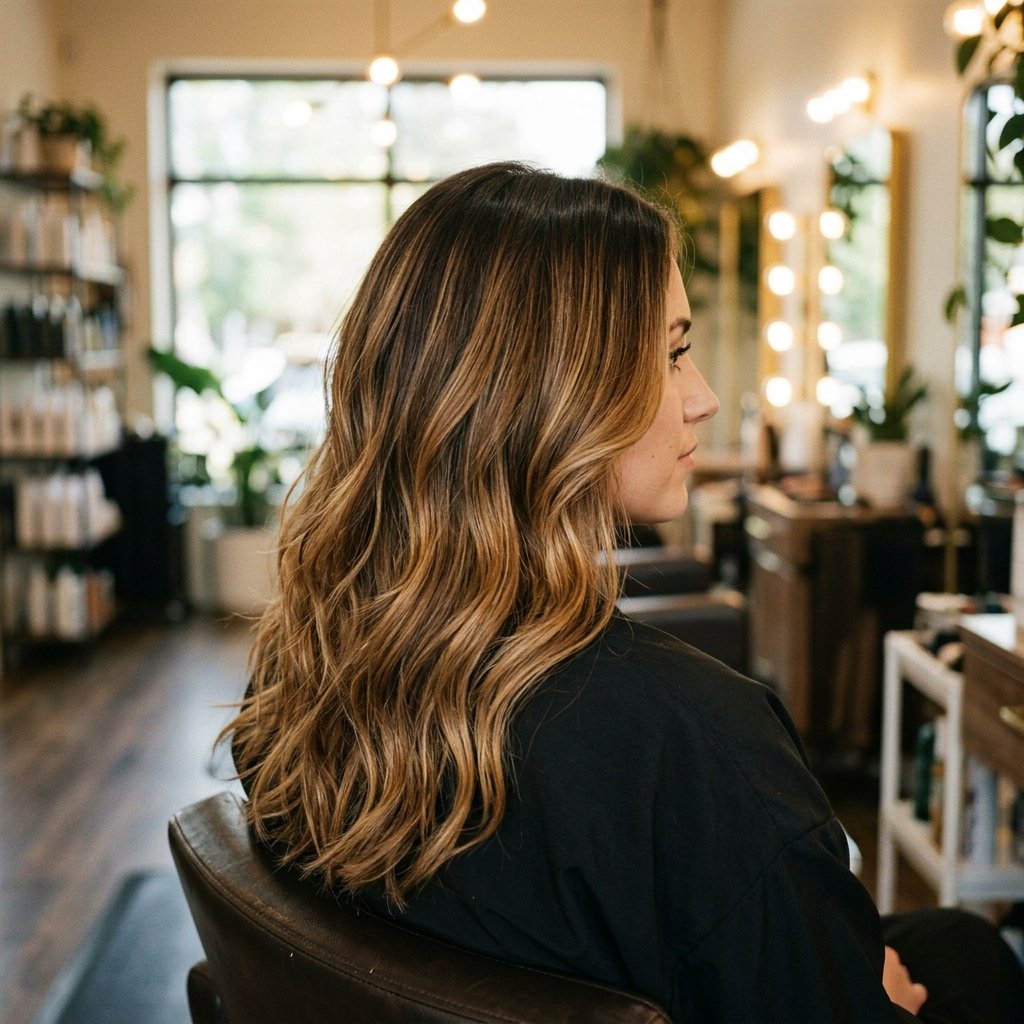
Let’s break it down so it actually makes sense. Rooted means your natural brunette stays at the base. Caramel is the warm, golden-brown shade painted through the middle and ends. Balayage is the freehand technique that blends it all together.
Here is the three-part structure:
- Root: your natural brunette, usually 1 to 3 inches
- Melt: the zone where brown turns into caramel
- Ends: the lightest, warmest caramel
No hard lines anywhere. That is why it grows out beautifully instead of badly.
2. Why It Grows Out Better Than Foil Highlights
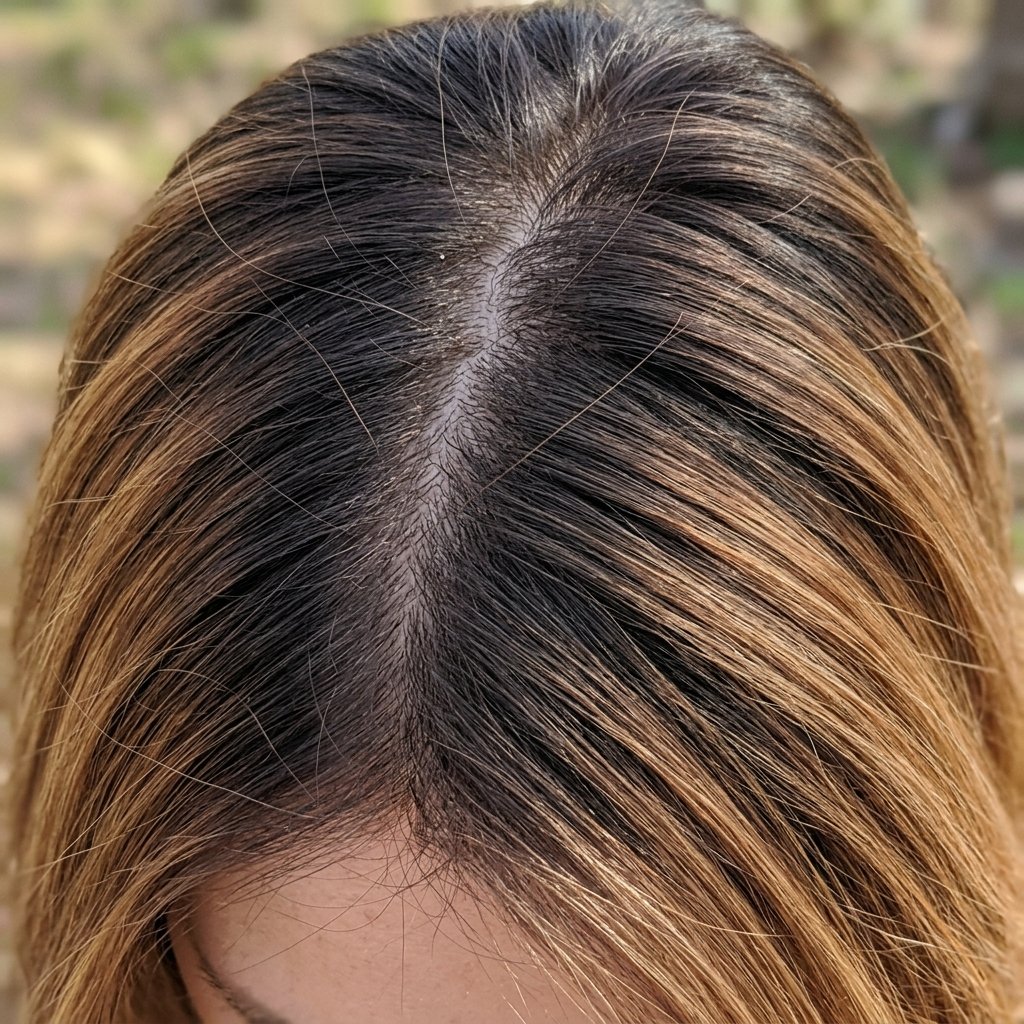
Foil highlights start right at the scalp. That means the second your hair grows a quarter inch, you already see a line. Rooted color works the opposite way.
Your natural root is already part of the design. So when it grows, nothing looks wrong. It just looks like more of the same soft shadow you asked for.
In my experience, rooted balayage buys you three to four months before anyone notices. Foils buy you about four weeks. That difference alone is worth the switch.
3. The 3-Inch Rule for Your Root
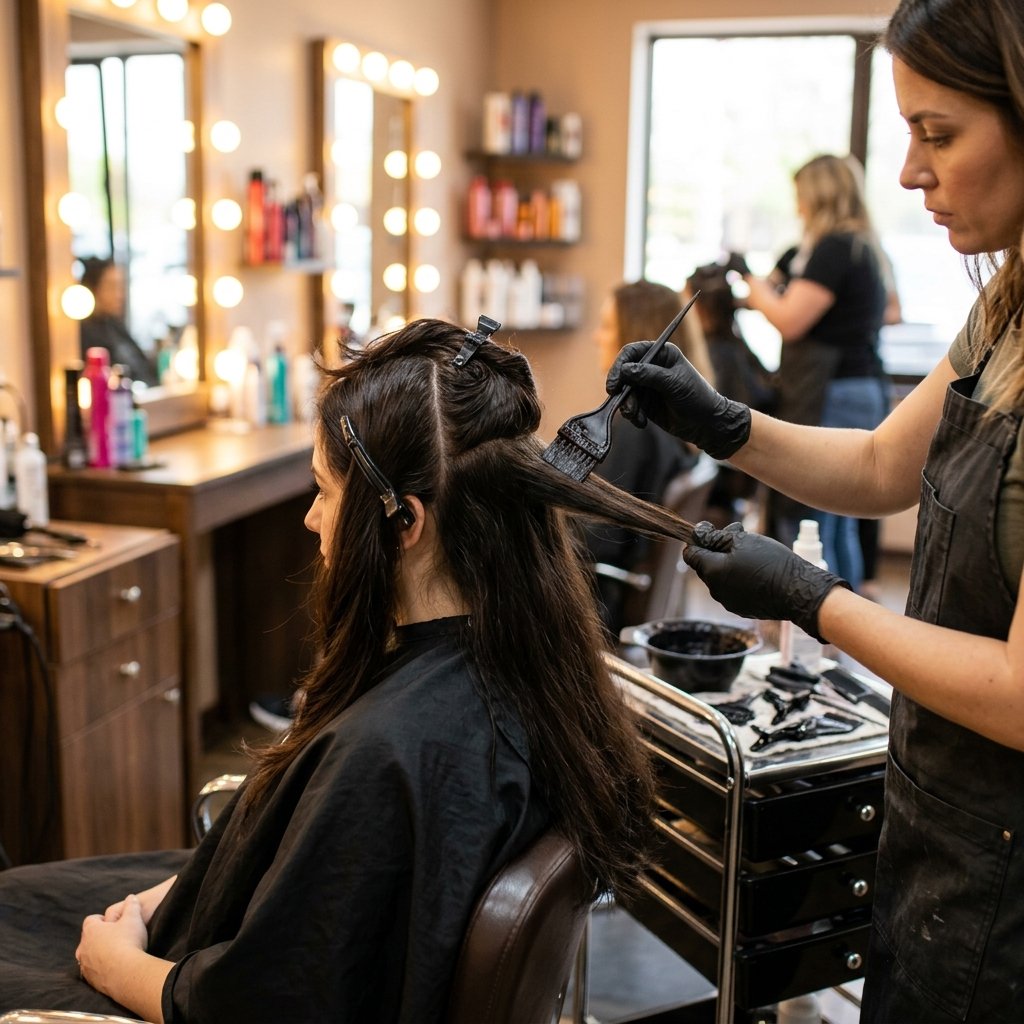
This is the one number you need to remember. Ask for two to three inches of root if you get your color done every eight to ten weeks. Go three to four inches if you stretch to twelve or sixteen weeks.
Why it matters:
- Too little root equals visible regrowth in a month
- Too much root equals a harsh stripe
- The sweet spot grows out with zero drama
If you are not sure, tell your colorist how often you realistically want to come in. They will pick the right depth for you.
4. Choose Your Caramel: Honey, Toffee, or Copper
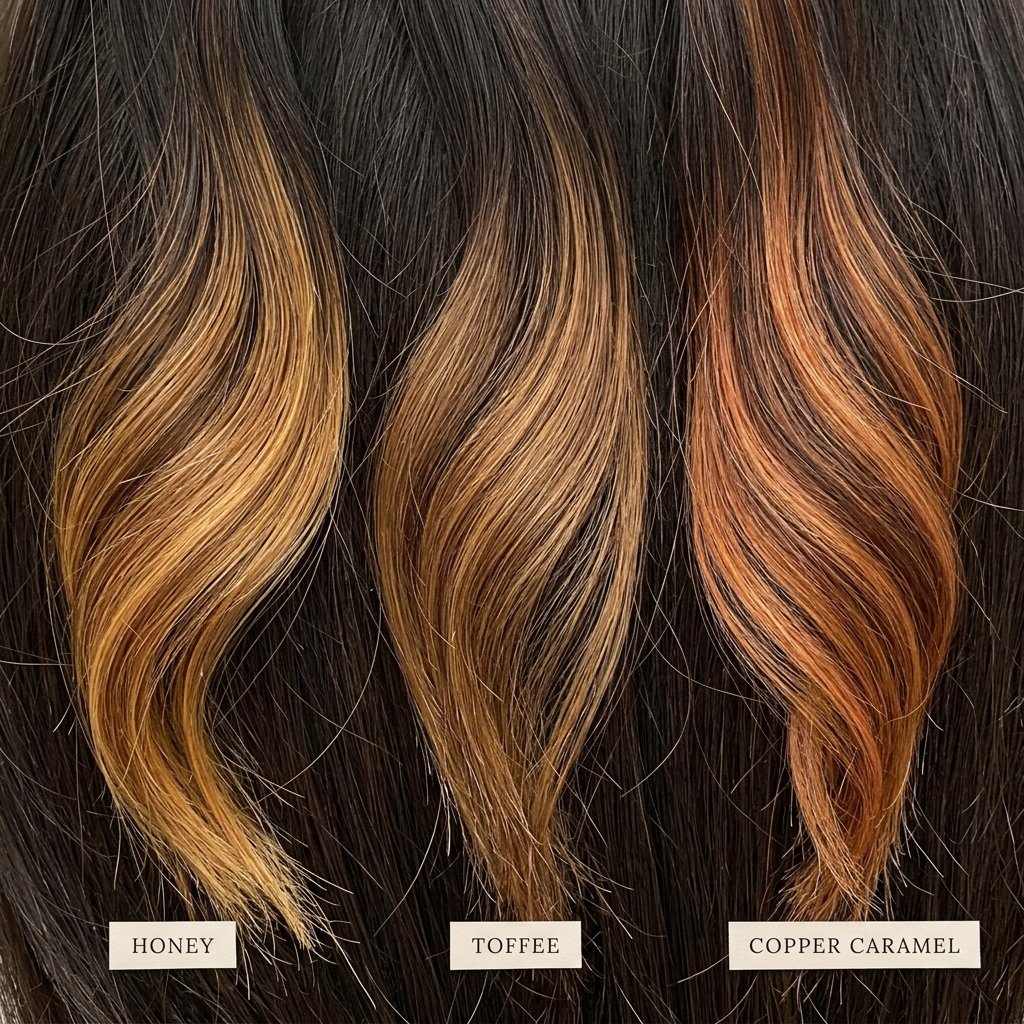
Caramel is not one color. It is a whole family, and picking the right one changes everything.
- Honey caramel: soft, golden, pretty on medium and olive skin
- Toffee caramel: richer and browner, great for cool undertones
- Copper caramel: warm and bold, beautiful on fair and deep skin
- Butterscotch: the lightest, best for already-light brunettes
Bring two or three photos. Point at the exact tone you love. Warm skin usually loves warm caramel, and cool skin looks best with a toffee or ash-caramel blend.
5. Ask for a Smudge Root, Not a Line
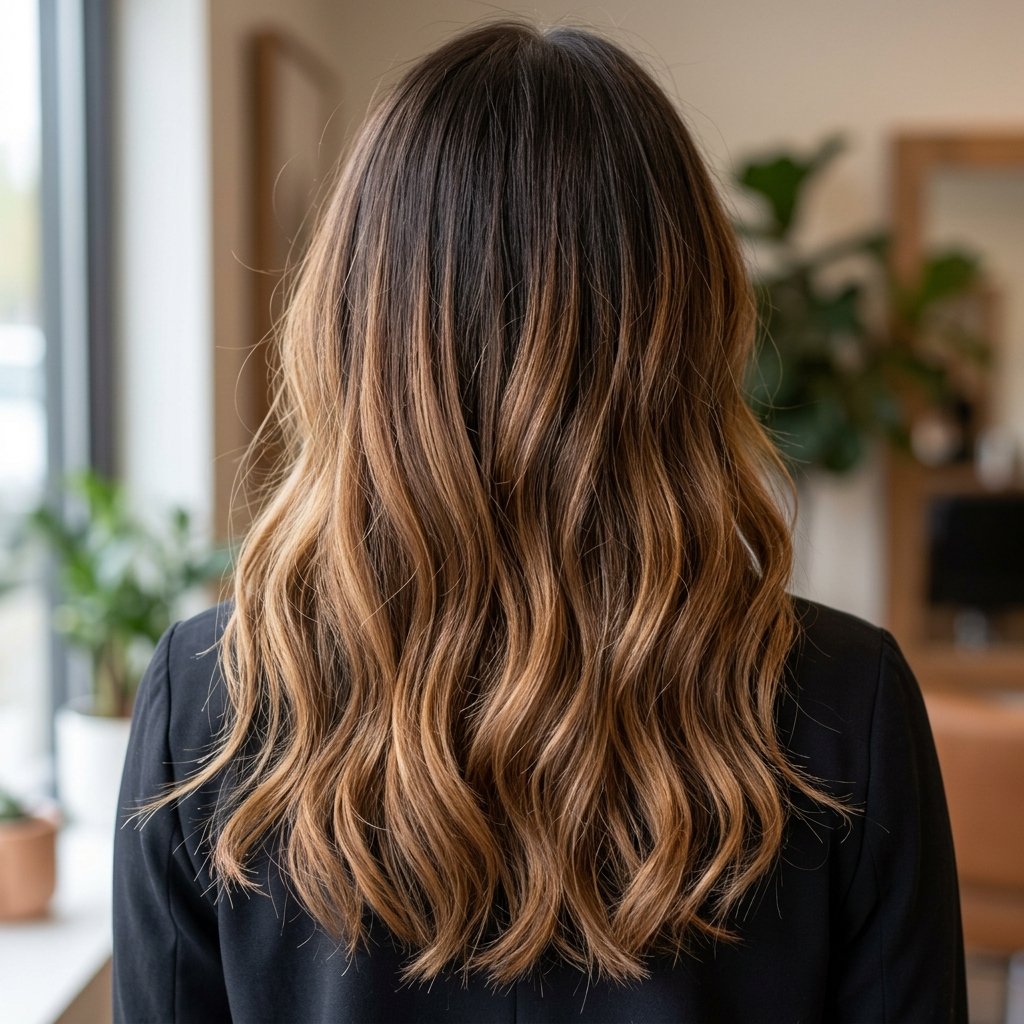
When you book, use the words “smudge root” or “shadow root.” This tells your colorist to blend the base color down softly instead of painting a straight band.
Ask them to feather it with a brush or a comb. That feathering is what makes the grow-out invisible.
If you have ever seen a grown-out color with a hard horizontal stripe, that is a missed smudge. It is one of the easiest things to avoid, and it costs you nothing extra to request.
6. Nail the Melt Zone
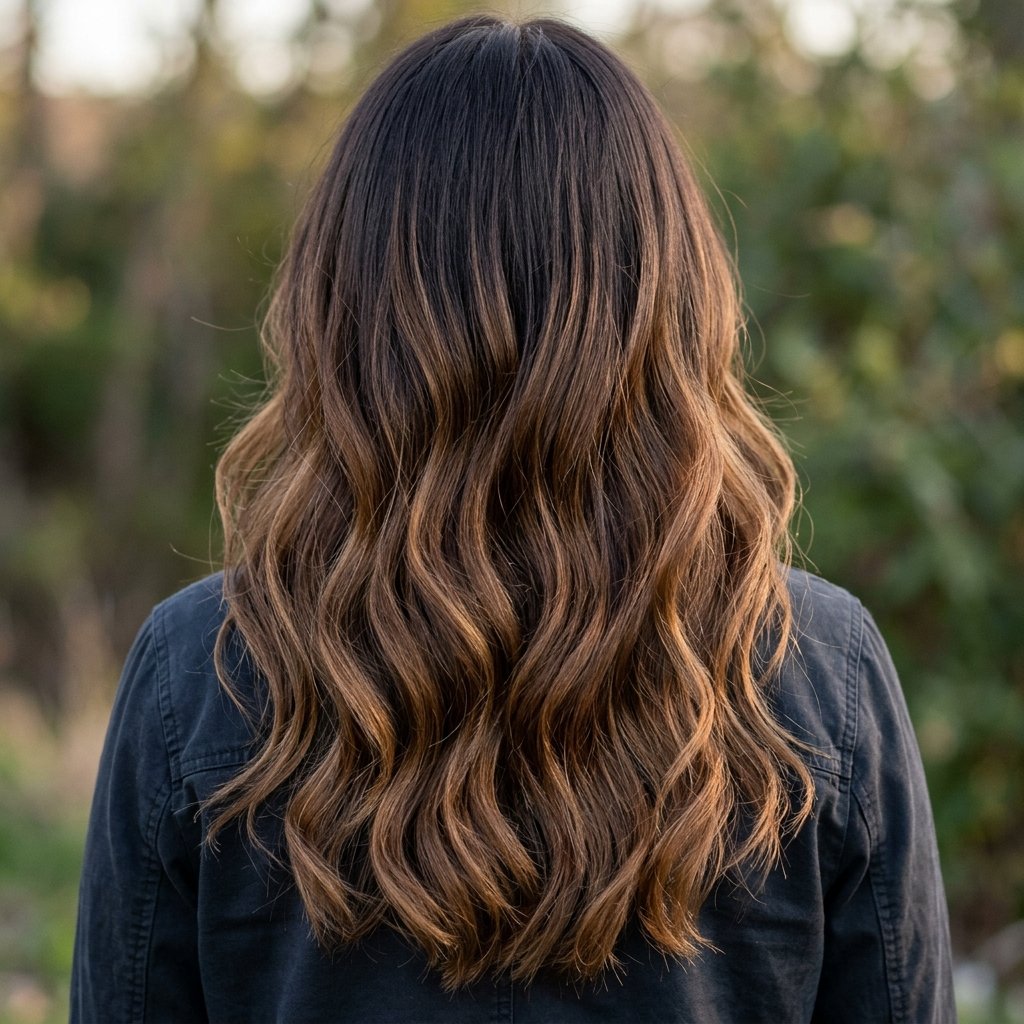
The melt zone sits right between your root and your caramel. It is the make-or-break part of the whole look.
Ask for a diffused melt. That means no visible band where the two colors meet. It should look like one color fading gently into another, like a sunset.
Quick check before you leave the salon: hold a hand mirror and look at the back in natural light, not just salon light. If you can see a ring, say something right then. Fixing it takes five minutes. Fixing it later takes a whole appointment.
7. Face-Framing Pieces That Buy You Time

Here is a trick I use constantly. Keep the pieces around your face slightly brighter than the rest.
Why? Because that is the hair you actually see every day. When those pieces stay fresh, the whole head reads as fresh, even if the back is a little grown out.
- Keep them one to two shades lighter than the body
- Start them below the cheekbone, not at the part
- Refresh them at every appointment
It is a small tweak with a big payoff.
8. Teasy-Lights for a Softer Regrowth
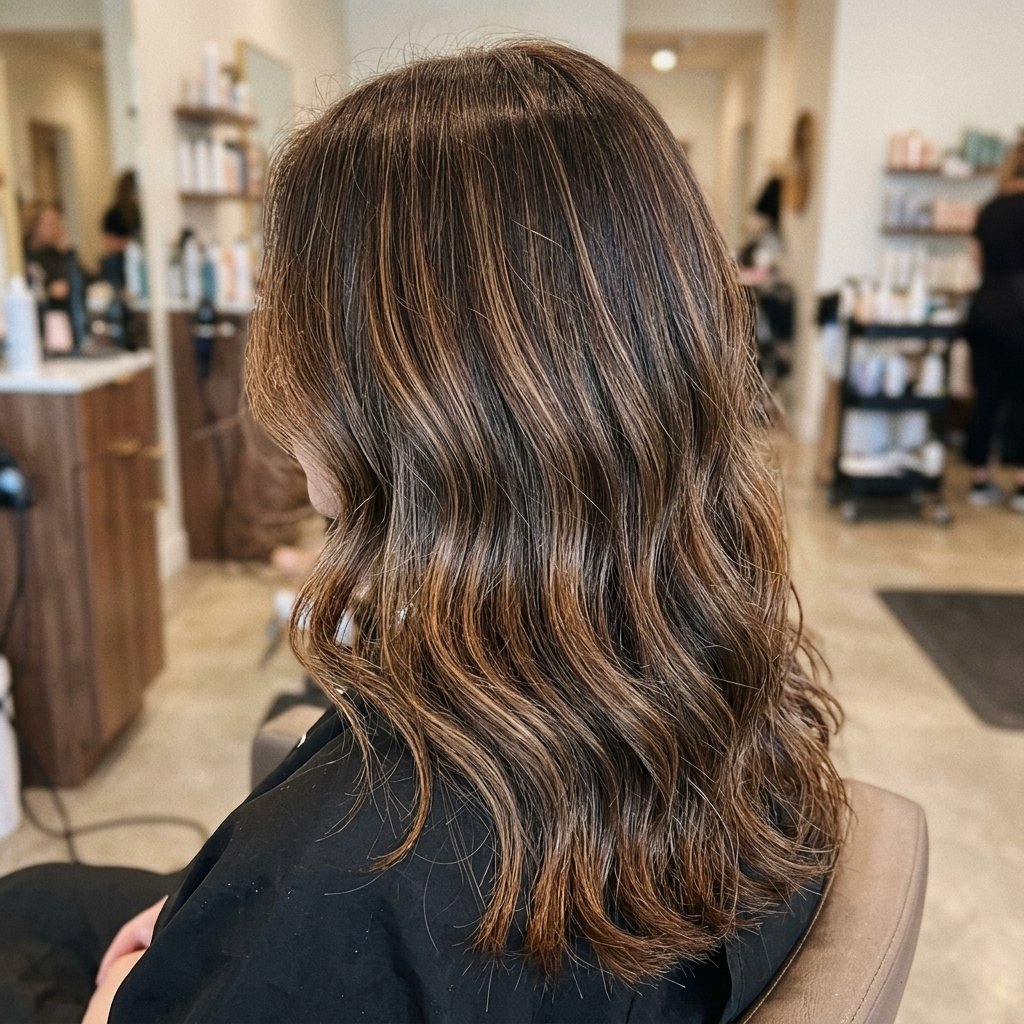
Teasy-lights are ultra-fine, woven highlights placed close together. Instead of chunky streaks, you get a wash of soft lightness.
That softness matters when you are growing out. Fine pieces blur into your root instead of sitting next to it like stripes.
Ask for them through the mid-lengths and around the face. Skip the very top of the head if you want your root shadow to stay intact. This technique works especially well for fine hair, because it adds dimension without thinning the look.
9. Balayage vs Foilyage for Longevity
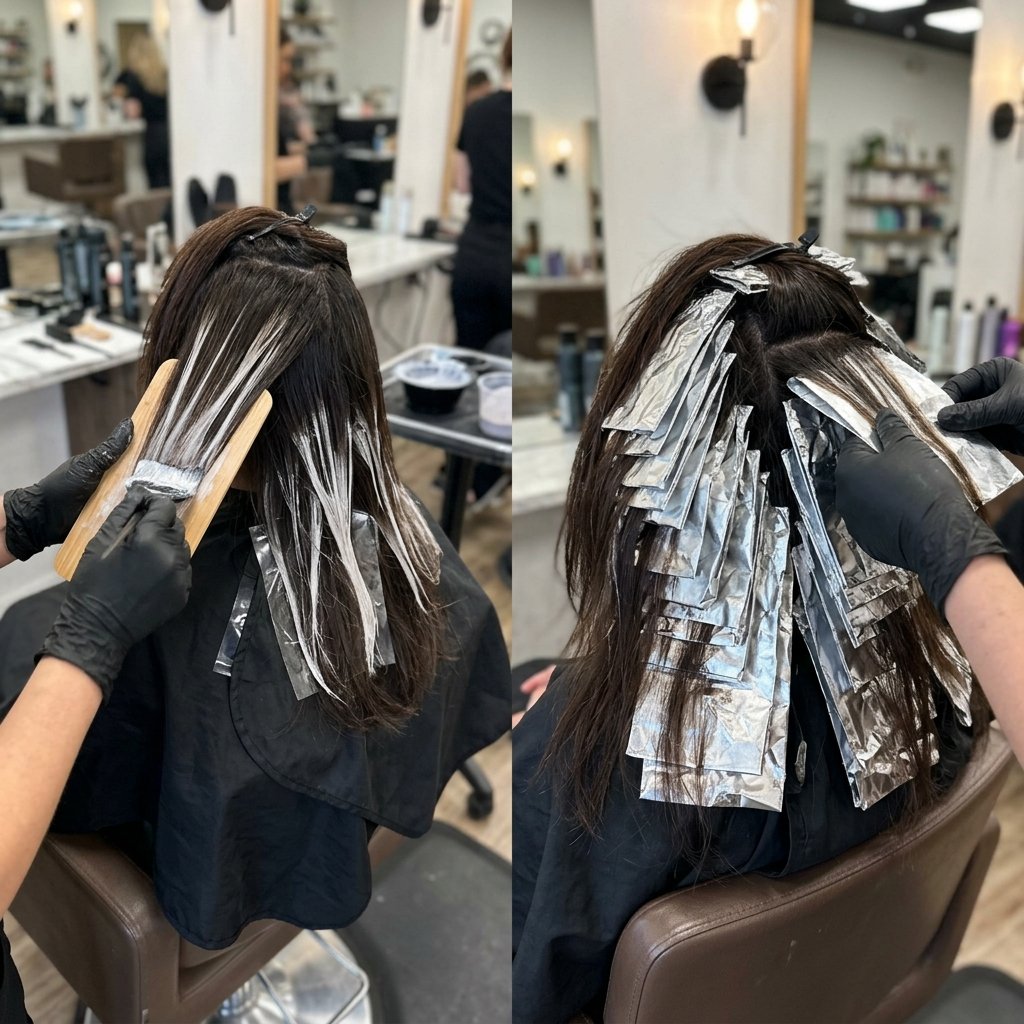
Both work. They just age differently.
- Balayage: softer, more lived-in, grows out beautifully
- Foilyage: brighter lift, more contrast, slightly faster regrowth
If your number one goal is a seamless grow-out, lean balayage with a few foilyage pieces in the face frame. You get brightness where it counts and softness everywhere else.
I always tell friends to pick based on how often they will actually go back to the salon. Honest answer about your schedule beats a pretty photo every time.
10. The Money Piece That Resets Everything
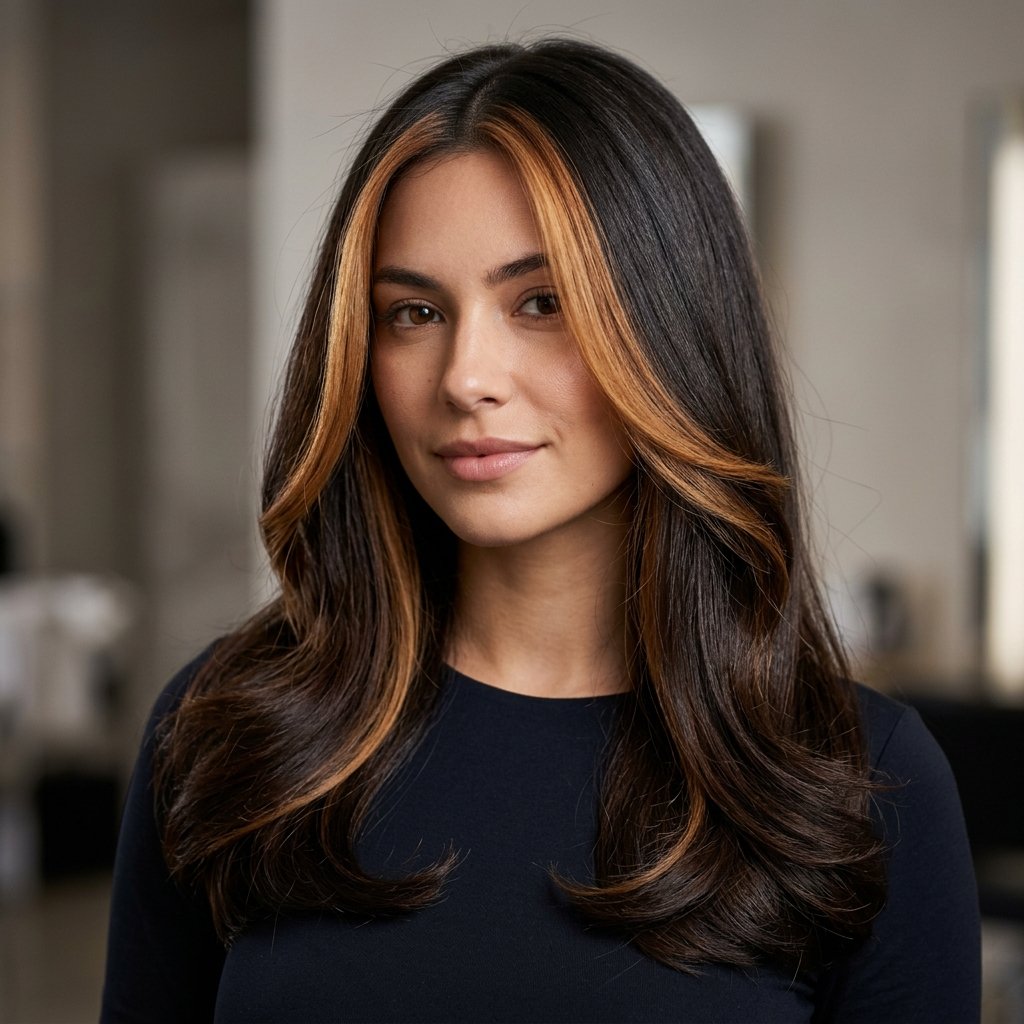
A money piece is just two brighter pieces right around your face. It is the fastest way to look freshly colored without touching your whole head.
Ask for a rooted money piece, meaning the brightness starts an inch or two down instead of at the scalp. That keeps regrowth invisible.
This is my go-to between full appointments. It takes about twenty minutes and it makes you look like you just walked out of the salon. Bonus: it photographs beautifully, which matters in 2026 when everything ends up on camera.
11. Why a Quiet Luxury Bob Loves Rooted Caramel

The quiet luxury bob and rooted caramel were basically made for each other. That blunt, clean cut needs depth, or it can look flat. A soft caramel melt gives it movement without looking busy.
Ask for:
- A blunt or softly beveled bob
- Root shadow kept deep and rich
- Caramel concentrated on the last two inches
The result is that effortless old money hair look, the kind that says you have great taste and also happen to have great hair.
12. Rooted Caramel on an Asymmetrical Lob

The asymmetrical lob is still one of my favorite 2026 hairstyles, and caramel makes it sing. The angled shape already draws the eye down and across. Add a caramel melt and the movement gets even prettier.
Tips for this cut:
- Put the brightest caramel at the longest point
- Keep the short side a touch deeper for contrast
- Ask for a soft melt, not a sharp line
Because the shape is uneven, regrowth is harder to spot. Your eye reads the angle, not the roots.
13. Going Lighter? Start With a Shadow Root
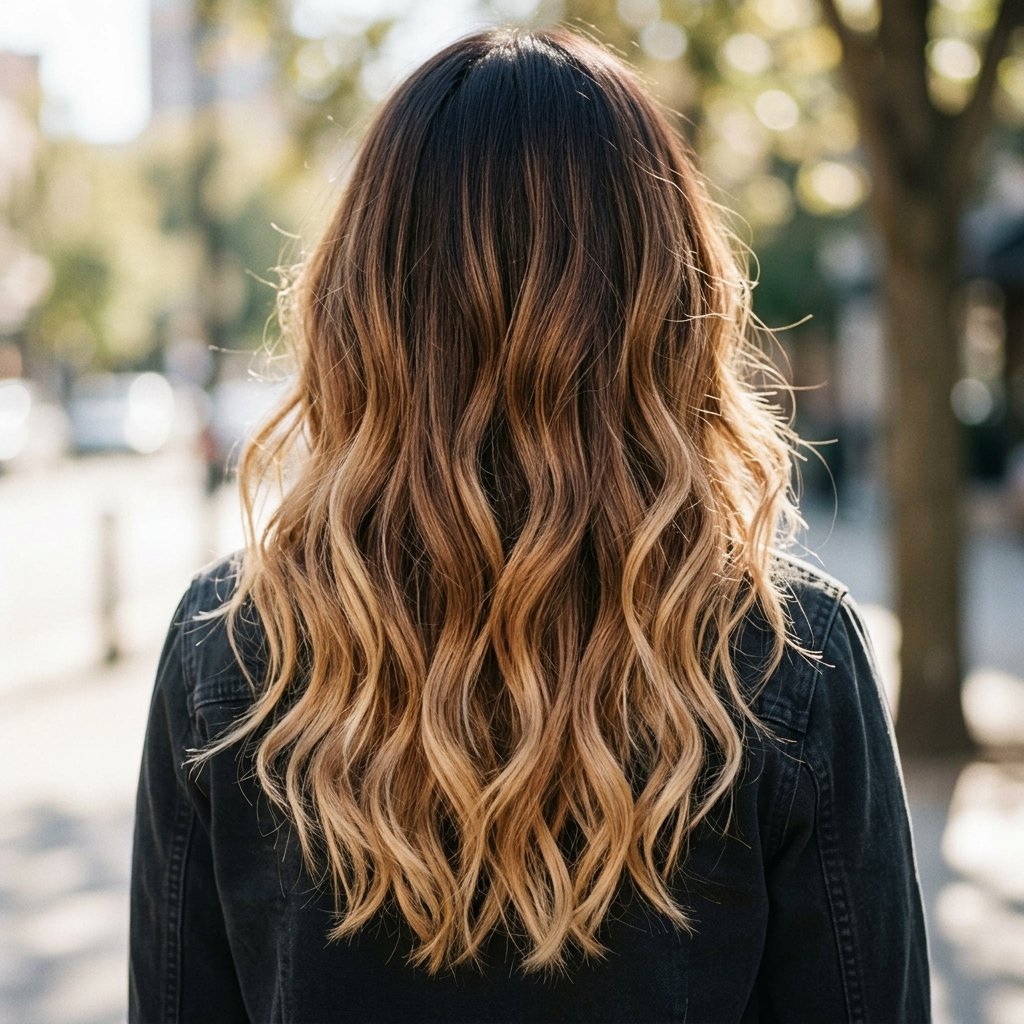
If your goal is to go lighter over time, do not jump straight to bright. Ask for a shadow root first.
A shadow root keeps the base dark and builds lightness gradually. It protects your hair, and it means your grow-out stays easy even while you are changing your color.
Plan it across two or three appointments. Lighter roots, softer melts, more caramel. Your hair stays healthy and your budget stays sane. Slow is the secret nobody tells you.
14. Going Darker? Try Reverse Balayage
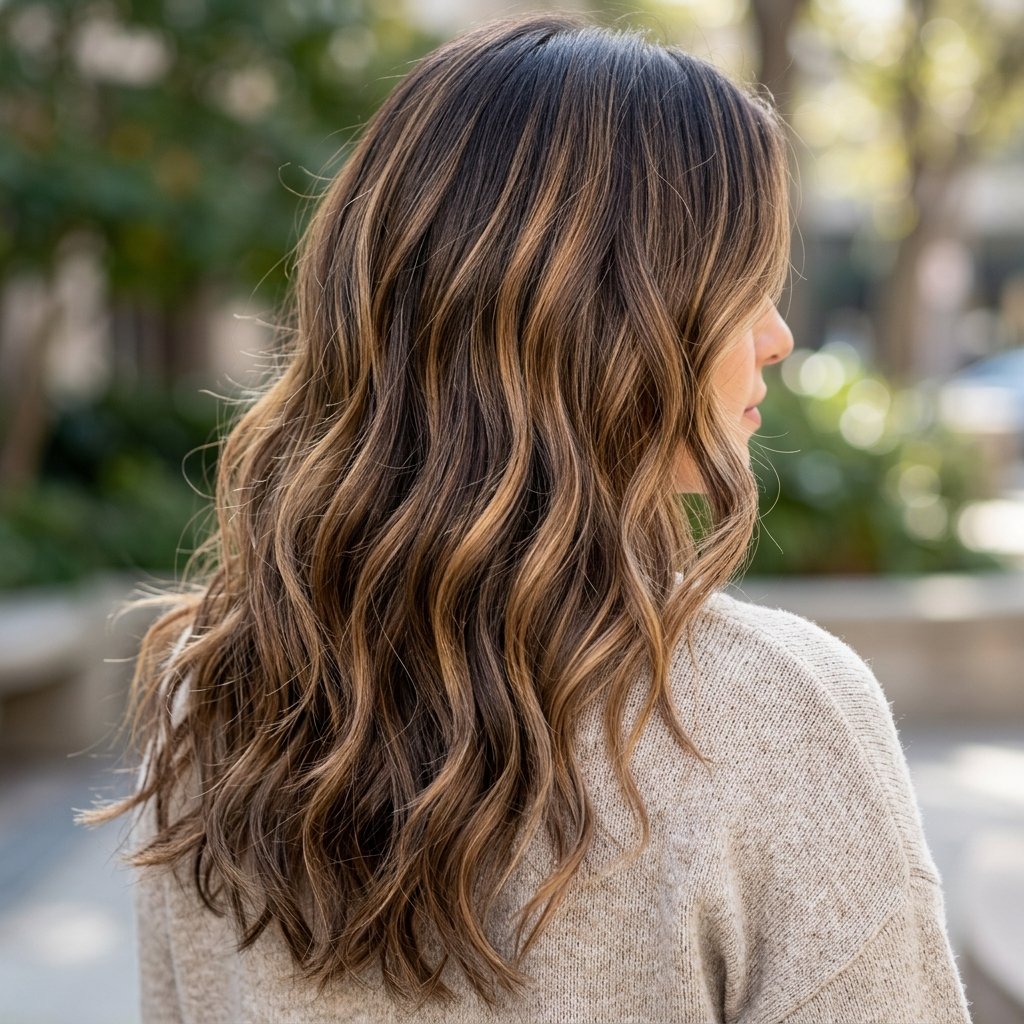
Want to come back to brunette without a harsh block of color? Reverse balayage is your answer.
Instead of lightening, your colorist paints lowlights through the mid-lengths and ends, weaving your natural dark back in. The caramel does not disappear. It just gets quieter and more blended.
The result is a rich, dimensional brunette that grows out beautifully because the ends are no longer noticeably lighter than your roots. It is the smoothest way to change direction without a big chop.
15. Gloss Every 6 to 8 Weeks
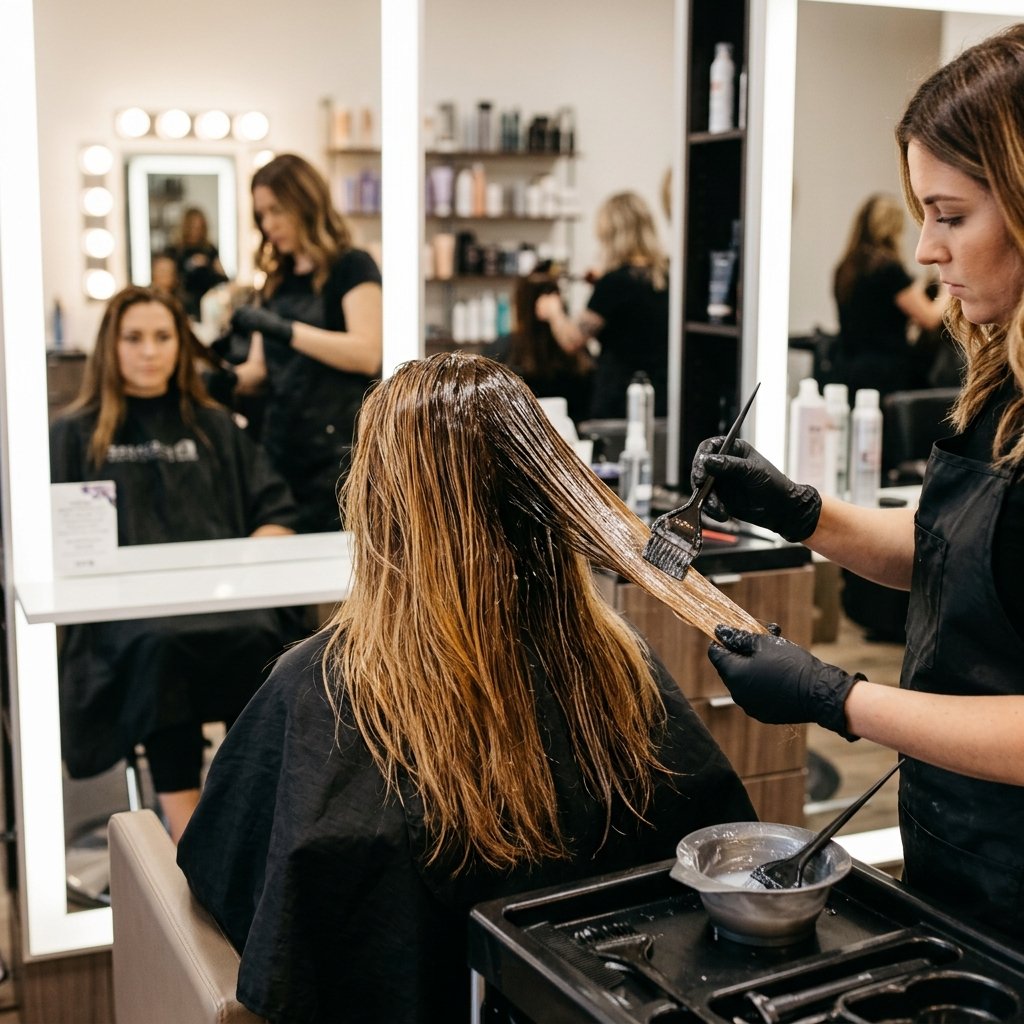
This is the cheapest way to keep rooted caramel looking expensive. A gloss takes twenty minutes and adds shine, tone, and blend.
Book one between full appointments:
- Week 6: clear gloss for shine
- Week 10: tinted gloss to refresh the caramel
- Week 14: full balayage refresh
Many salons offer a quick gloss bar for under forty dollars. It softens any regrowth and makes your root look intentional instead of overdue.
16. Warm-Tone Shampoo Rules
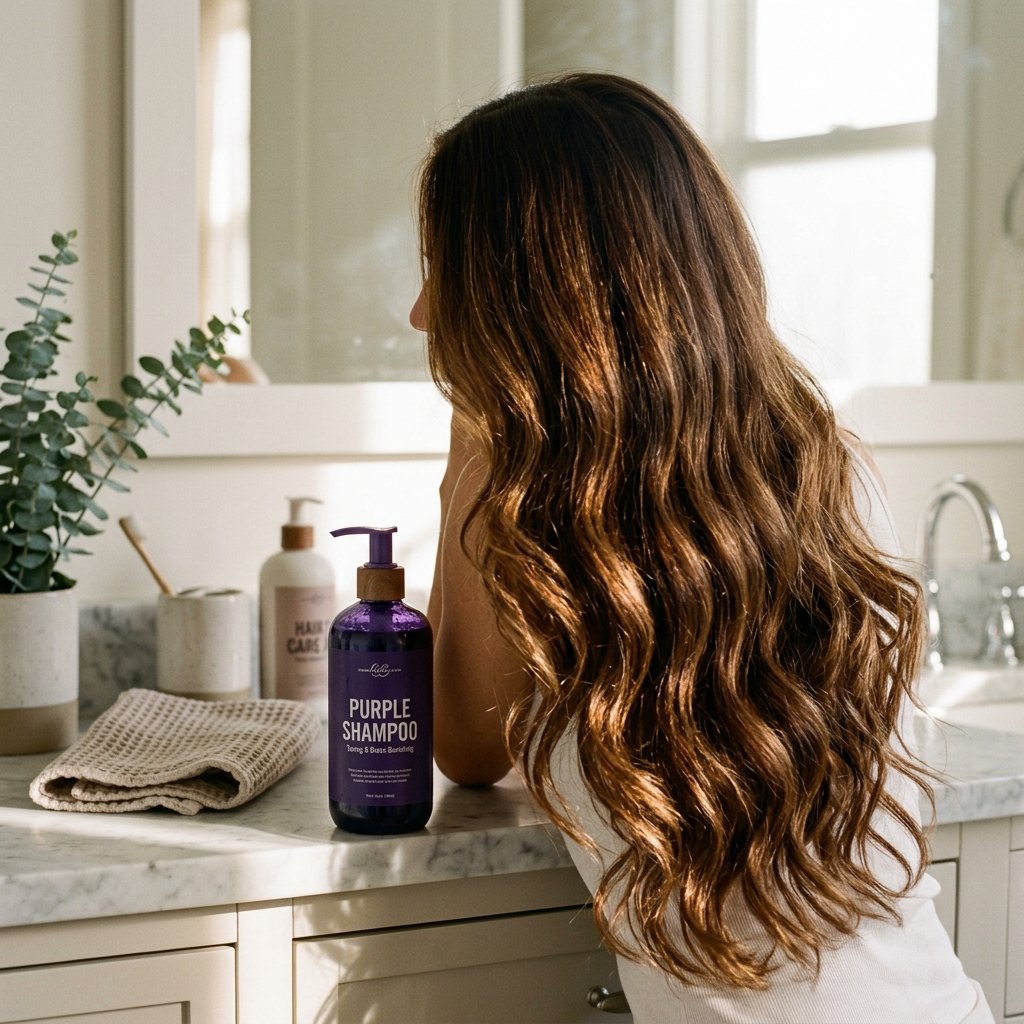
Caramel is warm. Purple shampoo is cool. Use too much and you will dull your caramel into a muddy, ashy brown.
My rules:
- Use purple shampoo once every two weeks at most
- Leave it on for one to two minutes, not ten
- Reach for blue or neutral formulas if you want to fight brass
- Always follow with a hydrating mask
If your caramel ever looks flat, a warm gloss brings it right back. Trust the process and go slow with purple.
17. Make Your Roots Look Intentional

Attitude is half of it. Grown-out roots look bad when they look accidental. They look good when they look chosen.
How to make that switch:
- Part your hair where the roots look most even
- Add volume at the crown so roots are not flat
- Keep ends shiny and styled
- Skip the sleek, shellacked root look
When the ends look good, people assume everything else is on purpose. Nobody is staring at your part the way you are.
18. The Tousled Middle Part Trick

The middle part is having a major moment, and it happens to be the friendliest style for growing out color. Why? Because it splits the regrowth down the middle, where it looks balanced and soft.
Try this:
- Spray a little sea salt or texture spray at the roots
- Blow dry upside down for volume
- Wrap one-inch sections around a wand, away from your face
- Break the waves with your fingers, not a brush
Undone texture hides everything. Sleek styles show everything.
19. Rooted Caramel for Curly and Coily Hair

Curly and coily hair takes balayage beautifully, but the technique changes. Your colorist should paint on dry, stretched or defined hair so they can see the actual curl pattern.
Ask for:
- Smaller sections with more saturation
- Caramel concentrated on the outer curl for dimension
- A deep conditioning treatment after
Curls also hide regrowth better than straight hair because the texture breaks up any lines. Rooted caramel plus natural texture is honestly one of the easiest grow-outs out there.
20. Vampire Haircut and Romantic Goth Vibes

If you love romantic goth hairstyles, rooted caramel brunette is a perfect match. That deep, dark base with a warm glow at the ends is moody and soft at the same time.
Pair it with a vampire haircut, meaning long, face-framing layers that taper into wispy, uneven ends. Keep the caramel deep and slightly coppery instead of bright gold.
Keep your root long, three to four inches. The darker the base, the more dramatic the caramel looks. It is a gorgeous way to do dark hair without going flat black.
21. The Hime Cut With a Caramel Melt

The hime cut is having a real moment, and it looks incredible with rooted caramel. For anyone new to it, the hime cut features blunt cheekbone-length side pieces with long hair behind.
Here is how to make it work with caramel:
- Keep the short side pieces dark brunette and blunt
- Melt caramel through the long back section only
- Avoid highlights in the blunt pieces, since they read best as solid color
That contrast between sharp blunt lines and a soft caramel melt is what makes it look editorial instead of accidental.
22. Glitchy Glam Hair: One Streak at a Time

Glitchy glam hair is all about intentional imperfection, like a pixel that landed in the wrong place on purpose. Rooted caramel fits right in.
Start small. One streak of light caramel or champagne right at the front. Test how you feel about it. If you love it, add a second one six weeks later.
Because the streak is rooted at the base, it grows out softer than a full foil. And it looks amazing against dark brunette. Low commitment, high impact, very 2026.
23. What to Tell Your Colorist, Word for Word
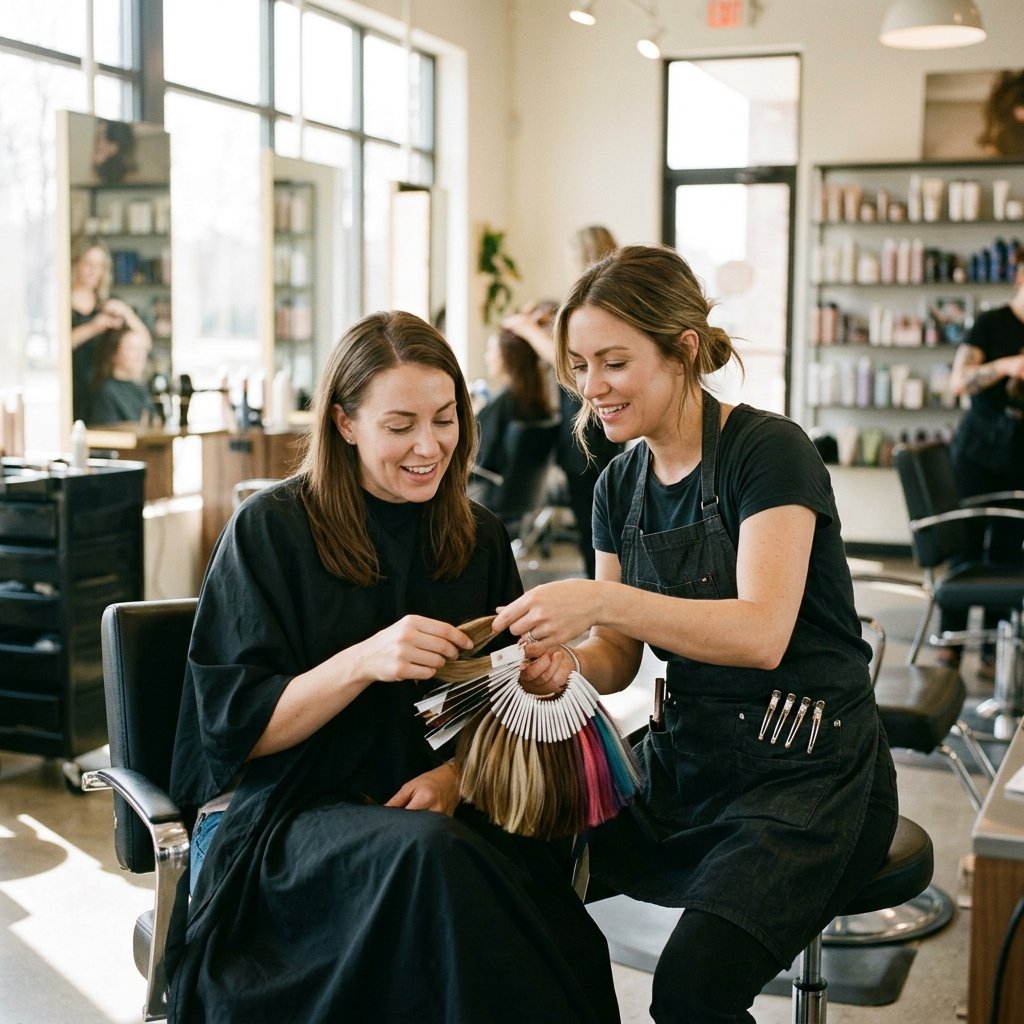
Here is a script I hand to friends before their appointment.
- “I want rooted caramel brunette balayage with a soft smudge root.”
- “About three inches of natural root at the base.”
- “A diffused melt with no visible bands.”
- “Slightly brighter face-framing pieces.”
- “I want to stretch my appointments to three or four months.”
That last line is the most important one. It tells your colorist to build the color around your real schedule instead of a magazine photo.
24. Timing and Budget Reality Check

Let’s talk money, because nobody else does and it matters.
- Full balayage: roughly 150 to 300 dollars depending on your city and hair length
- Gloss: 30 to 60 dollars
- Root touch-up: 70 to 120 dollars
- How often: full color every 12 to 16 weeks, gloss in between
Rooted color costs less over a year because you go less often. That is the quiet win here. Fewer appointments, better grow-out, more money in your pocket.
25. Mistakes That Make Roots Look Grown Out
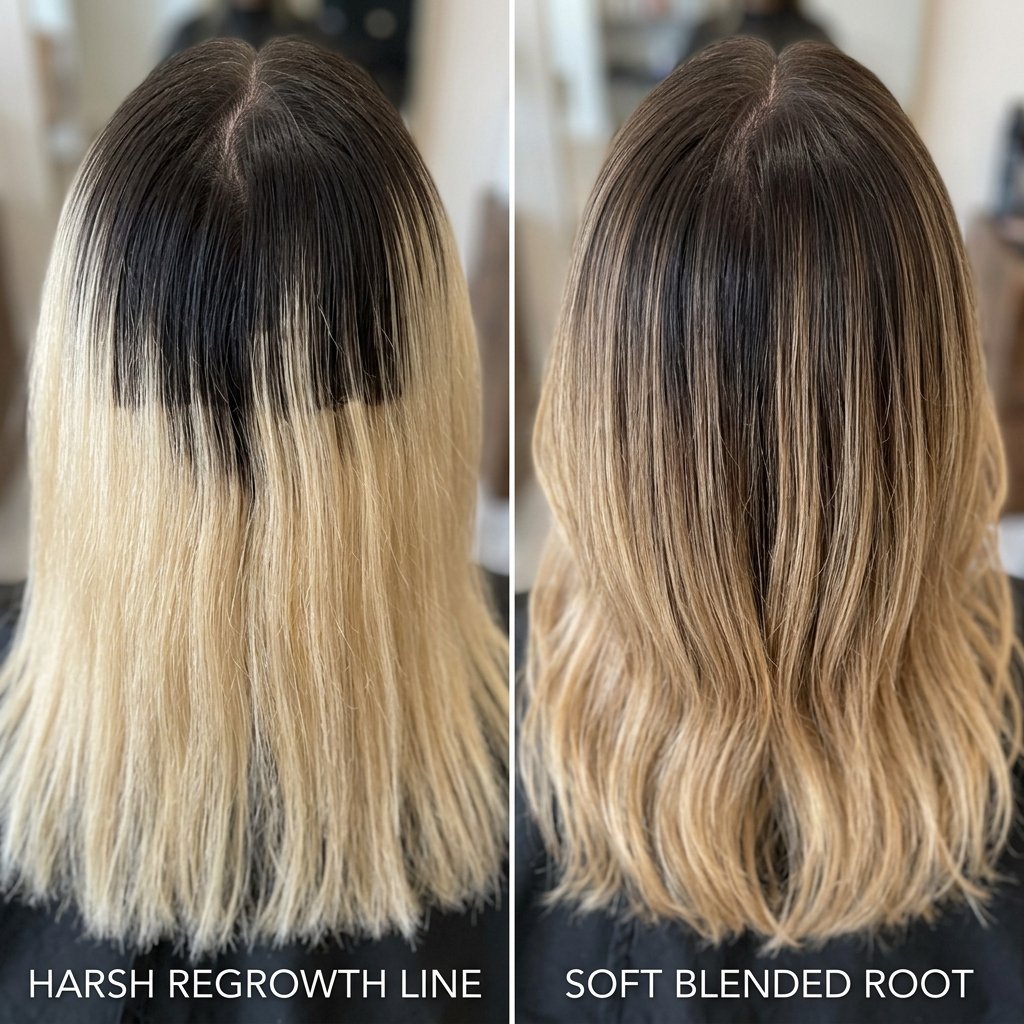
Some mistakes make roots look bad even when the color is technically fine. Watch for these.
- Asking for a hard line instead of a smudge
- Going too light too fast at the base
- Skipping toner, which leaves brass
- Using heavy purple shampoo on warm caramel
- Letting ends get dry and dull
Most grow-out problems are not about the roots at all. They are about the ends looking tired. Keep those hydrated and shiny and your whole head reads fresh.
26. Five Care Habits That Stretch Your Color
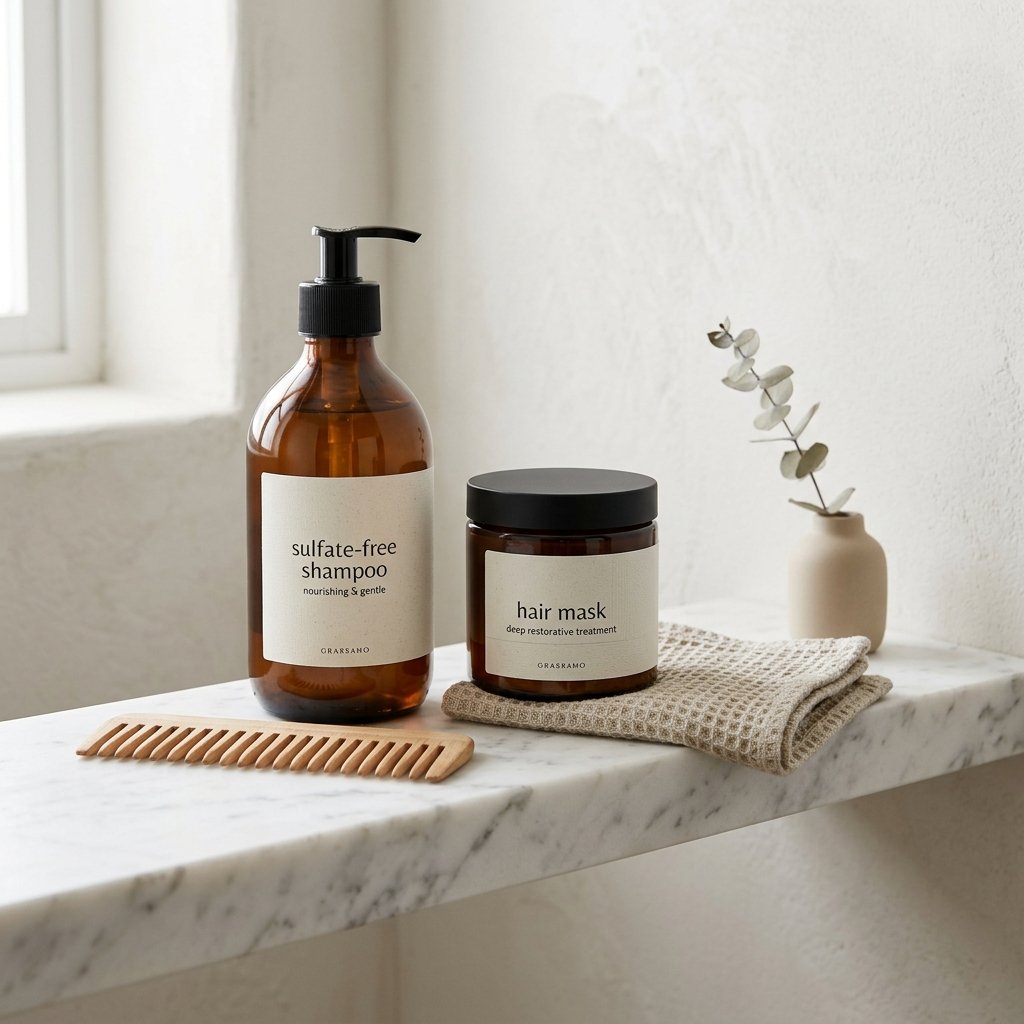
Good color is half salon, half bathroom. These five habits make a real difference.
- Wash less. Two or three times a week is plenty.
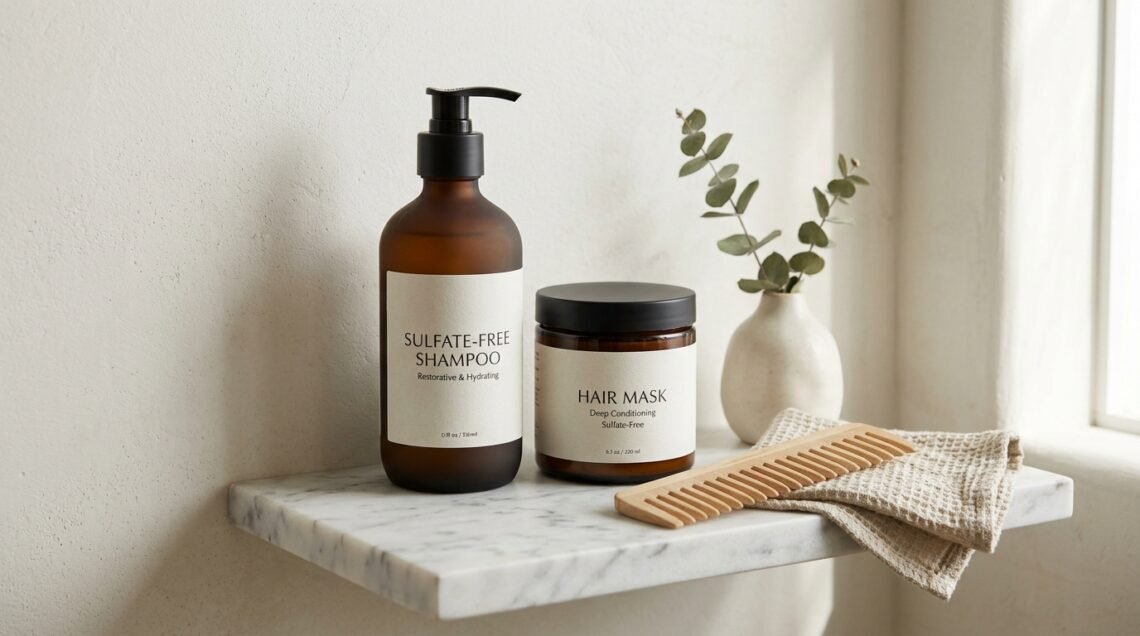
- Use sulfate-free shampoo. Sulfates strip color fast.
- Mask once a week. Hydrated hair holds tone longer.
- Rinse with cool water. Heat opens the cuticle and fades color.
- Use heat protectant. Every single time, no exceptions.
None of this is dramatic. It is just consistency, and consistency is what keeps caramel looking rich.
27. Quick Fixes for Week 10 and Beyond
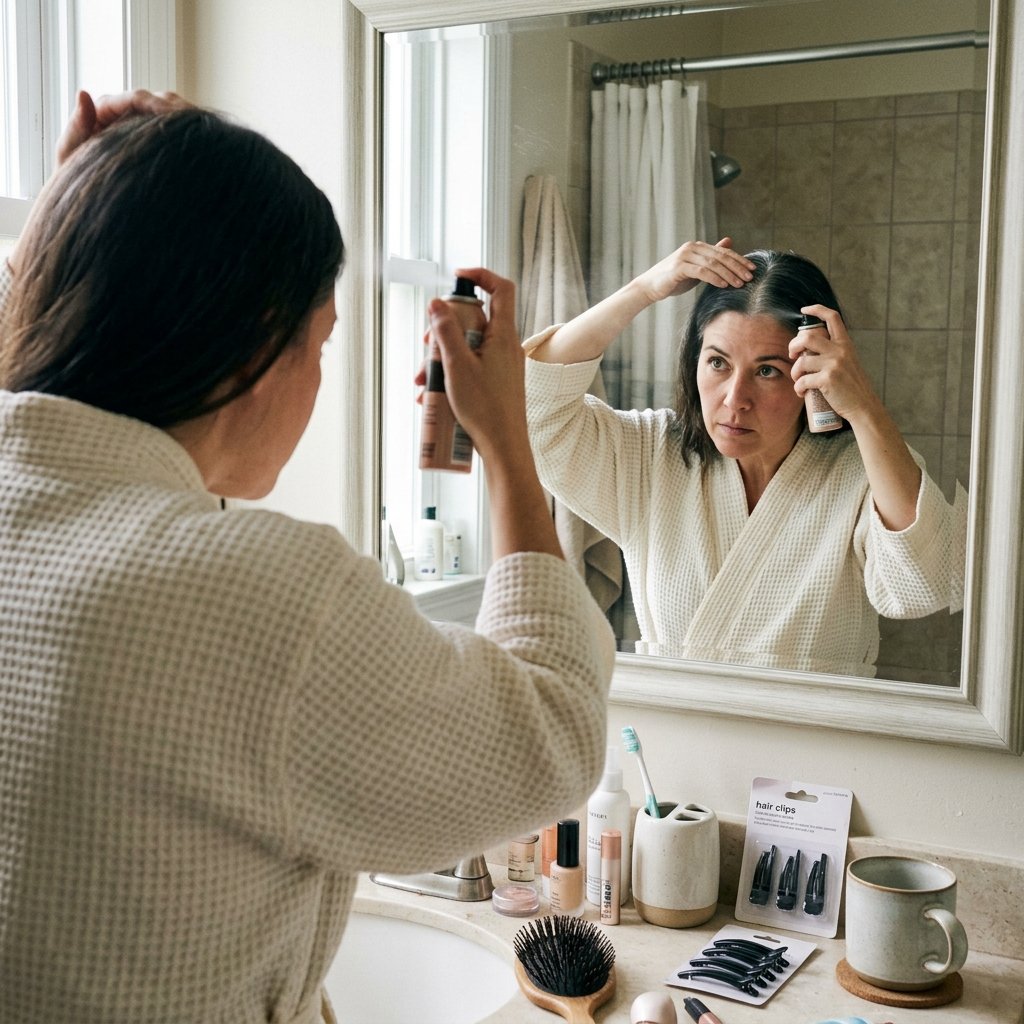
So it has been ten weeks and you cannot get in until next month. You have options.
- Root touch-up spray: thirty seconds, blends everything instantly
- Tinted dry shampoo: adds coverage and volume at once
- Root shadow powder: great for a precise part
- At-home gloss: refreshes shine and tone in ten minutes
- Switch your part: free, and it hides the most visible area
These are stopgaps, not solutions. But they will absolutely get you to your appointment looking put together.
A Few Last Thoughts From Me
Rooted caramel brunette balayage is one of the most forgiving color choices you can make. The root is not a flaw to fix. It is the design. Once you start thinking about it that way, growing out your color stops feeling like a countdown to your next appointment.
Pick your caramel carefully, ask for that soft smudge root, keep your ends hydrated, and gloss in between. That is genuinely it.
If you are deciding between two caramel tones, bring both photos. Your colorist will know in about ten seconds which one your hair can actually do.
Save this post to Pinterest so it is ready when you book your appointment. And tell me in the comments: are you team honey, toffee, or copper caramel? I read every single one and I always answer.

