

If you have ever left the salon with a color line so sharp it looked intentional, you know the struggle. Color melting is the fix. It blends two or more shades into a soft, fluid gradient, so grow-out looks easy and low-maintenance.
In this post, I’m sharing the color melting techniques stylists use for seamless transitions. We’ll talk roots, mid-lengths, ends, and how to avoid harsh lines at home.
Whether you love 2026 hairstyles, old money hair, a quiet luxury bob, romantic goth hairstyles, glitchy glam hair, an asymmetrical lob, vampire haircut, or hime cut, a good melt makes it look more expensive.
I’ll keep it practical. No fluff. Just soft, shiny, blended color you can actually maintain.
What Is Color Melting?
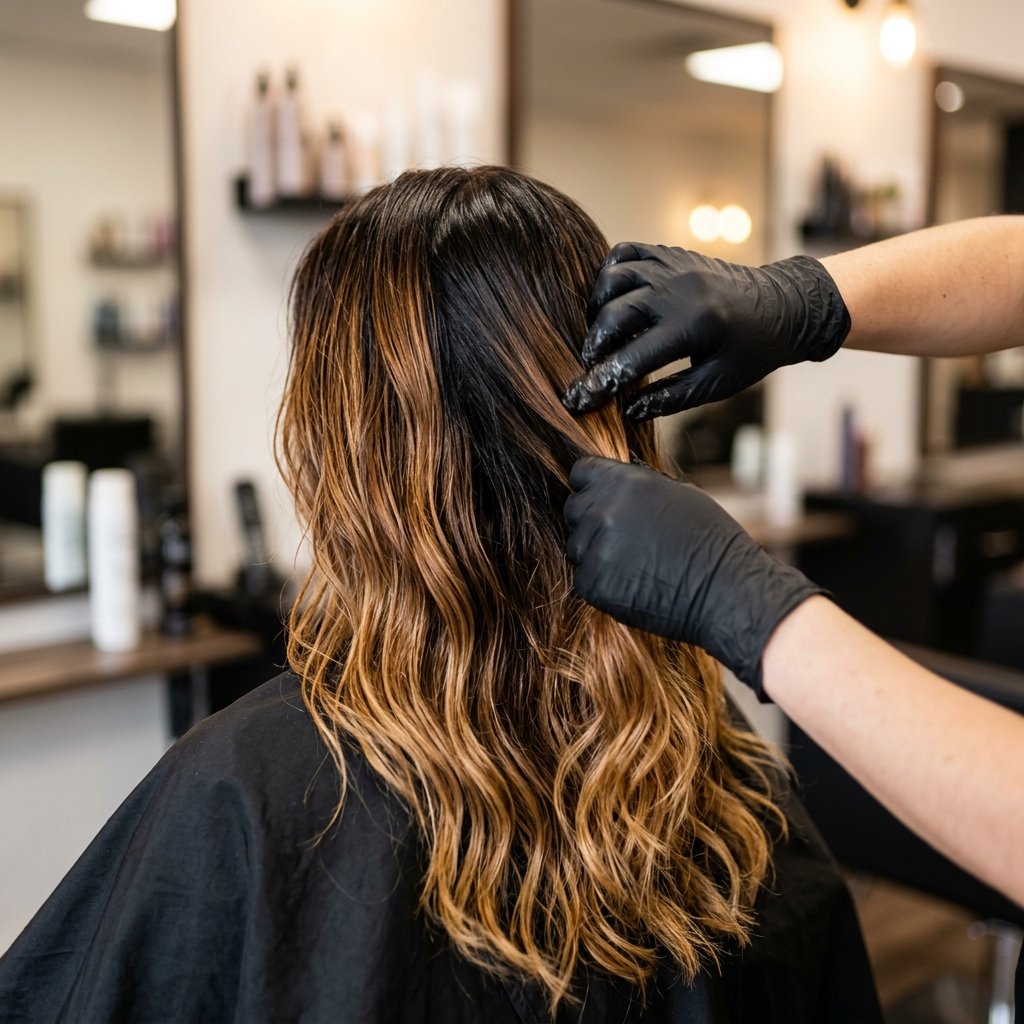
Color melting is a technique where two or more hair colors are blended into each other without a visible border. Think of it like a gradient in a painting. The transition is gradual, not a stripe.
Instead of painting highlights and leaving a line, your stylist softens the line with a brush, comb, or smudge. The goal is fluid movement.
- Root shadow: deeper at the top.
- Mid-tone: bridges the shades.
- Ends: lighter or richer, depending on the look.
It works on brunettes, blondes, redheads, and vivid colors. If you want no harsh lines, this is the method. It is also one of the easiest ways to make grow-out look intentional.
Why It Looks More Expensive Than Highlights
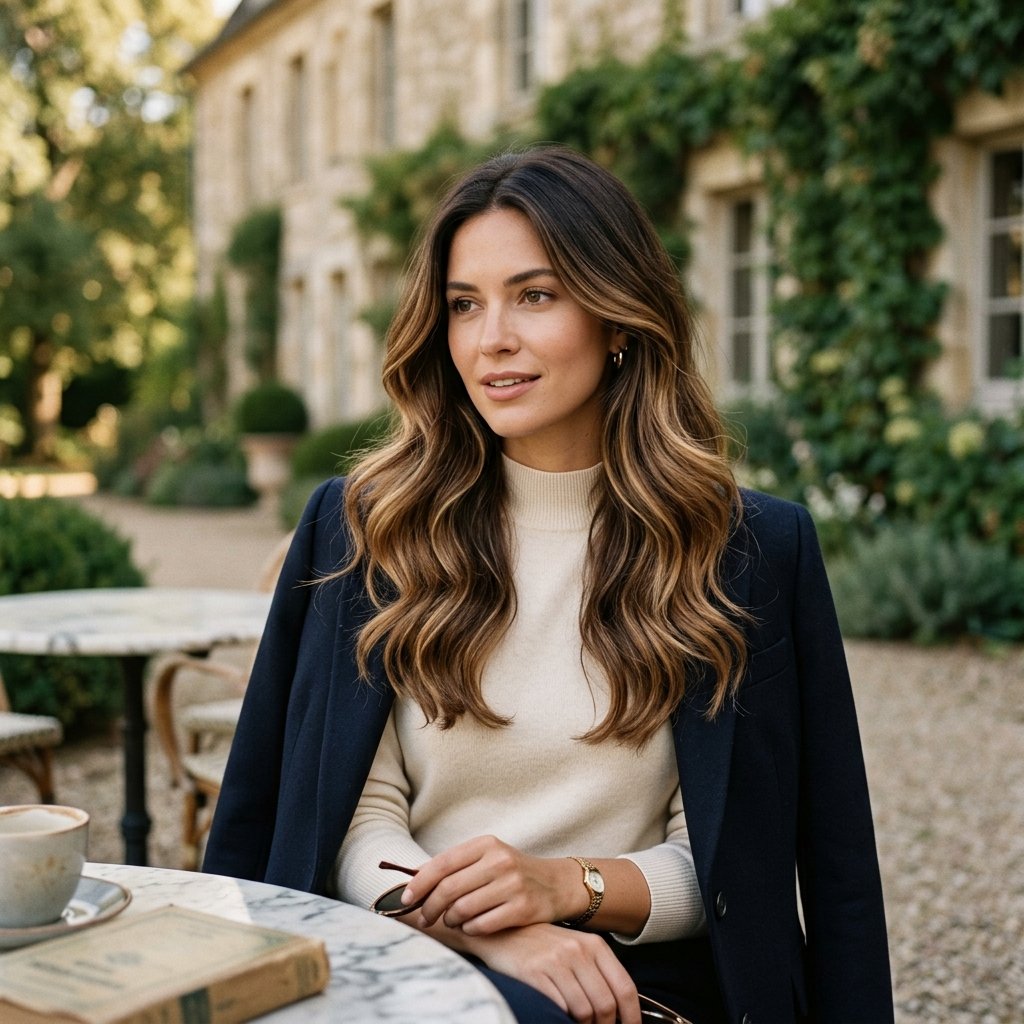
Highlights can be gorgeous, but they can also create a striped effect if they are too uniform. Color melting softens every transition, which makes the color look natural and grown-in.
That softness is why old money hair often uses melts. It reads as low-maintenance, polished, and quietly expensive.
- No obvious root line.
- Softer grow-out.
- More depth and shine.
- Works with a quiet luxury bob or long layers.
In 2026 hairstyles, the richest-looking color is not the boldest. It is the most blended. That is why I always recommend a melt over a single flat color. It just looks more custom.
Color Melting vs Balayage vs Ombre
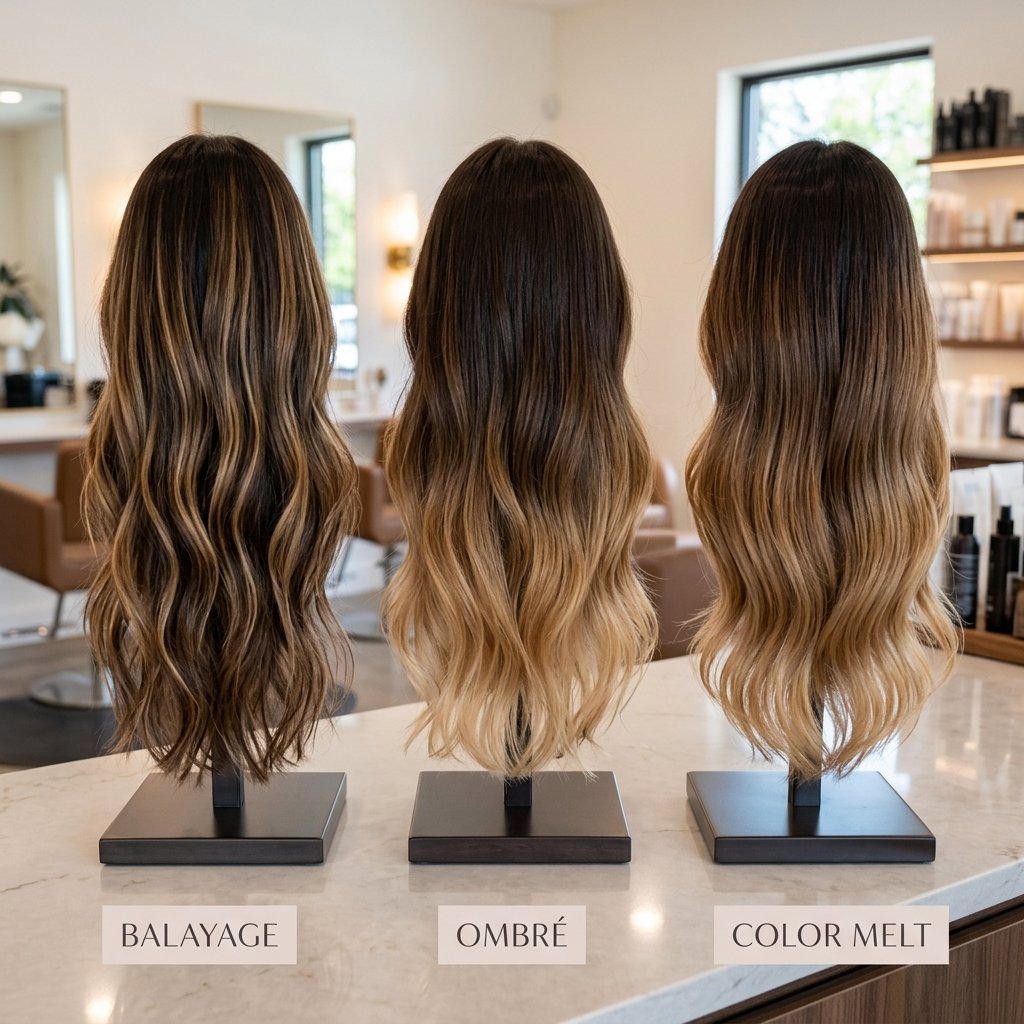
These terms get mixed up. Here is the simple difference.
- Balayage: hand-painted lightness, often softer grow-out.
- Ombre: darker top to lighter ends, sometimes with a clear transition.
- Color melt: the blending step that removes harsh lines between shades.
You can have balayage with a melt. You can have an ombre with a melt. The melt is the smoothing technique, not just the color placement.
If you want fluid gradient transitions, ask for a melt on top of your balayage or ombre service. The melt is what makes the transition feel seamless.
The Fluid Gradient Rule Stylists Swear By
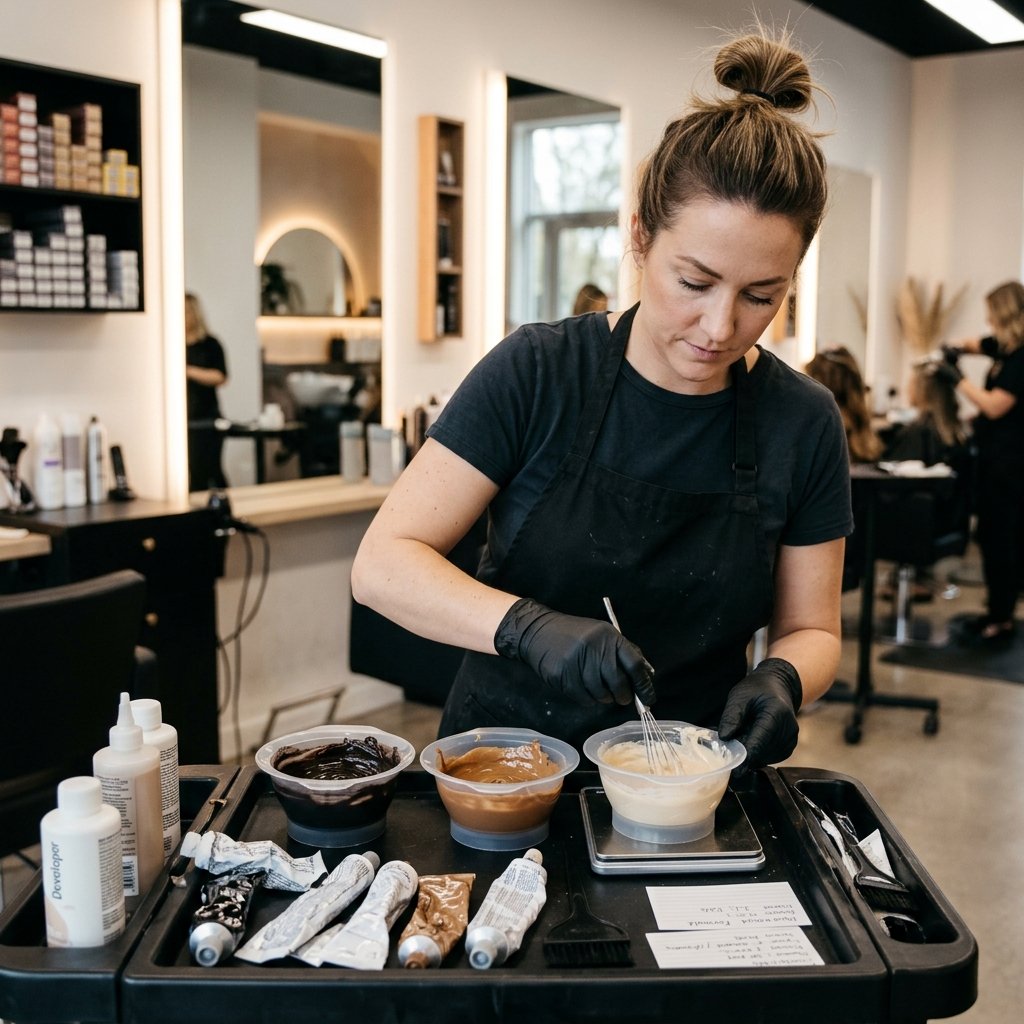
The rule is simple: every shade needs a bridge. If you jump from black to platinum, the eye sees a line. If you add a mid-tone, the eye sees a glow.
- Choose your darkest root shade.
- Choose your lightest end shade.
- Pick a middle shade that mixes both.
- Blend the middle shade between them.
This is how you get fluid gradient transitions without harsh lines. The middle shade does the heavy lifting. If the jump is still too strong, add another mid-tone. More steps equal softer results.
Sectioning: The Secret to No Harsh Lines
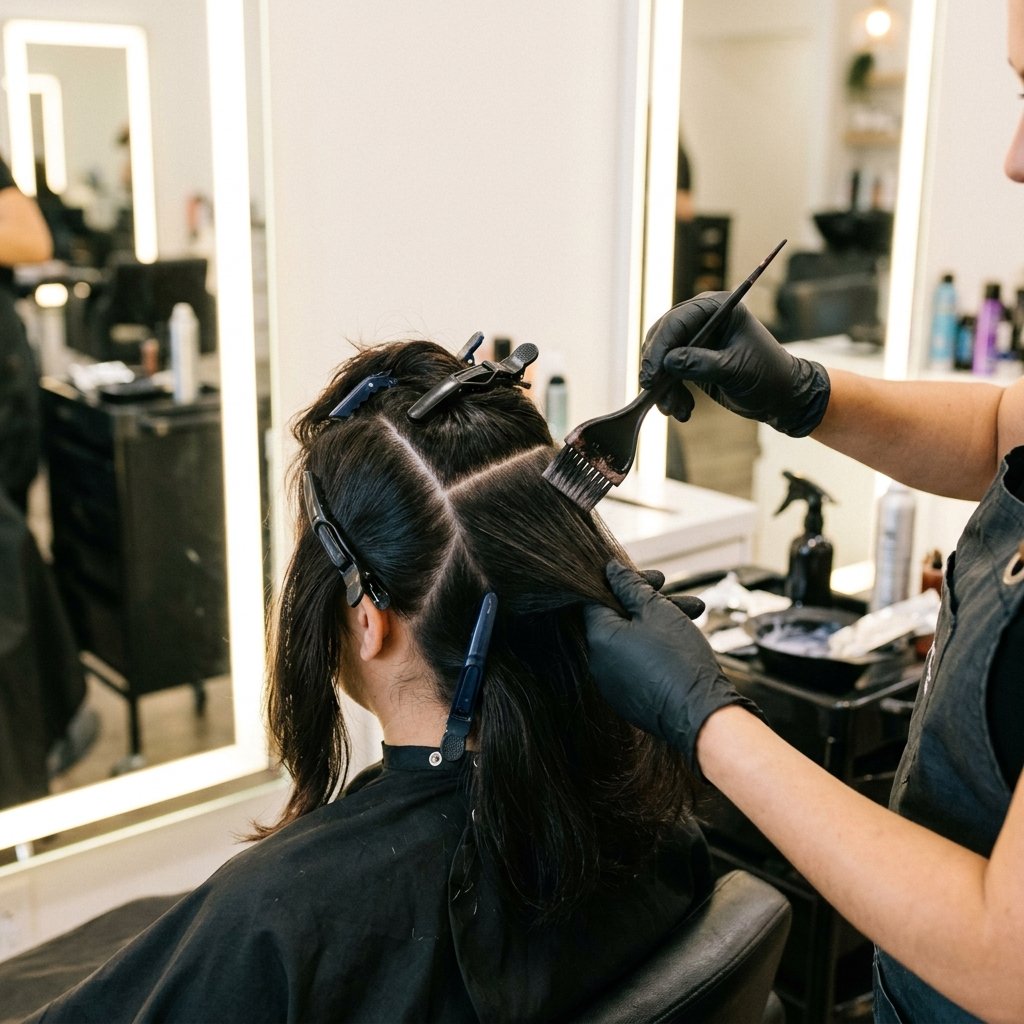
Sectioning controls where color sits. If your stylist paints too thick, you get chunky lines. If they paint too thin, you lose impact.
Most pros work in diagonal slices and alternate melt formulas. That keeps the placement soft and organic.
- Use thin weaves near the face.
- Use wider sections in the back.
- Feather the brush at the transition zone.
- Check in natural light before rinsing.
Good sectioning is boring to watch and beautiful to wear. It is the quiet hero of seamless color. Take a mirror outside before you commit. Sunlight tells the truth.
How to Choose Your Melt Shades
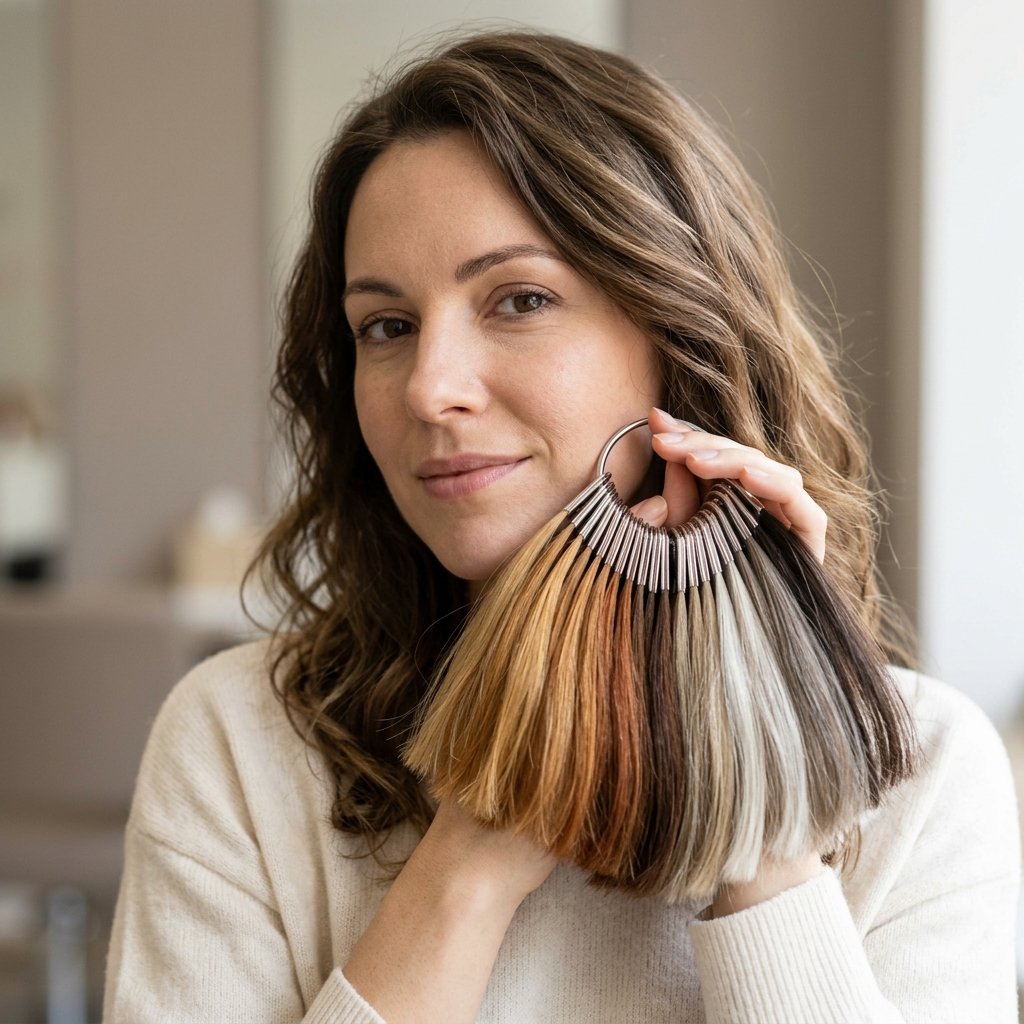
Bring photos, but also bring honesty. Your natural color, hair history, and porosity decide what is possible.
- Warm skin: honey, caramel, copper, gold.
- Cool skin: ash, mushroom, pearl, smoked brunette.
- Neutral skin: mocha, beige, sandy blonde.
For romantic goth hairstyles, choose black, deep plum, or burgundy melted into charcoal. For glitchy glam hair, melt silver into lilac or neon peach.
Your stylist can custom mix a mid-tone that makes the whole gradient look seamless. When in doubt, go one shade softer than you think. You can always add depth later.
Brunette to Caramel Melt for Old Money Hair
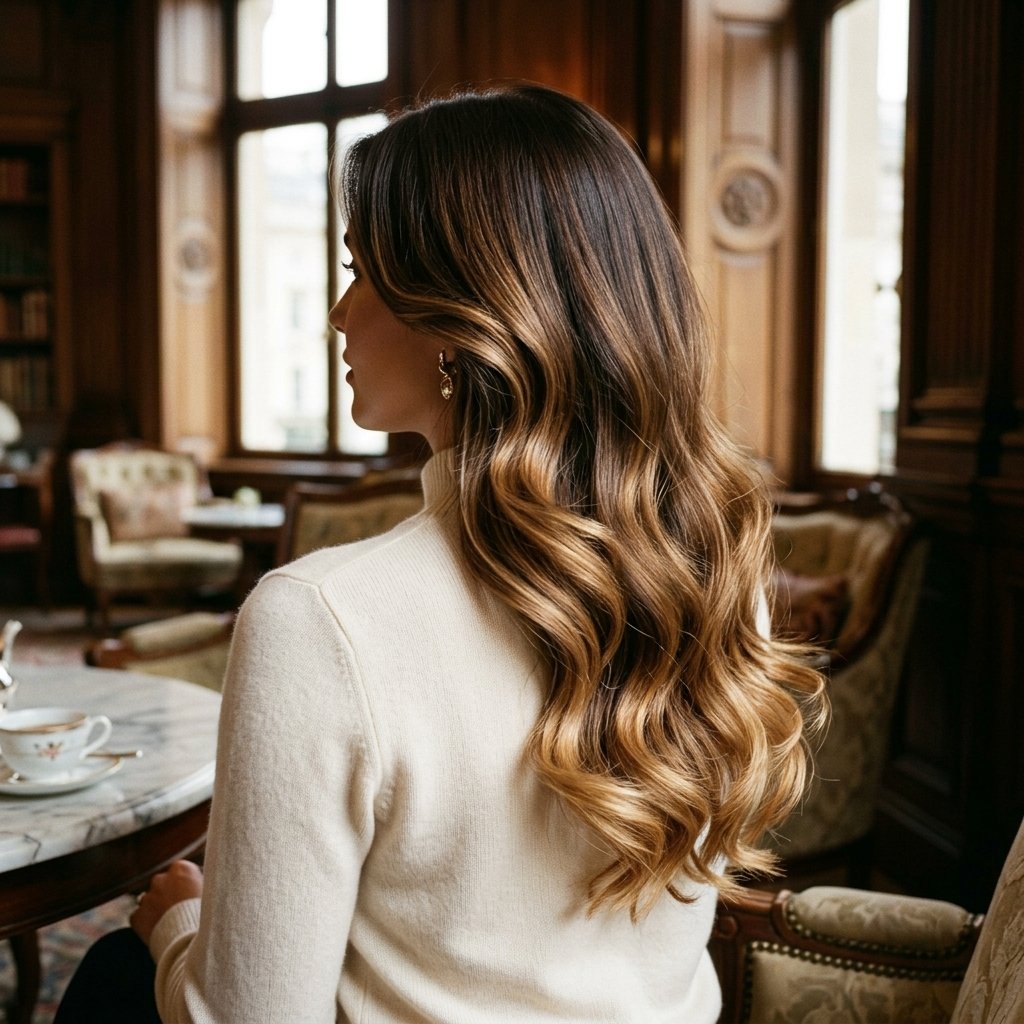
This is the classic rich-girl melt. Dark brunette at the root, caramel through the mid-lengths, and soft golden ends.
It looks amazing with a quiet luxury bob, long layers, or an asymmetrical lob. The key is keeping the caramel soft, not orange.
- Start with a shadow root one shade darker.
- Paint caramel in wide, soft ribbons.
- Melt a beige blonde through the last few inches.
- Gloss for shine.
This is old money hair at its easiest. It grows out beautifully and never looks stripey. A gloss makes the caramel look like liquid gold instead of a flat stripe.
Blonde Root Melt Without Brass
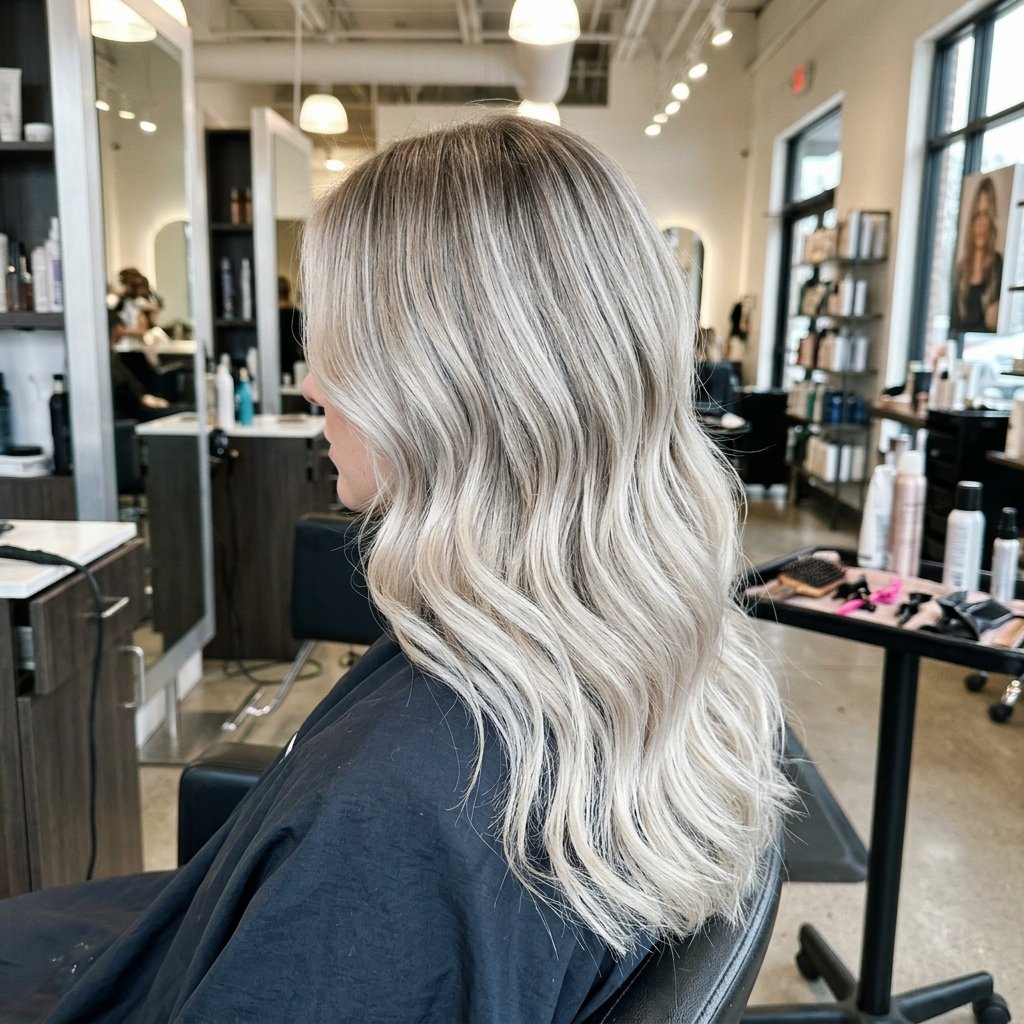
Blonde melts can go brassy fast. The trick is using a cool mid-tone and avoiding too much warmth at the root.
- Ask for a shadow root in ash or neutral.
- Melt with a pearl or beige blonde.
- Skip golden tones if you fight orange.
- Use a purple or blue gloss between appointments.
A root melt makes blonde look intentional. It also stretches your salon visits because the line is soft.
For 2026 hairstyles, the most modern blonde is expensive-looking, not icy white unless you want that edge.
The Quiet Luxury Bob Color Melt
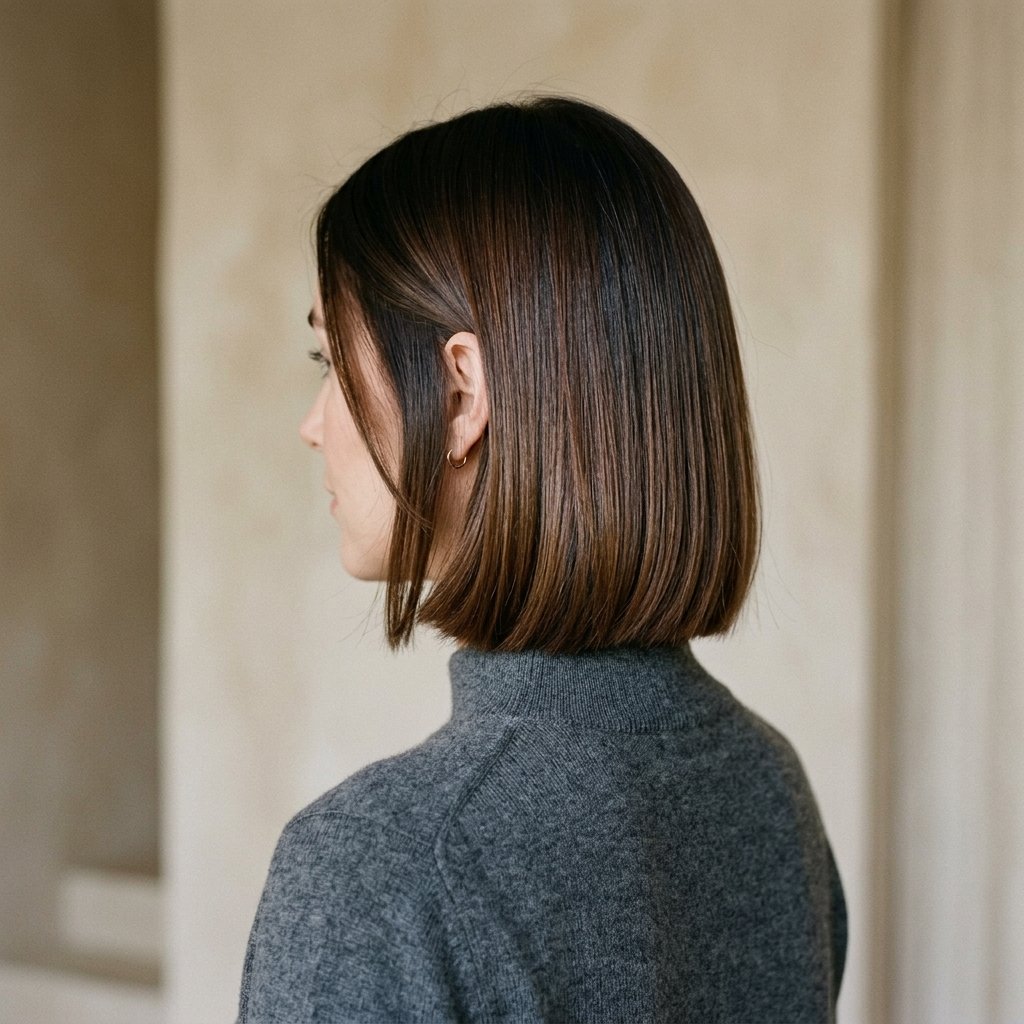
A quiet luxury bob needs color that looks effortless. Sharp lines in the cut can handle softness in the color.
Try a root shadow with a creamy mid-tone and lightly lifted ends. Or keep it all one depth with a glossy toner for reflective shine.
- Blunt bob: keep color smooth and blended.
- Textured bob: add subtle face-framing lightness.
- Curly bob: avoid heavy highlights that break curl pattern.
This is the kind of color that whispers. It does not shout. That is the point. Ask for a gloss in the salon to keep it reflective.
Soft Melt for an Asymmetrical Lob

An asymmetrical lob already has movement. Color melting makes that movement even better by guiding the eye down the longer side.
Place a soft face-framing melt on the shorter side. Then let the longer side carry a deeper shadow into lighter ends.
- Keep the transition diagonal.
- Use a gloss to blend the mid-lengths.
- Add a few micro-highlights for texture.
This works for fine hair because the color adds dimension without bulk. It also looks great with a vampire haircut if you want dark, moody ends. The melt should follow the shape of the cut, not fight it.
Romantic Goth Hairstyles with Dark Color Melting
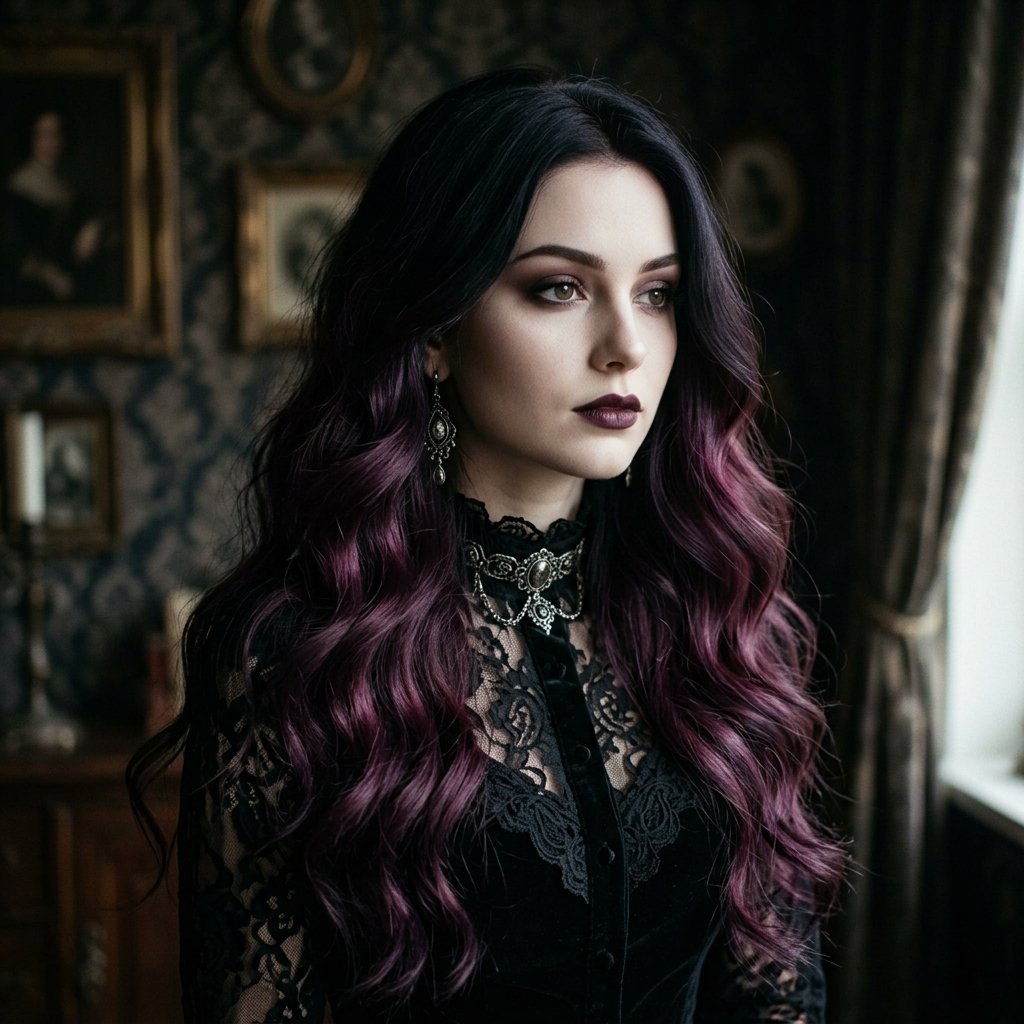
Romantic goth hairstyles love a melt. Black roots into deep plum, burgundy, or midnight blue ends feel moody but wearable.
The secret is keeping the transition soft so it looks like shadow, not a dye line.
- Start with a black or dark brown base.
- Melt in a jewel tone through the mid-lengths.
- Finish with a slightly lighter tone at the ends.
- Gloss for glass-like shine.
This pairs beautifully with a hime cut, long layers, or a vampire haircut. It is dark, romantic, and still low-maintenance. A good melt makes dark color look dimensional, not flat.
Vampire Haircut Color Melt Ideas
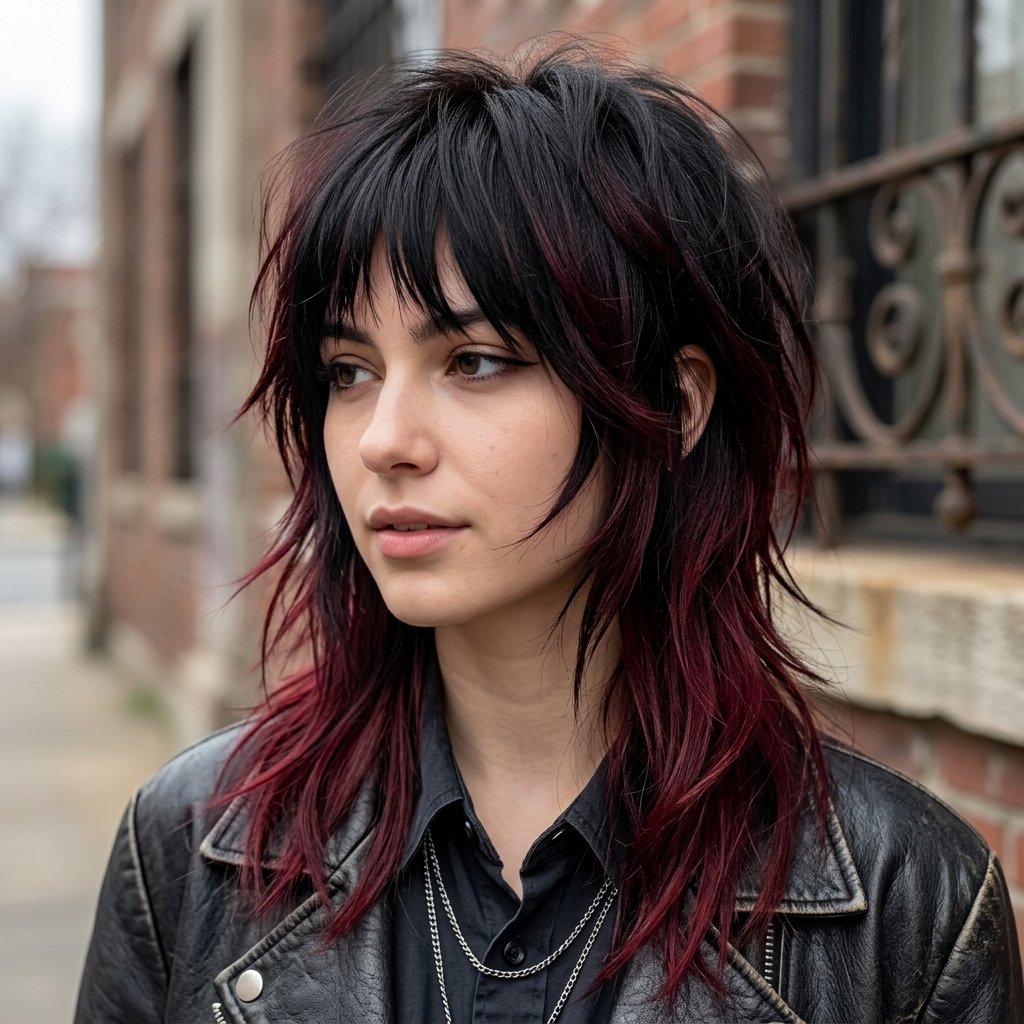
A vampire haircut usually means sharp layers, dramatic length, or a bold fringe. Color melting can soften the whole look without losing the edge.
- Black to espresso melt for subtle depth.
- Espresso to burgundy for a blood-red tint.
- Charcoal to silver for a cold, supernatural glow.
- Deep brown to black for a glossy shadow effect.
Ask for a smudge root and a sheer mid-tone. The goal is to look mysterious, not patchy. The right melt can make a bold cut feel wearable for everyday. It is all about the blend.
Glitchy Glam Hair with Contrast Melts

Glitchy glam hair is playful, digital, and a little unexpected. Think neon peach into rose gold, or silver into electric lilac.
Contrast melts work best when the border is blurred. You want a glitch, not a hard stripe.
- Use a transition shade between bright colors.
- Keep one color cooler and one warmer.
- Apply a clear gloss to blend the finish.
This style looks amazing on an asymmetrical lob or a sharp bob. It is one of the boldest 2026 hairstyles, but the melt keeps it wearable. A good gloss can make even neon look expensive.
Hime Cut Color Melting for Sharp Yet Soft Hair
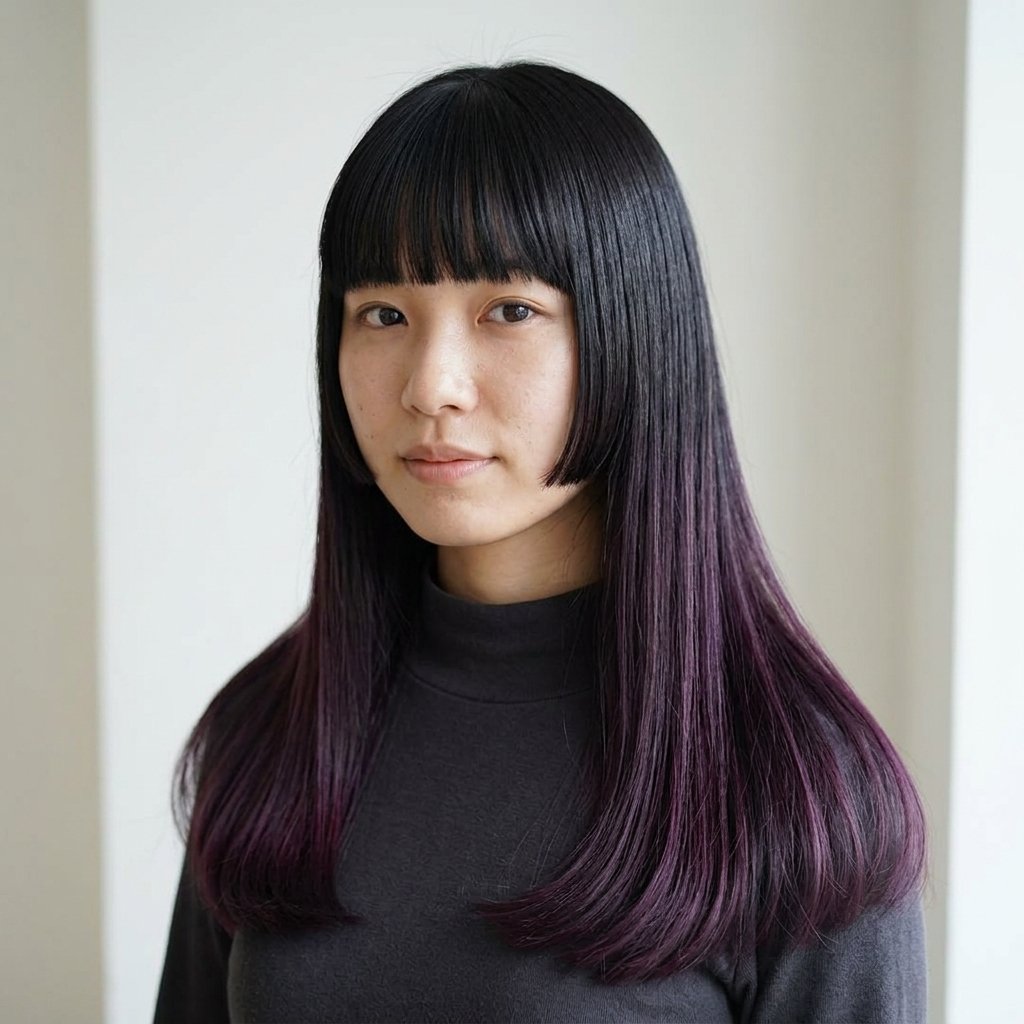
The hime cut is all about straight lines and face-framing pieces. Color melting can add depth without distracting from the silhouette.
Try a dark root with a soft chestnut melt, or black into deep violet at the ends.
- Keep the side pieces slightly lighter for contrast.
- Melt the back length into a deeper shadow.
- Use a gloss for mirror shine.
This makes the cut look modern and expensive. It also keeps the grow-out soft if you wear it straight. A soft melt keeps the cut from looking too severe.
2026 Hairstyles: The Melt Trends to Watch
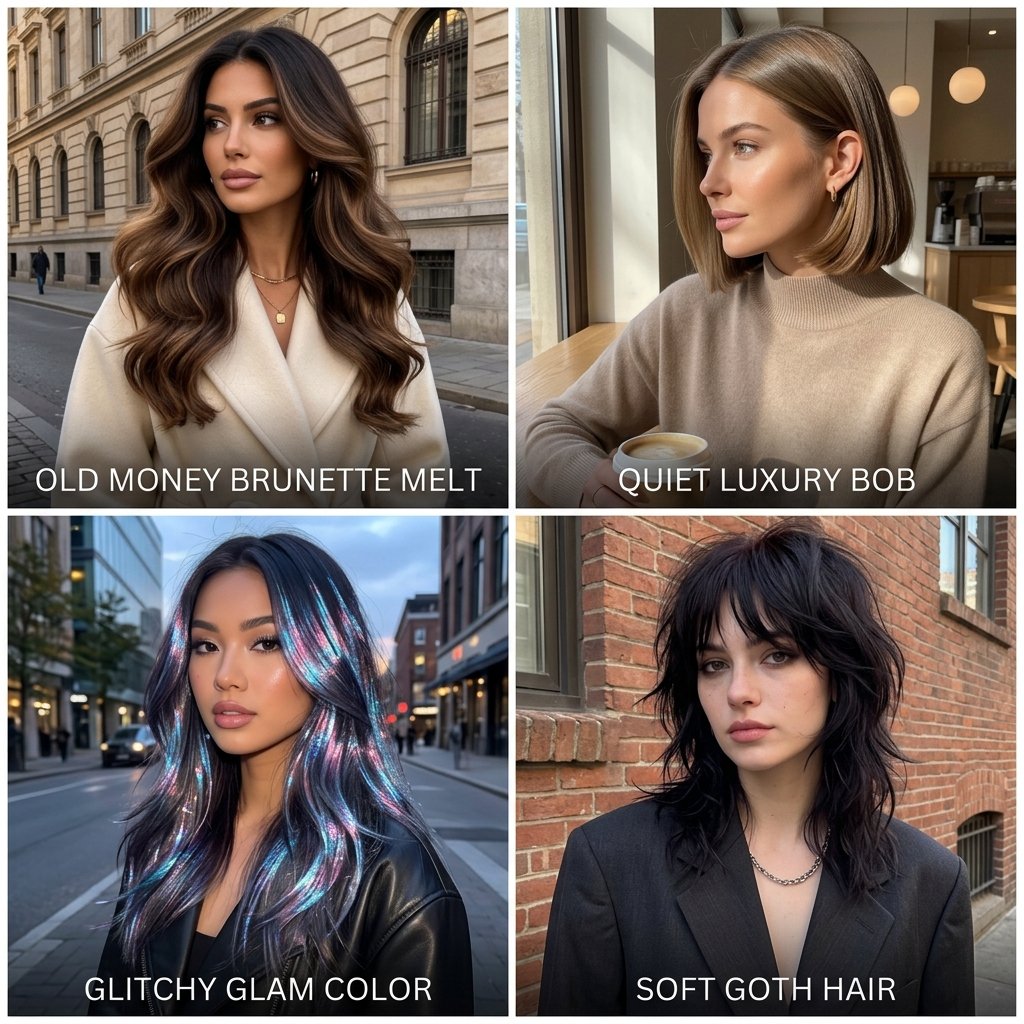
In 2026 hairstyles, color is moving toward softness. Less stripe, more glow. Less maintenance, more intention.
You will see old money hair with beige melts, quiet luxury bobs with glossy root shadows, and romantic goth hairstyles with jewel-tone melts.
- Expensive brunette melts.
- Blurred blonde root shadows.
- Glitchy glam contrast melts.
- Soft black-to-burgundy transitions.
The common thread? Fluid gradient transitions without harsh lines. That is the whole mood. It is color that moves with you, not against you. That is the beauty of a melt.
Face-Framing Melt That Flatters Everyone

A face-framing melt is like a soft spotlight. It brightens the face without an obvious streak.
Ask for a tiny bit of lightness around the jaw or cheekbone, then melt it back into your base color.
- Choose a shade two levels lighter than your root.
- Paint a thin slice on each side.
- Blend the color back toward the crown.
- Gloss to seal the gradient.
This works on curly, straight, and wavy hair. It is also perfect if you are growing out a quiet luxury bob or asymmetrical lob. It is subtle, but it changes everything.
How to Ask Your Stylist for a Seamless Melt

Photos help, but words help more. Say: “I want a soft root melt with no harsh lines. Please blend a mid-tone between my base and my ends.”
Also mention your budget, your home routine, and how often you can visit. That helps your stylist choose a realistic formula.
- Show two inspiration photos: one for shade, one for blend.
- Point out any lines you hate.
- Ask what grow-out will look like.
A good consultation is the first step to fluid gradient transitions. Do not skip it. The more details you share, the better your melt will be.
At-Home Maintenance for Fluid Gradients
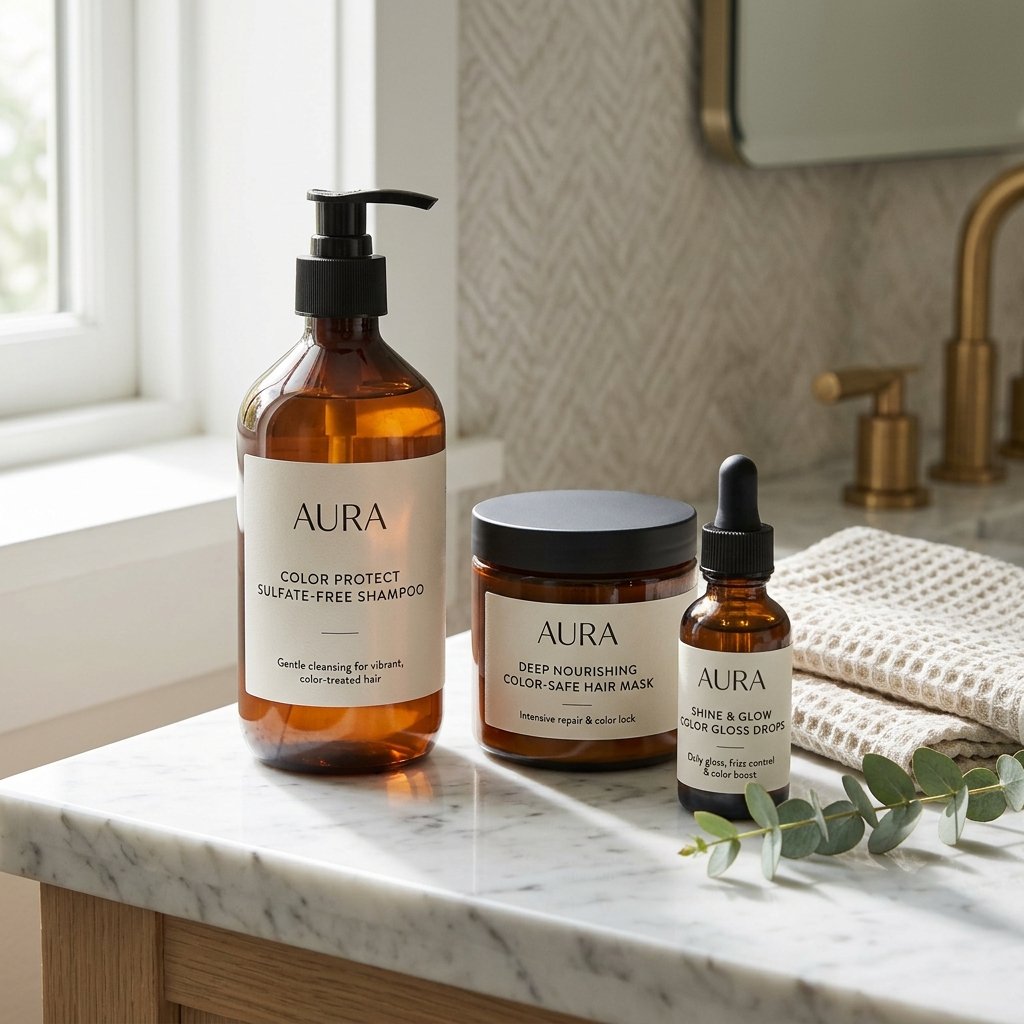
You do not need to re-color at home to keep a melt looking good. You need to protect the blend.
- Use sulfate-free shampoo.
- Rinse with cool water.
- Use a color-safe mask weekly.
- Avoid heavy oils near your roots if you have a shadow root.
Purple shampoo is great for blonde melts, but do not overuse it. It can make the ends ashy while the roots stay warm.
Hot tools can also fade the mid-tone. Use heat protectant and keep the temperature moderate. Healthy hair holds color longer, so treat it gently.
How Often to Refresh a Color Melt

Most melts look best for 6 to 10 weeks. After that, the mid-tone can fade and the gradient can get muddy.
A gloss refresh is usually enough. It takes less time and money than a full color service.
- Weeks 1-4: enjoy the fresh blend.
- Weeks 5-8: use a toning gloss at home or in salon.
- Weeks 9-12: book a professional refresh.
If you have a vampire haircut or hime cut, keep the ends glossy. Shine makes every transition look smoother. A gloss takes 20 minutes and makes a huge difference.
Products That Keep Color Transitions Soft
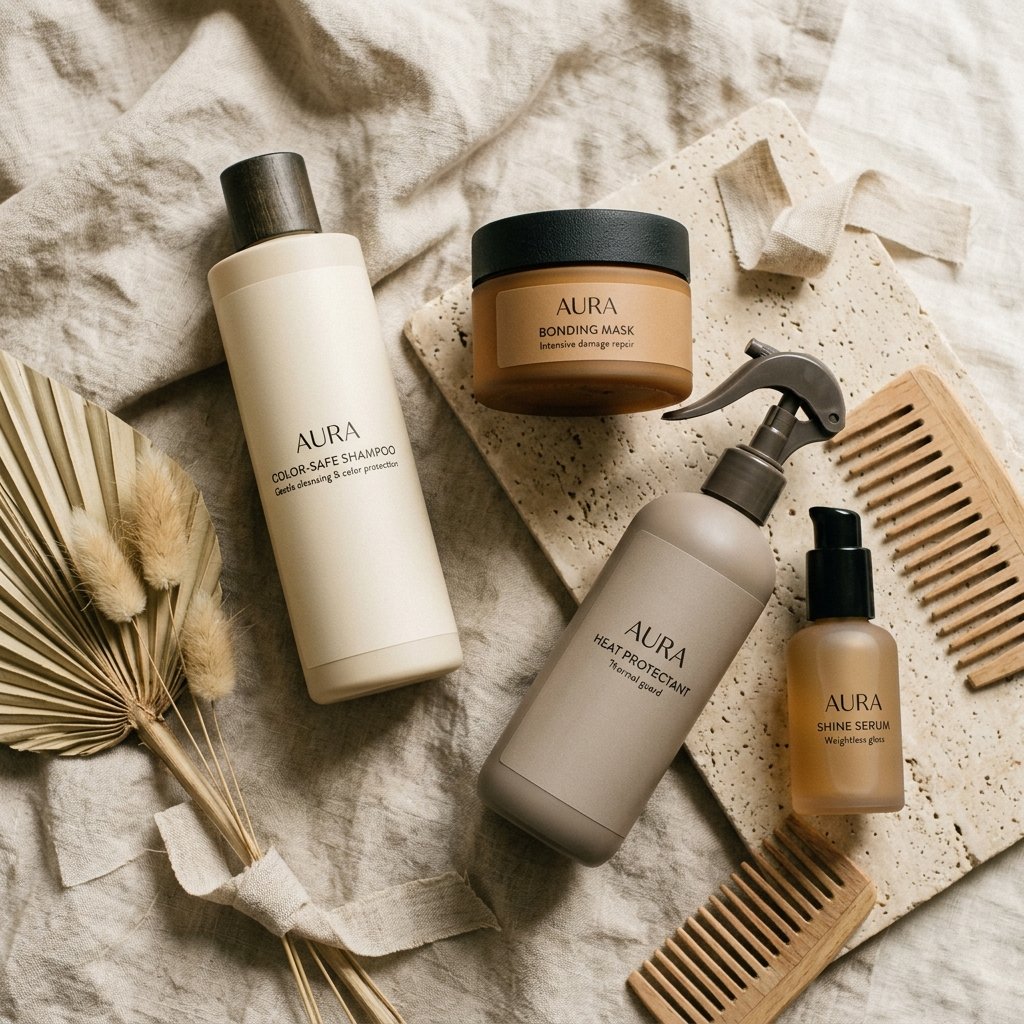
The right products make a melt look expensive. The wrong ones can strip the mid-tone and reveal lines.
- Color-safe shampoo and conditioner.
- Weekly bonding mask.
- Leave-in heat protectant.
- Gloss drops or shine serum.
- UV protection spray for sunny days.
For glitchy glam hair, use a color-depositing mask to refresh bright ends. For old money hair, a clear gloss is your best friend.
Healthy hair reflects light better, which makes the gradient look seamless. You do not need ten products. You need the right three or four.
Mistakes That Create Harsh Lines
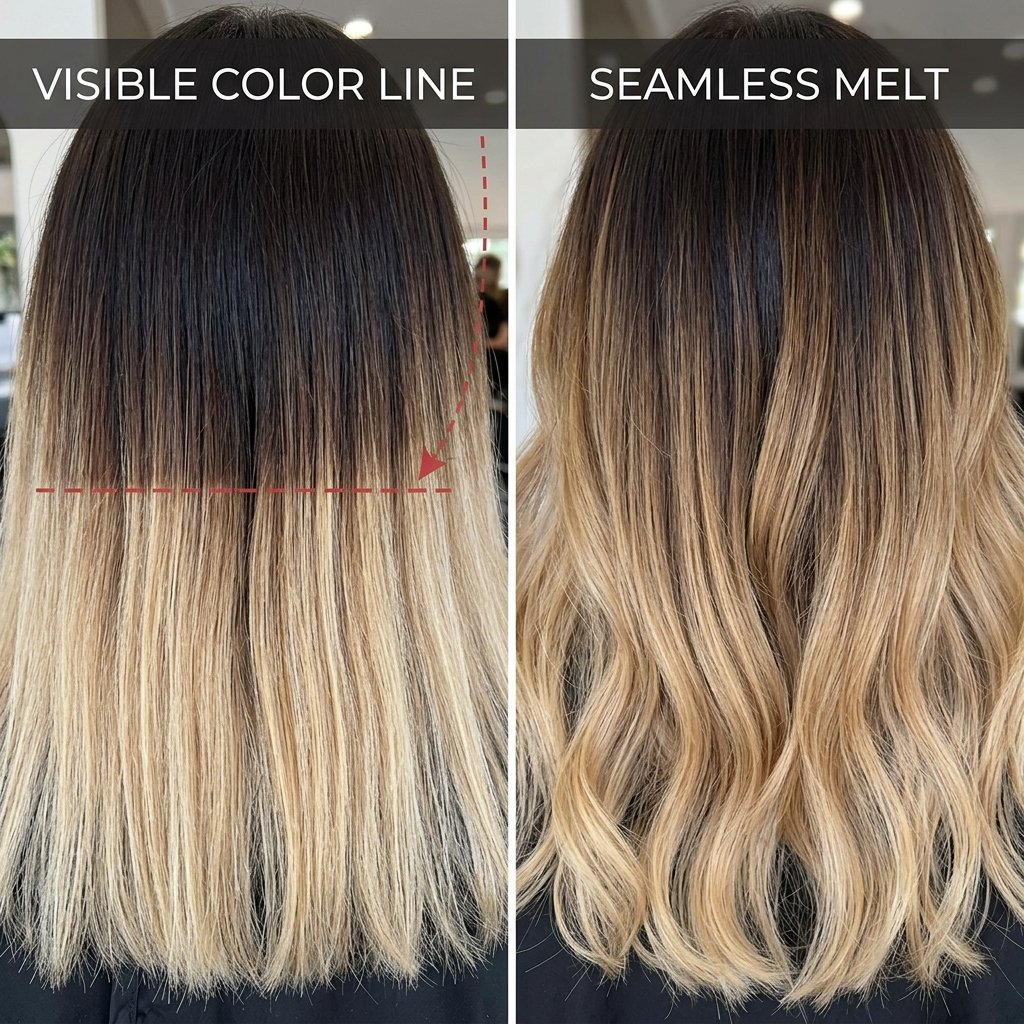
Harsh lines usually come from rushing or skipping a step. Here are the most common mistakes.
- Not using a mid-tone.
- Painting too thick at the transition.
- Letting the root color sit too long.
- Applying bleach too close to a shadow root.
- Rinsing before checking the blend.
Another big one? Choosing shades that are too far apart. Black to platinum needs several steps. Be patient.
If you want fluid gradient transitions, the blend matters more than the brightness. Slow down and blend. That is the whole game. Your future self will thank you.
Can You Color Melt at Home?
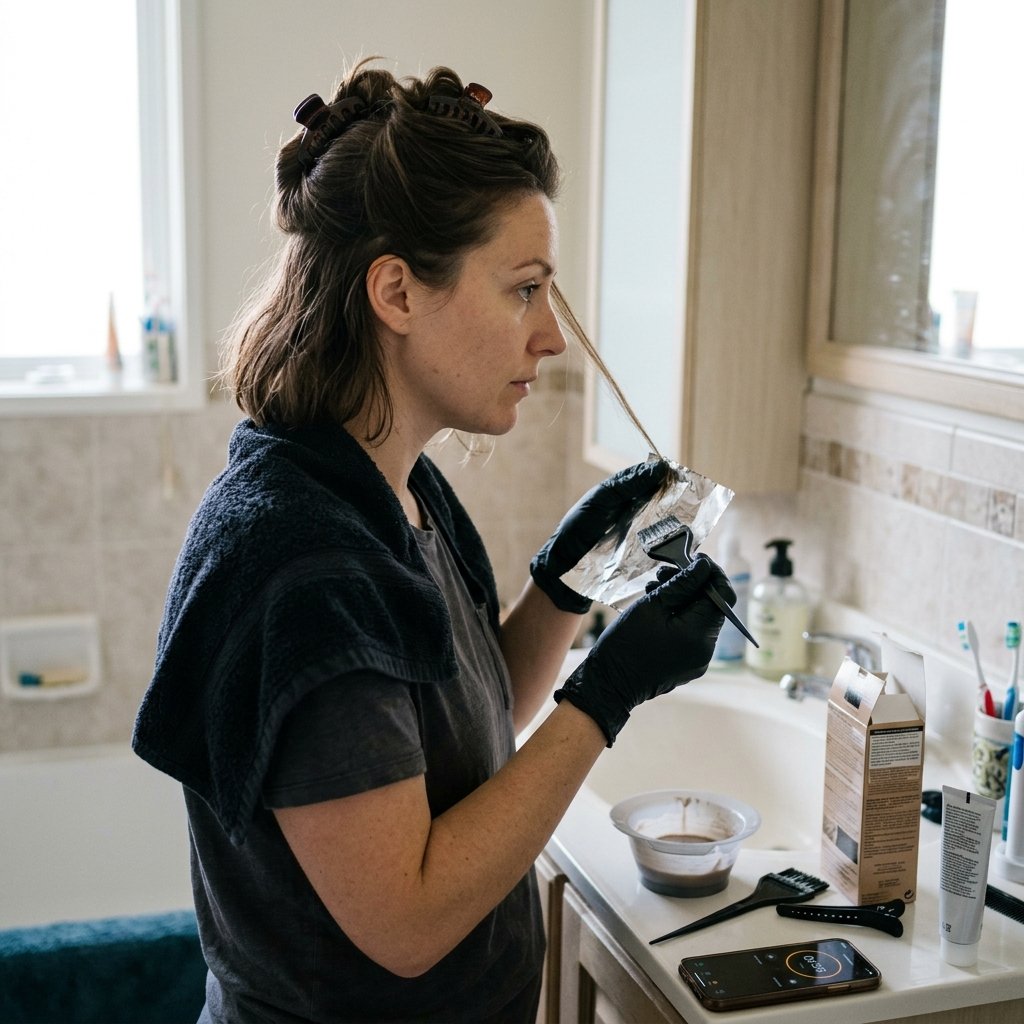
You can maintain a melt at home, but creating one from scratch is risky. Box dye and bleach rarely blend like a pro formula.
If you want to try, start with a color-depositing mask or gloss. Do not attempt a major lightening melt alone.
- Do a strand test.
- Use a tint brush for control.
- Keep the formula simple.
- Stop if the color looks uneven.
For big changes, book a stylist. Your hair will thank you, especially if you love 2026 hairstyles with soft, seamless color. A pro can see your hair history and avoid a patchy result.
Make Your Melt Last Longer
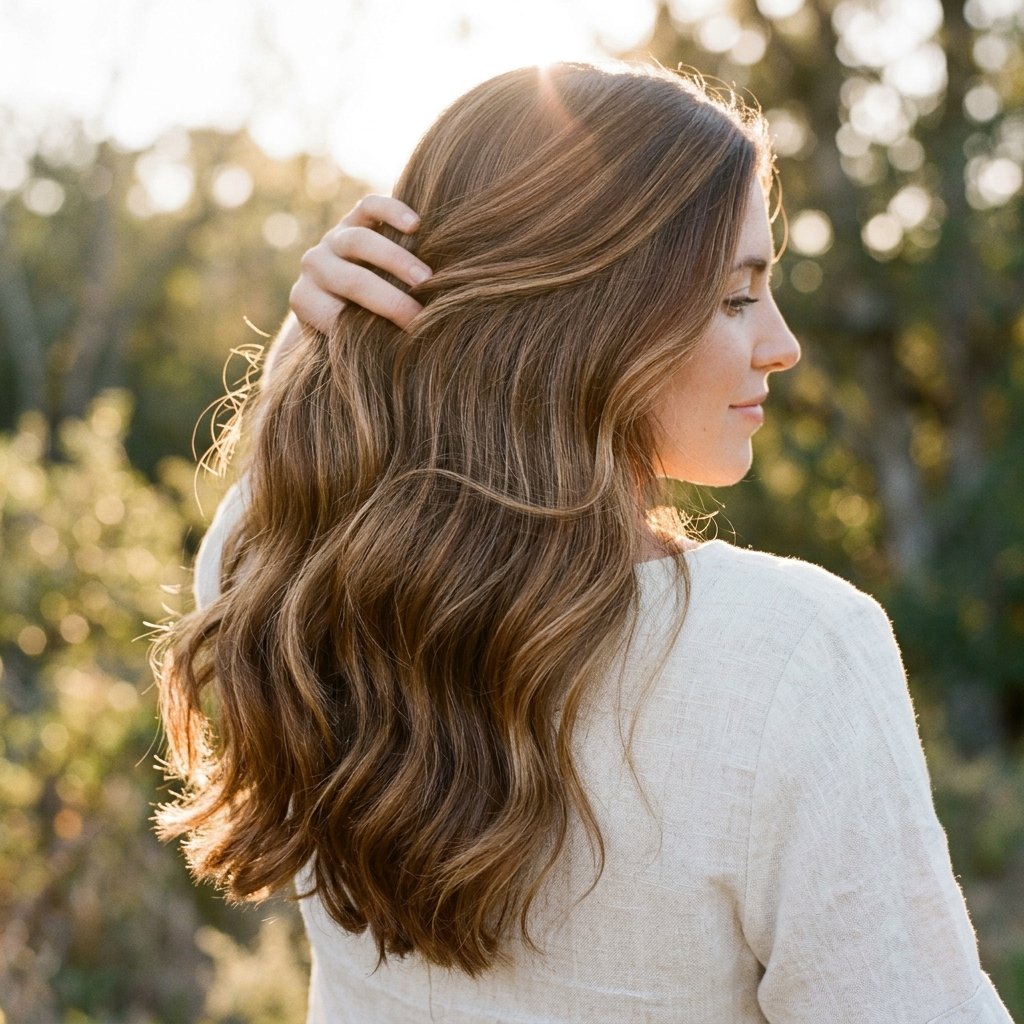
A great melt is part technique, part aftercare. Small habits keep the gradient soft.
- Wash less often.
- Use dry shampoo at the roots.
- Deep condition every week.
- Trim every 8 to 12 weeks.
- Book glosses before the color fades too much.
If you have a quiet luxury bob, keep ends blunt and polished. If you have an asymmetrical lob, keep the longer side hydrated.
Soft color needs healthy hair. That is the real secret. Small habits keep the gradient from turning into a stripe. Consistency matters more than expensive products. Your melt will thank you.
Quick Recap for Your Next Salon Visit
Here is your cheat sheet. Save it, screenshot it, or show it to your stylist.
- Ask for a root melt, not just highlights.
- Request a mid-tone to bridge the shades.
- Keep the transition soft and diagonal.
- Choose shades that fit your skin tone.
- Book a gloss refresh every 6 to 8 weeks.
Whether you want old money hair, romantic goth hairstyles, glitchy glam hair, or a hime cut, the melt makes it look custom. No harsh lines, just fluid gradient transitions. The best color is the one that grows out gracefully. That is the goal every time.
A Soft Landing
Color melting is one of those techniques that makes everything look better. It softens roots, blends ends, and turns any cut into something that looks expensive and easy.
If you are planning your next salon visit, ask for fluid gradient transitions without harsh lines. Bring your favorite 2026 hairstyles, old money hair, quiet luxury bob, or vampire haircut inspiration. Your stylist can customize the melt to your hair history.
Save this post to Pinterest so you have the talking points ready. Then tell me in the comments: which melt are you trying next? I read every one.

