
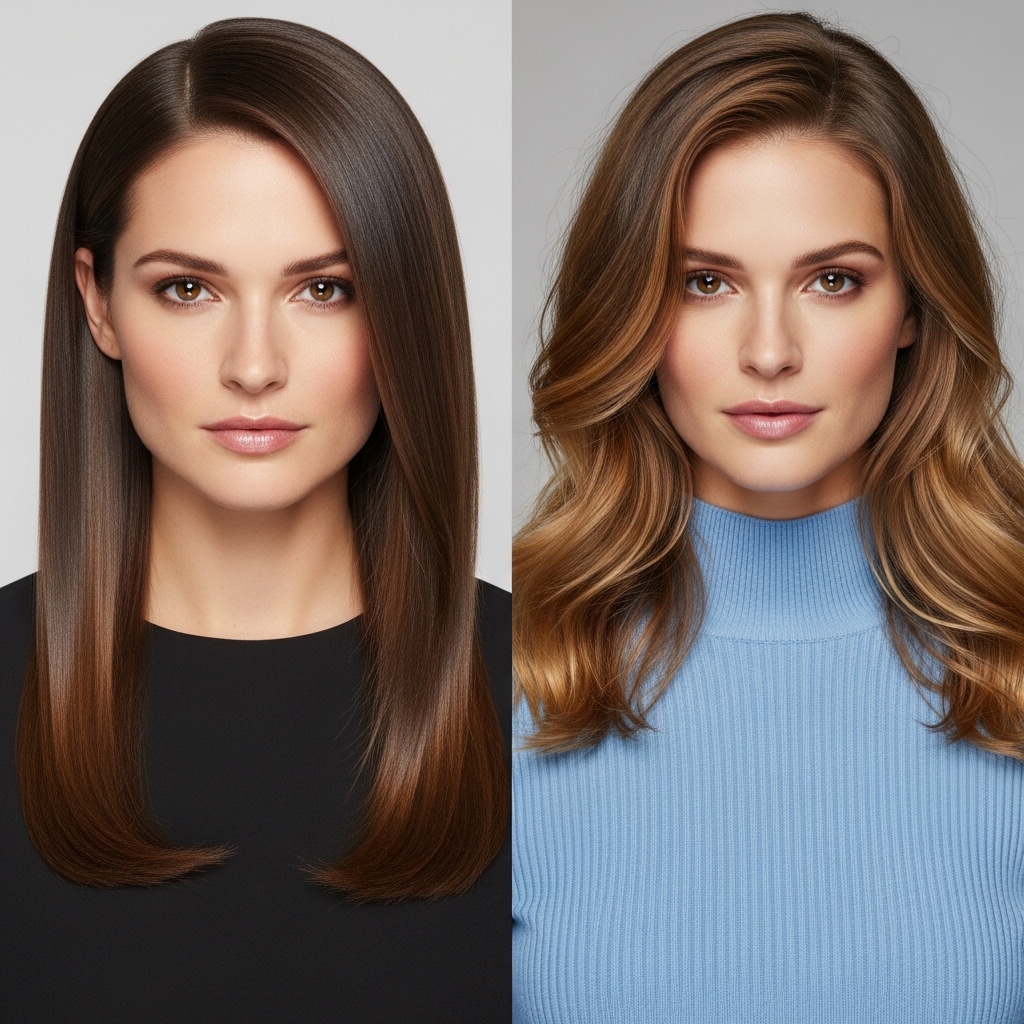
Okay, let’s be real. We’ve all scrolled past those “quiet luxury” and “old money hair” looks and felt a little pang of envy. That perfectly sleek, healthy, shiny hair that looks expensive without trying too hard. It’s the ultimate vibe.
But here’s my secret: it’s not about having a fancy stylist on speed dial. It’s about a solid, no-nonsense routine. The kind you can actually stick to.
I’ve spent years tweaking mine, and today I’m breaking down my entire 23-step process. Think of this as your blueprint for that effortless, sleek straight hair you’ve been dreaming of. It’s practical, it works, and I promise it’s easier than you think.
1. It All Starts in the Shower
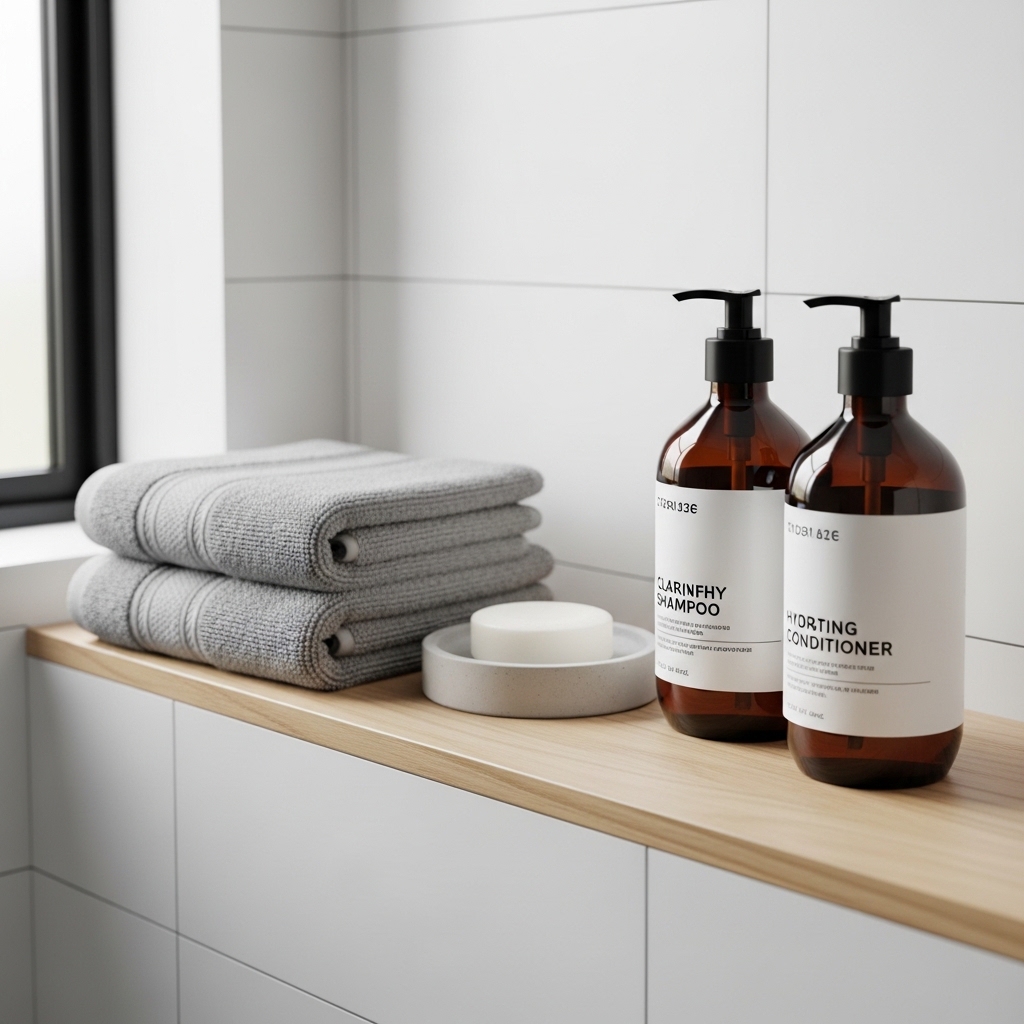
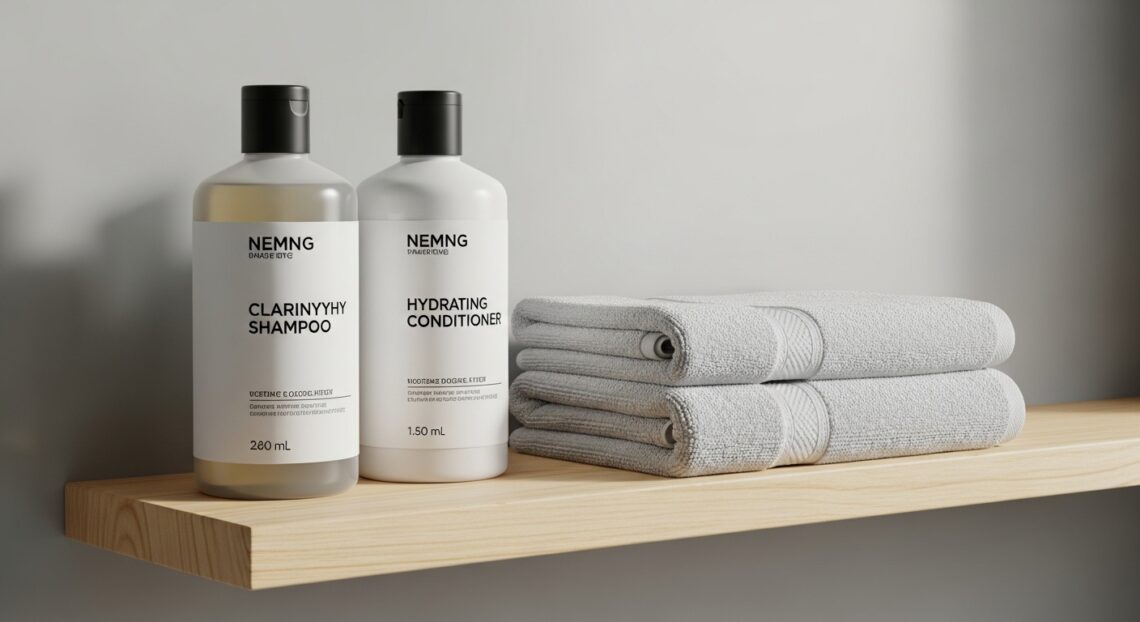
You can’t build a great hairstyle on a shaky foundation. For sleek hair, your wash day is non-negotiable. I start with a clarifying shampoo once a week to strip any product buildup that weighs hair down.
The rest of the time, I use a smoothing shampoo and conditioner. The key is to really work the conditioner through your mids and ends, and let it sit for a few minutes. This is where you prevent dryness before you even pick up a brush.
2. The Cold Water Rinse Secret
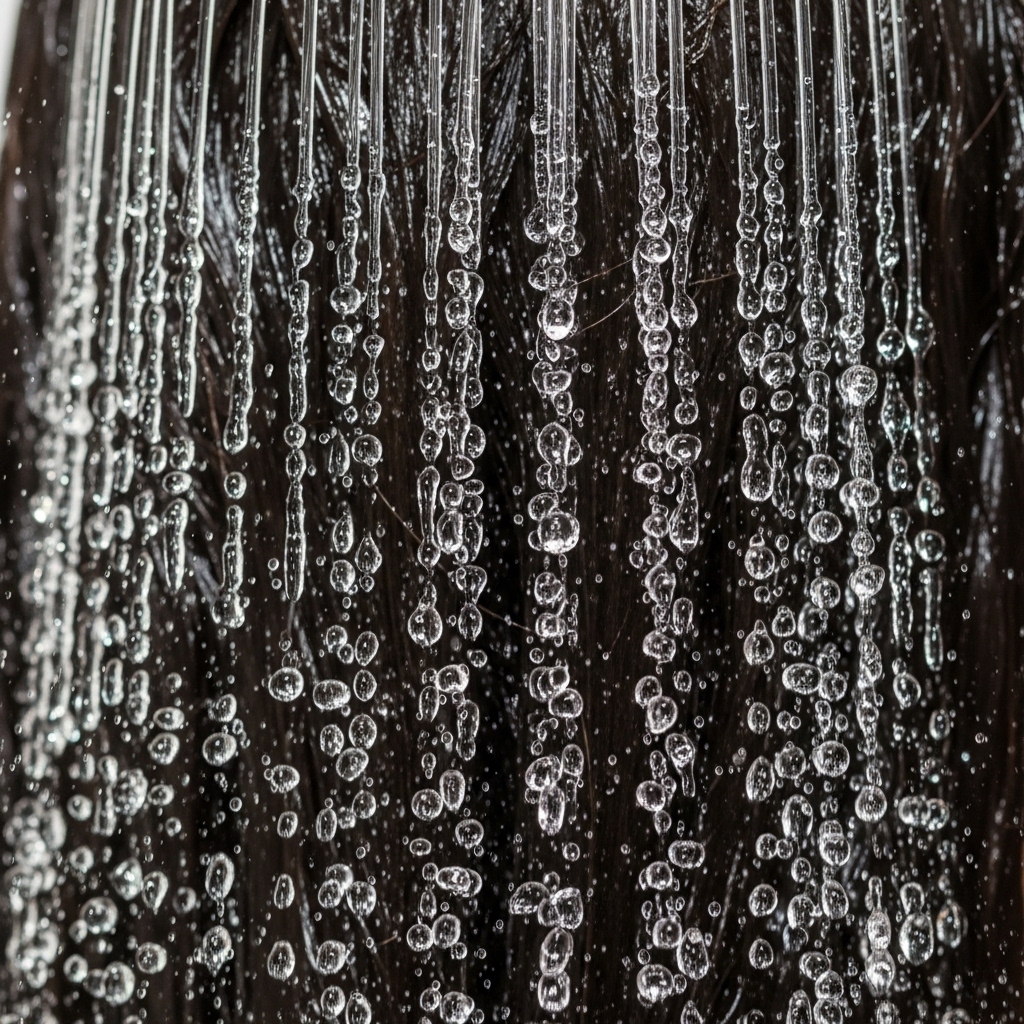
I know, I know. It’s not the most pleasant step. But a quick, final rinse with cold water is a game-changer. It seals the hair cuticle shut.
A closed cuticle means smoother hair strands that reflect light better. This is what gives you that incredible, glass-like shine. It’s a simple trick with massive payoff for your final look.
3. Gentle Towel Drying, No Rubbing
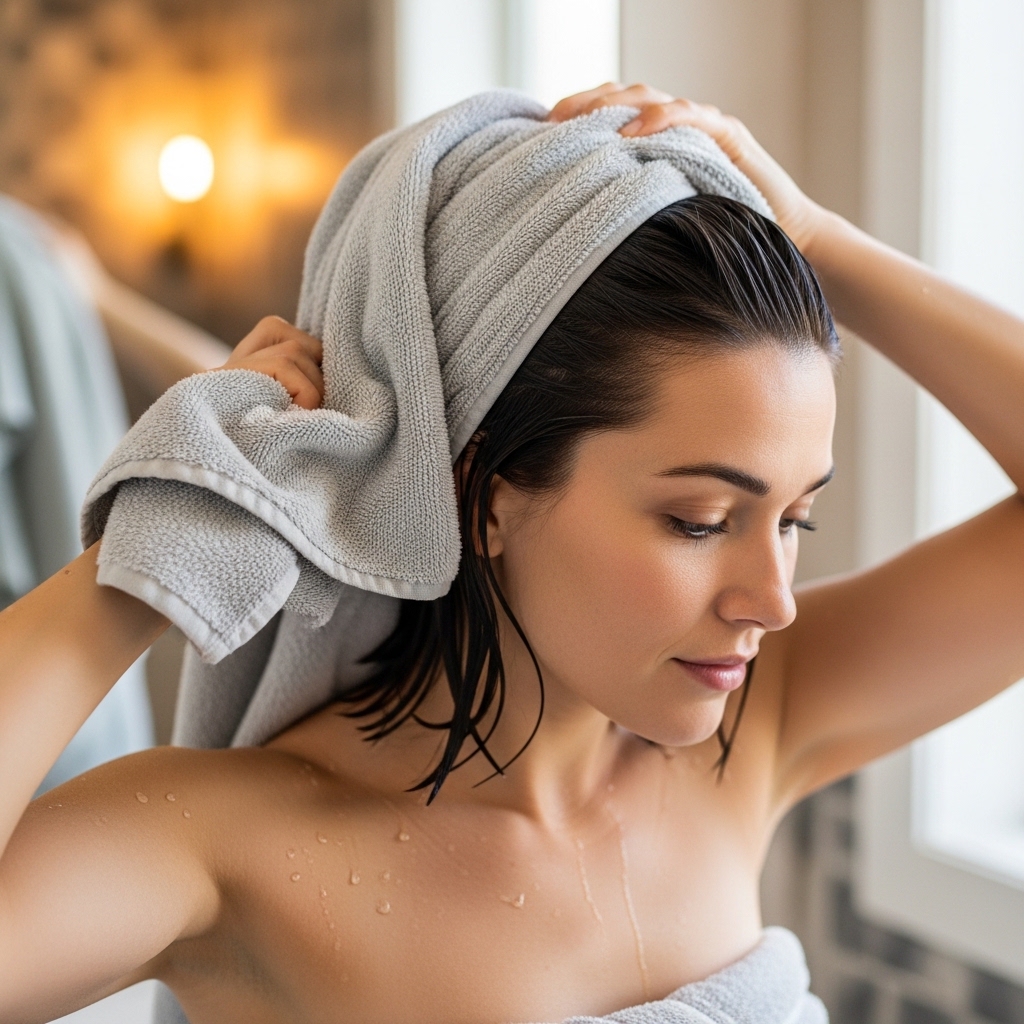
This is where many of us create frizz without even realizing it. Never, ever rub your hair vigorously with a towel. The friction roughs up the cuticle you just worked so hard to smooth.
Instead, use a soft microfiber towel or an old cotton t-shirt. Gently squeeze the water out from your ends upward. Your hair will thank you by staying sleek and frizz-free.
4. The Leave-In Conditioner Layer
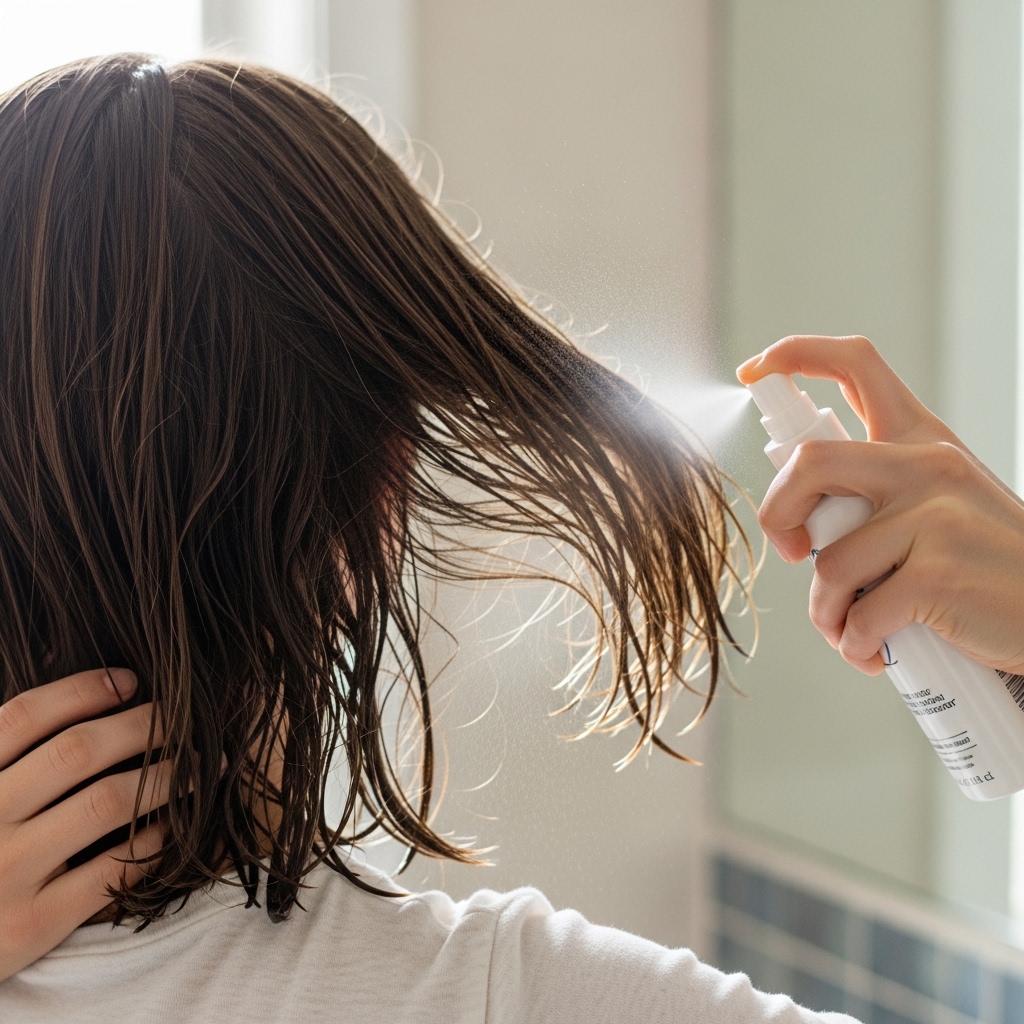
Before any heat, you need protection and slip. A lightweight leave-in conditioner is my holy grail. It detangles, adds moisture, and creates a protective barrier against your styling tools.
I spray it mainly on my mid-lengths and ends. This prevents my ends from looking dry and fried, which is the opposite of that healthy quiet luxury bob aesthetic we’re going for.
5. Heat Protectant is Non-Negotiable
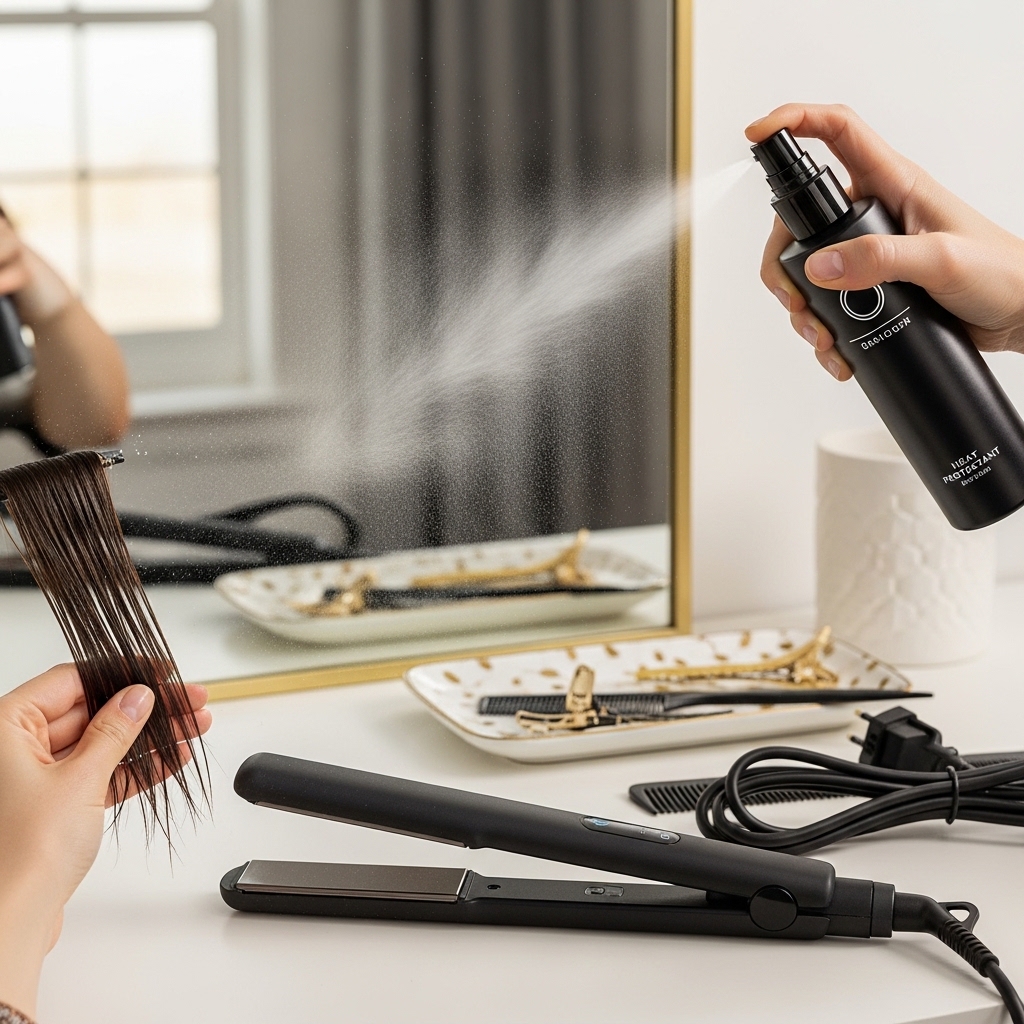
If you want to skip a step, don’t let it be this one. Applying a dedicated heat protectant is the single most important thing you can do to maintain healthy hair.
It doesn’t just prevent damage; it also helps the heat from your tools distribute evenly. This leads to a smoother, longer-lasting straight style. Think of it as your hair’s insurance policy.
6. Detangling With The Right Brush
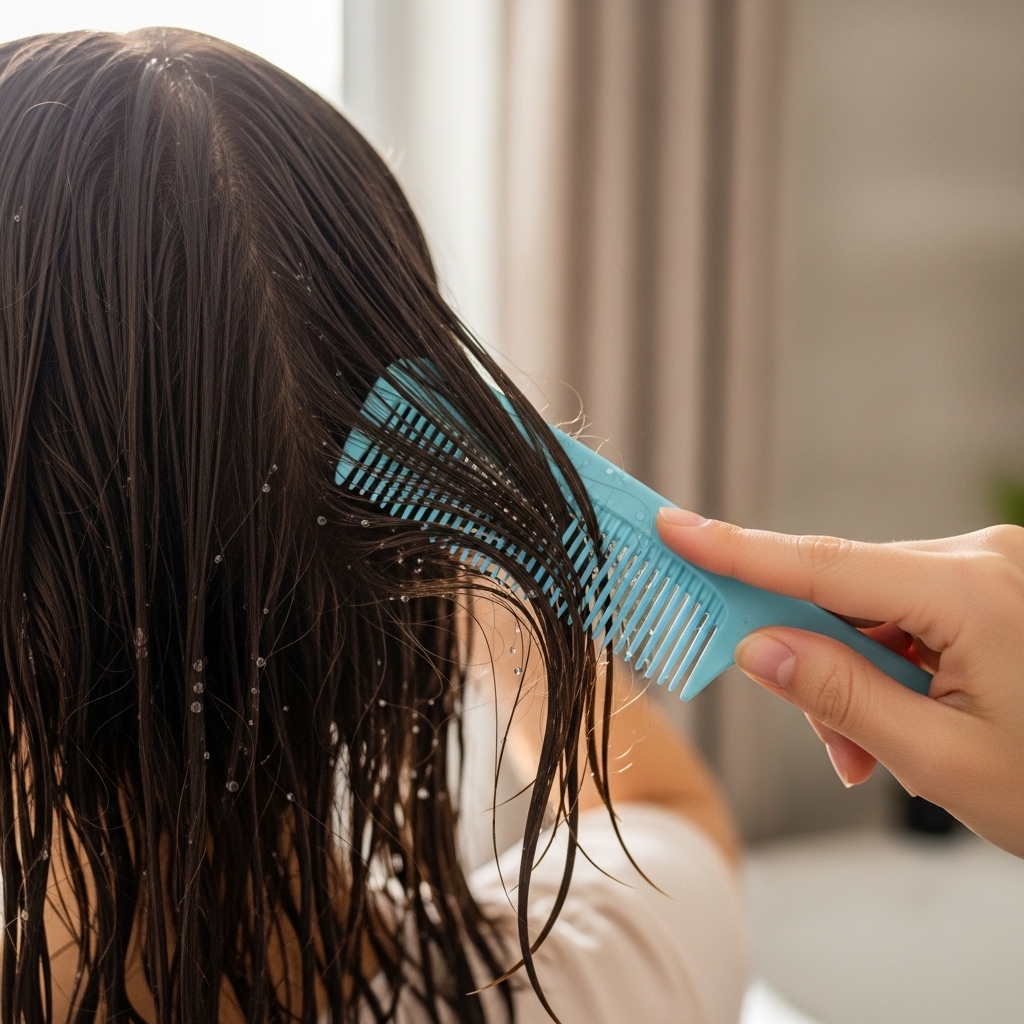
Always detangle on damp hair with product in it. Start from the very ends and work your way up to the roots slowly. This prevents breakage and unnecessary pulling.
I use a wide-tooth comb or a detangling brush specifically designed for wet hair. It glides through knots without snagging, setting the stage for a flawless blow-dry.
7. Sectioning For a Salon Finish
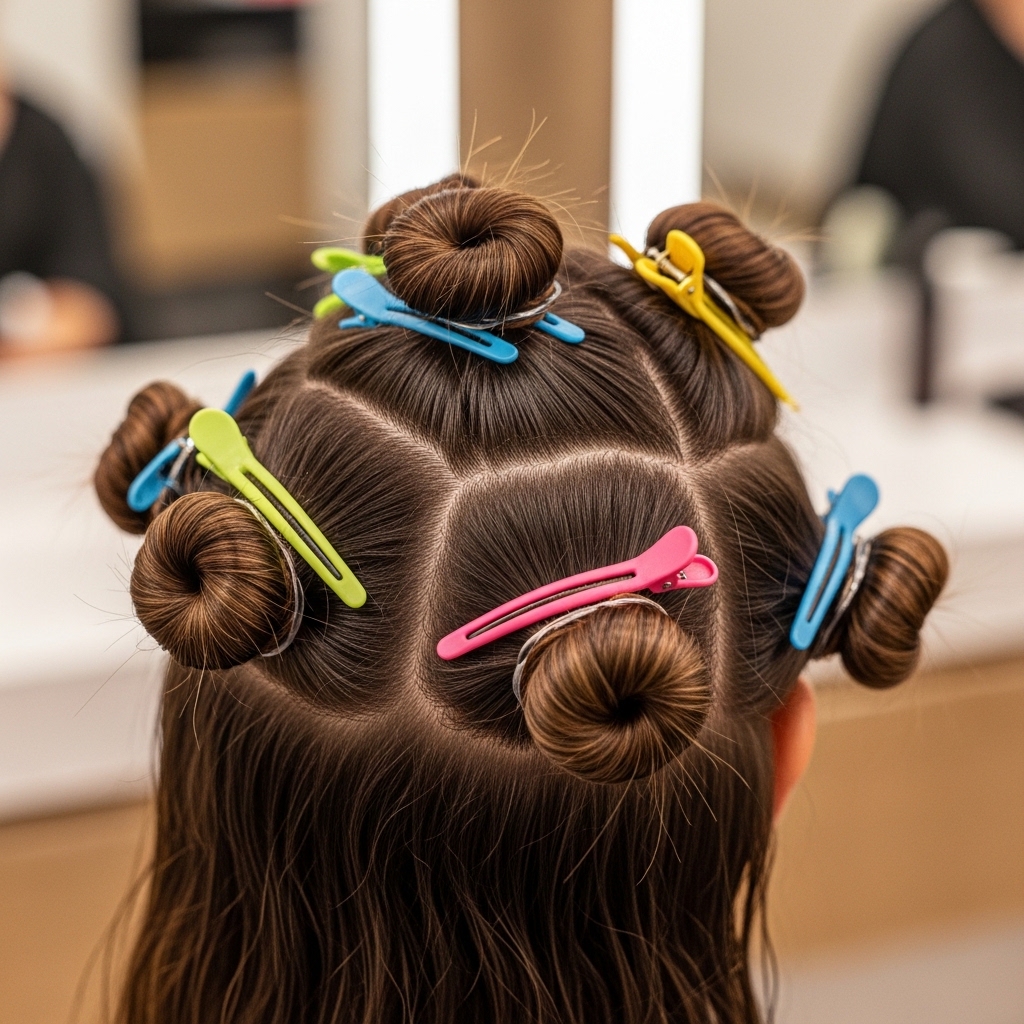
If you try to blow-dry all your hair at once, you’ll miss spots and it will take forever. Sectioning is the professional’s secret for a perfect, quick blowout.
I simply divide my hair into four sections: two in the back, two in the front. Clip them up. Working one small section at a time gives you maximum control and ensures every strand gets attention.
8. The Blow-Dry Technique That Works
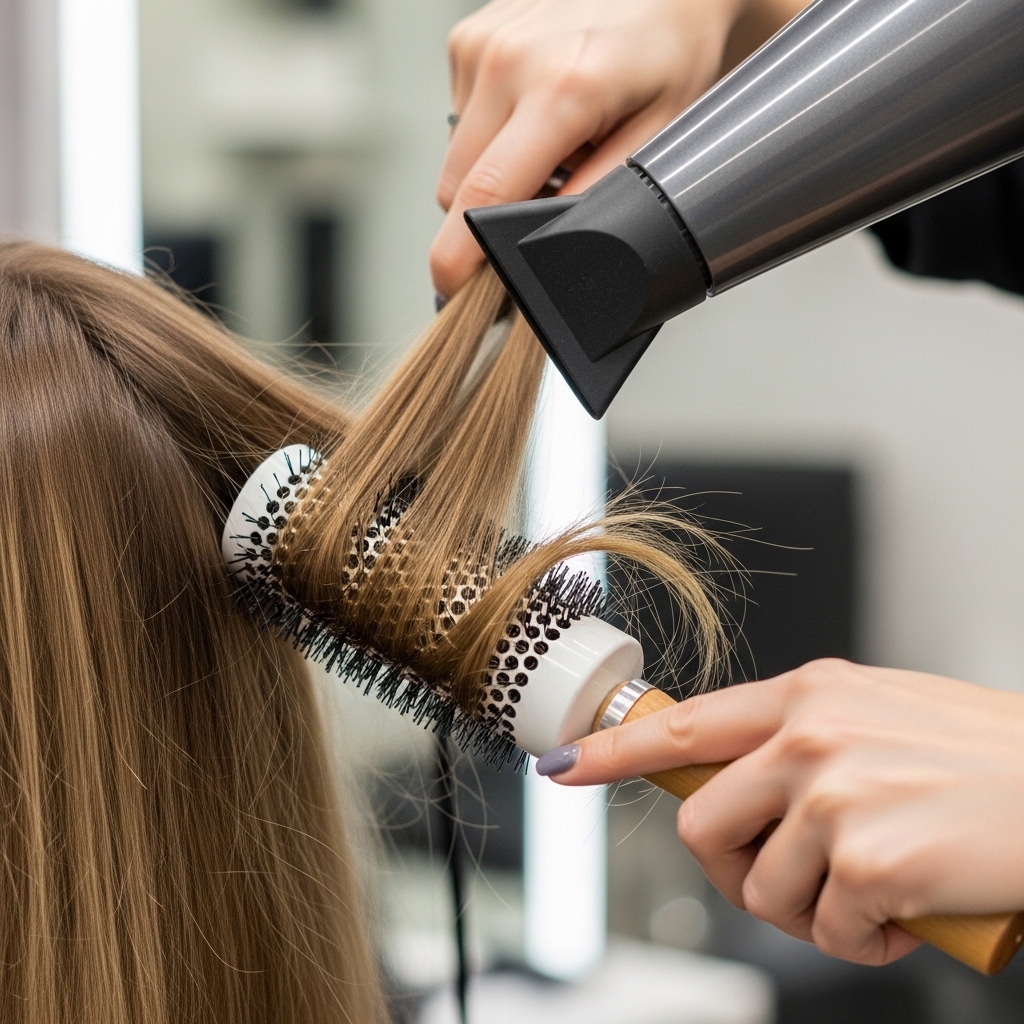
For each section, use a round brush. Pull the brush down through the section, following closely with your dryer nozzle pointed down the hair shaft.
This “tension drying” technique stretches the hair as it dries, smoothing the cuticle. Always direct the airflow downward to keep the cuticle flat and sealed. It makes flat-ironing later so much easier.
9. Cool Shot Button is Your Friend
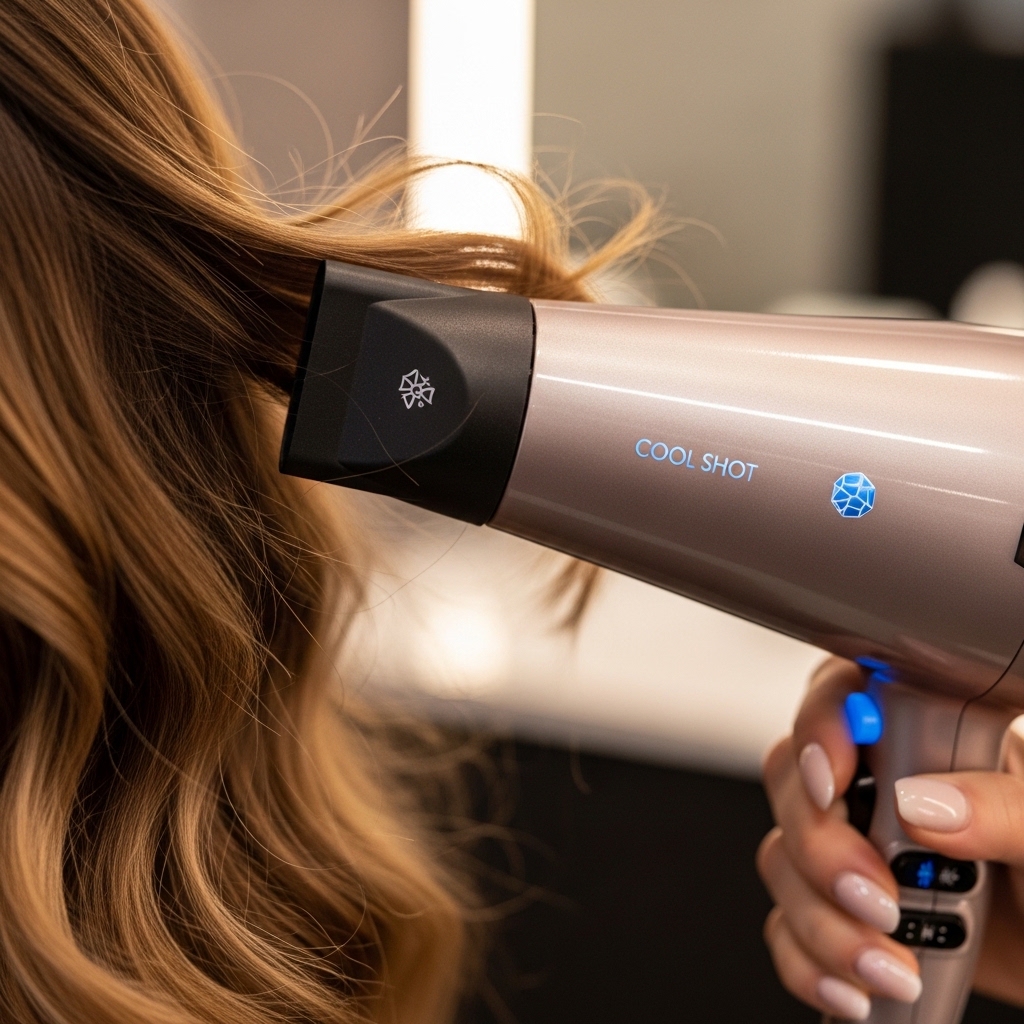
Don’t ignore that weird little button on your dryer! Once a section is about 90% dry, hit it with a blast of cold air from the cool shot button.
This instantly sets the hair in its smooth, straight position. It locks in the style and adds extra shine. It’s a tiny step that makes a huge difference in longevity.
10. Prepping With a Straightening Primer
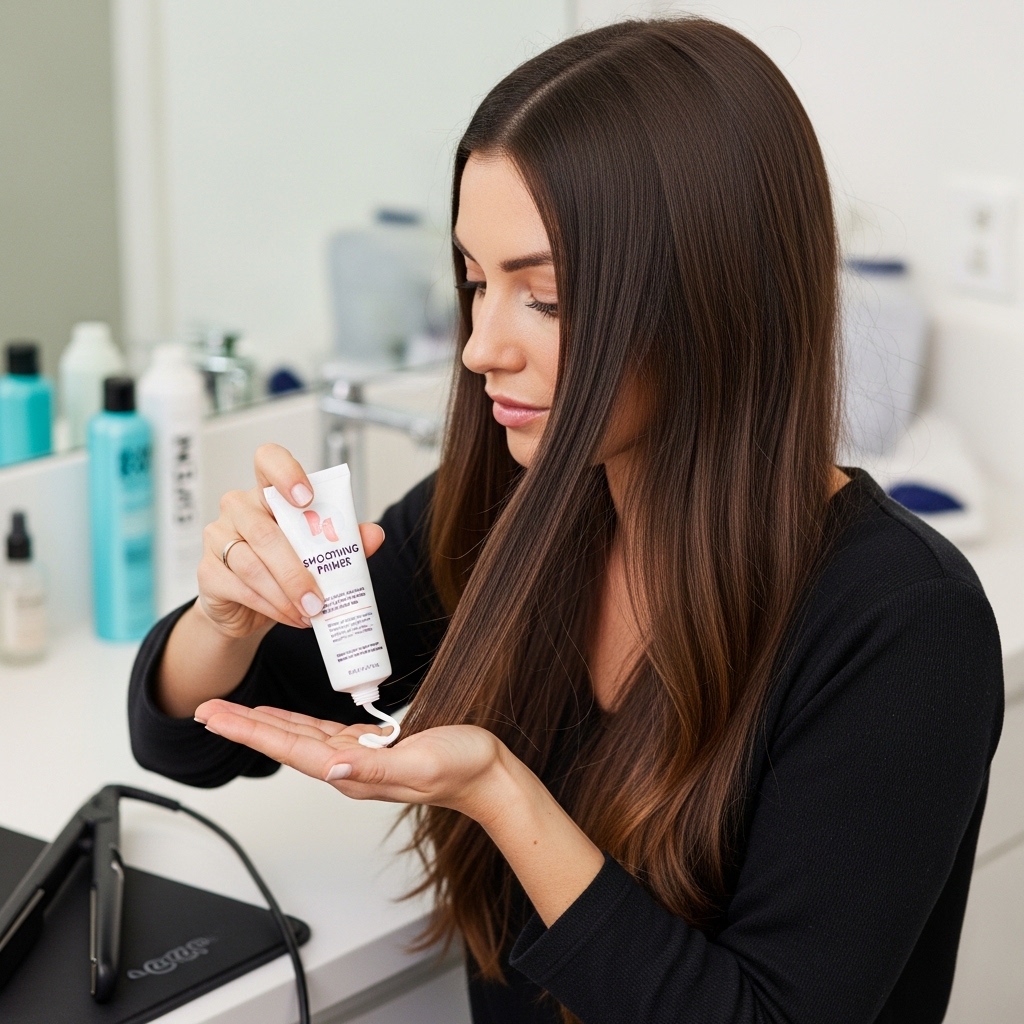
After your hair is 100% dry and before you flat iron, add a smoothing primer or a light serum. Just a pea-sized amount rubbed between your palms and applied from mid-lengths to ends.
This gives your flat iron an even smoother surface to glide over. It also adds another layer of heat protection and fights humidity to keep your style fresh all day.
11. Flat Iron Temperature Matters
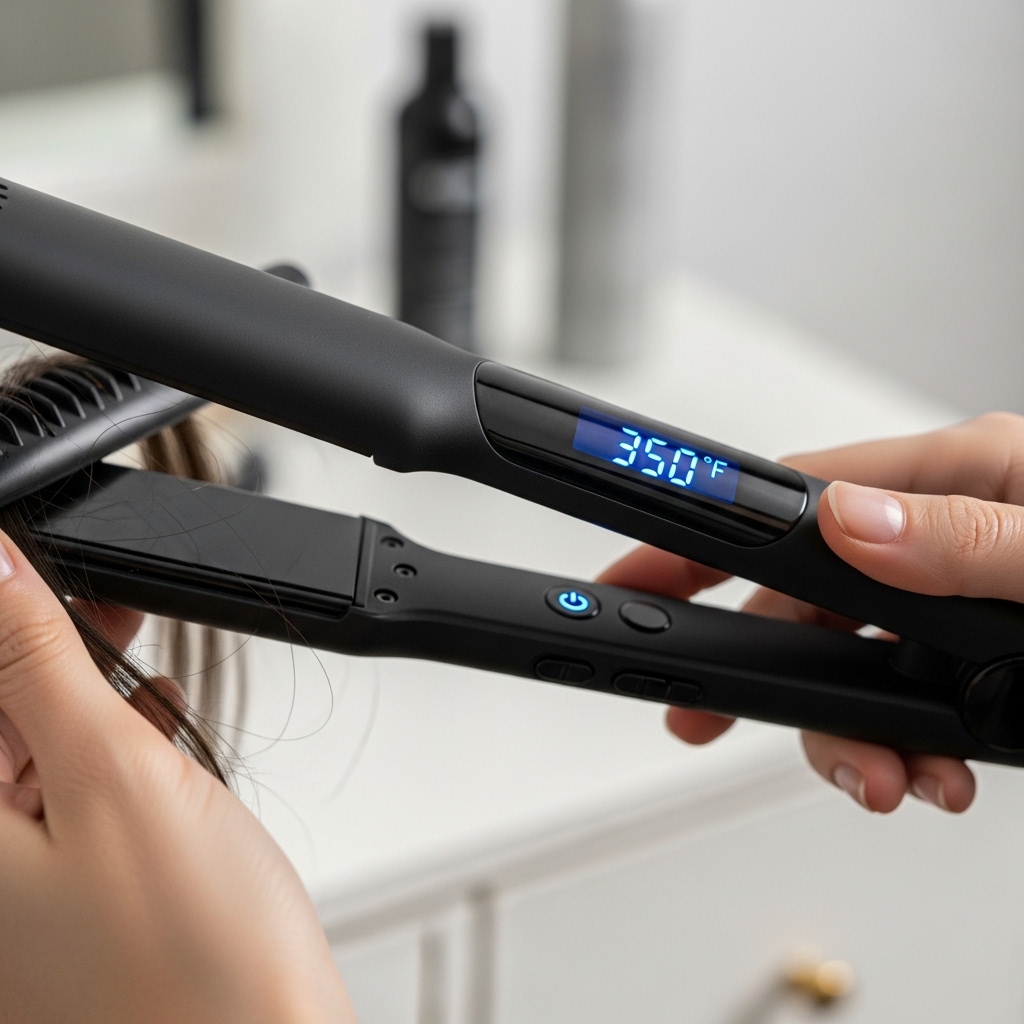
More heat isn’t better. For fine to medium hair, 350°F is plenty. For thicker or coarser hair, you might go up to 380-400°F. Never use the highest setting.
Using the right temperature gets you the sleek look without frying your hair. Healthy hair is shiny hair. This is key for any look, from an asymmetrical lob to long layers.
12. Small Sections For Maximum Smoothness
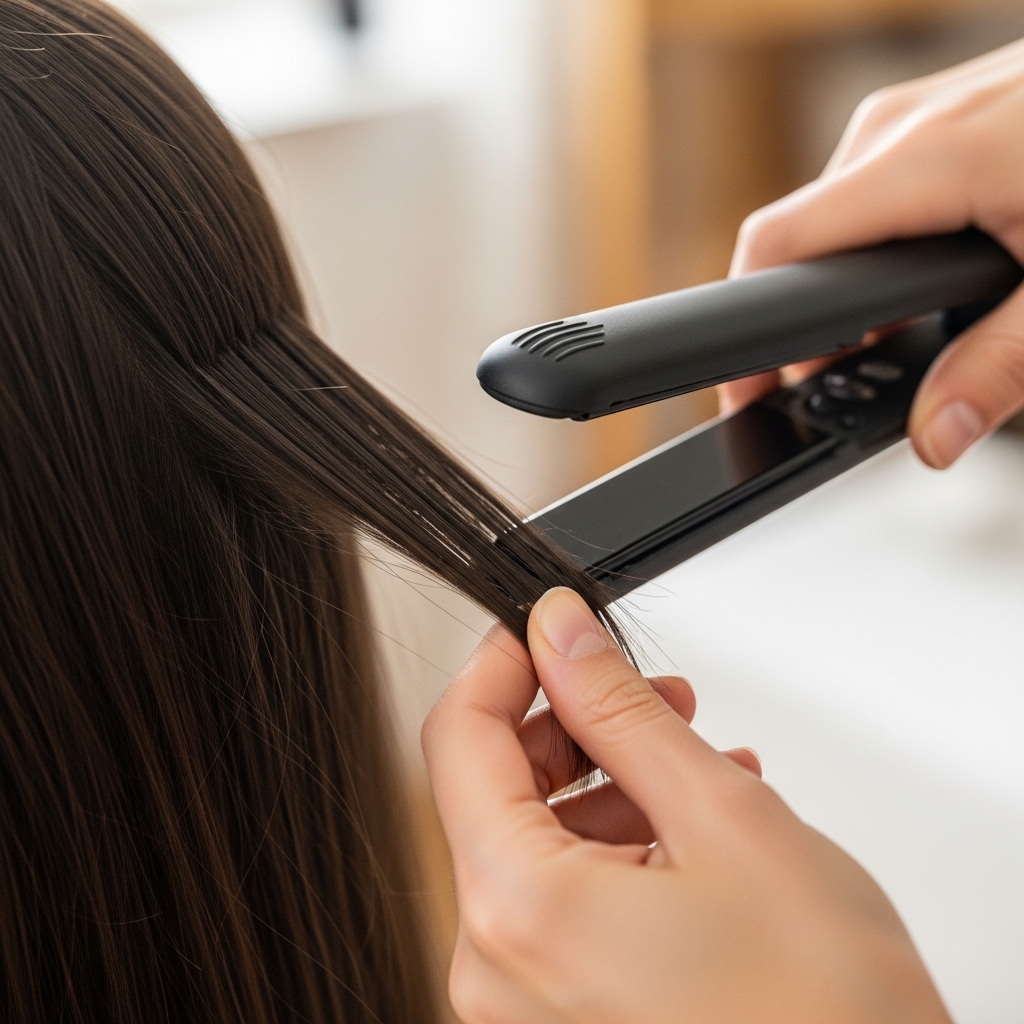
Just like with blow-drying, small sections are key. I take sections no wider than the iron itself, usually about half an inch.
This ensures every single strand gets heated and straightened evenly. If your sections are too thick, the hair in the middle won’t get touched, leaving you with uneven results and potential frizz.
13. The Slow, Steady Glide
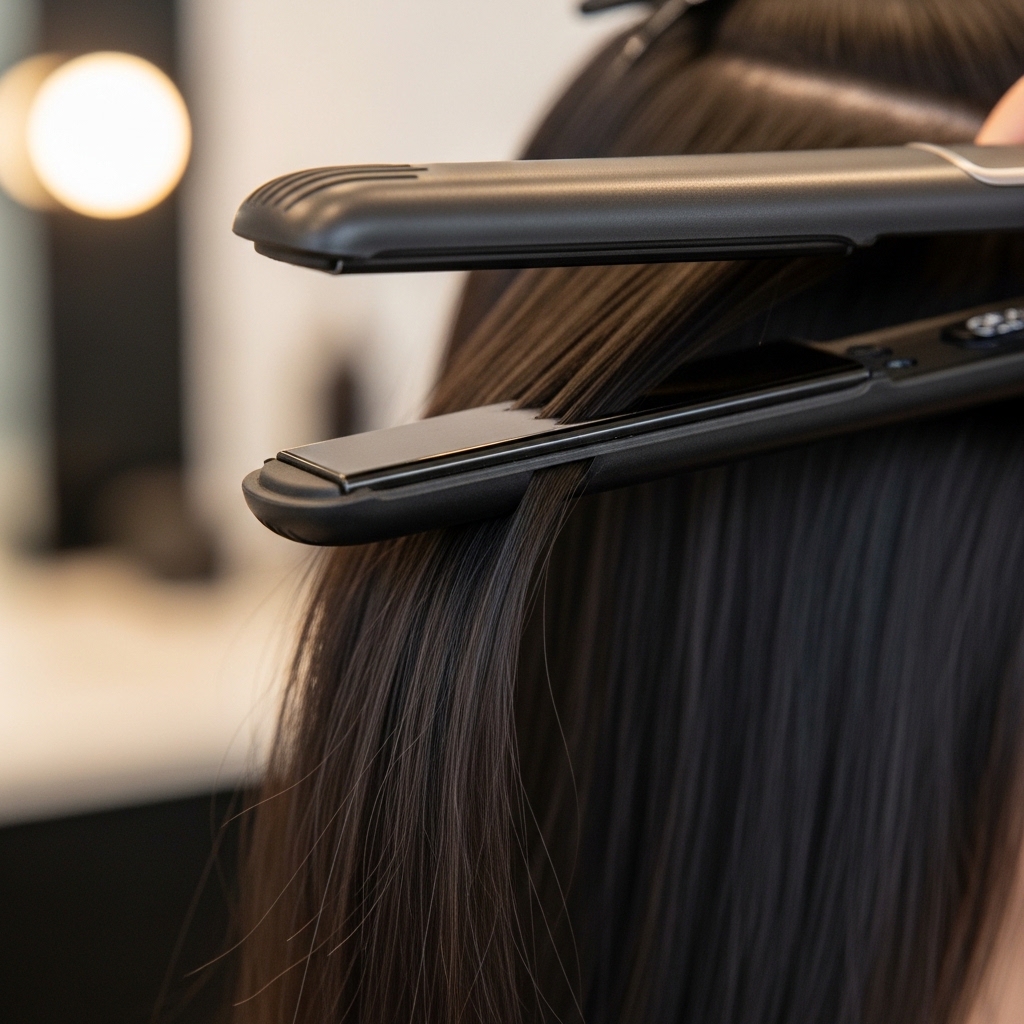
Don’t clamp and yank. Clamp the iron at the root, give it a slight pause, then glide down the hair section in one slow, steady motion.
I go over each section only once. Repeated passes with high heat cause damage. A single, careful pass with the right technique is all you need for that mirror-like finish.
14. Don’t Forget Your Roots
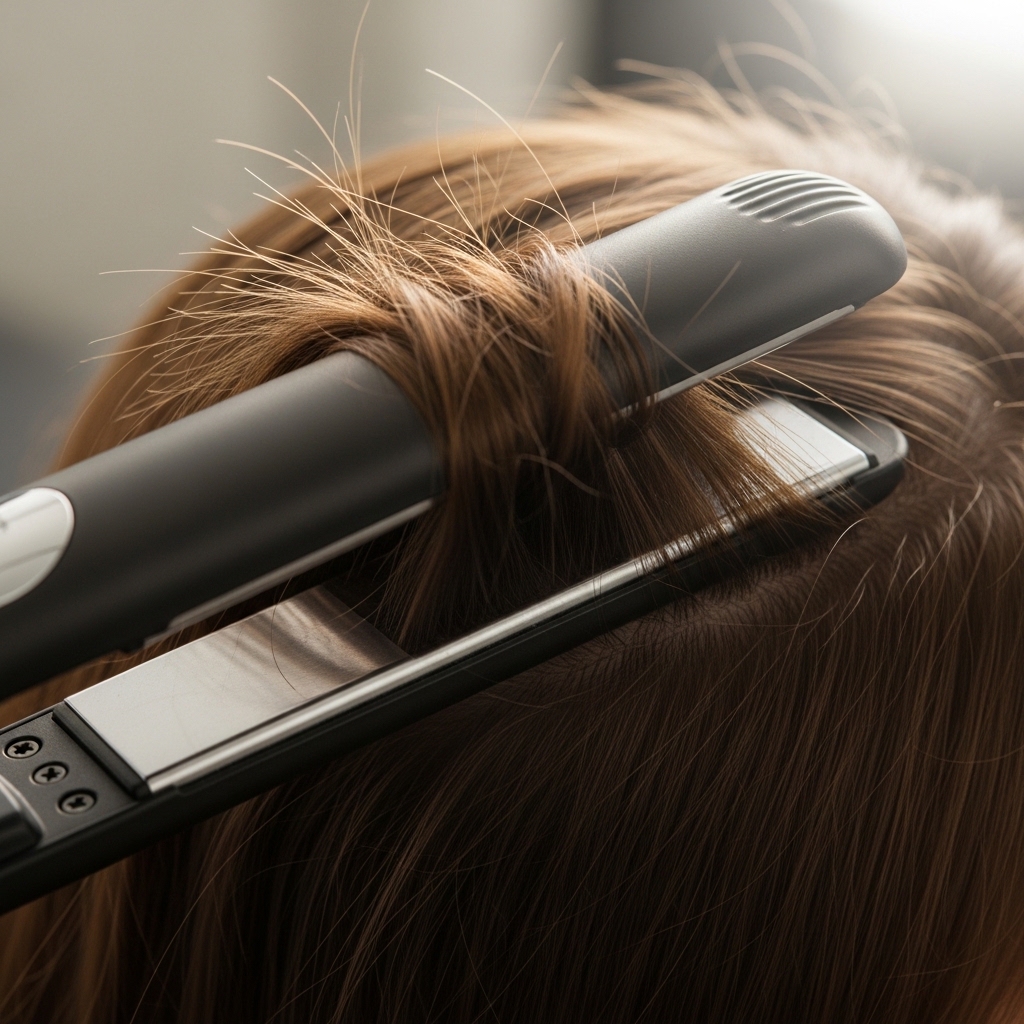
To get that polished “done” look, you need to address the roots. After a section is straightened, I often go back and clamp the iron right at the root, flipping it slightly upward.
This smooths any kinks from sleeping or blow-drying and gives a tiny bit of lift. It’s what makes the difference between flat hair and sleek hair with body.
15. The Final Shine Serum Touch
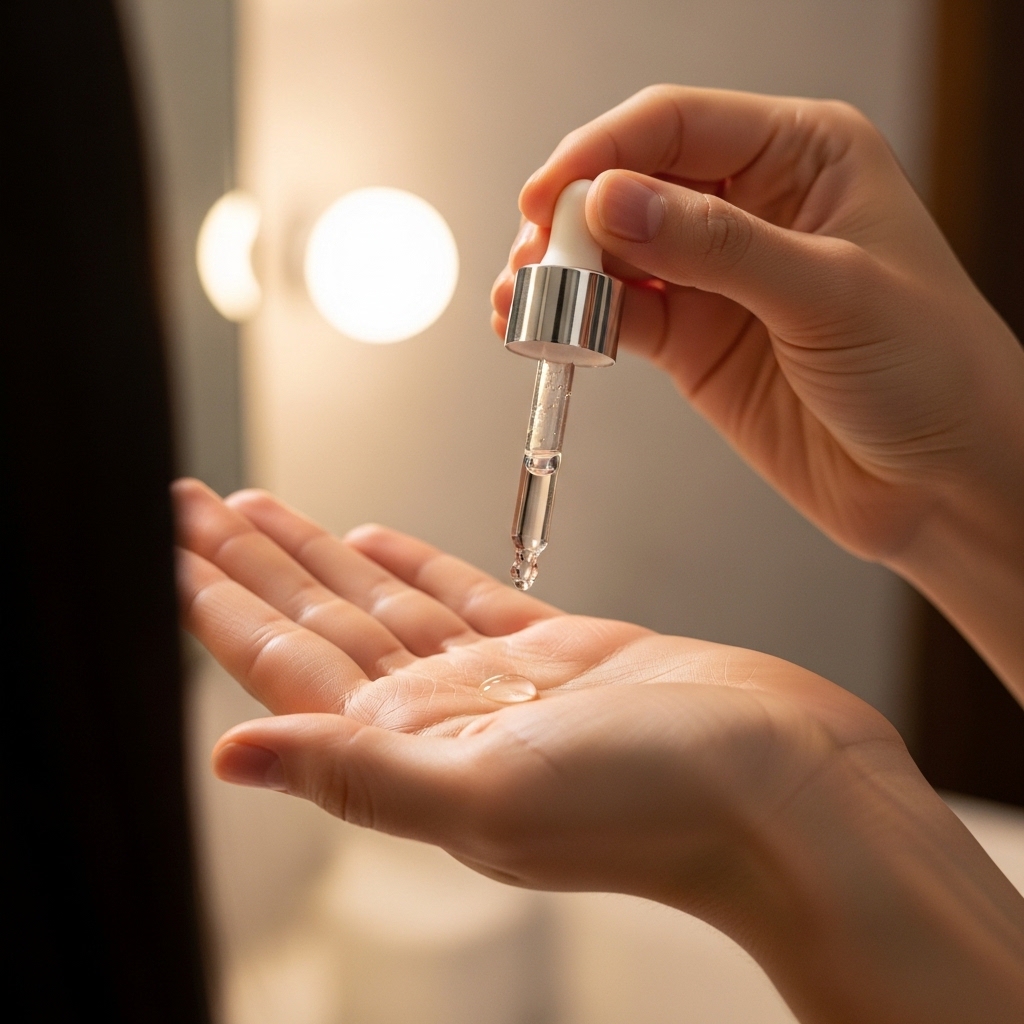
Once your whole head is done, it’s time for the finishing magic. Take one drop—literally, one drop—of a lightweight shine serum.
Rub it between your palms and gently smooth it over the surface of your hair, focusing on the ends. This is what creates that incredible “glass hair” effect and tames any last flyaways.
16. Fighting Frizz With Hairspray
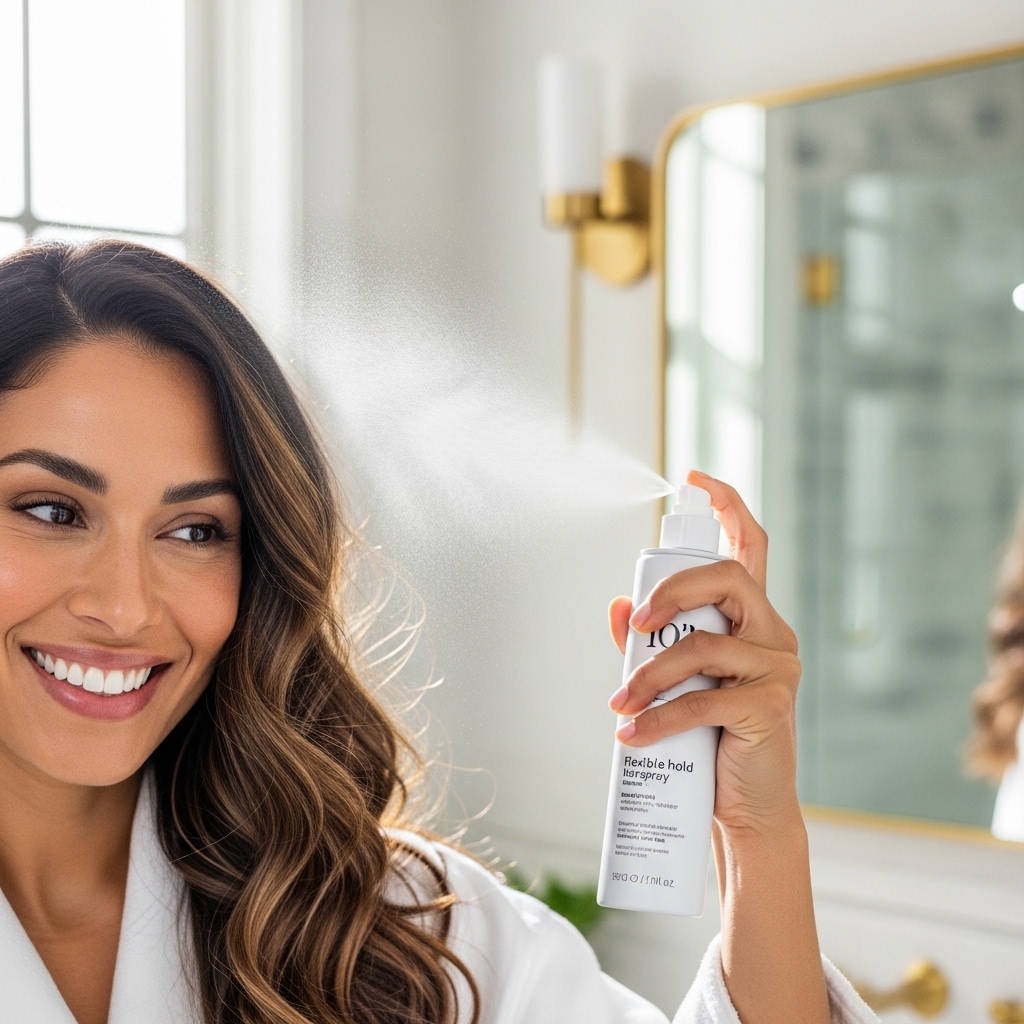
I use a light-hold, flexible hairspray. Not the crunchy kind! Hold the can about 10 inches away and give your hair a light, overall mist.
This sets everything in place and creates a barrier against humidity. It keeps your sleek style looking fresh from morning until night without feeling stiff or sticky.
17. Nighttime Protection Routine
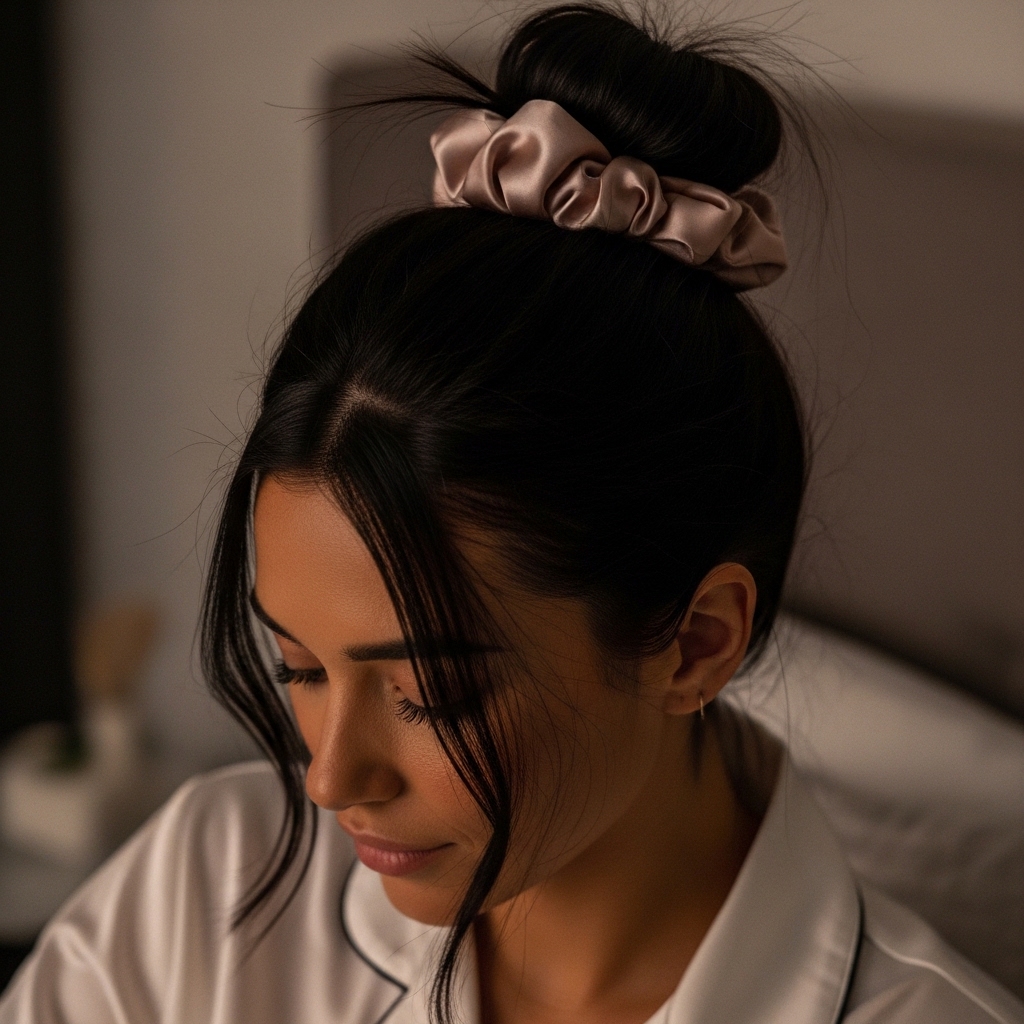
Your work doesn’t end when you go to bed. To preserve your style, always sleep on a silk or satin pillowcase. It creates less friction than cotton.
I also often put my hair in a very loose, high ponytail on top of my head using a silk scrunchie. This prevents it from getting tangled or smashed as I sleep.
18. The Next-Day Refresh
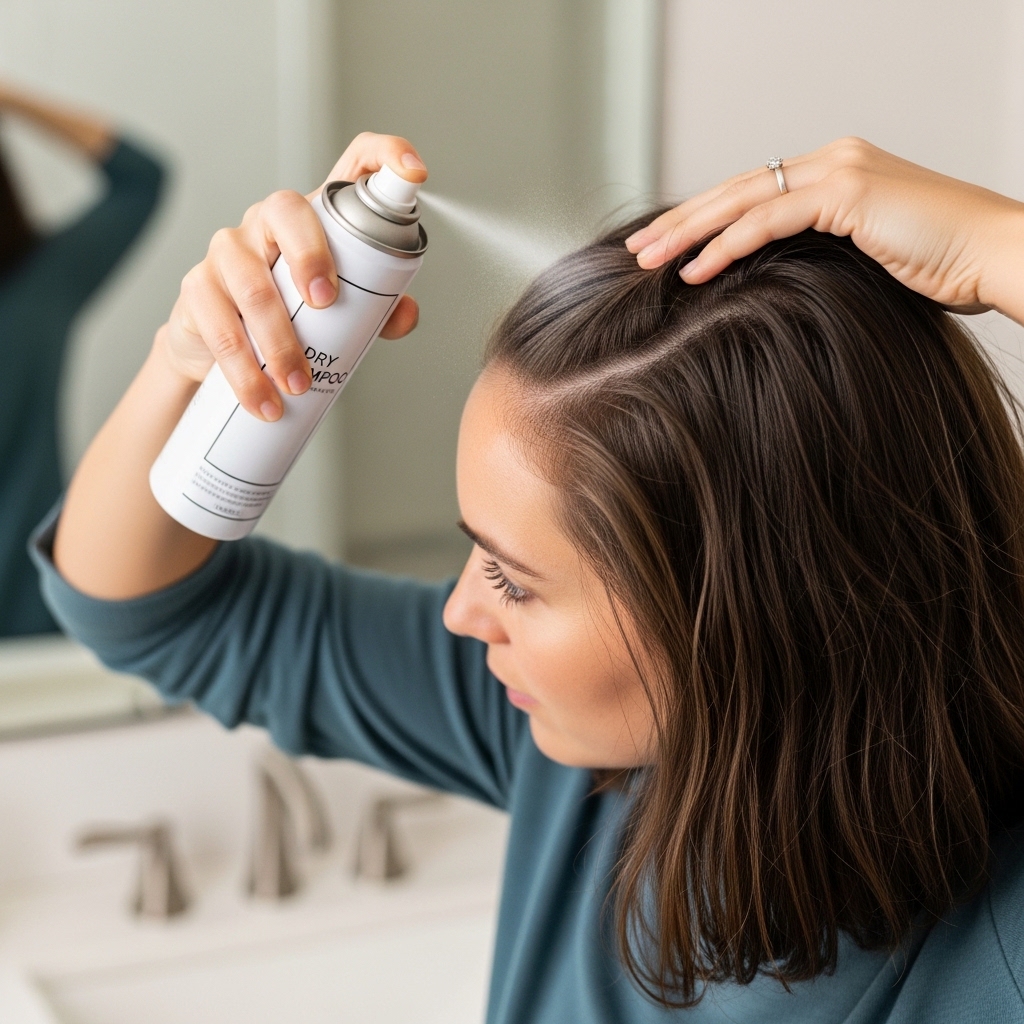
On day two, you likely don’t need to start over. A little dry shampoo at the roots absorbs oil and adds volume. Then, use a small, travel-sized flat iron to smooth any pieces that kinked overnight.
I just quickly go over the top layer and the hair around my face. A quick pass is all it takes to look freshly styled again.
19. Weekly Deep Conditioning Treatment
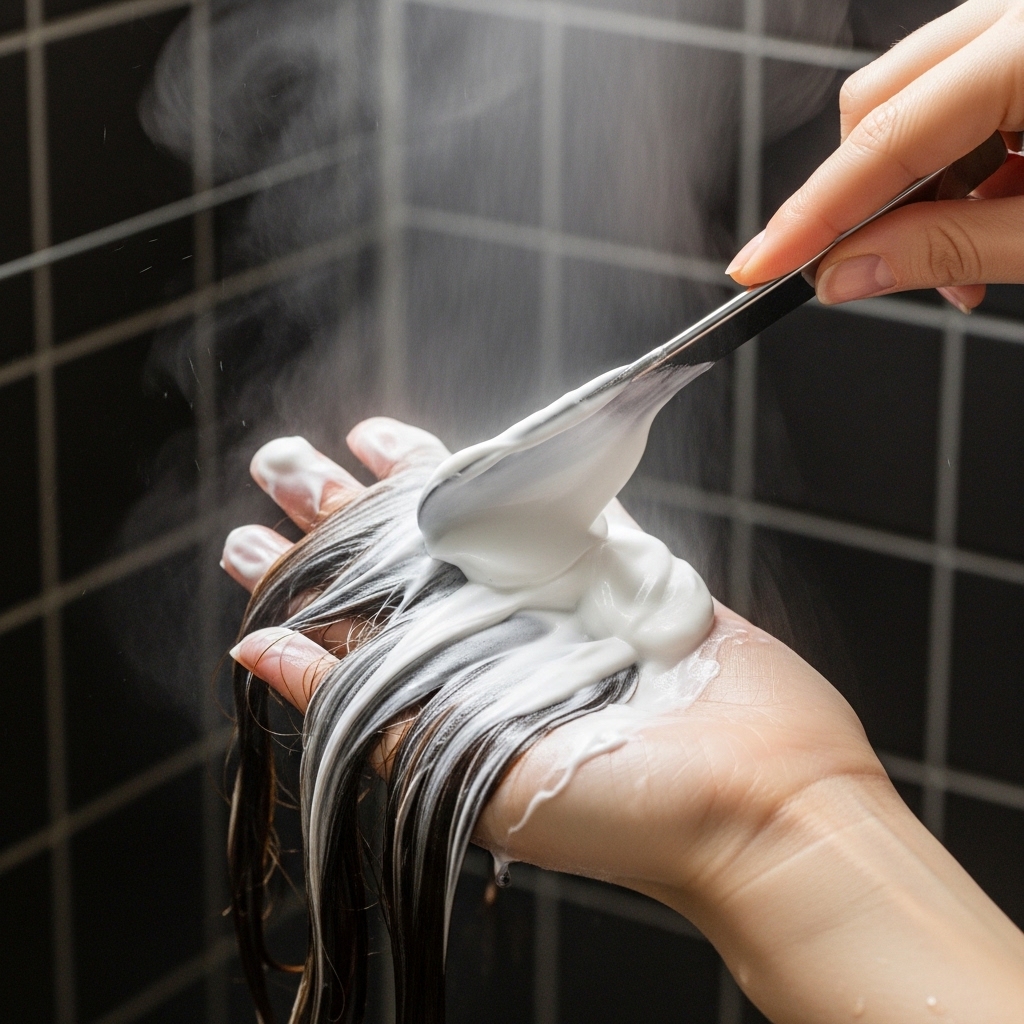
All this heat styling requires repair. Once a week, I swap my regular conditioner for a deep conditioning mask. I apply it from my ears down and leave it on for a full 10 minutes.
This replenishes moisture, prevents breakage, and keeps my hair feeling soft and strong. Healthy hair straightens better, period.
20. Regular Trims Are Essential

You can’t have sleek ends if they’re split and frayed. I get a tiny trim every 8-10 weeks, even if it’s just a dusting.
This removes any damage before it travels up the hair shaft. It keeps your style looking sharp and healthy, whether you’re rocking a classic cut or something more trendy like the hime cut.
21. Diet & Hydration For Hair Health
What you put in your body shows up in your hair. I focus on eating enough protein, healthy fats (like avocado and nuts), and drinking tons of water.
This internal care helps your hair grow stronger and shinier from the inside out. Supplements like biotin or collagen can help too, but food first!
22. Embracing Different Textures
Even with this routine, I don’t wear my hair super straight every single day. Giving your hair a break from heat is crucial.
On off days, I’ll wear it in a braid or let it air dry with a texturizing spray. This balance is what keeps my hair healthy enough to achieve that sleek look when I want it. It’s the secret behind many 2026 hairstyles—versatility and health.
23. Finding Your Signature Style
This routine is your foundation. Once you’ve mastered the health and the technique, you can play with the style. Maybe you want a blunt quiet luxury bob, or maybe you’re feeling a touch of romantic goth hairstyles with a deep side part.
The point is, with great hair health, you can pull off anything. This gives you the perfect canvas for everything from glitchy glam hair accents to a sharp vampire haircut. It’s all about having the confidence that comes from great hair.
And there you have it—my entire playbook. It might seem like a lot of steps written out, but honestly, once you get into the rhythm, it becomes second nature. The whole process takes me about 30 minutes from shower to finish now.
The best part isn’t just the compliments (though those are nice!). It’s the feeling of having one less thing to worry about. When your hair looks polished and healthy, it gives you a boost of confidence that carries through your whole day.
Save this post to Pinterest to keep this routine handy for your next wash day! And I’d love to know—which step are you most excited to try? Or do you have a sleek hair secret of your own? Share it with me in the comments below!

