
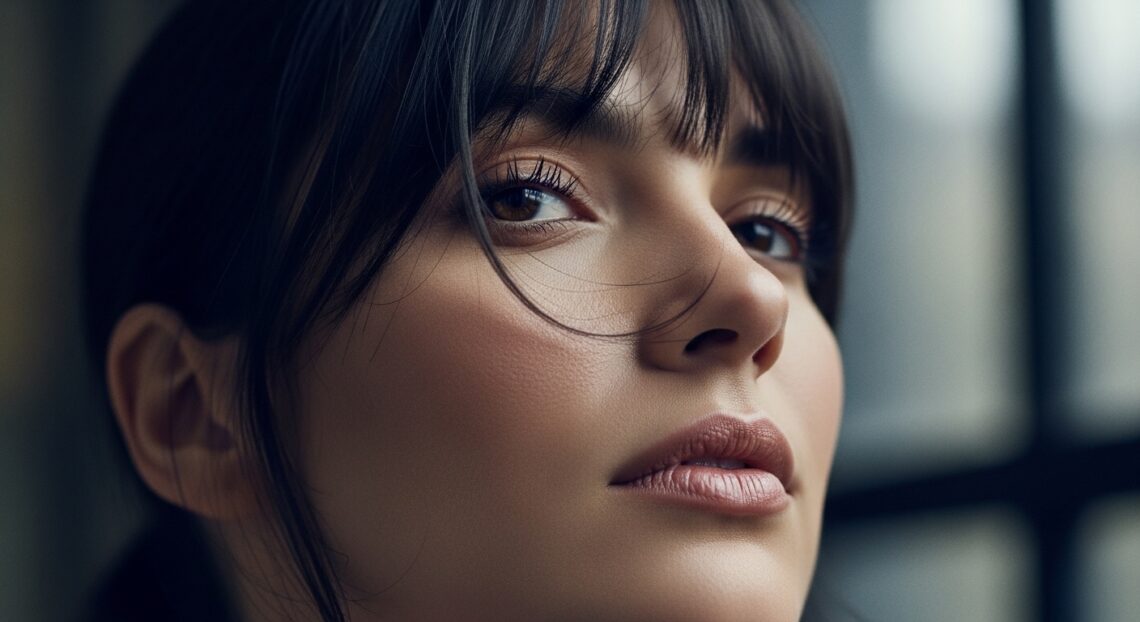
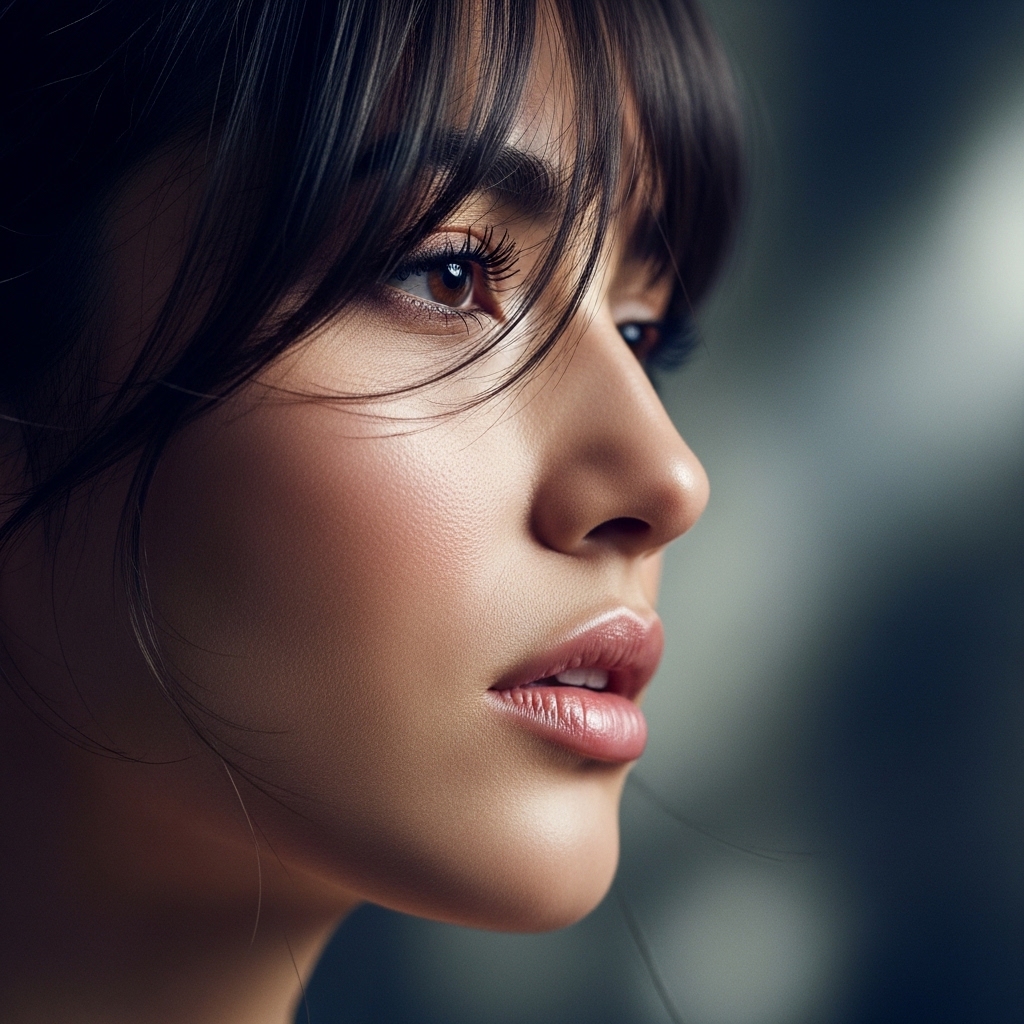
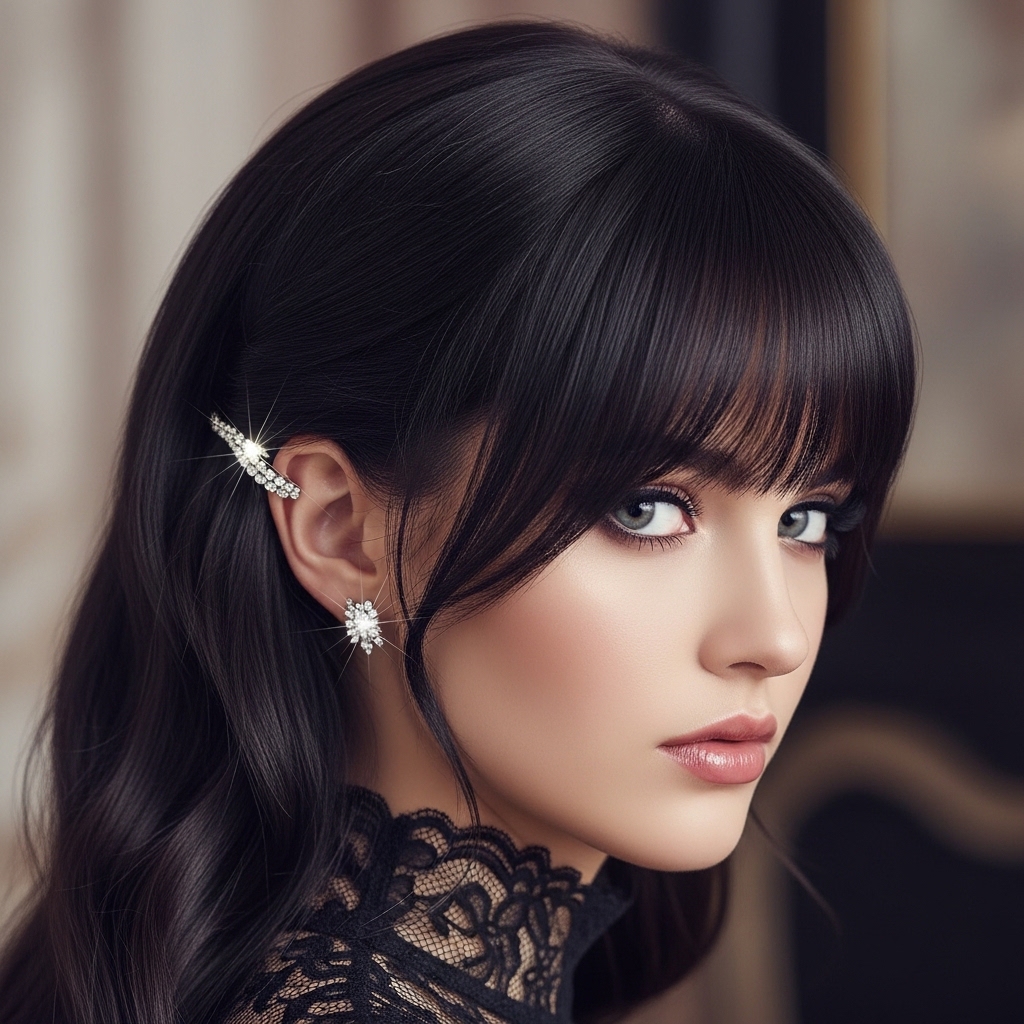
Okay, let’s be real. Sometimes you want a hairstyle that feels like a whole mood. Something that whispers “romantic poet” but also has a little edge. That’s exactly where these romantic goth side swept bangs come in. They’re soft, they’re dramatic, and they completely change your look without a huge commitment.
I’ve been loving this vibe lately—it’s a perfect mix of 2026 hairstyles trends and that timeless, mysterious feel. Think less scary, more storybook. The best part? It works on so many cuts, from a sharp asymmetrical lob to longer layers.
This tutorial is super easy, I promise. Whether you’re a pro with styling tools or just getting started, you can nail this look. We’re going to break it down step-by-step, so you can get that perfect, swoopy fringe that frames your face beautifully. Let’s get into it!
What Makes a Bang “Romantic Goth”?
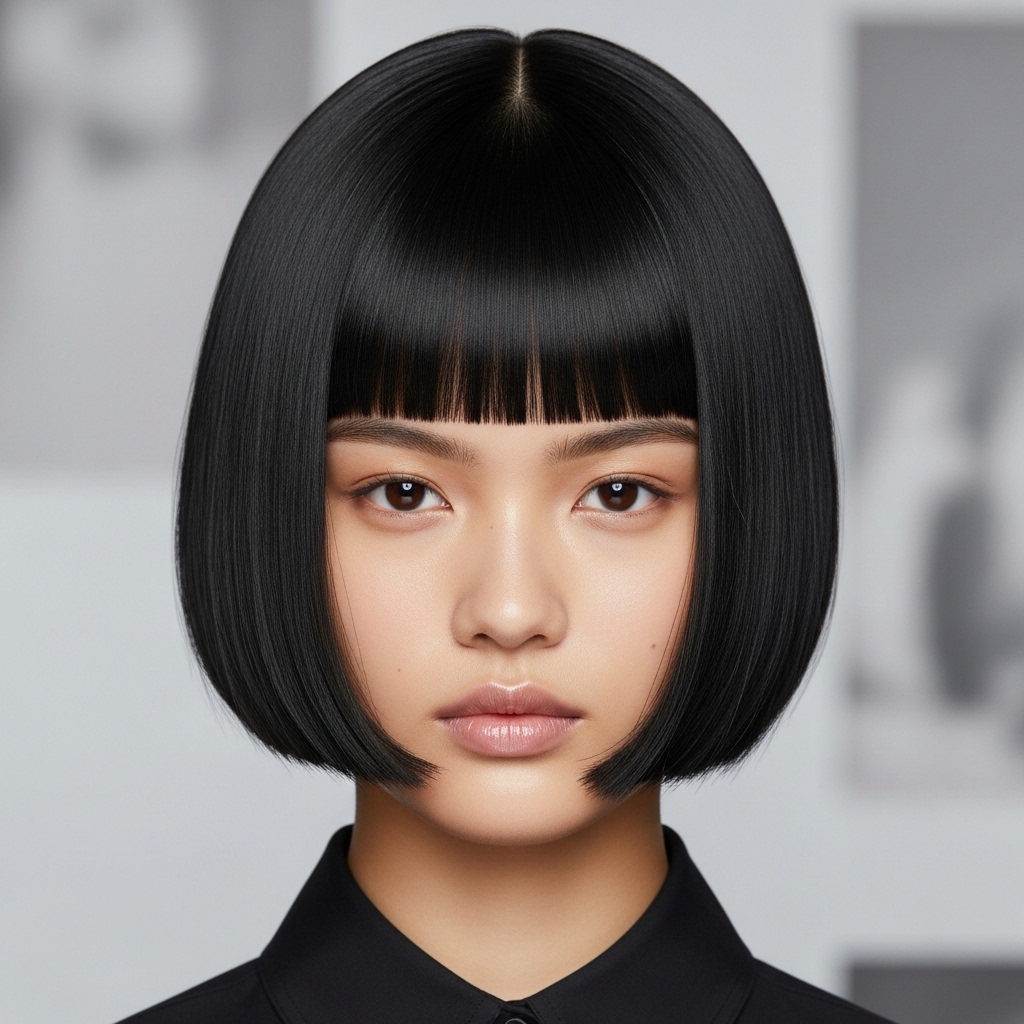
It’s all about the contrast. We’re not going for blunt, severe lines here. Romantic goth hairstyles are defined by softness and movement. The bangs are longer, swept to one side, and have a piecey, textured feel.
They create a beautiful frame for your eyes and cheekbones, offering a veil of mystery that’s effortlessly cool. This look pairs perfectly with other trends like the quiet luxury bob or even a glitchy glam hair finish for a modern twist.
Haircut Inspiration: The Right Foundation
Starting with the right cut is key. You’ll want your stylist to cut your bags long—they should at least graze your cheekbones when swept aside. This isn’t a short, forehead-only fringe.
This style looks amazing with:
- A shoulder-grazing asymmetrical lob
- Long, face-framing layers
- A textured hime cut for a bold statement
- The classic vampire haircut with its sharp angles

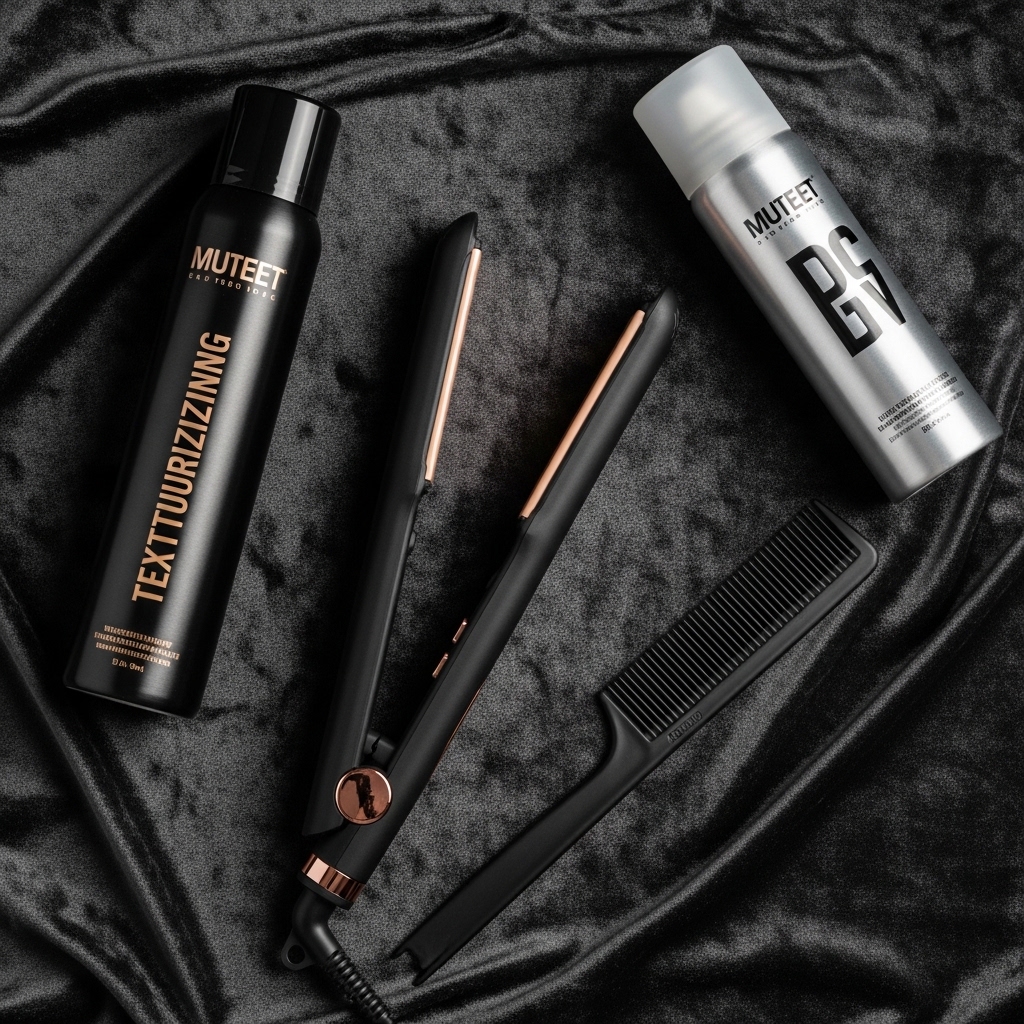
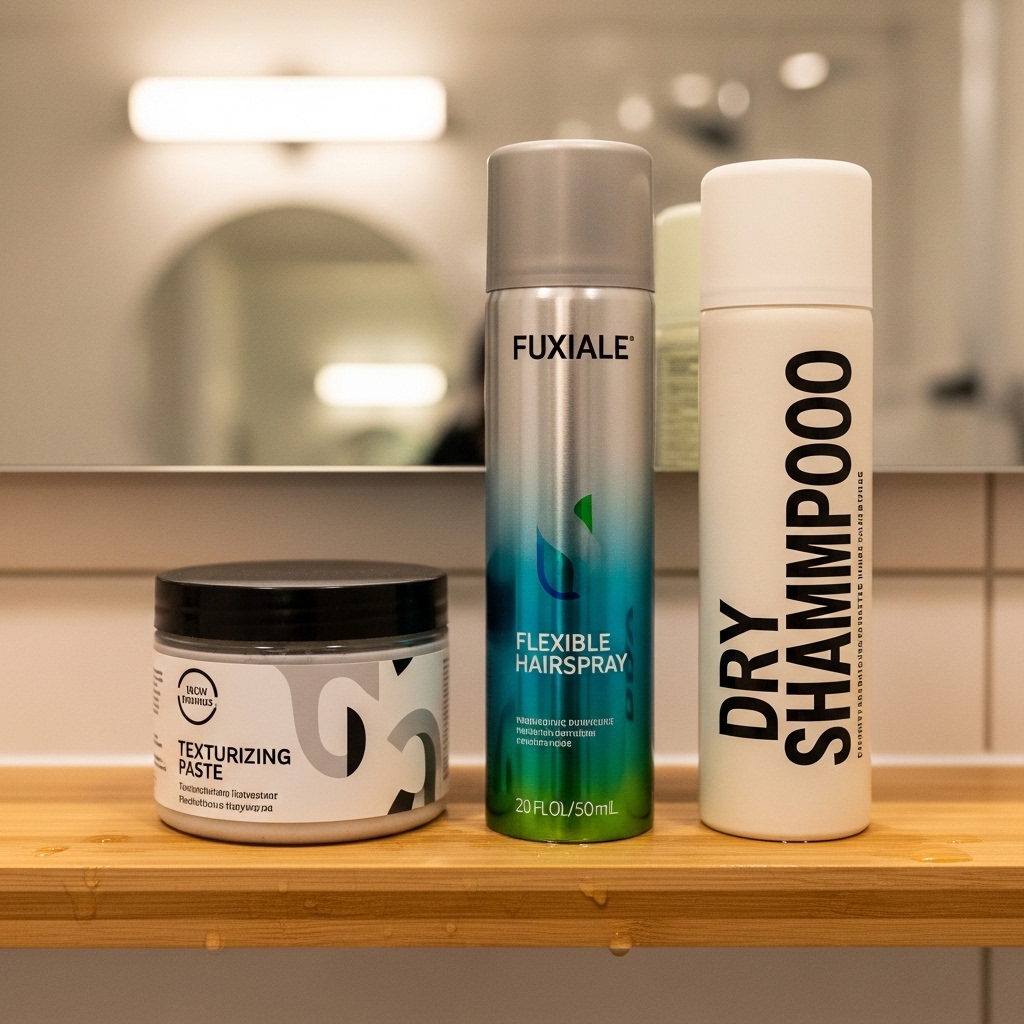
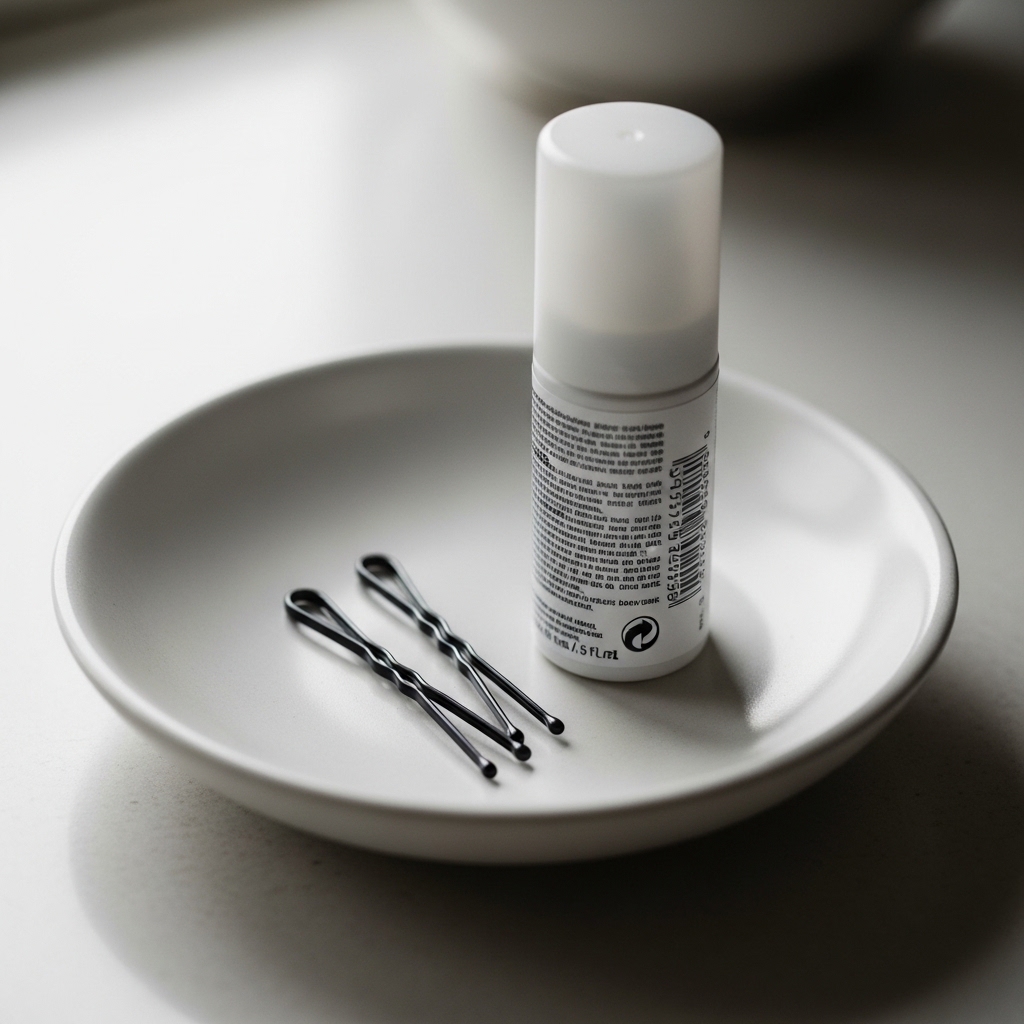
Tools You’ll Absolutely Need
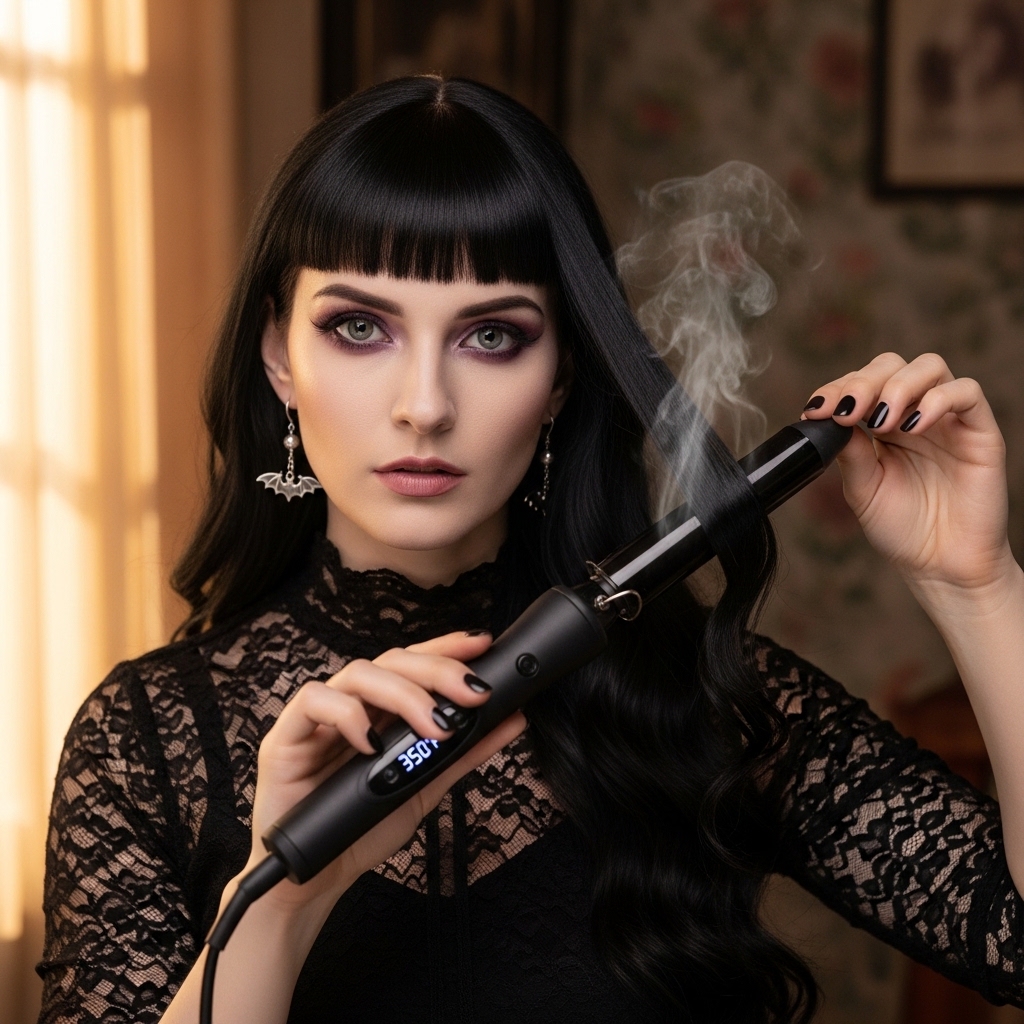
Don’t worry, you don’t need a salon full of equipment. Just a few basics will get you there. First, a good flat iron or curling wand with a rounded barrel. A 1-inch iron is perfect for creating that soft bend.
You’ll also need a strong-hold hairspray (but one that allows movement), a texturizing spray or dry shampoo, and a fine-tooth comb for sectioning. A heat protectant is non-negotiable to keep your hair healthy.
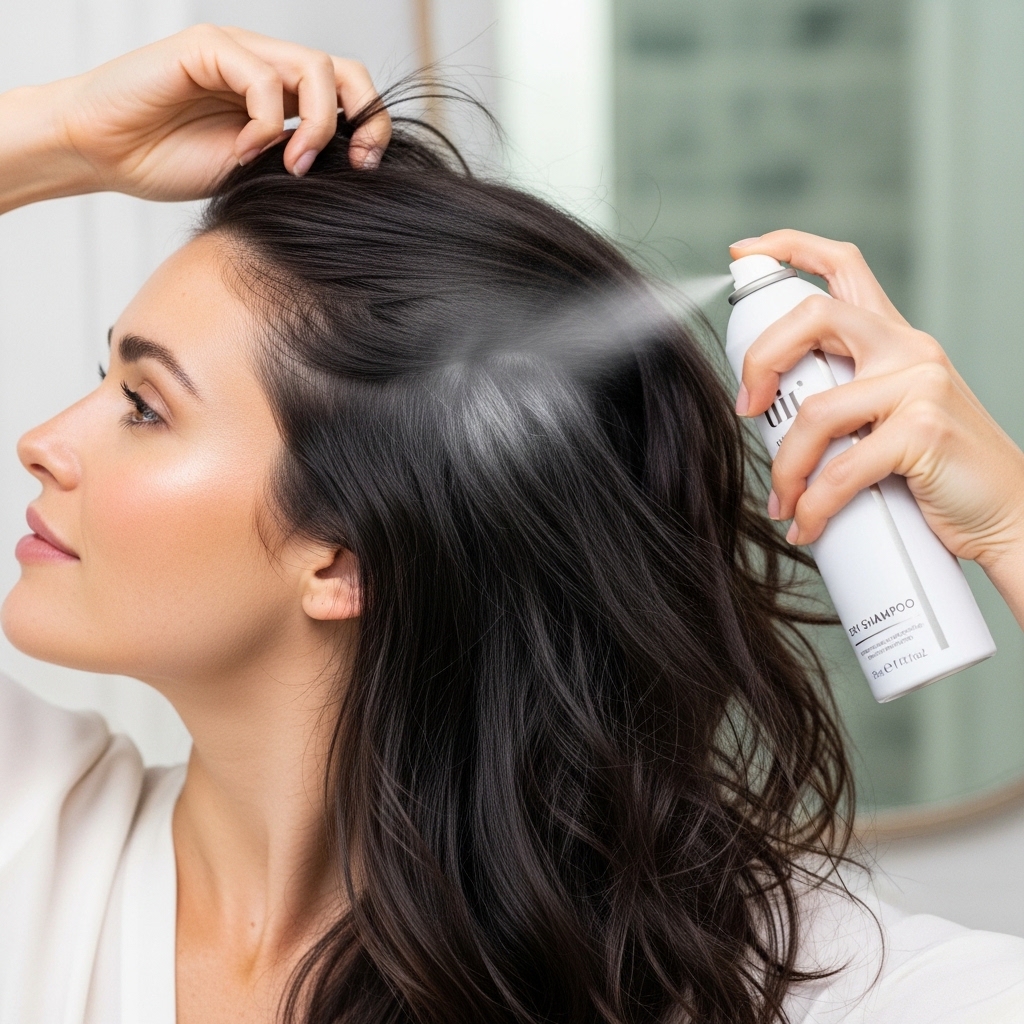
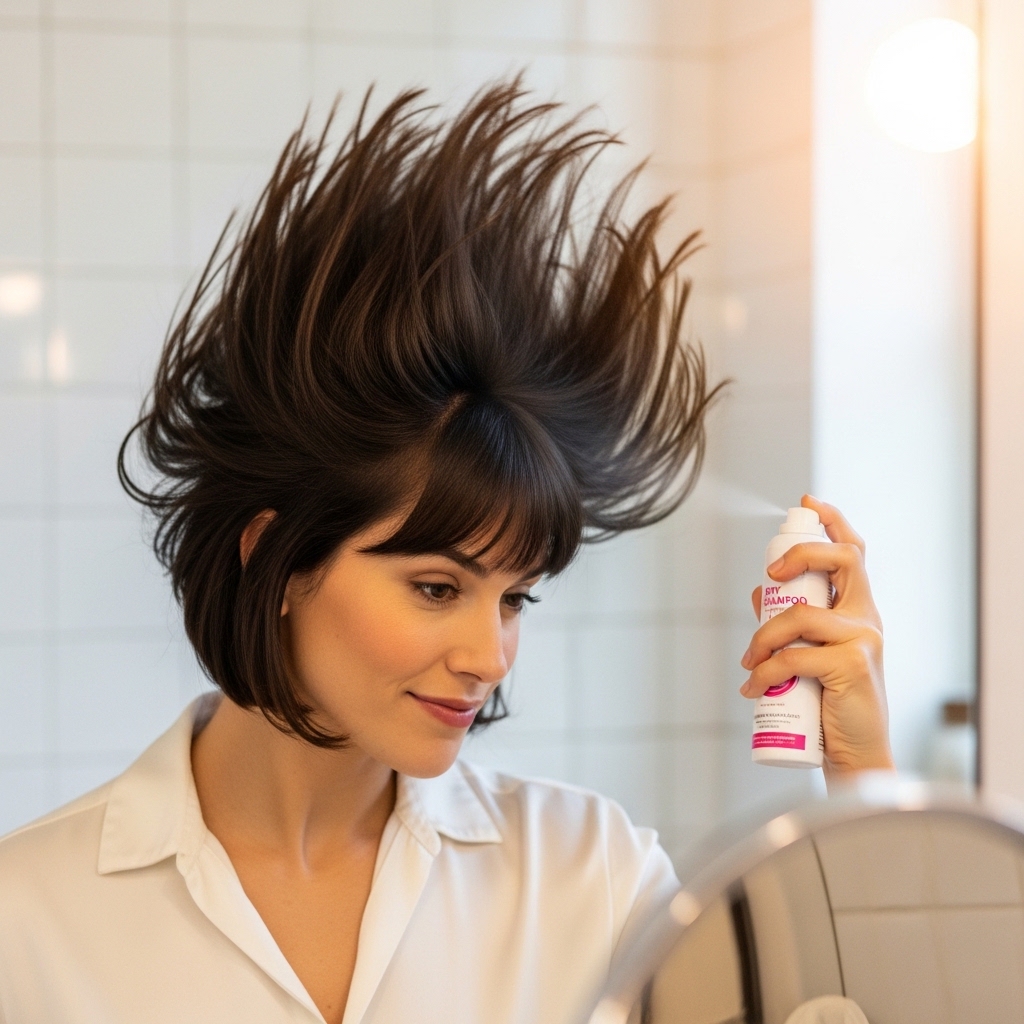
Step 1: Start With Day-Old Hair
Trust me on this one. Freshly washed hair can be too slippery and soft to hold this style well. Day-two or even day-three hair has natural texture and oils that help the shape stick.
If your hair is clean, spray some dry shampoo at the roots. This gives your hair some grit and volume, which is the perfect base for getting those bangs to stay put and look piecey, not flat.
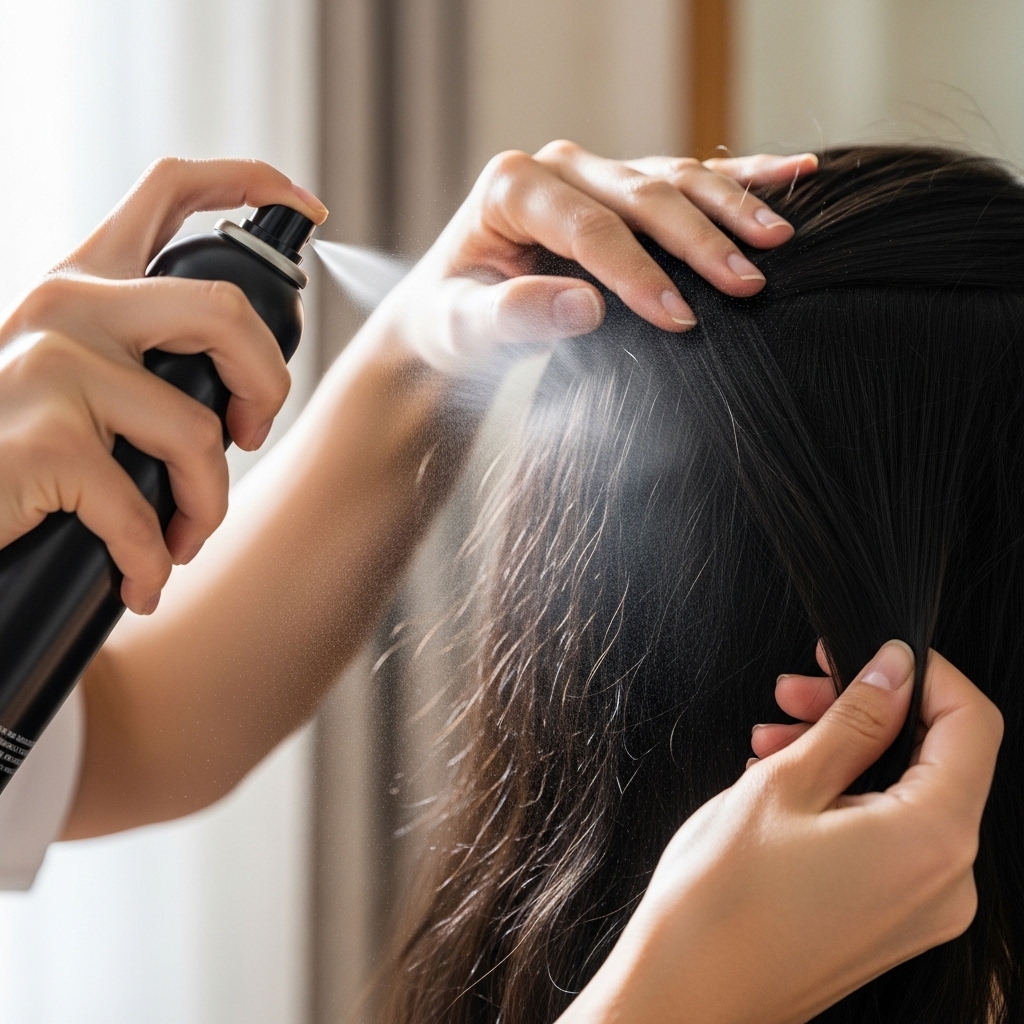
Step 2: Protect & Prep Your Hair
Before any heat touches your hair, apply a heat protectant spray. Focus it on the front sections and your bangs, as they’ll get the most styling. This simple step prevents damage and keeps your hair shiny.
Then, give your whole head a light mist of texturizing spray. This is our secret weapon for that “lived-in” romantic goth texture. It helps every piece hold its shape without looking stiff or helmet-like.
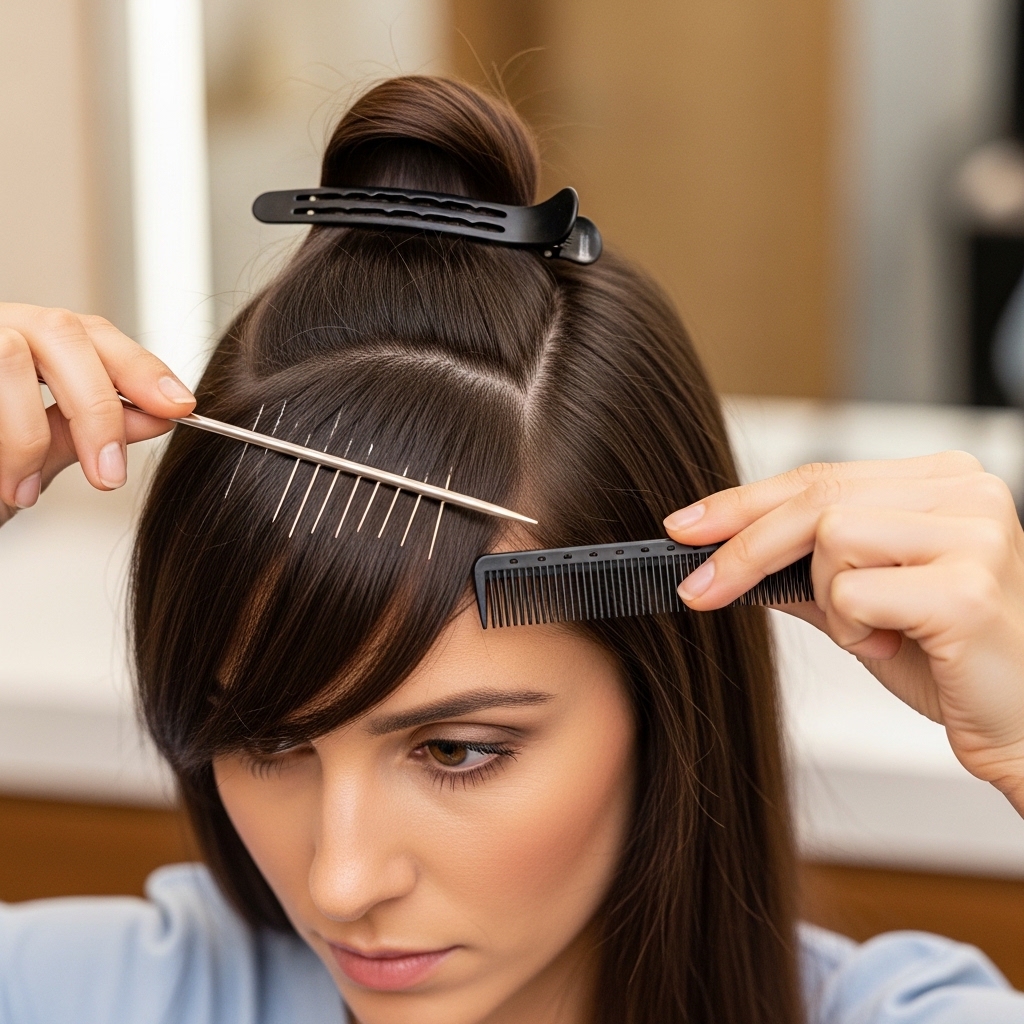
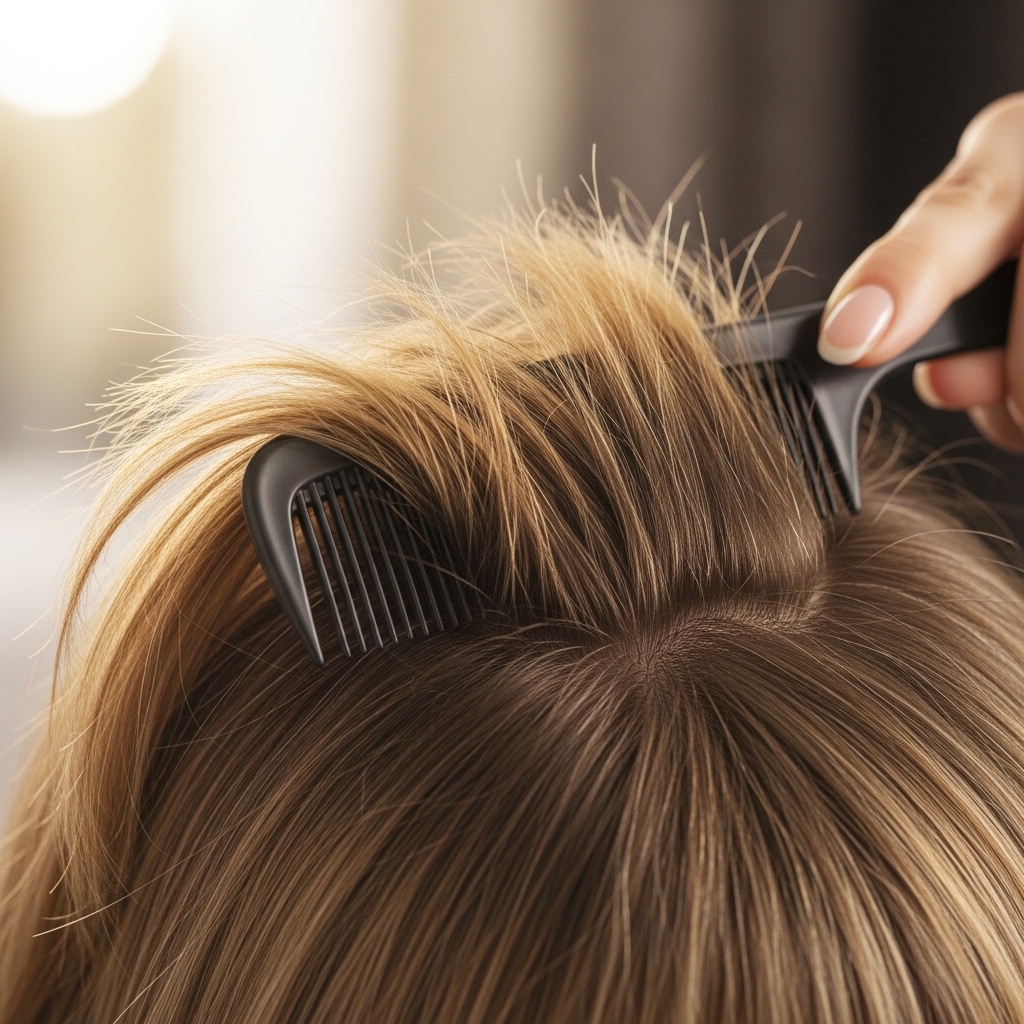
Step 3: Isolate Your Bang Section
Using the fine-tooth comb, section off the hair you want to be your bangs. This is usually a triangle from the crown of your head down to your temples. Don’t make it too thick—we want wispy, not heavy.
Clip the rest of your hair back so it’s out of the way. For a true side-swept look, your bangs section should be heavier on one side. It’s okay if it’s not perfectly symmetrical!
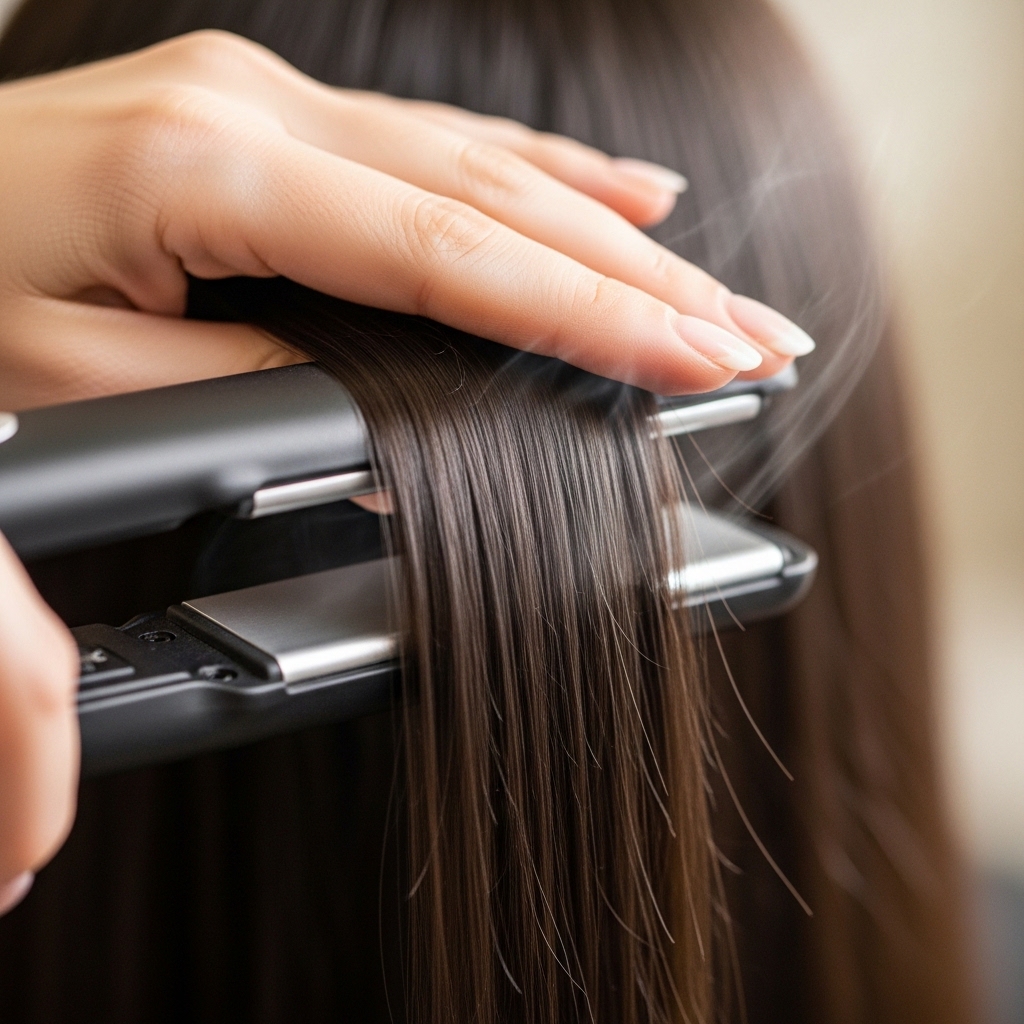
Step 4: The Initial Straighten
Take your flat iron and run it through your bang section to smooth it out. We’re not adding a curl yet, just getting rid of any kinks or waves. Use a medium heat setting.
Guide the iron downward, keeping the tension gentle. You want the hair to be smooth and manageable for the next step. This creates a clean canvas to build our romantic shape on top of.
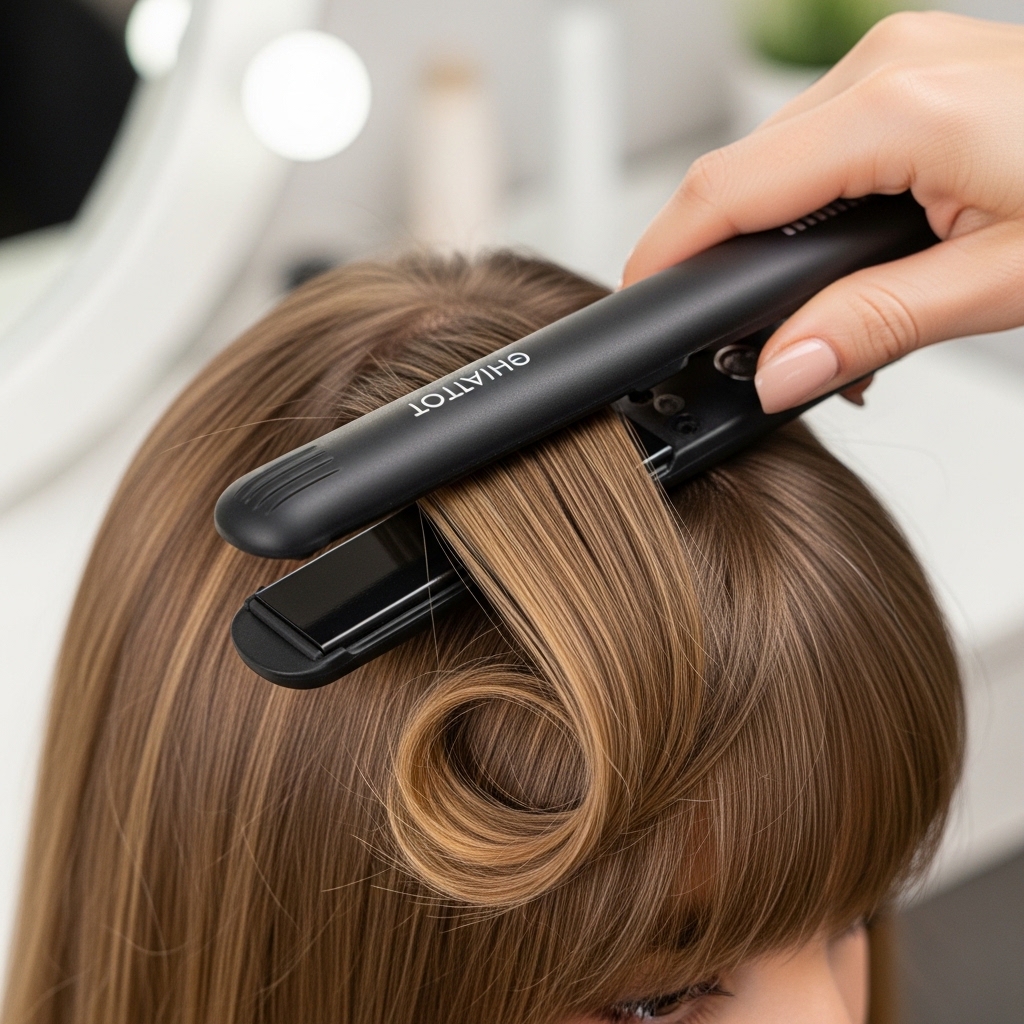
Step 5: Create the Signature “Swoop” Bend
This is the magic step. Re-take a section of your bangs. Place your flat iron about an inch from the roots. As you glide down, gently twist your wrist inward, toward your face.
This creates a soft “C” shape bend, not a tight curl. The ends should flick slightly inward or outward, depending on your face shape. Repeat this on all pieces within your bang section.
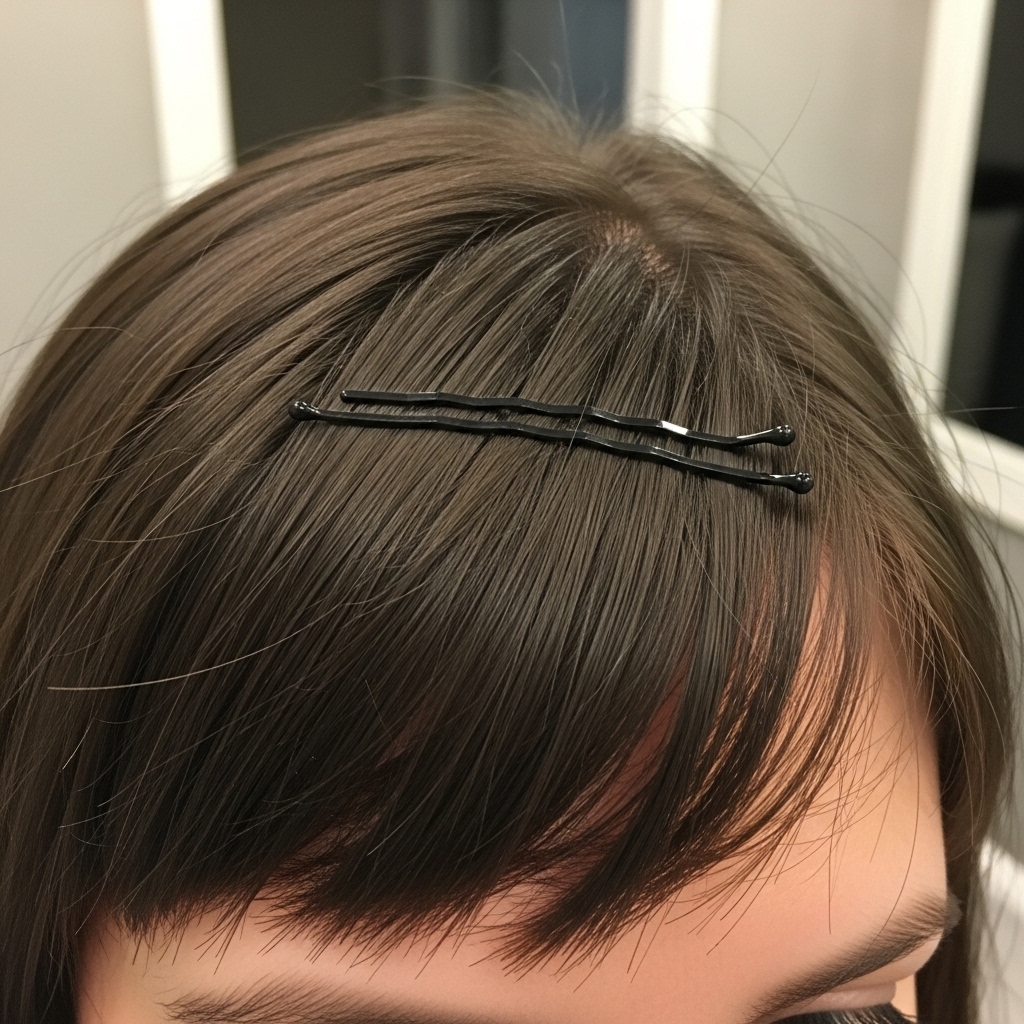
Step 6: Pin & Set the Shape
Once all your bangs have that soft bend, sweep them to your preferred side. Use a large, open hair roller or a velcro roller and place it under the bangs where you want the highest volume.
Alternatively, you can just pin them to the side with a bobby pin. Let them cool completely like this. This “sets” the direction and the root lift, which is crucial for all-day hold.
Step 7: Tease for Root Volume
After cooling, remove the pin or roller. Lightly backcomb (tease) just at the roots of your bangs, underneath the top layer. Be gentle—we’re not going for 80s big hair.
This little bit of lift at the base is what gives that dramatic, swooping effect. It makes the bangs look fuller and more intentional, a key part of the romantic goth hairstyles aesthetic.
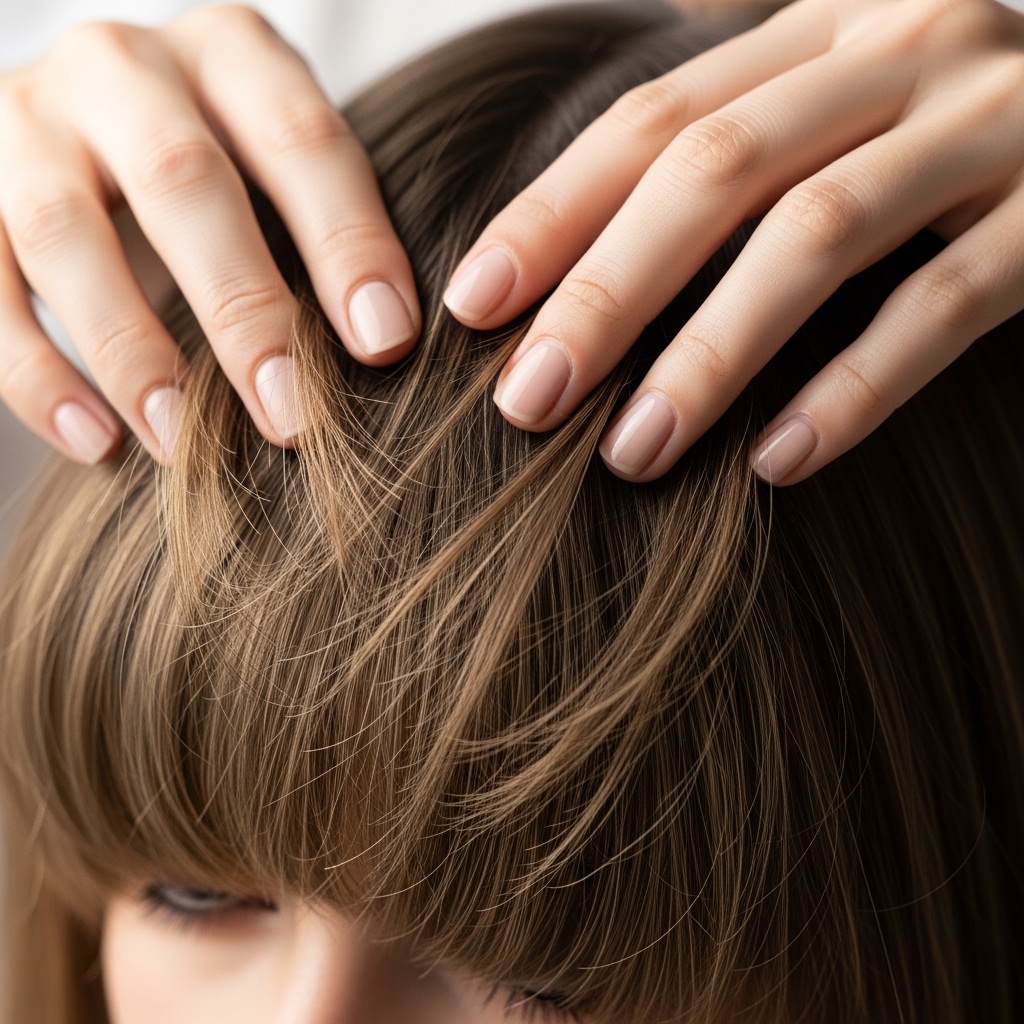
Step 8: Separate & Make “Pieces”
Now, don’t just leave it as one solid curtain of hair. Use your fingers to gently separate the bangs into 2-3 distinct, piecey sections. Pull a few wispy strands loose near your temples.
This breaks up the shape and makes it look effortless and soft. It’s the difference between a helmet and a hairstyle. This piecey texture is also a hallmark of glitchy glam hair.
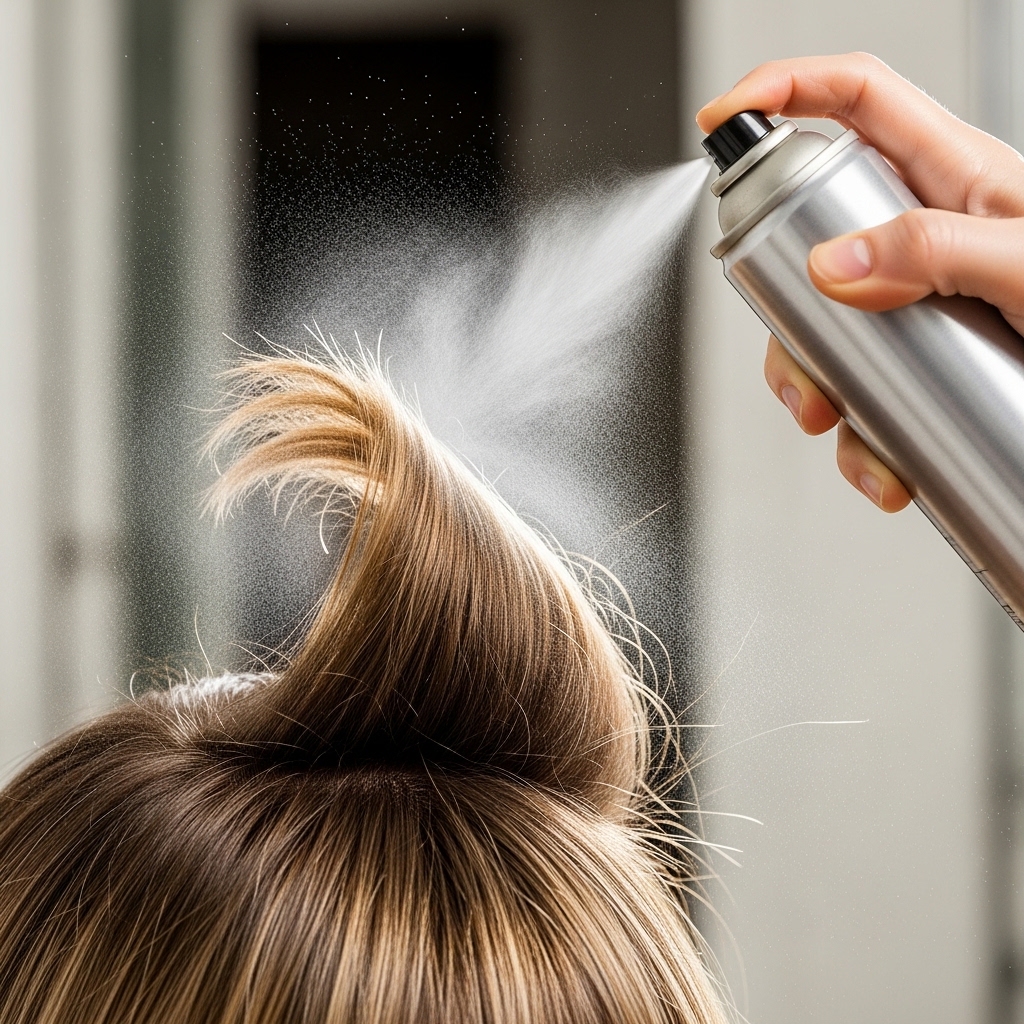
Step 9: Lock It In With Hairspray
Hold your hairspray about 10 inches away. Give your bangs a light, overall mist. Then, spray a bit more generously on a small section of hair near the roots, on the underside.
While the hairspray is still slightly damp, use your fingers to mold that section and hold it for a few seconds. This gives you flexible hold that doesn’t look crunchy.
Step 10: Style the Rest of Your Hair
Unclip the rest of your hair. How you style it depends on your cut! For a quiet luxury bob, just add a soft wave. For longer hair, loose waves or even a sleek, straight look works.
The goal is to have your bangs be the star. The rest of your hair should complement, not compete. A simple low bun or ponytail with these bangs is also incredibly chic.
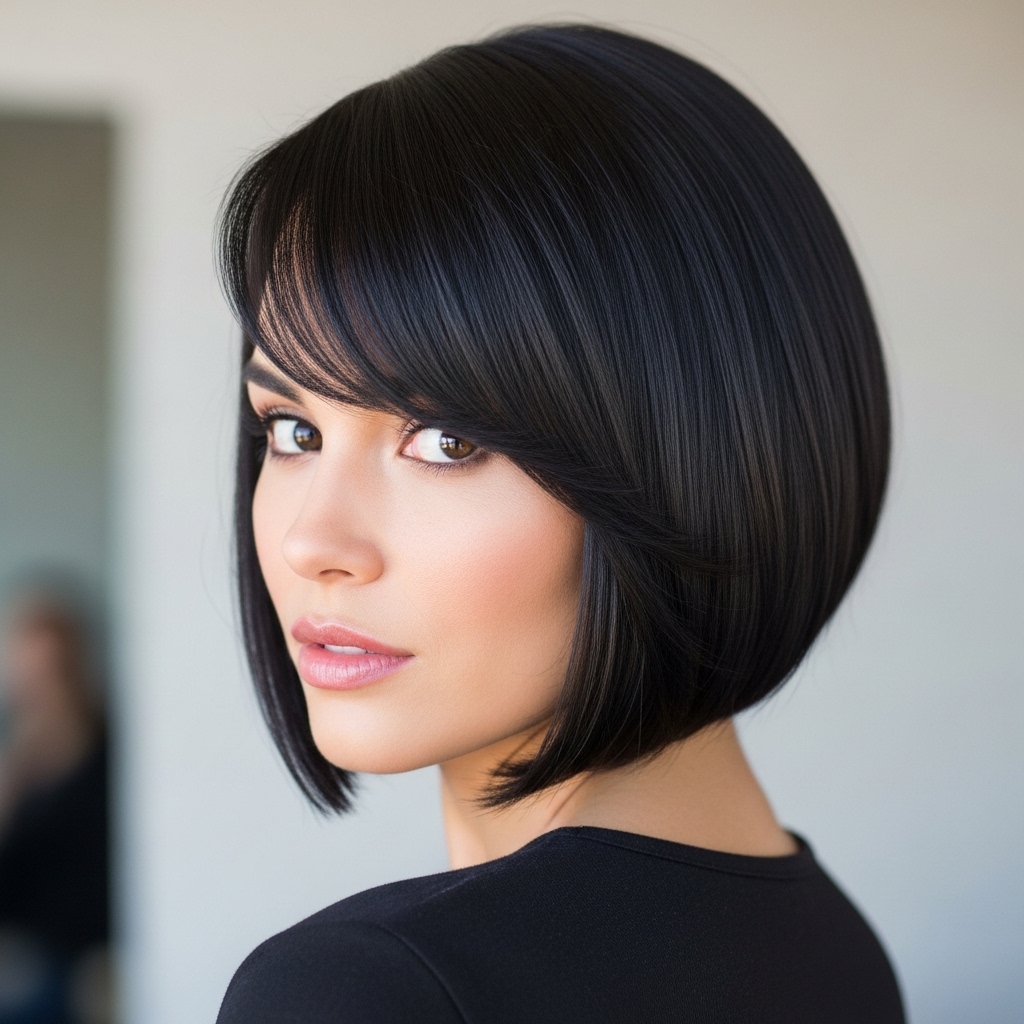
Adapting It for a Bob or Lob
This look is stunning on shorter hair. If you have an asymmetrical lob or a blunt bob, the technique is the same. The bangs will just blend seamlessly into your shorter length.
It creates a very modern, editorial feel. Think of it as the cooler, darker cousin of the old money hair trend—less polished, more poetic. The contrast between the soft bangs and sharp bob is everything.
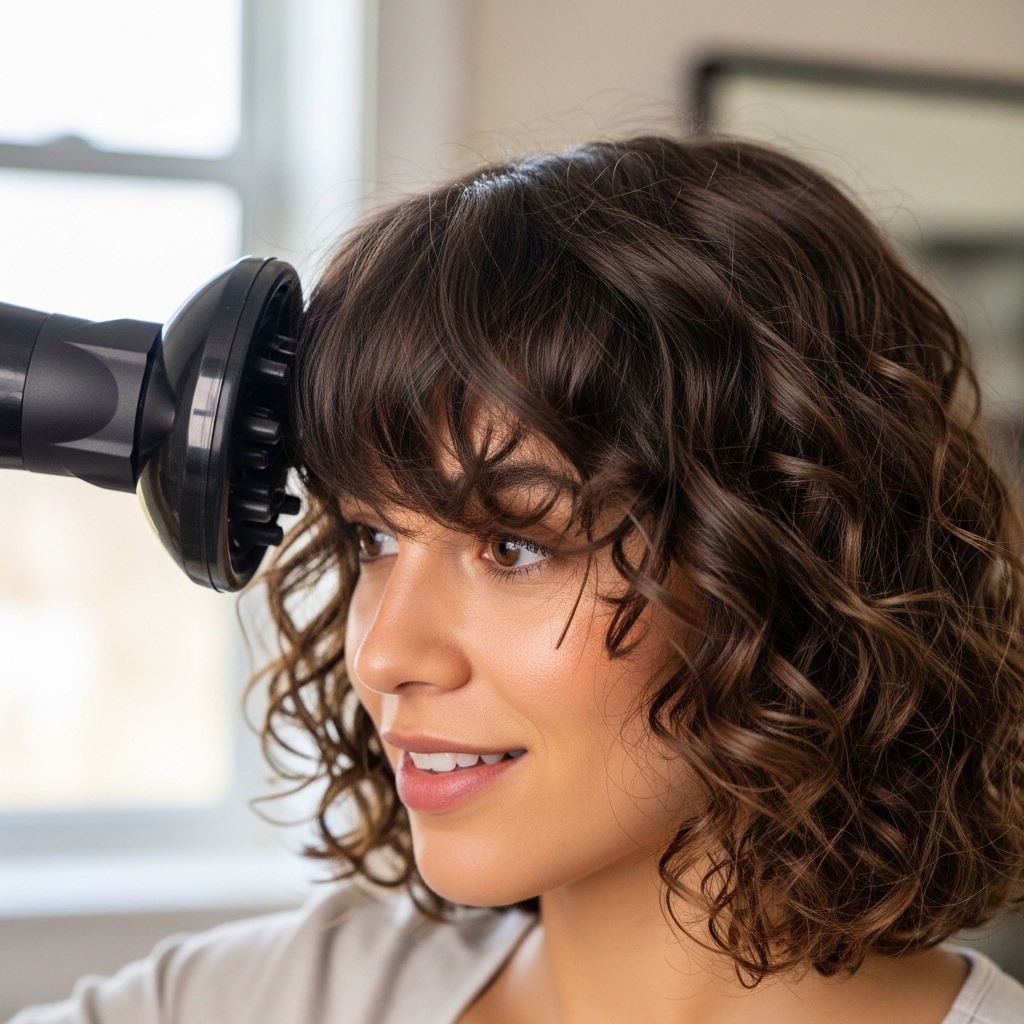
Making It Work With Curly Hair
If you have natural curls or waves, you can absolutely rock this! Embrace your texture. Use a diffuser to dry your bang section, scrunching it up toward your roots to encourage volume.
Then, use the cool shot button to set it. Use your fingers to sweep and separate the curls into defined pieces. A light-hold curl cream will help define the shape without weighing it down.
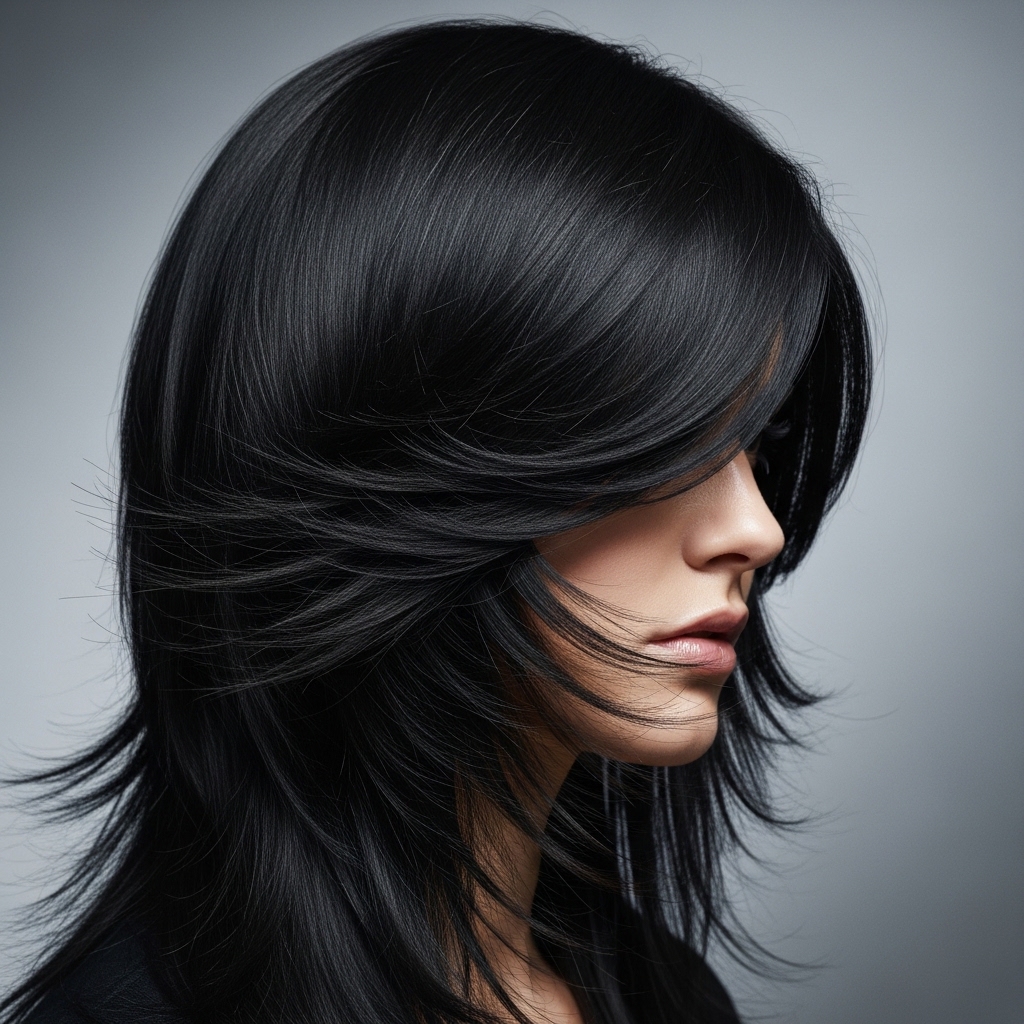
The “Vampire Cut” Version
For a stronger vampire haircut vibe, pair these bangs with sharper, more dramatic layers throughout your hair. Keep the bangs very long, almost grazing the lips.
The contrast between the soft, swept fringe and the sharp, angular layers is the ultimate romantic goth statement. It’s bold, beautiful, and full of attitude.
Adding a “Hime Cut” Flair
To nod to the hime cut, ask your stylist to cut the rest of your hair into a strong, blunt shape while keeping these long, side-swept bangs. The hime cut is all about dramatic, straight lines.
Adding these softer, face-framing bangs modernizes it and adds a touch of romance. It’s a beautiful fusion of two iconic styles.
Day-to-Night Glam Upgrade
Got a date or a night out? This style upgrades in seconds. Add a deep side part for more drama. Tuck one side of your hair behind your ear to really showcase the bang sweep.
For a glitchy glam hair moment, add a few face-framing highlights or use a glitter hair spray just on the tips of your bangs for a subtle, ethereal sparkle.
Fixing Common Problems: Flatness
If your bangs fall flat by midday, don’t panic. Carry a travel dry shampoo and bobby pins. Flip your head over, spray a little dry shampoo at the roots of your bangs, and massage it in.
Sweep them back into place and pin them to the side for a minute while the dry shampoo works its magic. It’ll soak up oil and add instant volume again.
Fixing Common Problems: Growing Out
Growing out bangs can be awkward, but this style is actually perfect for it! As they get longer, they just blend more into your face-framing layers.
Keep styling them with the side-swept bend. You can gradually incorporate them into a longer, face-framing layer, making the grow-out phase look intentional and stylish.
Product Recommendations I Swear By
I get asked about my favorite products all the time. For this look, a flexible-hold hairspray is key. I also love a texturizing paste to pinch and define pieces after styling.
A good heat protectant is a must-have, and don’t underestimate a strong-hold dry shampoo. It’s your best friend for adding volume and grip to fine hair.
How to Make It Last All Day
The setting step (pinning while cool) is your number one trick for longevity. Using the right amount of product at the roots also makes a huge difference.
Carry a bobby pin or two with you. If a gust of wind ruins your sweep, you can quickly duck into a bathroom, re-sweep, and pin it in place for a few minutes to retrain the shape.
This Is Your Sign to Try It
Honestly, what are you waiting for? This look is so much fun and it’s surprisingly low-maintenance once you get the hang of it. It changes your whole vibe instantly.
It works for so many occasions, from your daily coffee run to a fancy dinner. It’s one of those 2026 hairstyles that feels fresh but will honestly never go out of style.
And that’s it! See, I told you it was easier than it looks. The most important thing is to practice the wrist twist with the iron and to let the style cool completely before you touch it. After a couple of tries, it’ll become second nature.
This look has become one of my go-tos when I want to feel put-together but still interesting. It has that cool-girl vibe without trying too hard, which is always the goal, right?
I really hope you give this romantic goth bang tutorial a try. Tag me on Instagram if you do—I would love to see your version! Now, go rock that swoop.
Save this post to Pinterest so you can find the steps whenever you need them! Did this tutorial help? Let me know in the comments what your favorite “moody” hairstyle is—I’m always looking for new inspiration.

