
Hey there! If you have thick, gorgeous hair, you know the daily struggle is real. You want an elegant, polished look that actually lasts more than an hour without giving you a headache. That “effortless” bun you see on your favorite shows? It feels impossible to recreate.
Well, I’m here to tell you it’s not. The secret is in the technique, not just piling it all on top. This year, the old money hair aesthetic is all about that perfectly imperfect, secure-but-soft bun. It’s the ultimate quiet luxury bob alternative for thick hair.
I’ve gathered 22 of the best tutorials that actually work. We’re talking styles that stay put from your morning coffee to your evening wind-down. No more fussing or constant re-dos. Let’s dive in and find your new signature look.
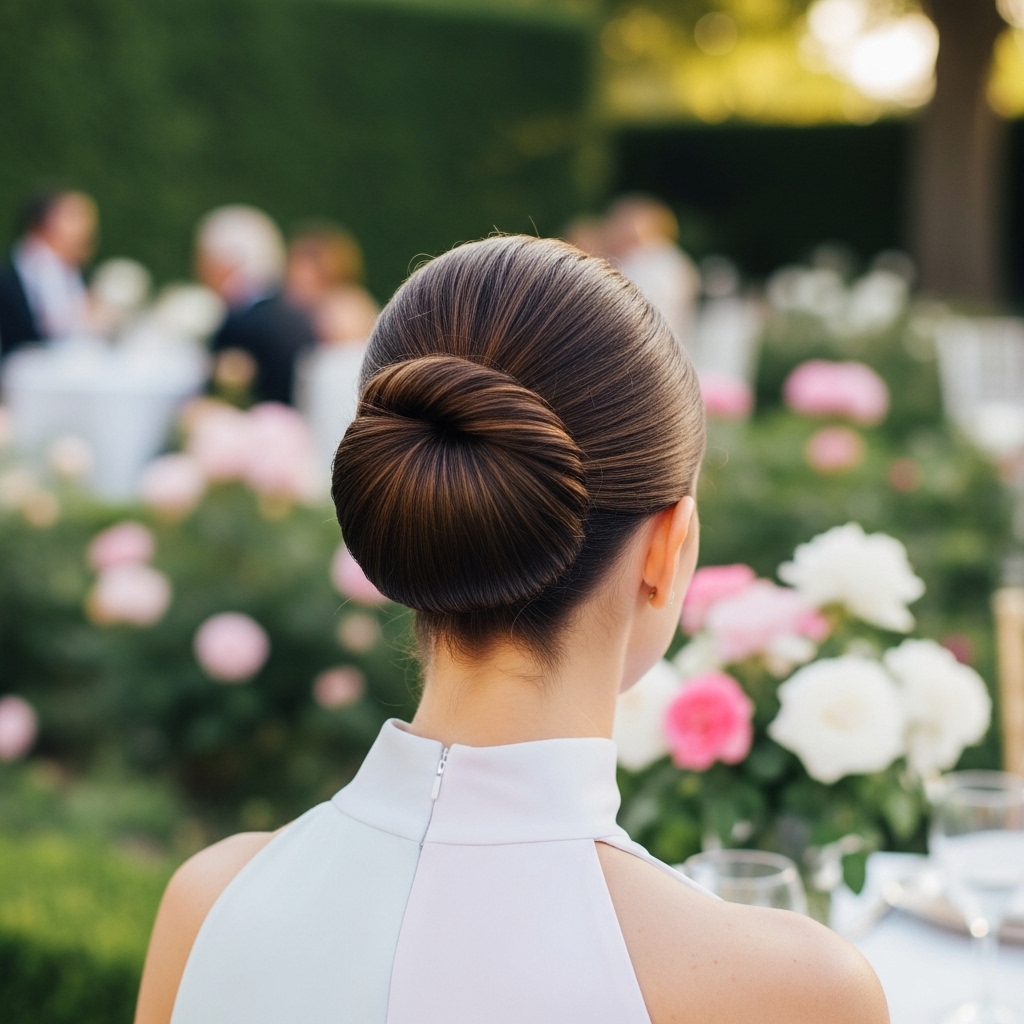
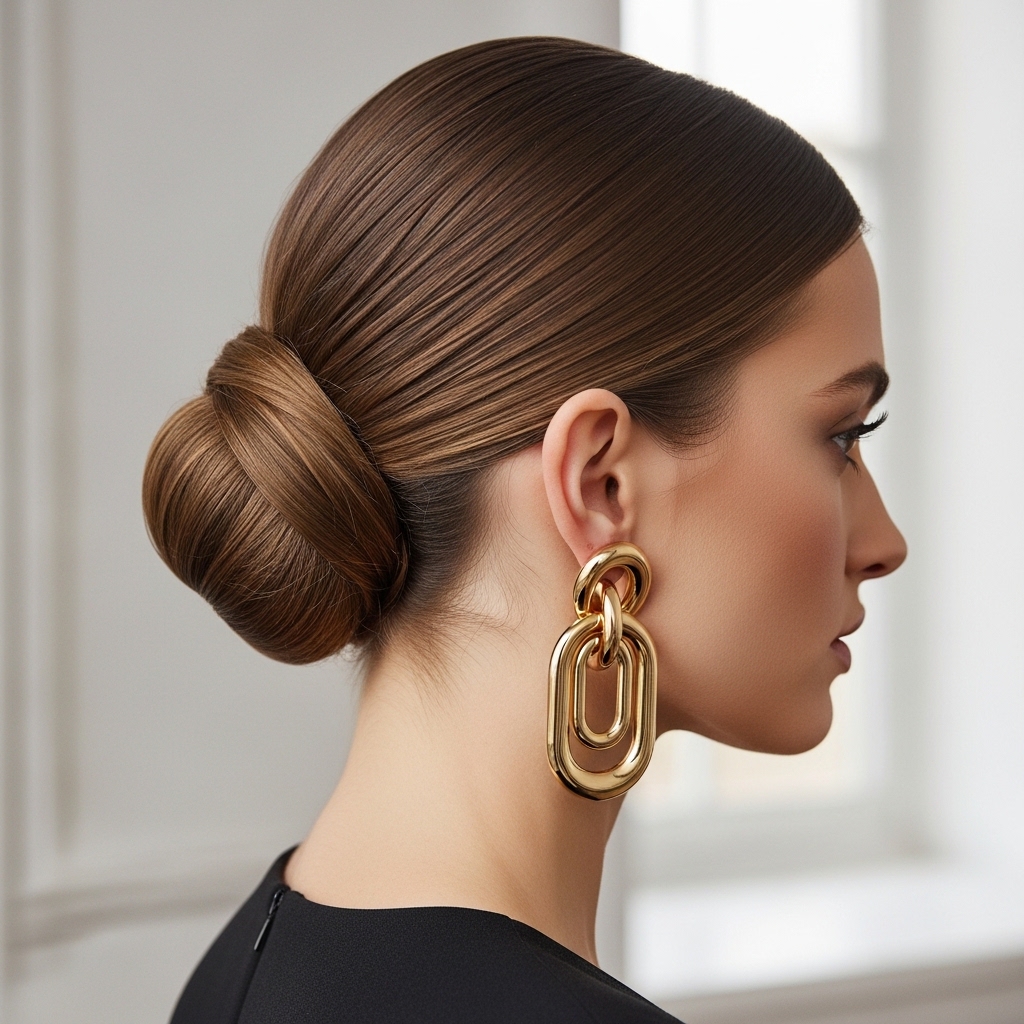
The Classic Low Slicked Bun
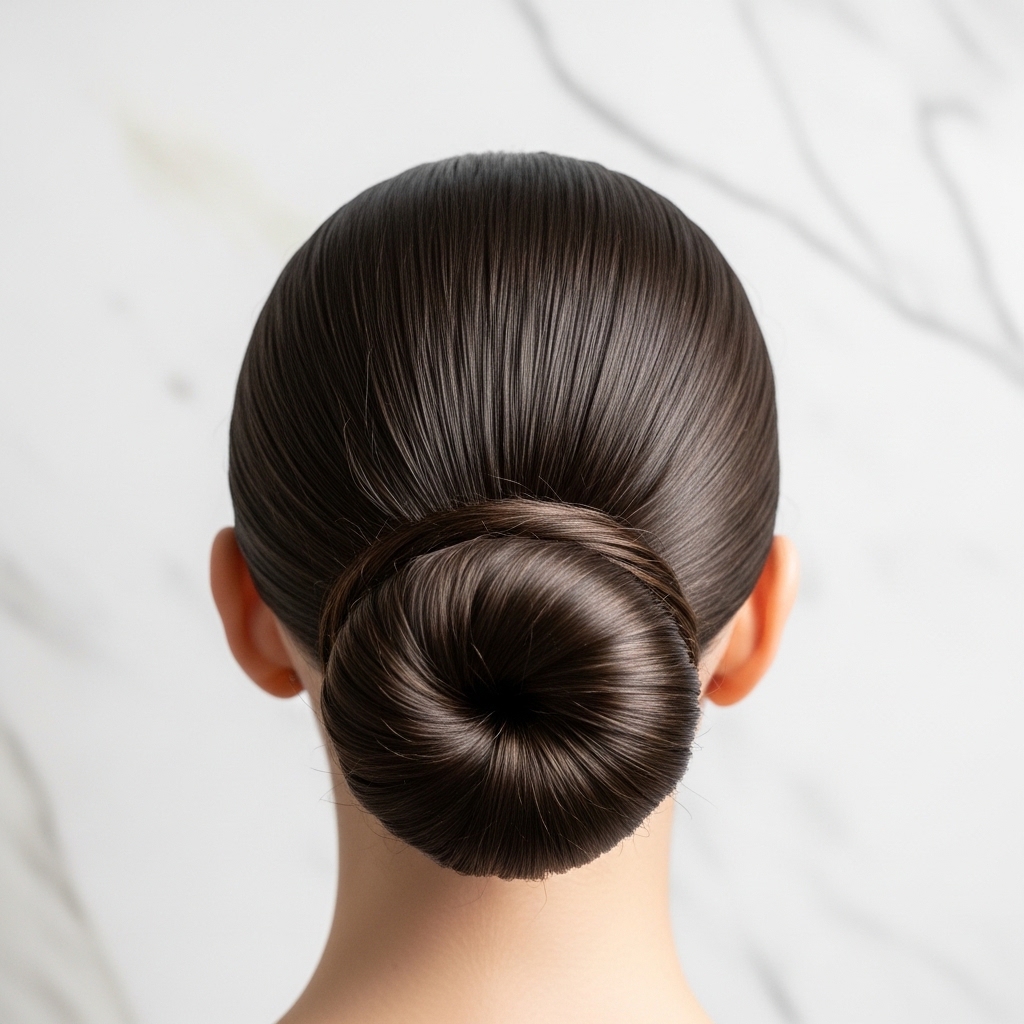
This is the foundation of old money hair. It’s polished, professional, and surprisingly simple. The key is in the prep work for thick hair. You need to tame the bulk before you even start twisting.
Start with damp, product-treated hair for the smoothest finish.
- Apply a strong-hold gel or mousse to towel-dried hair.
- Blow-dry straight, focusing on the roots for lift.
- Gather hair low, twist tightly, and wrap around the base.
- Secure with a coil-less hair tie and bobby pins that match your hair color.
- Lock it all in with a firm-hold hairspray.
The Textured Ballerina Bun
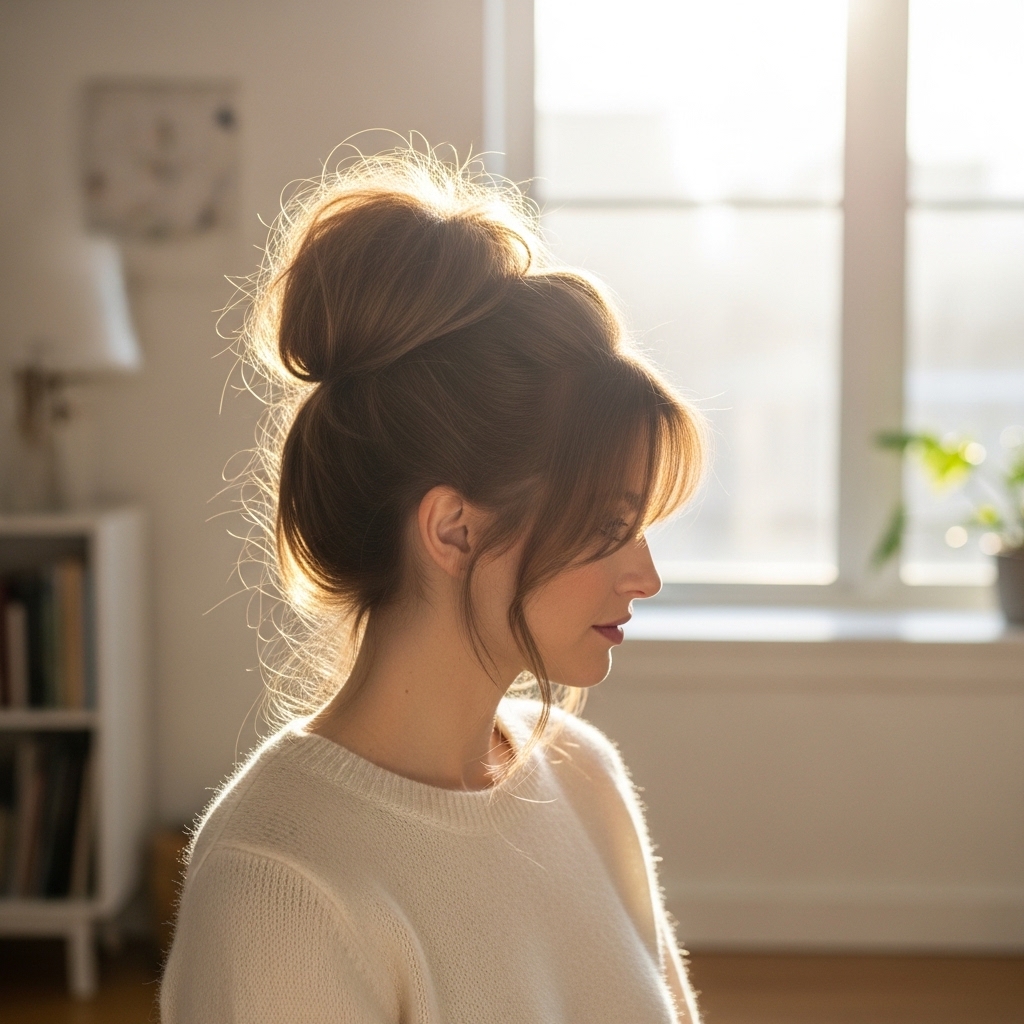
This bun brings romance to the classic style. It’s less severe and has that “I just threw it up” vibe, but it’s secretly very secure. It’s perfect for bridging classic styles with more romantic goth hairstyles through its texture.
You want volume at the crown, not a flat look. Teasing is your best friend here.
- Create light backcombing at the roots for lift.
- Pull hair into a high ponytail, but leave the front sections out.
- Twist the ponytail loosely and pin it in a messy circle.
- Gently pull at the bun to increase its size.
- Style the face-framing pieces with a curling iron for soft waves.
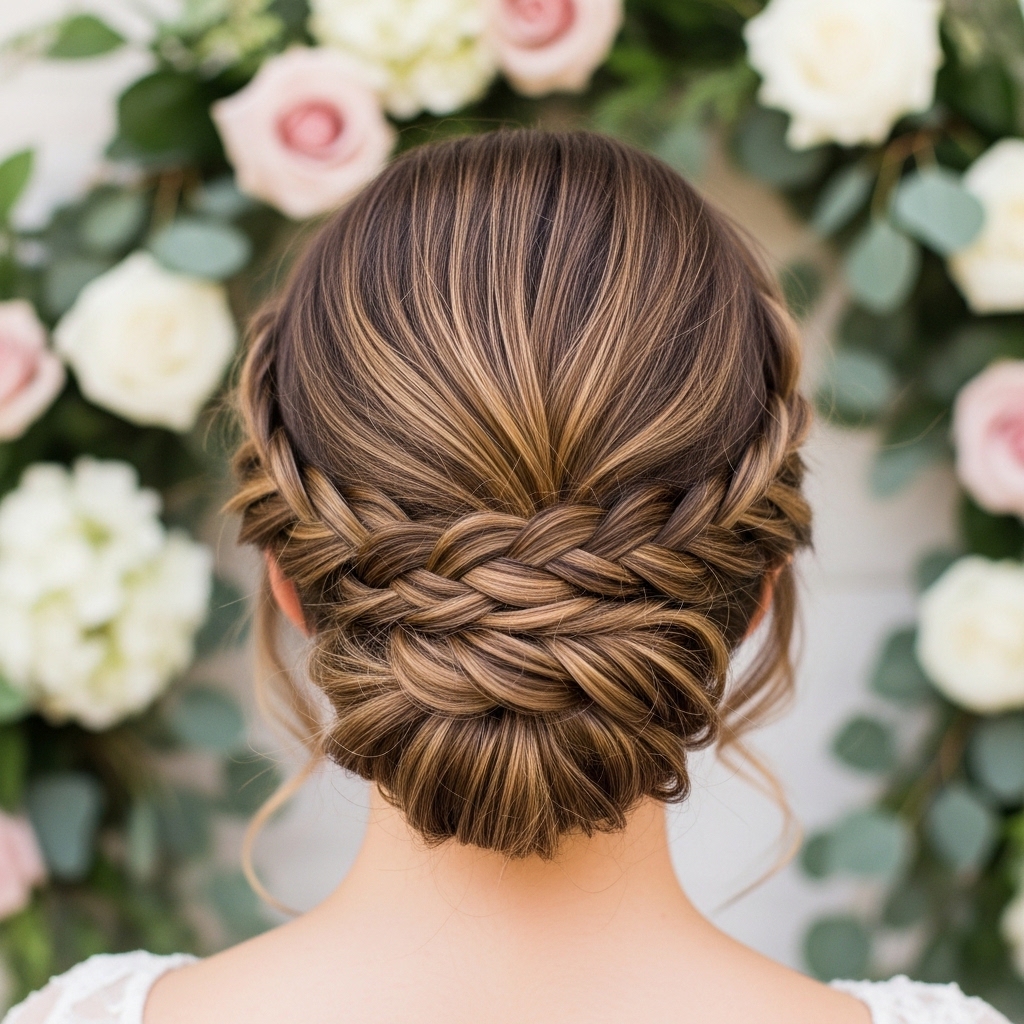
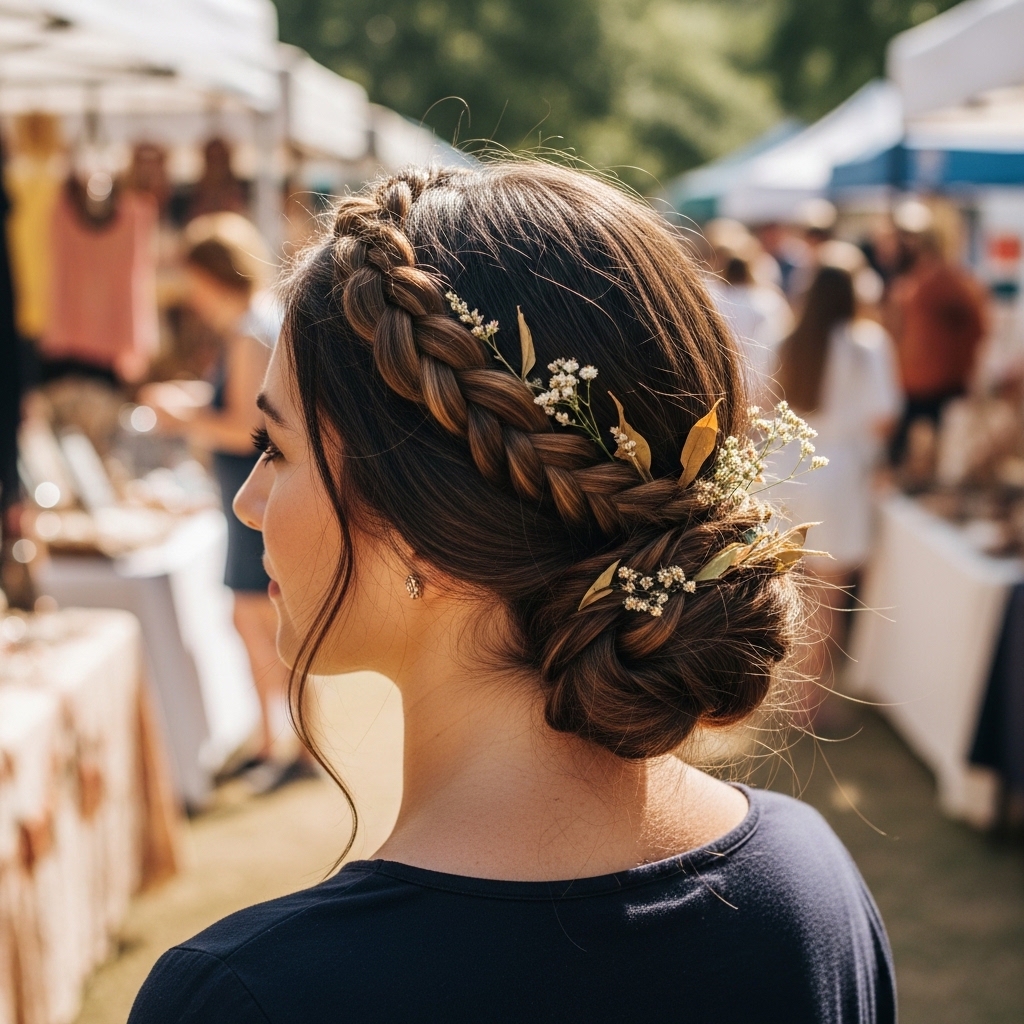
The Braided Crown Security
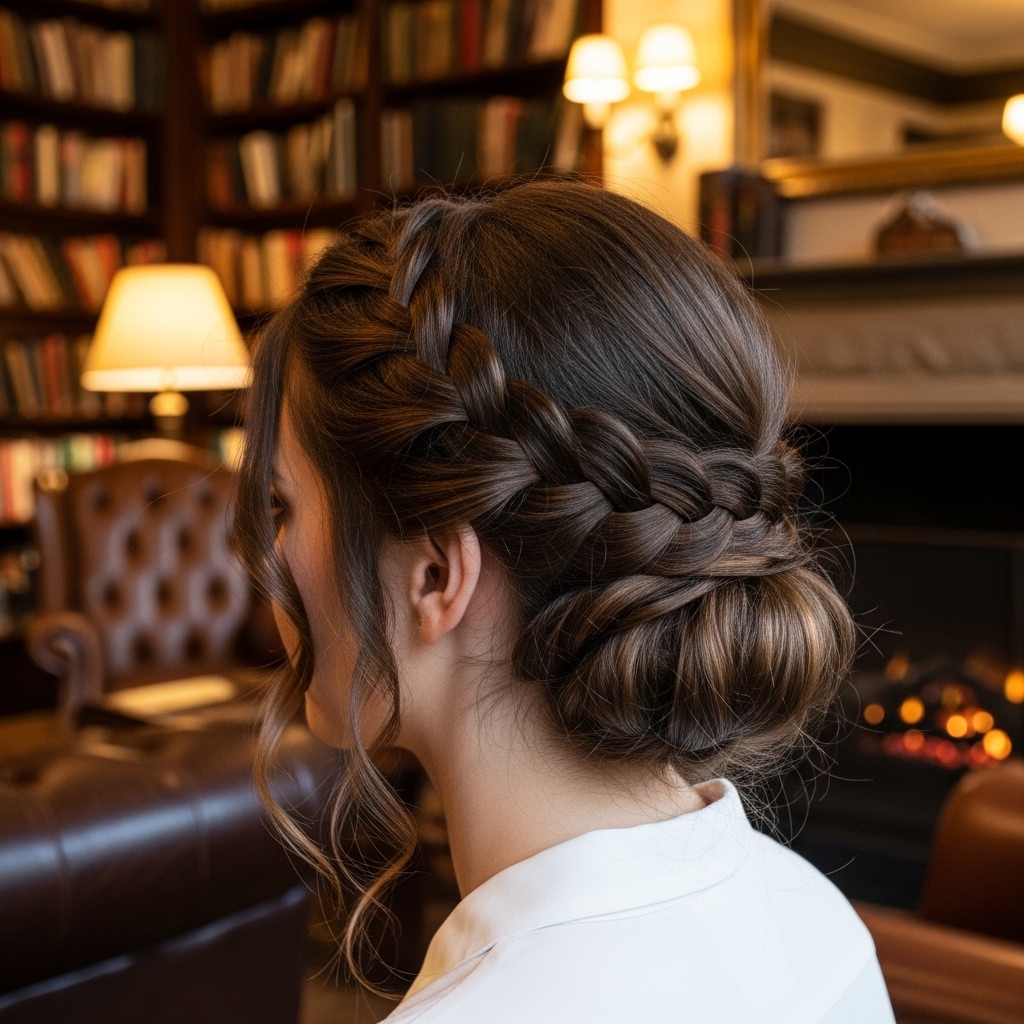
For the ultimate hold, you can’t beat a braid. This style distributes the weight of thick hair beautifully and looks incredibly intricate. It’s a real showstopper that’s built to last all day.
This works best on second or third-day hair for a better grip. Don’t braid too tightly, or you’ll lose the soft feel.
- Part hair down the middle. Take a section from the front on one side.
- Begin a Dutch braid (braiding inward), adding hair as you go along your hairline.
- Continue braiding to the nape, then incorporate it into a low ponytail with the rest of your hair.
- Wrap the ponytail into a bun and secure. Repeat on the other side for a full crown effect.
The Modern Asymmetrical Lob Bun

If you have a chic asymmetrical lob or a sharp vampire haircut, you can still achieve a stunning bun. This style uses the angles of your cut to create something modern and cool. It’s a top pick for 2026 hairstyles that feel fresh.
The goal is to highlight your cut’s unique shape. Play with the placement.
- Sweep all your hair to the longer side of your cut.
- Create a low bun just behind your ear on that side.
- Let the shorter layers and the back pieces fall naturally.
- Use a light wax to define any pieces that are too wild.
- This creates an intentional, editorial look from a practical updo.
The Hime Cut Inspired Half-Bun
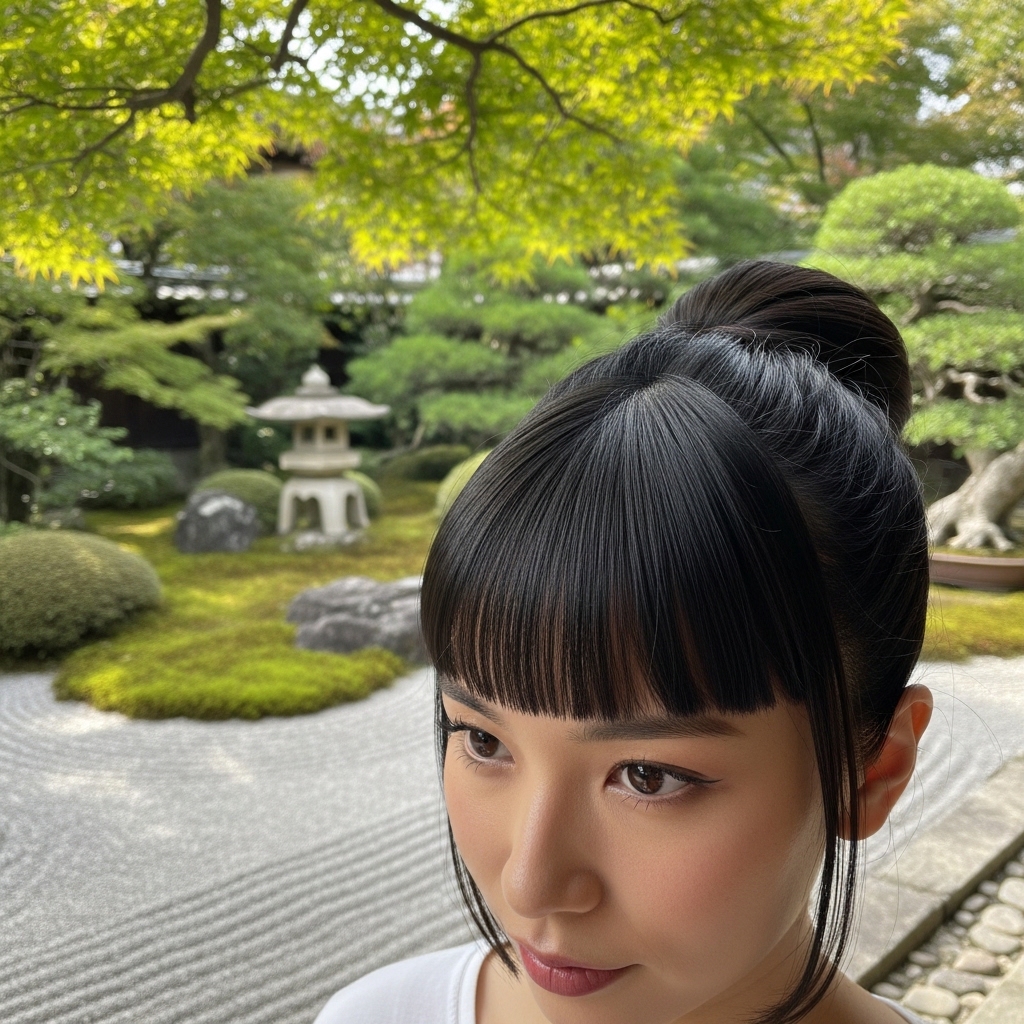
The hime cut, with its straight-across bangs and strong layers, is a statement. To style it up, a half-bun is perfect. It keeps hair out of your face while showcasing the beautiful front sections of the cut.
This is less about a perfect bun and more about balancing the dramatic lines of the haircut.
- Gather only the top section of your hair, from about your temples back.
- Secure it into a small, neat bun or twist at the crown.
- Keep your blunt bangs and side layers completely free.
- The contrast between the structured bun and the straight, sharp lines is stunning.
The “Glitchy Glam” Twisted Rope Bun
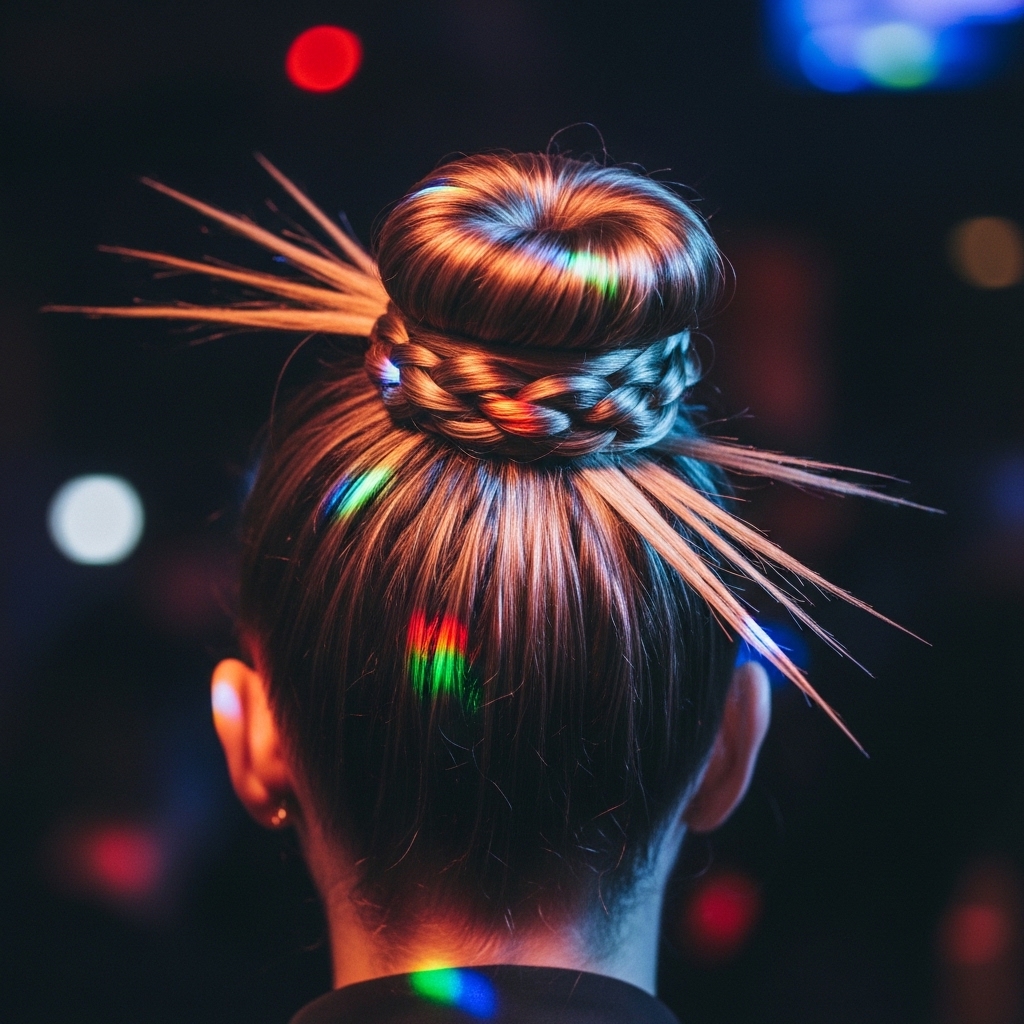
Glitchy glam hair is all about intentional imperfection. This bun style uses a rope twist for hold and then adds strategic “errors.” It’s a cool, artistic take that works amazingly well on thick, textured hair.
Embrace the pieces that want to escape. They’re part of the look.
- Divide your ponytail into two sections.
- Twist them tightly around each other to form a rope.
- Wrap the rope into a bun and pin securely.
- Now, deliberately pull out small chunks and short pieces around your hairline and nape.
- Mist with a texturizing spray for a piece-y, lived-in finish.
The Silk Scarf Wrapped Bun
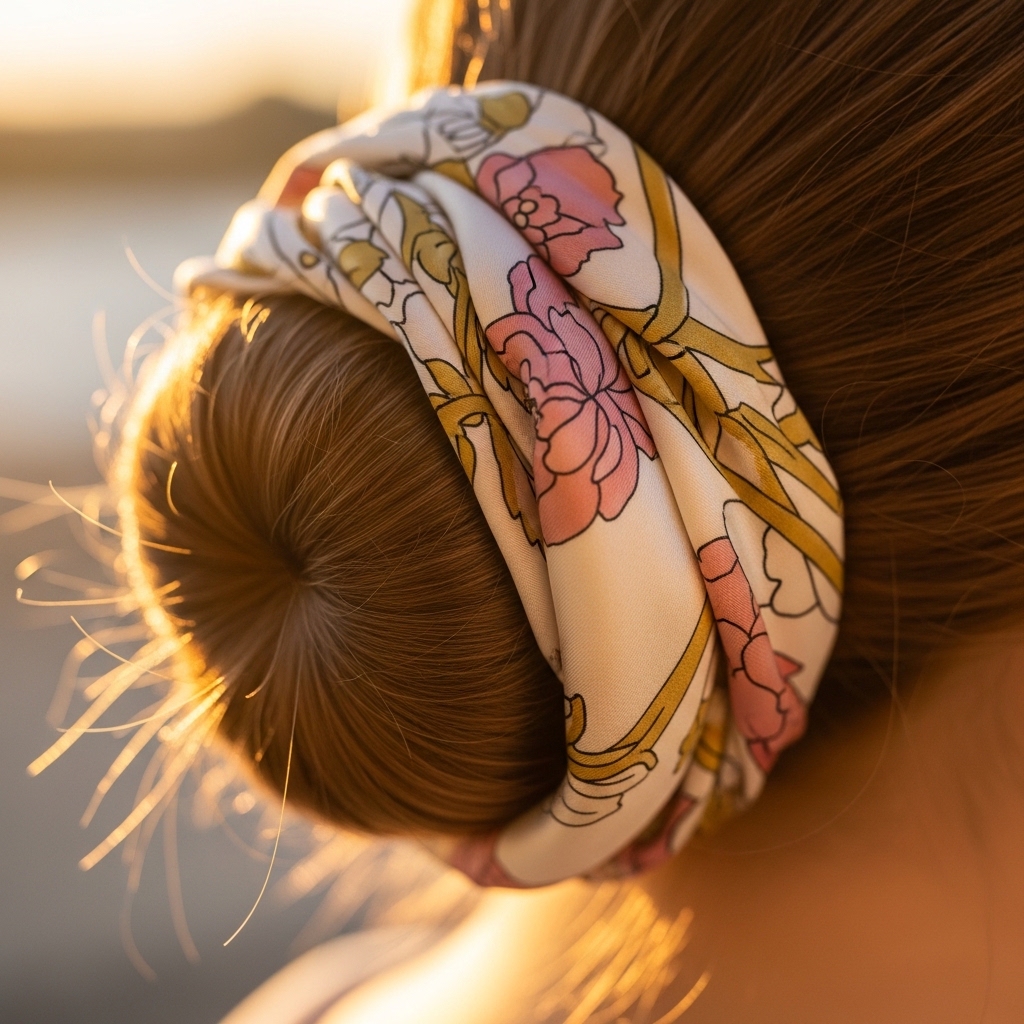
This is the ultimate quiet luxury accessory. A simple silk scarf can transform a basic bun into something special. It also helps hold thicker hair in place by adding extra friction and security.
Choose a scarf with a slip, like silk or satin, to avoid pulling your hair.
- Create a low ponytail or bun.
- Take a long, thin scarf and fold it into a band.
- Tie it around the base of your ponytail once, like a hair tie.
- Then, wrap the tails around the bun itself, tucking the ends under and pinning.
- It adds a pop of color and keeps every strand disciplined.
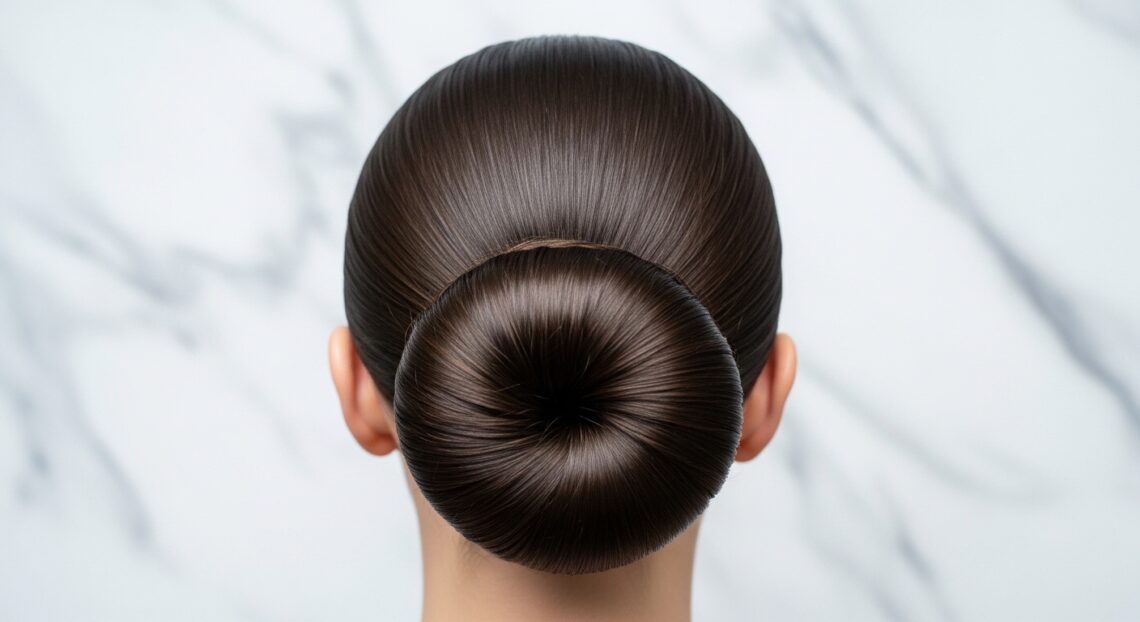
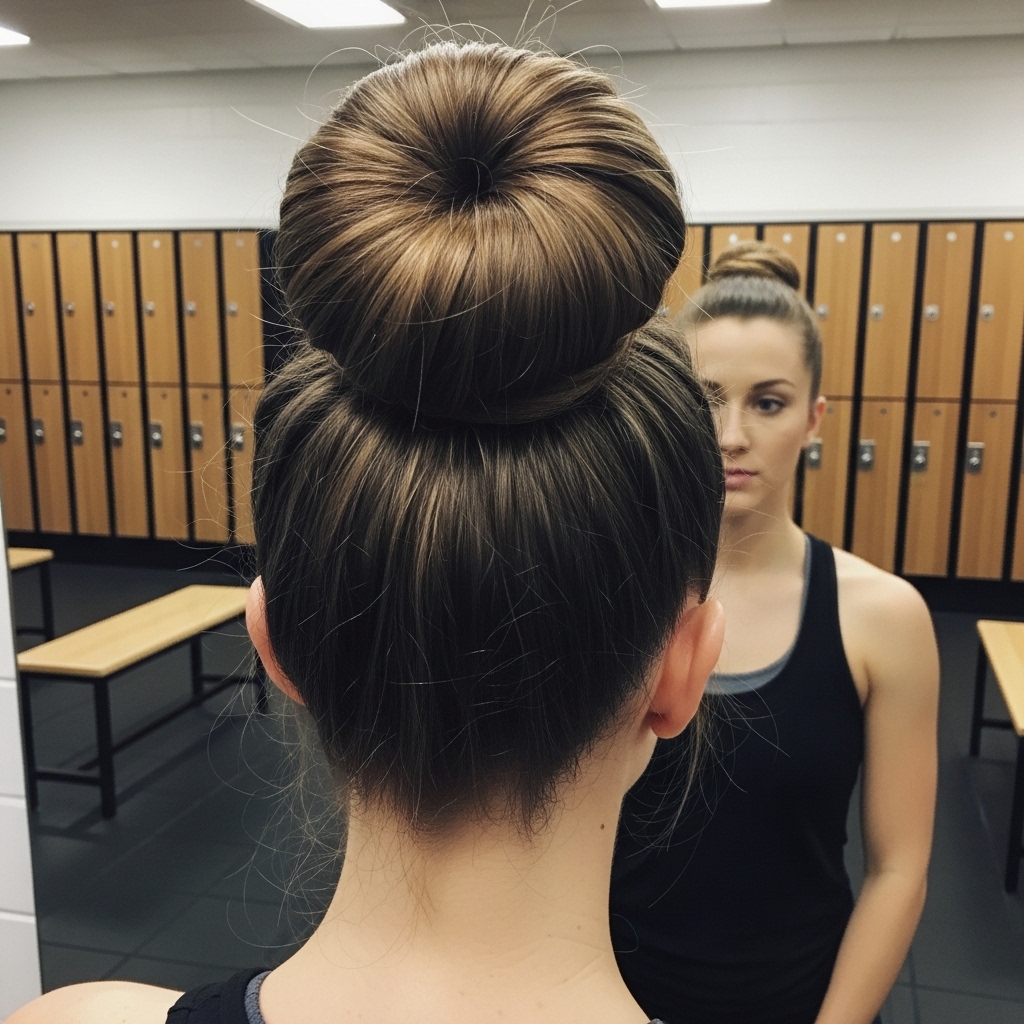
The Voluminous Donut Bun
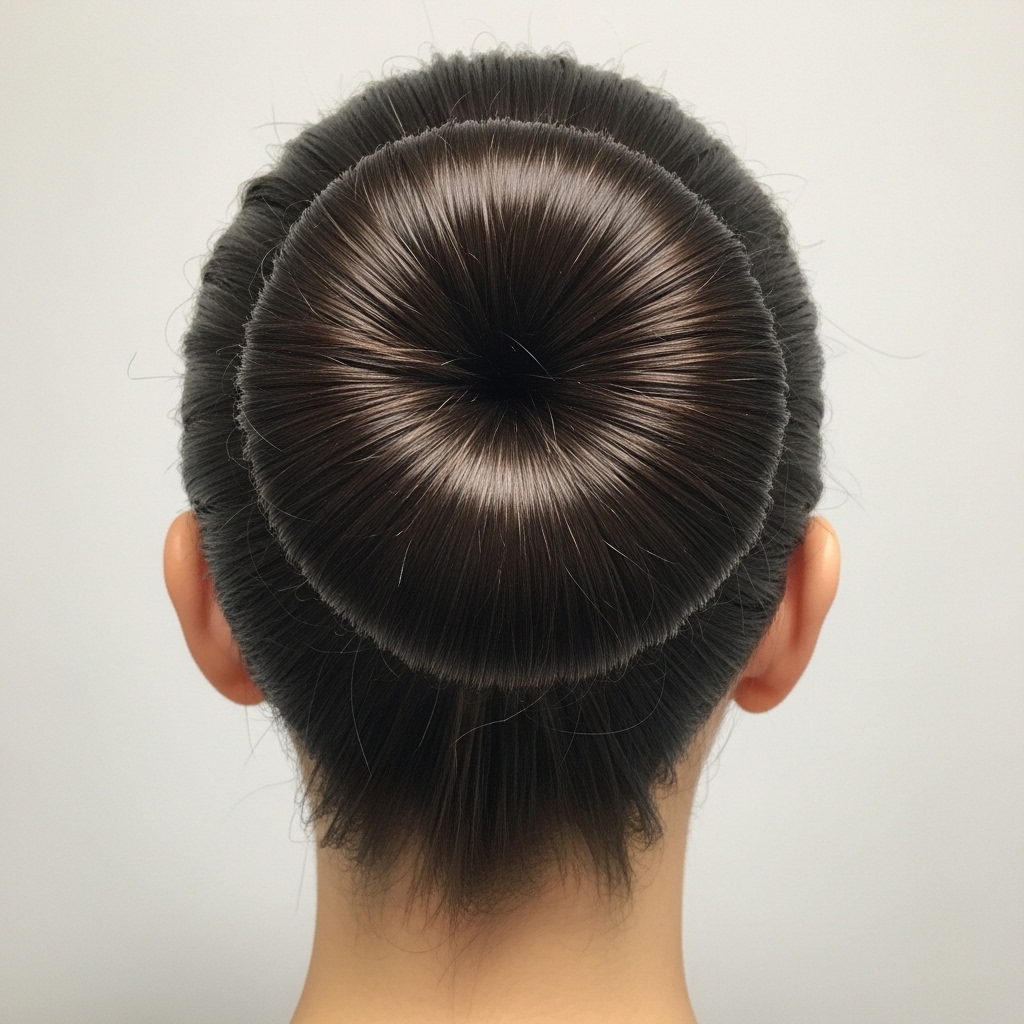
For thick hair, a donut bun maker is a game-changer. It gives you that full, round shape without the weight of all your hair. It looks polished and is surprisingly comfortable for all-day wear.
Make sure to get a large bun maker that matches your hair color.
- Pull hair into a high, tight ponytail and thread it through the donut.
- Evenly distribute your hair around the donut so it’s covered.
- Take a hair tie and secure the ends of your hair over the donut, tucking them under.
- Now, take small sections and wrap them around the base, pinning as you go.
- You get a flawless, uniform bun every single time.
The French Twist Roll
A timeless old money hairstyle, the French twist is elegant and secure. For extra-long or heavy thick hair, rolling it into a small bun at the end adds the necessary support. It’s a red-carpet favorite for a reason.
This requires practice but is worth mastering. Start with a deep side part.
- Gather hair at the nape as if for a low ponytail, but don’t tie it.
- Twist the length upward, toward the crown, folding the outer edge inward as you go.
- When you reach the top, you’ll have a twist. Pin the end under to form a small, flat bun.
- Use criss-cross pins vertically for the strongest hold.
The Bubble Ponytail into a Bun
This two-in-one style is fun and fantastic for holding thick hair. The bubble sections act as anchors, distributing weight and adding a trendy touch. It’s a great way to add volume if your hair is long and heavy.
You’ll need multiple small, clear hair elastics.
- Create a high ponytail.
- Place an elastic about 3 inches down from the first. Gently pull the section between the elastics to create a “bubble.”
- Repeat down the length of the ponytail.
- At the last bubble, twist the ends and wrap them into a small bun, securing it at the base.
- Adjust all the bubbles to be evenly round and full.
The Gibson Tuck Variation
The Gibson tuck is a vintage style that’s made a huge comeback. It’s softer than a bun and creates beautiful volume at the back of the head. For thick hair, it’s a secure and romantic option that feels special.
This style works best with slightly textured or wavy hair for grip.
- Loosely gather hair at the nape, as if for a low ponytail.
- Instead of pulling it all the way through on the last loop of the hair tie, stop halfway, so the ends are tucked under.
- You’ll have a loop of hair. Gently pull the loop apart to widen it.
- Tuck the ends of the loop under the “knot” and pin securely. Fluff for volume.
The Double Bun (Space Buns)

Don’t write off space buns as just a festival look! When done neatly on thick hair, they balance volume and are surprisingly chic. They distribute the weight of your hair evenly, which can be more comfortable than one heavy bun.
Symmetry is key. Use a tail comb to create a clean, center part.
- Part hair down the middle. Gather each side into a high ponytail at the crown.
- Twist each ponytail and wrap it around its base to form a bun.
- Secure with pins and a final elastic over the bun if needed.
- Keep them neat, or gently pull them apart for a fuller, softer look.
- Spray to hold and tame any flyaways.
The Messy Twist & Pin Bun

This is your 30-second savior. It’s the ultimate “I’m busy but look put-together” bun. The technique relies on twisting and immediate pinning, which grips thick hair better than just wrapping an elastic.
You don’t need a hair tie for this one, just 4-5 strong bobby pins.
- Gather hair at your desired height. Twist the entire length tightly.
- Keep twisting as you wrap the hair around the base.
- While holding the bun with one hand, use the other to slide bobby pins in, grabbing hair from the bun and anchoring into the scalp.
- Criss-cross the pins for security. Let a few pieces fall out naturally.
The Waterfall Braid into a Low Bun
This is pure romance. A waterfall braid adds a beautiful detail that makes a simple low bun look extraordinary. It’s a perfect style for a special event and works with thick hair by incorporating some of the bulk into the braid.
Practice the waterfall braid on its own first. It’s easier than it looks.
- Start a waterfall braid at one temple, working across your forehead.
- Continue the braid until you reach just behind your ear on the other side.
- Combine the braid tail with the rest of your hair into a low ponytail.
- Create a bun from the ponytail. The braid becomes a gorgeous headband detail.
The Sock Bun (No-Sock Hack)
Before donut bun makers were everywhere, there was the sock bun. It’s still a fantastic, inexpensive tool for creating a huge, smooth bun on thick hair. The sock provides the core shape and absorbs any bulk.
Use an old crew sock that matches your hair color. Cut the toe off and roll it into a doughnut.
- Pull hair through the sock doughnut as you would with a store-bought version.
- Spread your hair evenly around the sock until it’s completely covered.
- Tuck the ends under the sock base and secure with an elastic over the whole bun.
- Wrap any remaining ends around the base and pin. The sock gives incredible internal support.
The Braided Bun Base

For the strongest possible foundation, start with a braid. This method is unbeatable for active days or if your hair is slippery. The braid acts as the anchor, and the bun built on top won’t slip or sag.
You can do a simple three-strand braid or a more intricate one for detail.
- Brush all hair into a ponytail at your desired height.
- Braid the entire ponytail tightly from base to ends. Secure with a clear elastic.
- Wrap the braid around the base of the ponytail, forming a bun.
- Tuck the end under and pin the entire braid in place. It’s incredibly sturdy.
The Twisted Headband into a Bun
This style solves two problems: keeping hair off your face and creating a secure bun. It uses a section of your own hair as a built-in headband that integrates seamlessly into the updo. It’s creative and super functional.
Take a generous section from the front to ensure it’s strong enough.
- Take a front section from one side, above your ear. Twist it back.
- Continue twisting it along your hairline, adding small pieces from the top as you go, like a French twist.
- When you reach the other side, combine the twist with the rest of your hair into a ponytail.
- Create a bun from the ponytail. The twist is now a beautiful, secure headband.
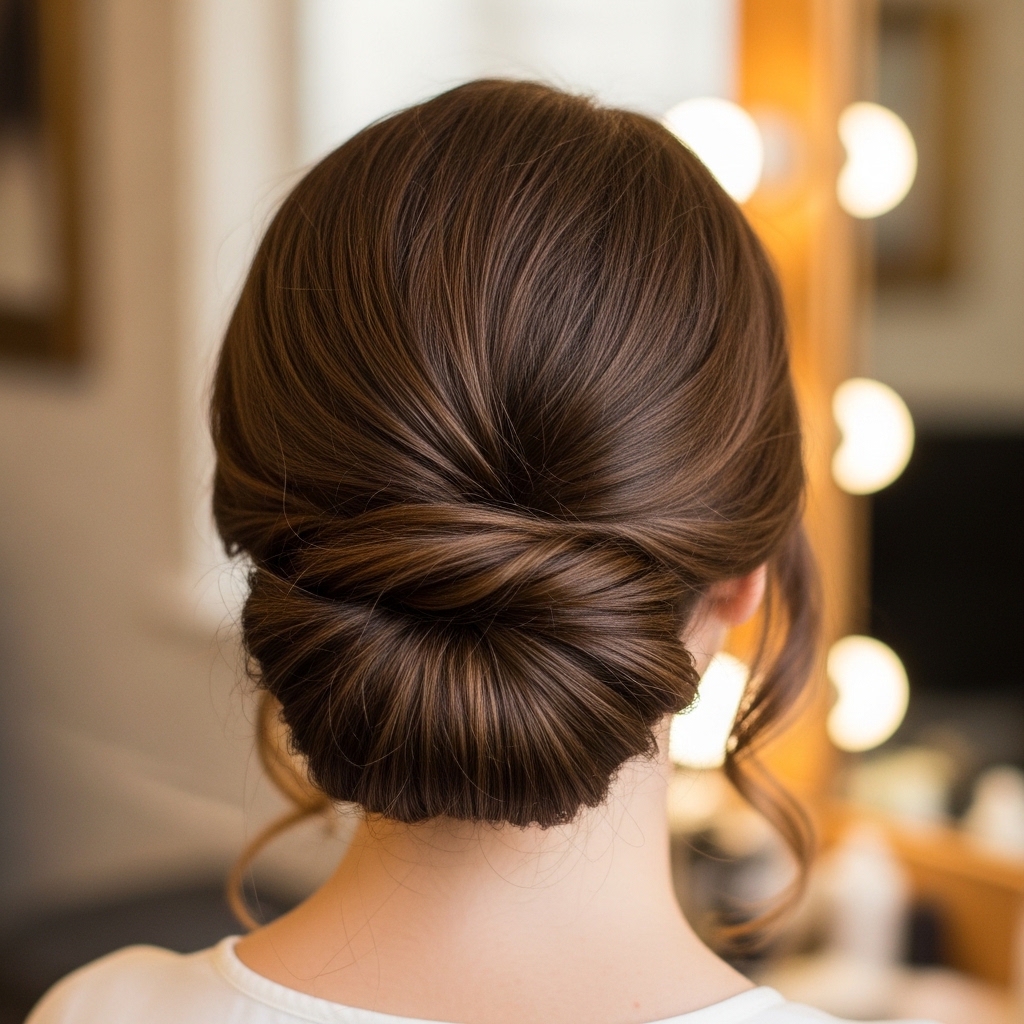
The Low Twisted Knot Bun
Simplicity at its finest. This bun is just a twisted knot, pinned. It’s a modern take on old money hair that looks expensive and is deceptively easy. The twist itself provides a lot of the holding power for thick hair.
Use a texturizing spray on dry hair first for extra grip.
- Gather hair at the nape. Twist the entire length once to the right.
- Then, tie it in a loose overhand knot (like the first step of tying your shoes).
- Pull the ends through gently to tighten the knot against your head.
- Tuck the ends under and pin the knot securely in 3-4 places. It’s chic and unique.

