
Okay, let’s be real. We’ve all stood in front of the mirror, hairbrush in hand, with about five minutes to create something that looks like we tried. I know I have. That’s why I’m obsessed with the laced-up twisted half-up style. It’s my secret weapon for looking put-together in a flash.
It sounds fancy, but I promise it’s one of the easiest techniques you’ll learn. All you need are a few bobby pins and maybe a clear elastic. It works on every hair type and length, from a sleek asymmetrical lob to long, flowing layers.
This style is the perfect blend of effort and effortless. It keeps hair out of your face while showing off your length and texture. Whether you’re going for an old money hair vibe or something more romantic, this base style is your starting point. Let’s dive into 22 ways to wear it!
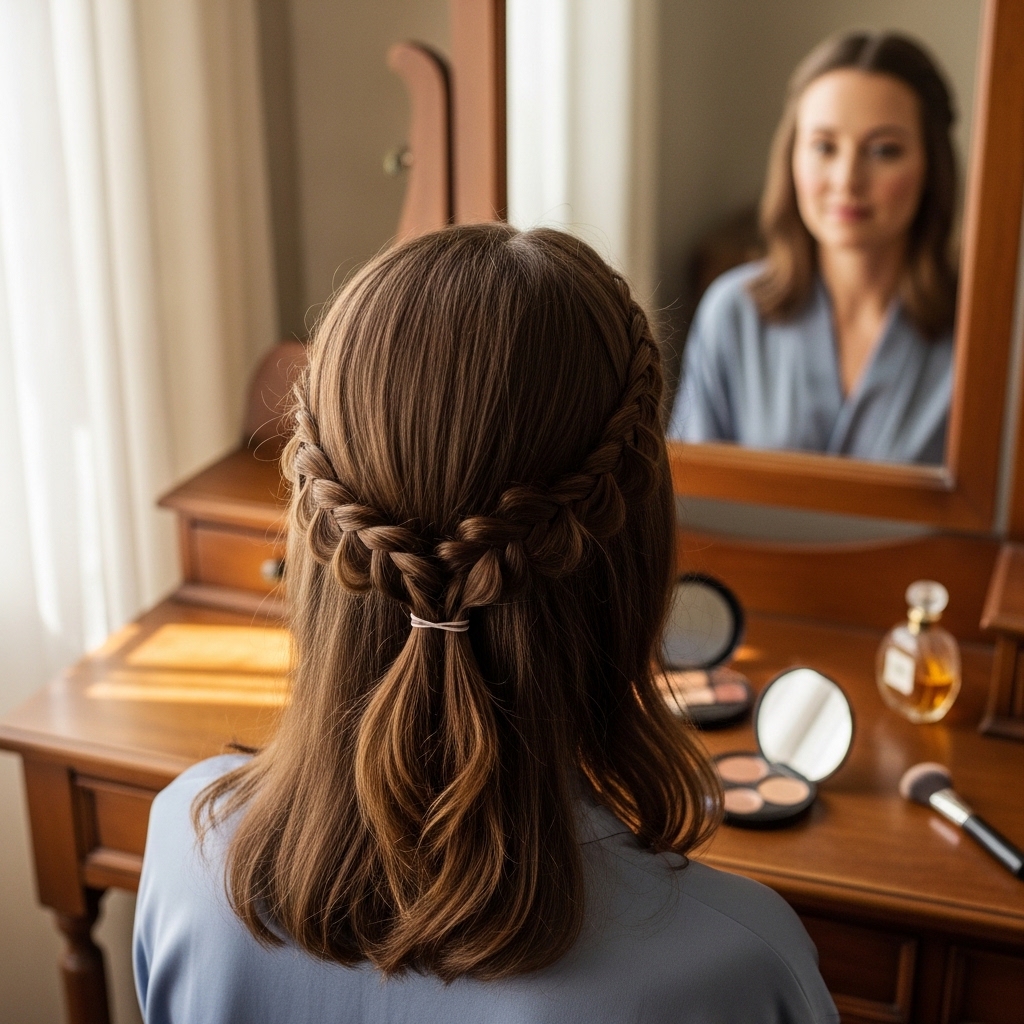
1. The Classic Laced Back
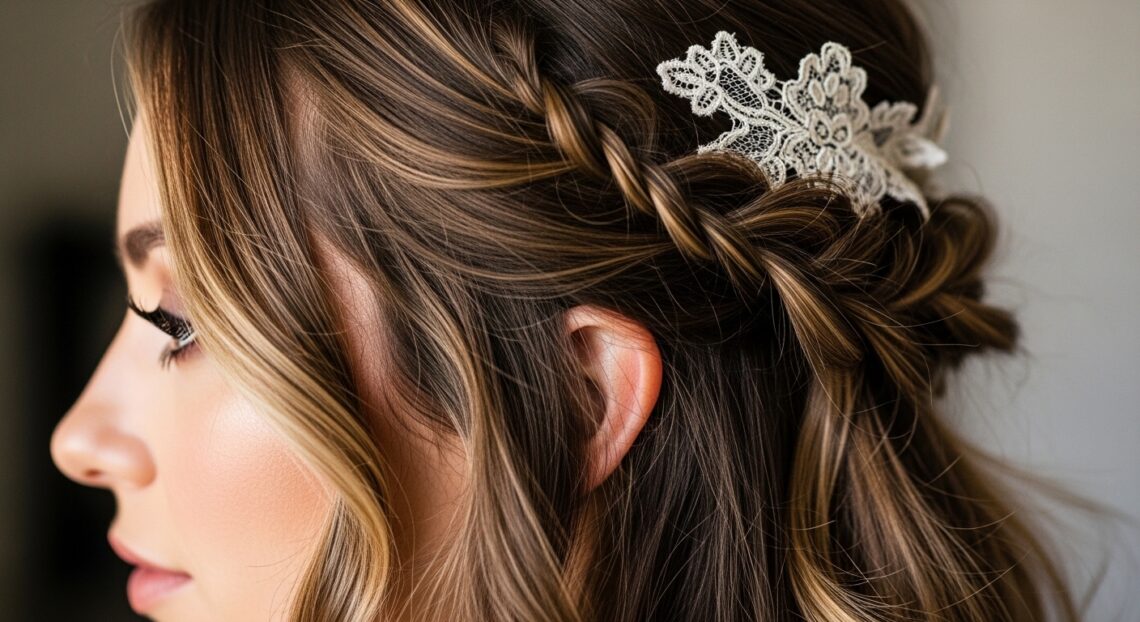
This is the perfect foundation. It’s clean, elegant, and takes two minutes. Start with a center part. Take a small section from the front of each side, twist it back, and secure it at the back of your crown with a pin.
Then, the “lacing” begins. Pick up a new small section from behind your ear on one side, twist it, and cross it over to join the first twist, pinning it. Repeat on the other side. Keep alternating until you reach the center back of your head.
2. Boho Textured Lace
For a softer, more relaxed look, start with day-old hair or add a bit of texturizing spray. Follow the same lacing technique, but don’t pull the twists too tight. Let a few face-framing pieces fall loose.
The goal is imperfect perfection. Gently pull on the edges of the twists after you pin them to create a fuller, more undone look. This pairs beautifully with waves and gives off a cool, effortless energy.
3. The Romantic Pull-Through
This adds major volume and a touch of romance. Create a half-up ponytail with a clear elastic, but leave a small loop at the top. Then, take the tail of the ponytail and pull it up through the loop, letting it cascade down.
Now, use that looped section as your anchor point. Create two lace-up twists on either side, pinning the ends into the base of the loop. It creates a beautiful, voluminous crown that’s perfect for a date night.

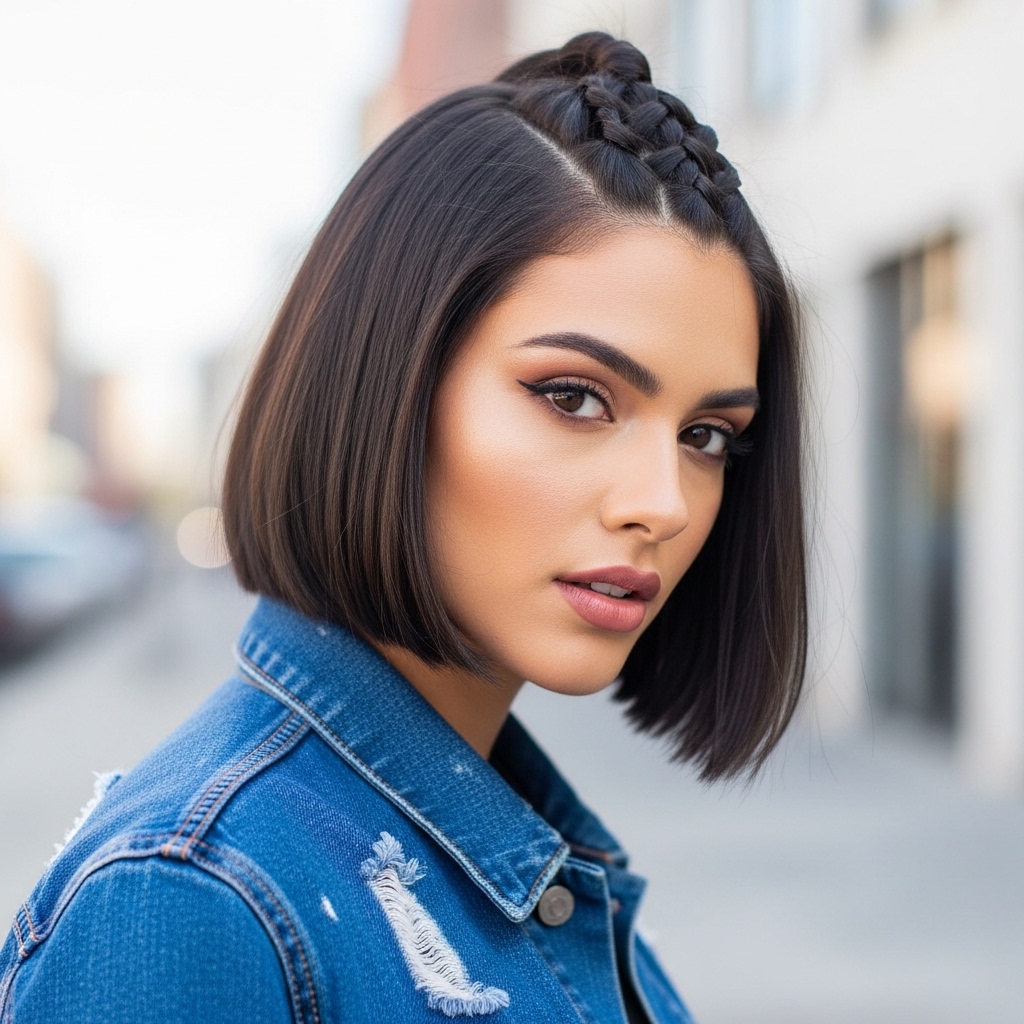
4. Side-Swept Lace Drama
Swap the center part for a deep side part for instant drama. This style elongates the neck and feels very glamorous. Start your first twist with the larger section of hair from the heavier side of the part.
Lace it across your head, following the curve of your part. This style looks incredible with a deep side part and pairs perfectly with the sleekness of a quiet luxury bob.
5. Mini Twist Accents
If a full head of lacing feels like too much, try this subtle version. Just create two or three small lace-up twists on one side of your head, starting near your temple and ending just above your ear.
Leave the rest of your hair down. It’s a tiny detail that adds so much interest to simple waves or straight hair. This is a great way to test the style without committing to the full look.
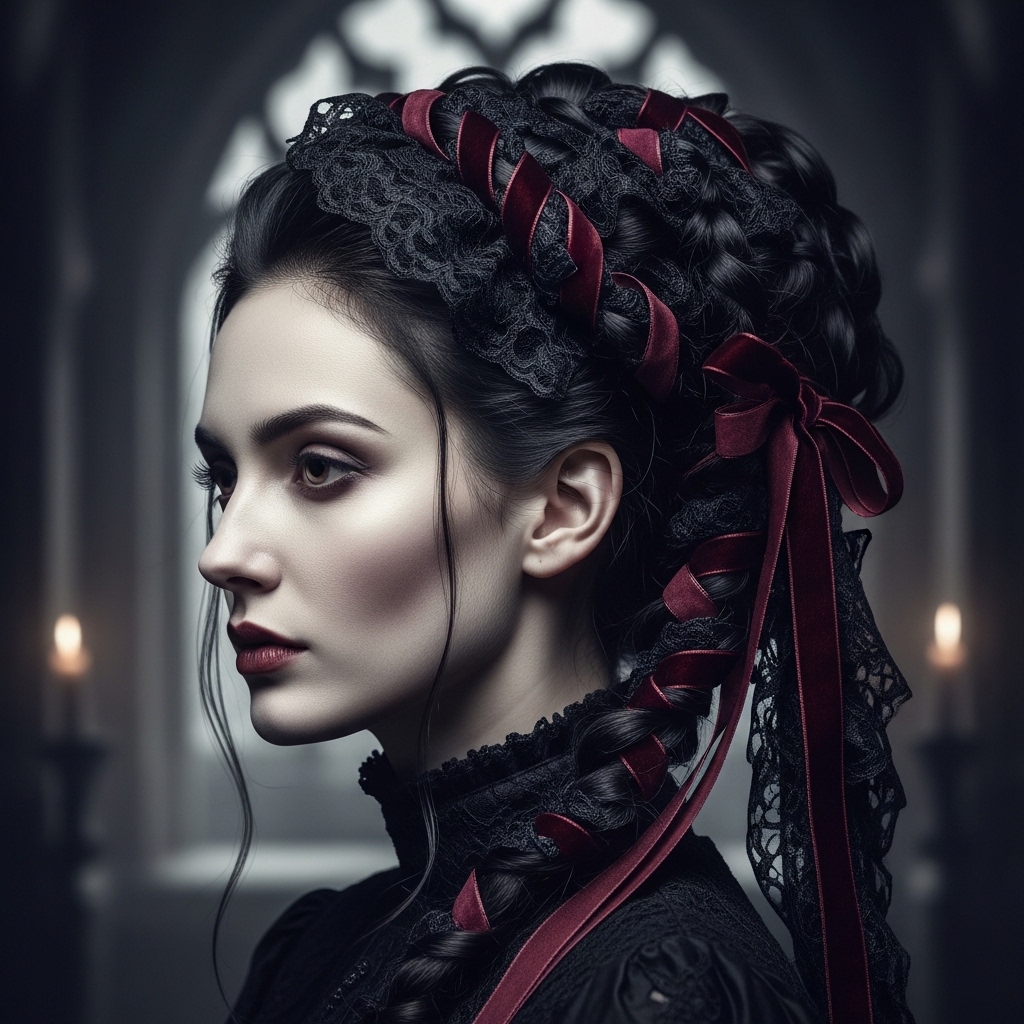
6. The Gothic Romance
Incorporate this technique into your romantic goth hairstyles. Start with deep, dark hair—think raven black or deep burgundy. Create the laced twists, but pull them a bit tighter for a more severe, elegant look.
Accessorize with a single black velvet ribbon woven through the twists or a delicate silver hairpin shaped like a crescent moon. It’s elegant, mysterious, and far from basic.
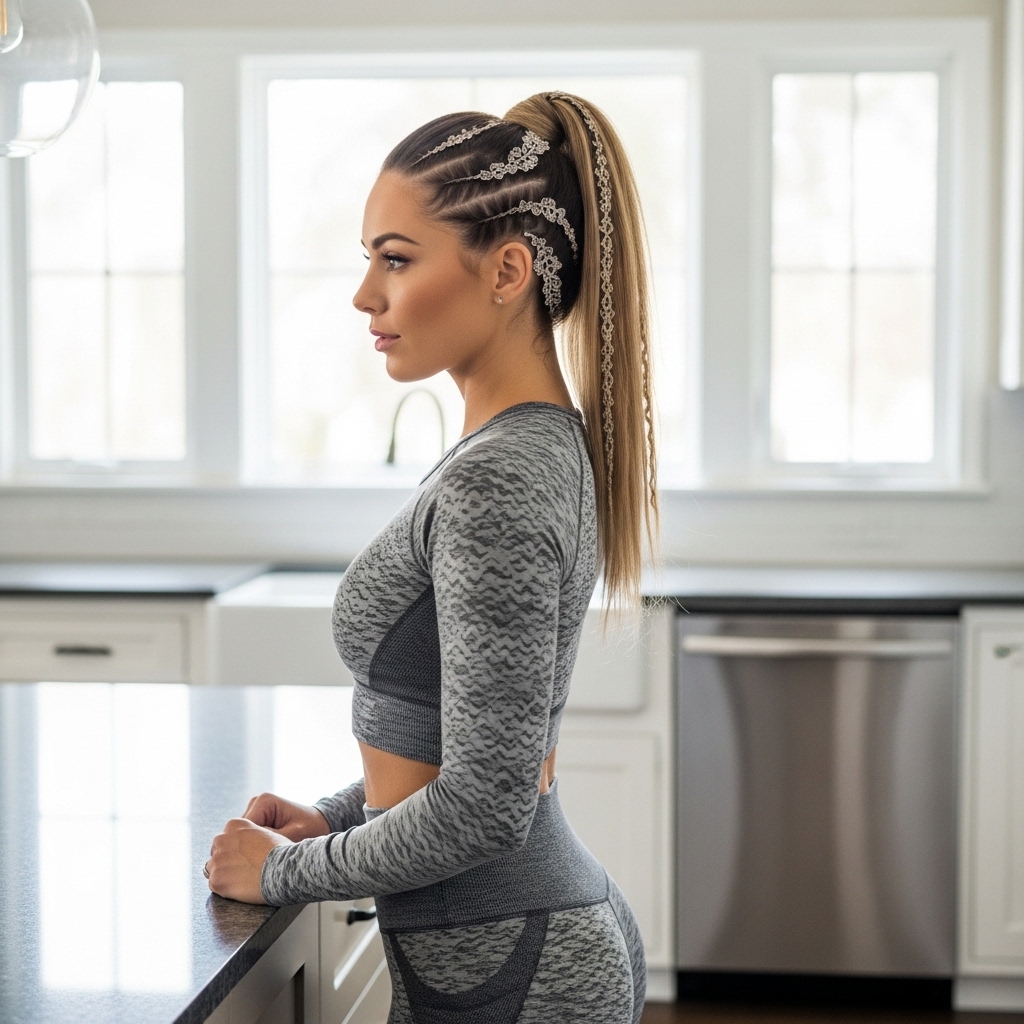
7. Laced Pony Hybrid
This is my go-to for the gym or a busy day. It keeps all your hair up but looks so much prettier than a basic ponytail. Create a high ponytail, but before you secure the final loop of the elastic, stop.
Leave your hair in a half-loop. Then, take two small sections from the sides near your temples, twist and lace them back, and tuck the ends into the base of the pony. It adds such a chic detail.
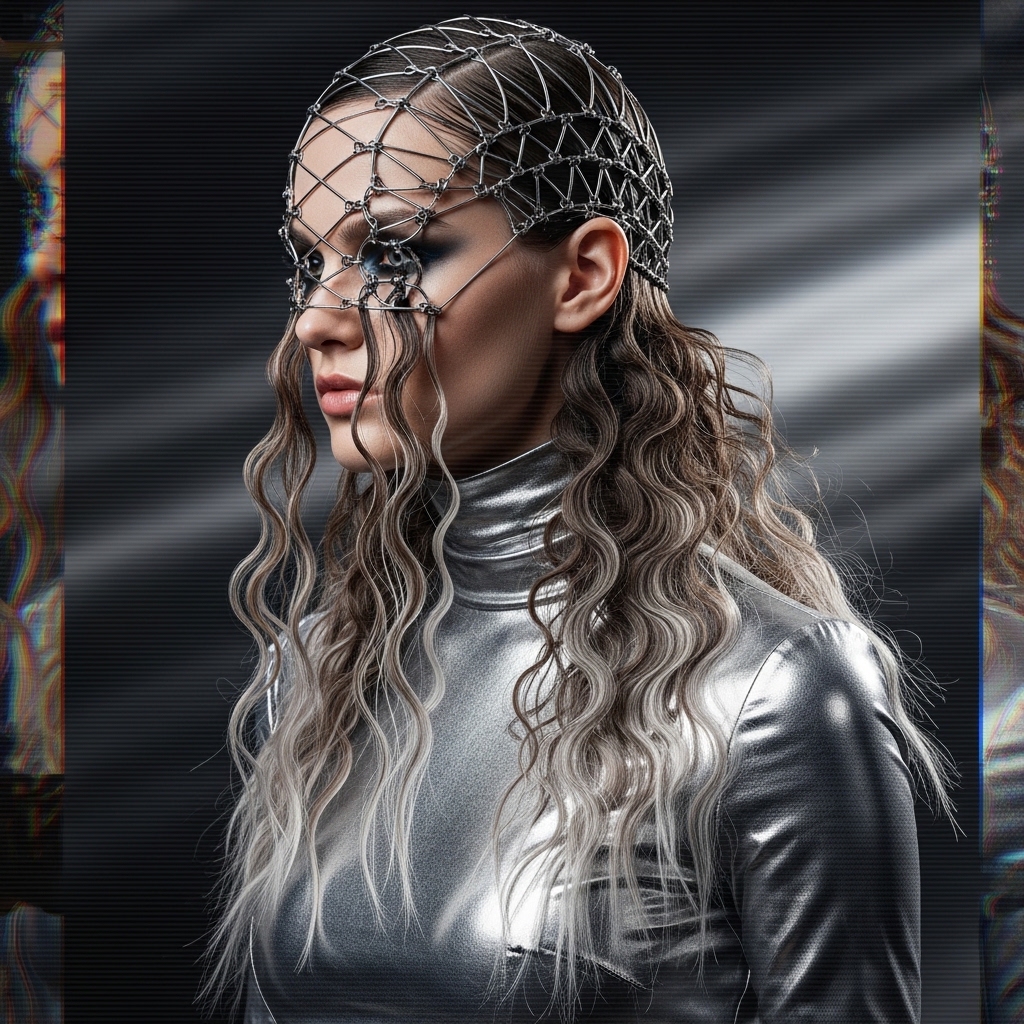
8. Glitchy Glam Texture
For a glitchy glam hair moment, play with texture contrasts. Start with super-sleek, straightened hair. Execute the laced twists perfectly. Then, take the bottom half of your down hair and curl it into erratic, piecey waves.
The contrast between the hyper-sleek top and the messy, textured bottom is so modern and cool. It feels intentionally disrupted and full of personality.
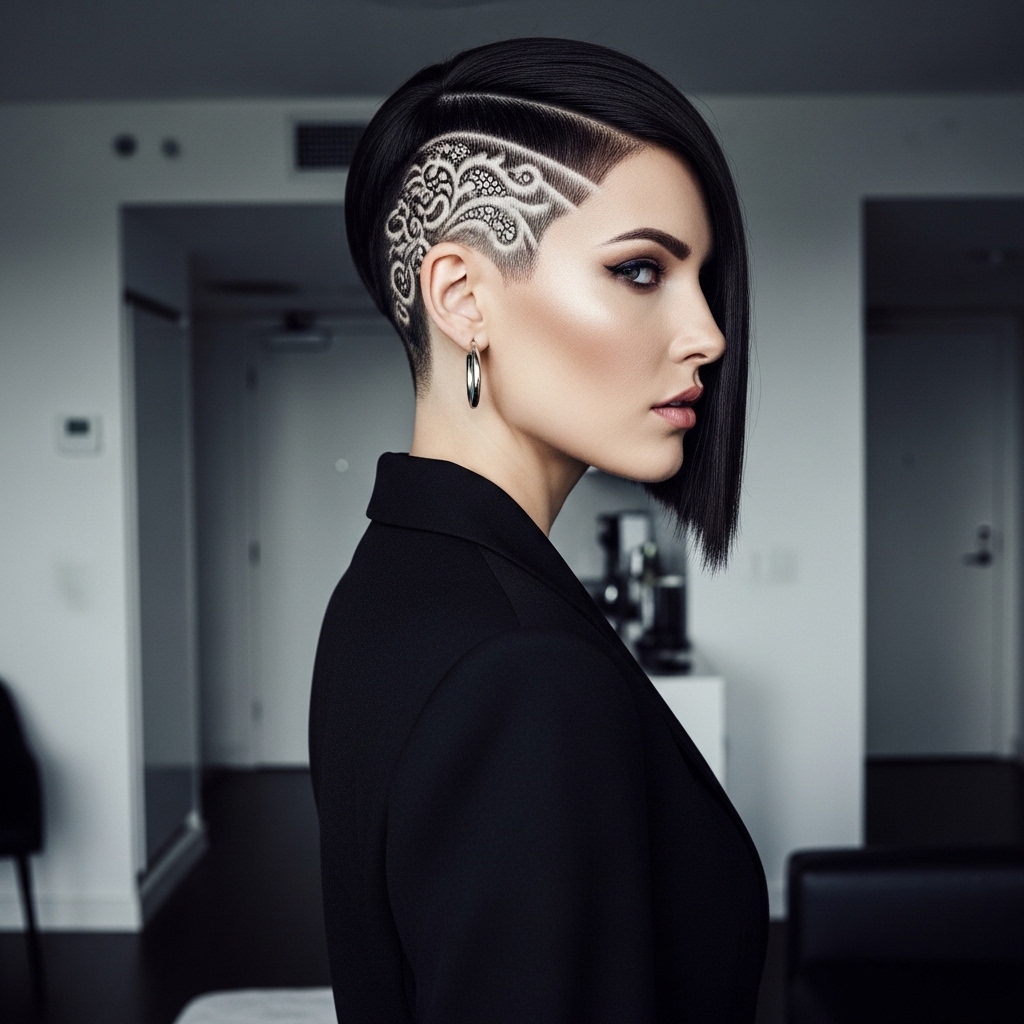
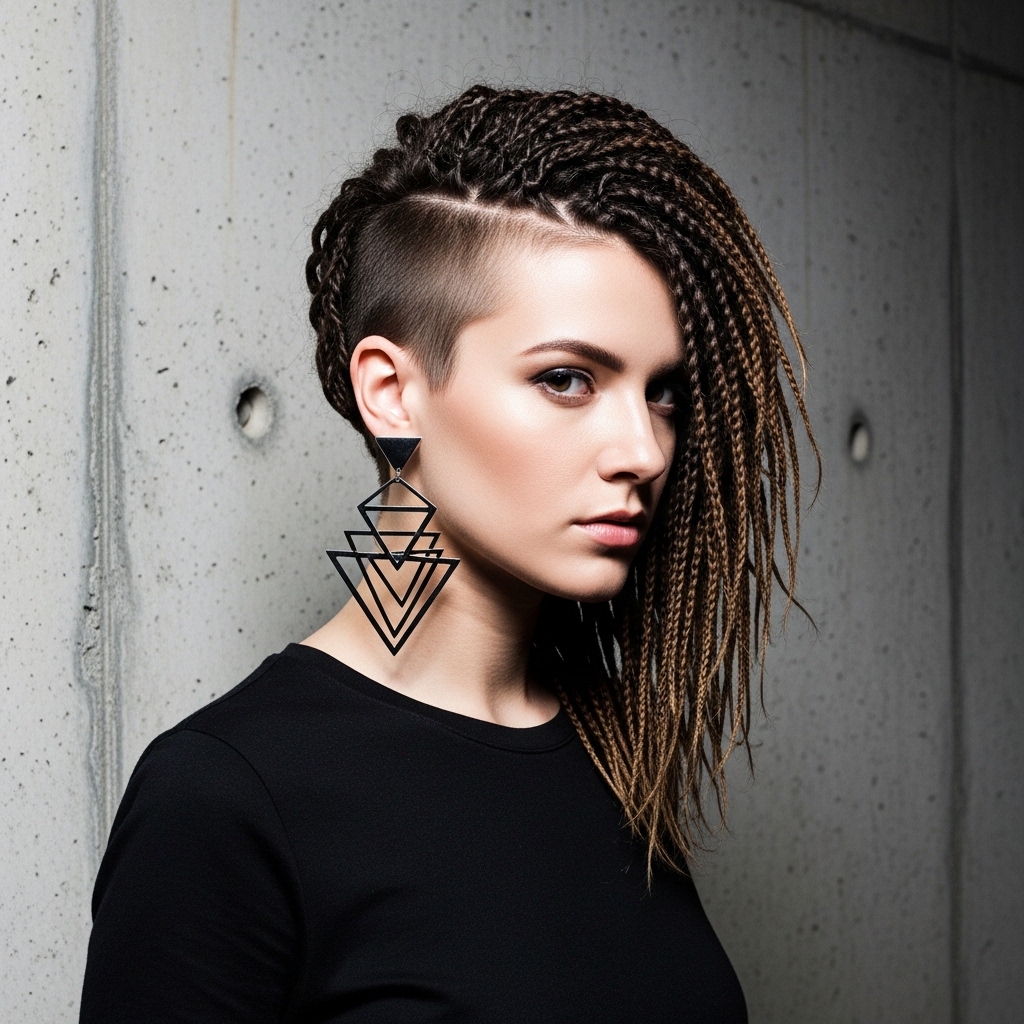
9. The Asymmetrical Statement
This is perfect for an asymmetrical lob. Only work on one side of your head! Create lace-up twists that start at your temple on the longer side and curve back, following the line of your cut.
Leave the shorter side completely untouched, or maybe just tuck it behind your ear. This emphasizes the beautiful, bold line of your cut and turns it into art.
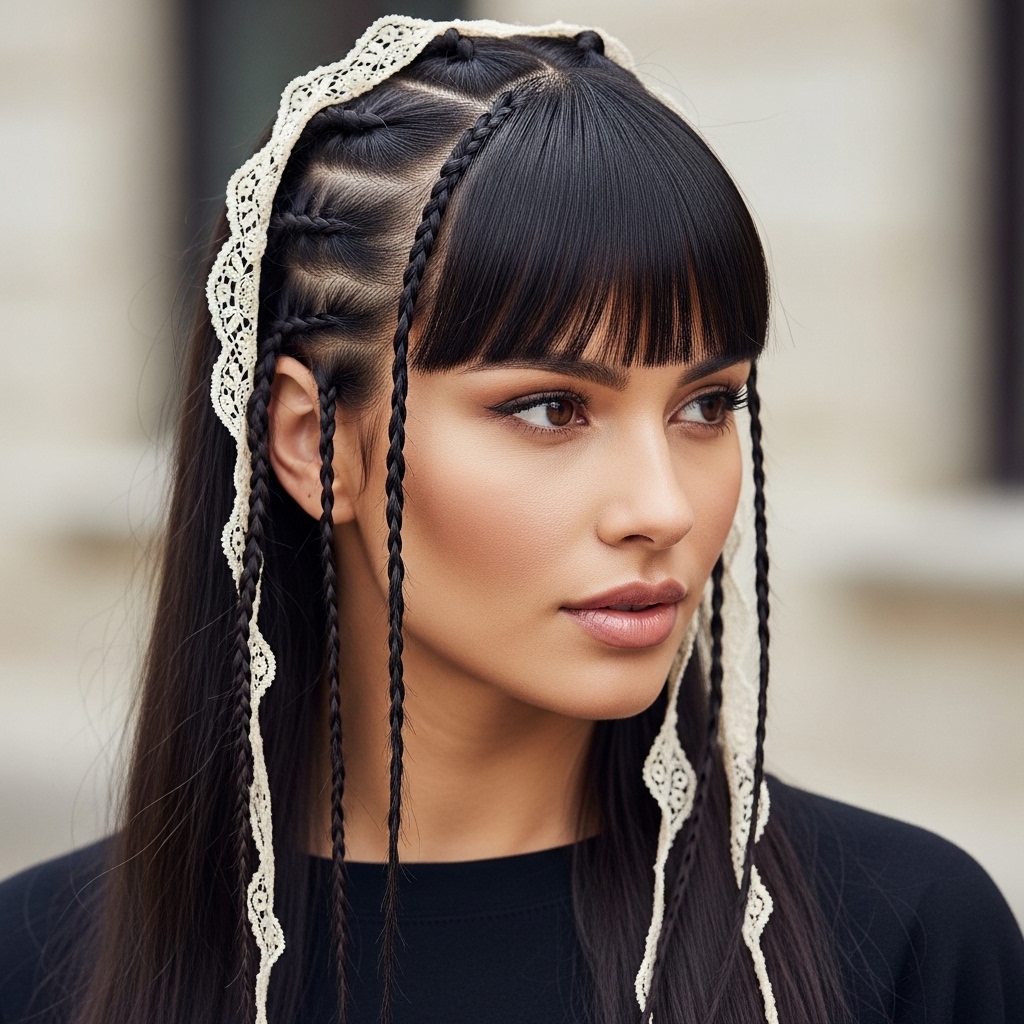
10. Hime Cut Lace Detail
The hime cut is all about dramatic, straight lines. To soften it, add a laced detail. Take small front sections from the long, face-framing pieces and lace them back neatly.
This keeps the iconic hime shape but adds a layer of intricate detail that keeps it from feeling too harsh. It honors the tradition of the cut while making it your own.
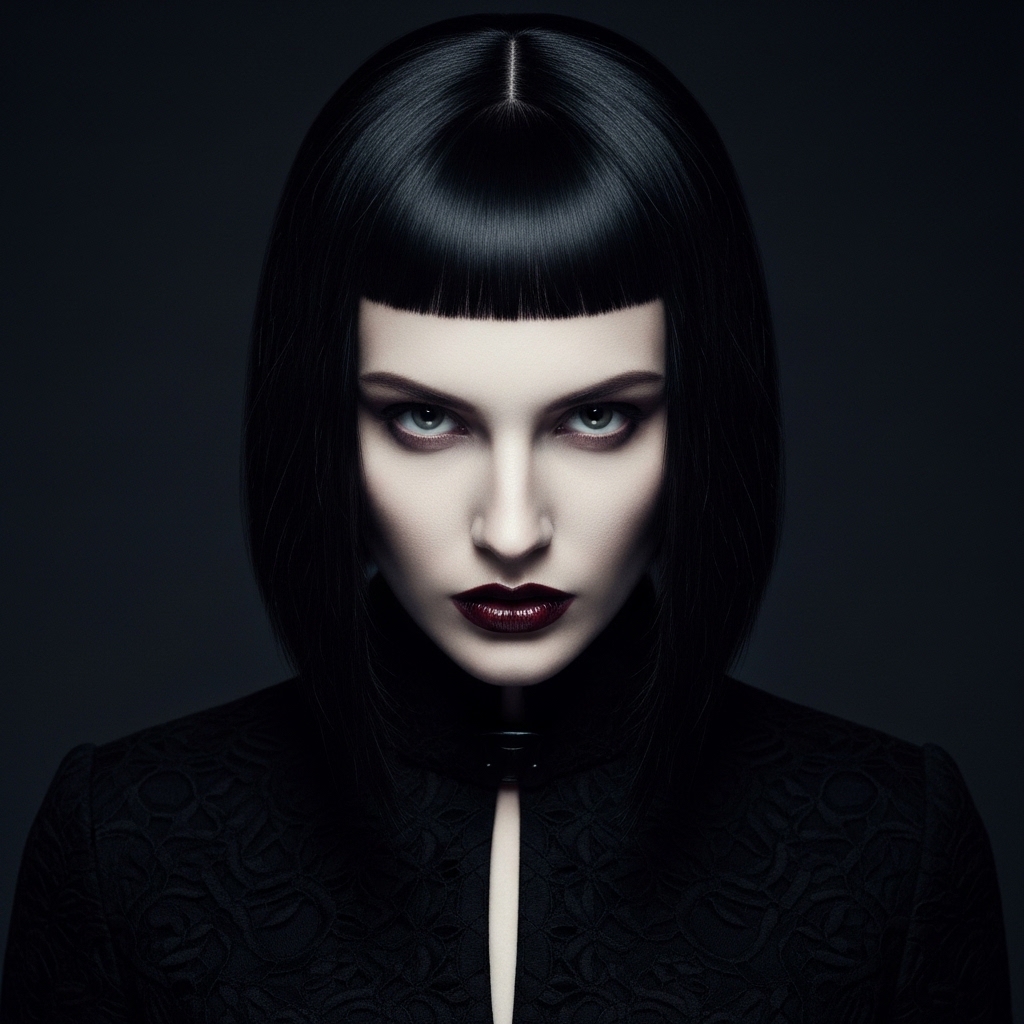
11. The “Vampire” Lace
Channel your inner vampire with this take on the vampire haircut. Think sharp, defined twists against very straight, dark hair. Add a stark middle part.
The key is precision. Use a fine-tooth comb to create each section before twisting. For an extra touch, dab a tiny bit of hair gloss only on the twisted sections to make them look wet and severe.
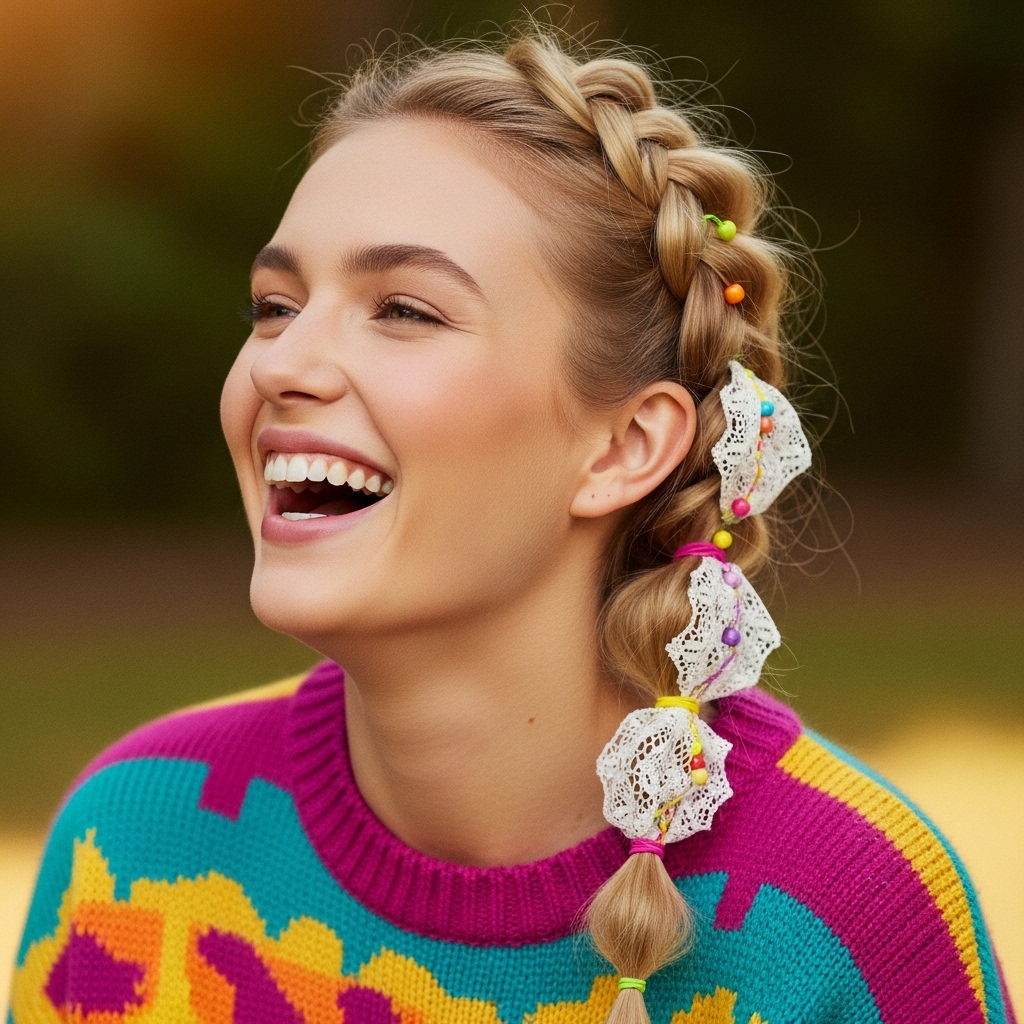
12. Bubble Lace Braid
This is so fun and playful. Create a standard lace-up twist on one side. Once it’s pinned, gently pull apart the twist in sections to create “bubbles” along its length.
Secure each bubble with a tiny clear elastic or a bobby pin hidden underneath. It adds amazing texture and volume and is a total conversation starter.
13. Laced Updo for Short Hair
Yes, you can do this on shorter hair! If you have a bob or even a pixie with some length on top, use the front and side sections. Lace them back to create a mini half-up style.
It pulls hair gracefully away from your face and adds so much dimension to a shorter cut. Use tiny bobby pins that match your hair color for an invisible hold.
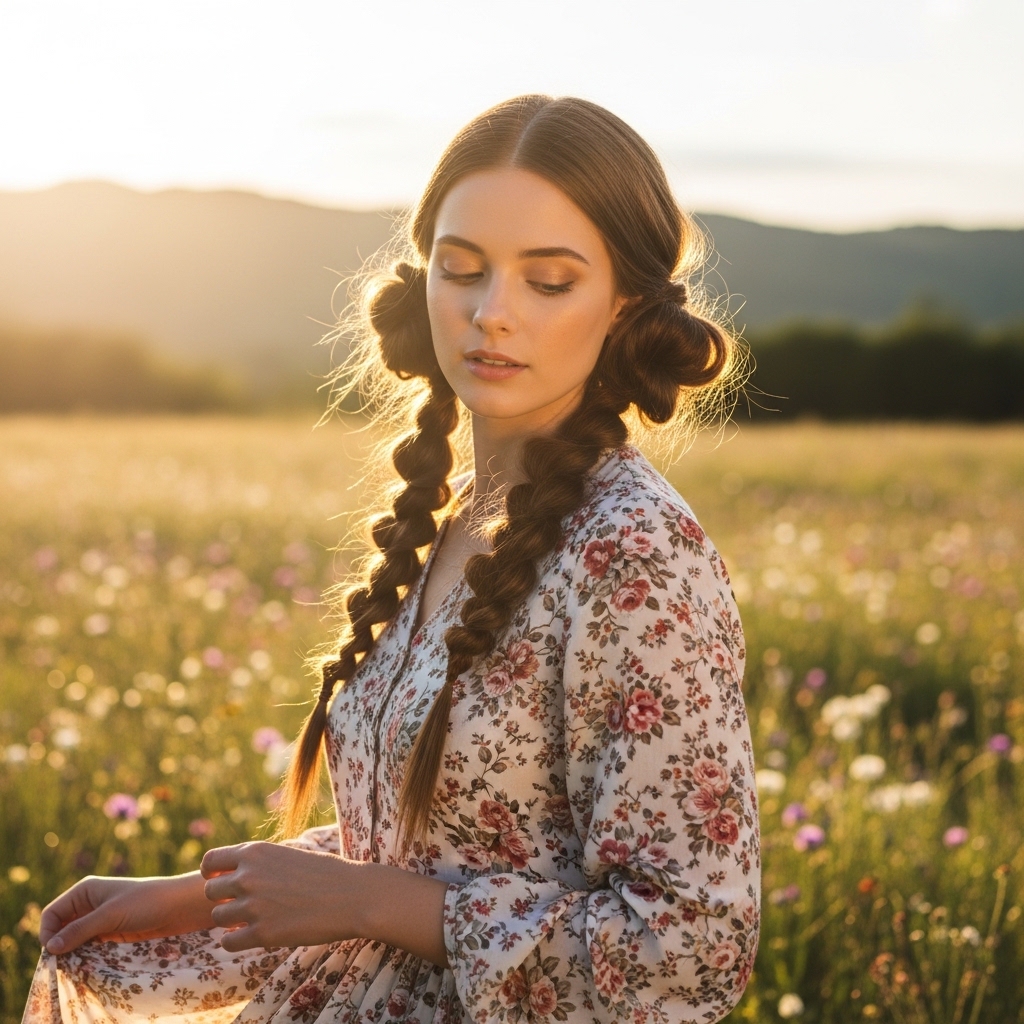
14. The Milkmaid Inspiration
This gives major cottagecore vibes. Create two pigtails low at the back of your head, but instead of pulling all the hair up, only use the top sections. Lace and twist the crown hair back into each pigtail.
Then, you can wrap the pigtails into buns or leave them as tails. It’s a sweet, feminine take that feels both vintage and fresh.
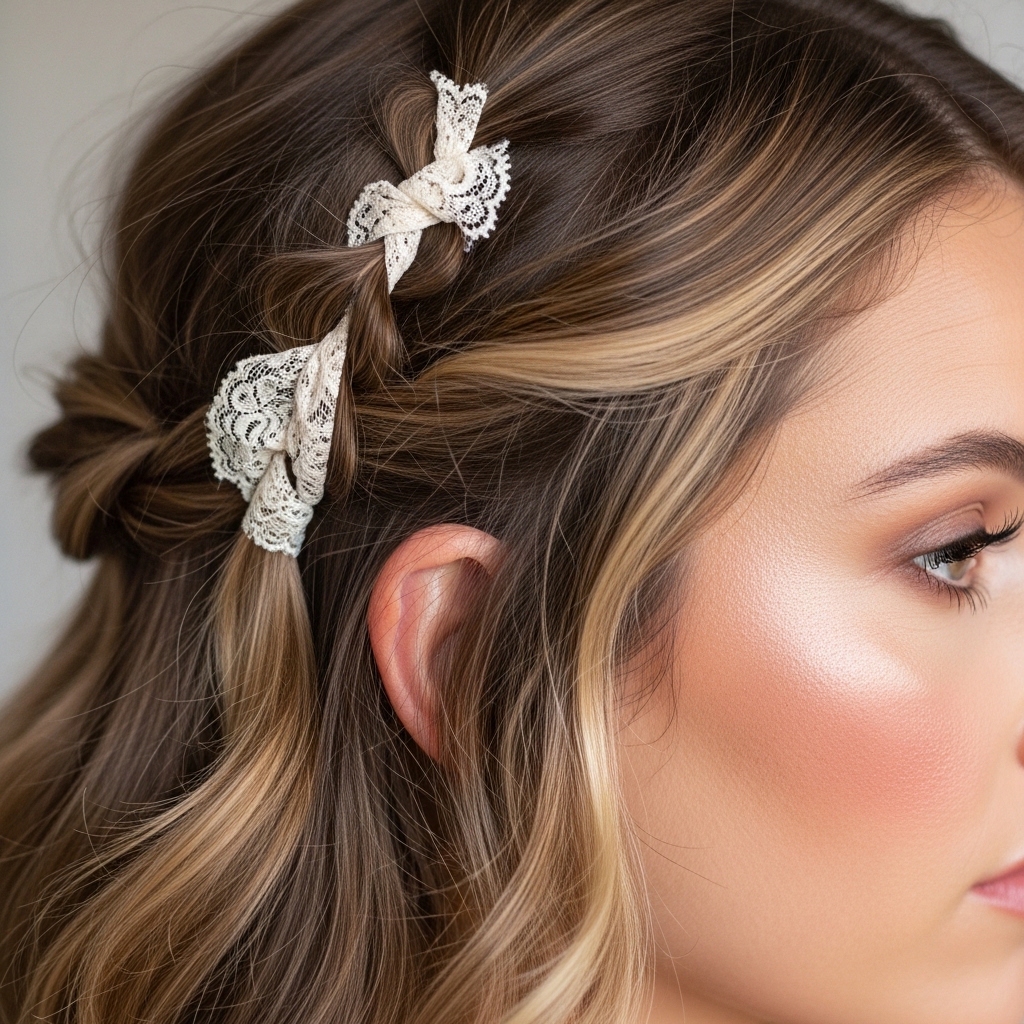
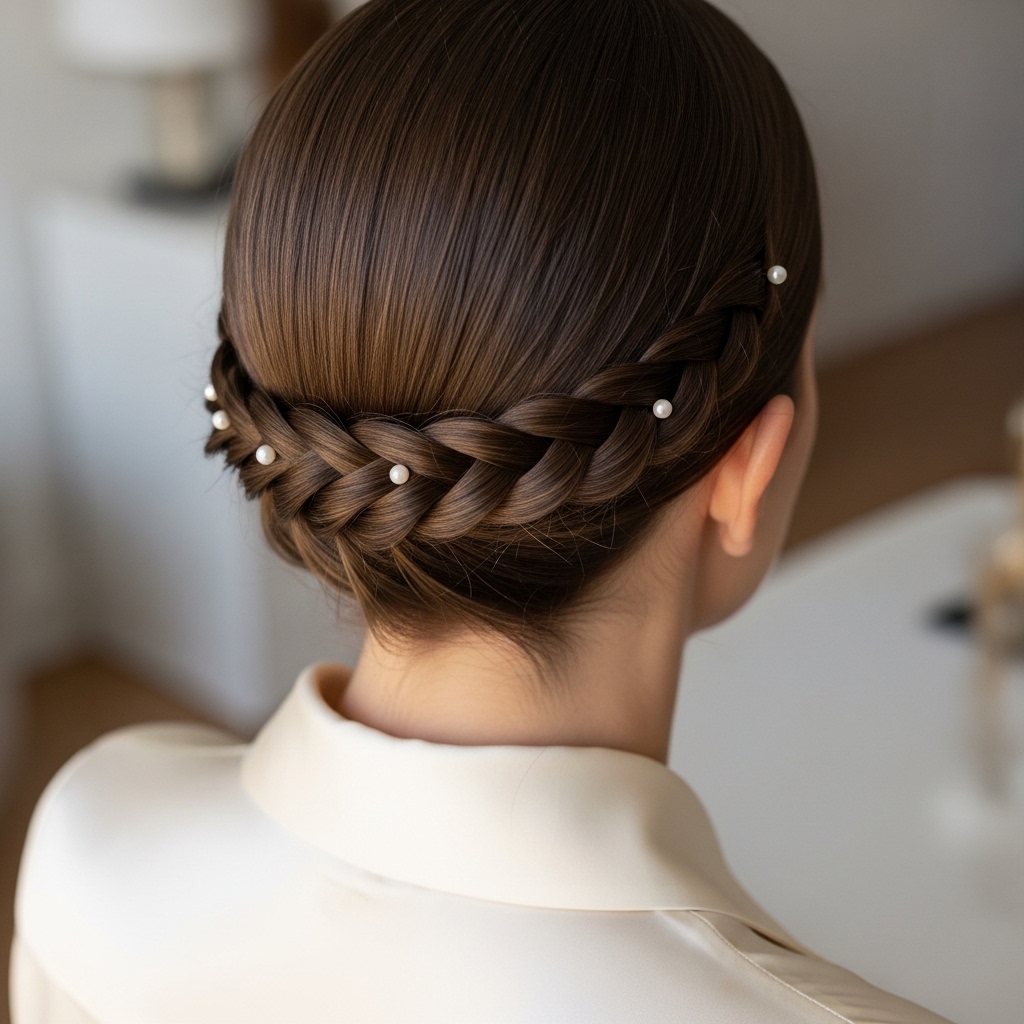
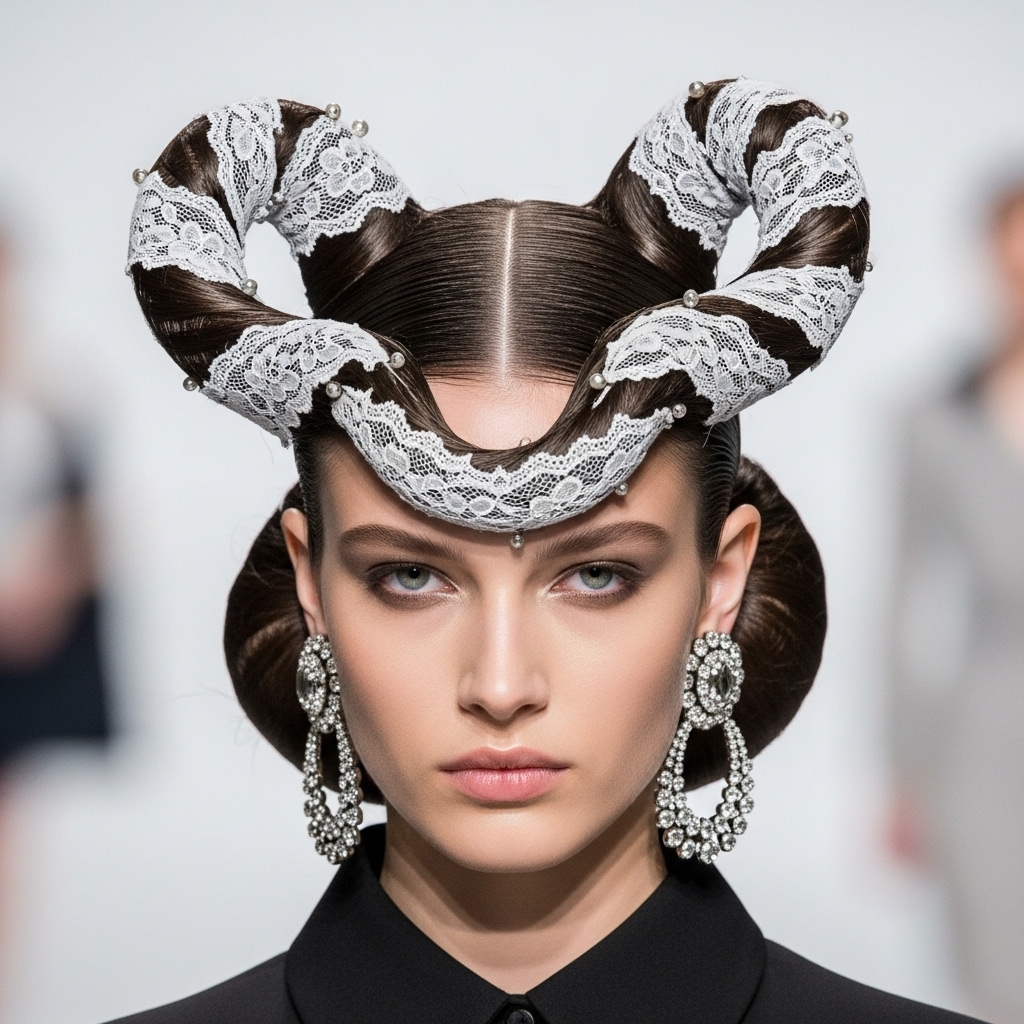
15. Accessorized with Pearls
Elevate the simplest lace twist with tiny accessories. As you pin each twist, slide a small pearl-tipped pin right into the pinning point. Or, use a fine pearl chain as your “lace,” wrapping it through the twists as you go.
This is the ultimate old money hair trick. It’s understated, luxurious, and looks incredibly expensive with zero effort.
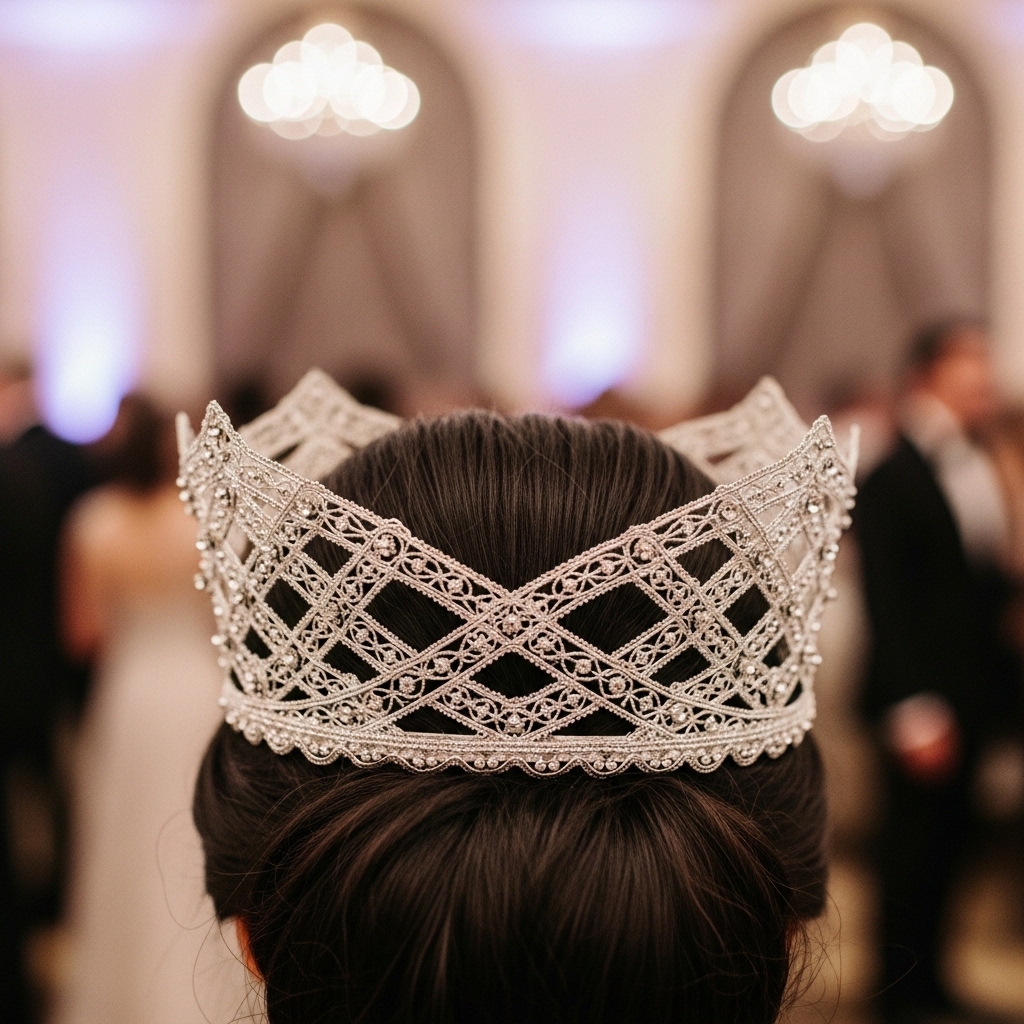
16. The Criss-Cross Crown
For maximum impact, create two separate lace-up twists starting at each temple. Instead of meeting in the middle, let them cross over each other at the back of your head before pinning.
This creates a beautiful, intricate crown-like effect that looks far more complicated than it is. It’s perfect for a wedding or special event.
17. Messy Bun Anchor
Create a perfectly imperfect messy bun at your crown. Then, use the base of that bun as your anchor. Lace small twists from your hairline back, tucking the ends securely into the bun’s base.
This style manages to look both effortless and intentional. The bun holds everything together, while the face-framing twists add that special detail.

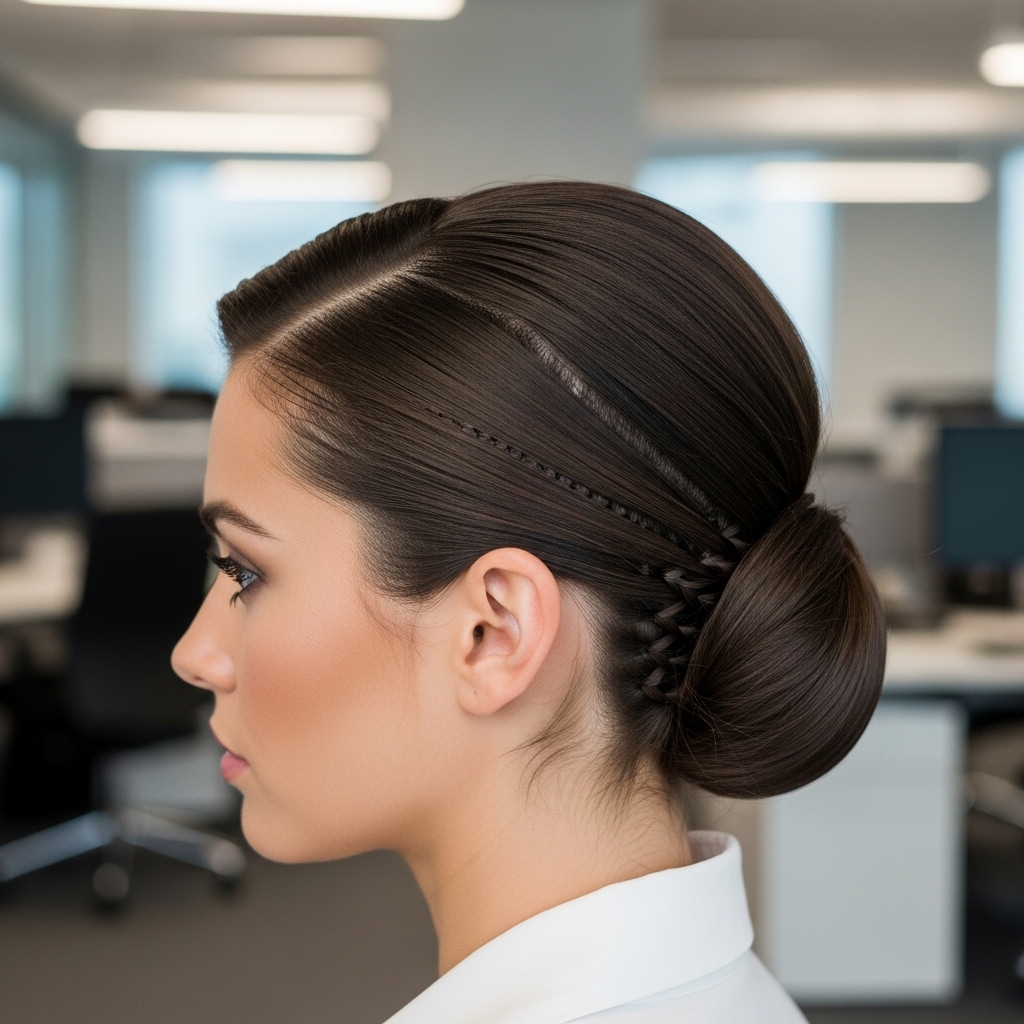
18. The Slicked-Back Variation
Gel is your friend here. Use a strong-hold gel or pomade to slick all your hair back into a low ponytail or bun first. Then, pick out two small, clean sections from the front.
Twist them tightly and lace them over the slicked base, pinning them at the back. The contrast between the slick base and the raised twists is ultra-modern and chic.
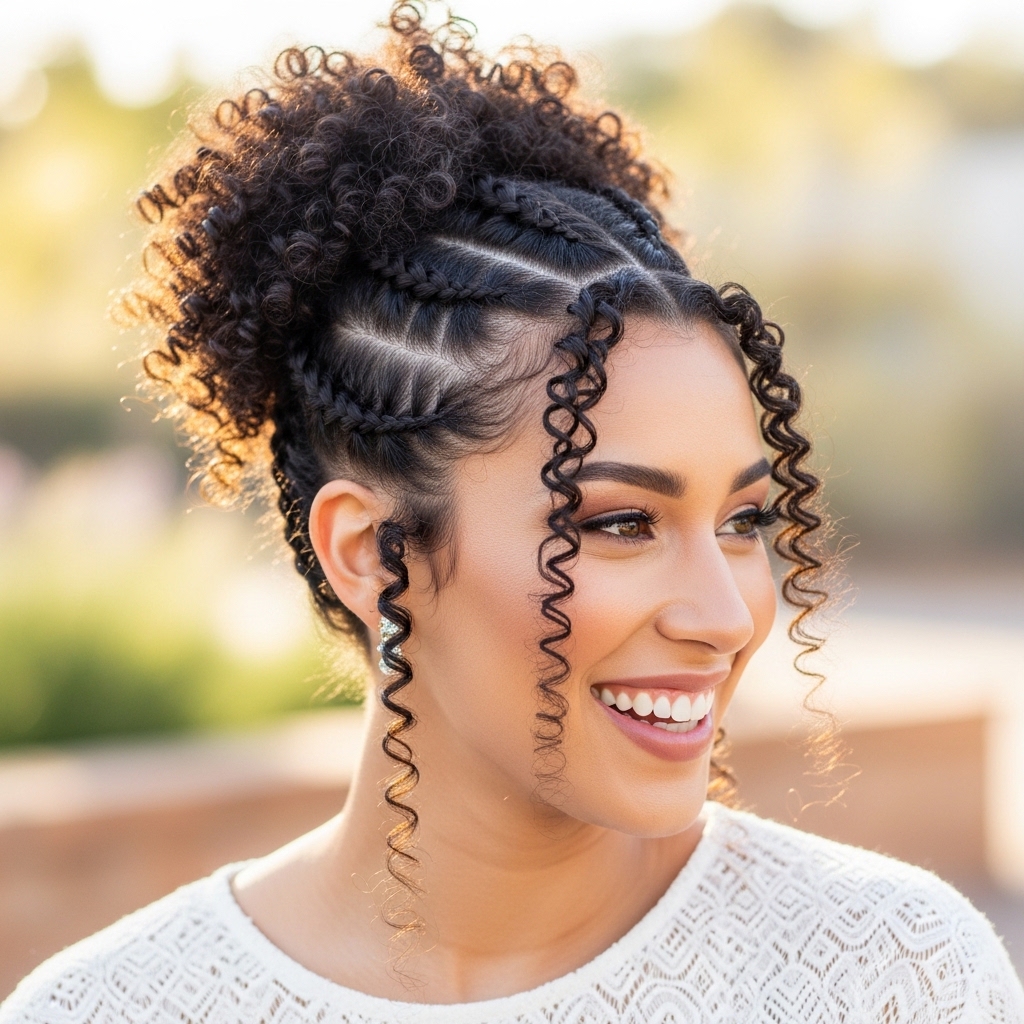
19. For Curly Hair Magic
This technique is stunning on curly hair. The twists help define and showcase your curl pattern. Work with fully dried, defined curls. Use a bit of curl cream on each section before twisting.
Lace the twists back gently—don’t over-twist or pull too tight. The result is a gorgeous, textured crown that celebrates your natural hair.
20. The Half-Up, Half-Down Hack
This is the quickest version. Simply create two small twists at your temples. Bring them to the back of your head and cross them over each other once, then pin. Leave the rest down.
It takes 60 seconds but instantly makes a basic half-up style look considered and stylish. It’s my number one busy-morning hack.
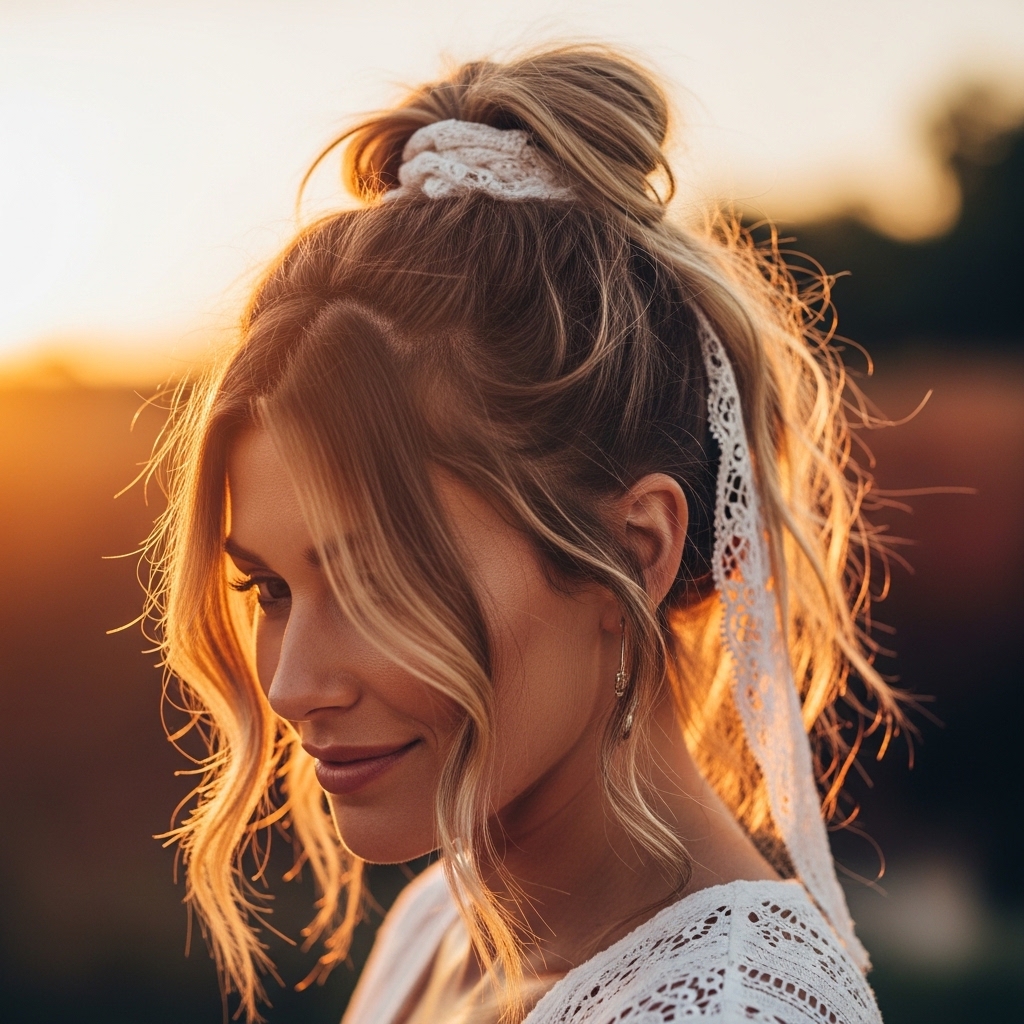
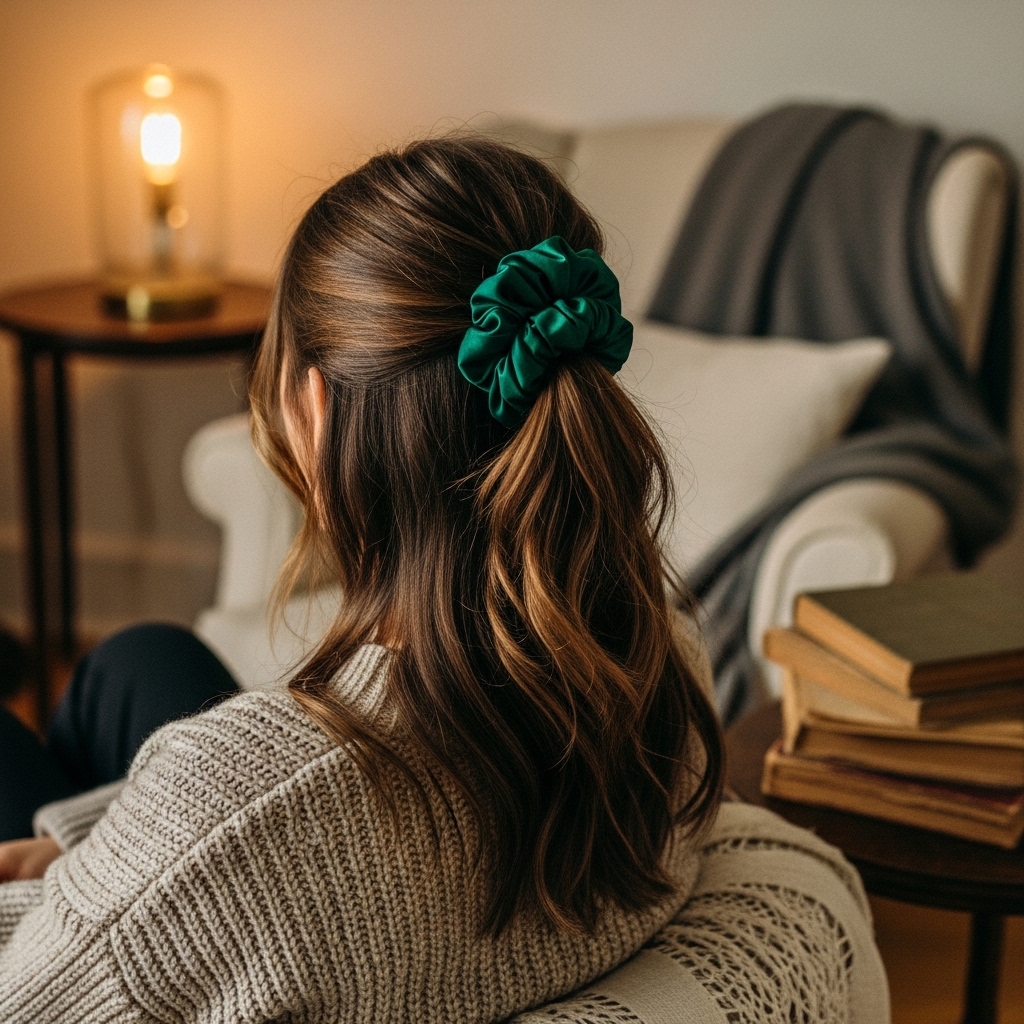
21. With a Scrunchie Base
For a ’90s throwback with a twist, use a silk scrunchie to create a loose half-up pony. Then, take two small sections from underneath the scrunchie, twist them, and wrap them around the base to hide the scrunchie, pinning as you go.
It’s soft, comfortable, and adds that little extra detail that makes it look styled, not thrown together.
22. The Elegant Evening Finish
To transform any of these styles for evening, focus on polish. Spritz a light-hold hairspray on a toothbrush and gently smooth down any baby hairs. Add one statement piece, like a jeweled clip, where all the twists meet.
This is how you take a daytime quick style straight to dinner. It’s all about the finishing touches that scream intention.
And there you have it! Twenty-two ways to turn a simple twist into your new favorite hairstyle. The beauty of this technique is its versatility. It can be soft or severe, messy or polished, classic or totally trendy.
It adapts to your hair, your mood, and your personal style—whether that’s leaning into the 2026 hairstyles trend of intricate detailing or the timeless appeal of quiet luxury. The best part? It truly is as quick and easy as I promised.
I’d love to hear which one you try first! Did you go for the classic lace or something more like the glitchy glam texture? Tell me in the comments below! And if you want to keep these ideas handy for your next hair crisis (we all have them), be sure to save this post to Pinterest so you can always find your favorite look.
