
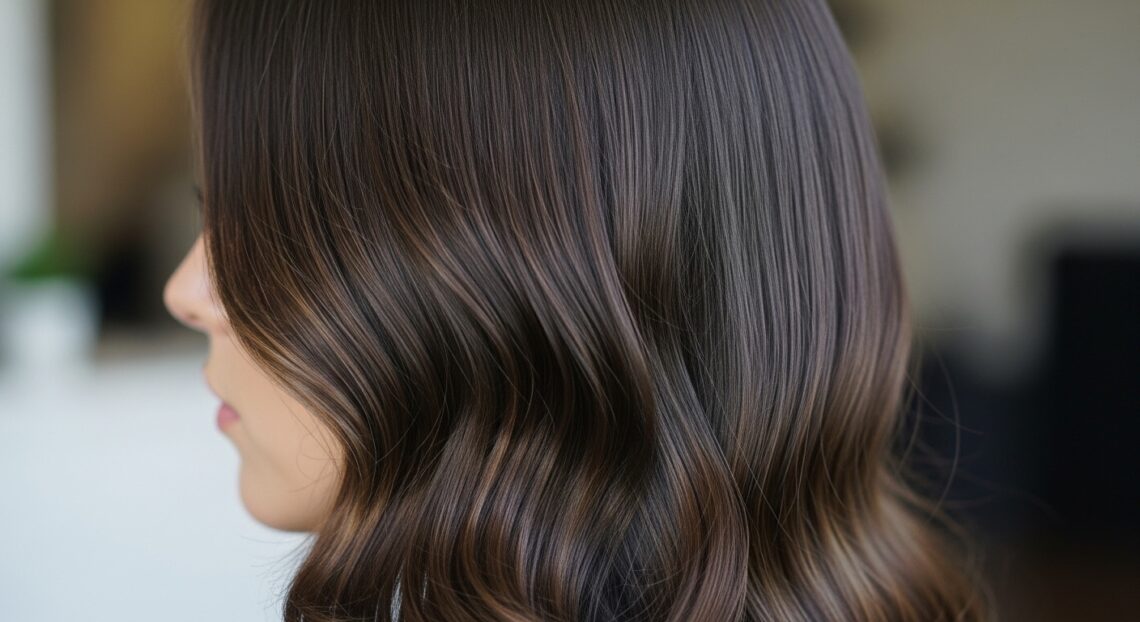
Okay, let’s be real. You’ve seen the hime cut all over your feed, right? It’s that stunning, princess-style cut with straight-across bangs and sharp, jaw-length sidelocks. It feels like it’s everywhere, from romantic goth hairstyles to super sleek, modern looks. I totally get it—it’s gorgeous, but it also looks intimidating to try.
What if I told you it doesn’t have to be? I was scared to try it myself, but after breaking it down, it’s just a series of simple steps. This isn’t about achieving salon-perfect lines on your first try. It’s about having fun and embracing a bold change.
Think of this as your ultimate, no-stress guide. I’m walking you through 21 different ways to approach, style, and love your hime cut. Whether you’re dreaming of a vampire haircut vibe or something softer, we’ve got you covered. Let’s dive in and find your perfect version.
What Exactly Is a Hime Cut?
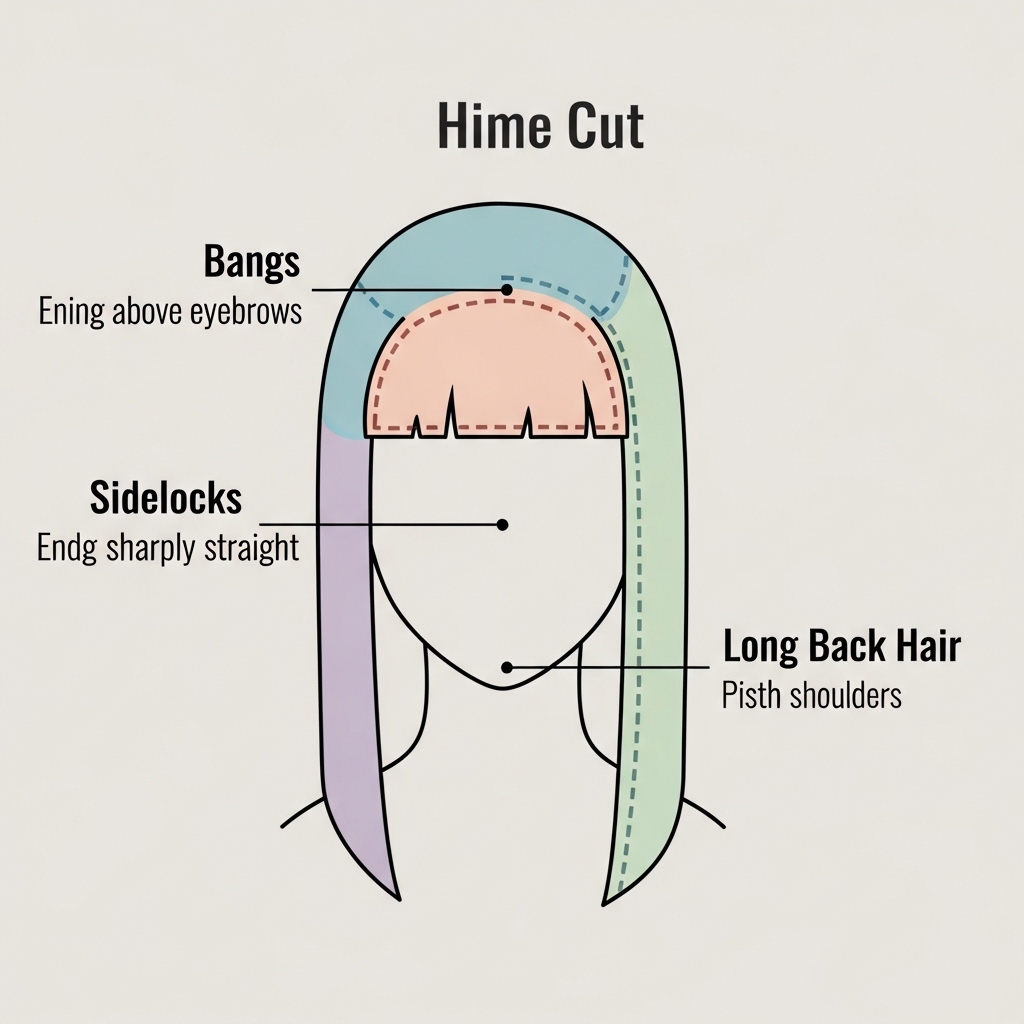
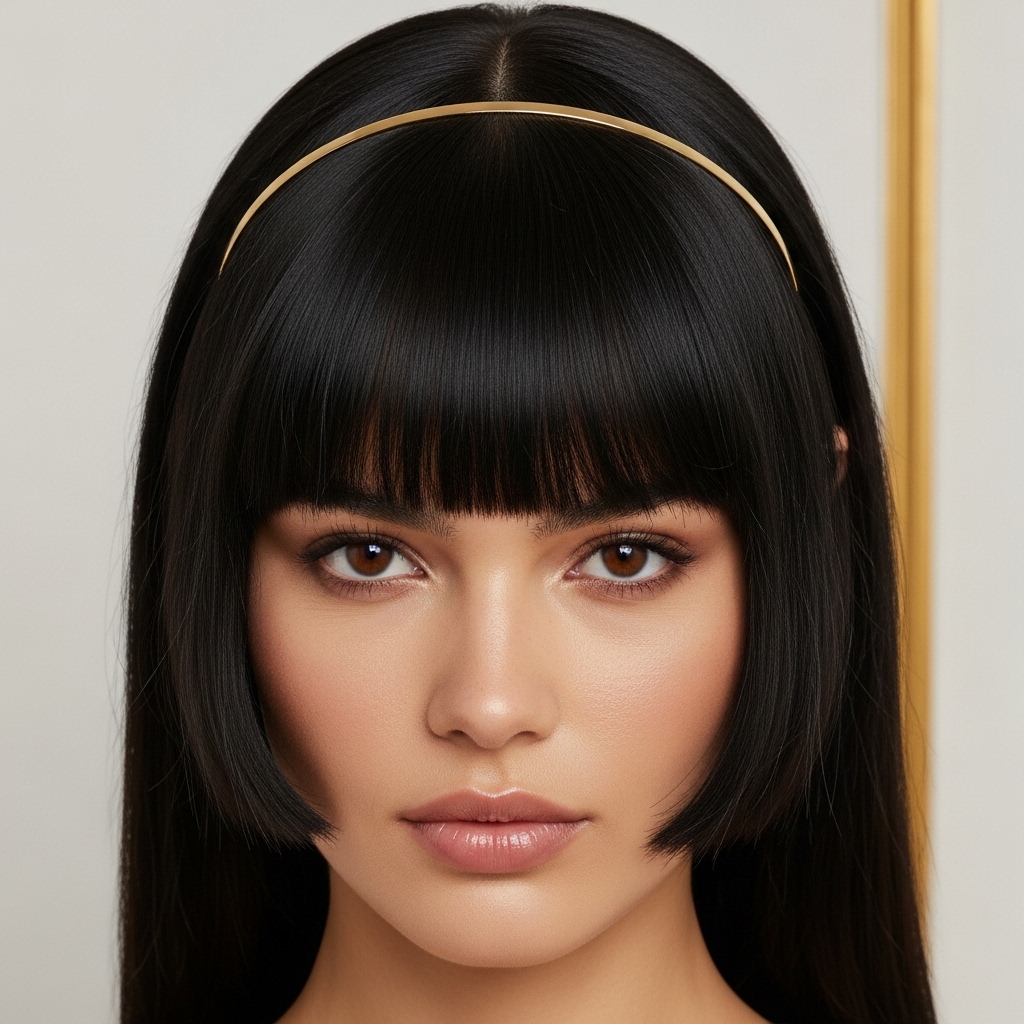
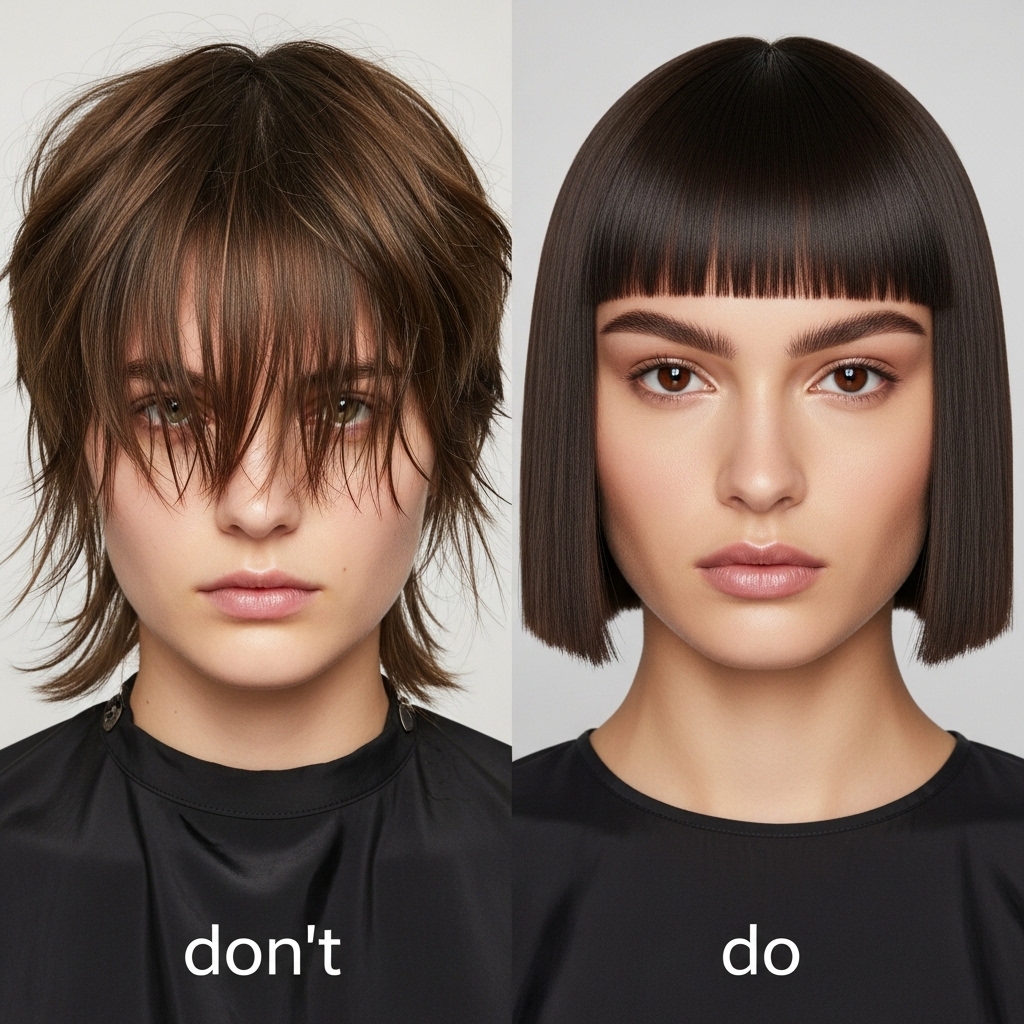
The hime cut, or “princess cut,” is a traditional Japanese style. Its signature features are blunt, straight-across bangs (called “mae-gami”) and two distinct, sharp-cut sidelocks (“bin-gami”) that frame the face. The rest of the hair is typically kept long.
This creates a dramatic, geometric shape that’s both elegant and edgy. It’s a fantastic way to highlight your cheekbones and jawline. Today, it’s been adapted into so many variations, blending with trends like the asymmetrical lob and glitchy glam hair for a modern twist.
Gather Your Tools First
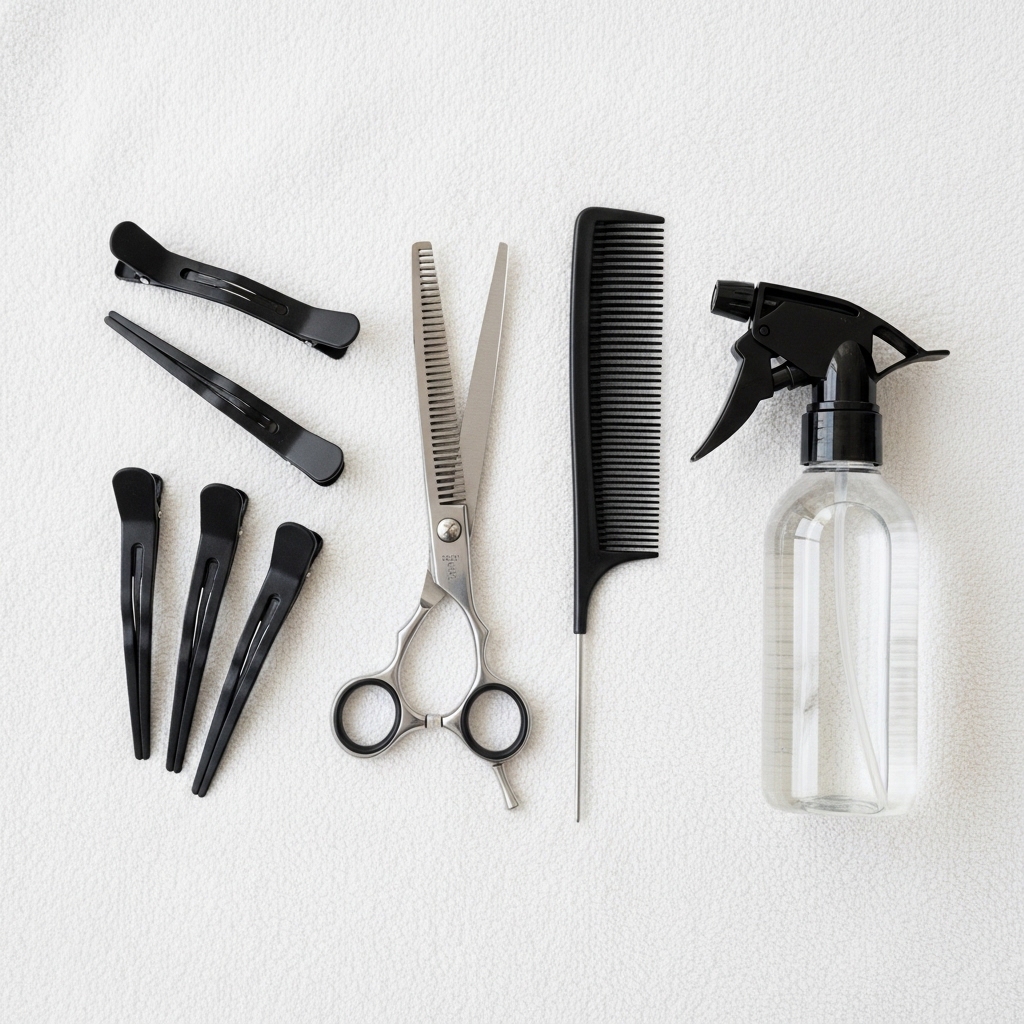
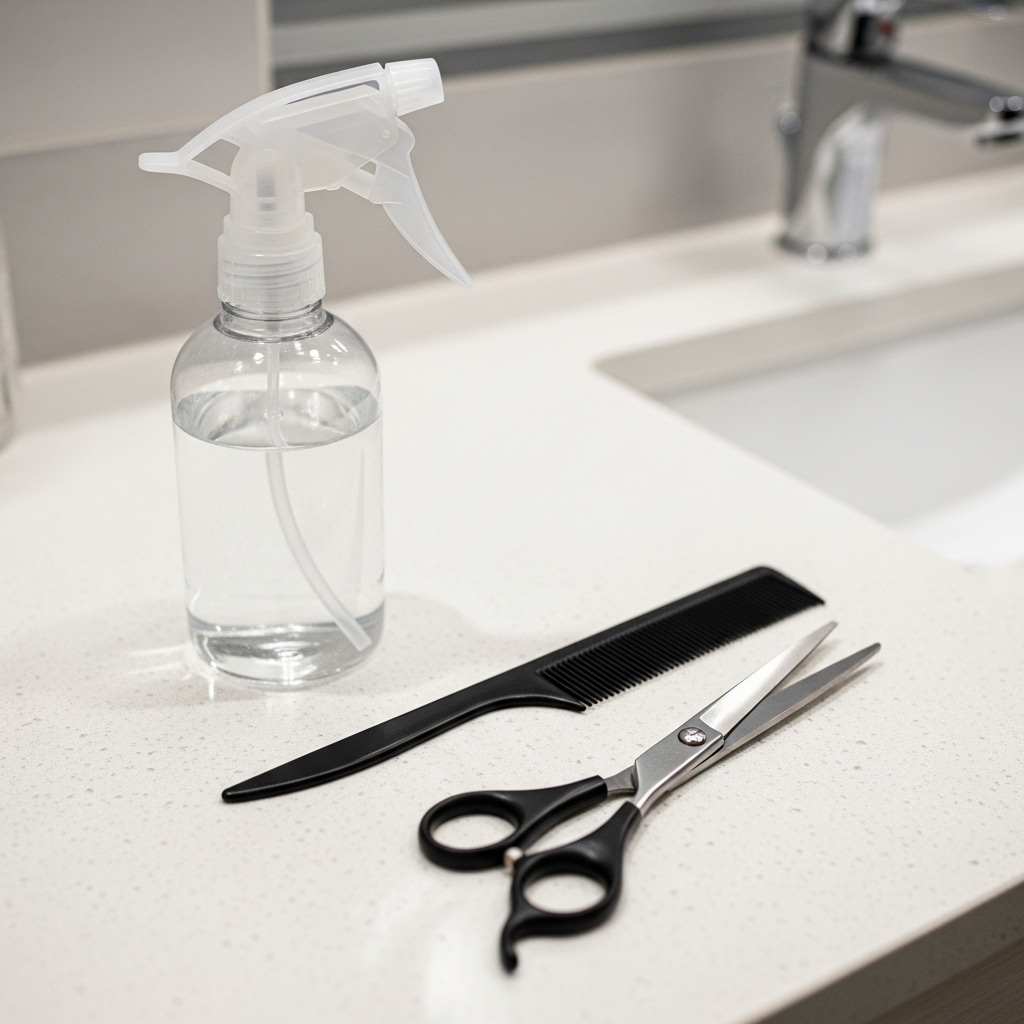
You don’t need a professional kit, but having the right basics makes everything smoother. You’ll need a pair of sharp hair-cutting shears (please, not kitchen scissors!), several hair clips for sectioning, a fine-tooth comb, and a spray bottle with water.
Having two mirrors helps—one to see the back. A handheld one works great. Damp hair is easier to cut evenly, so mist your hair until it’s just damp, not dripping. Being prepared is the first step to a stress-free cut.
Start With Dry, Styled Hair
This is my biggest tip! Always cut your hair when it’s dry and styled how you normally wear it. If you have waves or curls, cut it while it’s wavy. If you straighten it, cut it straight.
Cutting dry hair lets you see the true length and how it falls in real time. You avoid the shock of your hair shrinking up as it dries. This is key for nailing the precision this cut needs, especially for the bangs.
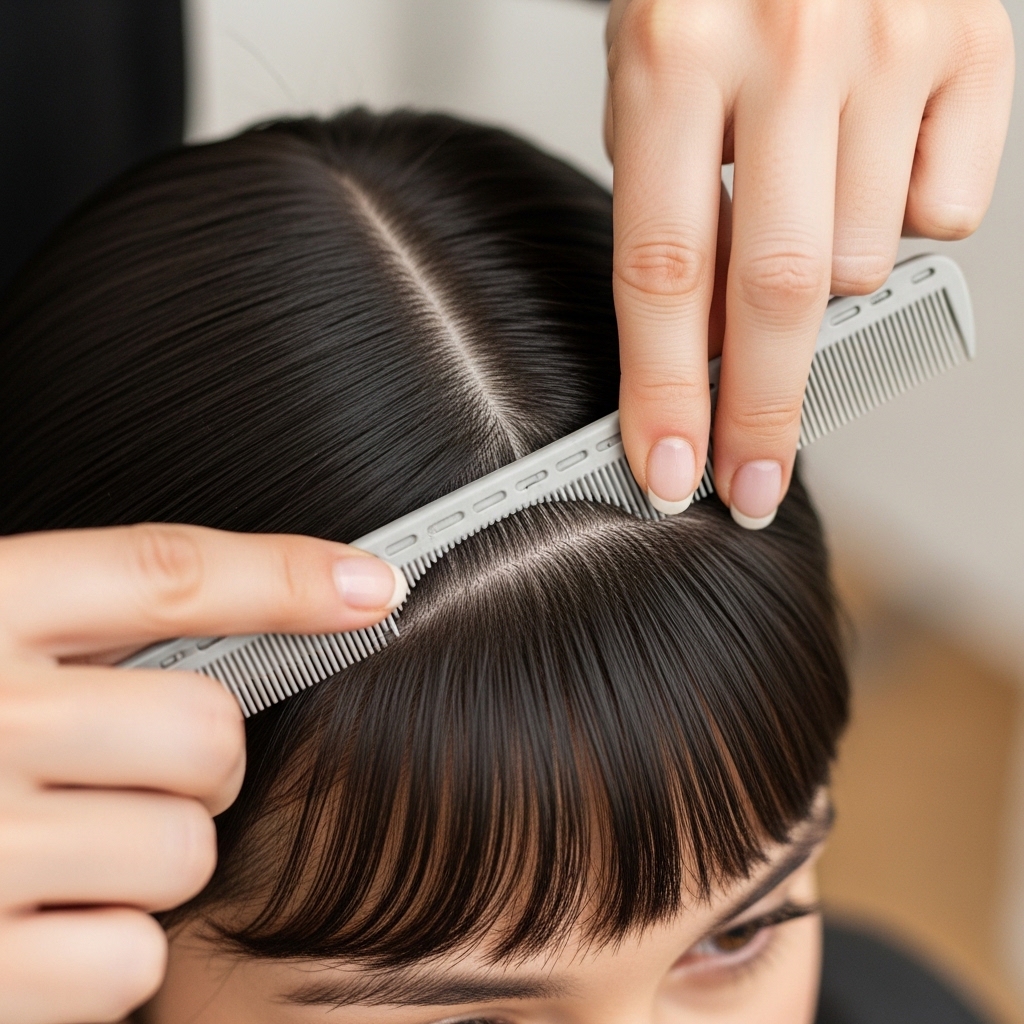
Sectioning Is Your Secret Weapon
Don’t just grab and cut. Clean sections are everything. Start by clipping the majority of your long hair up and out of the way. Leave down only the front section you’ll be working on.
Then, separate that front section into three distinct parts: the center section for your bangs, and the two side sections for your sidelocks. Use your clips! This keeps everything organized and prevents accidental chops.
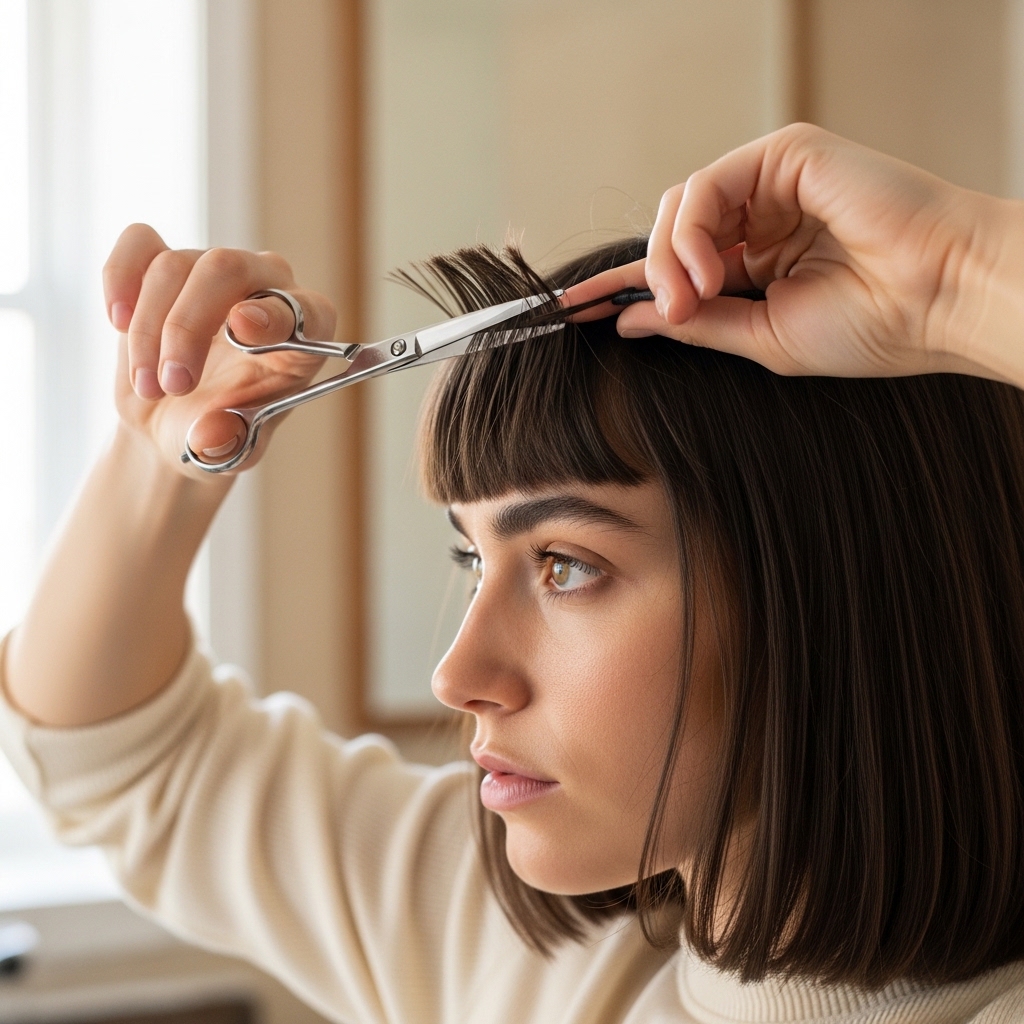
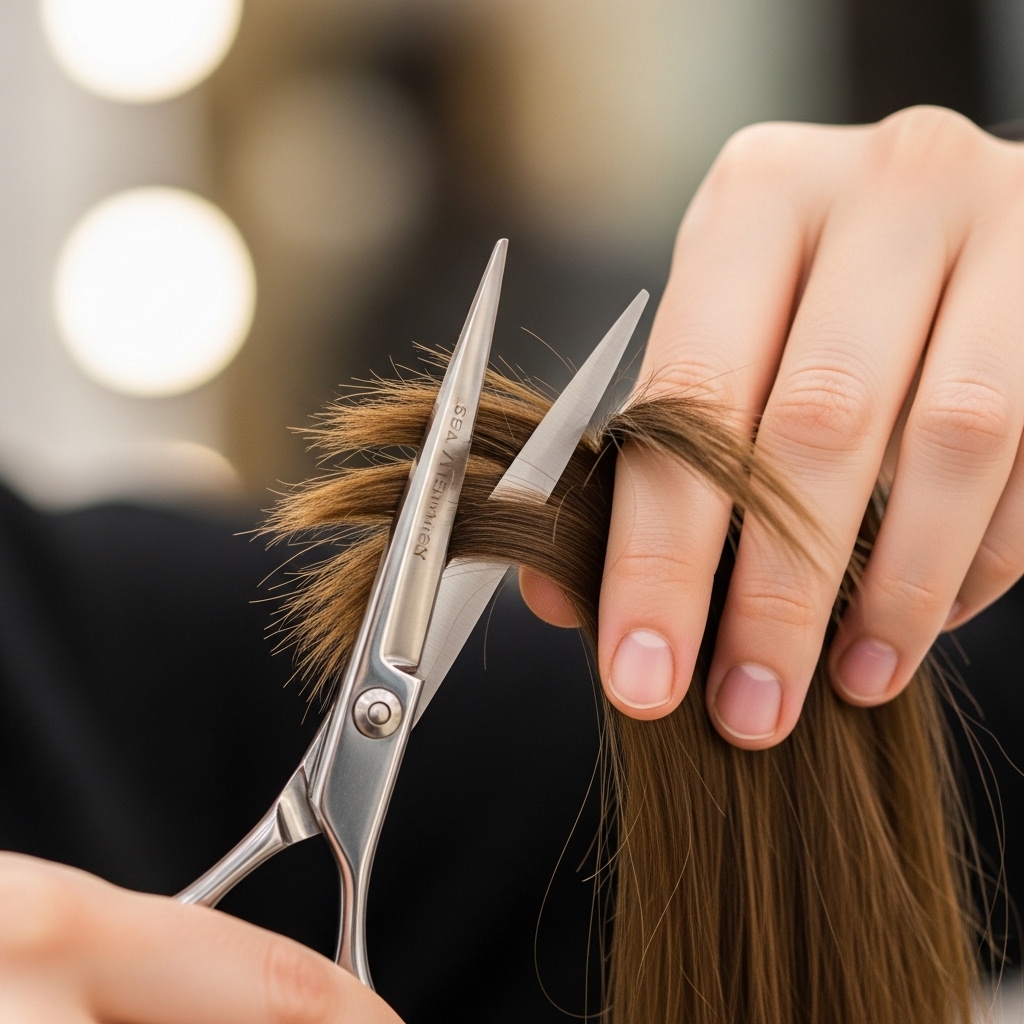
How to Cut the Blunt Bangs
Take your center section. Comb it straight down and hold it between your fingers at the bridge of your nose. Start longer than you think—you can always go shorter. Cut straight across in small, careful snips.
Look straight ahead into the mirror. Don’t pull the hair too tight. Cut slowly, checking after each snip. Remember, it’s easier to take more off later than to fix bangs that are too short.
Finding Your Sidelock Length
Unclip one side section. The classic length is around the jawline, but this is where you personalize it. Point your chin toward the shoulder opposite the side you’re cutting. This pulls the skin taut.
Comb the hair smooth and hold it against your jaw. Decide if you want it right at the jaw, an inch above, or even longer for a softer look. Mark your spot with your fingers. This will be your guide.

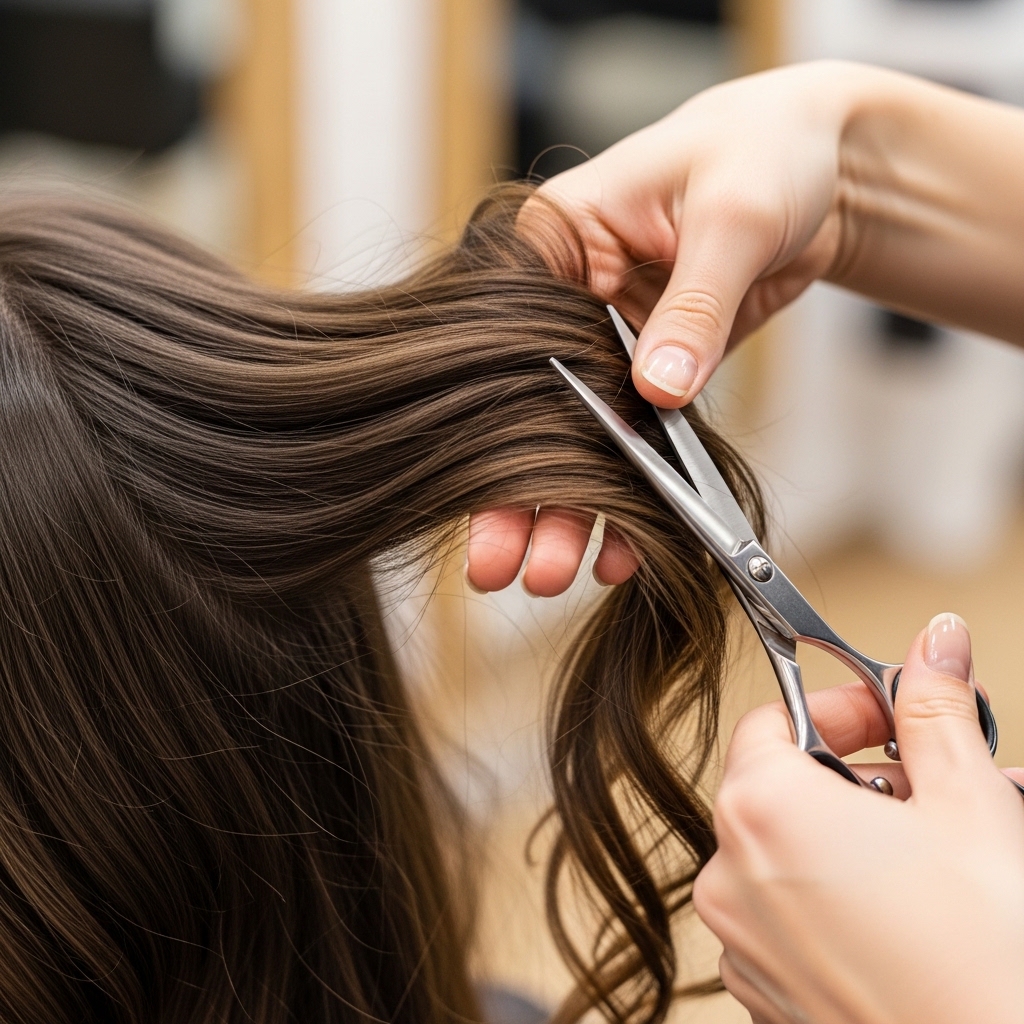
Cutting the First Sidelock
With your length decided, pull the section straight down. Hold your fingers at that chosen point, creating a straight, horizontal guide. Make one confident cut straight across.
Check the length in the mirror with your head upright. Does it feel right? This first cut sets the stage. You can always refine the shape and add layers or texture later, but getting this baseline length is crucial.
Matching the Second Sidelock
This is about symmetry. Unclip the other side section. Pull it forward and hold it against the side you just cut. Match them up to ensure they’re the same length.
Don’t just eyeball it against your face—compare the two hair sections directly. Cut slowly to match. Small, careful adjustments are better than taking off too much at once.
Blending for a Softer Look
A stark, sharp cut is amazing. But if you want a more blended, quiet luxury bob feel, you can soften the lines. Take very small vertical sections from the ends of your sidelocks.
Point your shears upward and make tiny, upward snips into the ends. This is called point-cutting. It removes weight and creates a feathered, less severe line that grows out beautifully.
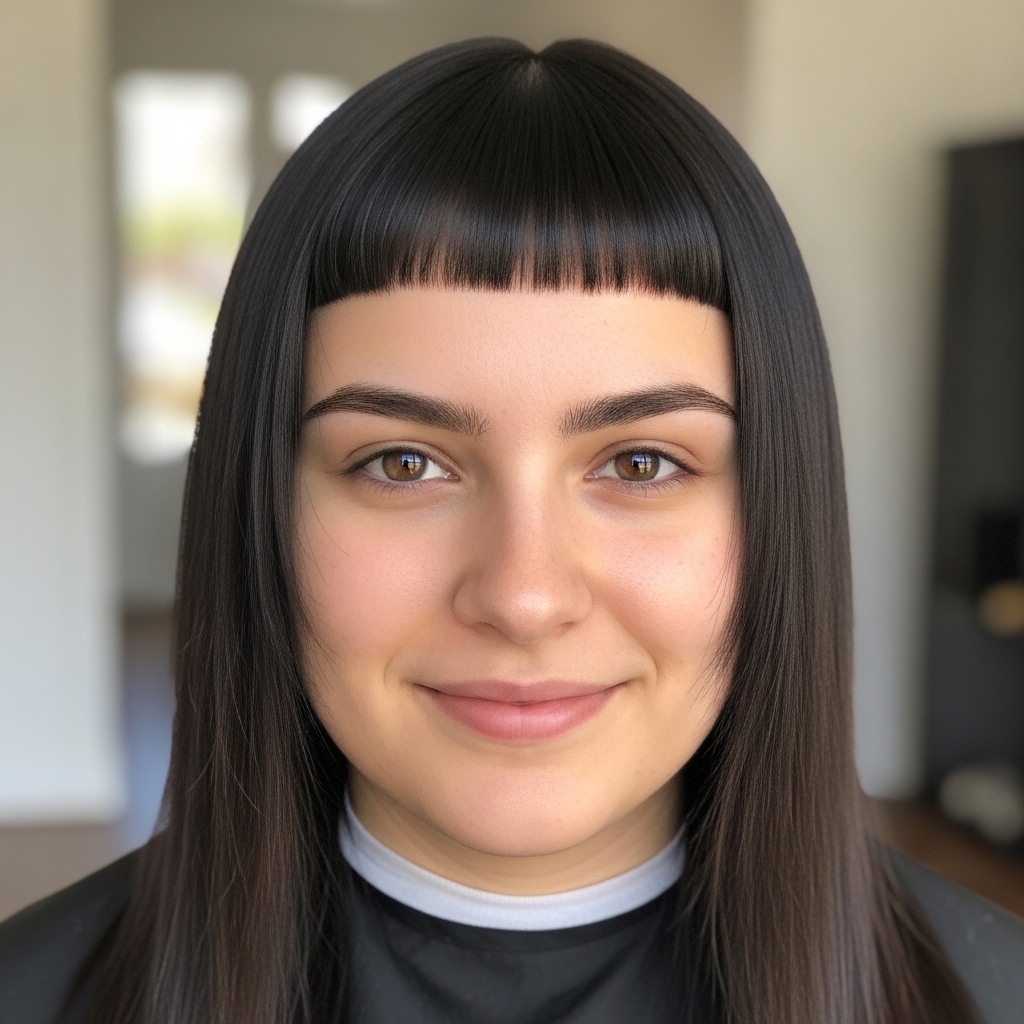
The “Face-Framing Only” Variation
Not ready for the full commitment? Try this! Only cut the two sidelocks to your jawline, and leave your bangs long or blend them into the rest of your hair. It gives that gorgeous face-framing effect without the bold bangs.
This is a perfect intro to the style and works incredibly well with wavy or curly hair. It feels like a fresh take on 2026 hairstyles—hinting at the trend without the full plunge.

Adding Subtle Layers for Movement
To prevent your cut from looking heavy or triangular, add light layers in the back. Take small horizontal sections from the mid-lengths of your long hair. Lift them up and cut into the ends.
This adds internal movement and helps the long back hair flow seamlessly from the shorter front pieces. It keeps the look modern and airy, not blocky.
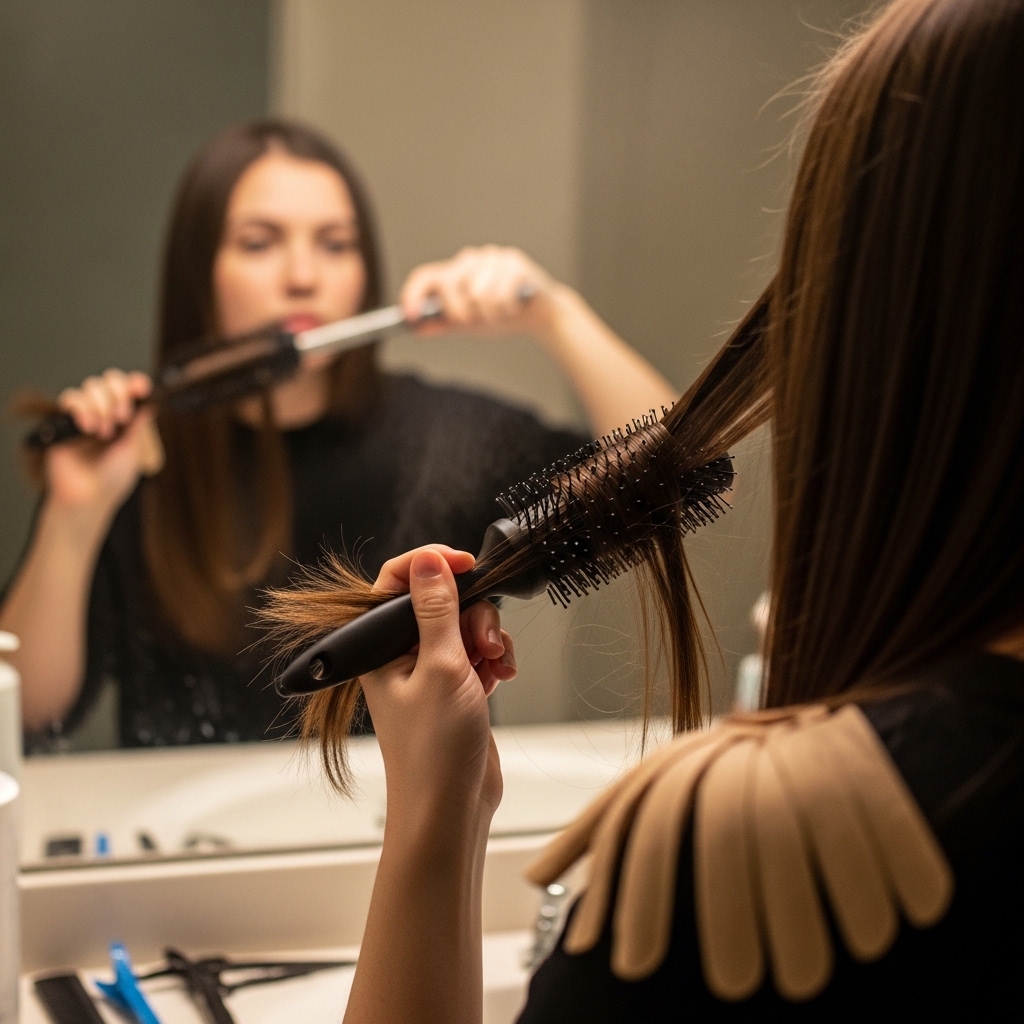
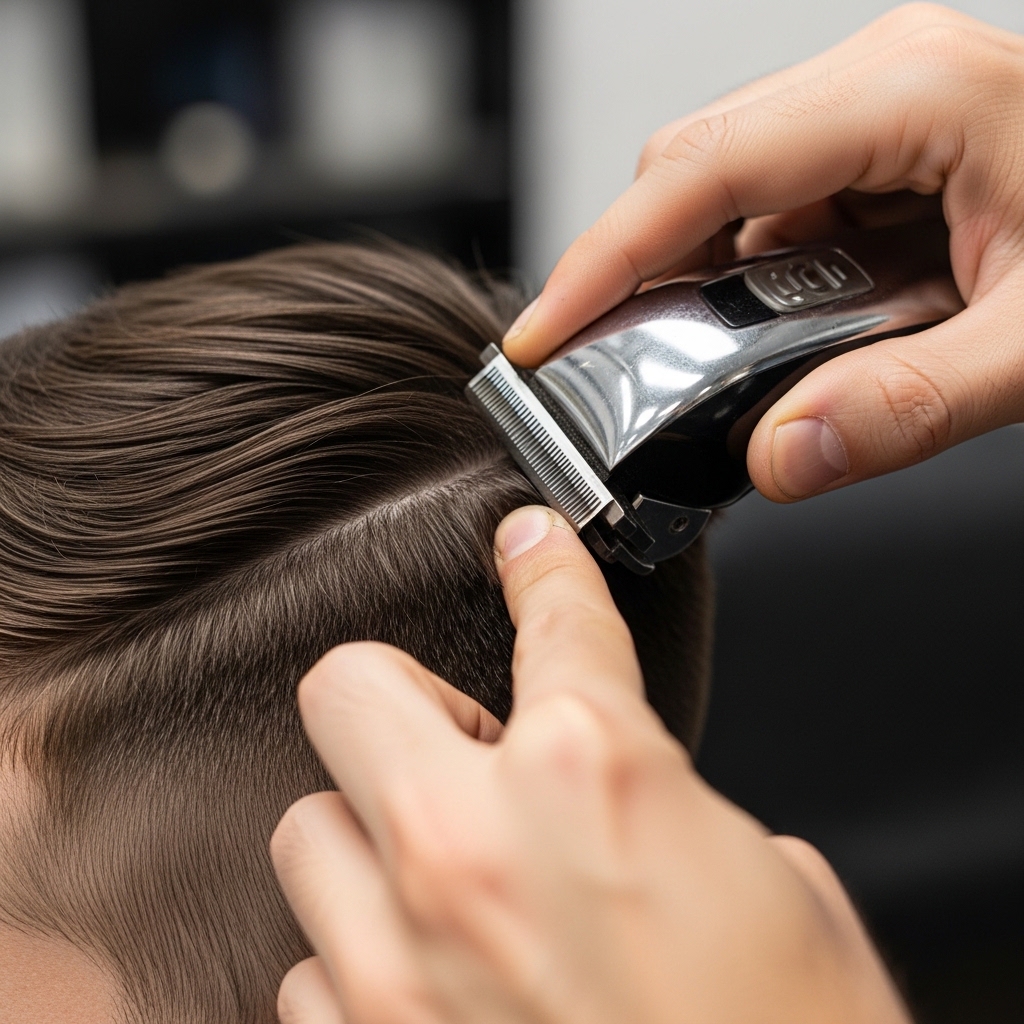
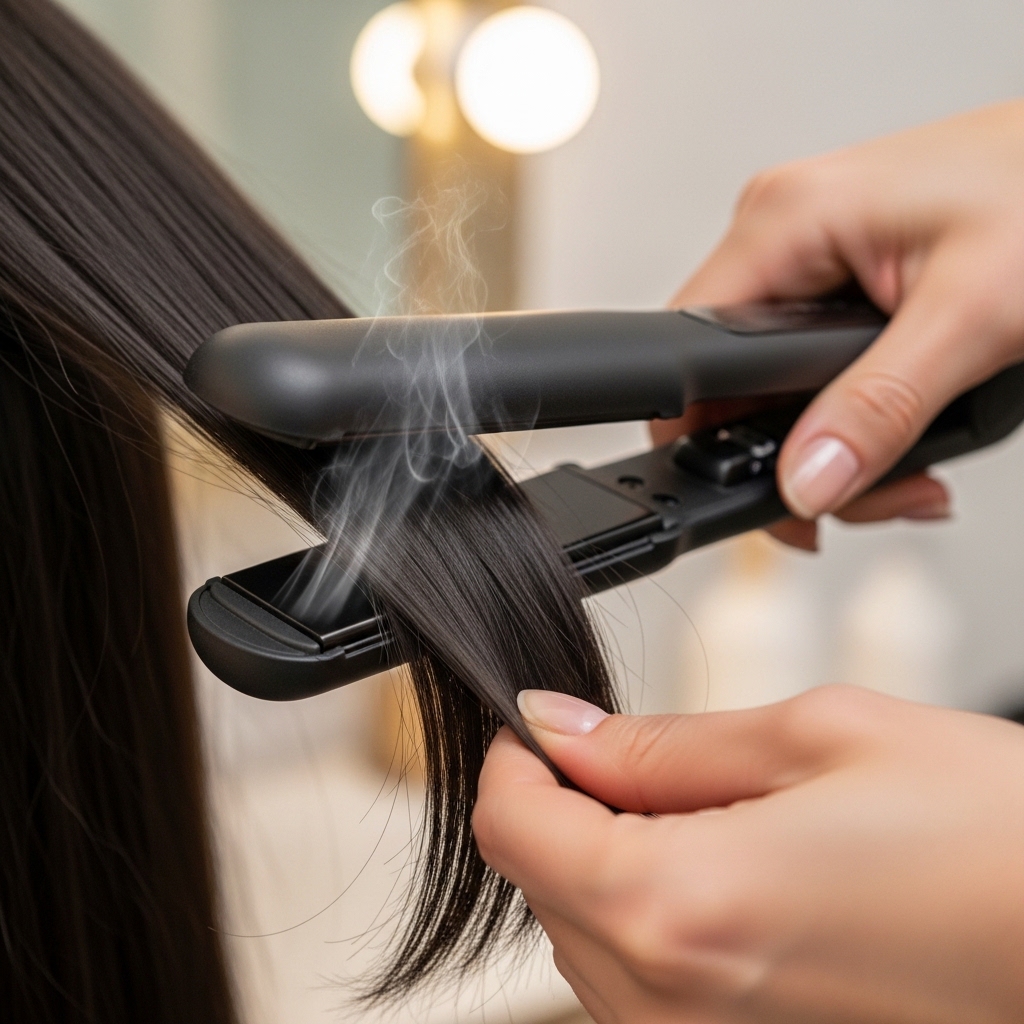
Styling with a Flat Iron
For that iconic sleek look, a flat iron is your best friend. Start with a heat protectant. Work in small sections, clamping the iron at the root and gliding it smoothly down to the end.
Pay extra attention to your bangs and sidelocks, ensuring they’re pin-straight and smooth. This polish is what gives the cut its powerful, dramatic impact and aligns with that glitchy glam hair precision.
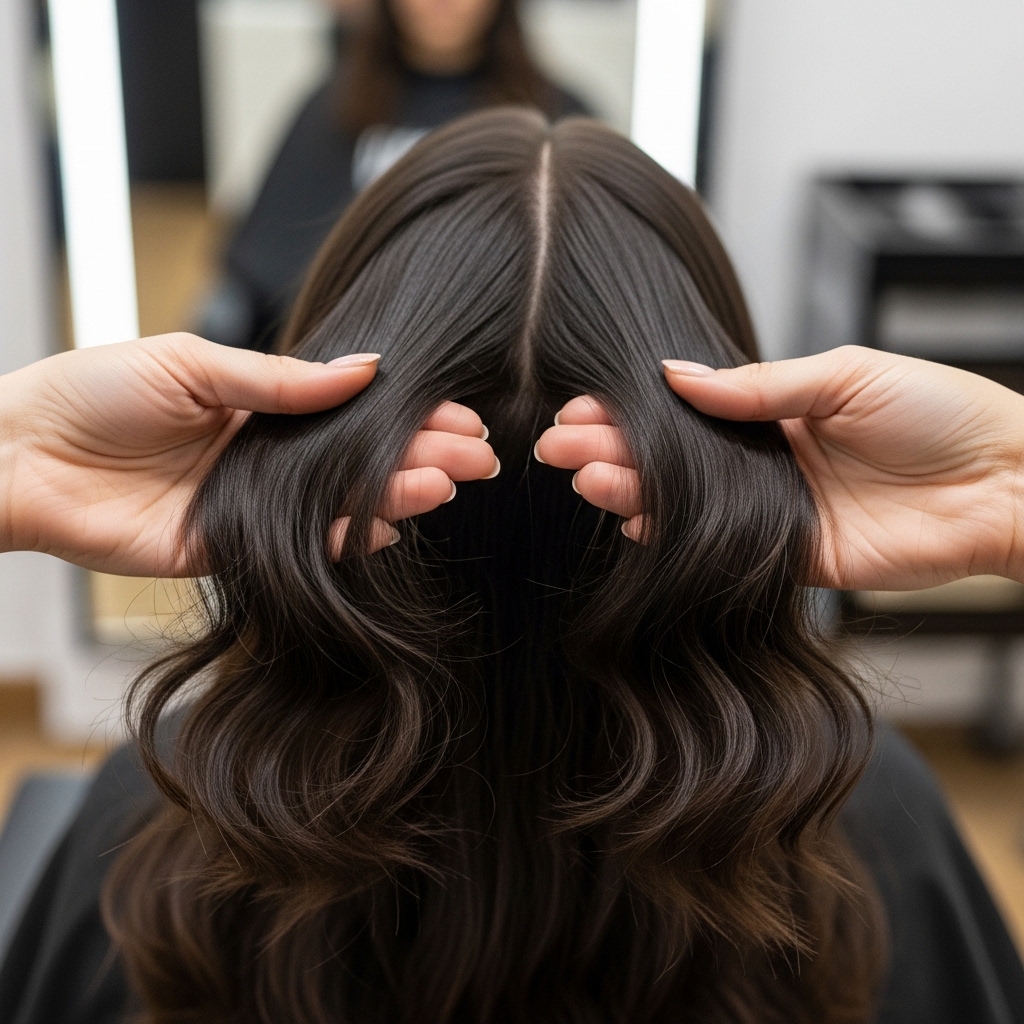
Creating a Romantic Wave
This cut isn’t just for straight hair! For a romantic goth hairstyles twist, add soft waves to the long back section. Use a curling wand or iron to create loose, flowing waves.
Leave the bangs and sidelocks straight. The contrast between the sharp front and soft, wavy back is absolutely breathtaking and adds a touch of effortless romance.

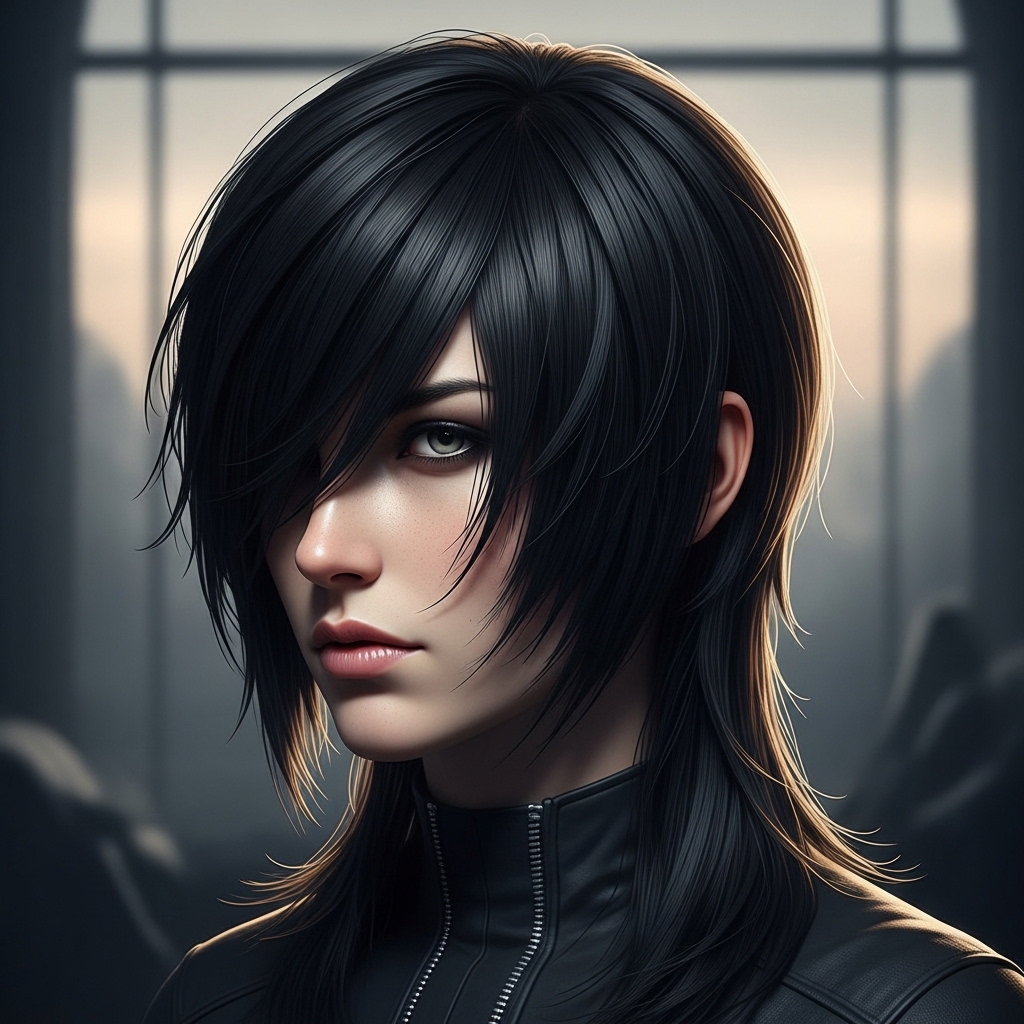
The “Vampire” Textured Version
Embrace the vampire haircut aesthetic. After straightening, take a texturizing spray or a tiny bit of pomade. Rub it between your palms and scrunch just the ends of your sidelocks and bangs.
This creates a piece-y, slightly undone, and lived-in texture. It feels ancient and cool, like a modern vampire who just stepped out of a castle. It’s all about that deliberate imperfection.
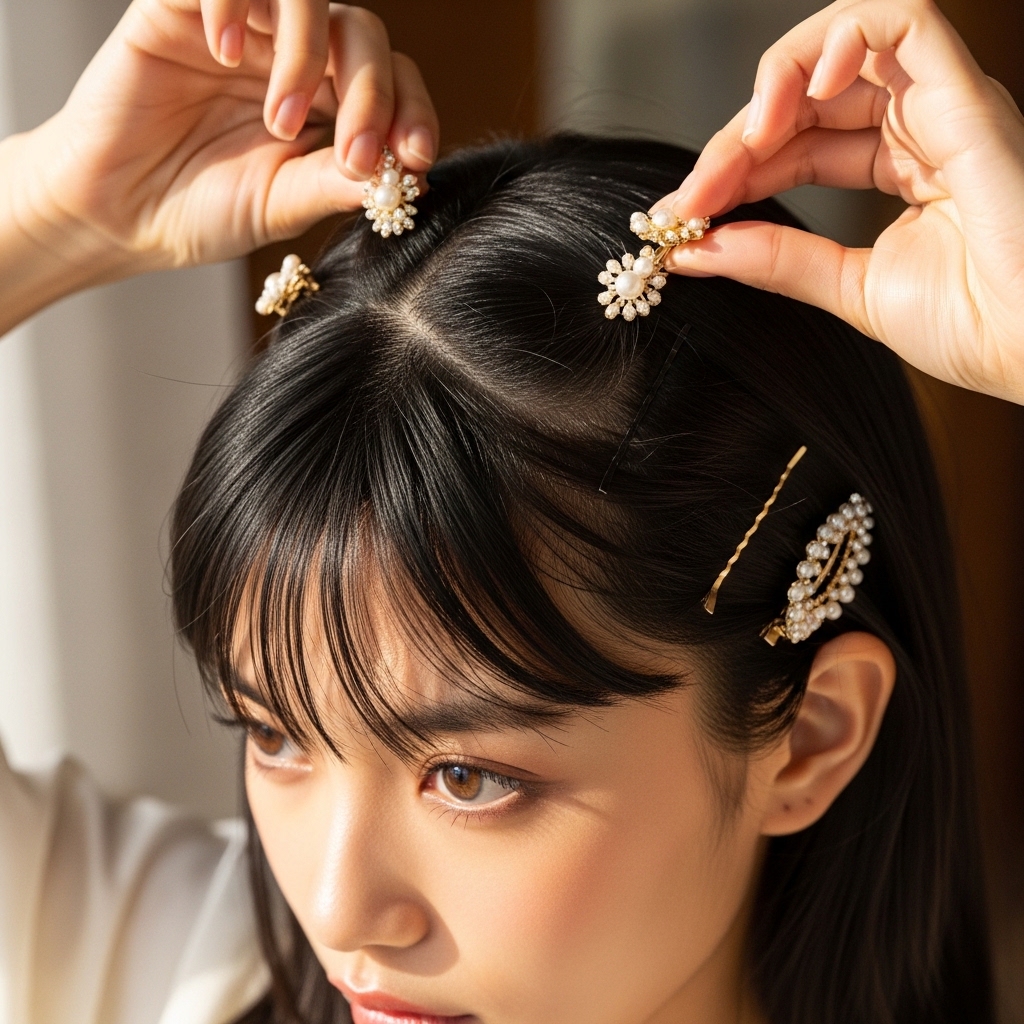
Accessorize with Headbands
A thin, elegant headband can completely change the vibe. Push it just behind your bangs. It highlights the blunt cut of the fringe and keeps hair out of your face.
This look leans into the old money hair aesthetic—polished, timeless, and incredibly chic. It’s a simple trick that makes the style feel intentional and elegant.
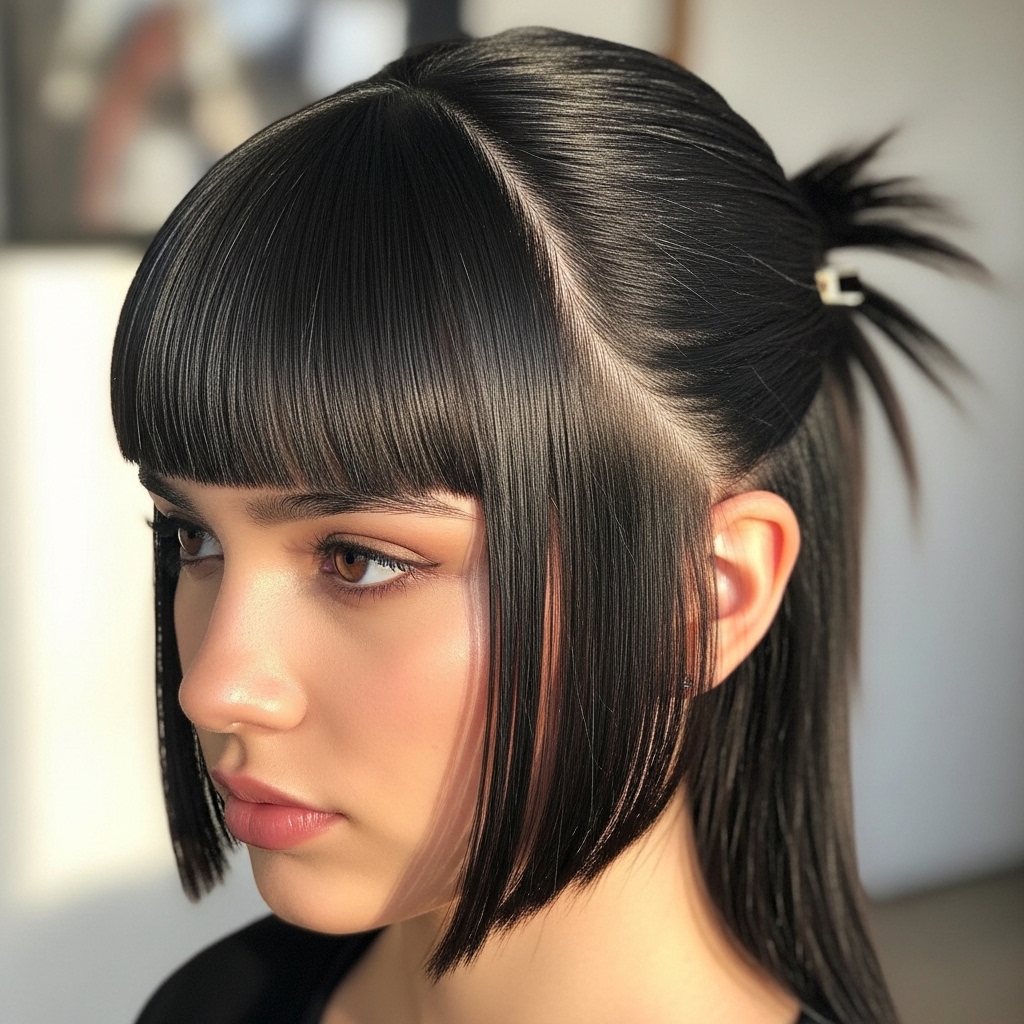
Half-Up, Half-Down Style
This is my go-to for bad hair days. Gently pull back the long hair from the top and sides, leaving the bangs and sidelocks free. Secure it with a small clip or hair tie at the back of your crown.
It lets the signature pieces shine while keeping the rest tidy. It’s practical, pretty, and shows off the cut’s architecture perfectly.
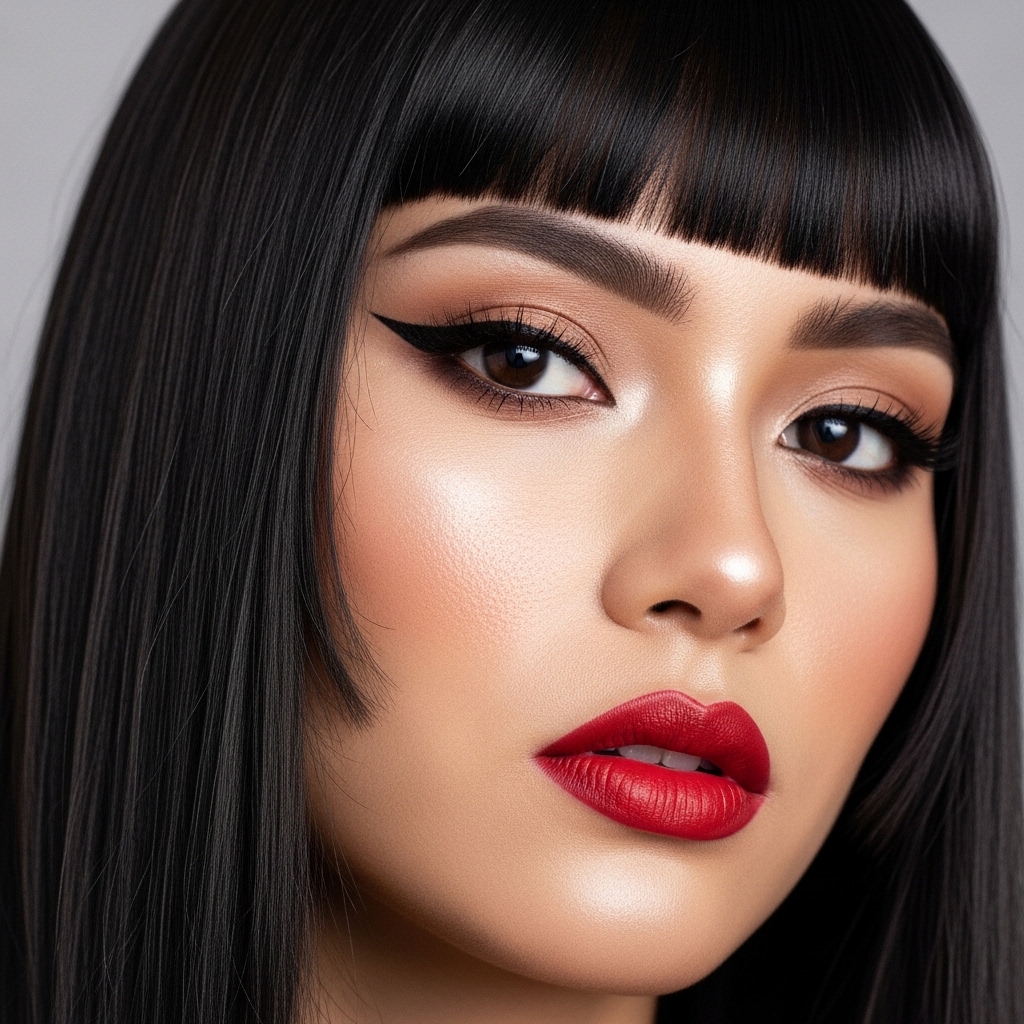
Pairing with Bold Makeup
A graphic cut deserves a bold makeup moment. A sharp eyeliner wing, a deep lip color, or a soft blush focused on the apples of your cheeks complements the strong lines of the hair.
This balance is key. The hair is a statement, and your makeup can either match its drama or provide a soft contrast. Have fun playing it up!
Growing Out Gracefully
If you decide to move on, grow it out with style. As your bangs grow, blend them into face-framing layers. Use cute clips or bobby pins to sweep them to the side.
Your sidelocks will eventually blend into an asymmetrical lob or shag. Regular trims on the back will help everything shape up nicely as you transition.
Common Mistakes to Avoid
The biggest mistake is cutting wet hair or cutting too much too fast. Always cut less than you think you need. Another error is not sectioning properly, which leads to uneven pieces.
Avoid using dull scissors—they crush the hair and cause split ends. And remember, you can’t un-cut hair. Patience and small snips win the race every single time.
Quick Refresh Between Cuts
To maintain that sharp look, you’ll need to trim your bangs and sidelocks every 2-3 weeks. It’s easy! Just re-dampen them, comb through, and follow your original cutting lines.
Just take off the tiniest amount—just enough to clean up the line. This keeps your hime cut looking fresh and intentional, not grown-out and shaggy.
Finding Your Confidence
Walking out with a new hime cut is a feeling. It’s bold, it’s different, and it might take a day or two to get used to. Own it! Style it how you love it and wear it with confidence.
This cut is a conversation starter. It shows you’re not afraid to try something with character. That attitude is the best accessory you can wear.
Your Hair, Your Rules
At the end of the day, these are just guidelines. The best hime cut is the one that makes you feel most like yourself. Mix the elements—longer bangs, shorter sidelocks, wavy texture.
Combine it with other trends you love. Let it be your canvas. Hair is meant to be fun and expressive, so don’t stress over perfection.
And there you have it! From the first snip to styling it a dozen different ways, the hime cut is really just about breaking it down into manageable steps. It’s a style that feels both ancient and totally fresh, fitting right in with the 2026 hairstyles we’re starting to see.
My biggest hope is that this takes the fear out of trying it. Whether you go for the full vampire haircut drama or a whisper-soft quiet luxury bob version, it’s all about making it yours. Remember, hair grows, and every mistake is just a new styling opportunity.
Save this post to Pinterest to keep all these tutorials handy for your big chop or your next style refresh! Did you try it? I’d love to hear how it went—drop your experience or questions below!

