
Are you tired of dry, brittle hair but don’t want to spend a fortune on salon treatments? A DIY hair steamer might be the perfect solution! Steam treatments help open hair cuticles, allowing deep conditioning products to penetrate better, leaving your locks soft, shiny, and revitalized.
Why Use a Hair Steamer?
Before diving into the DIY process, let’s talk about why hair steaming is beneficial. Steam treatments have been used for centuries to improve hair health, and for good reason:
1. Deep Hydration: Steam helps moisture penetrate the hair shaft, combating dryness and frizz.
2. Better Product Absorption: When your hair cuticles open from the steam, conditioners and oils work more effectively.
3. Scalp Health: Steam can unclog pores, reduce dandruff, and promote a healthier scalp.
4. Cost-Effective: Salon steam treatments can be pricey—doing it at home saves money!
What You’ll Need for Your DIY Hair Steamer
You don’t need a professional steamer to get salon-quality results. Here’s what you can use instead:
Option 1: The Hot Water Bowl Method
- A large heat-safe bowl
- Boiling water
- A towel
- Your favorite deep conditioner or hair mask
Option 2: The Clothing Steamer Hack
- A handheld clothing steamer
- A shower cap or plastic wrap
- Deep conditioner
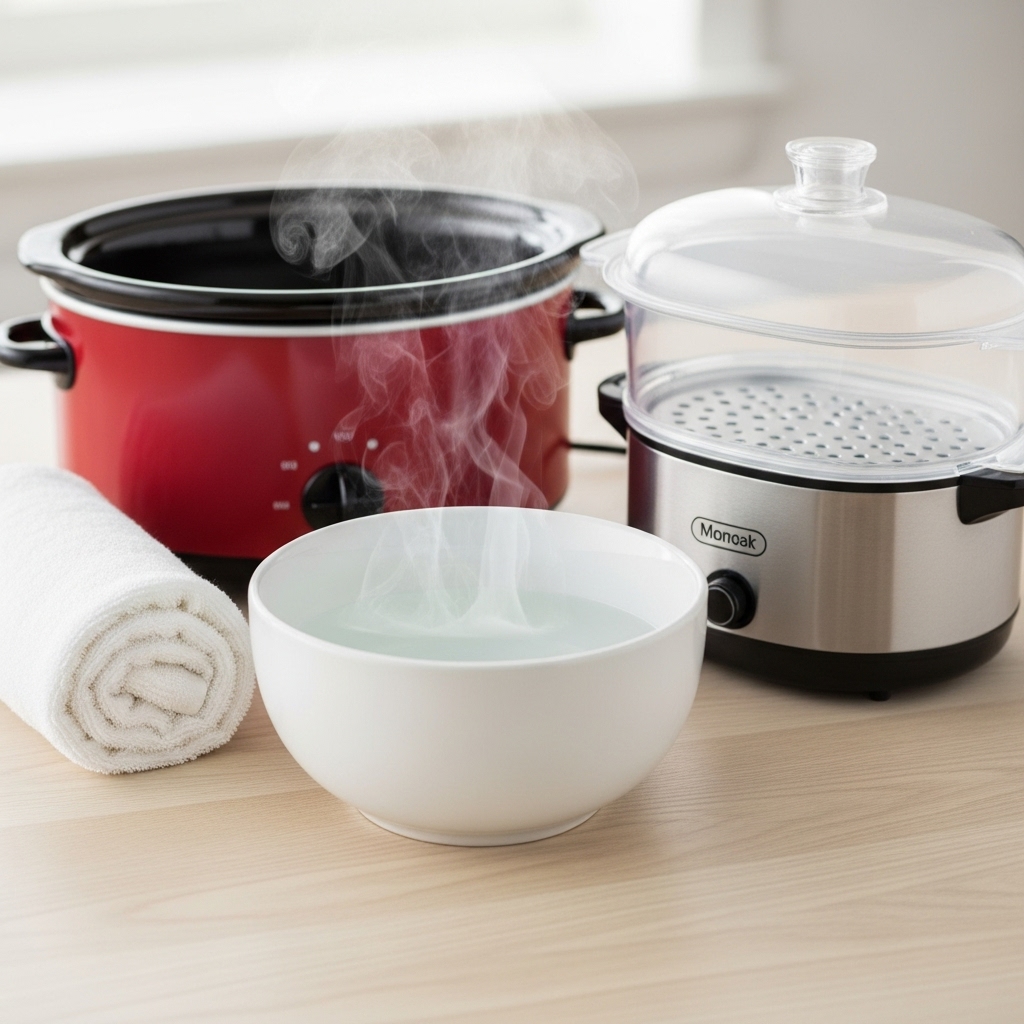
Option 3: The Rice Cooker or Slow Cooker Method
- A rice cooker or slow cooker
- Water
- A towel or shower cap
Step-by-Step Guide to DIY Hair Steaming
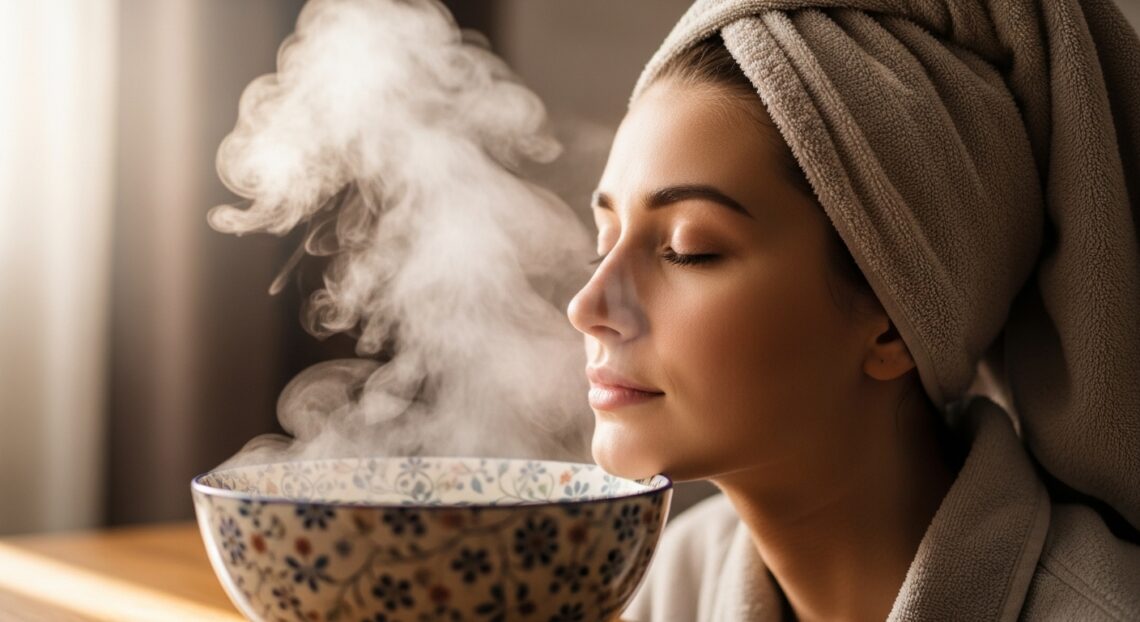
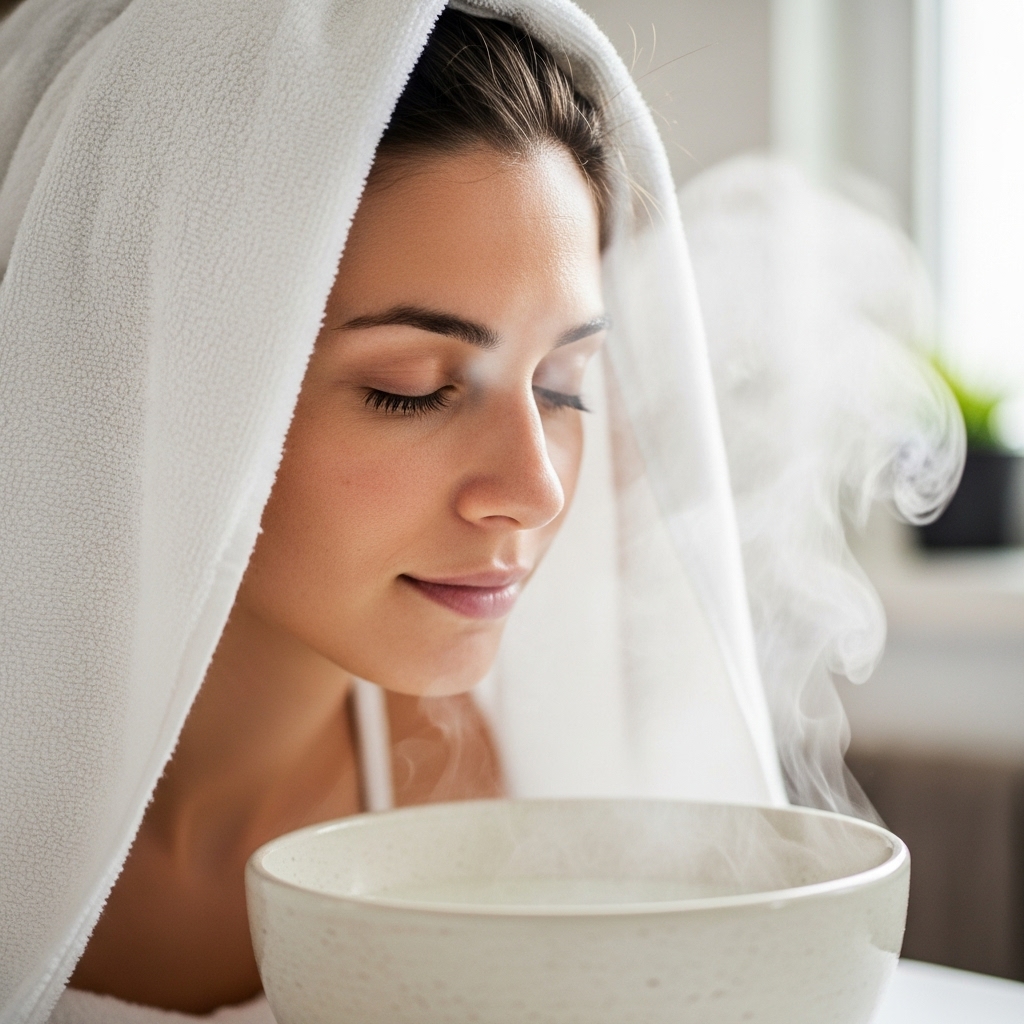
Now, let’s walk through the easiest method—the hot water bowl technique—for a relaxing at-home steam treatment.
Step 1: Prep Your Hair
Start with clean, damp hair. Apply a generous amount of deep conditioner or hair mask, focusing on the mid-lengths and ends.
Step 2: Boil Water
Heat water until it’s steaming (but not boiling excessively). Pour it into a large, heat-resistant bowl.
Step 3: Create a Steam Tent
Lean over the bowl and drape a towel over your head to trap the steam. Keep a safe distance to avoid burns.
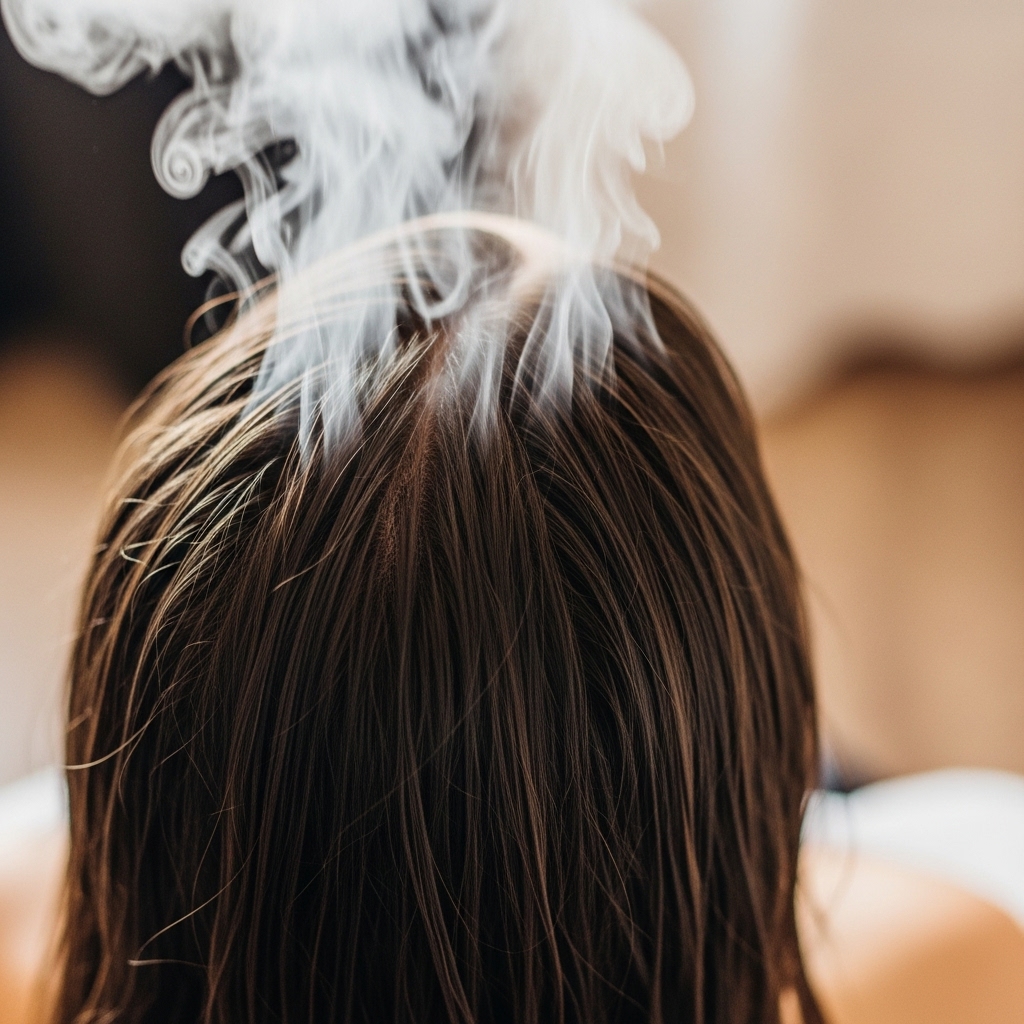
Step 4: Steam for 15-20 Minutes
Relax and let the steam work its magic. The heat will help the conditioner penetrate deeply.
Step 5: Rinse and Style
After steaming, rinse your hair with cool water to seal the cuticles. Style as usual and enjoy your silky, hydrated locks!
Alternative Methods: Clothing Steamer & Slow Cooker
If you have a clothing steamer or slow cooker, here’s how to use them for hair steaming:
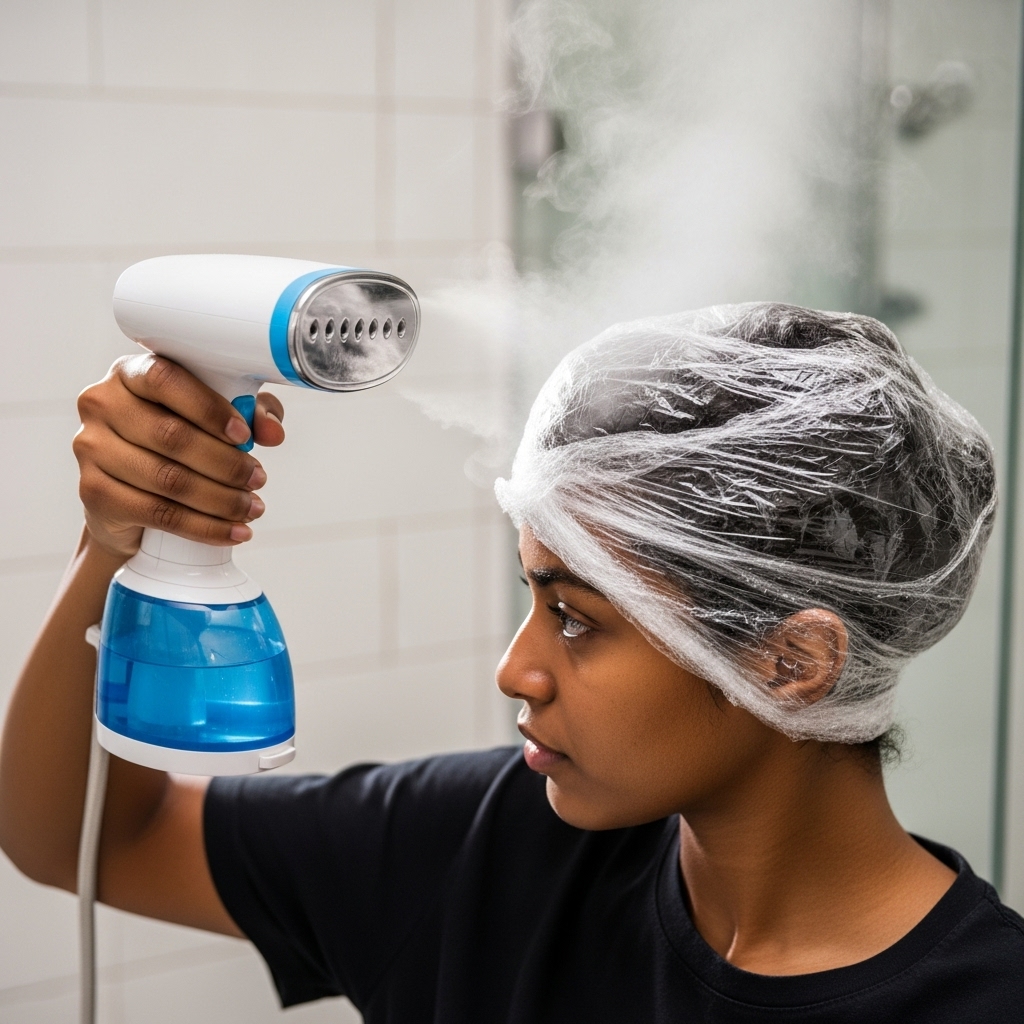
Using a Clothing Steamer
Apply conditioner, wrap your hair in plastic, then gently steam sections with the handheld steamer. Move continuously to avoid overheating.
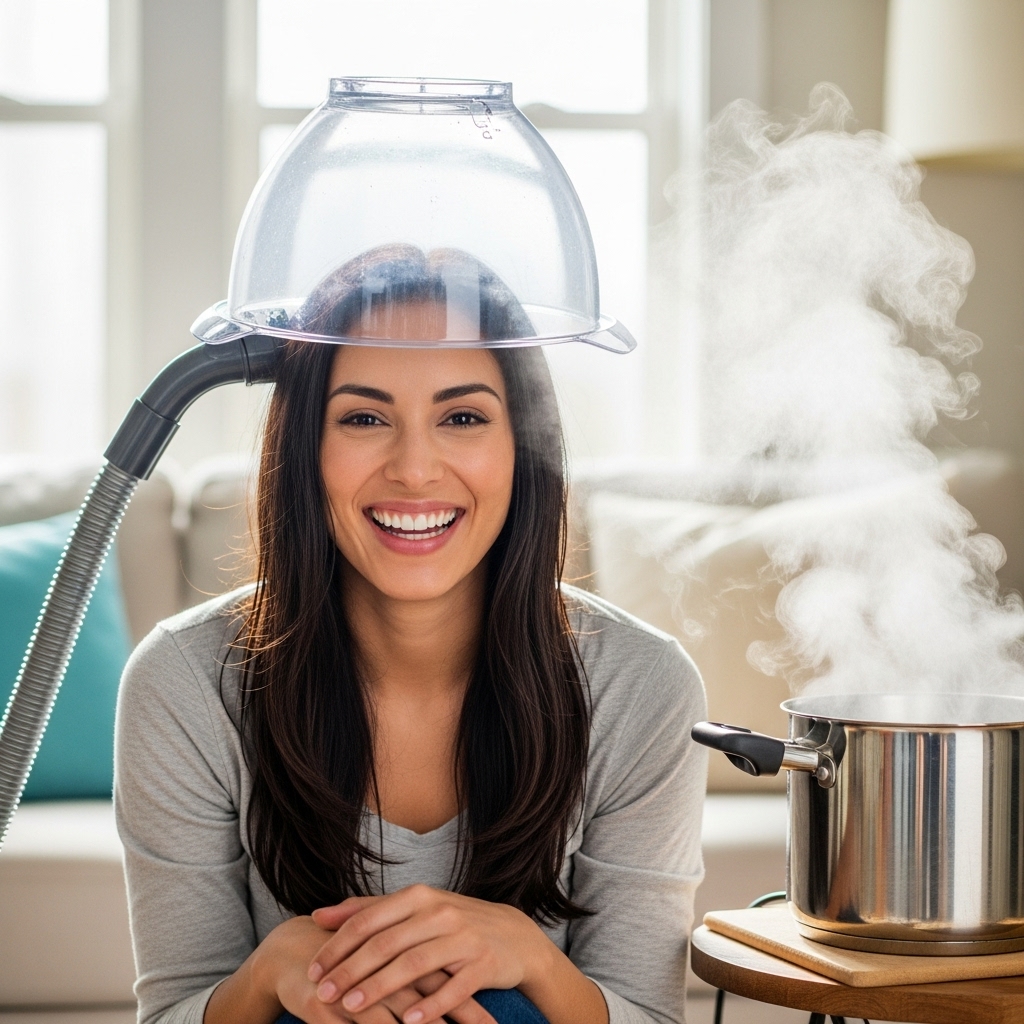
Using a Slow Cooker or Rice Cooker
Fill the cooker with water, let it heat up, then hover your head (covered with a towel) over the steam. This method provides consistent heat.
Tips for the Best DIY Hair Steam Treatment
To maximize results, follow these expert tips:
✔️ Use a Heat Protectant: If using a steamer, keep it at a safe distance to prevent damage.
✔️ Add Essential Oils: A few drops of lavender or rosemary oil in the water can enhance relaxation and scalp health.
✔️ Don’t Overdo It: Limit steaming to once a week to avoid moisture overload.
✔️ Deep Condition After: Always follow up with a nourishing hair mask for best results.

Final Thoughts
Creating a DIY hair steamer is simple, affordable, and incredibly effective for achieving hydrated, healthy hair. Whether you use a bowl of hot water, a clothing steamer, or a slow cooker, the key is consistency and proper technique.
Give it a try and let us know how your hair transforms! Have another creative method for DIY steaming? Share it in the comments below.

