
Okay, let’s be real. You’ve seen those gorgeous laced-up braids all over your feed. They look intricate, elegant, and maybe a little impossible to do on yourself. I totally get that feeling. I used to think I needed three hands and a professional stylist on speed dial to even attempt them.
But here’s the secret I learned: they’re actually one of the most beginner-friendly braiding techniques out there. It’s all about a simple, repetitive pattern. Once you get the basic move down, you can create so many stunning looks.
This guide is your no-stress, start-to-finish roadmap. We’re going to break it down into the simplest steps possible. By the end, you’ll be adding this beautiful, versatile skill to your hair routine. Let’s turn that “I wish I could” into “Look what I did!”
What Are Laced-Up Braids, Really?
Think of a laced-up braid as a cousin of the classic Dutch braid. Instead of adding hair from the sides as you go, you’ll be picking up small, strategic sections and crossing them over the main braid. This creates that beautiful “laced” or woven effect.
The result is a braid that looks incredibly detailed and complex, but the hand motion is surprisingly simple. It’s a fantastic technique to learn because it works on almost all hair types and lengths. It’s a perfect base for so many 2026 hairstyles that are all about detailed texture.
Gather Your Simple Tools
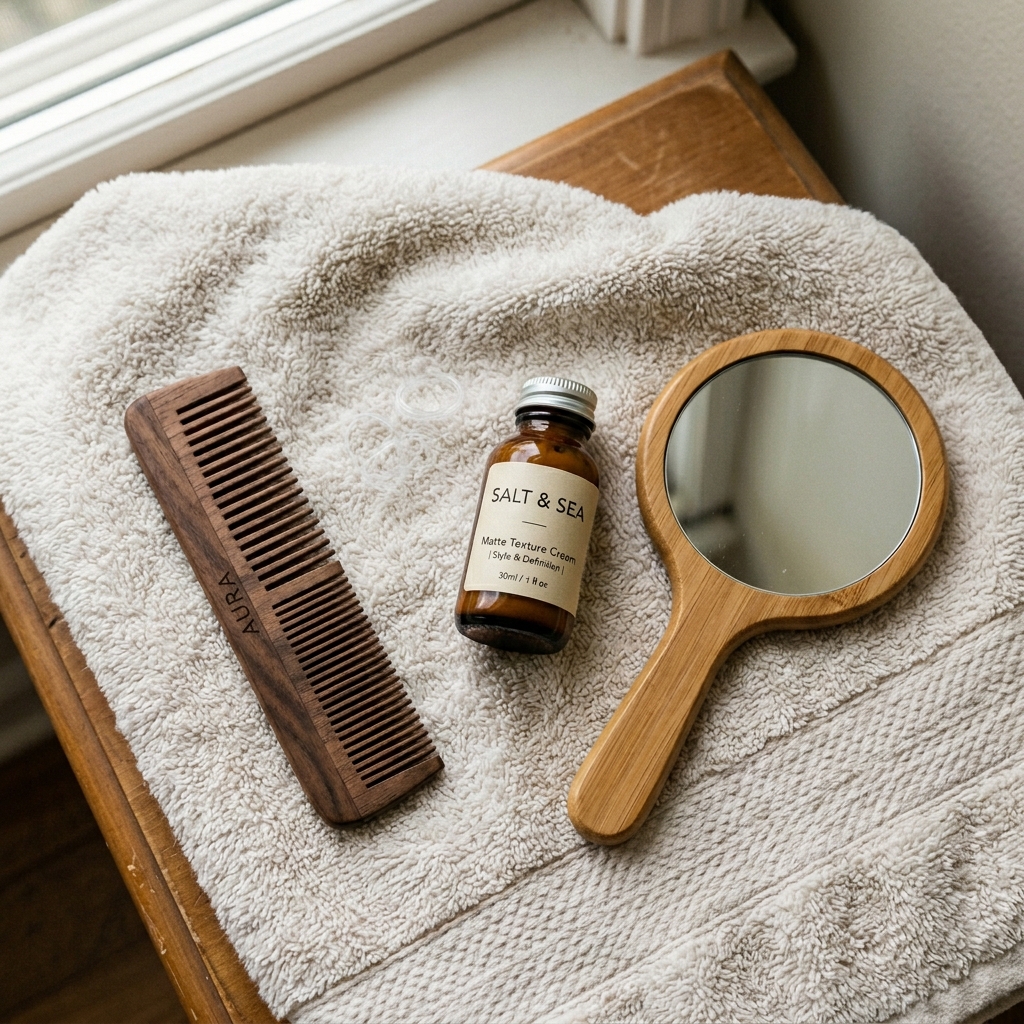
You don’t need a salon’s worth of products. For practice, a styling cream or mousse can help with grip, especially if your hair is very silky. A fine-tooth comb for clean sections and some clear elastics are your best friends.
Most importantly, you’ll need a couple of mirror setup. Being able to see the back of your head is key. Use a handheld mirror with your bathroom mirror, or even your phone camera on selfie mode propped up. Trust me, this makes all the difference when you’re learning.
Start with the Perfect Base
Begin with day-old hair or lightly misted hair. Freshly washed hair can be too slippery. Brush through thoroughly to remove any tangles. For your first try, don’t worry about making it perfect on your own head.
I highly recommend practicing on a friend, a mannequin, or even doing a small braid on a front section of your own hair where you can see it easily. This takes the pressure off and lets you focus on the hand movement.

Master the Core “Lacing” Motion
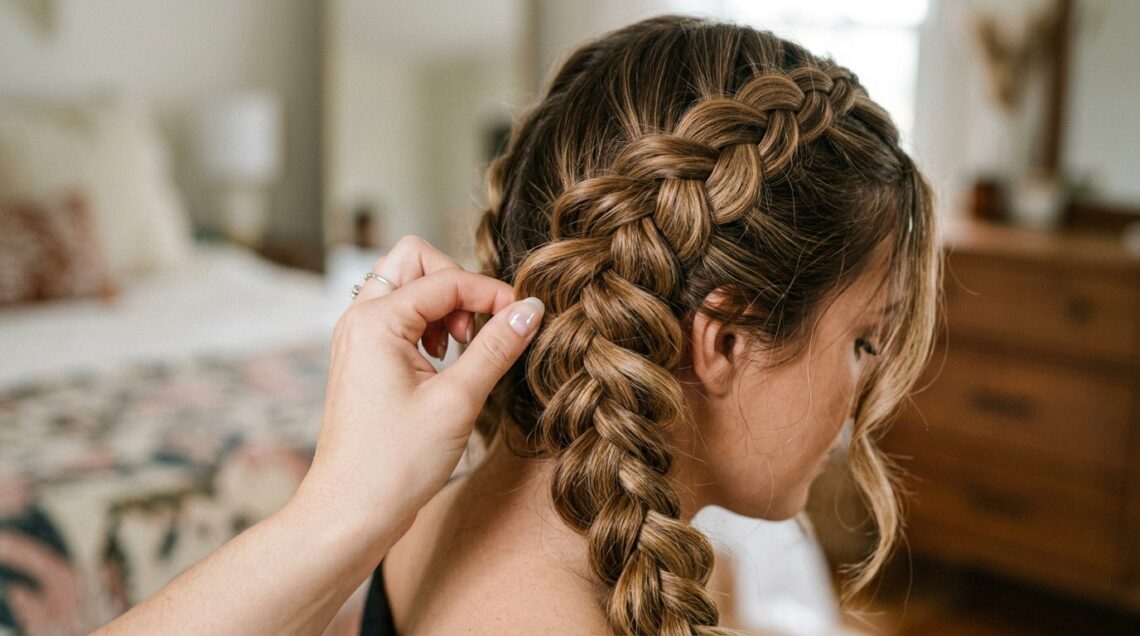
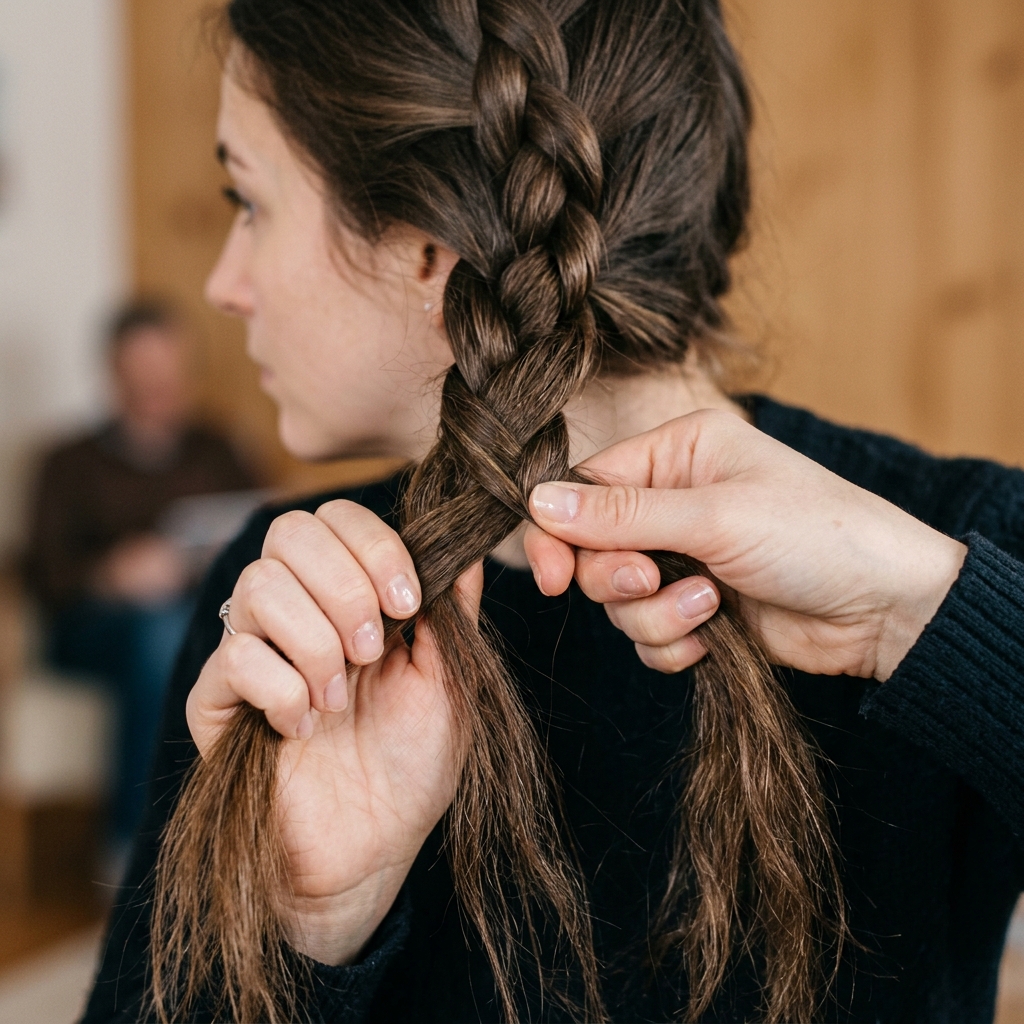
Start with a simple three-strand braid at the crown of your head. Hold the left and right sections normally. Now, here’s the magic move: before you cross the right section under the middle, use your free fingers to pick up a tiny new section of hair from the right side of your head.
Add this tiny new section to the existing right strand, and then cross it under the middle. Repeat on the left side. You’re essentially “feeding” small bits of hair into the main braid strands as you go. This is the lacing action.
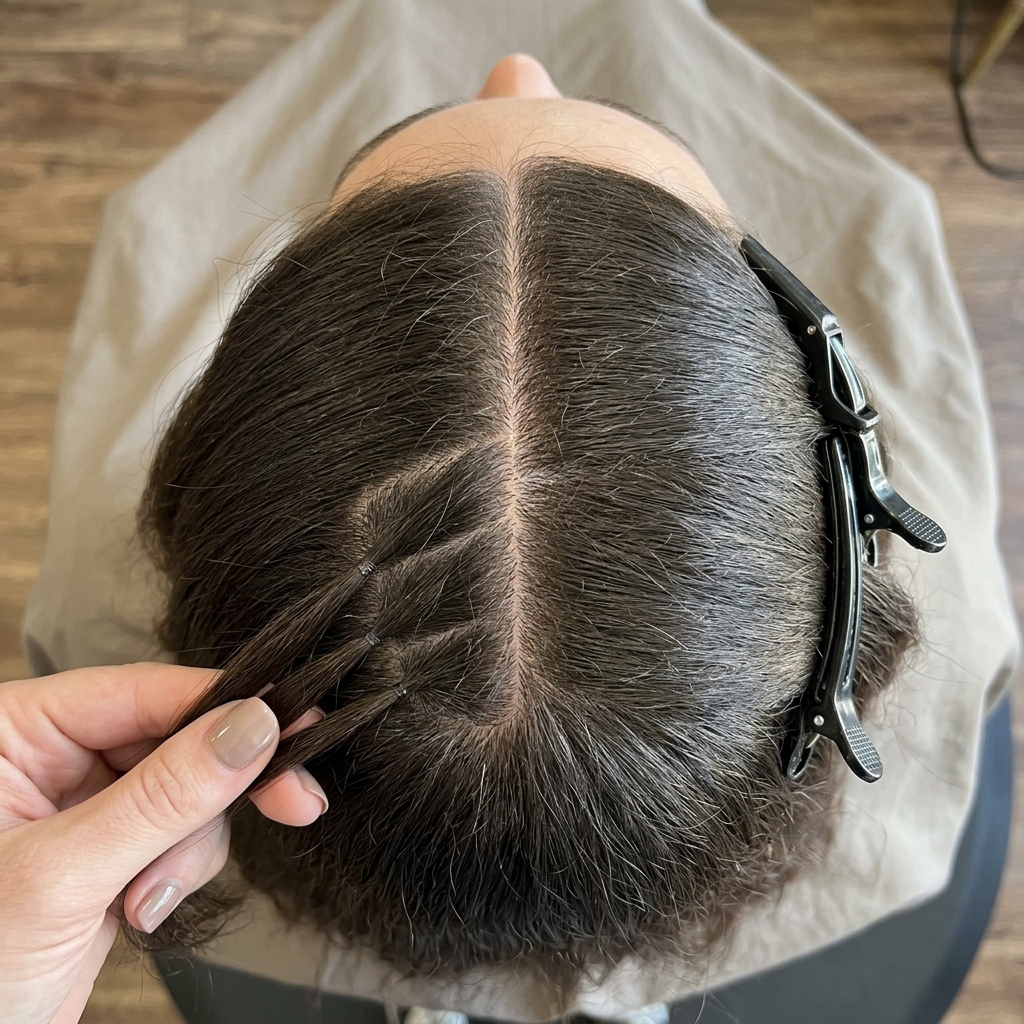
Section Your Hair for Control
For a full head style, part your hair down the middle. Clip one side away. On the other side, take a section from the top of your head near the part. This will be your main braid section. Smooth the rest of the hair on that side so it’s ready to be picked up.
Keeping your sections neat and your tension even is more important than speed. Go slow. The cleaner your starting section, the easier it will be to lace in new hair cleanly as you work down toward your neck.
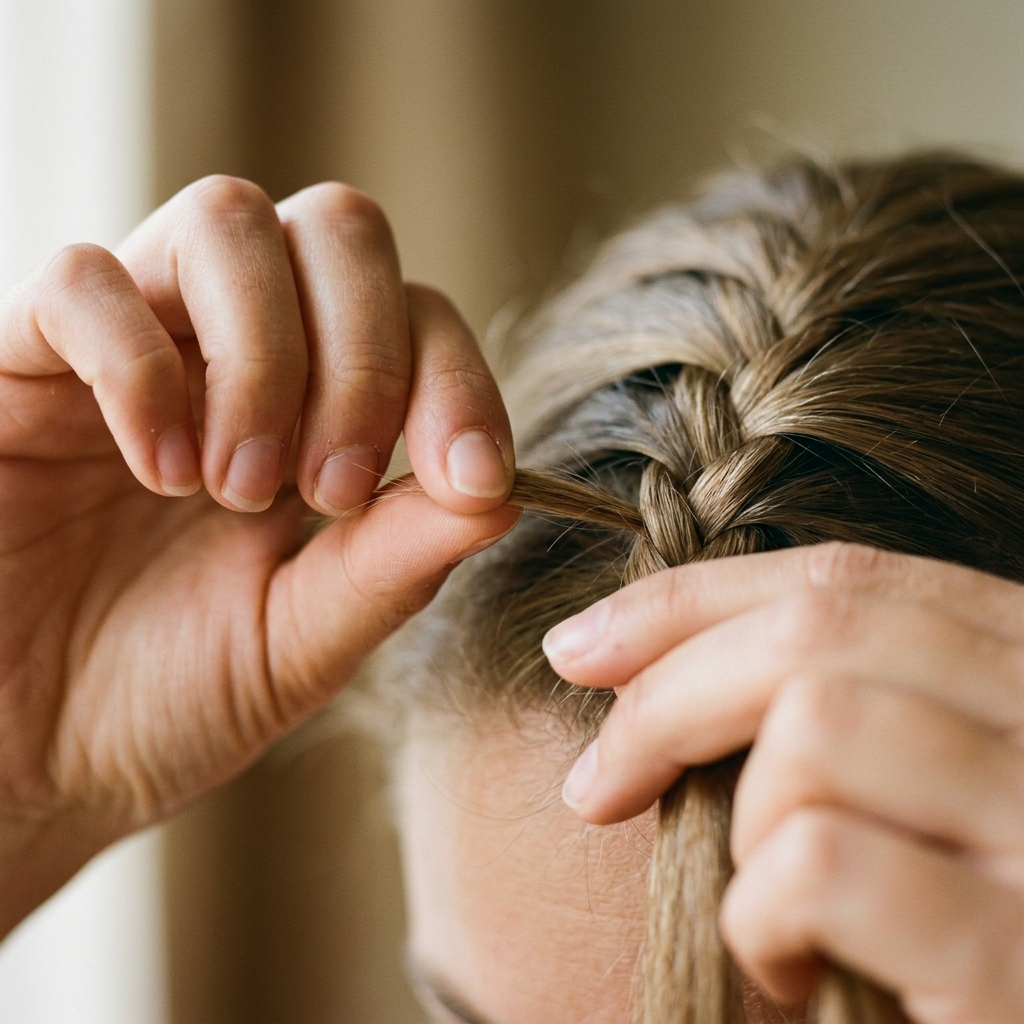
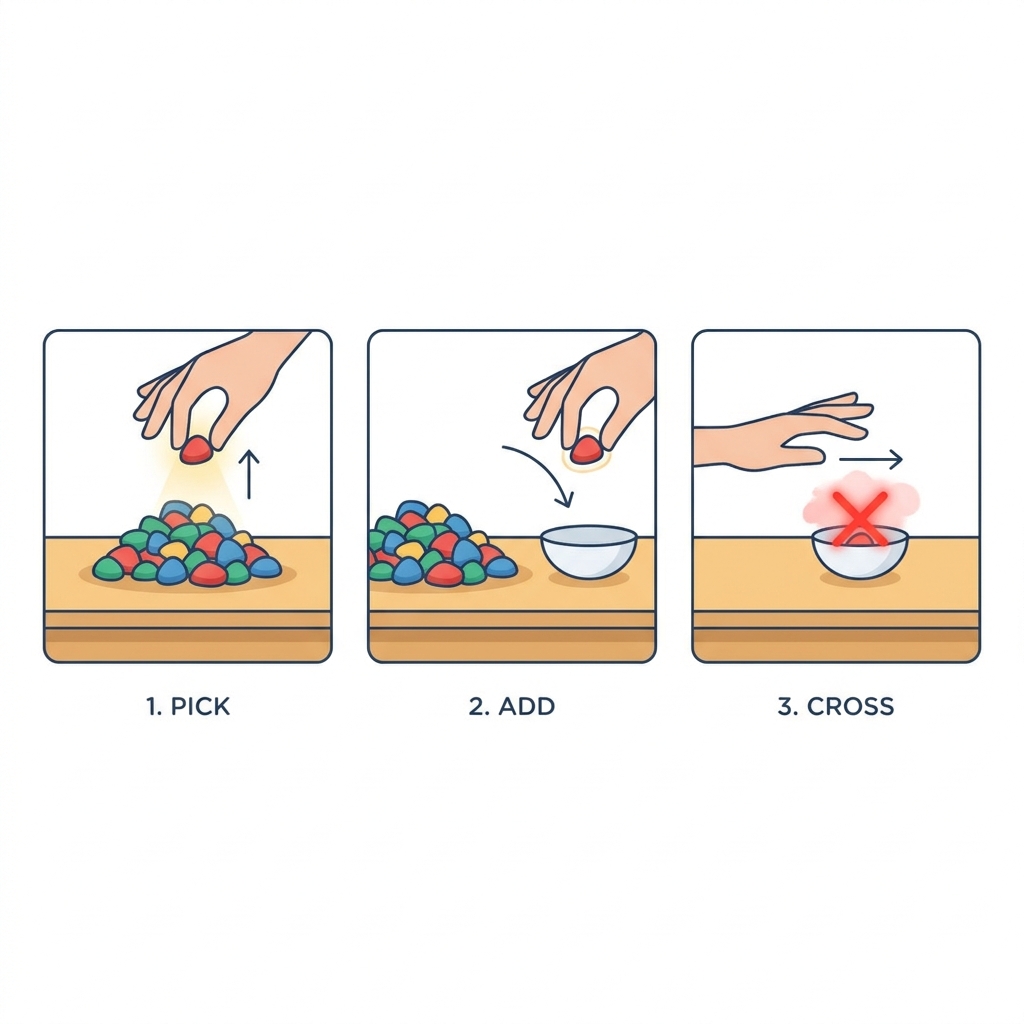
Practice the Rhythm: Pick, Add, Cross
This is your mantra: Pick a new tiny section, add it to your current outer strand, then cross it under. Say it out loud if you need to! The rhythm is what makes it feel automatic.
Don’t worry if the new sections aren’t perfectly even. The beauty of this braid is in its slightly organic, textured feel. As long as you’re consistently adding a little hair each time, the pattern will form. Muscle memory is your goal here.
How to Keep Consistent Tension
The biggest beginner challenge is keeping the braid tight enough without pulling. Use the fingers holding the main sections to maintain a gentle, steady pull downward. Your other fingers are free to gather the new “lace” sections.
If the braid feels loose or messy, it’s okay to gently pull on the outer loops of the braid to tighten it up after you’ve done a few stitches. This is a great trick to clean up the look as you learn.
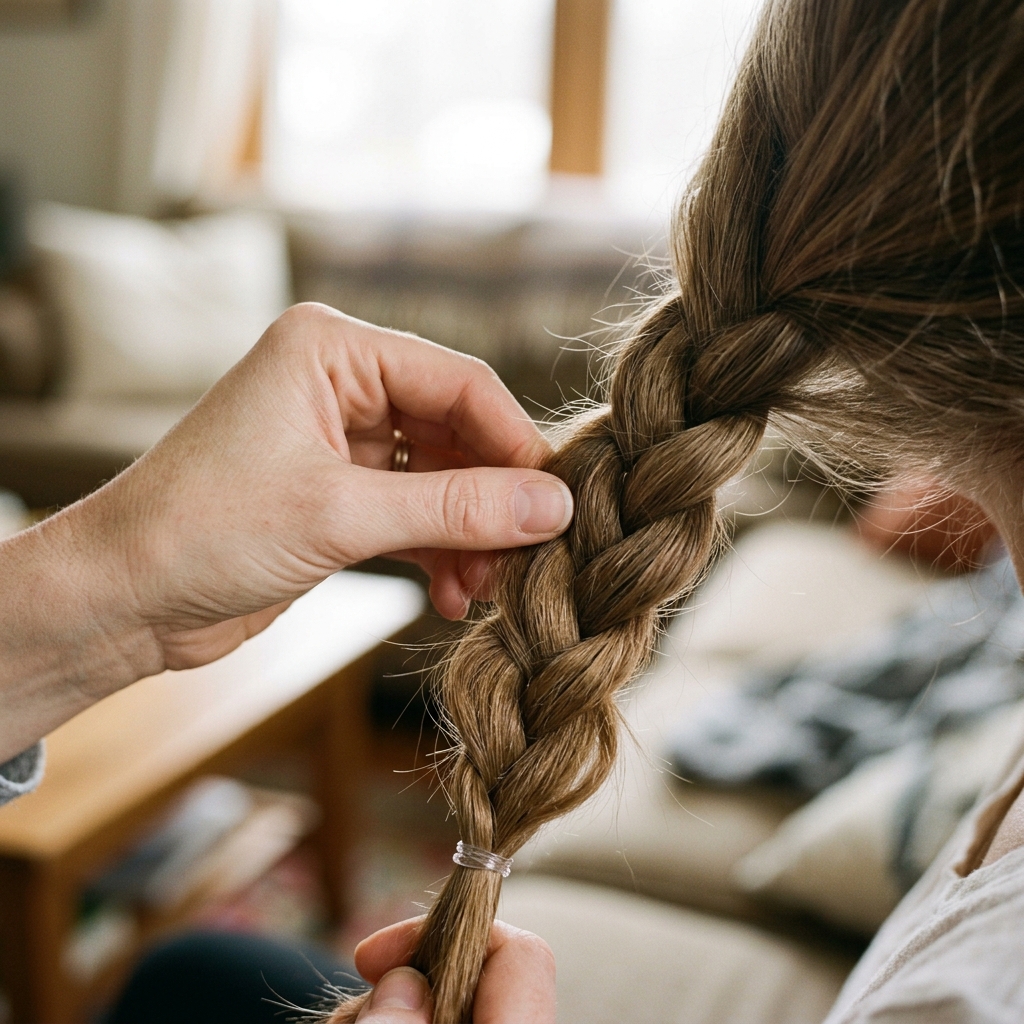
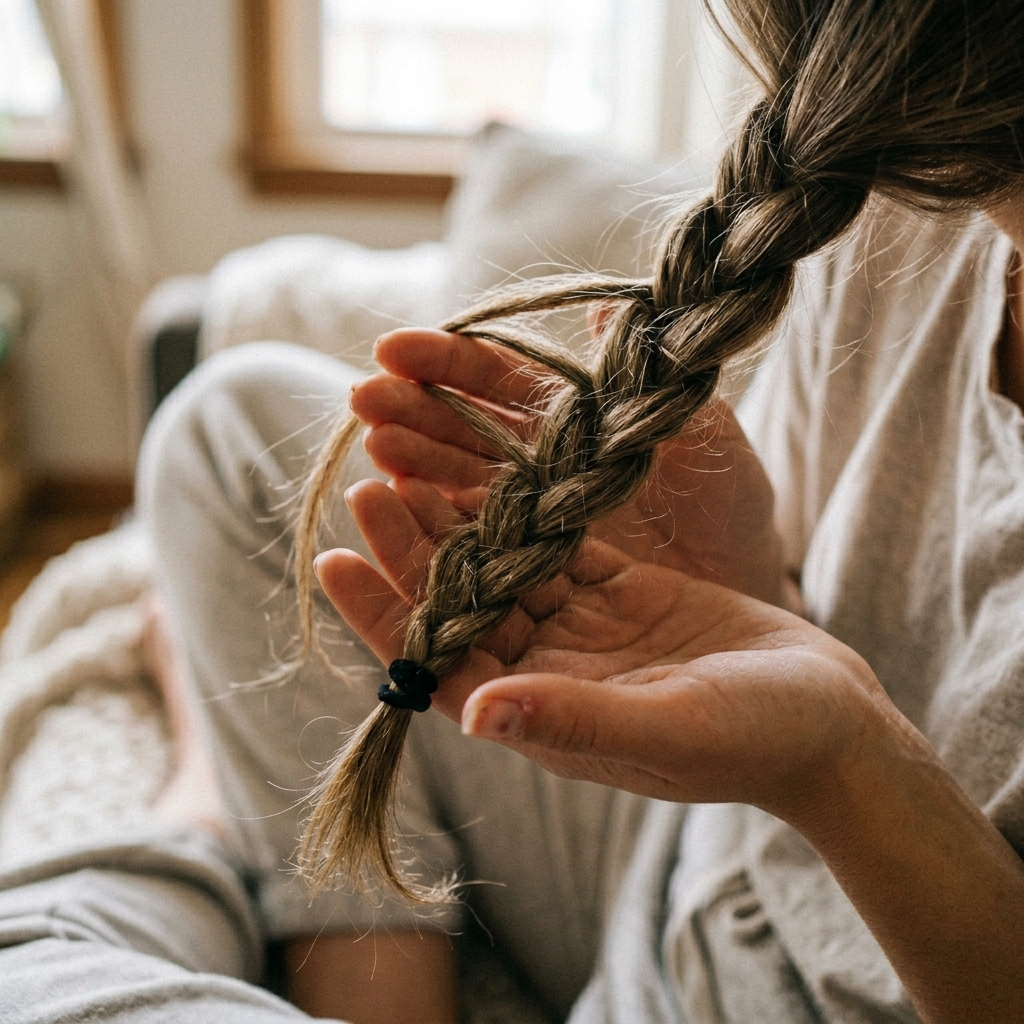
Finishing and Securing Your Braid
When you run out of hair to pick up from the side, simply finish with a classic three-strand braid for the remaining length. Secure the end tightly with a clear elastic. Give the whole braid a very gentle tug along its length to loosen it slightly and make it look fuller.
This “pancaking” technique helps the laced pattern pop and gives it a softer, more romantic feel. It also hides any small inconsistencies, making your braid look professionally done.
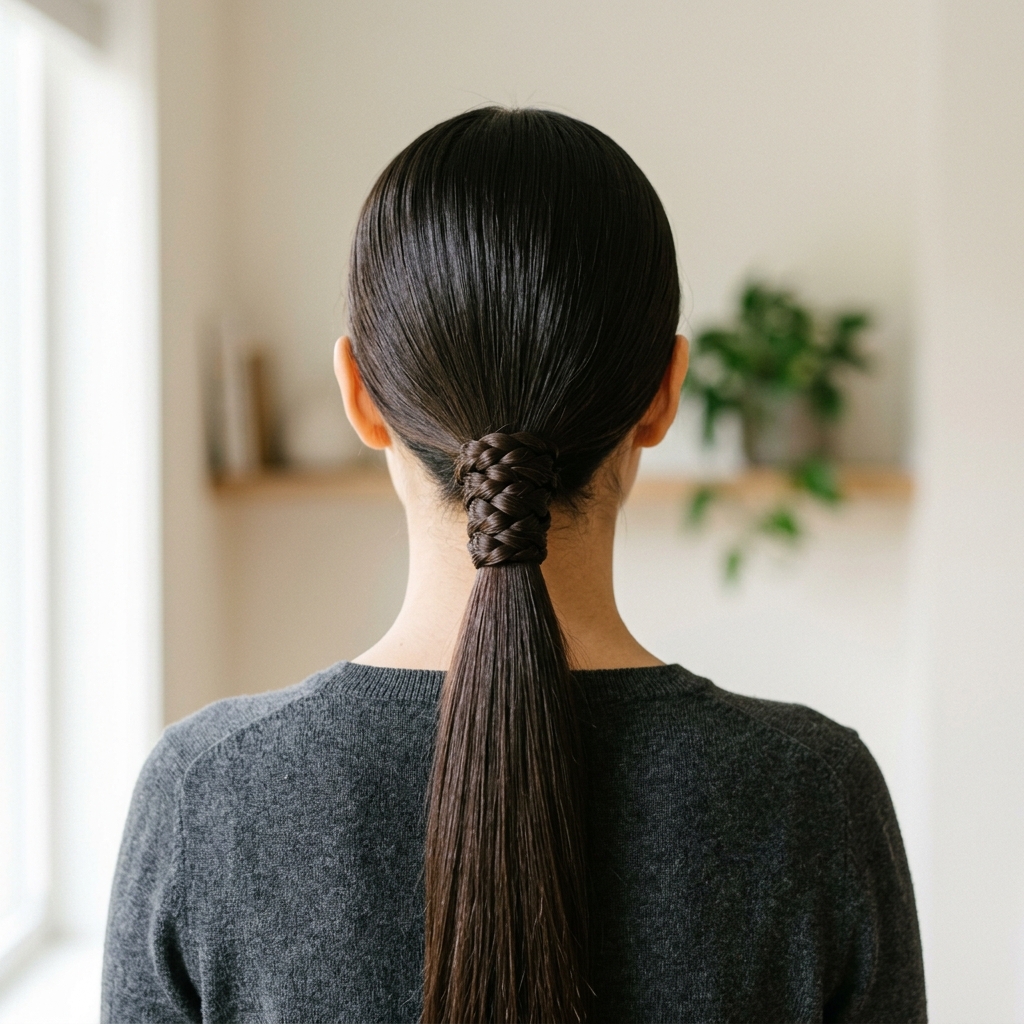
Try a Simple Laced Ponytail
This is the easiest way to wear the style. Create a high or low ponytail. Take a small section from the ponytail and braid a tiny laced braid. Wrap it around the base of the ponytail to hide the elastic and pin it in place.
It instantly elevates a basic ponytail into something special. It has that effortless old money hair vibe—polished but not overdone. It works perfectly with a quiet luxury bob, too.
Create a Half-Up, Half-Down Style
Take two sections from the front, near your temples. Braid a laced braid on each side, going straight back. Secure them together at the back of your crown with a pin or small elastic.
Let the rest of your hair flow down. This style is beautifully romantic and keeps hair out of your face. It’s a gorgeous match for romantic goth hairstyles when done with darker hair and maybe a few face-framing pieces.
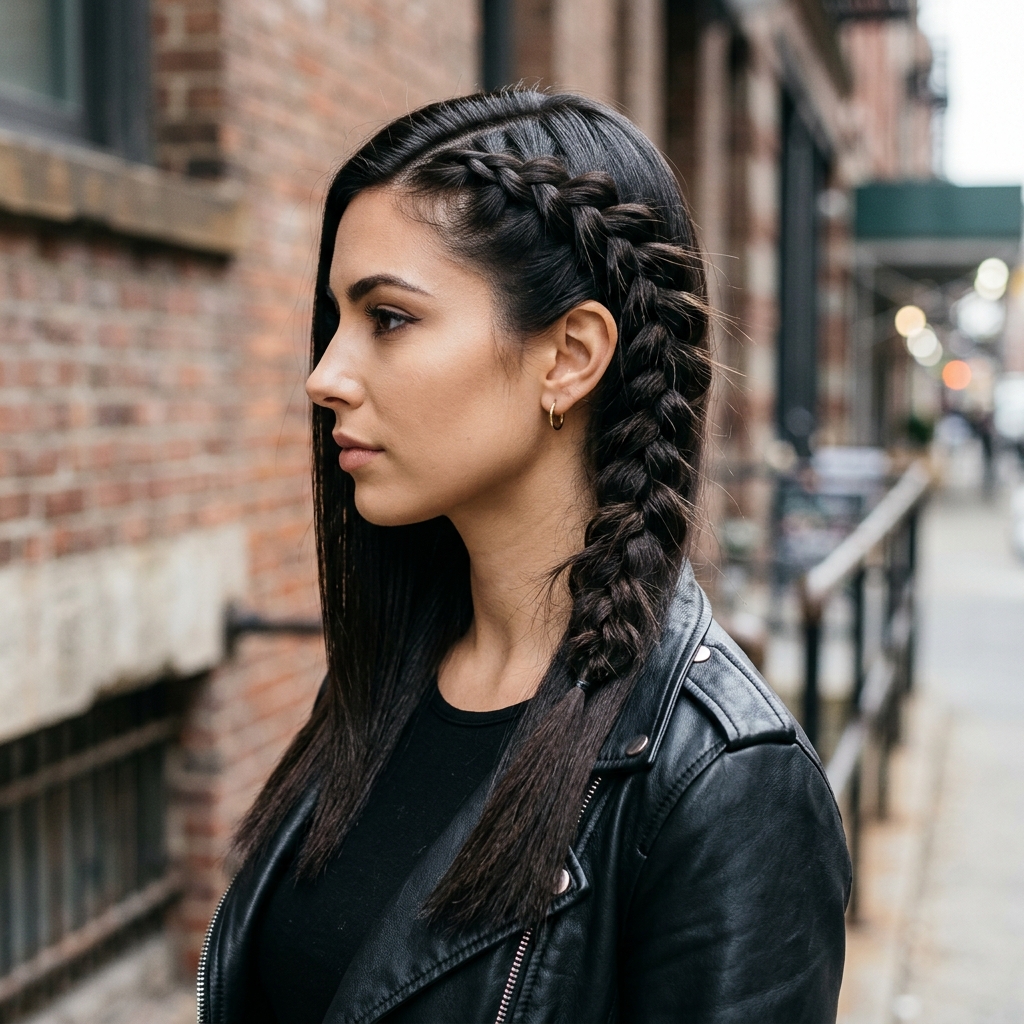
Add a Glitchy Glam Hair Twist
For a cool, edgy take, create one bold laced braid along your hairline. Braid it tightly and cleanly. Then, pull at it aggressively to create a messy, deconstructed “glitchy” look.
Pair it with sleek, straight hair for contrast. This plays with texture in a really modern way and is a fun entry into glitchy glam hair trends without needing a ton of styling tools.
Style on an Asymmetrical Lob
Short hair can absolutely rock this! If you have an asymmetrical lob or angled bob, create a single laced braid starting just above your ear on the longer side. Braid it back and down, following your hairline.
Secure it at the ends. This adds incredible detail and draws attention to the beautiful shape of your cut. It’s a stunning way to show off a precision haircut.

Channel the Vampire Haircut Vibe
The vampire haircut is all about sharp layers and a bit of dramatic flair. Add a deep side part and create a laced braid starting at your temple, weaving it back into a low bun or letting it blend into your layers.
Keep it a little messy and piece-y. This adds that perfect touch of elegant, undone drama that defines the vampire haircut aesthetic.

Adapt It for a Hime Cut
The hime cut, with its distinctive front locks, is ideal for this. Isolate one of the long front sections. Braid a fine, delicate laced braid within that section only.
Let it fall forward with the rest of the lock. This incorporates beautiful texture into the classic shape and makes the style even more unique and personal.

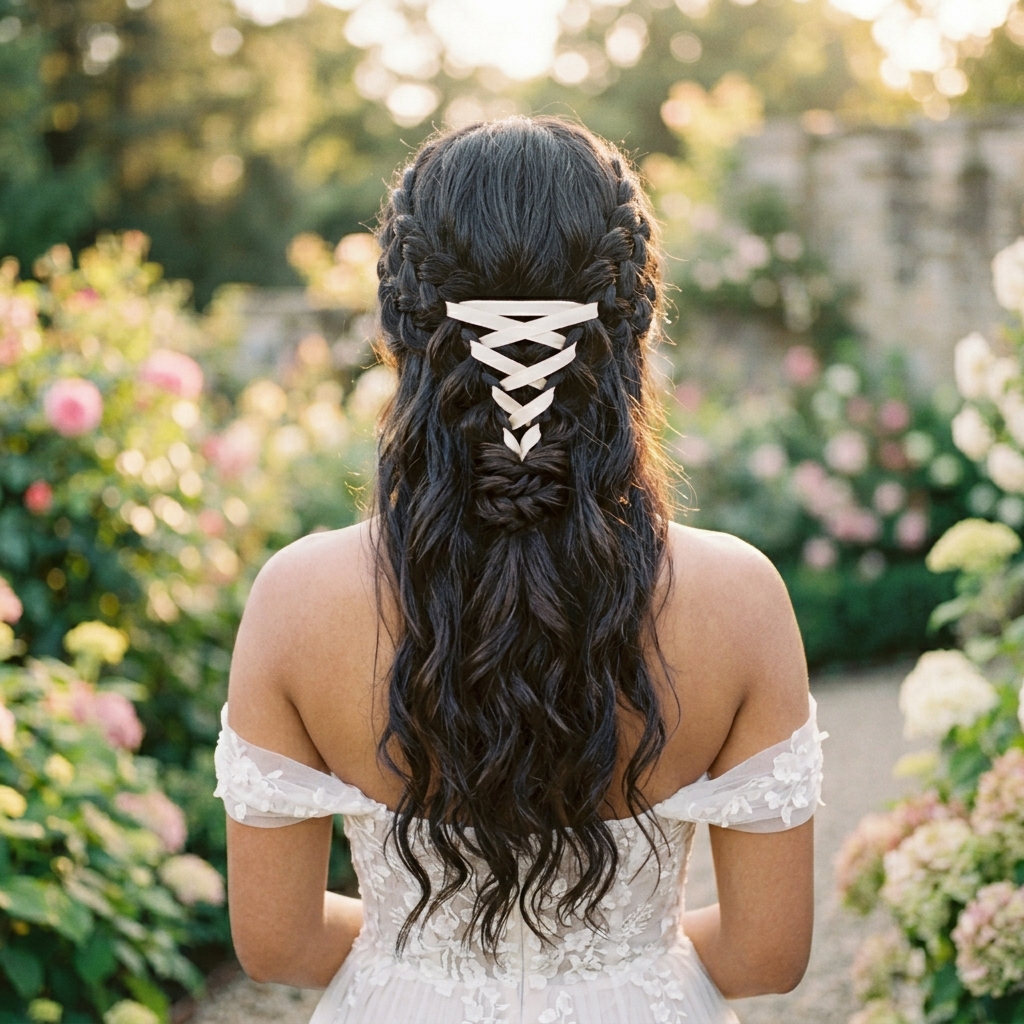
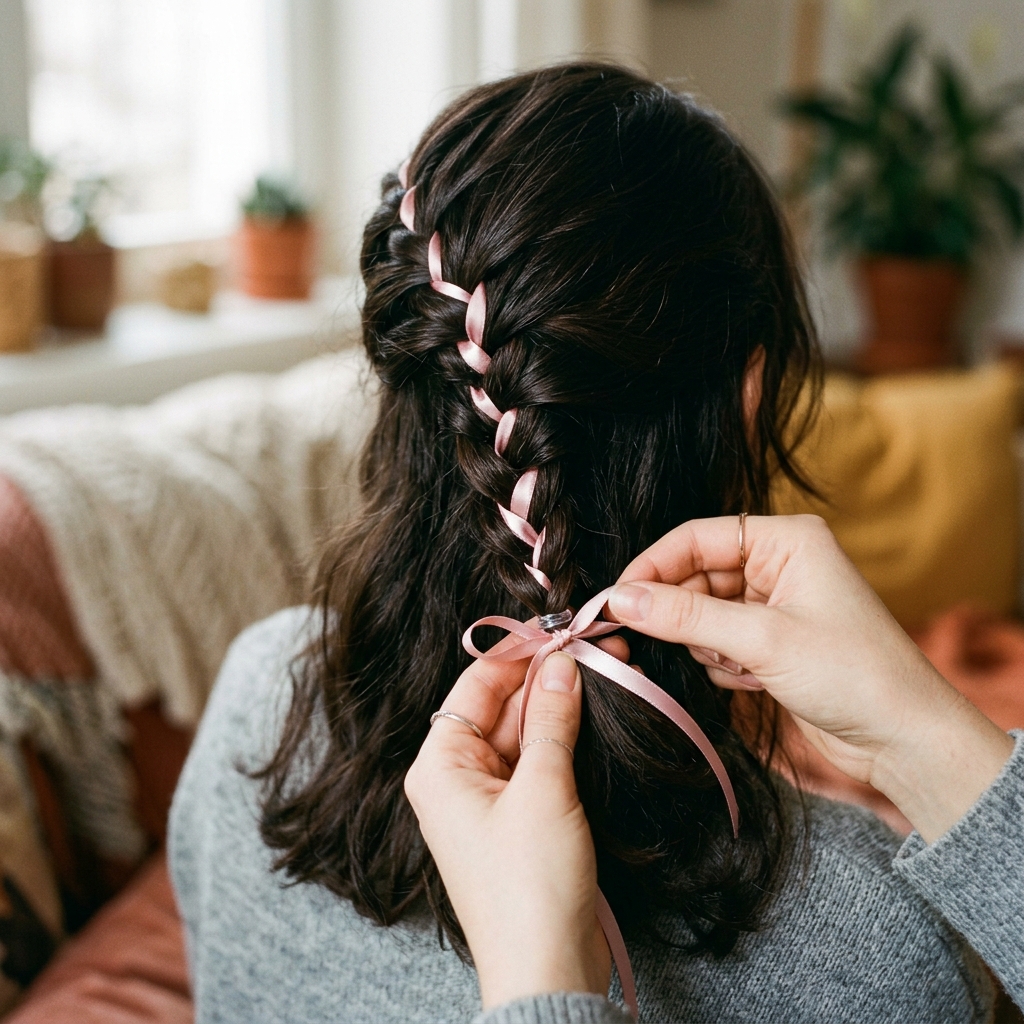
Incorporate Hair Accessories
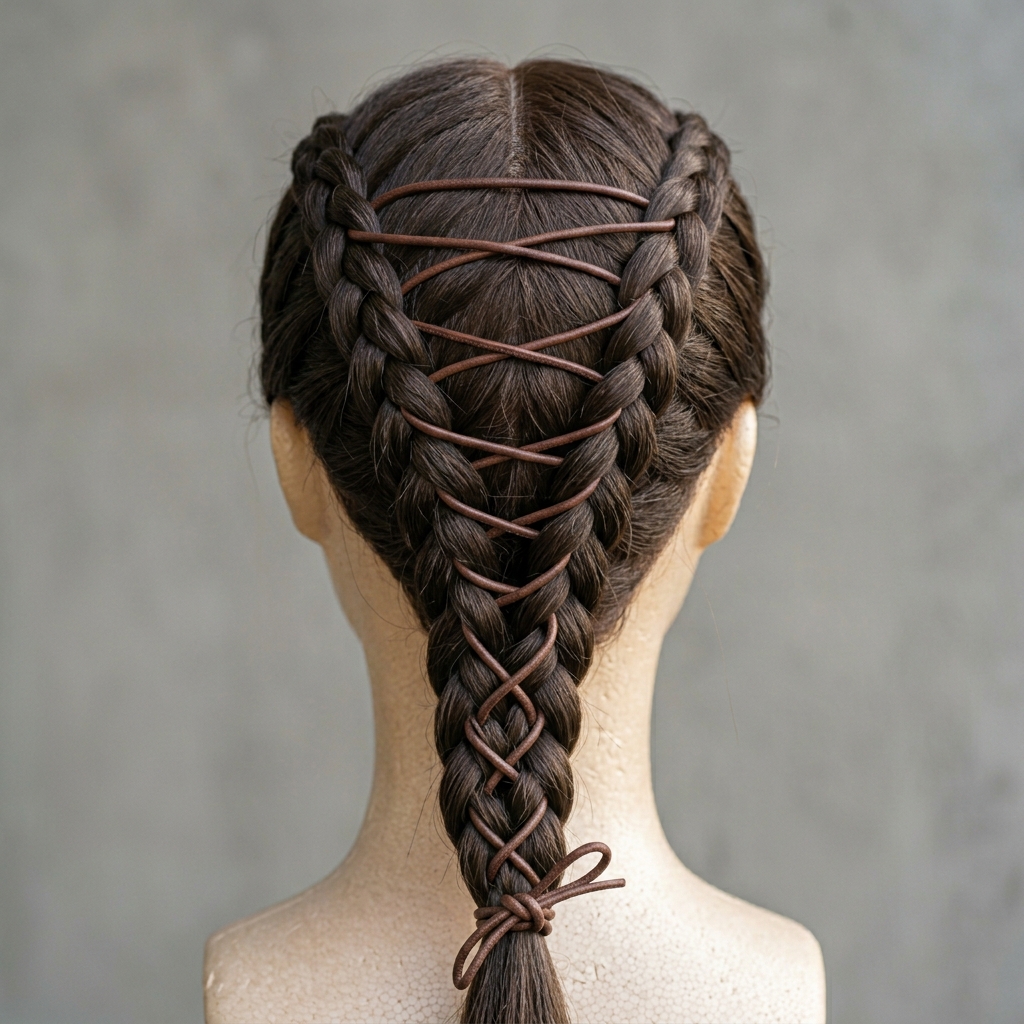
Weave a delicate ribbon or a piece of string pearls into your braid as you lace. Start with the ribbon as one of your three initial strands, or tuck it in as you pick up new sections.
This is an ultra-feminine and pretty detail that makes the style feel special for a wedding or event. It elevates the entire look with minimal effort.
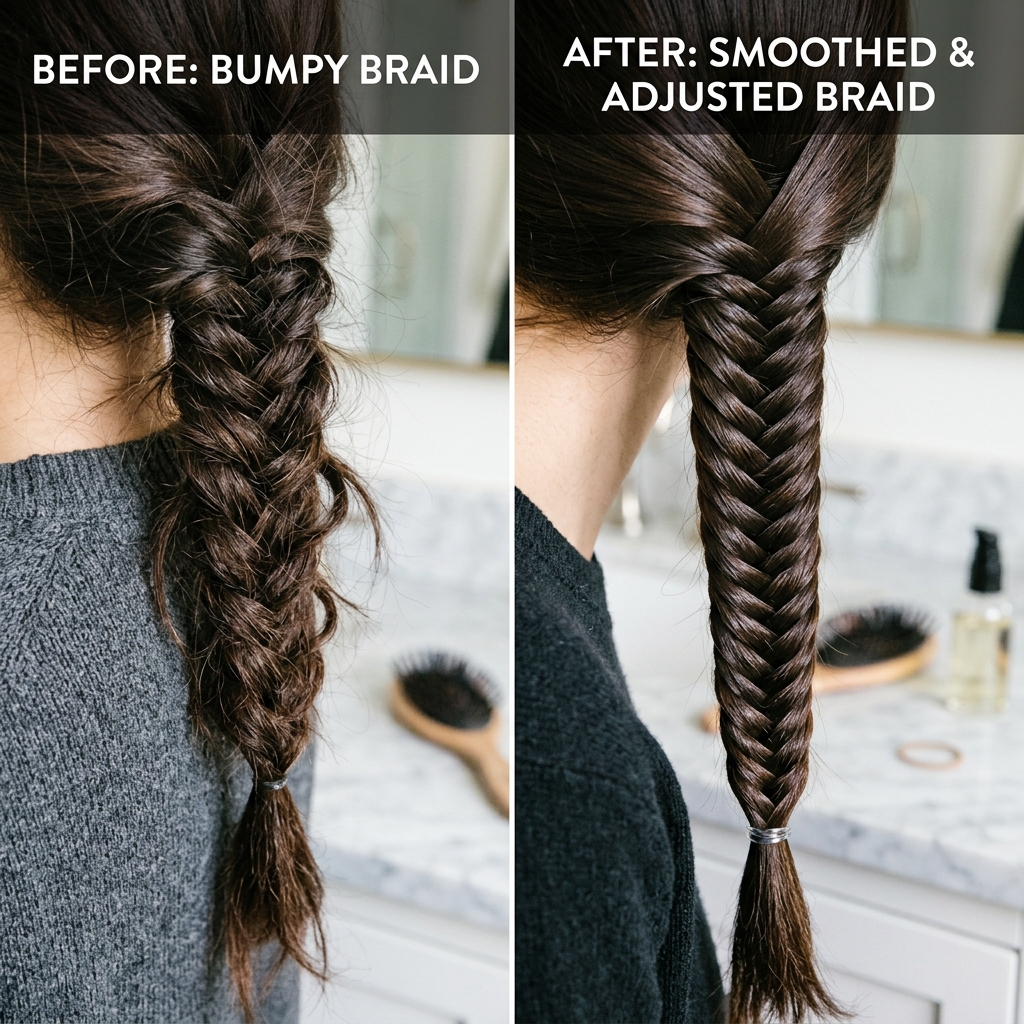
Fix Common Beginner Mistakes
If your braid is bulging or looks bumpy, your tension is uneven. Pause and gently tug the wider parts to match the tighter parts. If you drop a section, don’t panic. Just incorporate it into the next pick-up.
Remember, this isn’t a machine-made braid. A little imperfection adds character. The goal is a beautiful texture, not robotic perfection.
Make Thin Hair Look Thicker
Laced braids are a gift for fine hair. The lacing technique naturally creates the illusion of more hair and density. Use a texturizing spray at the roots before you start for extra grip.
When you “pancake” or gently pull the braid apart at the end, do it more generously. This will maximize the volume and make the braid look fuller and more substantial.
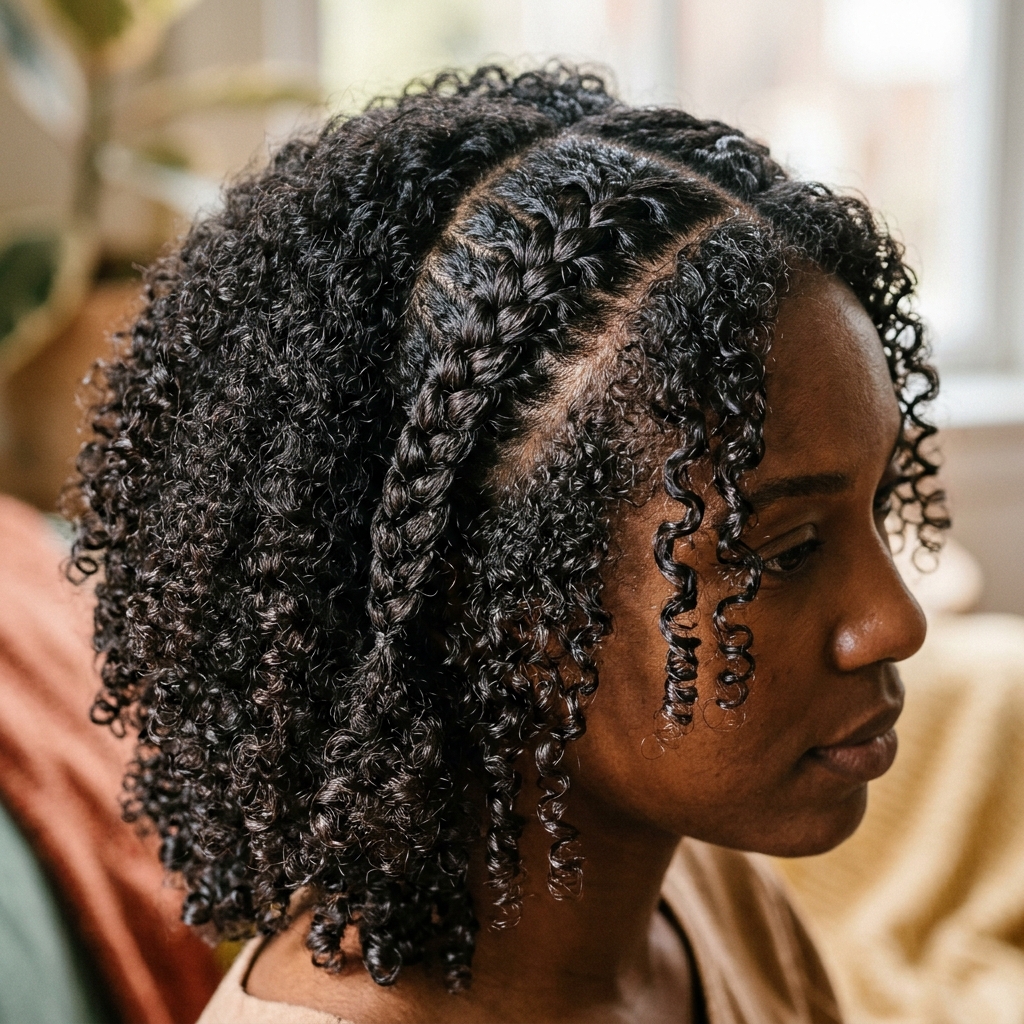
Style on Thick, Curly Hair
On curly hair, this technique creates stunning, rope-like definition. Braid on damp hair with a curl cream for hold. The lacing will help gather and define curls in a beautiful pattern.
You can braid it tightly for a defined look or loosely for a more bohemian, stretched curl effect. Embrace the natural texture—it makes the braid even more dynamic.
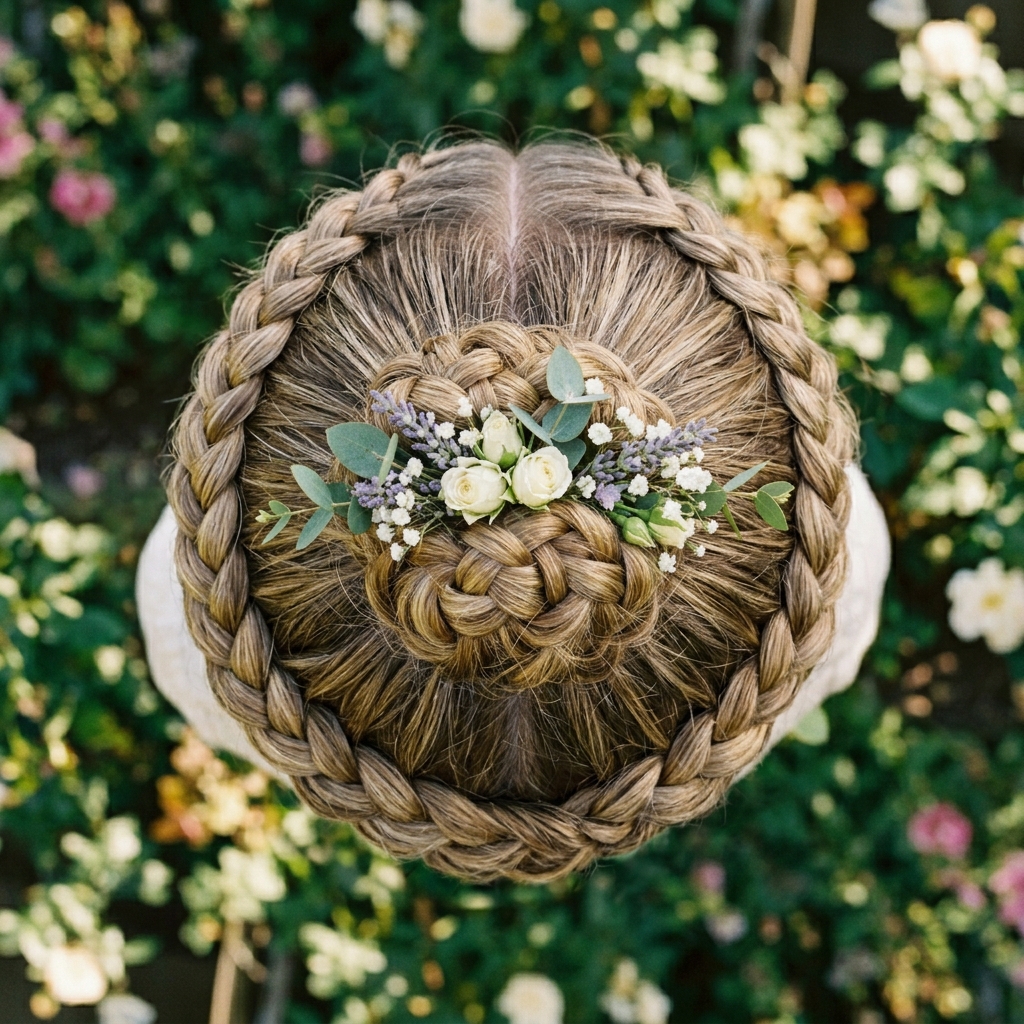
Create a Double Braided Crown
Part your hair down the middle. Create a laced braid on each side, starting at the hairline and braiding back and around your head like a headband. Secure the ends under your hair with pins.
This creates a gorgeous, ethereal crown that’s perfect for summer events or just feeling like a hair goddess. It’s a practical way to keep hair off your neck, too.
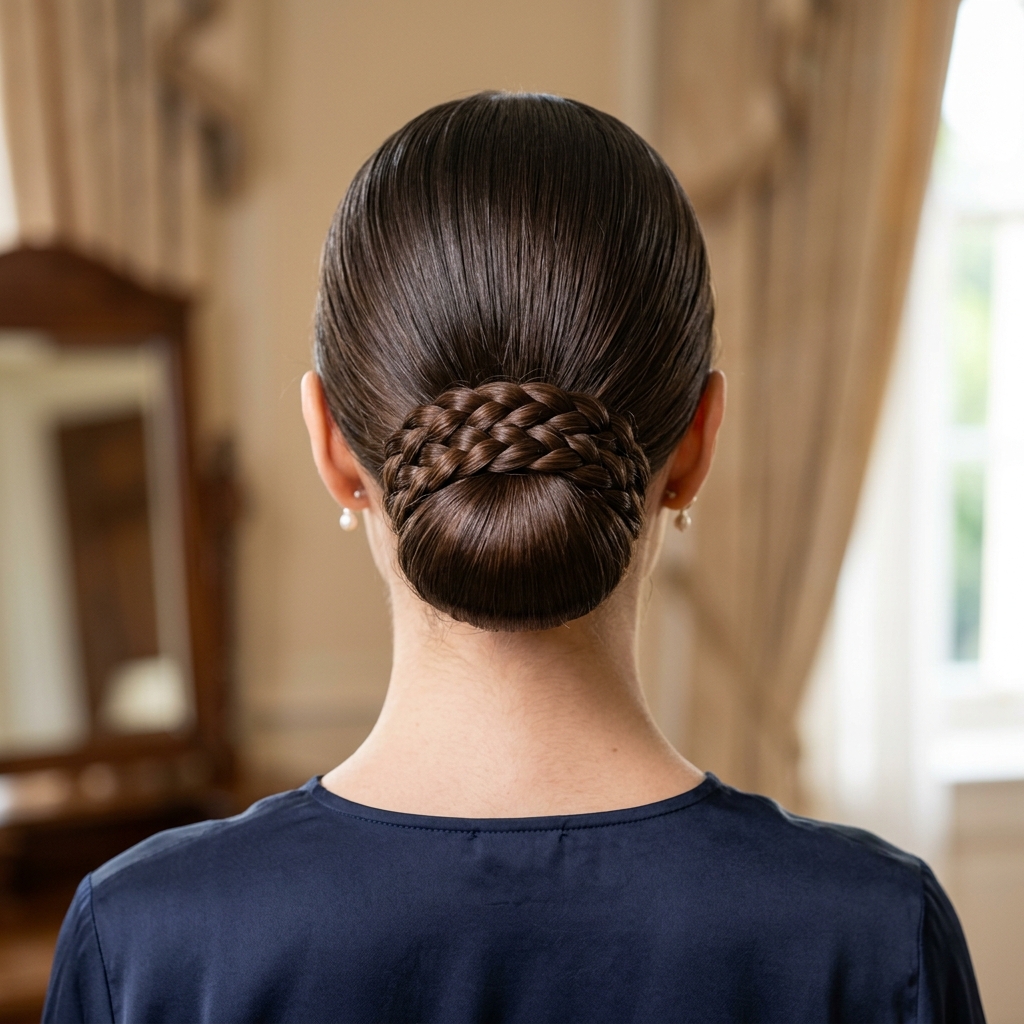
Use It for a Sleek Bun
Create a low, sleek bun. Before you twist the bun, leave out a small section of hair. Braid that section into a laced braid and then wrap it around the base of the bun.
Pin it securely. This turns a simple bun into an elegant updo in under five minutes. It’s the ultimate quick, polished look for work or dinner.
Practice Makes Progress, Not Perfect
Your first braid might not be Pinterest-ready, and that’s 100% okay. The goal of your first try is just to understand the motion. Your second will be better. By your third, you’ll have it.
Set aside 15 minutes every other day just to practice the core motion on a small section. This consistent, low-pressure practice builds muscle memory faster than you think.
Where to Wear Your New Skill
This isn’t just a “special occasion” braid. Wear your laced braid to the gym, running errands, to work, or on a date. It’s a versatile skill that adds a touch of “I tried” to any day.
The more you wear it, the more confident you’ll become in doing it quickly and easily. It will become a natural part of your hair routine, like a messy bun or a simple ponytail.
And just like that, you’ve got it. What felt like a mystery is now a solid skill in your back pocket. The best part about mastering laced-up braids is how it unlocks so many other styles. You start seeing your hair as something you can play with and design, rather than just manage.
Remember, every expert was once a beginner who kept trying. Your hands will learn the dance, and soon you’ll be doing it without even looking in the mirror. That’s the real win—adding a beautiful, creative touch to your day with your own two hands.
I’d love to see your progress! Did you try the ponytail wrap first, or dive right into a full braid? Save this post to Pinterest so you can always come back to the steps. And tell me in the comments—which style are you excited to try first?

