
Okay, let’s be real. You’ve seen that haircut everywhere. It’s not quite the classic quiet luxury bob, and it’s not full-on romantic goth hairstyles. It’s somewhere in between, with a cool-girl twist. I’m talking about the Glitchy Glam Asymmetrical Lob.
It’s the “it” girl of 2026 hairstyles right now, blending that effortless old money hair vibe with a little digital-age disruption. Think of it as your go-to vampire haircut for daytime.
It might look like you need a pro, but I promise, you can get this look at home. This isn’t about perfection. It’s about cool, lived-in texture and a shape that feels intentional. Grab your tools, and let’s break it down, step-by-step.
What Is Glitchy Glam Hair, Anyway?
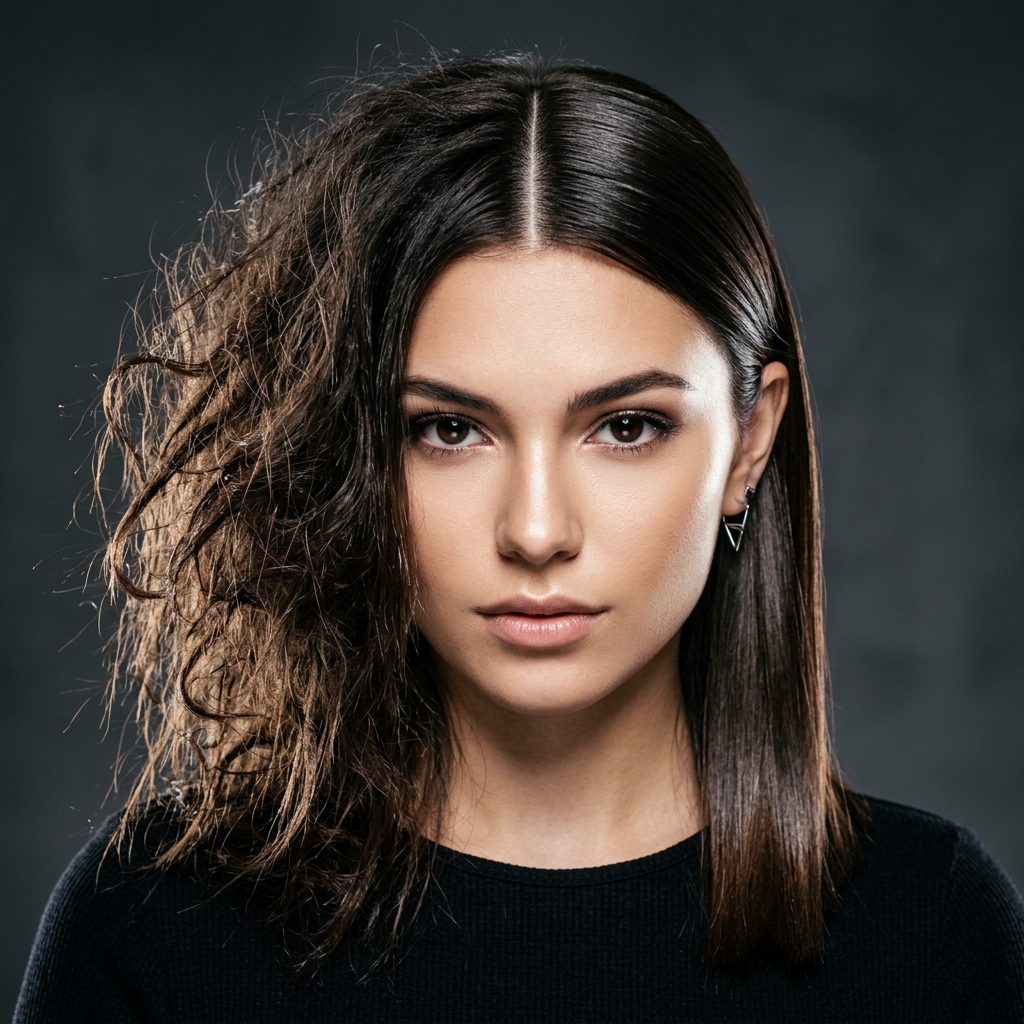
Glitchy glam is my favorite aesthetic right now. It’s that perfect mix of polished and slightly undone. For hair, it means a cut that’s sleek in some places and deliberately textured in others, like a visual glitch. It feels modern, a little editorial, and super wearable.
This look takes inspiration from the sharp angles of a hime cut and the softness of a lived-in lob. The “glam” part comes from the healthy shine and clean lines. The “glitch” is the unexpected asymmetry and those piece-y, broken-up ends. It’s for the girl who wants to look put-together but never boring.
Why the Asymmetrical Lob Is Everywhere
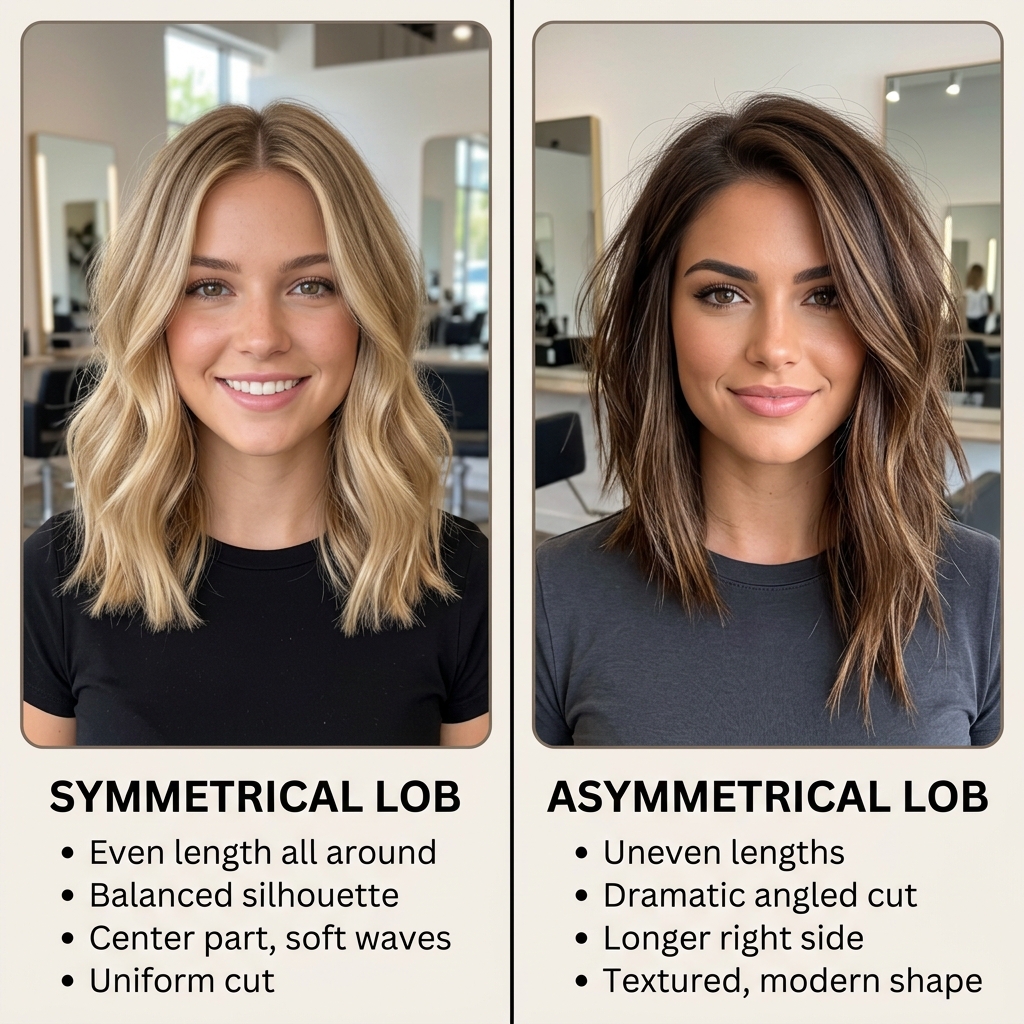
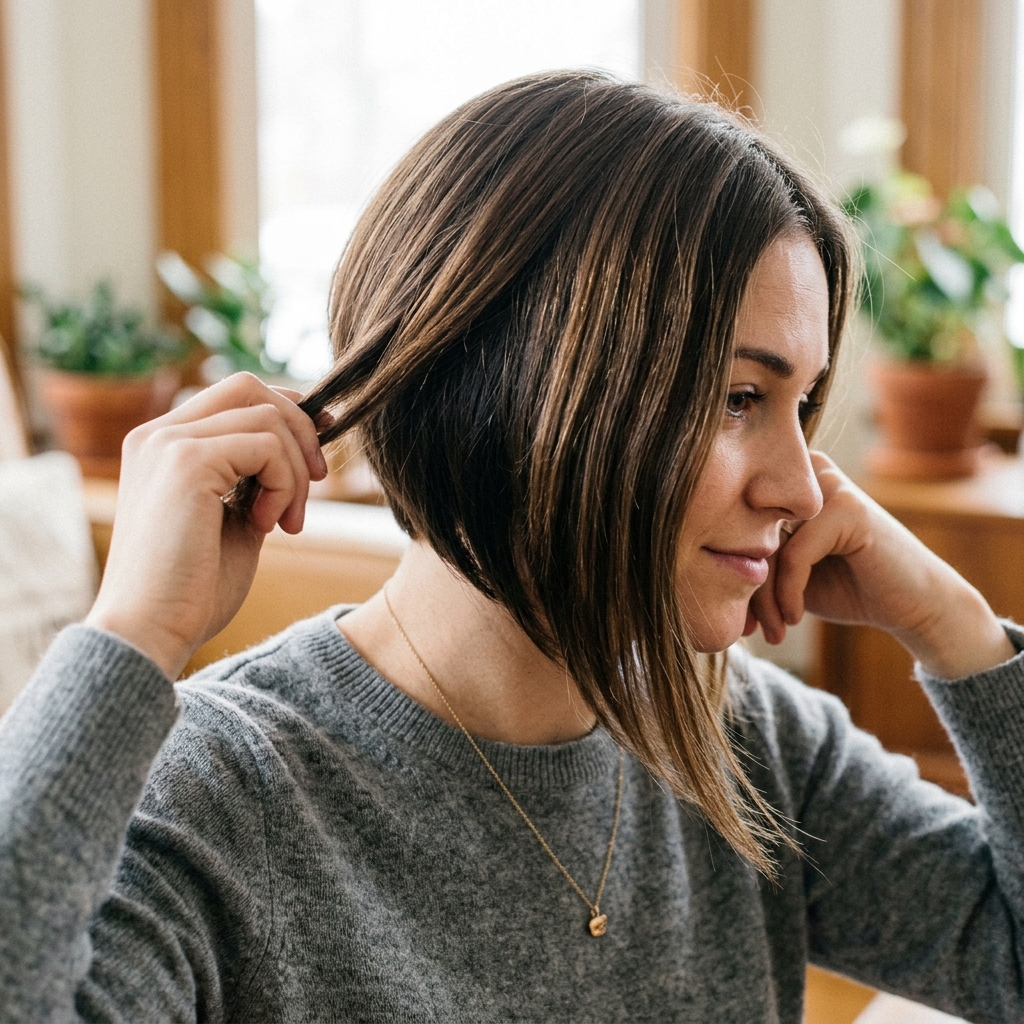
The asymmetrical lob (that’s a long bob, for the uninitiated) is having a major moment because it’s incredibly flattering. The longer-in-front, shorter-in-back shape frames the face beautifully and adds instant edge without going super short.
It works with almost every hair type and face shape. It’s also the ultimate foundation for the glitchy glam hair trend. That uneven baseline gives you the perfect canvas to add choppy layers and texture. It’s a cut that grows out gracefully, too, which is a huge win in my book.
Tools You’ll Need to Get This Look
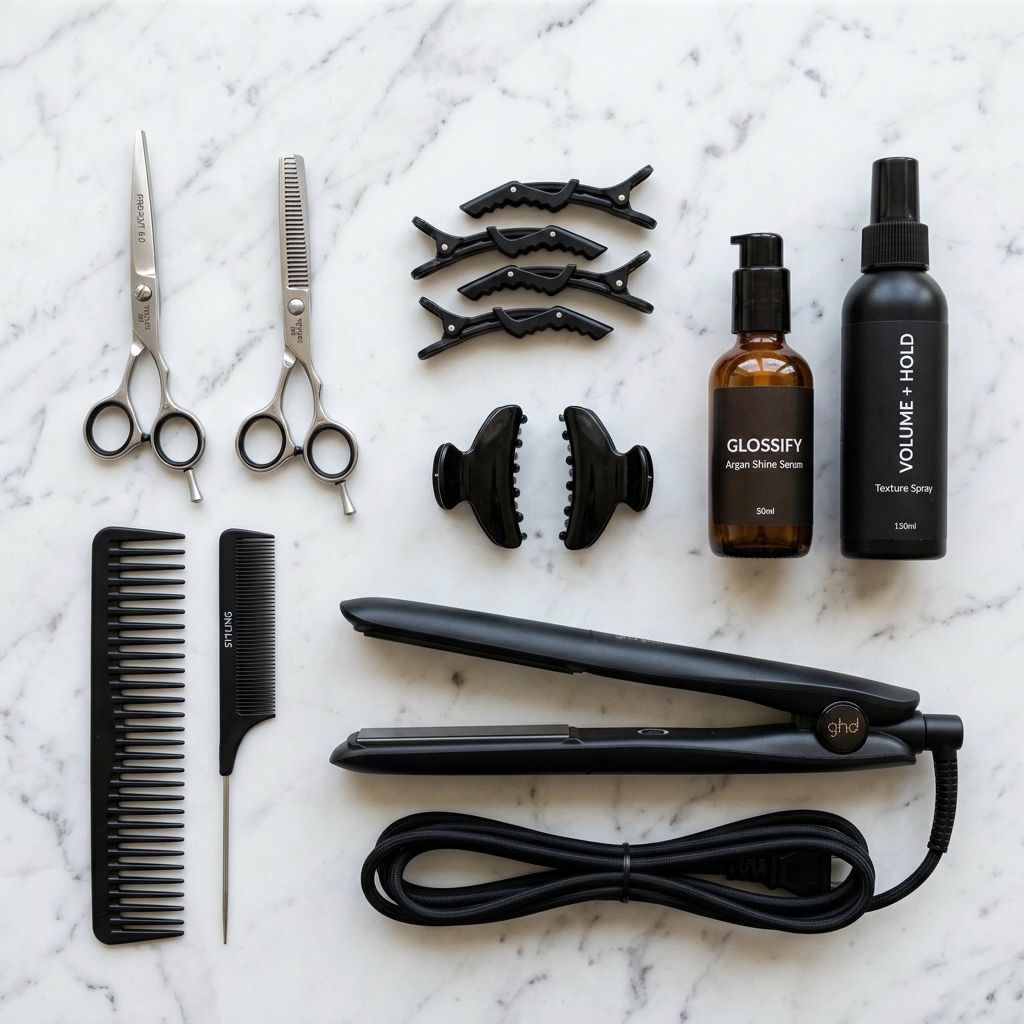
Don’t worry, you don’t need a salon full of equipment. Here’s your at-home kit:
- Sharp hairdressing shears (kitchen scissors are a no-go!)
- Fine-tooth comb and a tail comb for sectioning
- Hair clips to separate sections
- Good quality hair spray and a texturizing spray
- A flat iron or curling wand for finishing
Having the right tools makes all the difference, especially those shears. Dull tools will just crush your ends and ruin the “glitchy” texture we’re going for. Trust me on this one.
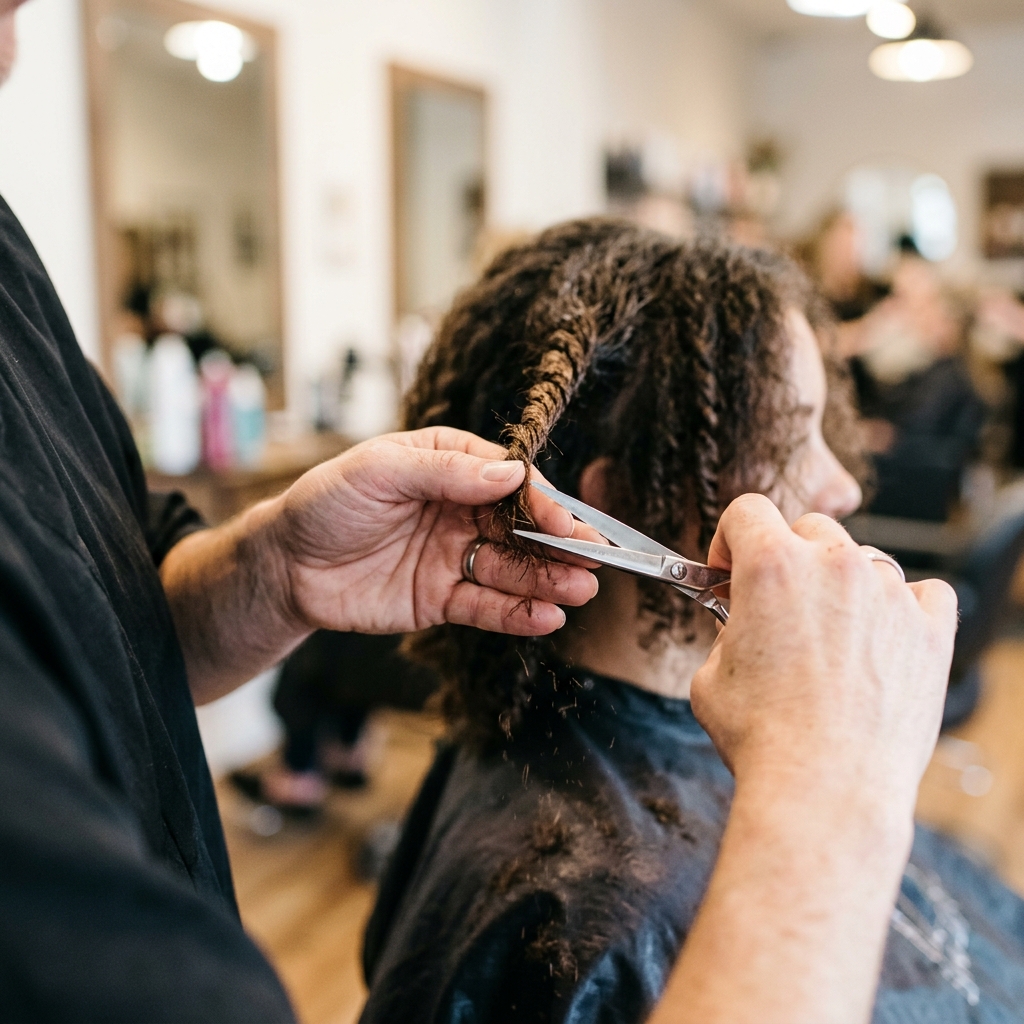
Start With Completely Dry Hair
This is non-negotiable. Always, always cut hair when it’s 100% dry. Hair shrinks as it dries, so if you cut it wet, you’ll end up much shorter than you intended.
Dry cutting also lets you see the natural fall and texture of your hair as you work. You can spot where the weight is and where you need to remove it. Wash and dry your hair as you normally would, then give it a quick brush through to detangle before we start.

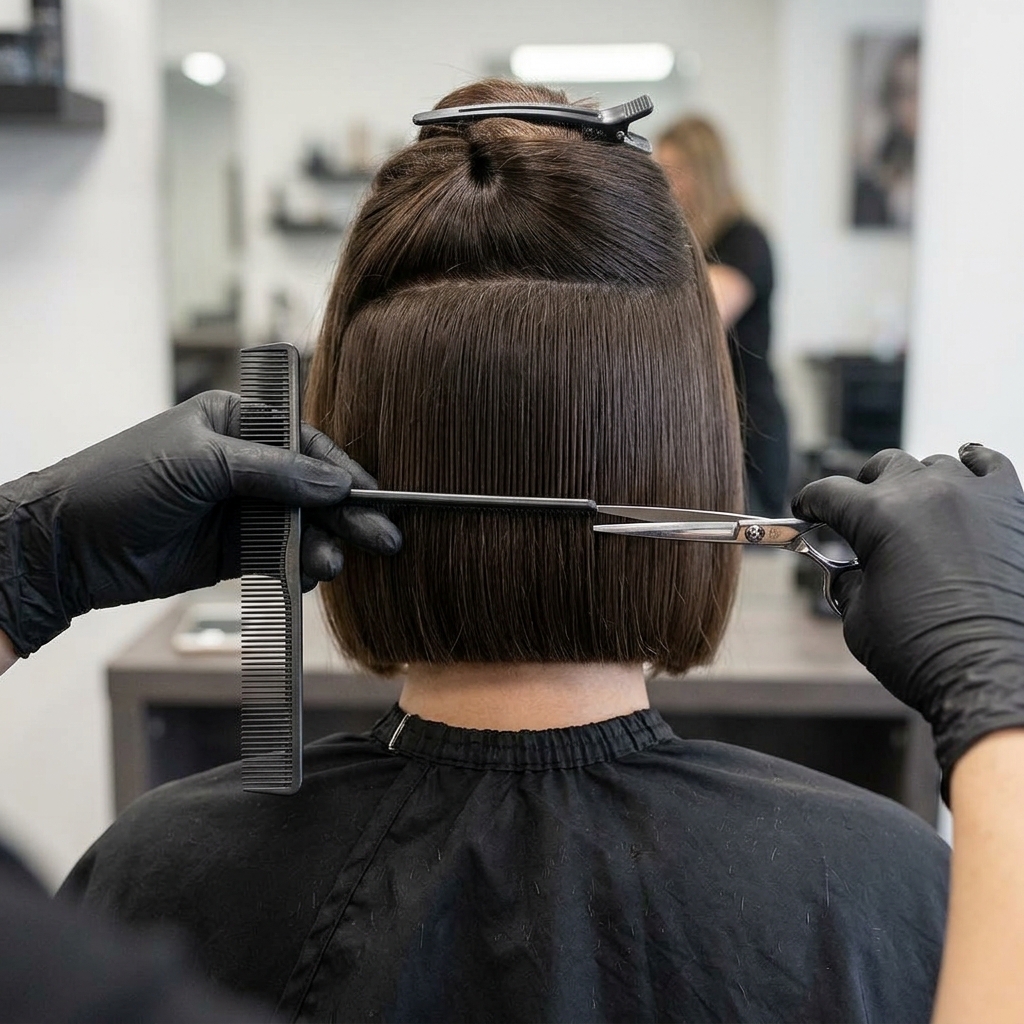
Sectioning Is Your Secret Weapon
Clean sections are the key to a clean cut. We’re going to work in three main parts. First, create a part from the top of each ear over to the crown. Clip up the top section.
Then, split the back bottom section in half horizontally. Clip the very bottom layer up. You’ll work with the very back, bottom-most section first. This methodical approach prevents overwhelm and ensures you’re only cutting what you mean to cut.

Establish Your Guide in the Back
Let’s find your length. Unclip that very bottom back section. Decide how short you want the shortest part of your lob. Remember, it’s asymmetrical, so this back section will be the shortest point.
Take a small horizontal subsection at your nape. Cut it straight across to your desired length. This is your guide. Every other cut in the back will connect to this line. Don’t panic—we’re just setting the baseline.
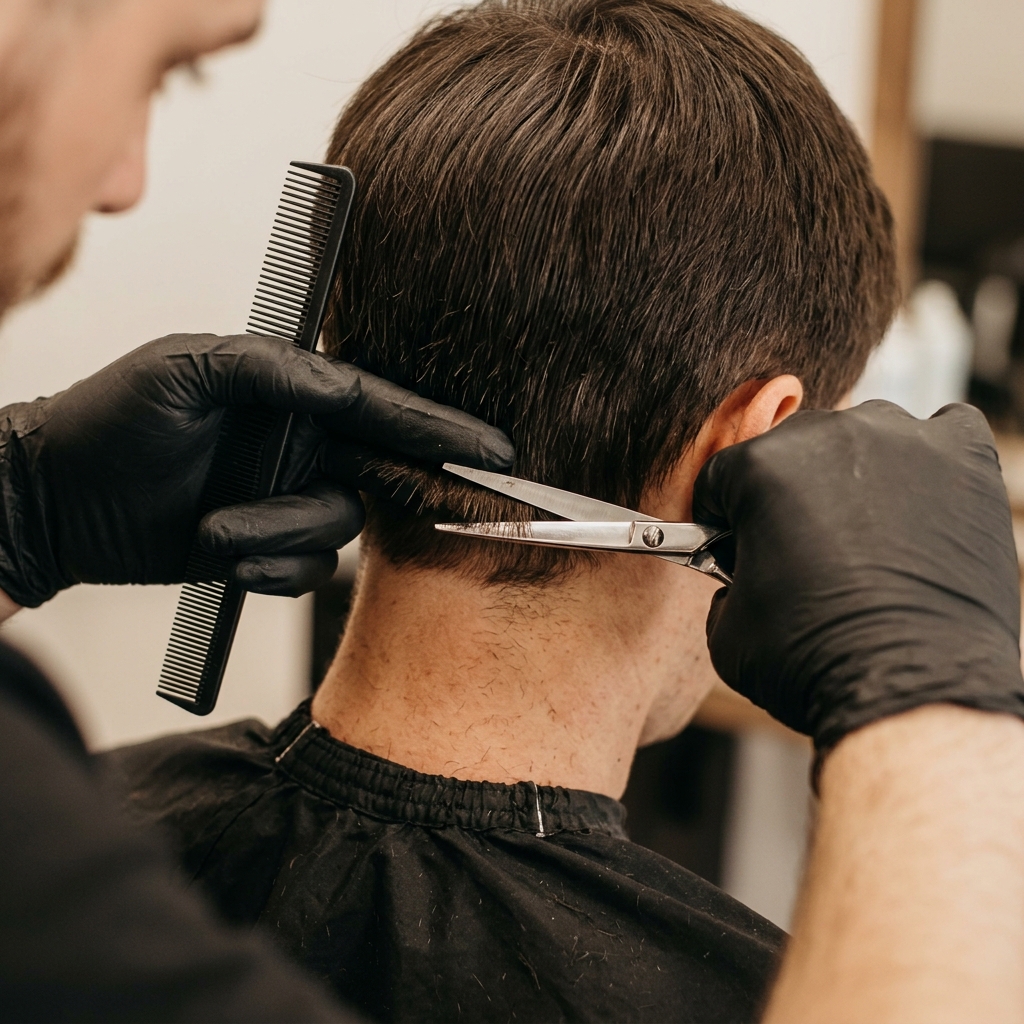
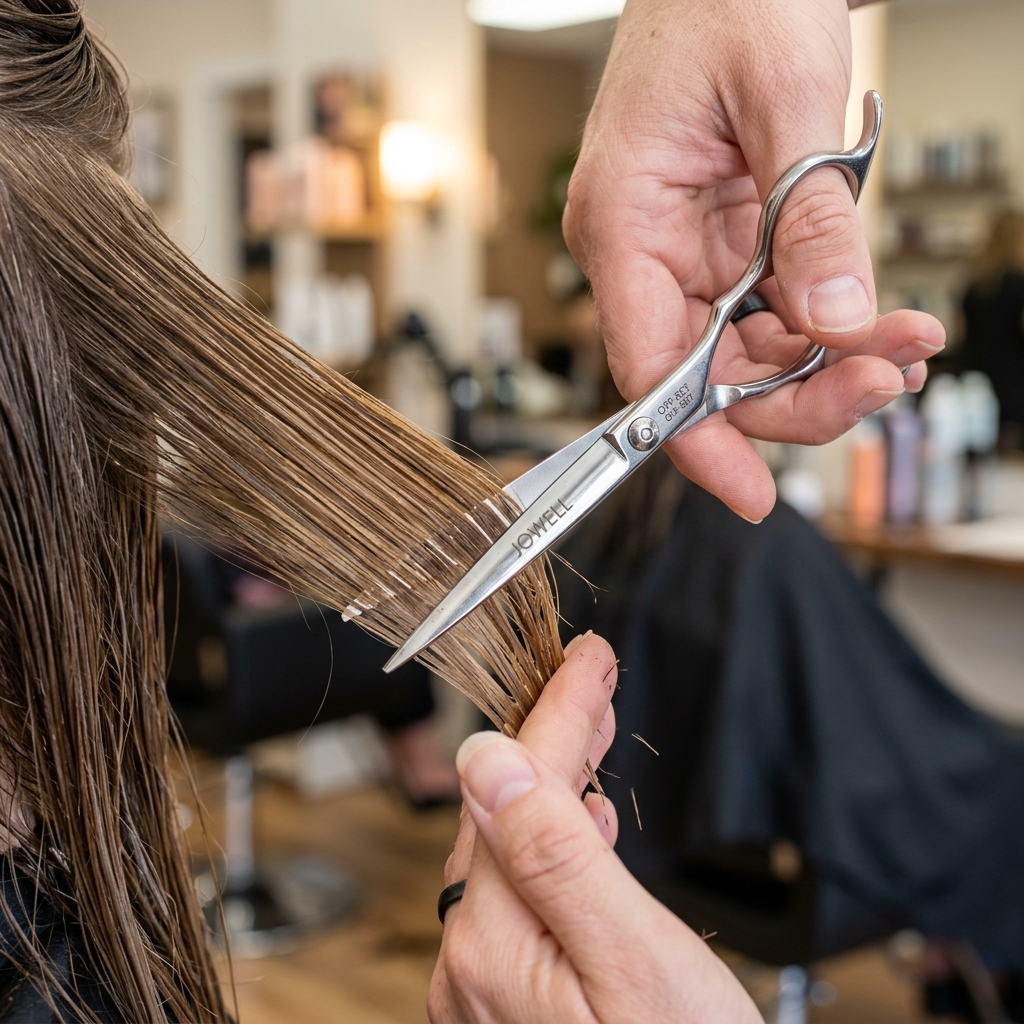
Cut the Back Baseline
Now, using that first cut as your guide, work your way up. Unclip a little more hair from the bottom back section, comb it down straight, and cut it to match your guide length.
Continue this process, working up in horizontal layers, until you’ve cut all the hair in that bottom back section. Keep your fingers and shears parallel to the floor for a straight line. You should now have a clean, blunt baseline at the back.
Bring in the Sides & Create the Angle
Unclip the side sections. This is where the asymmetrical lob magic happens. Comb all the hair from one side forward over your shoulder. You’re going to connect it to the back.
Point-cut (cutting vertically into the ends) from your back length down to a longer point in the front. This creates the diagonal angle. The front should be noticeably longer than the back. Repeat on the other side, matching the angle as closely as possible.
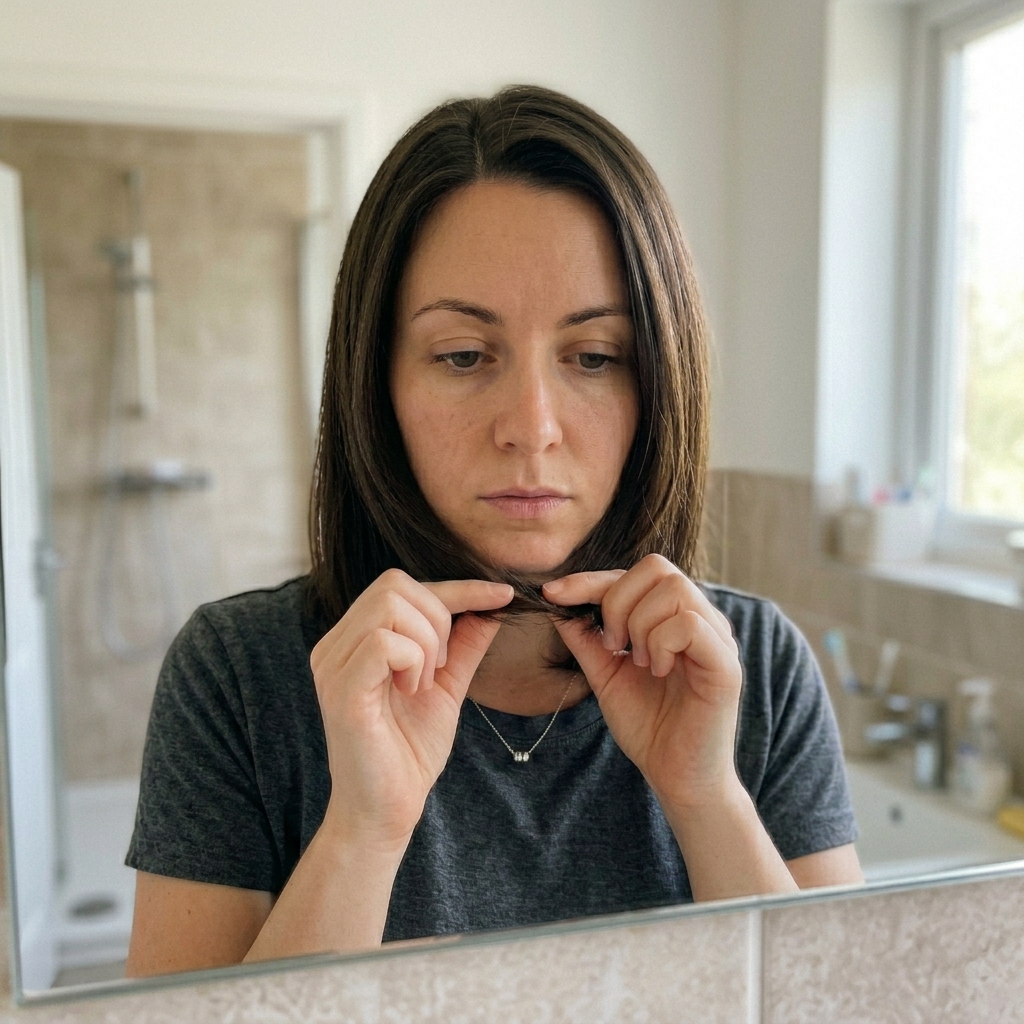
Check Your Balance & Symmetry
Let all the hair down. Stand in front of the mirror and look at the basic shape. Is one side longer than the other? Does the angle look even?
Make small adjustments by pulling both front sections together at the center of your chin and trimming any major differences. The goal isn’t perfect symmetry—it’s intentional asymmetry. But you want it to look balanced, not lopsided by mistake.
Unleash the Glitch: Adding Texture
Here’s where we move from a simple lob to true glitchy glam hair. Take random, vertical sections throughout your hair, especially around the face and ends. Twist them lightly.
With your shears, point-cut into the twisted sections. This creates those choppy, broken-up ends that define the style. Focus on the mid-lengths and ends. Avoid the roots. This technique removes weight and adds that cool, piece-y effect.
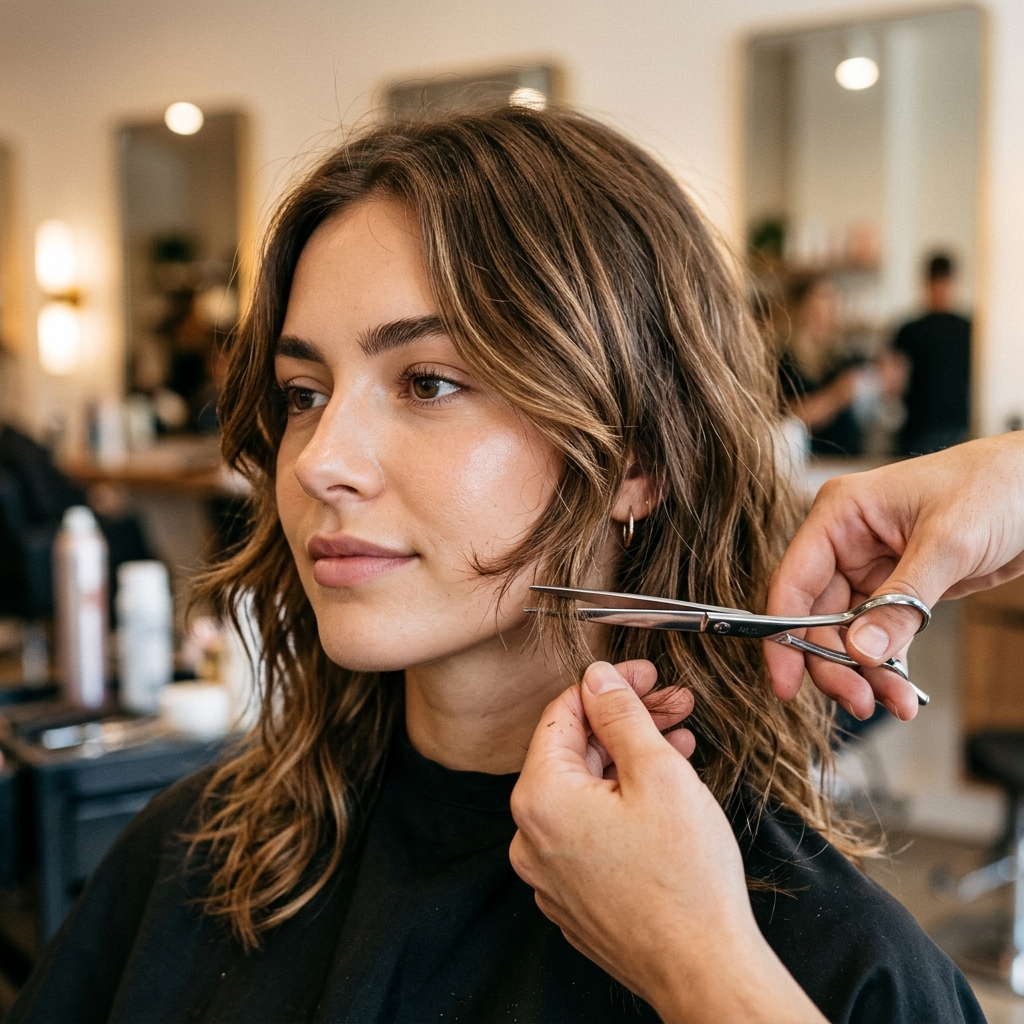
Face-Framing Layers Are Key
To avoid a heavy, helmet-like look, we need softness around the face. Take a triangular section from the front of each side, from the temple down.
Hold this hair out and point-cut into it, starting shorter at the cheekbone and blending longer toward the chin. This creates feathery, face-framing layers that blend seamlessly into the longer length. It’s a signature of the romantic goth hairstyles influence in this cut.
How to Texturize Without Thinning Shears
I’m not a fan of traditional thinning shears—they can make hair look frizzy. Instead, use your regular shears for “slide cutting.” Open your shears, place a small section of hair between the blades, and gently slide them down from mid-length to end.
This removes interior weight and creates movement without leaving obvious chop marks. It’s a more controlled way to add that all-important “glitchy” internal texture. Do this sparingly on thicker sections.
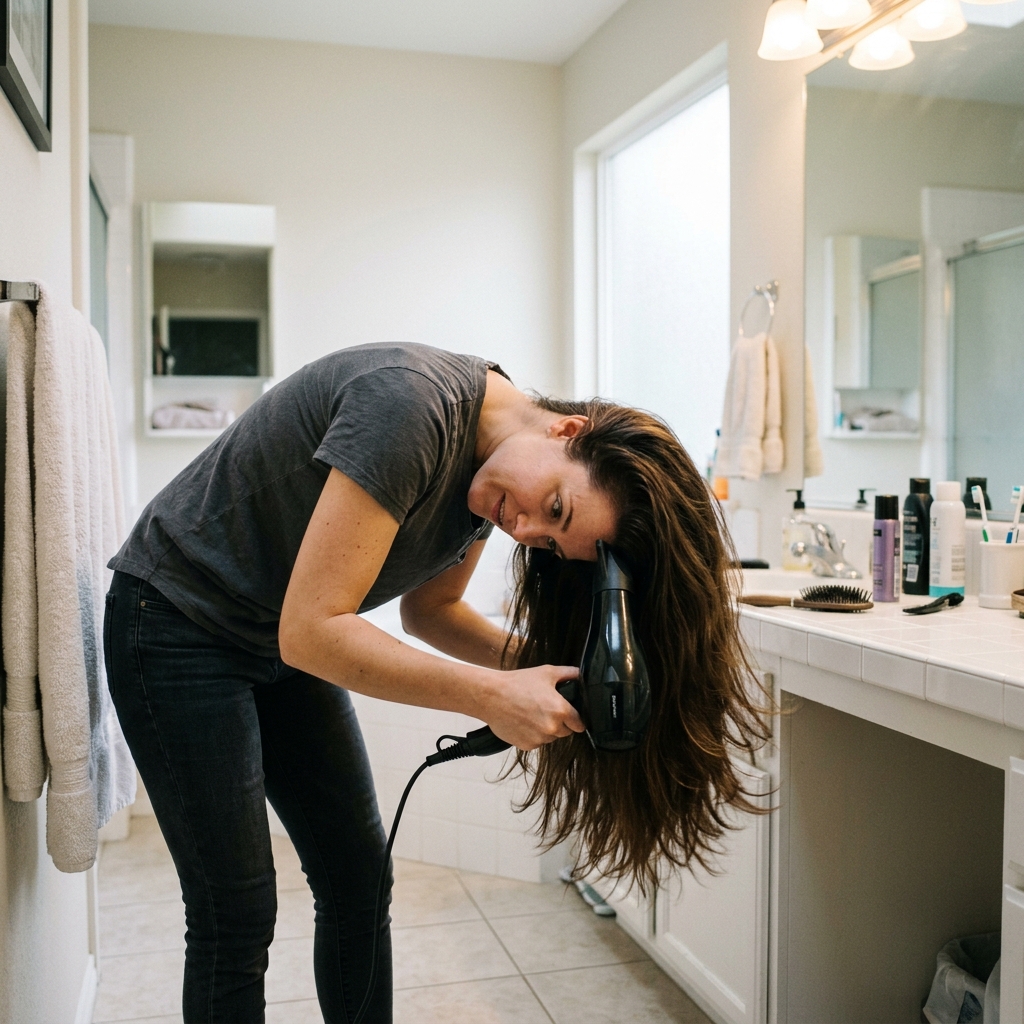
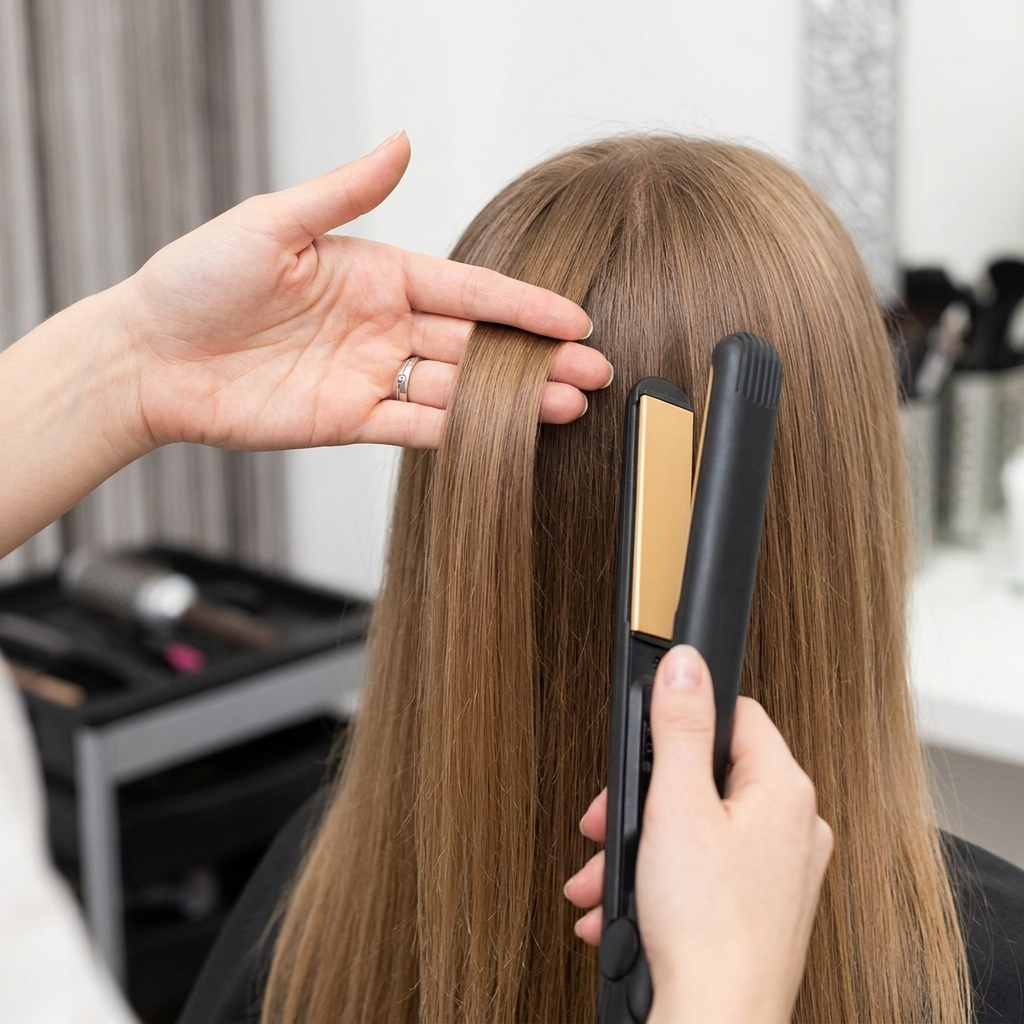
Blow-Dry for Maximum Volume
Once your cut is done, refresh your style. Flip your head upside down and blow-dry the roots for lift. Use a round brush to smooth the ends while adding a slight bend under or away from the face.
The goal is body and swing, not pin-straight perfection. That root volume is what gives the lob its modern, non-flat shape. It’s the “glam” foundation before we add the final texture.
Create the “Lived-In” Wave
This style isn’t about uniform curls. Grab a flat iron or a wand. Take random, small sections throughout your hair. Alternate the direction of your curls—some under, some over.
Leave the ends straight and don’t curl all the way to the root. The inconsistency is what makes it look cool and effortless. You’re going for a piece-y, slightly undone wave, not a fresh-from-the-salon curl set.
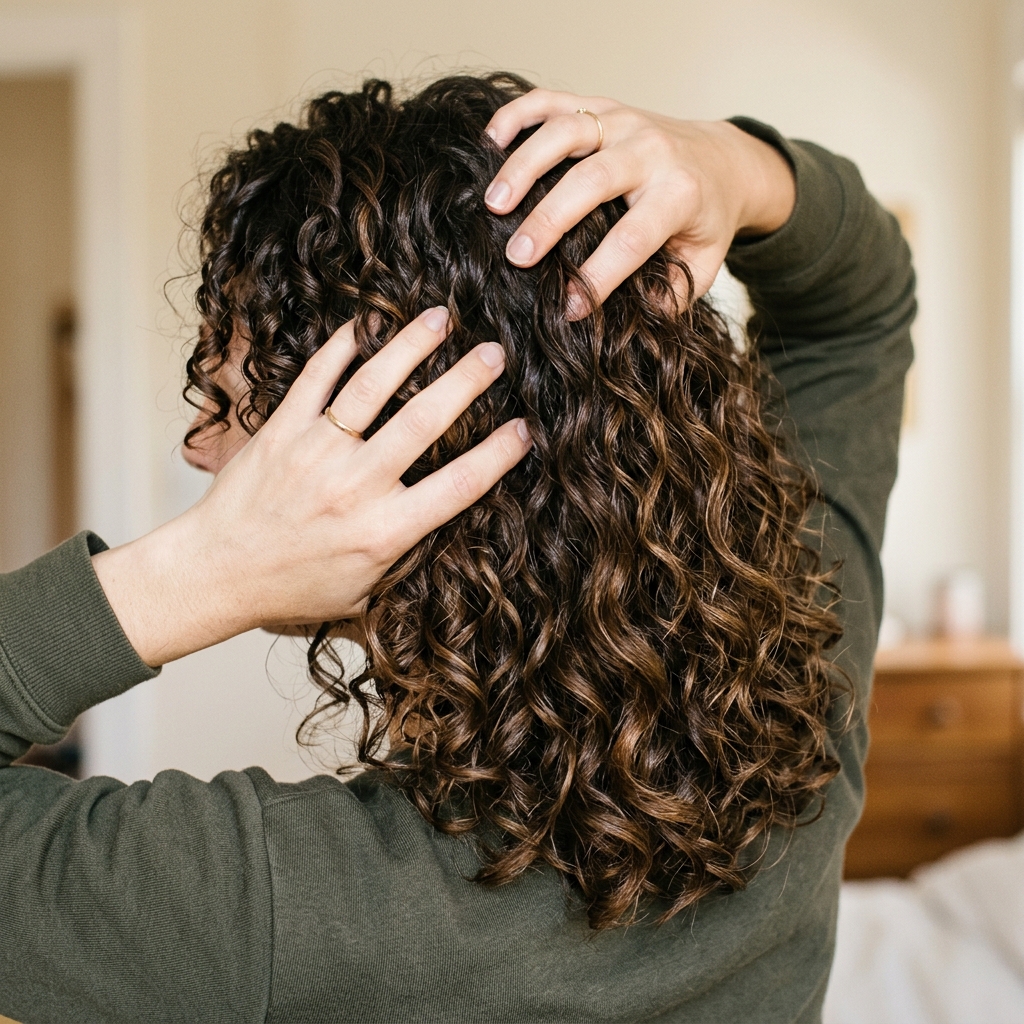
Break It Up With Your Fingers
Once your hair is cooled, run your fingers through it vigorously. Break up all those curls you just made. Don’t use a brush at this stage—you’ll lose all the texture.
Shake your head from side to side. The goal is to create a soft, unified wave pattern with lots of separation. This is where the individual “glitches” of texture start to really pop and play together.
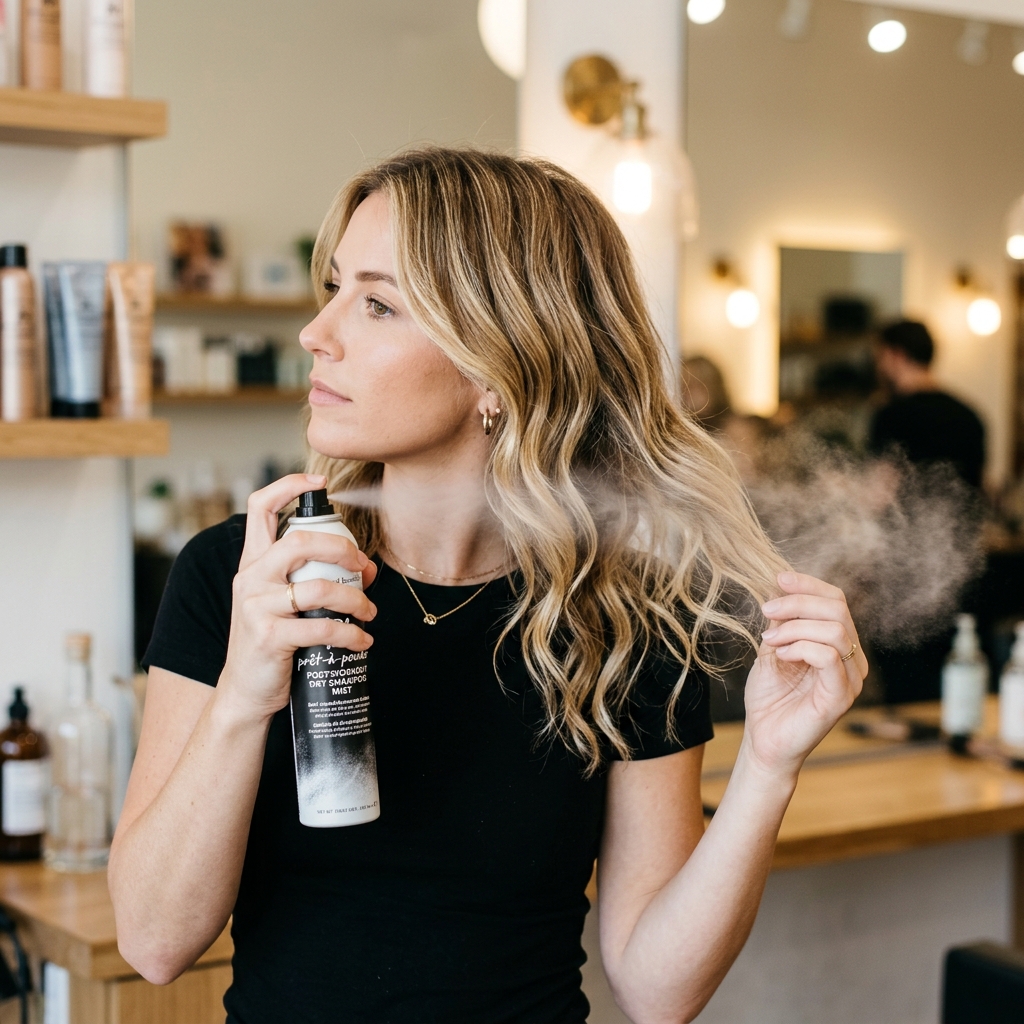
Apply Your Texturizing Products
Now, lock in that texture. A light-hold texturizing spray is your best friend. Hold it about 10 inches away and mist it over your mid-lengths and ends.
Then, use your fingers to scrunch and pinch those areas. This product will define the piece-y look and add a bit of grit and hold, so your style doesn’t fall flat halfway through the day. Avoid the roots to keep it from looking greasy.
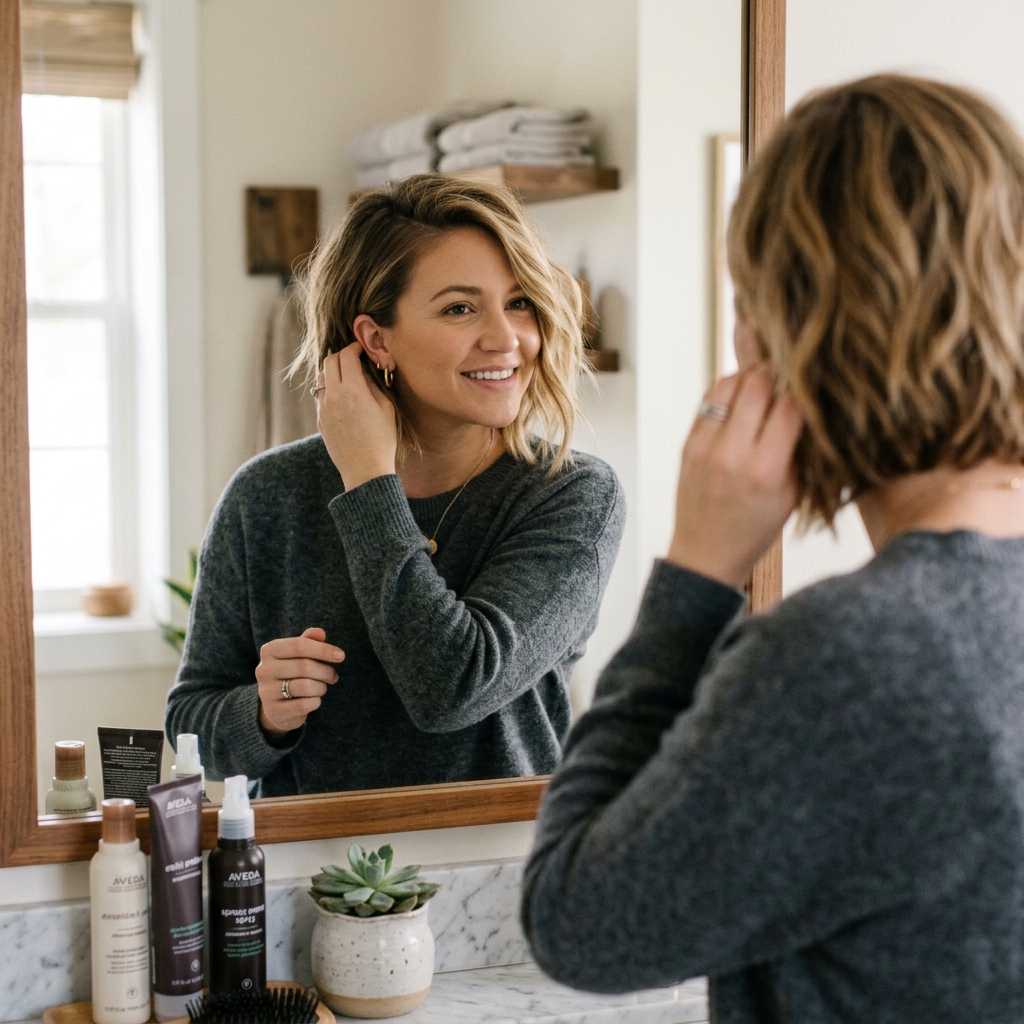
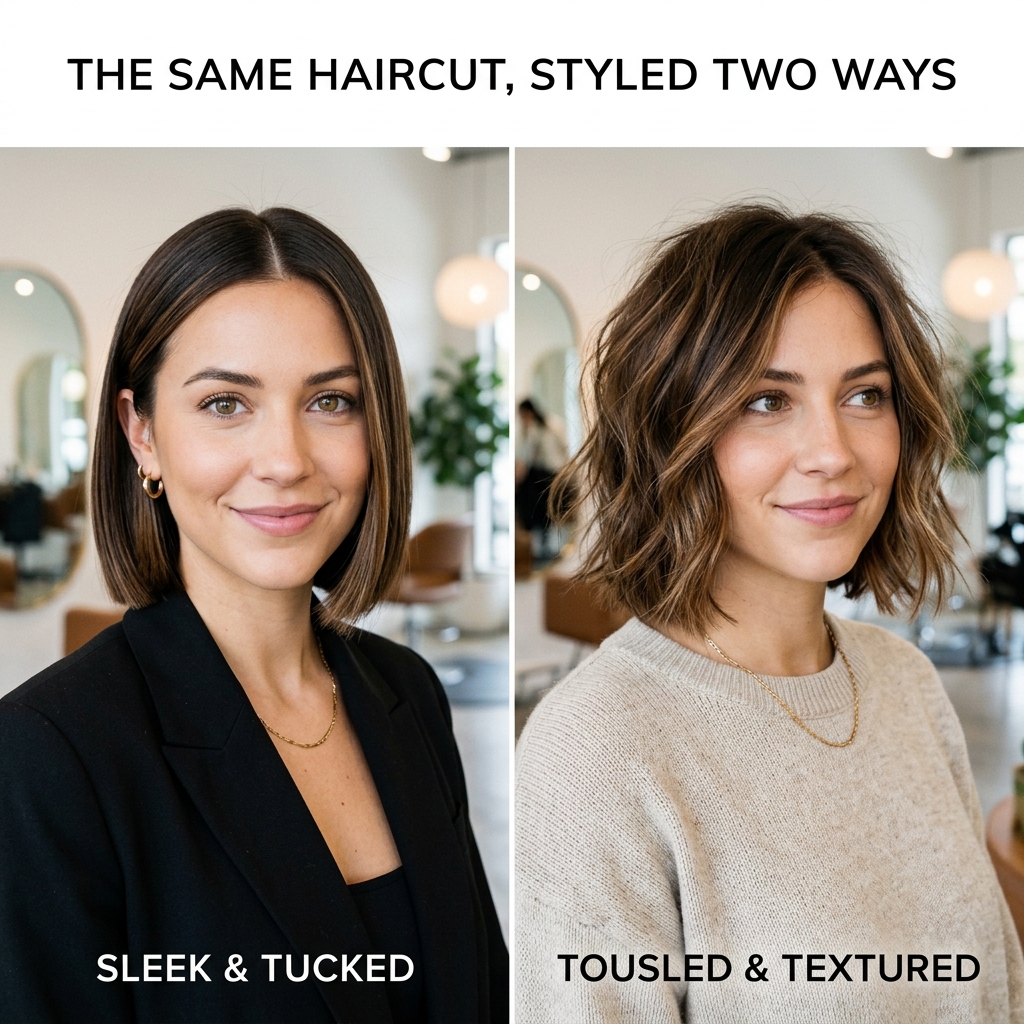
Perfect the Asymmetry With Styling
Look in the mirror. Which side feels more “you”? Style your hair to that side. The beauty of the asymmetrical lob is that you can dramatically change the look just by changing your part.
Tuck the shorter side behind your ear for a bold, graphic look, or let both sides fall naturally for a softer feel. Play with it! This is how you make the vampire haircut inspiration feel daytime-appropriate.
Add a Shot of Shine (The Glam Part)
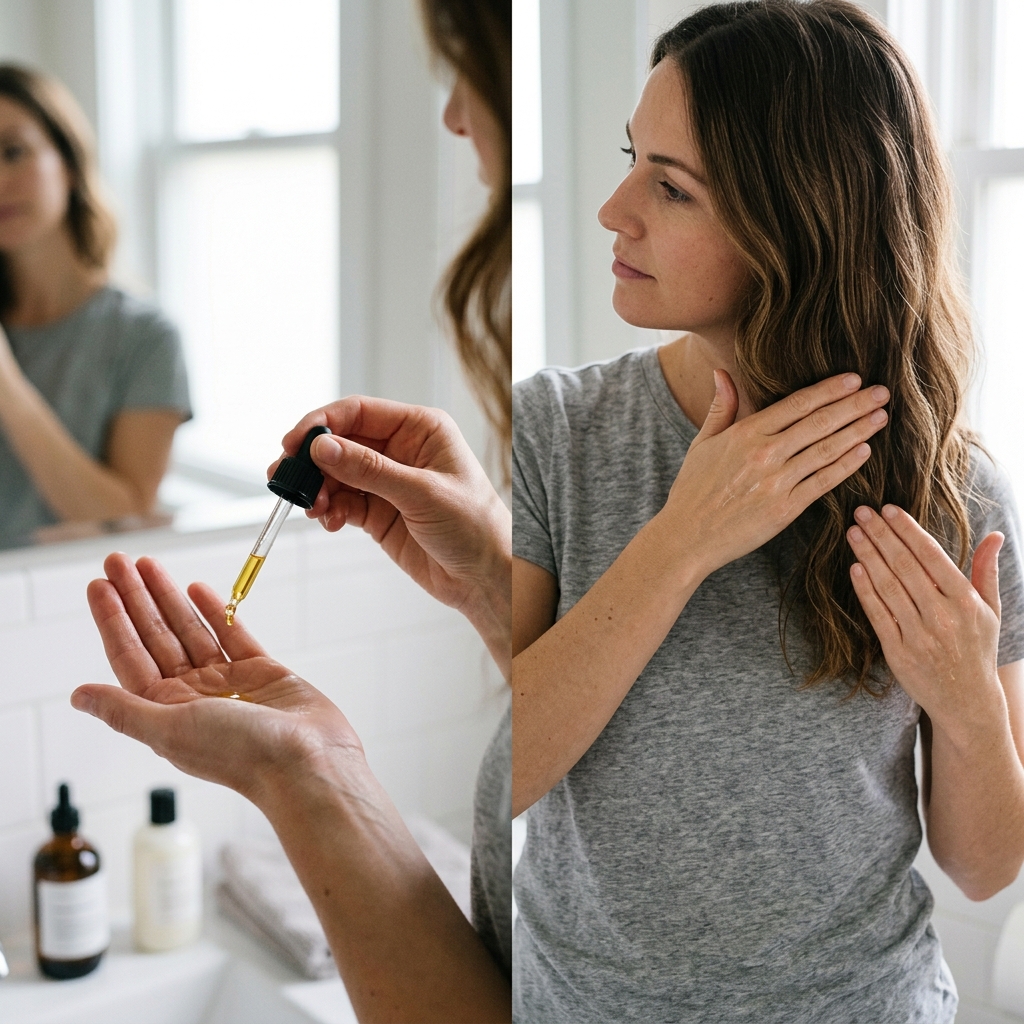
Glitchy doesn’t mean dry. The “glam” comes from healthy shine. Take a tiny drop of shine serum or hair oil on your palms, rub them together, and lightly glaze it over the surface of your hair.
Avoid the roots—focus on the ends and the top layer. This will tame any flyaways, enhance your natural shine, and make the whole style look expensive and intentional, like a true old money hair update.
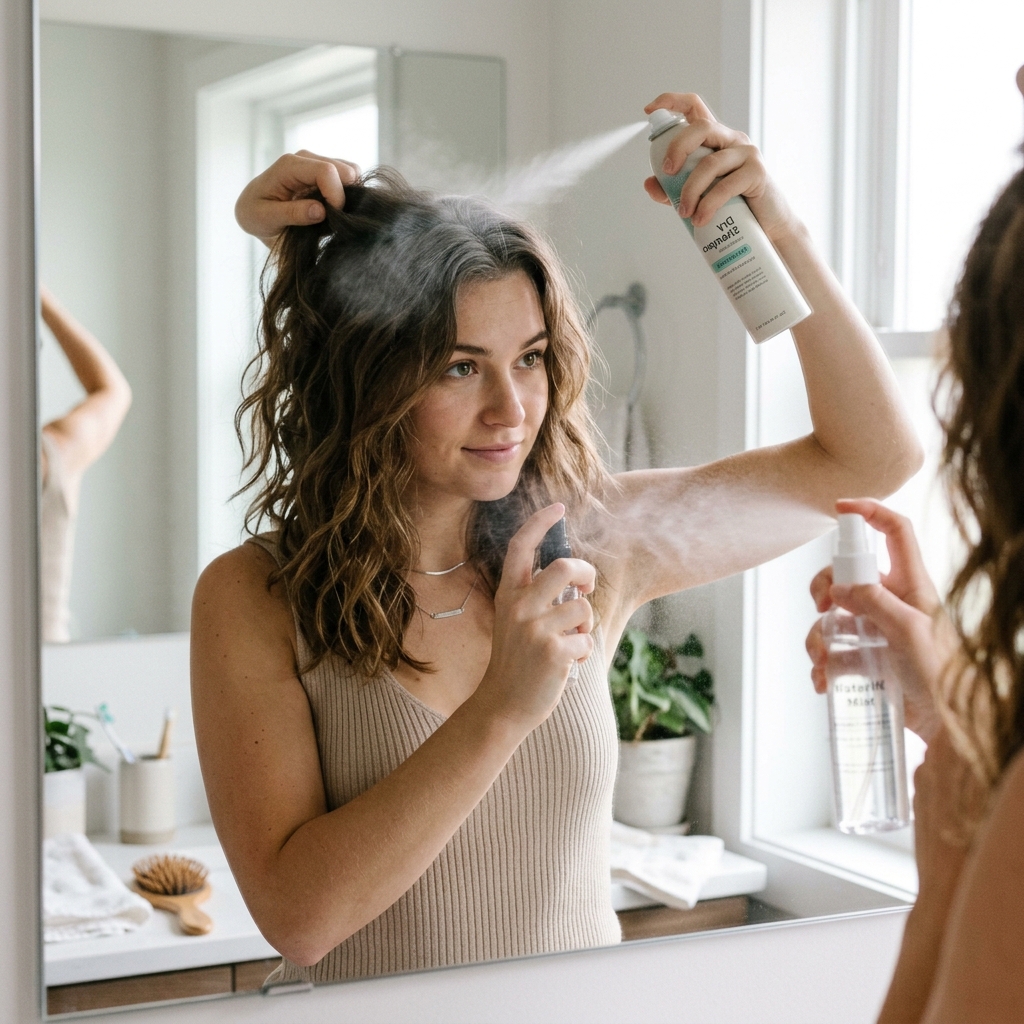
Quick Refresh for Day Two
You won’t need to fully restyle every day. On day two, flip your head over and spray a little dry shampoo at the roots for volume. Then, lightly mist a texturizing spray mixed with water on the ends.
Use your fingers to reshape the waves and redefine the piece-y texture. The natural oils from day one will actually help the texture look even cooler and more lived-in.
Styling Variations to Try
Don’t get stuck in a rut. This cut is incredibly versatile. Try a deep side part for a more dramatic, hime cut-inspired look. Add a few face-framing highlights for dimension.
For a night out, slick the shorter side back with a strong-hold gel for an edgy contrast against the textured longer side. It can easily swing from quiet luxury bob to downtown cool.
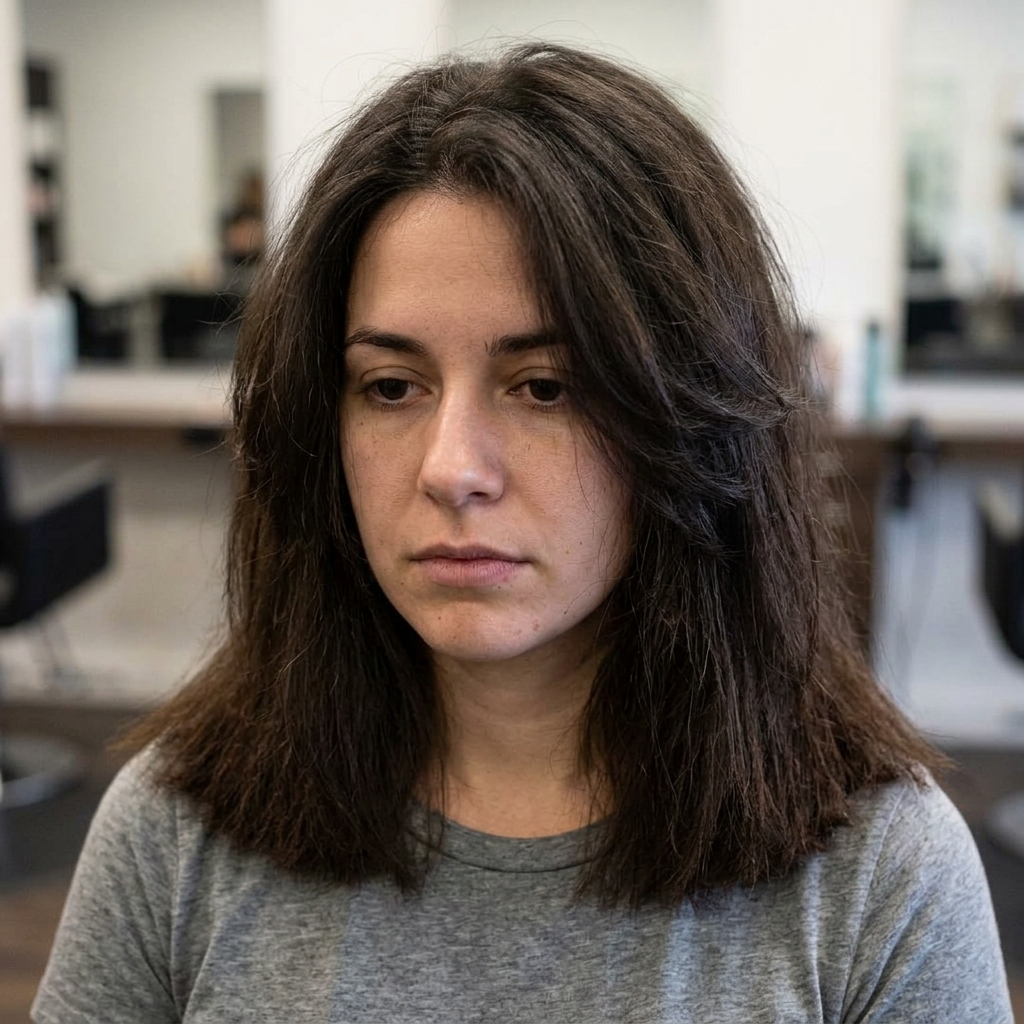
Common Mistakes to Avoid
I’ve made these so you don’t have to. First, don’t cut too much texture at once. You can always take more off, but you can’t put it back. Second, avoid creating a harsh, triangular shape by over-layering the bottom.
Finally, don’t skip the point-cutting and slide-cutting techniques. Using only blunt cuts will give you a very different, much heavier bob. Trust the process for that true glitchy effect.
Why This Cut Works For (Almost) Everyone
The genius of this asymmetrical lob is its adaptability. For fine hair, the texture creates the illusion of thickness. For thick hair, the internal layering removes bulk without losing shape.
The diagonal line is elongating and flattering for most face shapes. It’s a cut that feels fashion-forward but isn’t intimidating. It’s truly one of those 2026 hairstyles that you can wear right now and for years to come.
My Final Pep Talk For You
If you’re feeling nervous, that’s totally normal. Cutting your own hair is a leap of faith. But remember, this trend is all about imperfection and personality. It’s supposed to have a raw, slightly undone edge.
You can do this. Go slow, follow the steps, and embrace any slight “flaws” as part of the glitchy glam aesthetic. The confidence you’ll get from rocking a cut you did yourself is the best accessory.
And there you have it! Your very own guide to the haircut that’s taking over feeds and streets. It’s more than just a style; it’s a mood. It’s that perfect blend of I-woke-up-like-this and I-definitely-know-what-I’m-doing.
Remember, hair grows. Trends come and go. But the feeling of mastering a new skill and refreshing your look on your own terms? That sticks around. I hope you feel empowered to grab those shears and make this look your own.
Save this post to Pinterest to keep this tutorial handy for your next hair refresh! Did you try it? I’d love to hear how it went—drop a comment below and tell me all about your glitchy glam transformation.

