
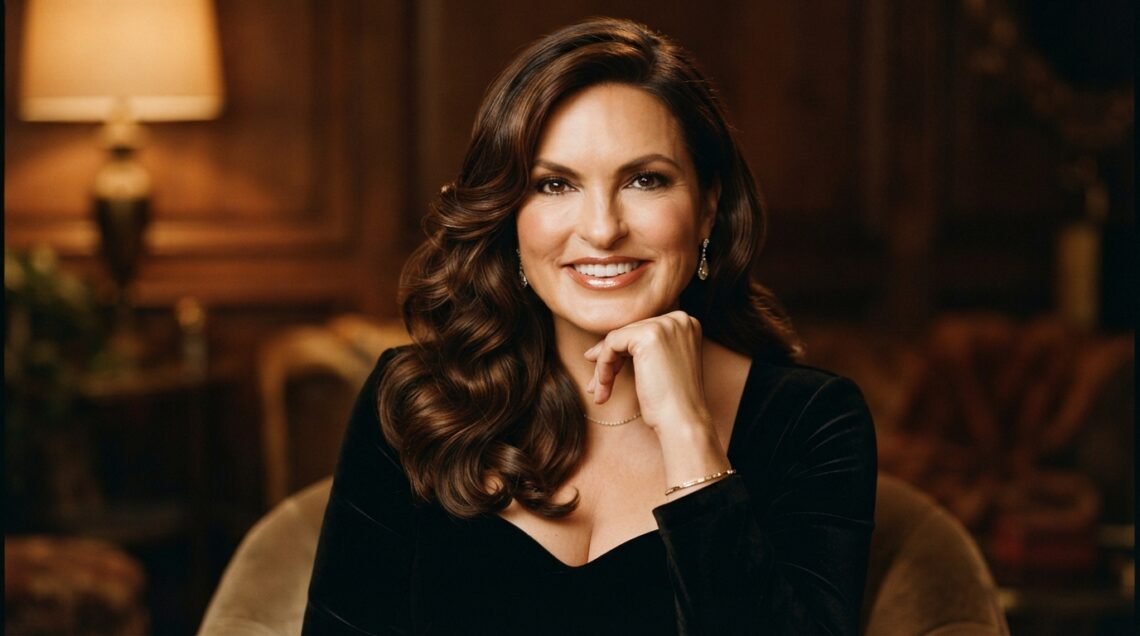
I have been quietly obsessed with Mariska Hargitay’s hair for years. It never looks overstyled. It looks lived in, soft, and full of that old Hollywood bounce we all secretly want. Big volume, loose movement, zero stiffness. That is the whole magic of it.
So I broke it down into a routine you can actually do at home. No fancy salon tools, no three-hour appointment. Just real steps that work on fine hair, thick hair, short hair, and long hair.
This is the look that fits right into 2026 hairstyles, sits next to quiet luxury, and still gives you that bombshell moment. Grab your curling iron and let’s get into it.
What Are Mariska Hargitay Bombshell Waves?
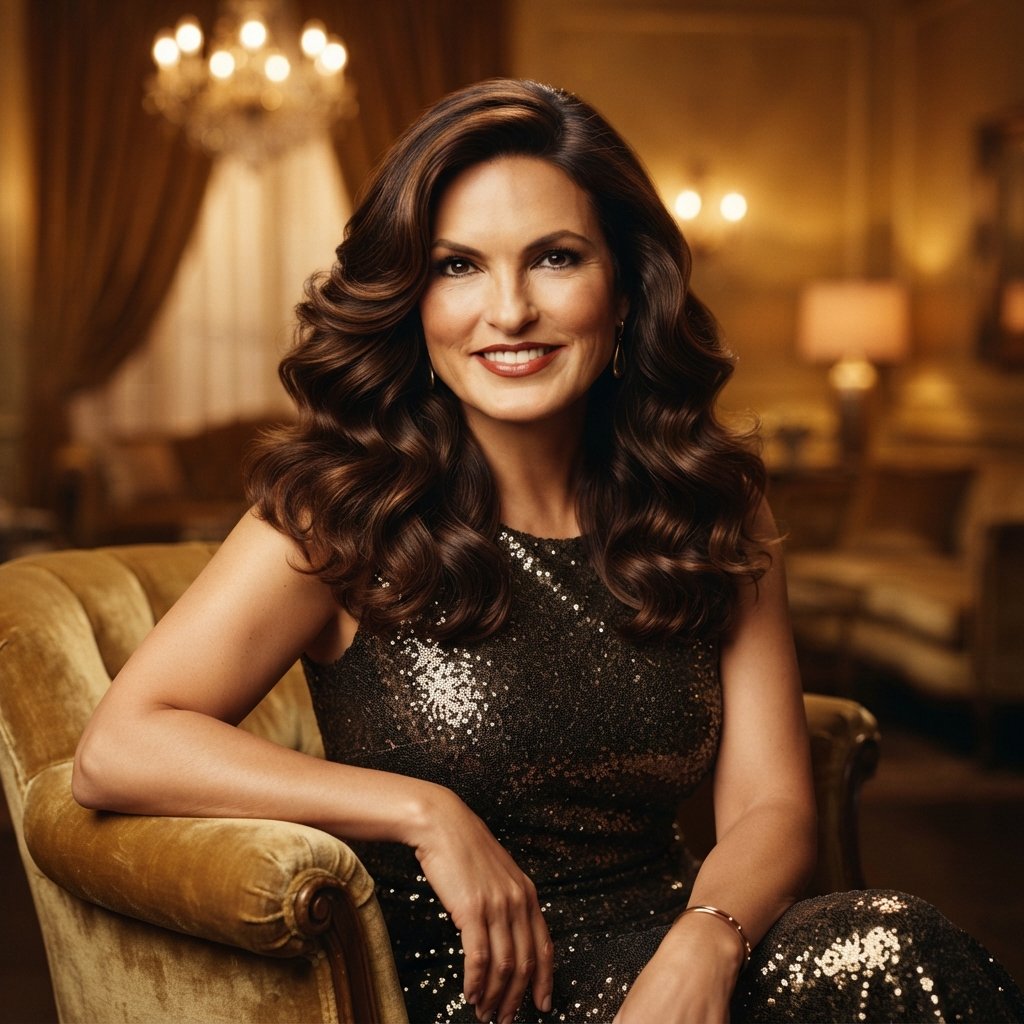
Bombshell waves are big, glossy, brushed-out curls that fall in one soft sweep. Think Marilyn Monroe energy, but modern and a little undone.
The Mariska version is the wearable one. Her waves are never crispy or glued in place. They move when she moves, and that is the whole point.
Three things make this look work:
- Root volume that lifts away from the scalp
- Soft bends instead of tight ringlets
- A side or middle part that frames the face
Once you see those three pieces, the whole style stops feeling intimidating.
Why This Look Is Everywhere in 2026
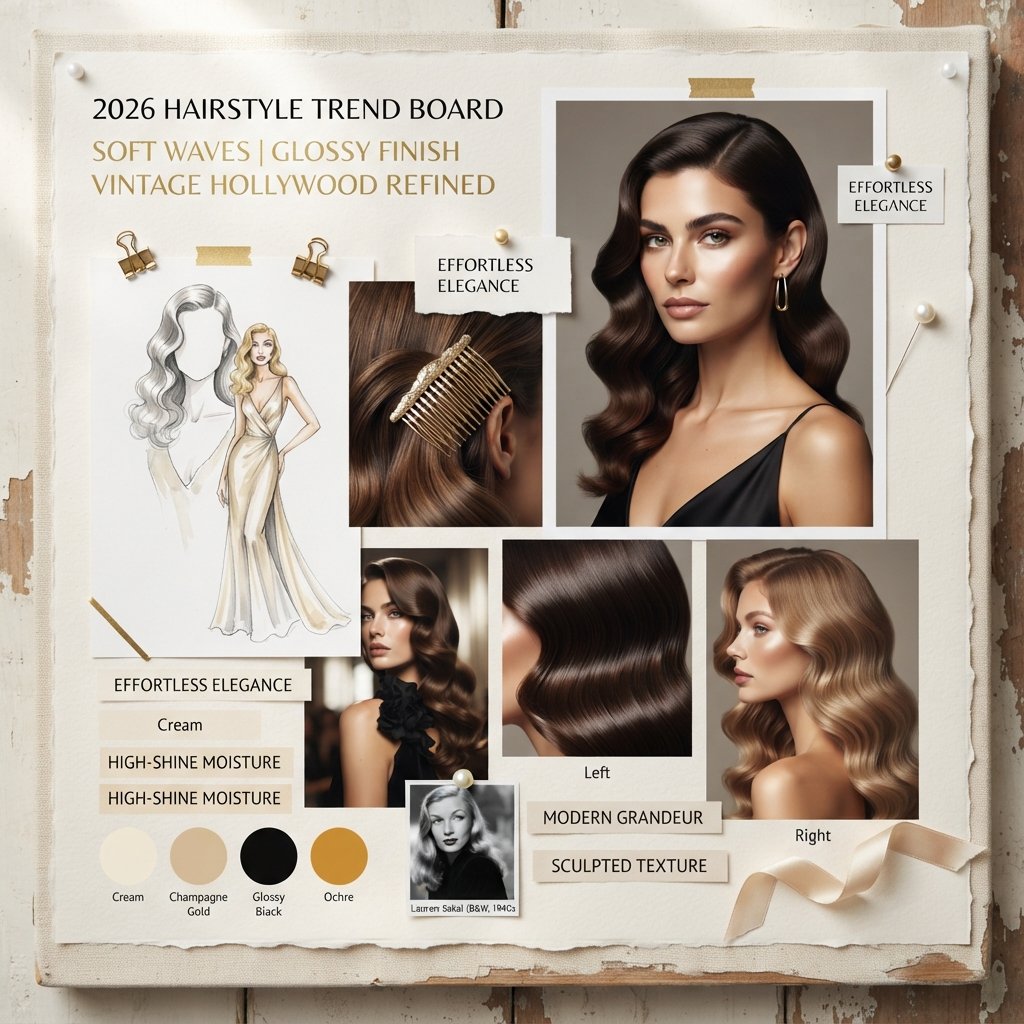
2026 hairstyles are split into two camps. One is sharp and clean, like the quiet luxury bob and the asymmetrical lob. The other is big, romantic, and a little dramatic.
Bombshell waves live in the second camp, but they play nicely with the first. A polished wave is basically old money hair with more movement.
That is why the trend keeps coming back. It photographs beautifully, it flatters almost every face shape, and it reads as effort you actually made.
The Vintage Hollywood Volume Secret
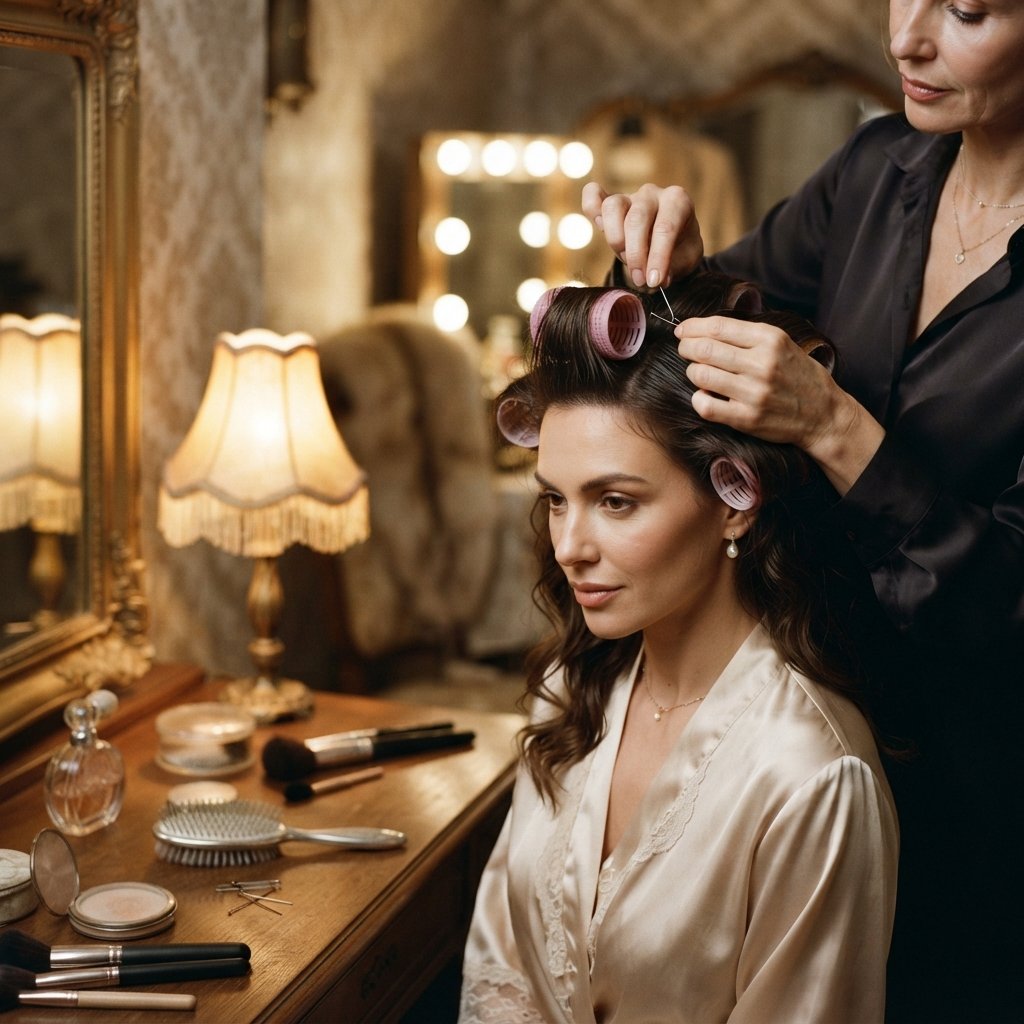
Here is the secret nobody tells you: volume does not come from backcombing. It comes from lifting the roots while the hair is still warm.
Old Hollywood stars set their hair on rollers, let it cool completely, then brushed it out. That cooling step is what locks the lift in place.
So if you only remember one thing from this post, remember this. Warm hair bends. Cool hair holds. Give it ten minutes to cool down and your volume will last all night.
What You Need Before You Start
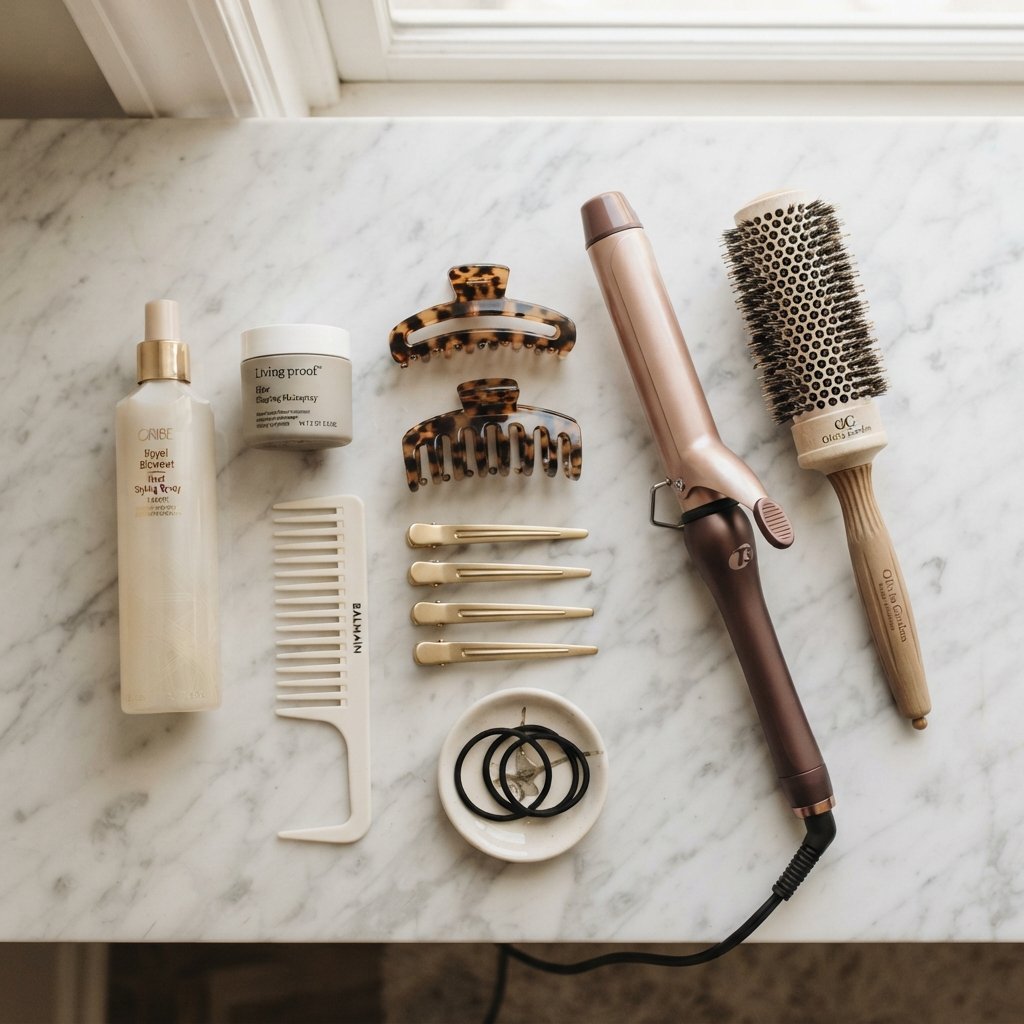
You do not need a drawer full of gadgets. Here is my honest short list.
- 1.25 inch curling iron or a large wand
- Two or three alligator clips
- A wide-tooth comb
- A round brush for the crown
- Heat protectant spray
- Flexible-hold hairspray
- A light oil or shine serum
That is it. If you have a blow dryer with a concentrator nozzle, even better. But a curling iron alone can absolutely get you there.
Step 1: Start With Damp Hair

Waves hold best on hair that has a little texture built in. Freshly washed hair, dried to about eighty percent, is the sweet spot.
If your hair is pin straight and slippery, add a light mousse or a texturizing spray before you dry. It gives the curl something to grab onto.
If your hair is very fine, skip the heavy cream. Fine hair plus rich product equals flat hair by lunch. Keep it light and you will be fine.
Step 2: Build the Root Lift First
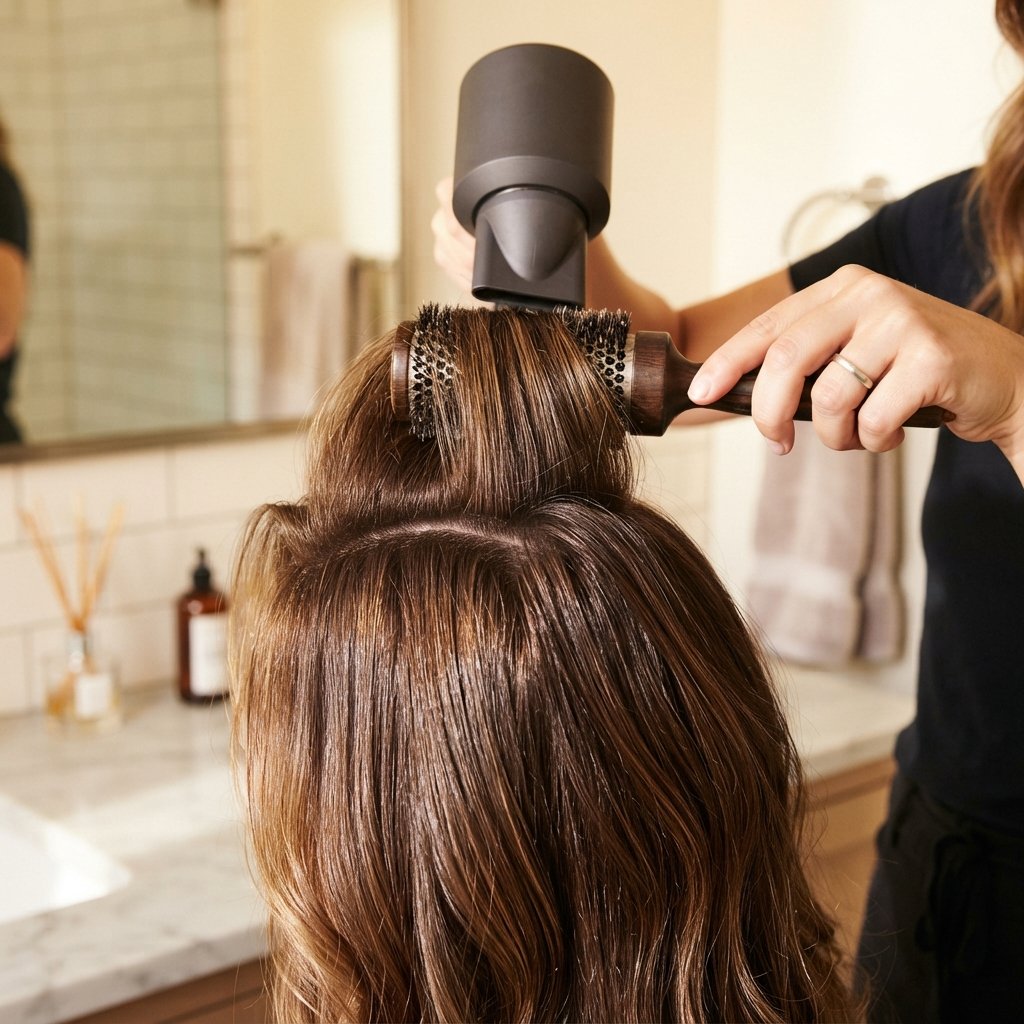
Before any curling, deal with the roots. This is where the vintage Hollywood volume actually lives.
- Section the top of your hair away from the rest.
- Place a round brush right at the root.
- Point the dryer down the hair shaft and pull upward.
- Hold for a few seconds, then let it cool.
Do this along your part and at the crown. You will already see the difference before you curl a single piece.
Step 3: Heat Protectant, Always
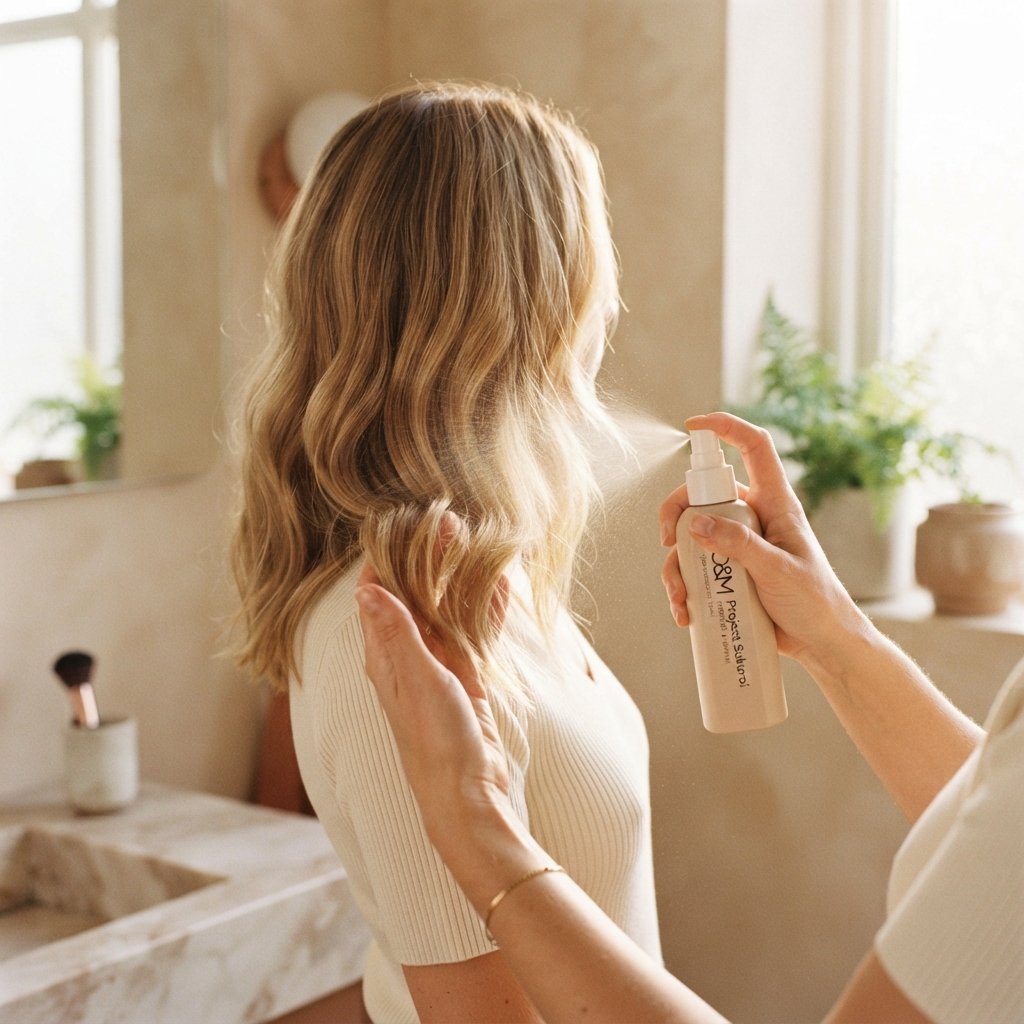
I know it feels like an extra step. Do it anyway. Hot tools on unprotected hair are how split ends and dull color happen.
Spray from mid-length to ends, then give it a second to dry. If you use a cream, warm a tiny drop between your palms first so it spreads evenly.
This one habit keeps your hair looking expensive. Shine is the difference between styled and fried, and it shows up in every photo.
Step 4: Section Your Hair Like a Pro
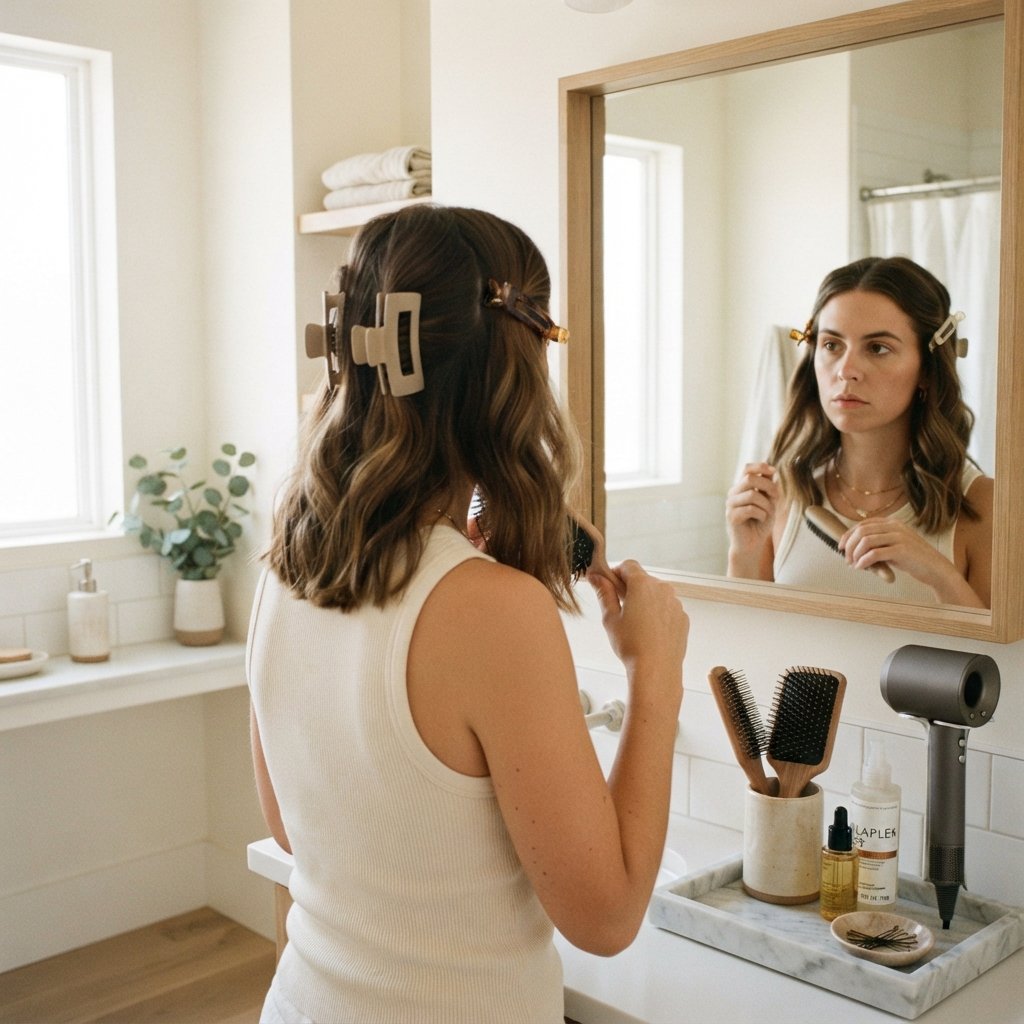
Rushing this step is why waves come out uneven. Work in four sections: two at the back, one on each side.
Clip everything up and let down one piece at a time. Each section should be about one to two inches wide.
Thicker sections mean looser, softer bends. Thinner sections mean tighter curls that brush out into waves. For the Mariska look, go slightly thicker.
Step 5: Wrap Curls Away From Your Face
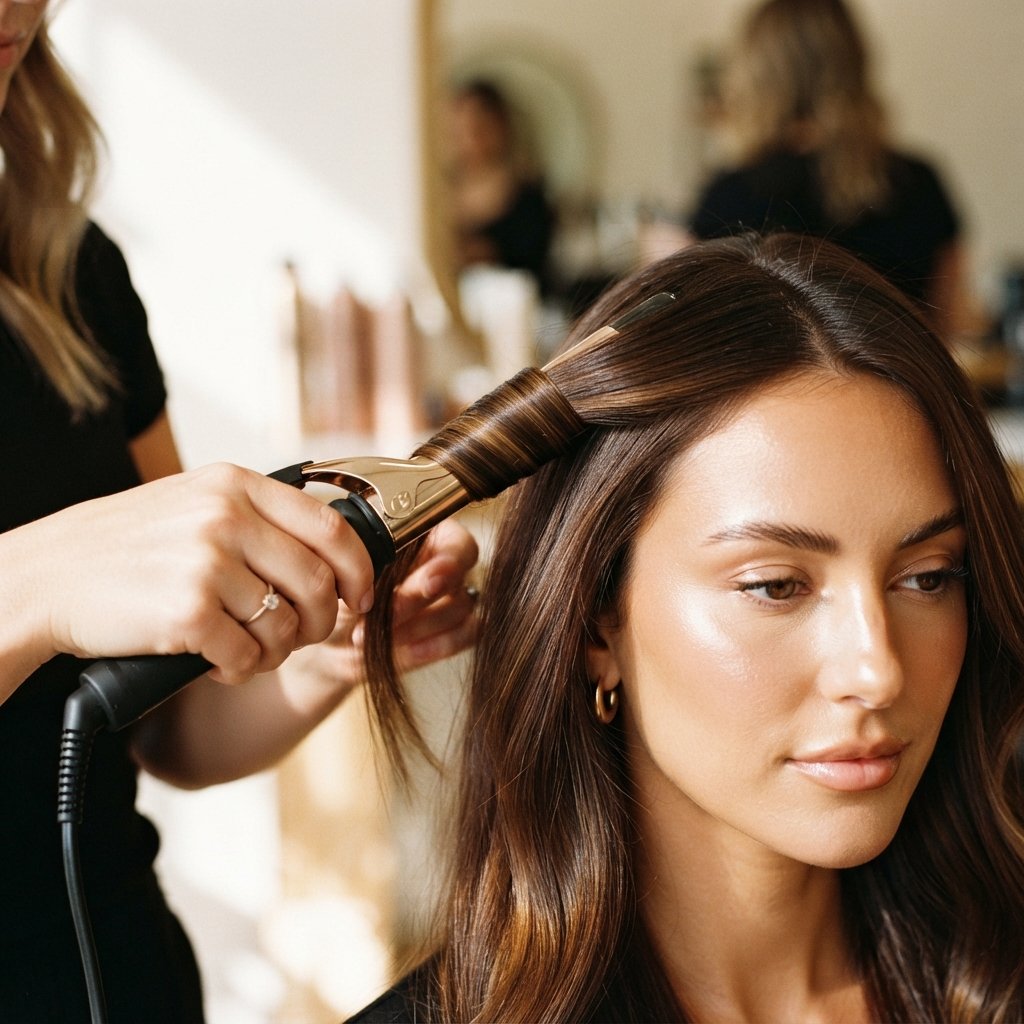
Direction matters more than people realize. Always wrap away from your face on both sides.
That outward direction is what creates the classic bombshell frame. It opens up your face instead of closing it in.
Hold each curl for about eight to ten seconds. Then release and let it fall into your hand, still shaped like a coil, before you drop it.
Step 6: Pin the Curls to Cool
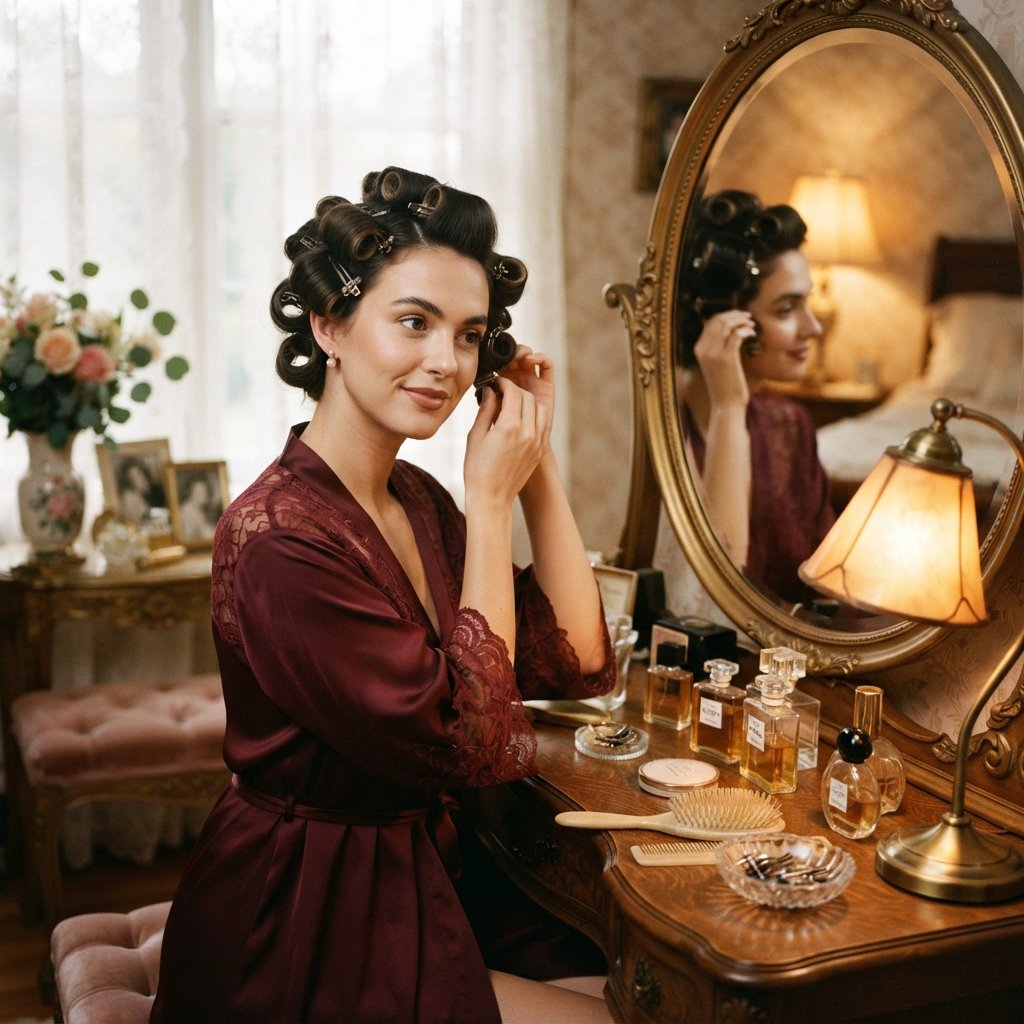
This is the vintage trick that makes the biggest difference. Once a curl is done, coil it up and pin it against your head.
You can pin it flat or roll it toward the scalp for extra bounce. Either way, leave it alone until it is completely cool.
If you are short on time, five minutes works. If you have ten, take them. Cool curls brush out into smooth waves. Warm curls brush out into frizz.
Step 7: Brush It Out Gently
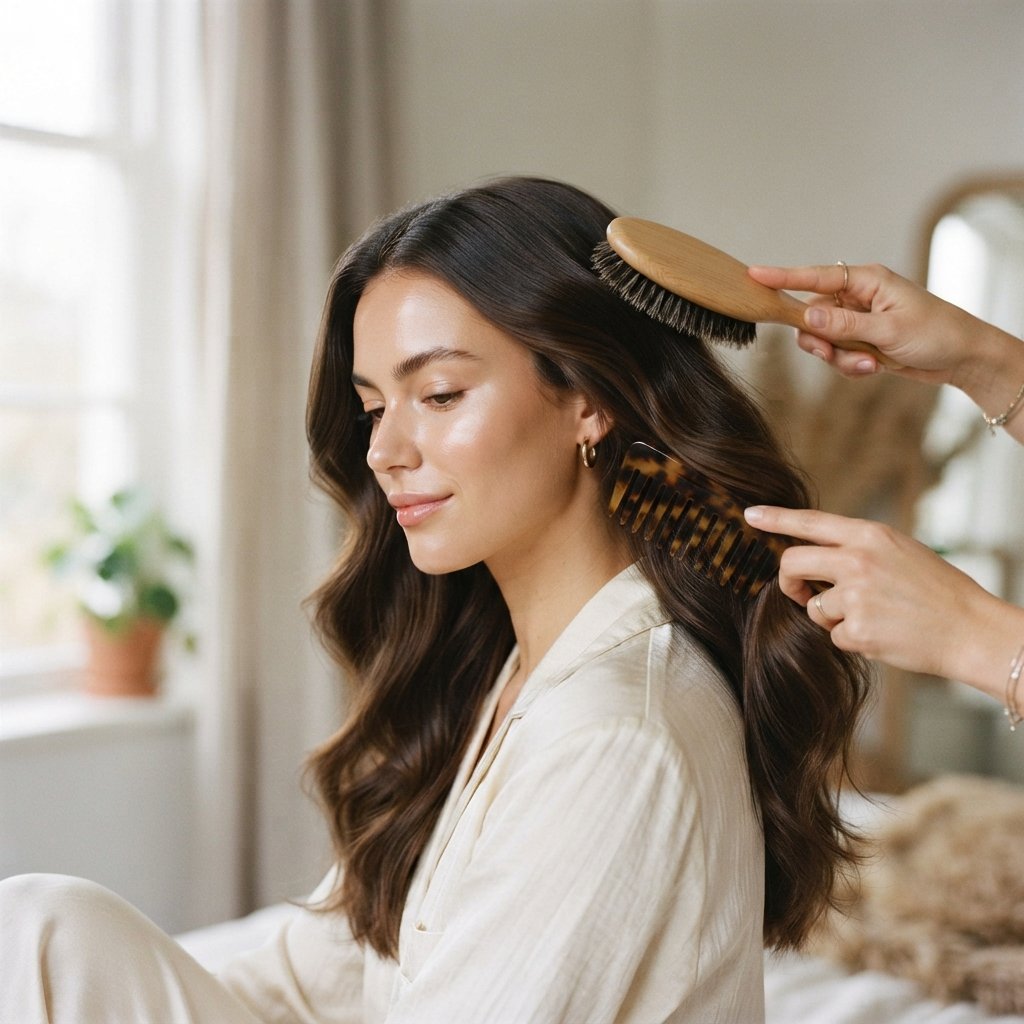
Now the fun part. Take out the pins and let everything fall.
- Start with a wide-tooth comb at the ends.
- Work upward in slow, gentle strokes.
- Switch to a soft brush for the crown only.
- Stop the second it looks smooth.
Over-brushing is the enemy. You want softness and movement, not a helmet. Three or four passes is usually plenty.
Step 8: Shape With Your Hands

Use your fingers more than your brush here. Lift the hair at the crown, then let it fall back into place.
Push one side forward and the other back to set your part. For extra drama, go with a deep side part and tuck the shorter side behind your ear.
This is where you decide the mood. Softer and pushed back reads elegant. Bigger and forward reads full bombshell. Both are gorgeous.
Step 9: Lock It In With Hairspray
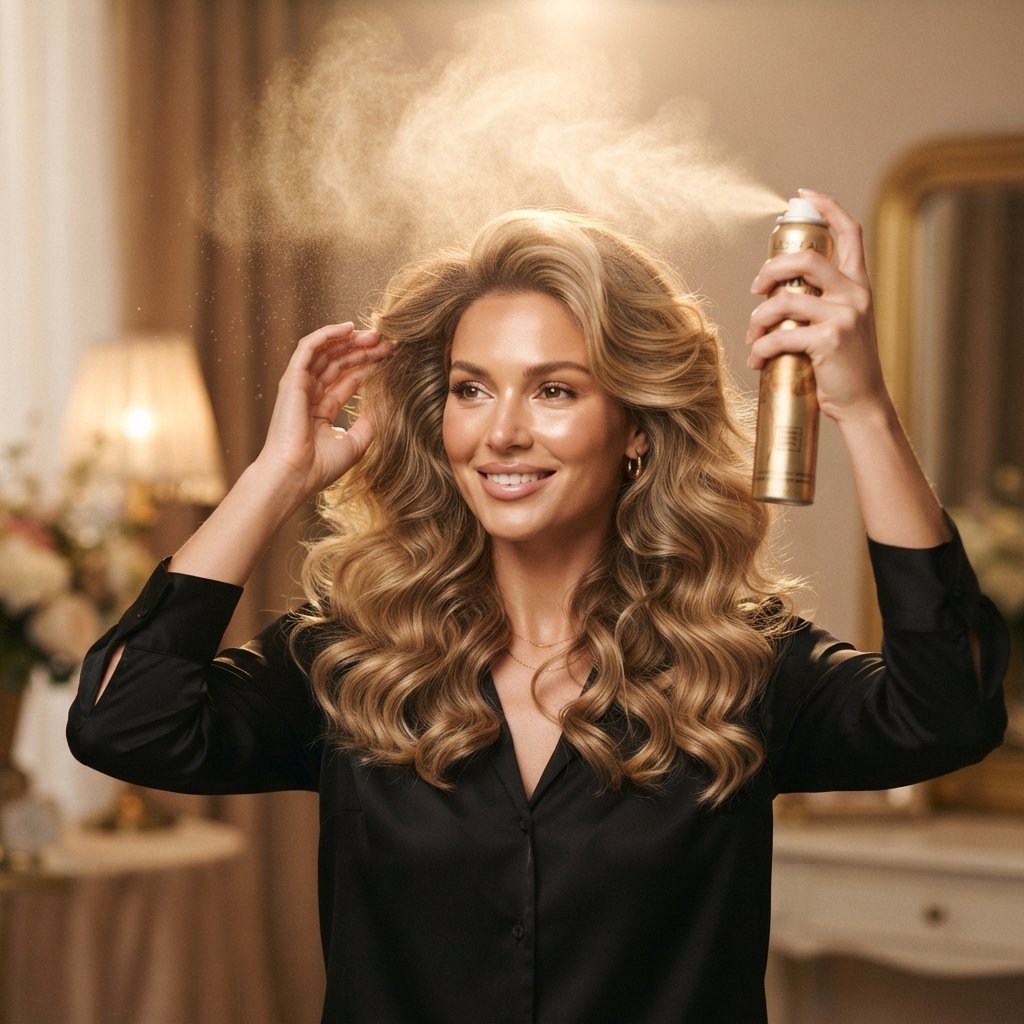
Hold the can about ten inches away and mist lightly. Two thin layers beat one heavy coat every single time.
Focus on the roots and the underneath. That is where the shape actually collapses first.
Then finish with one drop of shine oil on your ends only. Never near the roots. That is the trick that gives you that glossy, expensive finish without weighing anything down.
How to Get Volume Without Backcombing
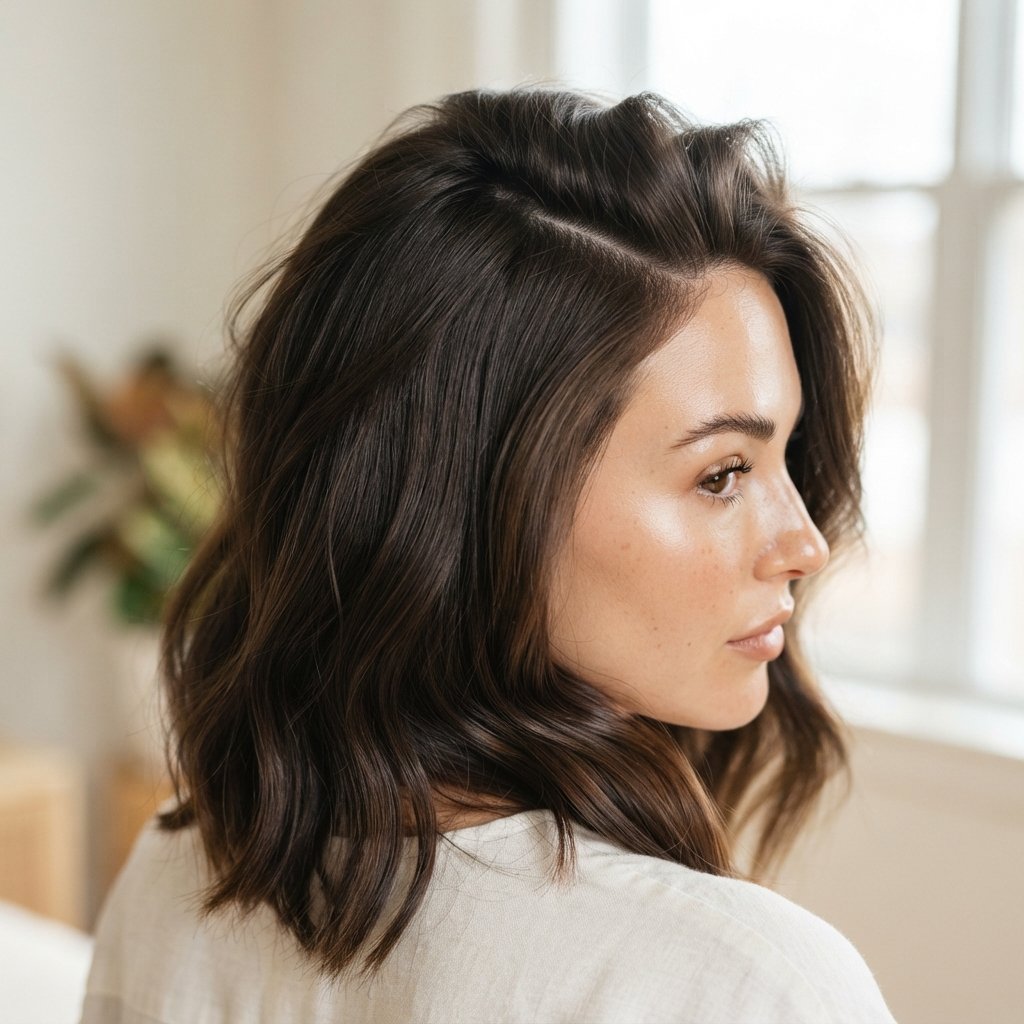
Backcombing works, but it damages hair and it is a pain to brush out. There are gentler ways to get the same lift.
- Use velcro rollers at the crown while you do your makeup
- Flip your head upside down and blast the roots with cool air
- Try clip-in volumizing pieces for special occasions
- Switch your part for the day to lift flat spots
Root lift spray plus a round brush gets you ninety percent of the way there without any teasing at all.
Making It Last All Day
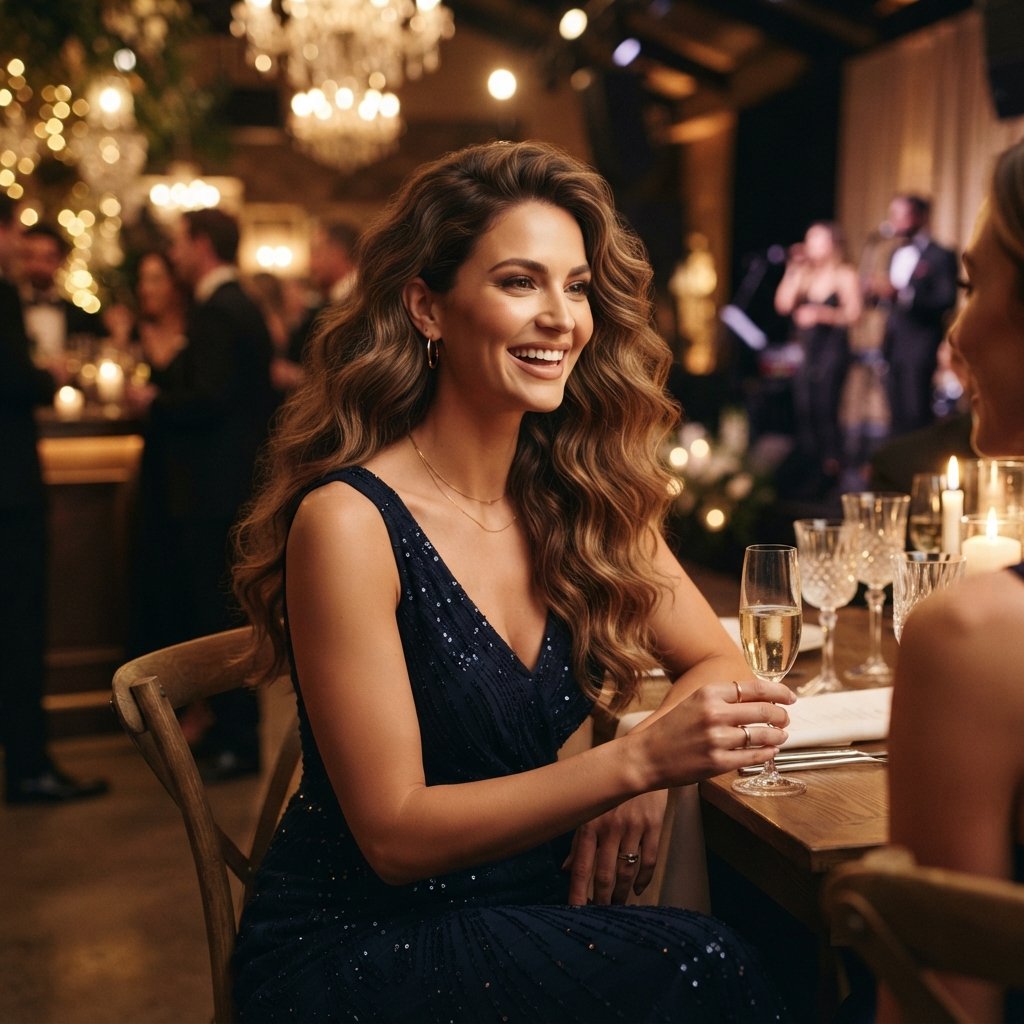
A few small habits keep your waves alive from morning to midnight.
Do not touch your hair. Every time you run your fingers through it, you break the shape. And keep a small can of flexible hairspray in your bag for touch-ups.
If it starts falling flat, flip your head over, spray the roots lightly, and give it a quick blast of cool air. It is like a reset button in ten seconds.
Bombshell Waves vs the Quiet Luxury Bob
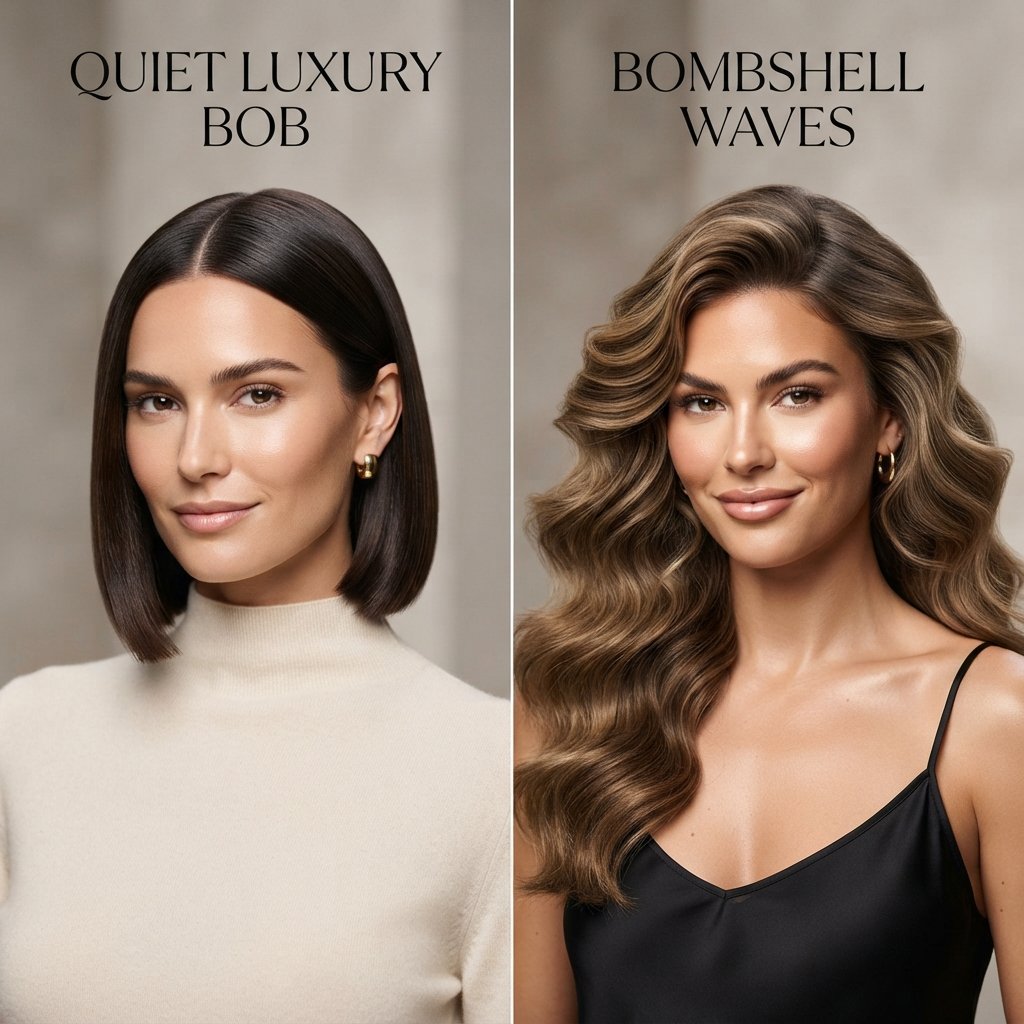
These two looks are cousins. One whispers and one speaks up, and both belong in your rotation.
The quiet luxury bob is sleek, smooth, and controlled. Zero visible effort. Perfect for work and for anyone who likes clean lines.
Bombshell waves are softer and bigger. They add romance and movement, and they soften sharp features beautifully. If you have an asymmetrical lob, wavy styling is the fastest way to make it feel fresh again.
How to Adapt It for Short Hair and an Asymmetrical Lob

Yes, this works on short hair. You just change the tools, not the method.
- Use a one inch iron and smaller sections
- Skip the heavy brushing, use your fingers
- Add volume at the crown instead of length
- Pin the sides back for an instant lift
An asymmetrical lob looks amazing with a soft bend and a deep side part. Short hair holds a wave really well, so your styling actually lasts longer than it does on long hair. Lucky you.
For Anyone Who Loves Romantic Goth Hairstyles
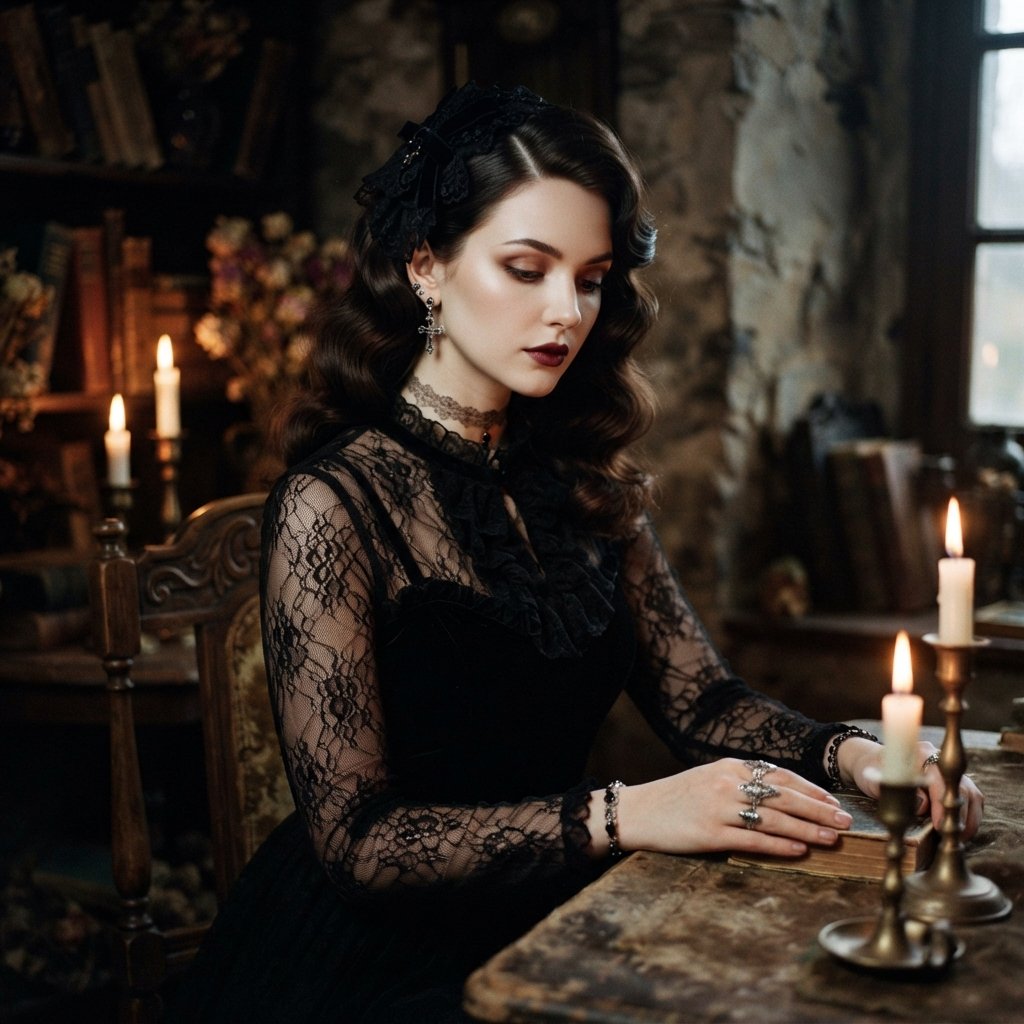
This is my favorite crossover. Romantic goth hairstyles and vintage bombshell waves share the same DNA: softness, drama, and a little mystery.
Keep the technique exactly the same. Then change the finish.
- Use a gloss serum for a wet, inky shine
- Go deeper with your part, almost fully to one side
- Add a velvet ribbon or a small vintage pin
- Keep the texture soft, never stiff
Big soft waves with a dark, glossy finish look genuinely cinematic. It is elegant and slightly haunting in the best way.
Glitchy Glam Hair: The Modern Twist

If you want something less classic, glitchy glam hair is the fun version of this look.
It mixes soft vintage waves with something a little unexpected. Think a metallic clip, a sharp section, or a slightly undone piece left loose on purpose.
Start with your finished bombshell waves, then break the rules a little. Skip the final brush-through. Leave one side less polished than the other.
It reads modern and a bit digital, like the hair version of a filtered photo, and it is a great way to make a classic style feel like 2026.
Hime Cut Lovers, This Works Too
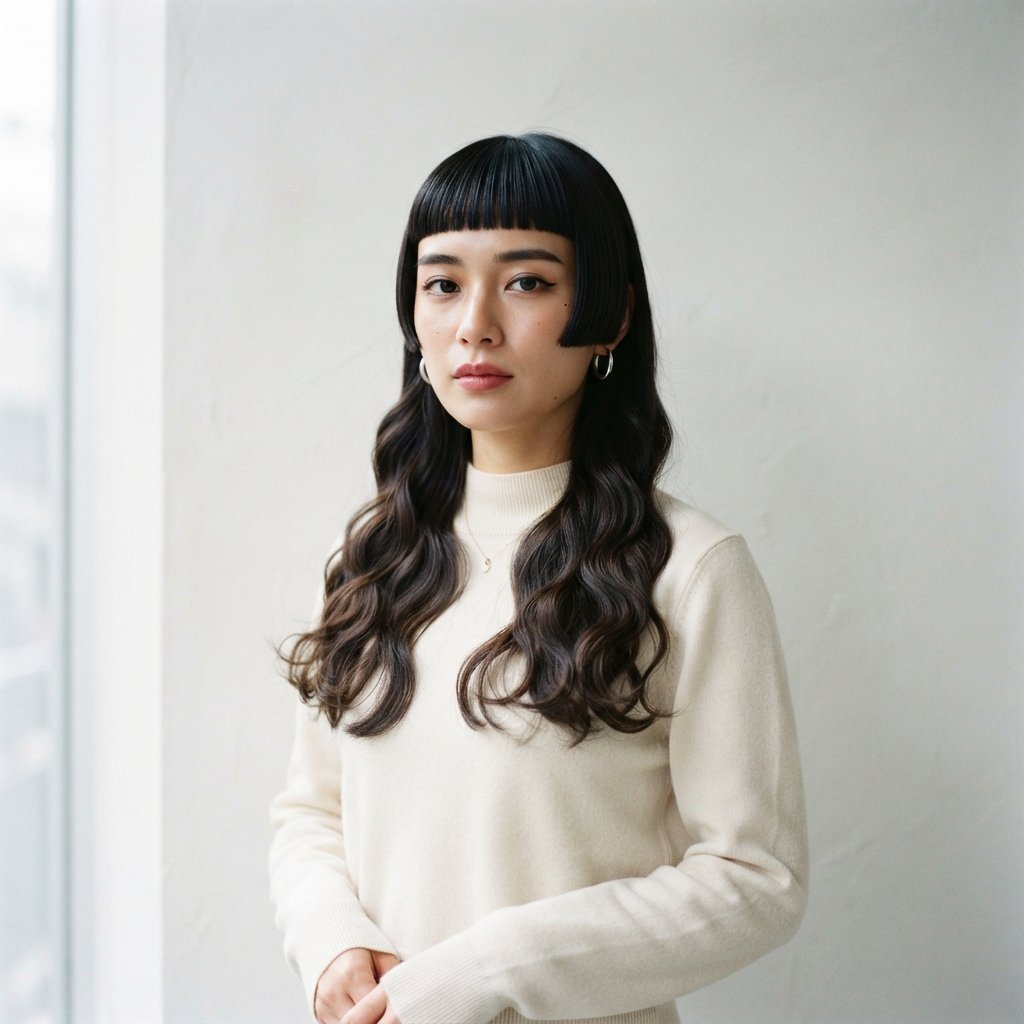
The hime cut is all about structure. Blunt side pieces, long straight back, very intentional.
You can keep the blunt side pieces perfectly straight and add soft bombshell waves to the back section only. The contrast looks incredible.
Just keep the side pieces away from the iron. Smooth them with a little serum and let them stay sharp. The mix of blunt and soft is what makes this combination feel so expensive and unusual.
The Vampire Haircut and This Style
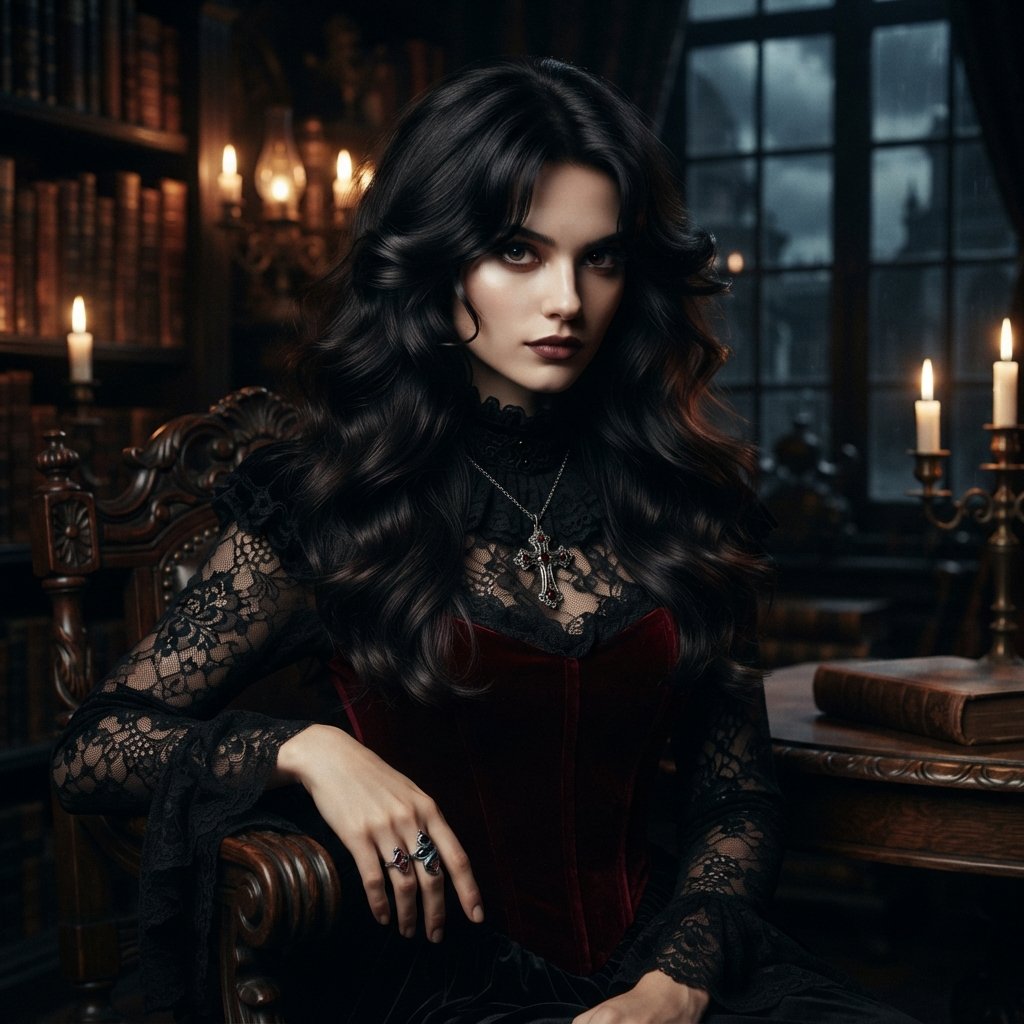
The vampire haircut is dramatic, layered, and a little moody. It loves volume because volume makes the layers come alive.
Wavy styling gives that cut softness and depth. If your layers feel too sharp or too heavy, waves fix it instantly.
Keep the ends pointed and the crown lifted. Add a deep side part and a gloss finish, and you have a look that is elegant, dark, and very hard to ignore.
Old Money Hair Energy, But Make It Big
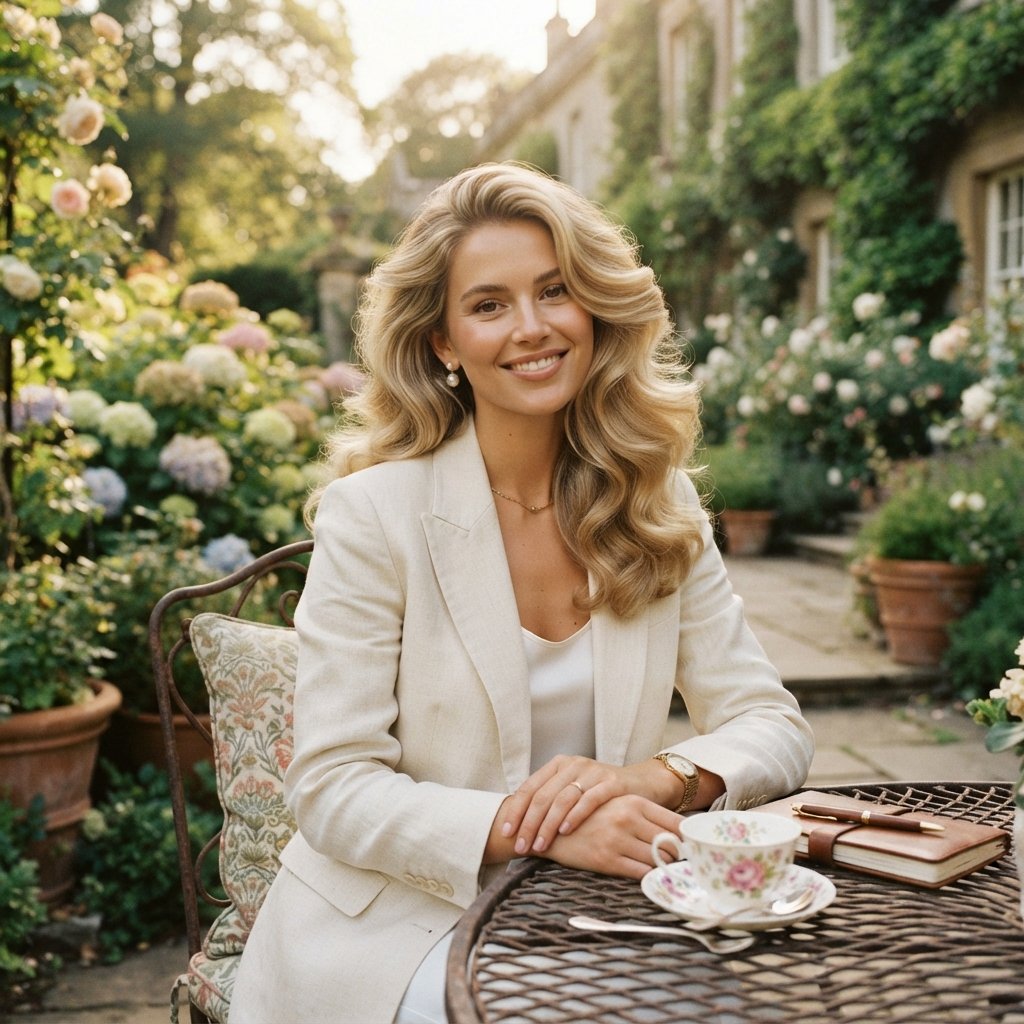
Old money hair is usually smooth, simple, and understated. But you can absolutely do it with volume.
The trick is the finish, not the size. Keep everything sleek at the roots and glossy at the ends, and make sure there are no visible flyaways.
Pair your waves with simple gold jewelry and a clean part. That combination of big hair and quiet styling is the sweet spot. It looks intentional, polished, and quietly expensive.
Mistakes That Kill the Look

I have made every one of these. Learn from my mistakes.
- Brushing warm curls, which creates instant frizz
- Using too much product on fine hair
- Curling every piece in the same direction
- Skipping the cool-down step
- Heavy hairspray at the roots, which flattens them
Fix those five things and your waves will look ten times better immediately. Cooling, direction, and restraint are the whole game.
Products I Actually Keep in My Drawer
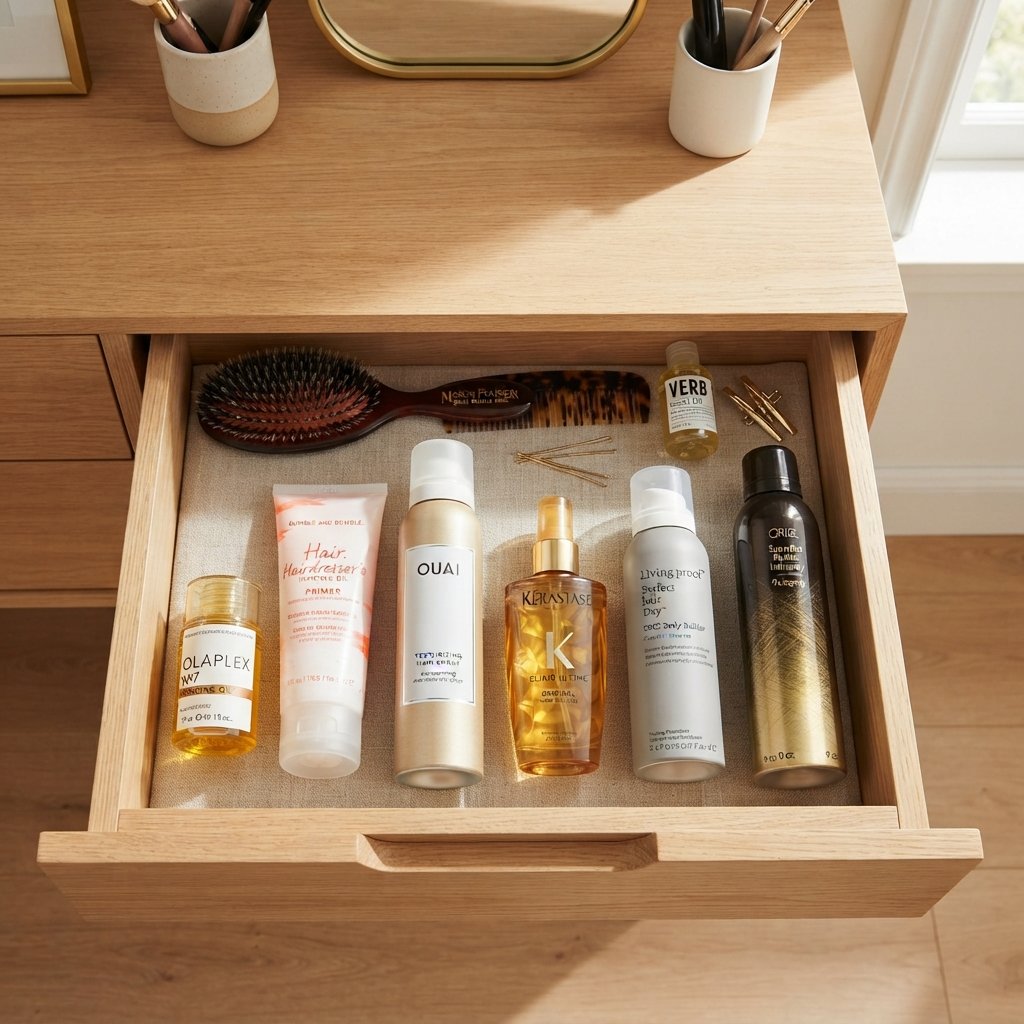
I have tested a lot of products, and these are the categories that genuinely matter.
- A light mousse for fine hair
- A texturizing spray for medium and thick hair
- A heat protectant you actually like the smell of
- A flexible-hold hairspray, not a stiff one
- A shine serum for the ends only
That is a small drawer. You do not need more than this, and honestly, fewer products usually means better hair.
Second-Day Waves Refresh
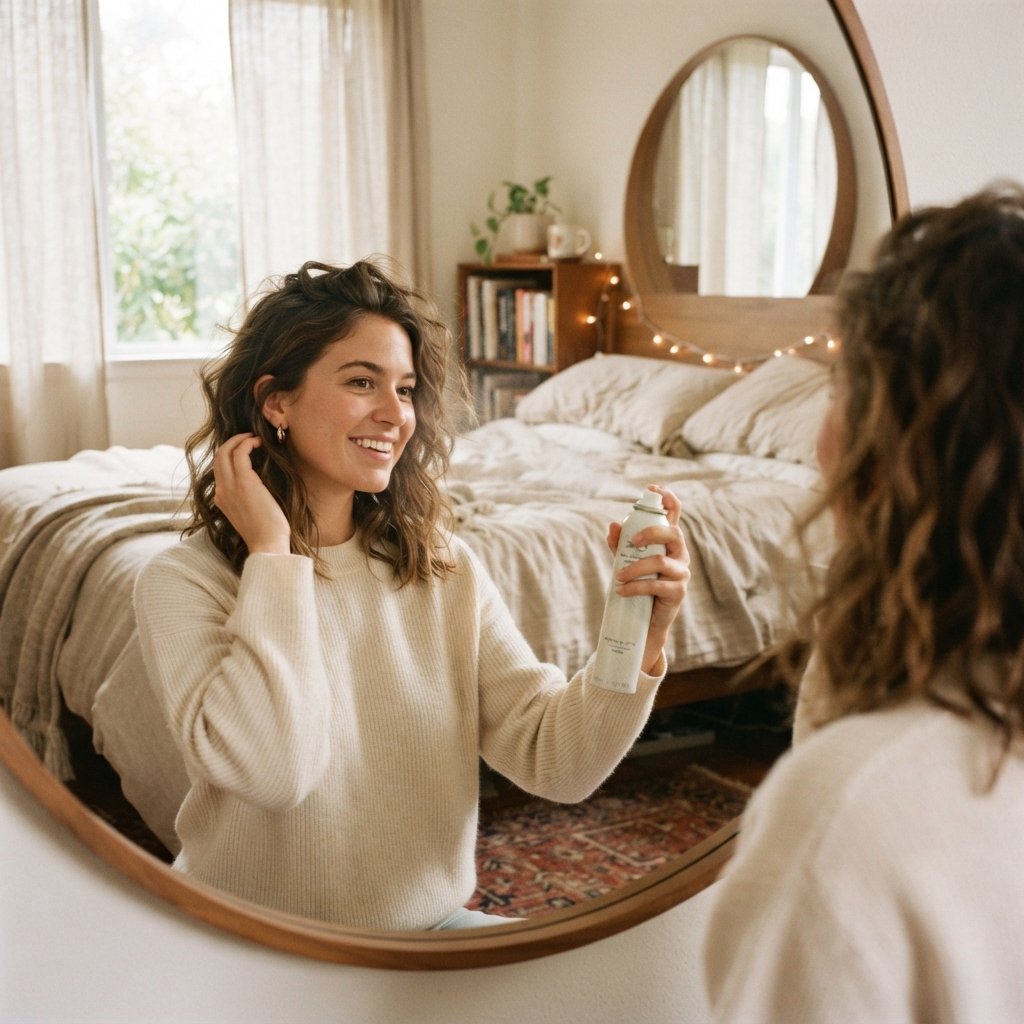
Day two waves are often better than day one. They just need a little help waking up.
- Mist the roots with water or a light spray.
- Flip your head upside down and blast with cool air.
- Wrap two or three front pieces around your iron.
- Finish with a tiny bit of oil on the ends.
Five minutes, and nobody will know it is day two. Second-day hair actually holds a wave better because it has a little natural grit to it.
A Quick Ten Minute Version
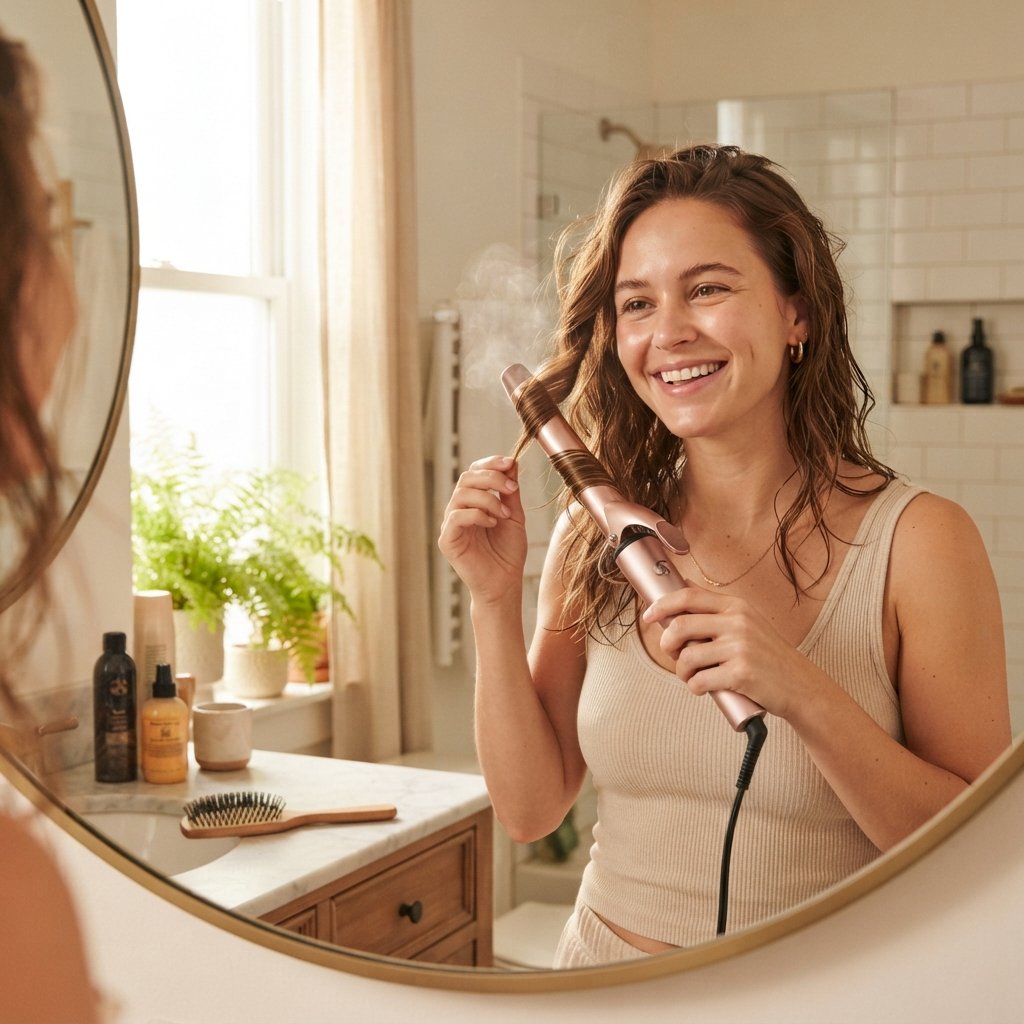
Some mornings you just do not have it in you. This version works anyway.
Lift the roots at the crown with a round brush and dryer. Then curl only four pieces: one on each side of the face and two at the back.
Brush everything together, add a spritz of hairspray, and go. Because the front is styled and the roots have height, it reads like a full blowout even though it took ten minutes.
A Few Last Words Before You Style
This look is not about being perfect. Mariska’s hair works because it looks like real life, not a photo shoot. A little softness is the point.
Start with the root lift and the cool-down step. Those two things do most of the heavy lifting, and everything else just builds on them.
Give yourself a few tries. The first attempt is always the learning round, and by the third you will be styling it in your sleep. You have got this, and it is going to look beautiful.
Save this post to Pinterest so you can find it the next time you are standing in front of the mirror with a curling iron and a plan. And tell me in the comments: are you team big bombshell volume or sleek quiet luxury? I read every single one.

