
Hey friend! So, you’ve seen those gorgeous, intricate laced-up half-up styles all over your feed, right? They look like something out of a fairy tale, but maybe a little… intimidating. I totally get it. I used to think I needed to be a professional hairstylist to even attempt them.
But here’s the secret: they’re way easier than they look. With a few simple tricks, you can master this beautiful, romantic look in no time. It’s perfect for dressing up your everyday vibe or adding a special touch to a big event.
This style is such a gorgeous blend of trends—think a touch of romantic goth elegance meets that timeless, old money hair polish. It works beautifully on long hair, giving you that effortless, “I woke up like this” charm. Let’s break it down into super simple steps you can follow along with.
What You’ll Need to Get Started
Gathering your tools first makes everything smoother. You don’t need anything fancy, just a few basics you probably already own. Having them all in one place before you start is a game-changer.
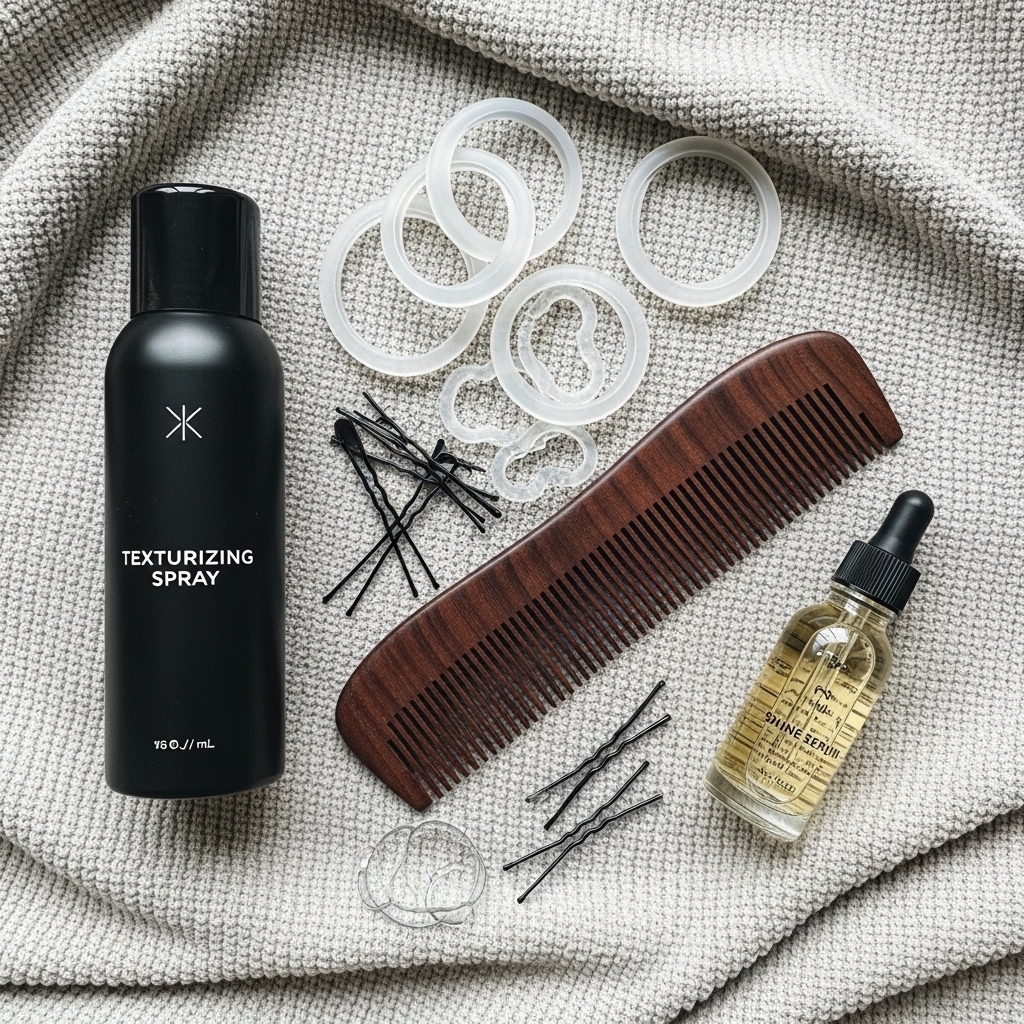
Here’s your quick checklist:
- A fine-tooth comb for clean parts
- Small, clear hair elastics
- Lots of bobby pins (the good-grip kind!)
- A texturizing spray or dry shampoo for grip
- A shine serum or hair oil to tame flyaways
Start With the Perfect Base
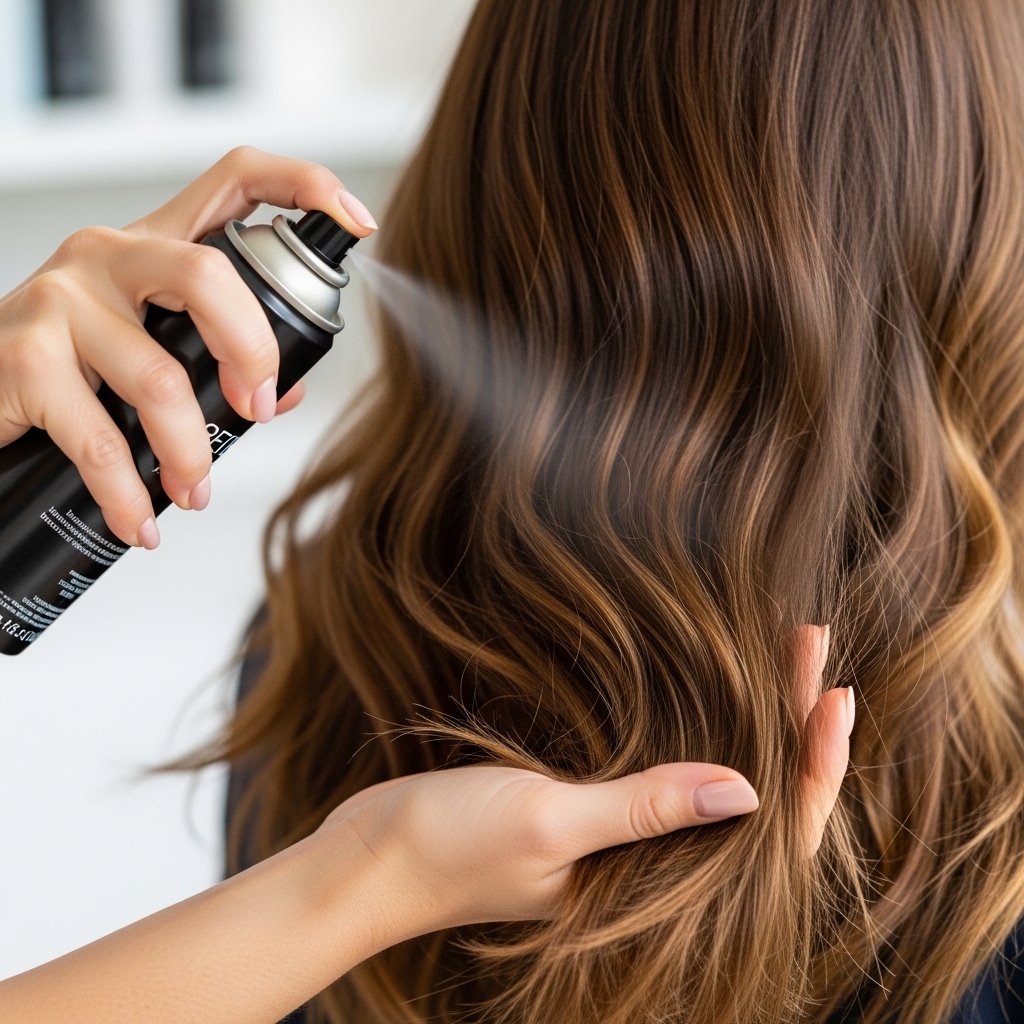
This style holds best on hair that isn’t freshly washed. Day-two or day-three hair has the perfect amount of natural texture and grip. If your hair is super clean and slippery, don’t worry—just give it a quick spritz with a texturizing spray or dry shampoo at the roots.
Work it through your lengths, too. This gives the “laces” something to hold onto and prevents them from sliding out. It also adds that cool, lived-in volume that makes the style feel modern and cool, not stiff or overdone.
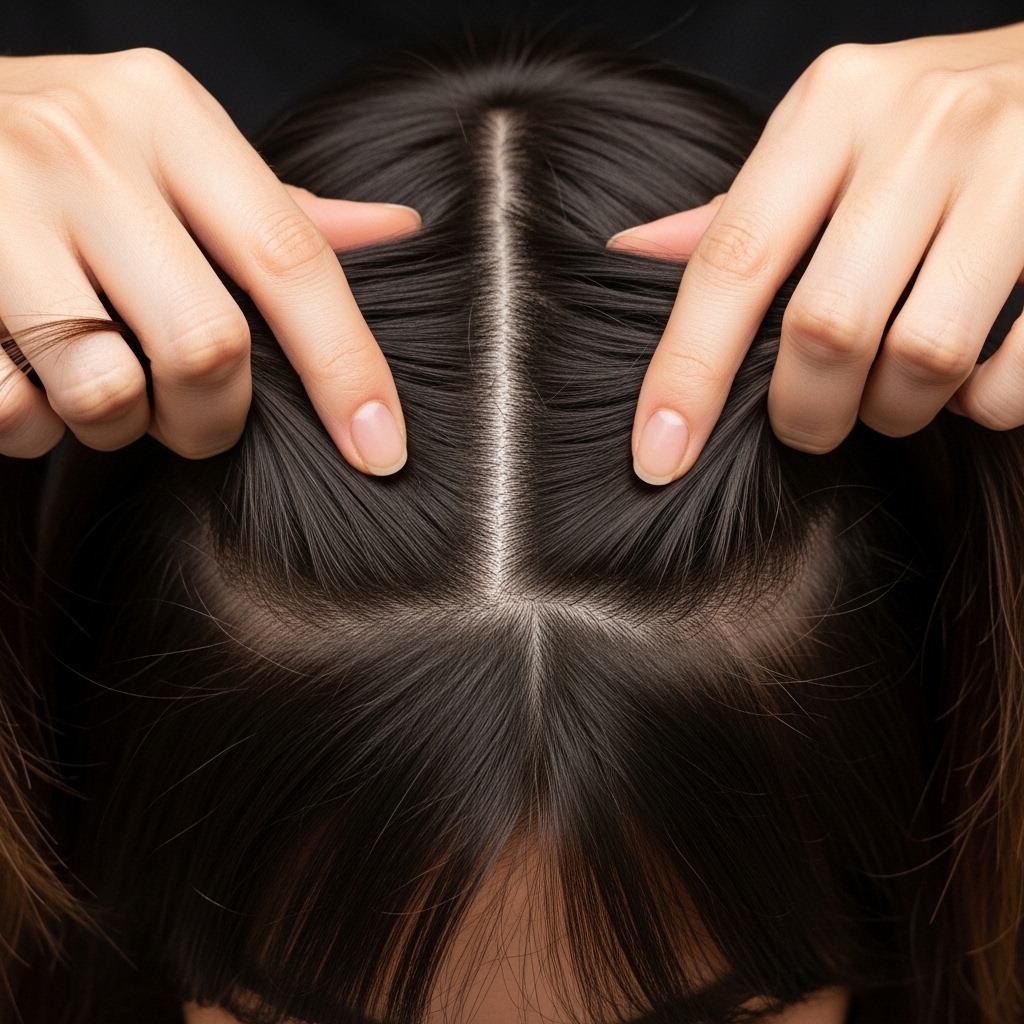
Section Your Hair the Easy Way
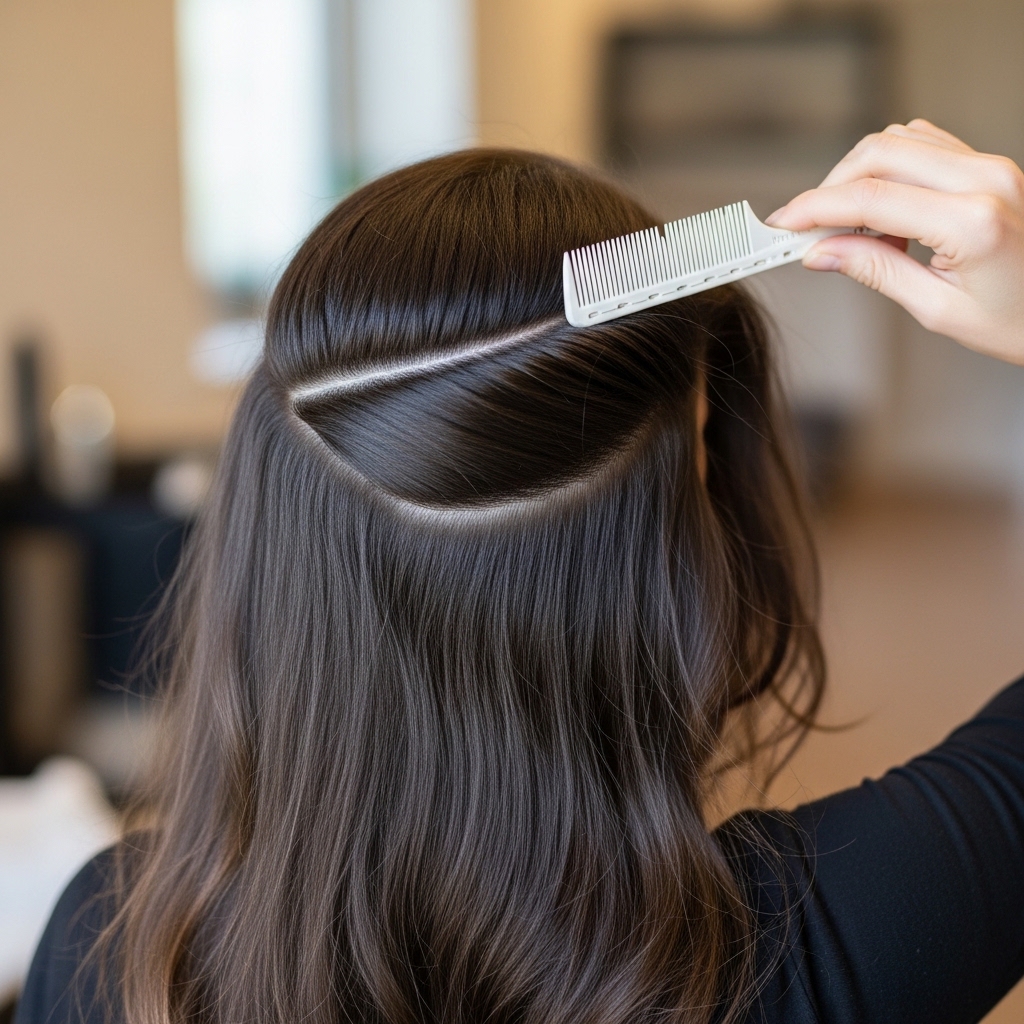
Don’t overcomplicate this part. You’re just creating the “half-up” portion. Use the end of your comb to draw a line from about an inch behind your temple, curving back to the same spot on the other side.
Gently gather the hair from above this line. This is the hair you’ll be working with for the lacing. Secure the rest of your hair loosely with a clip so it’s out of the way. This top section doesn’t need to be super thick—a moderate amount works best for delicate lacing.
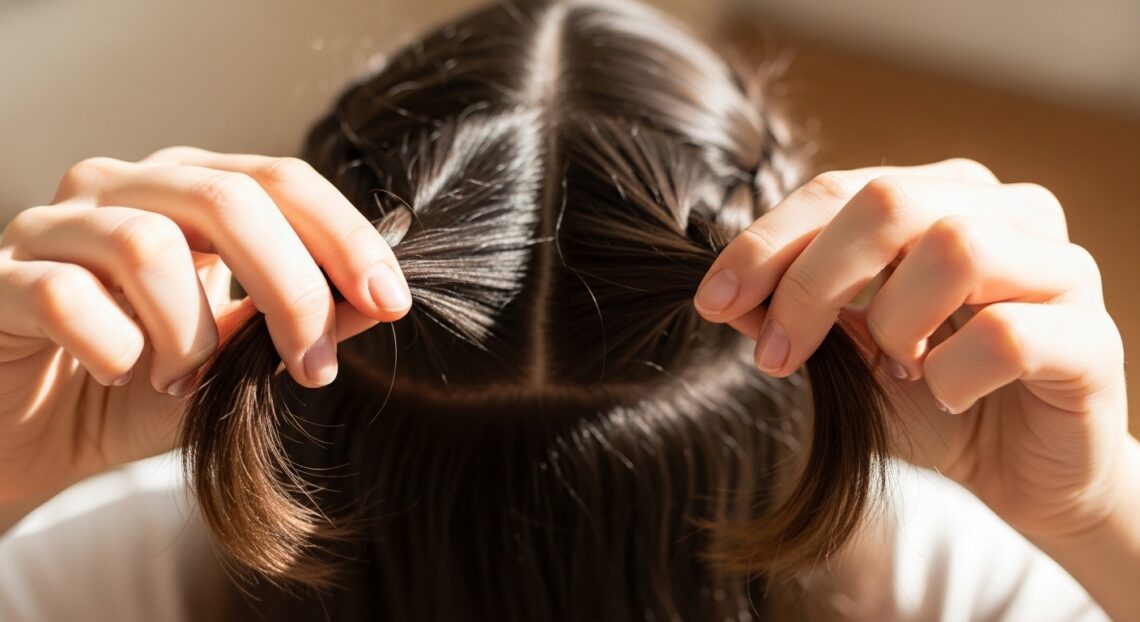
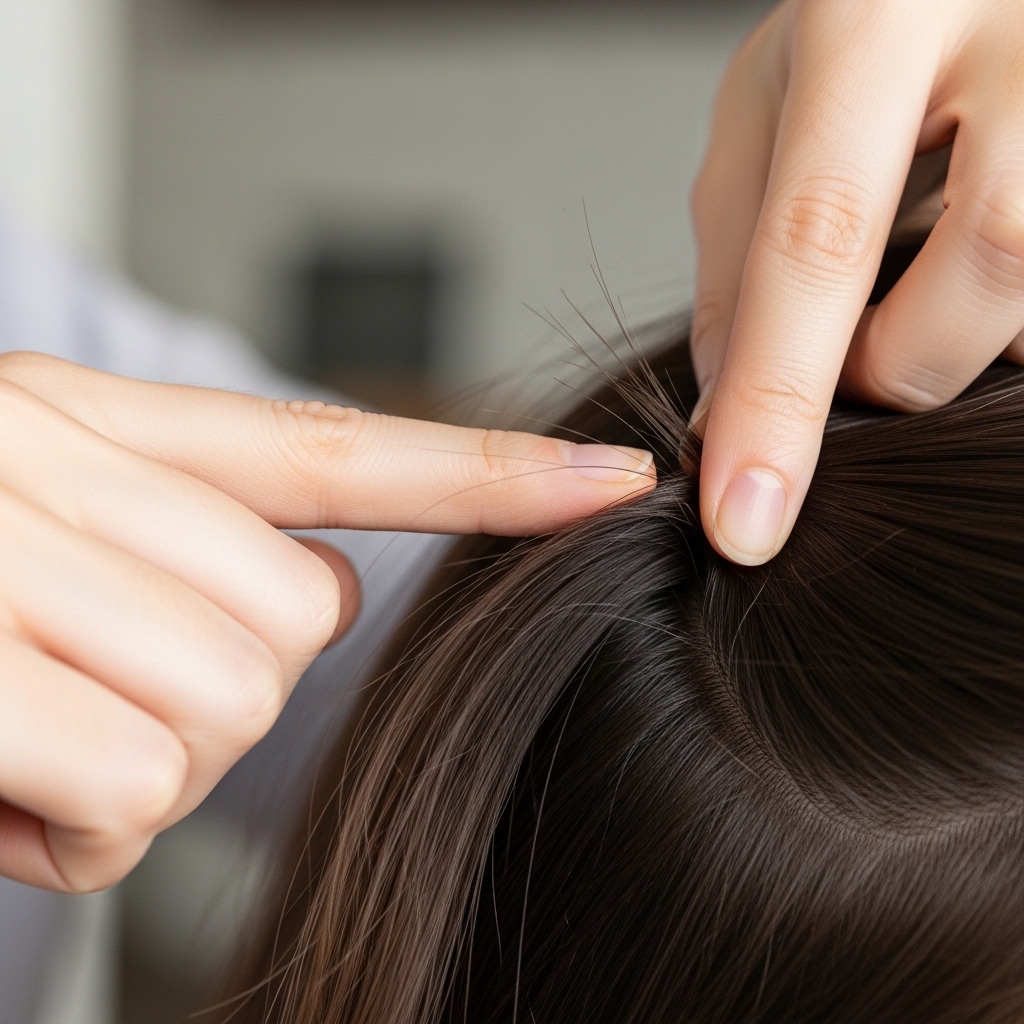
Create Your First Two Strands
Divide your top section into two equal parts, one on the left and one on the right. These are the starting strands for your lace. Think of them like the two front pieces of a ribbon you’re about to tie.
You can make them as thick or thin as you like. For a more subtle look, use smaller strands. For a bolder, more dramatic effect that nods to glitchy glam hair trends, go thicker. Secure the rest of the top hair temporarily so it doesn’t get mixed in.
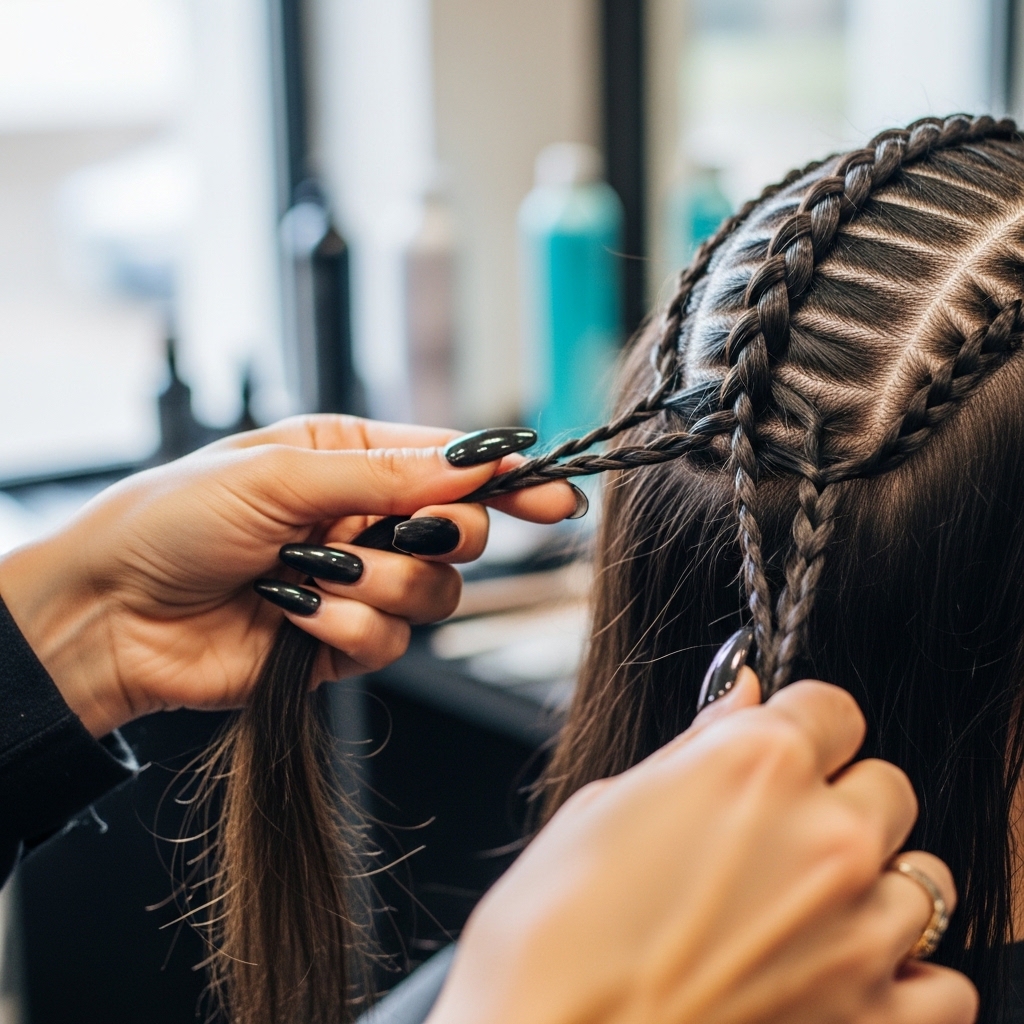
The Simple Lacing Technique

This is the core move, and it’s just like lacing a shoe. Take the right strand and cross it over the left strand. Now, that right strand becomes the new “left” strand in your hands.
That’s one lace! See? Simple. The key is to keep a gentle but firm tension as you go. Don’t pull it super tight, or it will be hard to add more hair. You want it to lie flat against your head but still have a little softness.
How to Add More Hair In
After your first cross, it’s time to add hair. From the loose hair on the right side (near your ear), pick up a small, thin section. Combine it with the strand you’re now holding in your right hand.
This is how the style grows and incorporates more of your hair. The pieces you add don’t need to be big. Small, incremental additions create a prettier, more seamless braided effect. It’s the same technique used in a lot of 2026 hairstyles previews for that elegant, connected look.
Cross and Add on the Other Side
Now, cross the left strand (the one with the new hair added) over the right strand. Just like before, that left strand now becomes the new “right” strand in your hands.
Time to add hair again, but from the opposite side. From the loose hair on your left, pick up another small section and combine it with the strand now in your left hand. You’re building the pattern: cross, add, cross, add.
Keeping Your Tension Even
This is the trick to making it look polished. As you cross and add hair, use your fingers to gently press the “lace” against your scalp. You want it to follow the curve of your head smoothly.
If a section feels too loose, you can gently tighten it by pulling slightly on the two active strands. The goal is an even, beautiful pattern that looks intricate but not strained. This controlled elegance is a hallmark of quiet luxury bob and long hair styles alike.
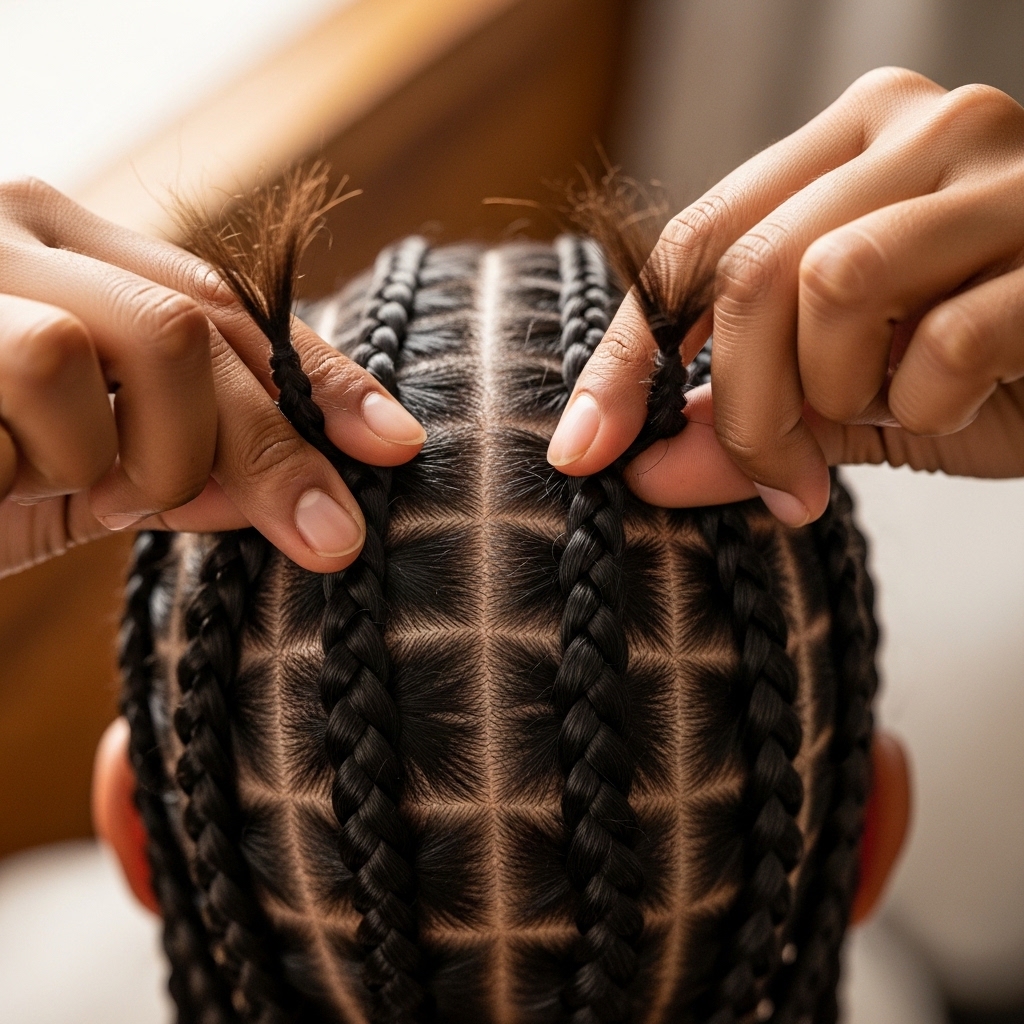
Working Your Way Back
Just keep repeating the sequence. Cross, add hair from the side you crossed toward, then switch. You’ll slowly work your way back toward the center of the back of your head.
As you go, the style will naturally start to look fuller and more detailed. Don’t rush. Enjoy the process! This methodical, hands-on styling feels so satisfying and is a big part of the trend toward mindful beauty routines.
When to Stop Adding Hair
You’ll stop adding new hair when you run out of loose hair from the top section you set aside. Essentially, when you’ve picked up all the hair from around your temples and crown into the laced pattern.
You’ll know you’re there when your two active strands are now made up of all that hair. You might be left with a small section of hair at the very back of your crown that wasn’t part of the lace—that’s perfect and totally normal.
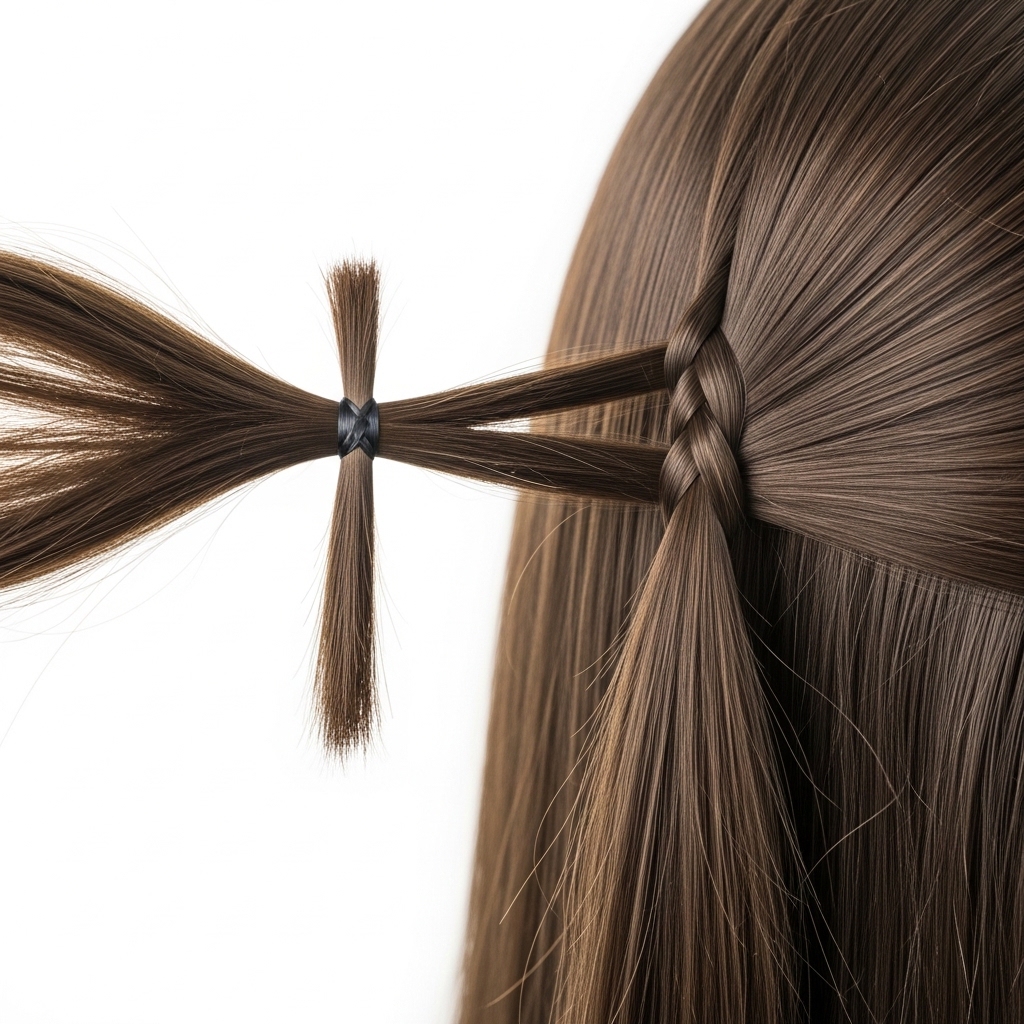
Finishing the Final Lace
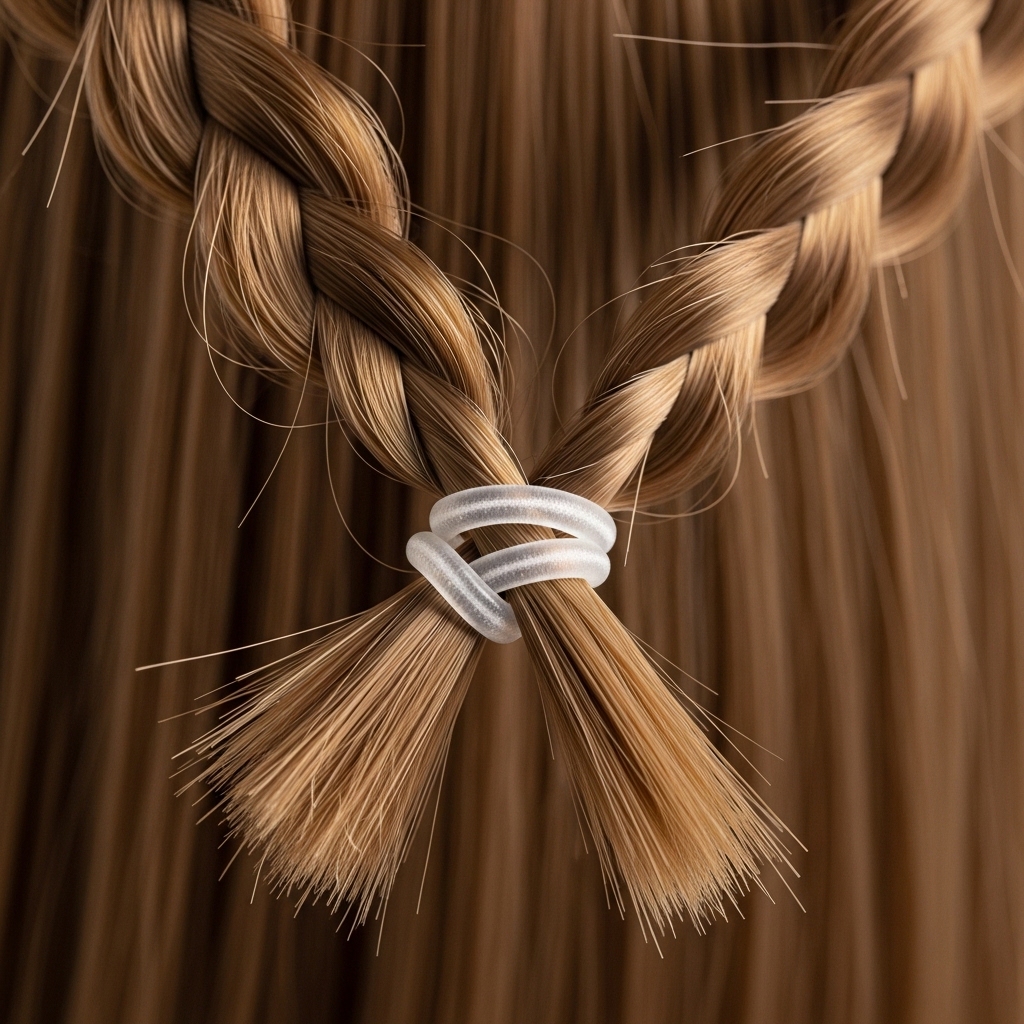
Once you have no more hair to add, make one final cross with your two strands. Then, simply secure them together with a small, clear elastic. Make sure it’s tight enough to hold.
At this point, you have a beautiful laced panel going back to a small, low ponytail or pigtail. Gently tug on the edges of the lace to loosen it slightly for a softer, more voluminous look. This little adjustment makes a huge difference.
Incorporating the Rest of Your Hair
Now, release the bottom section of your hair that you clipped away. You have options here! You can leave the laced section as a standalone accent with your hair down.
Or, for a more defined half-up look, gather the tail end of your lace (the little ponytail) along with some hair from the sides of your down section. Bring it all together at the back of your head or at the nape of your neck.
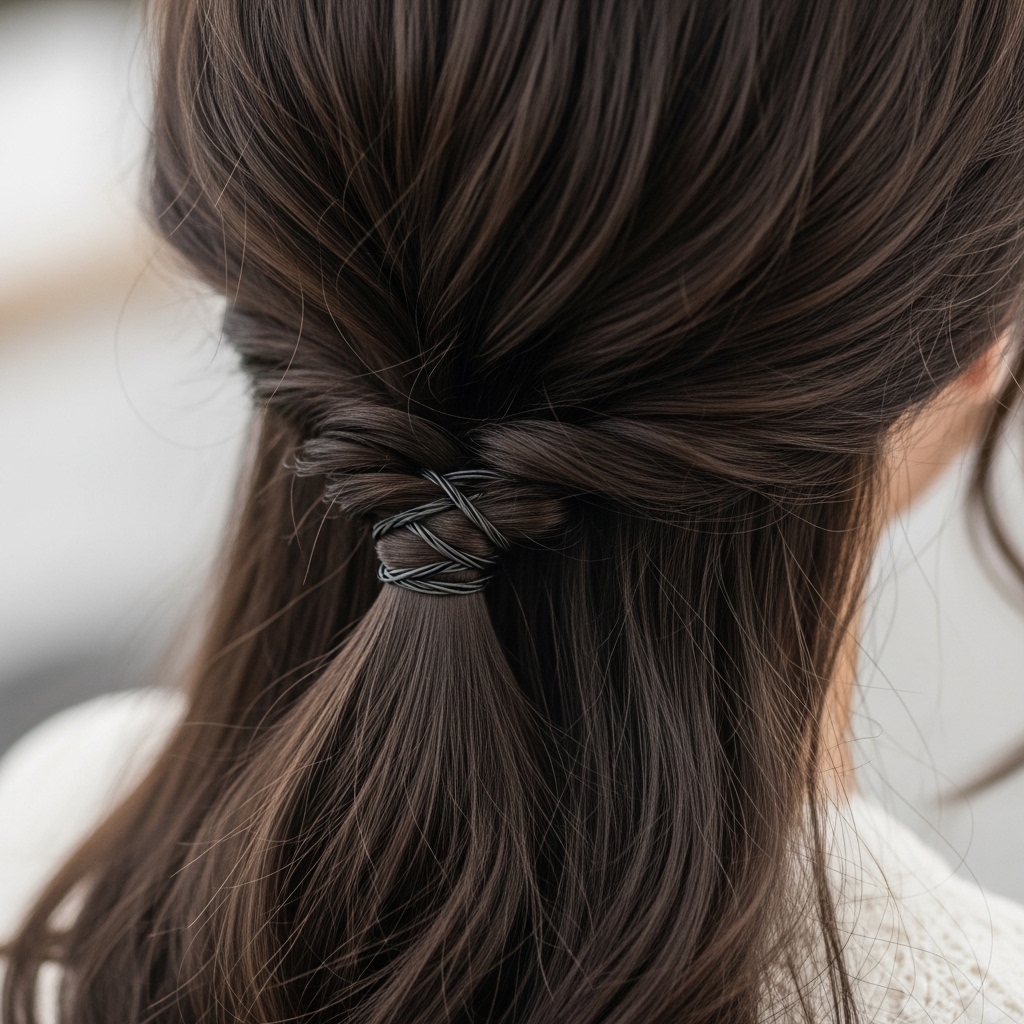
Creating the Final Half-Up Hold
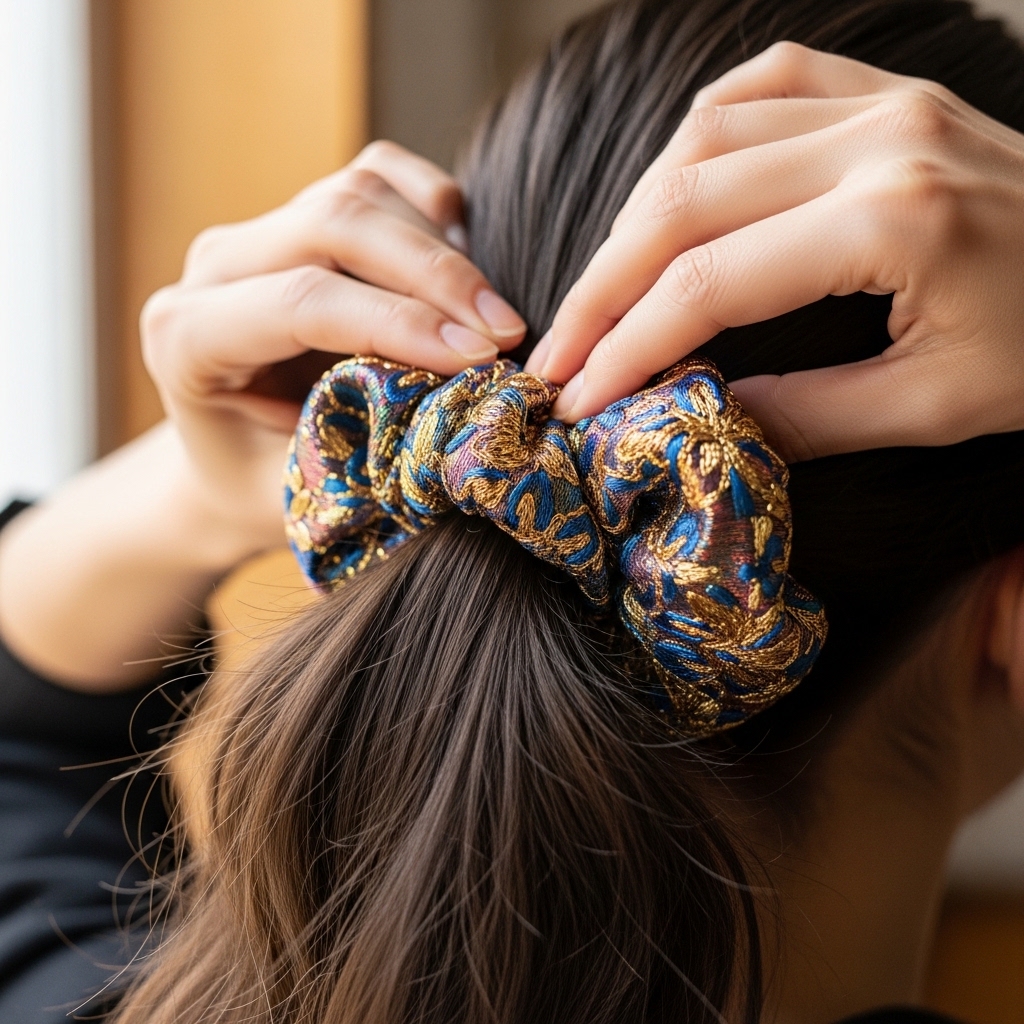
Gather the laced tail and the side sections you’ve chosen. Use a second, nicer hair tie or a scrunchie to secure everything into a half-up ponytail or bun. This anchors the entire style.
Make sure this final hold is secure but comfortable. You can now carefully remove that first clear elastic from the tail of the lace, if you want, since the prettier hair tie is now doing the main job of holding it all together.
Pancaking for Volume
This is the magic step! Gently tug on the outer edges of each “loop” in your laced pattern. Pull them outward horizontally to widen the lace. This is called “pancaking” and it instantly adds volume and makes the design look more intricate.
Be gentle and work your way from the bottom of the lace up to the top. This creates that dreamy, soft, and romantic effect that feels very romantic goth hairstyles adjacent—ethereal and detailed.
Taming Flyaways for a Polished Look
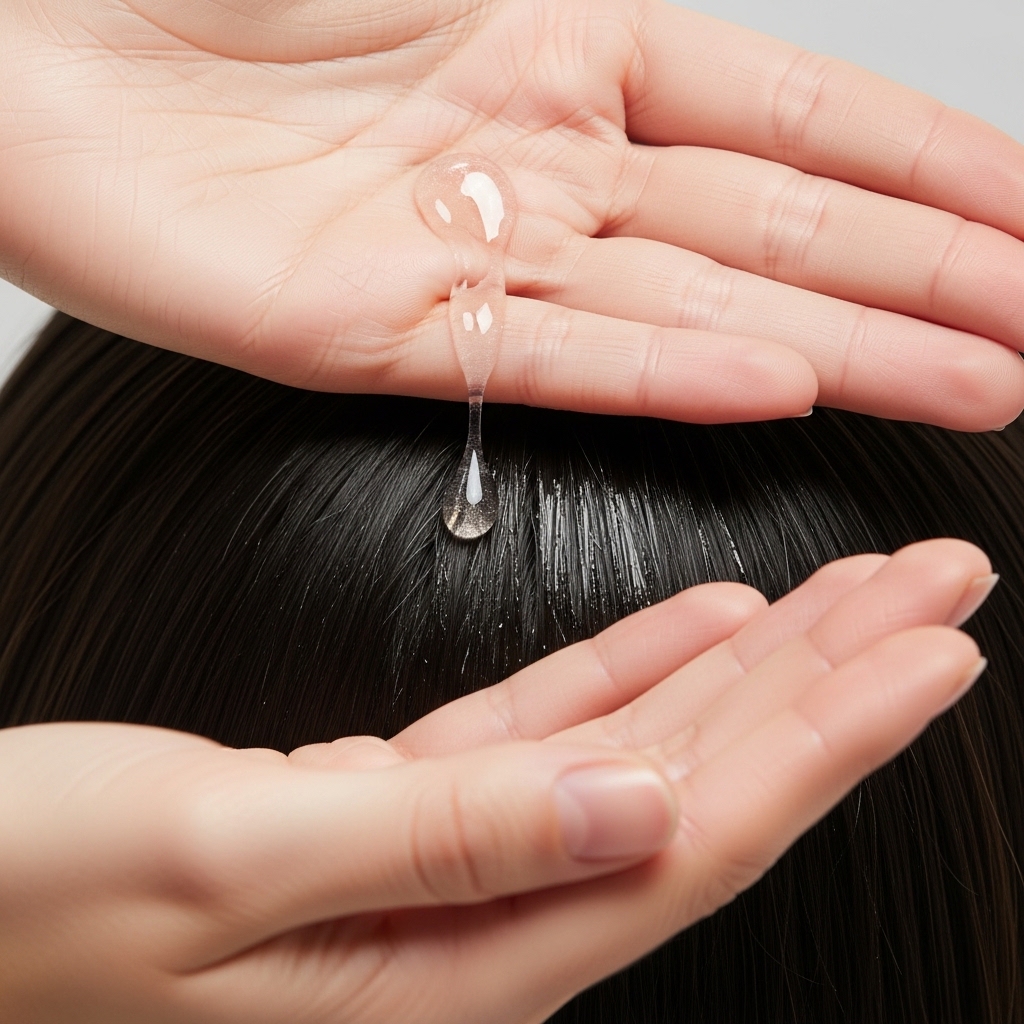
Even the best styles can get a little frizzy. For a super polished finish, put a tiny drop of shine serum or hair oil on your palms, rub them together, and then lightly glide your hands over the surface of your style.
Focus on the crown and the laced section. This presses down any baby hairs and flyaways and gives your hair a gorgeous, healthy glow. It’s that final touch that screams old money hair—perfectly done but seemingly effortless.
Styling the Down Portion
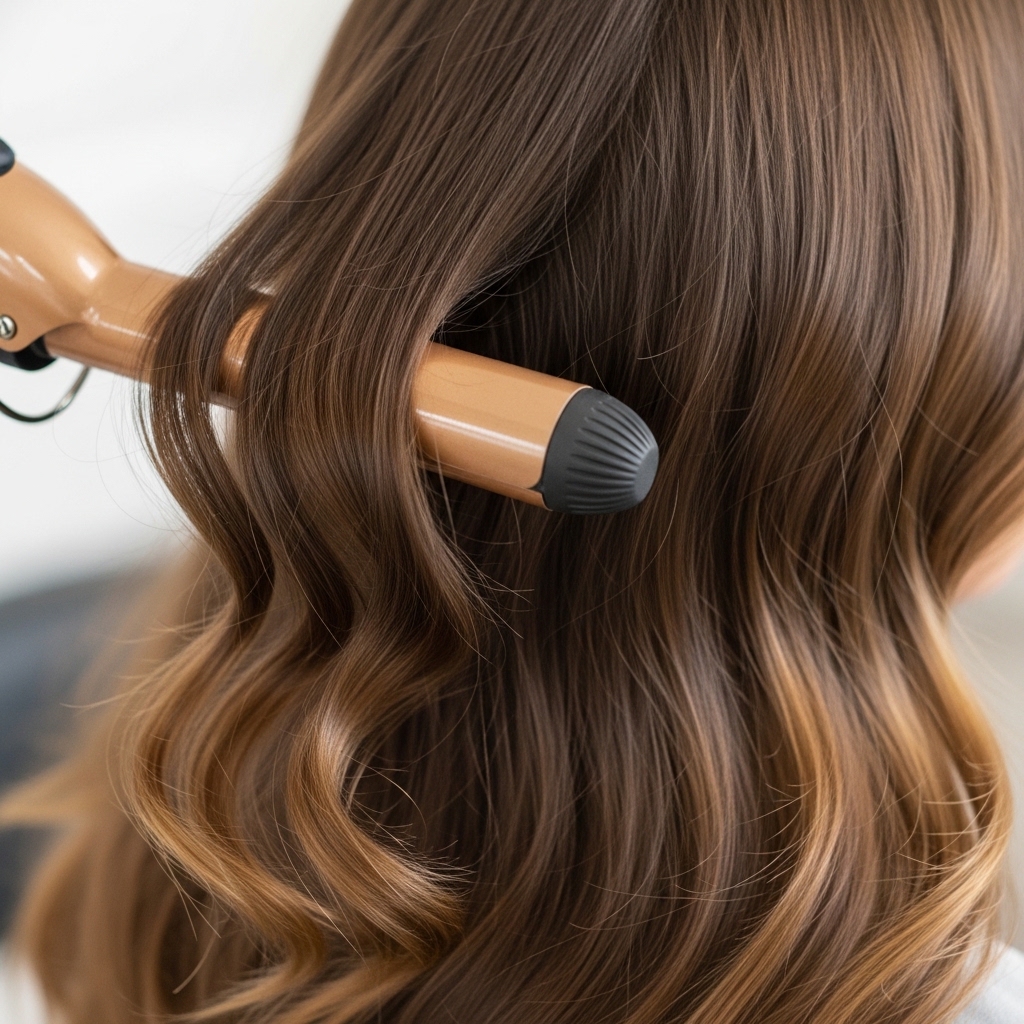
Don’t forget about the hair you’re leaving down! The laced top looks stunning with soft, loose waves. Use a curling wand or flat iron to create a few easy waves in the bottom section.
Alternatively, for a straighter, sleeker look that complements an asymmetrical lob vibe, run a flat iron through it. The contrast of the textured lace with smooth hair is incredibly chic and modern.
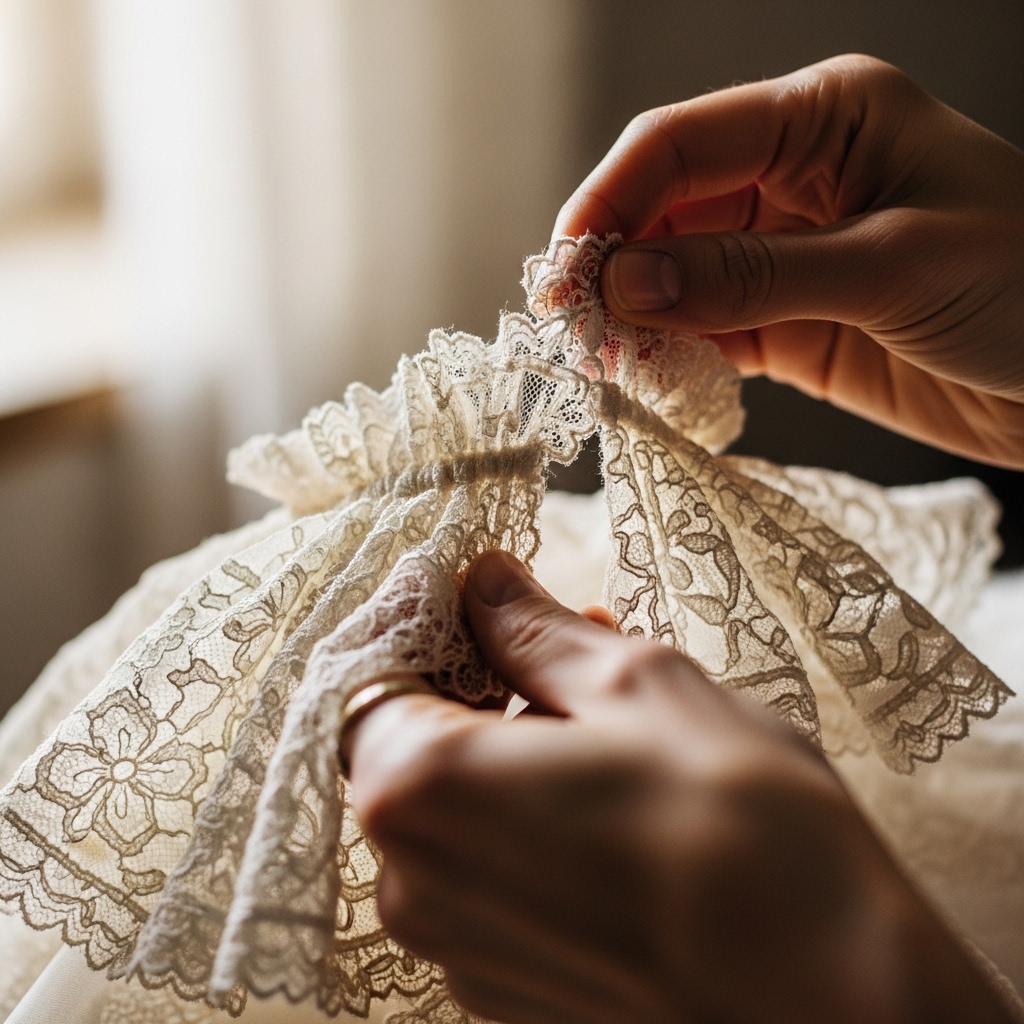
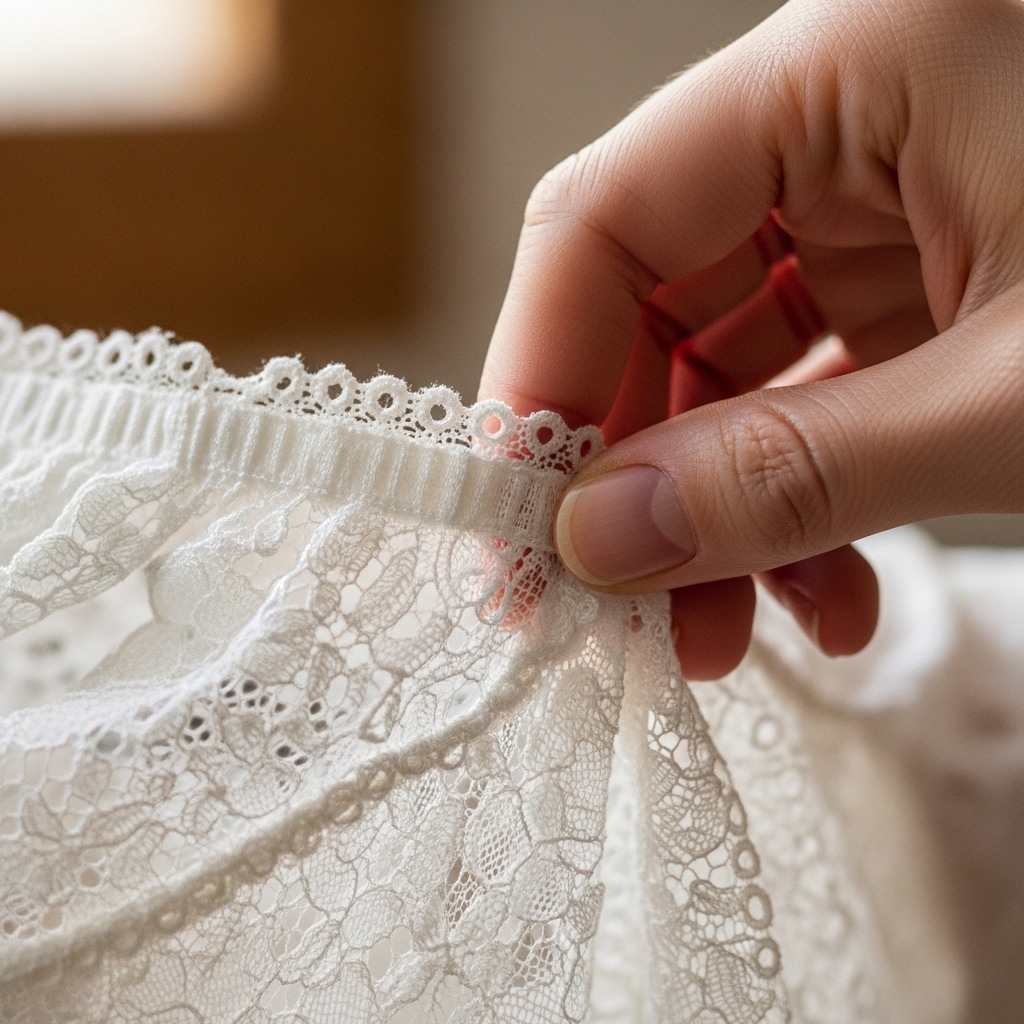
Accessorizing Your Creation

This style is a perfect base for pretty accessories. Slide in a few delicate pearl or gold hair pins along the lace. You could also weave a thin, satin ribbon through the pattern before you start for a super romantic touch.
For a dash of glitchy glam hair energy, try a single, unexpected colored pin or a tiny chain. Keep it to one or two pieces so the intricate lacing remains the star of the show.
Day-to-Night Transformation
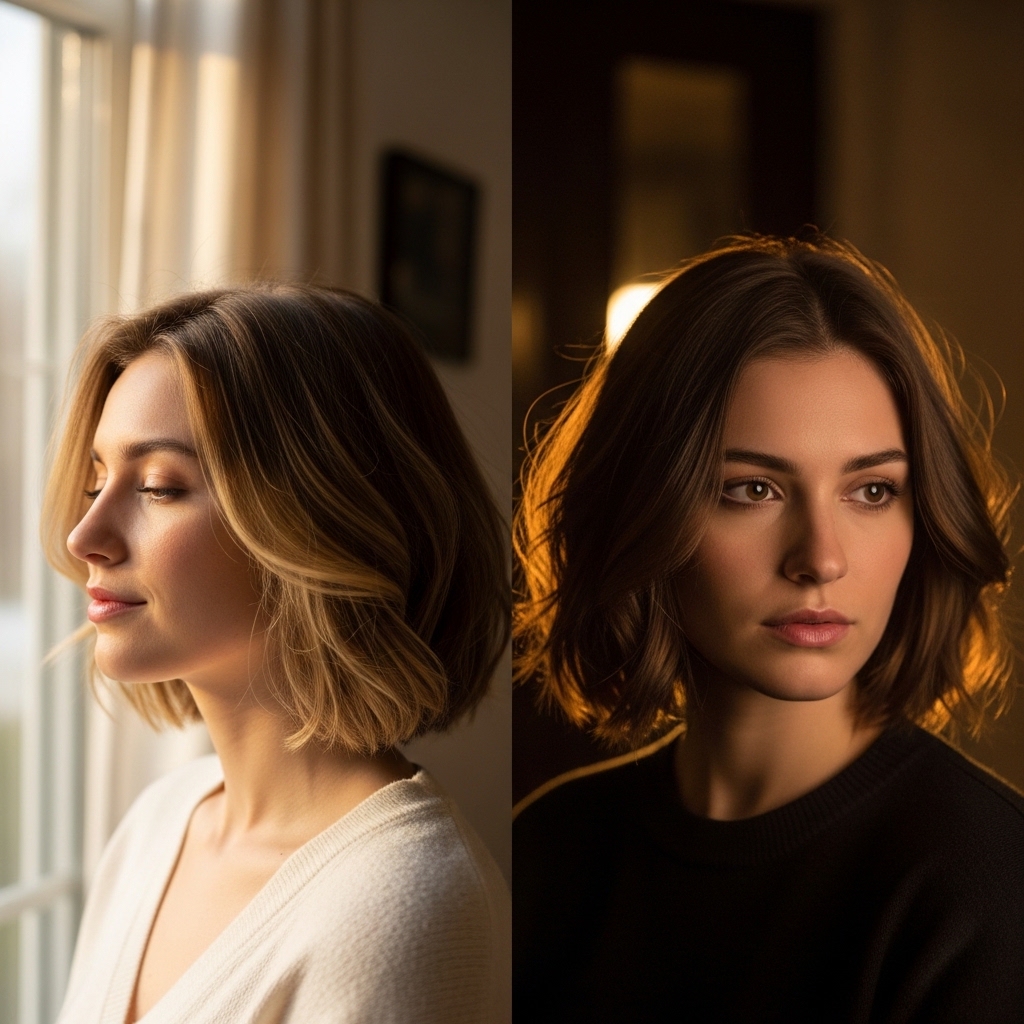
This style is amazingly versatile. For day, keep it soft and loose, maybe with a more casual scrunchie. It’s perfect for running errands or a coffee date looking put-together.
For night, amp it up. Pancake the lace more for drama, add sparkly pins, and create more defined waves. It easily transitions into an elegant dinner or party look, holding its own against trends like the vampire haircut in its romantic intensity.
Adapting It for Different Hair Types
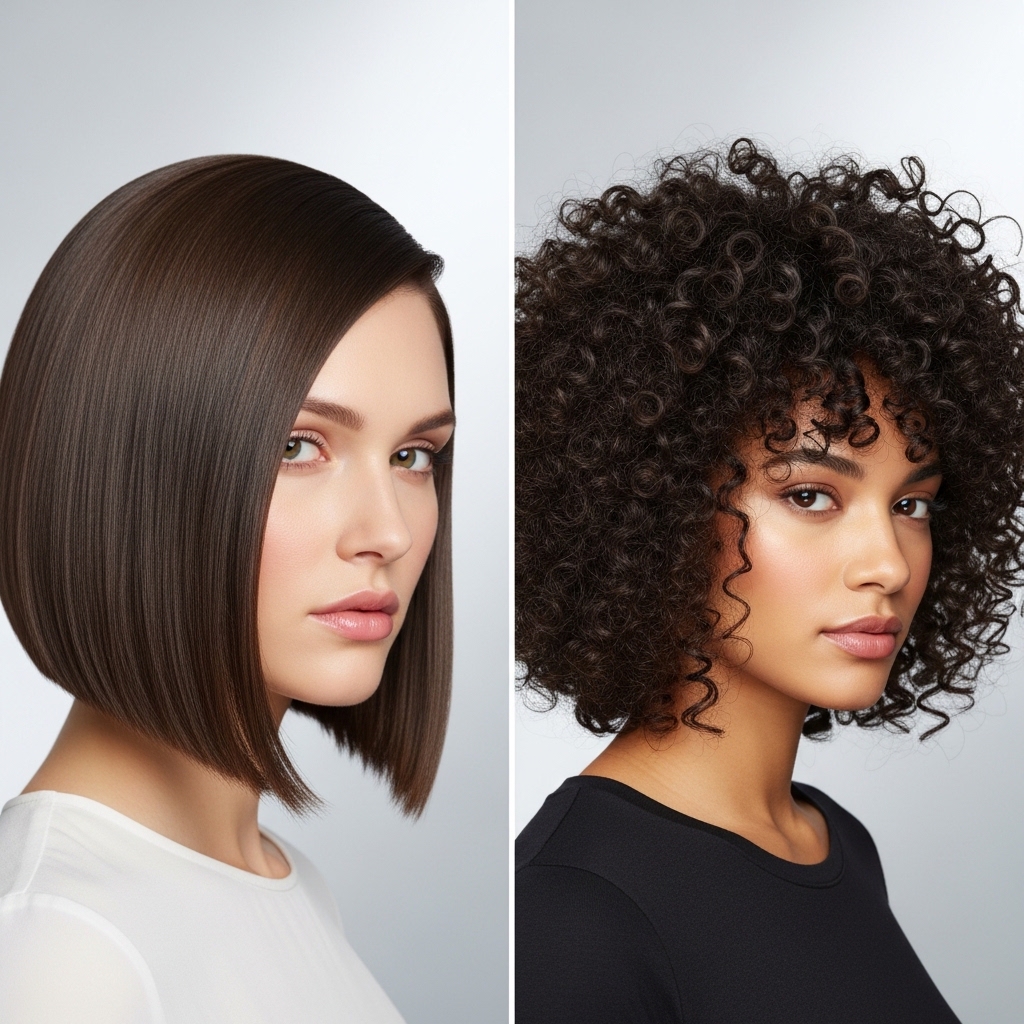
If your hair is very fine, use more texturizing spray and don’t pancake too aggressively. It will still look beautiful and delicate. For thick or curly hair, this style is a fantastic way to show off texture and manage volume.
You might need stronger-hold pins and elastics. The lacing will look incredible framing your natural curls or coils. It’s a universally flattering technique once you adjust the hold products for your hair’s needs.
Common Mistakes and Quick Fixes
If a section gets too tight, don’t panic. Use the tip of a bobby pin to gently loosen just that one link in the lace. If you have a bump or part that looks messy, a spritz of water on a toothbrush can smooth it down.
The biggest mistake is giving up too soon! Your first try might not be perfect, and that’s okay. It gets easier and faster every single time you do it. Practice while watching TV to take the pressure off.
Why This Style is So On-Trend

This look hits so many of the current style notes perfectly. It has the romance of a hime cut’s front-facing detail, the elegance of quiet luxury, and the hand-crafted feel of the glitchy glam trend.
It feels special and personal, unlike a quick basic ponytail. It shows you put in a little love for yourself, which is what the best 2026 hairstyles are all about—intention and personal expression.
Pairing It With Your Makeup Look
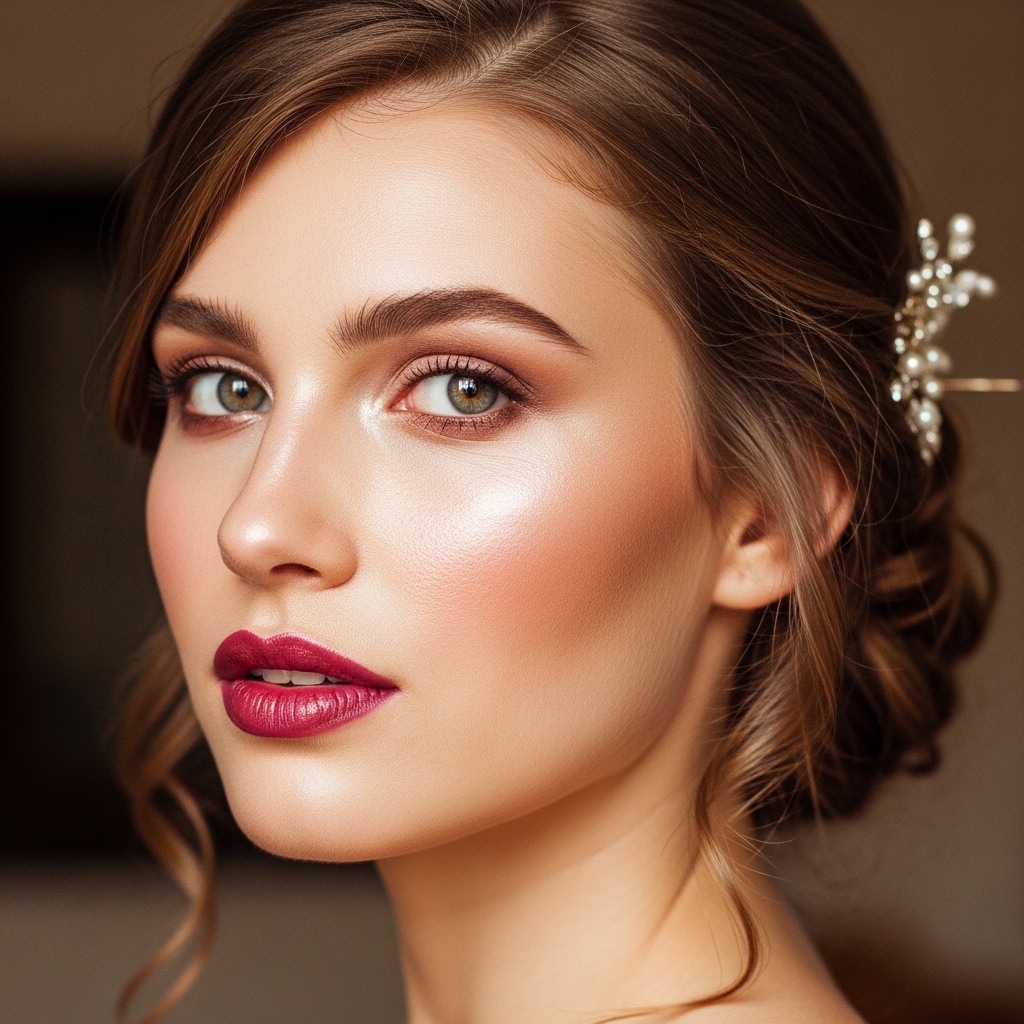
This hairstyle pairs beautifully with soft, glowy makeup. Think dewy skin, a little blush, and a lip stain. It enhances the romantic vibe perfectly.
For a cooler, edgier contrast that nods to romantic goth, try a smoky eye or a deep lip with the soft hair. The mix of hard and soft is incredibly striking and fashion-forward.
Making It Last All Day & Night
To lock it all in, finish with a light mist of flexible-hold hairspray. Hold the can about 10 inches away and spray lightly over the entire style. This helps fight humidity and keeps everything in place without making your hair crunchy.
Toss a few extra bobby pins and a spare clear elastic in your bag for quick touch-ups on the go. A quick pinch of the lace if it loosens is all you’ll likely need.
And just like that, you’ve created a stunning, head-turning hairstyle all by yourself. I told you it was easier than it looked! The beauty of this laced half-up is that it feels special every single time you wear it.
It’s one of those looks that makes you feel put-together and creative. Whether you’re wearing it for a regular Tuesday or a fancy Saturday night, it adds that little extra spark. Remember, your first try is just practice—it only gets better from here.
Did you give this a try? I’d love to see your creation! Tag me on Instagram or save this post to Pinterest to keep this guide handy for your next hair day. What other styles do you want me to break down next? Let me know in the comments below!

