

Getting that perfect hair color without stepping foot in a salon is totally possible! With the right tips and a little practice, you can transform your hair in the comfort of your own home.
Gone are the days of spending a fortune at the salon for a fresh look. It’s not just about saving money, though; it’s about embracing your creativity and experimenting with colors that express your personality. With the right tools and techniques, you can achieve vibrant, salon-quality results. Let’s dive into ten essential tips that will help you master the art of hair dyeing at home!
1. Choose the Right Hair Dye
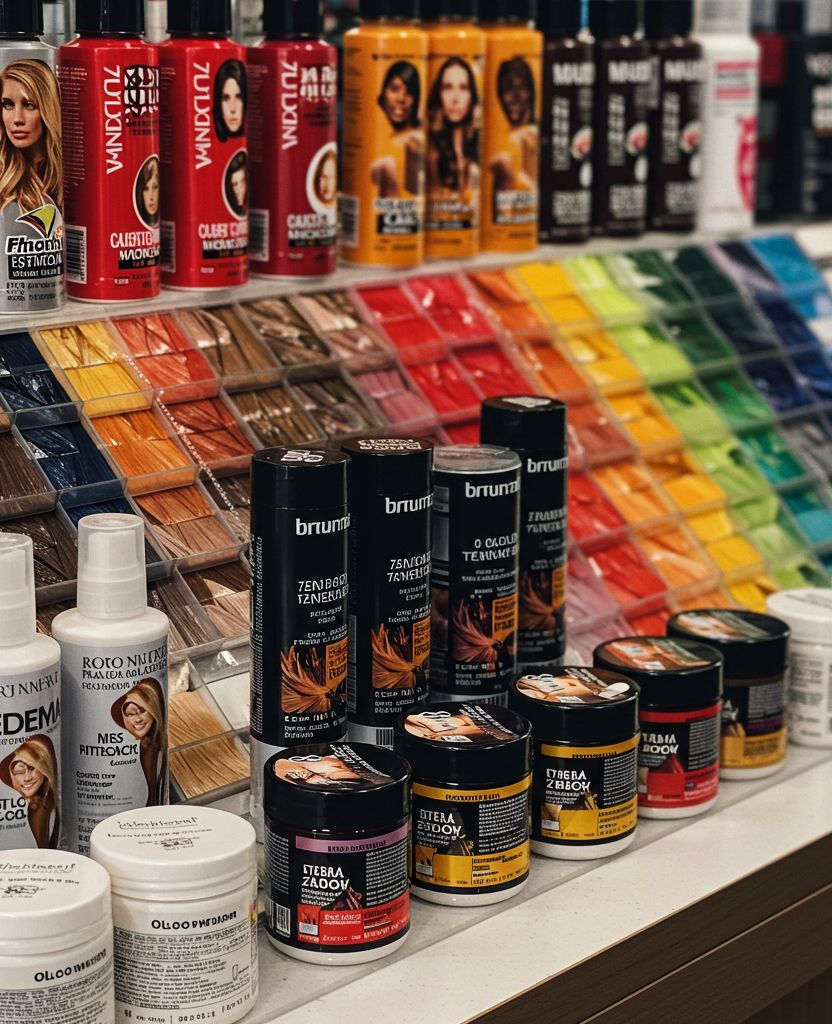
Selecting the right hair dye is crucial for achieving the results you want. Start by considering your hair type and color. There are permanent, semi-permanent, and temporary dyes, each serving different purposes.
Permanent dyes provide long-lasting color, perfect if you’re looking to make a significant change. Semi-permanent dyes are great for a subtle shift and last a few weeks. Temporary dyes wash out quickly and are ideal for a fun, short-term look.
Additionally, pay attention to the color wheel when choosing your shade. If you want to neutralize brassy tones, opt for cool colors that counterbalance warmth. Be sure to conduct a patch test to check for allergic reactions before full application.
– Consider your hair’s current color and condition.
– Test different brands to see which works best for your hair.
– Remember to check for cruelty-free options!
2. Gather Your Supplies
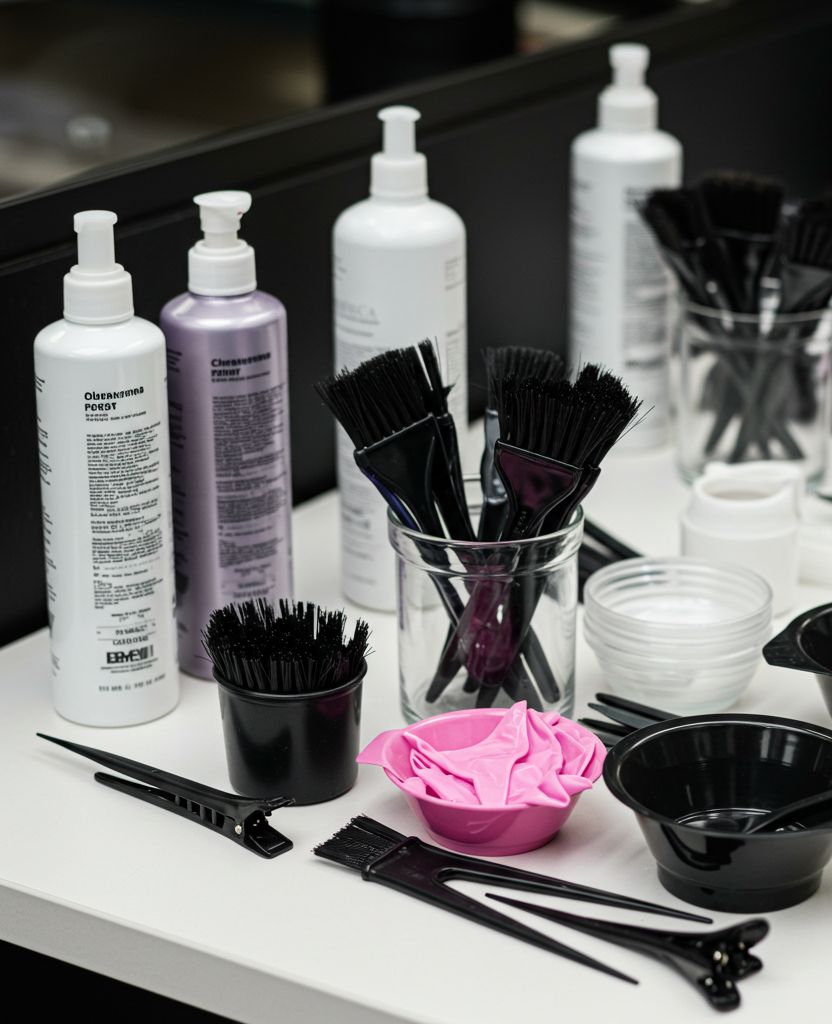
Preparation is key to a successful hair dyeing experience. Before starting, gather all the necessary supplies to make the process smooth and enjoyable. Here’s what you’ll need:
– Hair dye kit (includes dye, developer, and gloves)
– Applicator brush and bowl
– Old towel or shirt to protect your clothes
– Comb for sectioning your hair
– Clips to keep sections separate
– Petroleum jelly to protect your skin
– A timer to track dyeing time
Having everything within reach not only saves time but also helps minimize mess. Lay out your supplies in a well-lit area and ensure your workspace is clean to keep distractions at bay. With everything ready, you’ll feel more confident as you embark on your hair transformation journey!
3. Do a Strand Test

Before diving into full-color application, always perform a strand test. This little step can save you from potential hair disasters! A strand test helps you determine how your hair will react to the dye and what the final color will look like.
To do this, simply apply a small amount of dye to a hidden section of your hair. Wait the recommended time, then rinse and dry the strand to see the results. This test helps assess the dye’s effect on your hair’s texture and color.
– Always follow the dye instructions for the strand test.
– If you have multiple hair textures, test on different strands.
– Note how long the color lasts after washing.
By knowing the outcome beforehand, you’ll feel more at ease about the overall application and avoid unexpected surprises!
4. Section Your Hair
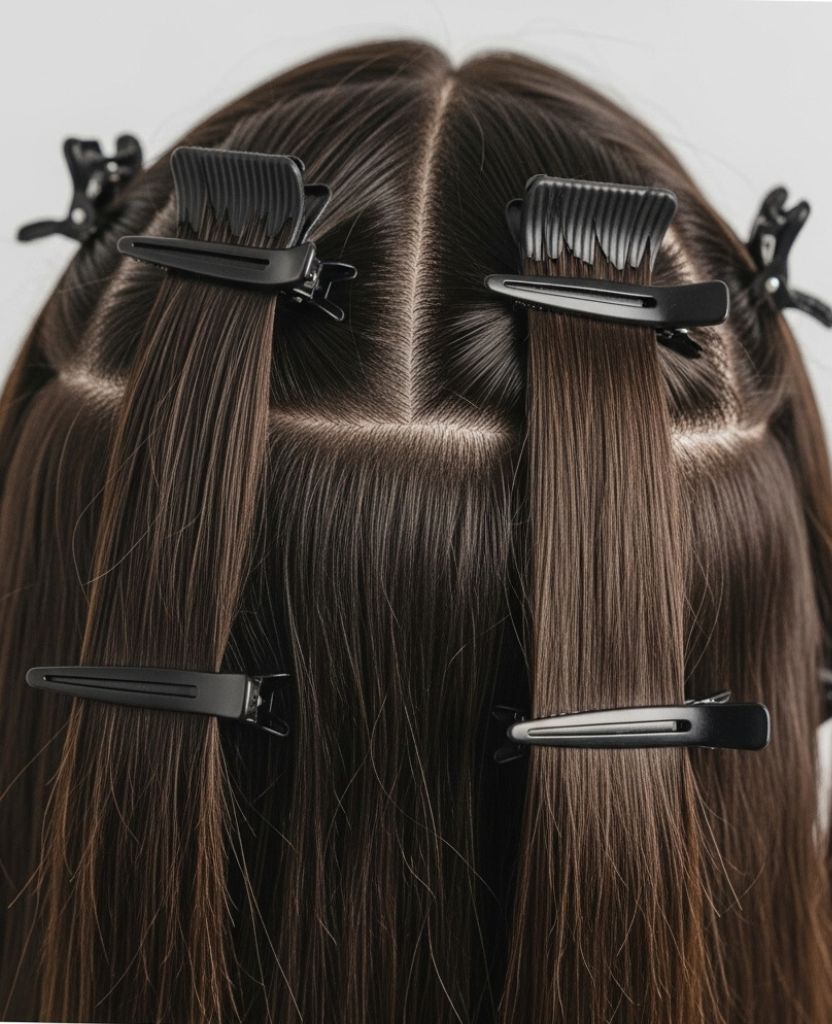
Sectioning your hair is a game-changer for achieving even coverage. When dyeing your hair, working in smaller, manageable sections ensures that every strand gets the attention it deserves.
Start by dividing your hair into four main sections: two at the front and two at the back. Use clips to secure each section, keeping them out of the way as you work. This method not only helps avoid missed spots but allows for precise application.
– Use a fine-tooth comb to create clean parts.
– Starting from the back and moving to the front typically works best.
– Always ensure each section is thoroughly saturated with dye.
By being organized and methodical, you’ll achieve a beautifully blended result that rivals professional highlights!
5. Apply the Dye Evenly
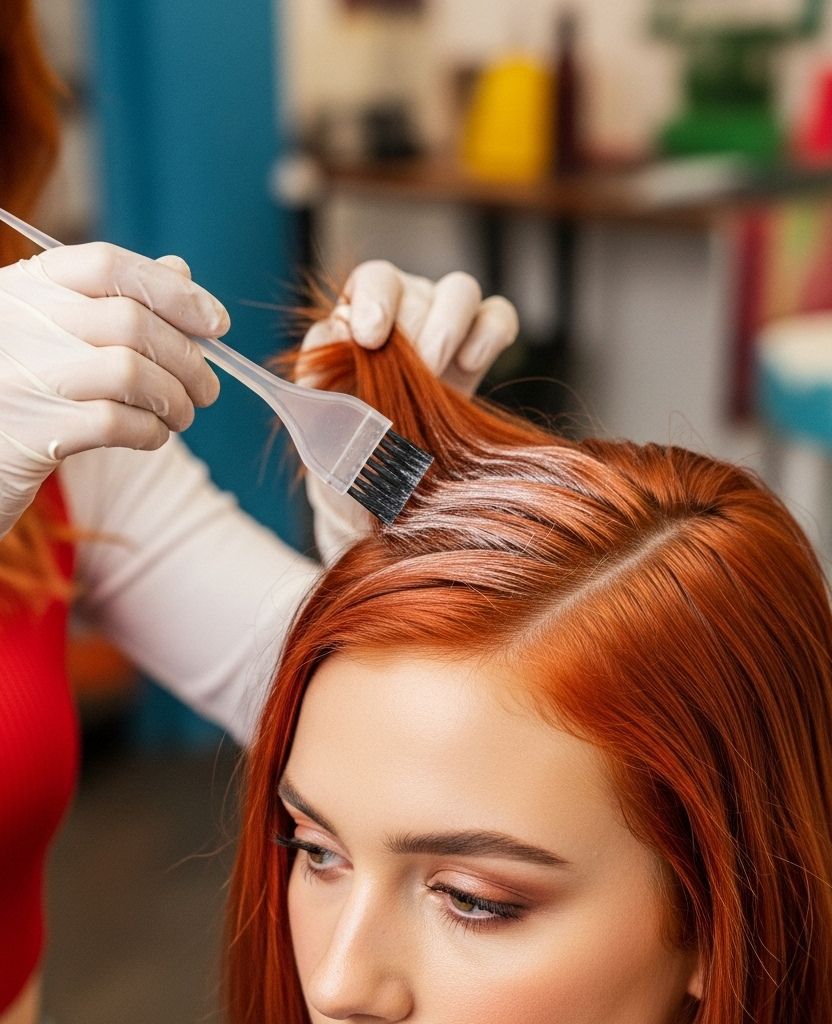
When it comes to hair dyeing, how you apply the dye can make all the difference. An even application is key to avoiding patchy color and achieving that professional finish.
Start at the roots and work your way down to the tips, ensuring each section is saturated. Using an applicator brush allows you to control the amount of dye you use, helping you avoid excess product that can weigh your hair down.
– Use a comb to distribute the dye through each section.
– Avoid applying dye on dry hair; slightly damp hair absorbs color better.
– Take your time—rushing leads to mistakes.
Pay attention to areas that tend to absorb color differently, like the crown of your head or the nape of your neck. With patience and precision, salon-quality results are within reach!
6. Use Heat for Better Development

You might not know this, but applying heat can enhance the color development process. After you’ve applied the dye, consider using a shower cap or plastic wrap to cover your hair. This traps heat, helping the dye penetrate deeper into the hair shaft, resulting in a more vibrant color.
Be cautious not to use excessive heat, as it can damage your hair. You can also sit under a hooded dryer or use a handheld hair dryer on a low setting. This tips works particularly well with permanent hair color, which needs a bit of extra help to reach its full potential.
– Always check the dye instructions for any specific heat application recommendations.
– Use low settings to avoid hair damage.
– Monitor development time closely to prevent over-processing.
With the right heat application, you’ll unlock a gorgeous, long-lasting shade that turns heads!
7. Rinse and Condition

Once the development time is up, it’s time for the rinsing phase! Rinse your hair with cool water until the water runs clear; this step helps seal in the color and keeps your strands smooth.
After rinsing, follow it up with a conditioner that comes with your dye kit or one specially formulated for color-treated hair. Conditioning is crucial as it replenishes moisture and helps maintain the vibrancy of your new color.
– Avoid hot water, as it can strip the color.
– Condition thoroughly, focusing on the ends.
– Consider leaving the conditioner on for a few extra minutes for maximum hydration.
Taking care of your hair post-dyeing is essential for maintaining its health and shine, ensuring your color lasts longer than just a few washes!
8. Maintain Your Color
After successfully dyeing your hair, the next step is to maintain your new look! Color-treated hair requires special care to prevent fading and keep it looking salon-fresh.
Invest in color-safe shampoos and conditioners, as these are specifically designed to protect your hair’s color and integrity. Additionally, try to limit the frequency of washing your hair to preserve the vibrancy. Instead, use dry shampoo to keep your roots fresh between washes.
– Schedule regular deep conditioning treatments.
– Avoid sun exposure, which can fade color.
– Use leave-in treatments for added moisture.
By adopting these simple maintenance habits, your hair will remain vivid and healthy, allowing you to enjoy your fabulous look for weeks!
9. Experiment with Shades

One of the perks of dyeing your hair at home is the freedom to experiment! You can mix shades, create ombre effects, or even dip-dye sections for a fun, personalized look.
Consider using semi-permanent dyes if you’re unsure about committing to a color. They wash out over time, allowing you to try different shades until you find your favorite. If you feel adventurous, you can even add highlights or lowlights to create depth and dimension.
– Keep a color wheel handy to guide your combinations.
– Experimenting can lead to unique and beautiful results.
– Take notes on your mixing ratios for future reference.
With a little creativity, your hair can become a canvas for your artistic expression, leading to stunning transformations that reflect your style!
10. Seek Professional Help When Needed

While DIY hair dyeing can be a fantastic experience, there may be times when seeking professional help is the best option. If you’re attempting a drastic color change, like transitioning from dark to light, or if your hair has previously been severely damaged, it’s wise to consult a hairstylist.
Professionals can provide you with the right techniques and products to achieve your desired look while minimizing damage. Additionally, salon visits ensure that your color is balanced and evenly applied.
– Remember, safety always comes first.
– Don’t hesitate to ask for help if you’re unsure.
– Regular trims are great for maintaining the health of your colored hair.
Embracing both DIY and professional services can give you the best of both worlds in your hair journey!
Your At-Home Hair Era Starts Now

Achieving salon-quality hair dyeing at home is all about preparation, technique, and a bit of creativity! With these ten tips, you’ve got the tools and knowledge to transform your hair like a pro.
Remember, practice makes perfect, so don’t be afraid to experiment and have fun with colors! Share your hair dyeing experiences and tips with friends—you never know who might be inspired to try it out themselves!

