

Fine hair is not the problem. The lighting, the cut, and the camera are the problem. I have spent way too many years taking photos and then staring at them wondering where half my hair went.
Good news: this is fixable. You do not need a whole new head of hair. You need the right cut, a couple of products, and a few photo-day habits that make fine strands look thick and bouncy in every frame.
Below are the styles and tricks I actually use for 2026 hairstyles. Things like the quiet luxury bob, the asymmetrical lob, the hime cut, old money hair, the vampire haircut, and glitchy glam hair. All of them photograph beautifully full.
Grab a coffee. This is quick, practical, and you can try most of it today.
Why Fine Hair Looks Thinner in Photos

Cameras flatten everything. Fine hair already sits close to the head, so a photo can make it look like you have half the hair you actually have.
The fix is not more hair. It is more shape. Volume at the roots, clean lines at the ends, and a little grip in the strands so they do not clump together.
Three things to focus on:
- Root lift, so the hair leaves the scalp
- Blunt-ish ends, so the bottom edge reads thick
- A bit of texture, so light bounces around
Get those three right and every style below works better.
Start With a Cut That Fakes Density
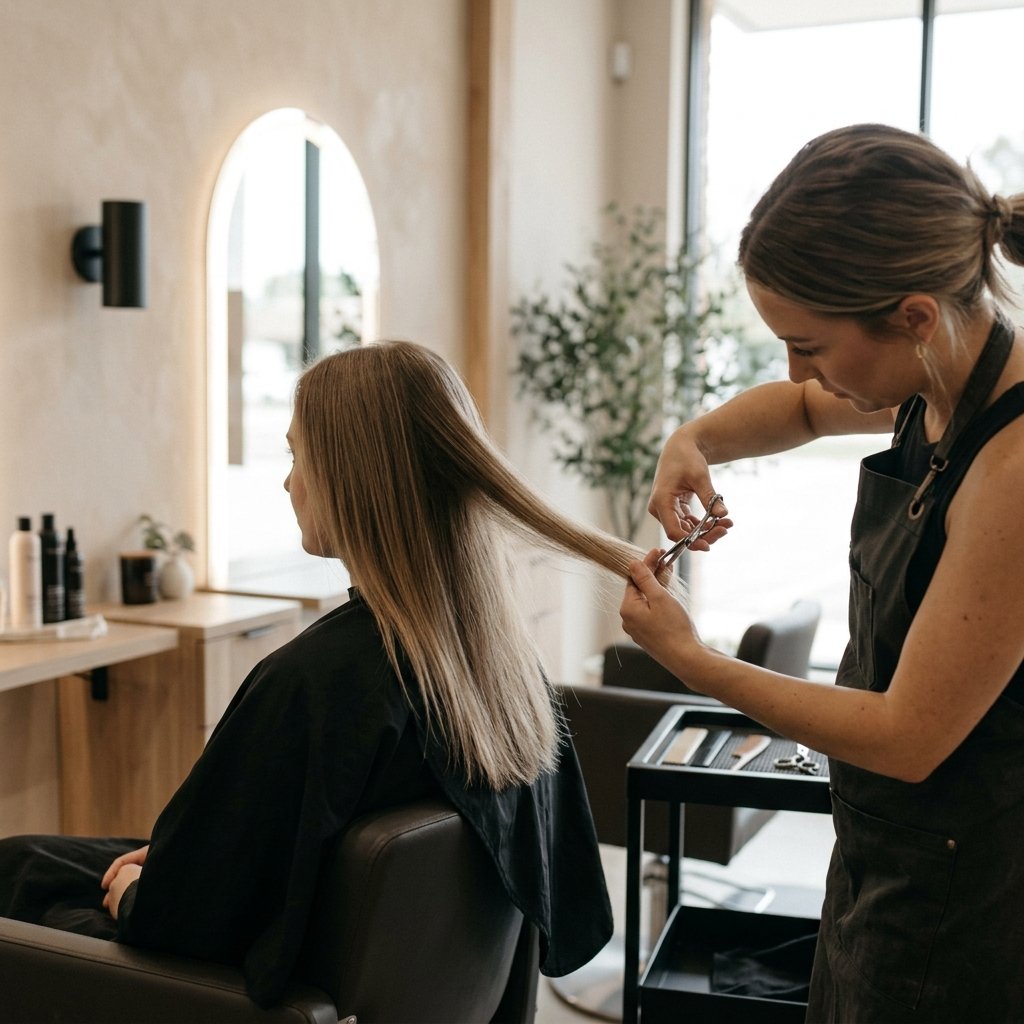
A great cut does more for fine hair than any product. But not every “volume cut” works. Too many layers and your ends look wispy in photos, which is the opposite of what you want.
What works instead:
- Blunt or softly blunt ends
- Face-framing pieces that start at the cheekbone, not the jaw
- Short invisible layers near the crown only
Tell your stylist you want density at the ends and lift at the roots. Bring photos. Say the word “photo” out loud so they know you care about how it reads on camera, not just in the mirror.
The Quiet Luxury Bob

The quiet luxury bob is everywhere in 2026 hairstyles, and it is basically custom-made for fine hair. It is a chin-to-collarbone cut with a clean line, a soft bend, and zero fuss.
Why it photographs thick: the blunt perimeter gives you a solid edge, and the slight bend near the ends adds width exactly where fine hair usually disappears.
How to style it:
- Rough dry with your head upside down
- Round brush just the front sections
- Add one pump of lightweight oil on the ends only
Keep product near the roots light. Oil on fine roots equals flat and a little greasy in flash.
The Asymmetrical Lob

The asymmetrical lob is a long bob that is noticeably shorter on one side. It is the easiest way to make fine hair look like it has more of everything.
Because the lengths are uneven, your eye cannot follow one thin line. It reads as fuller, more interesting, and a little bit editorial in photos.
Ask for a difference of one to two inches between sides. Anything more gets dramatic and harder to style. Anything less is not visible on camera.
Style it with a deep side part and a soft wave on the longer side. That one move plus the cut is basically a real-life filter.
Old Money Hair: The Soft Blowout
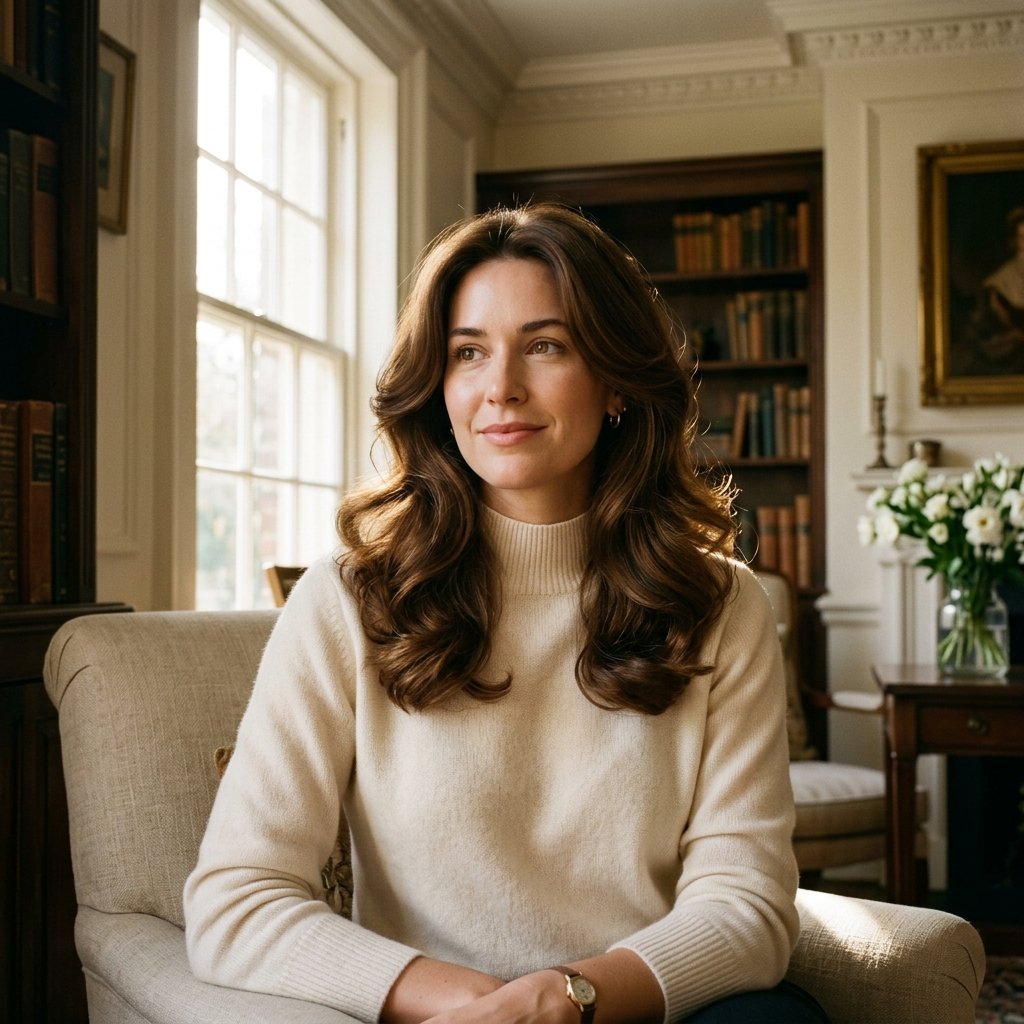
Old money hair is that quiet, bouncy, brushed-out look you see in magazines. It is not complicated. It is a soft blowout with movement, healthy shine, and a slightly rounded shape.
Fine hair loves this style because the volume comes from round brushing, not from layers that thin you out.
Quick steps:
- Spray heat protectant and root lift on damp hair
- Blow dry with a round brush, lifting at the roots
- Pin each section in a curl and let it cool
- Brush through with your fingers
That cooling step is what keeps the volume from falling flat before your photos.
The Hime Cut for Instant Thickness
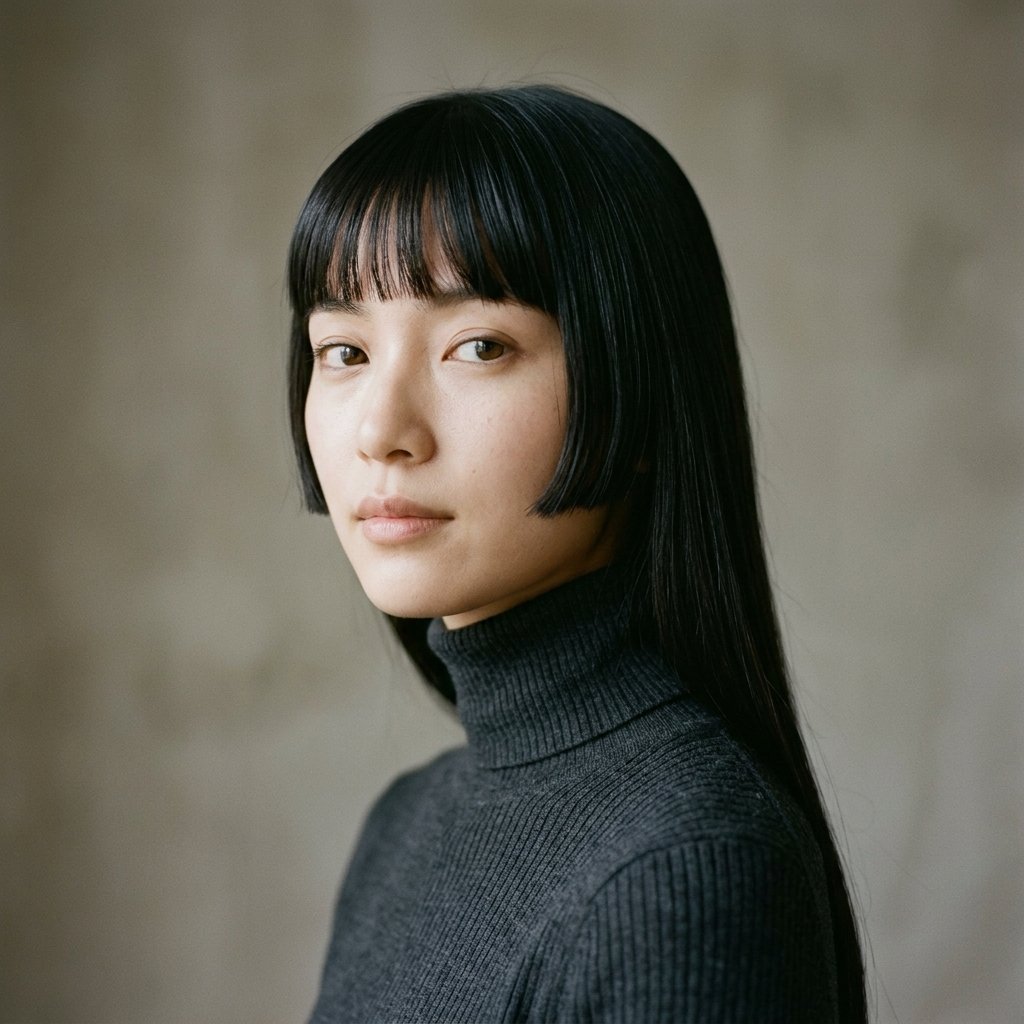
The hime cut is a straight, blunt cut with shorter side pieces framing the face. It comes from Japanese styling and it is having a real moment right now.
For fine hair, it is almost unfair how well it works. The straight lines look dense, and the side pieces add width at the cheek instead of dragging the eye down to thin ends.
Best for straight or slightly wavy hair. If your hair is very curly, ask for a modified version with the same idea.
Keep it sharp. Trim every six to eight weeks, because blunt lines show growth fast and photos show it faster.
The Vampire Haircut and Romantic Goth Hairstyles
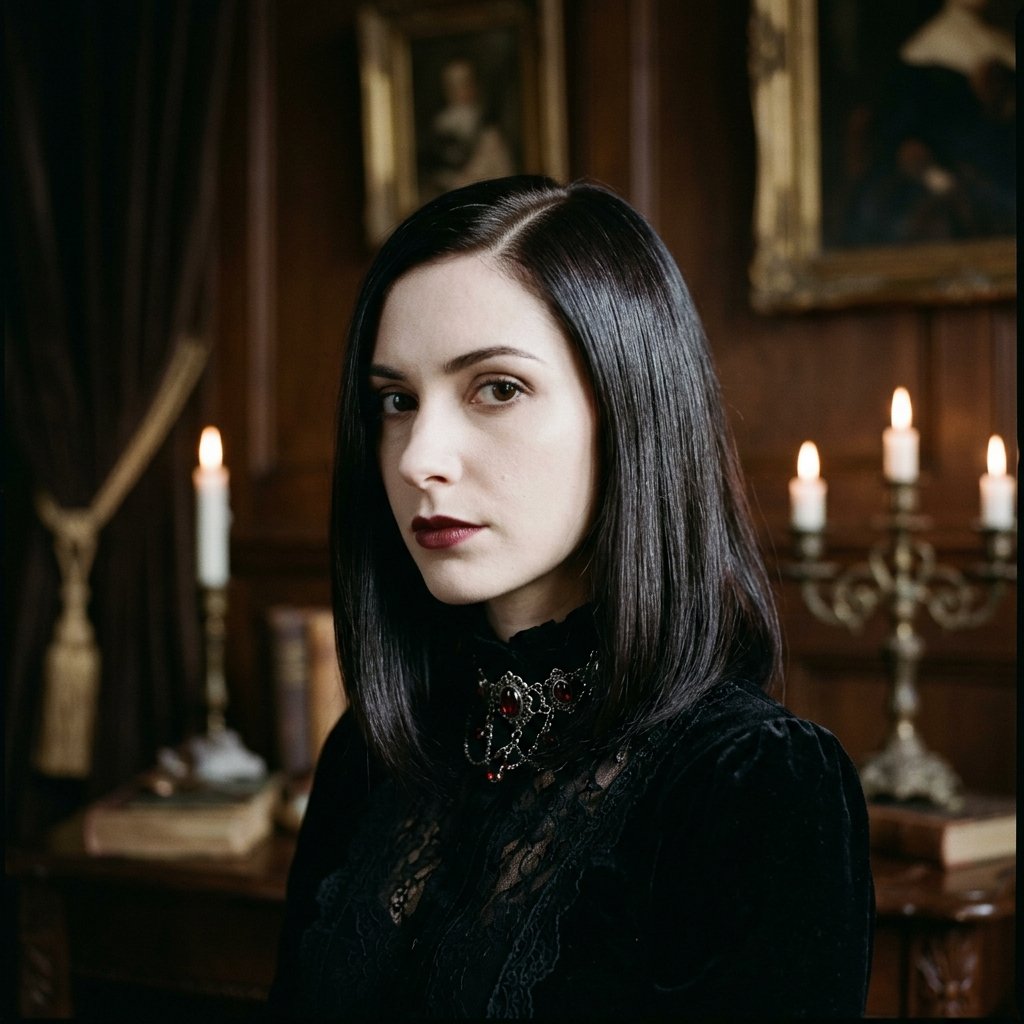
The vampire haircut is a collarbone-length cut with a strong middle or deep side part, a smooth crown, and slightly tapered ends. Romantic goth hairstyles lean into soft texture, deep tones, and a little drama.
Fine hair wins here because sleek, smooth shapes look intentional, and a slightly darker color makes hair look denser at the root.
To style it:
- Blow dry smooth with a boar bristle brush
- Add a light shine serum on the mid-lengths
- Pin the front pieces back with two small clips
Sleek does not mean flat. Keep a tiny bit of root lift so it does not look painted on.
Glitchy Glam Hair for Edgy Photos
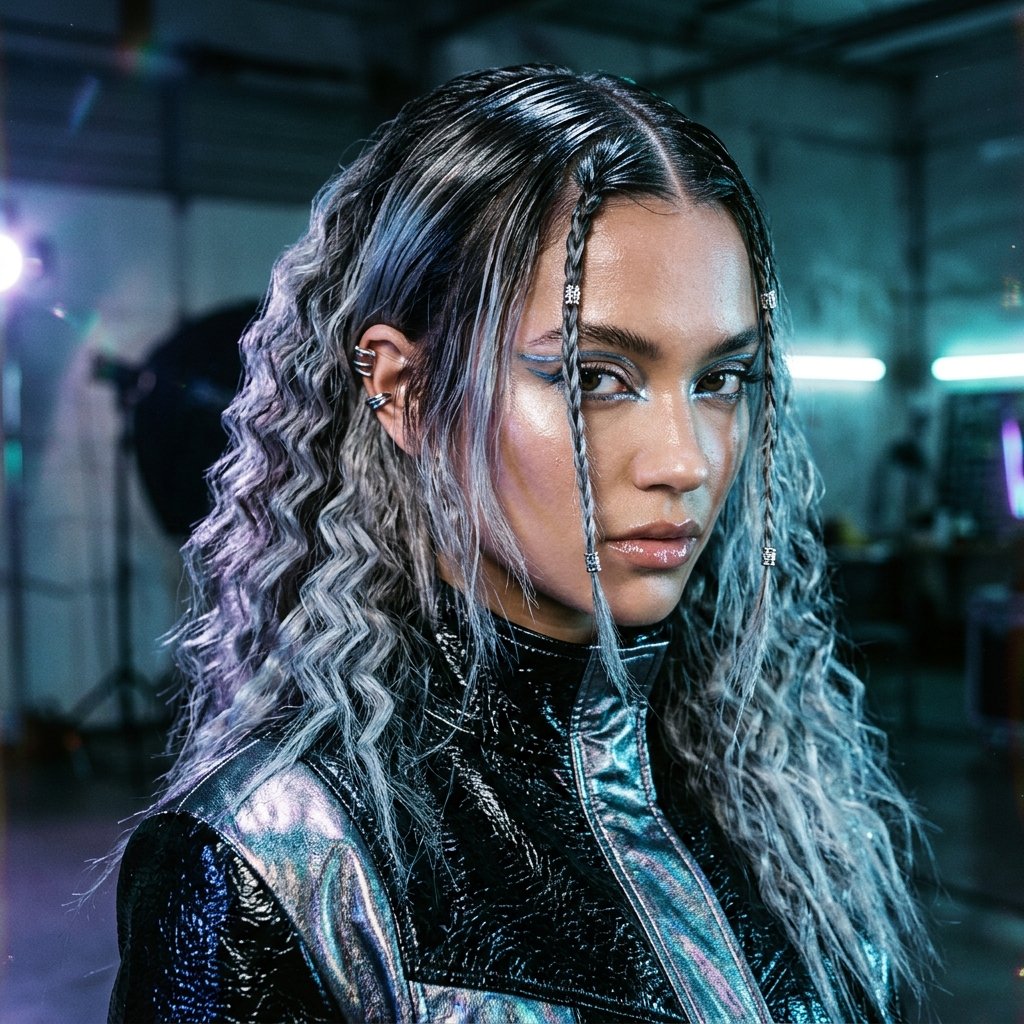
Glitchy glam hair is the fun one. Think sharp sections, wet-look roots, tiny braids, or a deliberate stray piece. It is messy on purpose, and it photographs incredibly well.
Why it helps fine hair: when a style is supposed to look imperfect, nobody notices that your strands are fine. Texture becomes the whole point.
Simple version:
- Add a light gel to the roots
- Comb the front into a clean, slightly wet shape
- Crimp or pin two random sections
- Spray and go
Great for parties, concerts, and any photo where you want to look like you did not try too hard.
Blunt Ends vs. Layers on Fine Hair
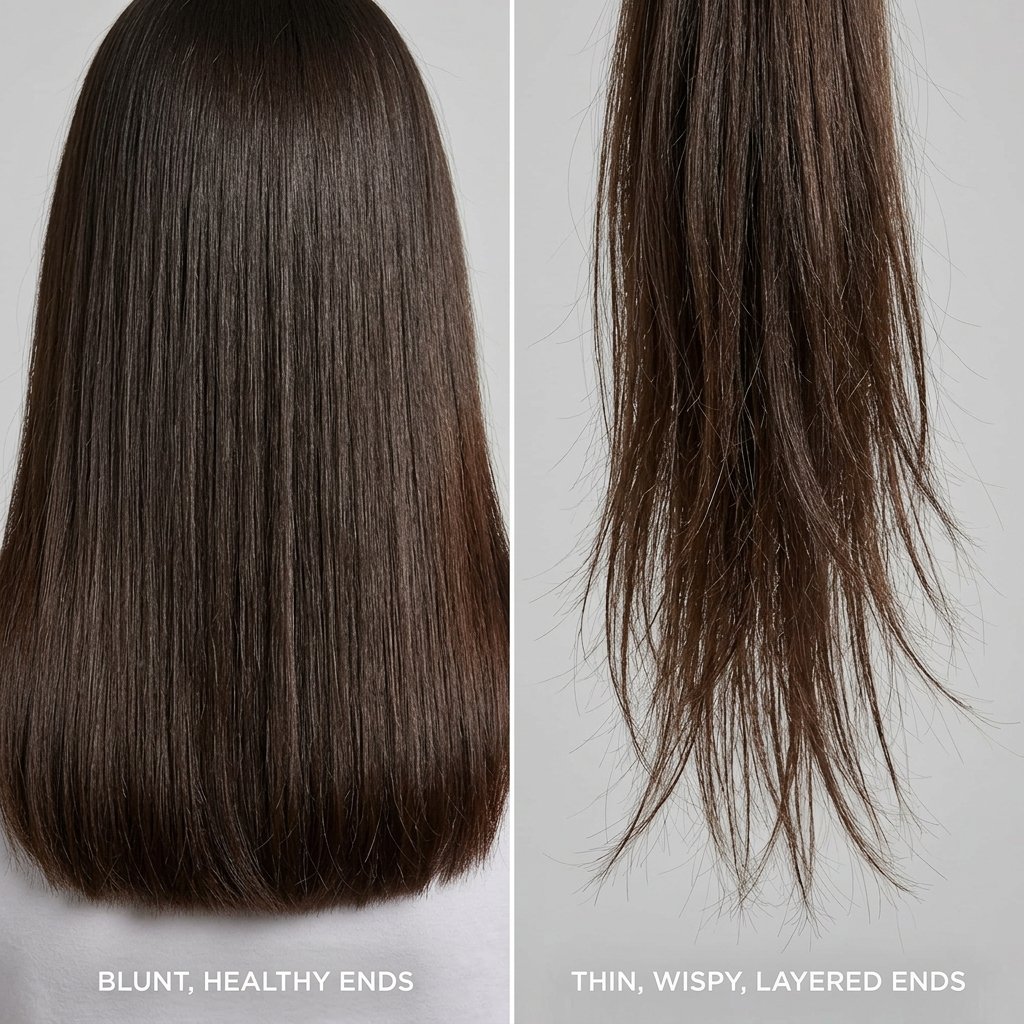
This is the number one thing I wish someone had told me years ago. On fine hair, layers are not automatically your friend.
Too many layers remove weight from the ends, and no weight means no shape. The ends taper into nothing and your hair looks thinner in photos than it does in real life.
What to ask for instead:
- One length or almost one length
- Minimal face framing
- Any layers kept in the top two inches only
Save the heavy layering for thick hair. Fine hair wants clean edges and lift up top.
Curtain Bangs That Do Not Steal Volume

Curtain bangs are made for fine hair, as long as they are cut right. They add shape around the cheekbones without cutting away the weight you need.
The trick is starting them further back on the head so they blend into your length instead of hanging in two thin strips.
Ask for:
- Soft, rounded ends, not blunt
- A start point about an inch behind the hairline
- Length that hits the cheekbone
Style them with a round brush away from your face for ten seconds. That little outward flick is what makes them look full in photos.
The Deep Side Part Trick
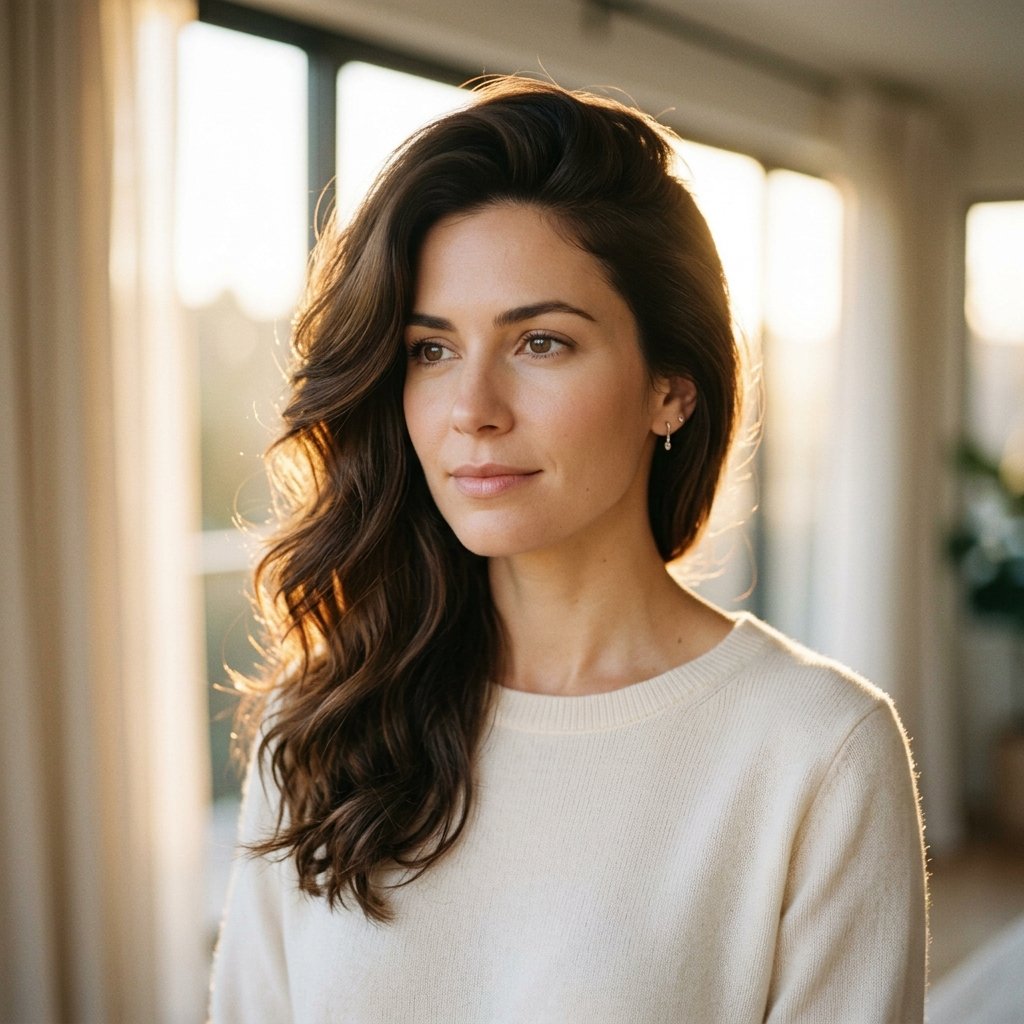
If you only take one tip from this post, take this one. A deep side part instantly makes fine hair look thicker because it moves the top section of hair across your head instead of splitting it down the middle.
More hair on one side equals more visible density. That is it. That is the whole magic trick.
Try this:
- Part your hair while it is still damp
- Blow dry the roots in the opposite direction of the part
- Flip it back and let it cool
You get lift at the root without teasing, and no visible scalp line down the center.
Root Lift That Survives the Camera
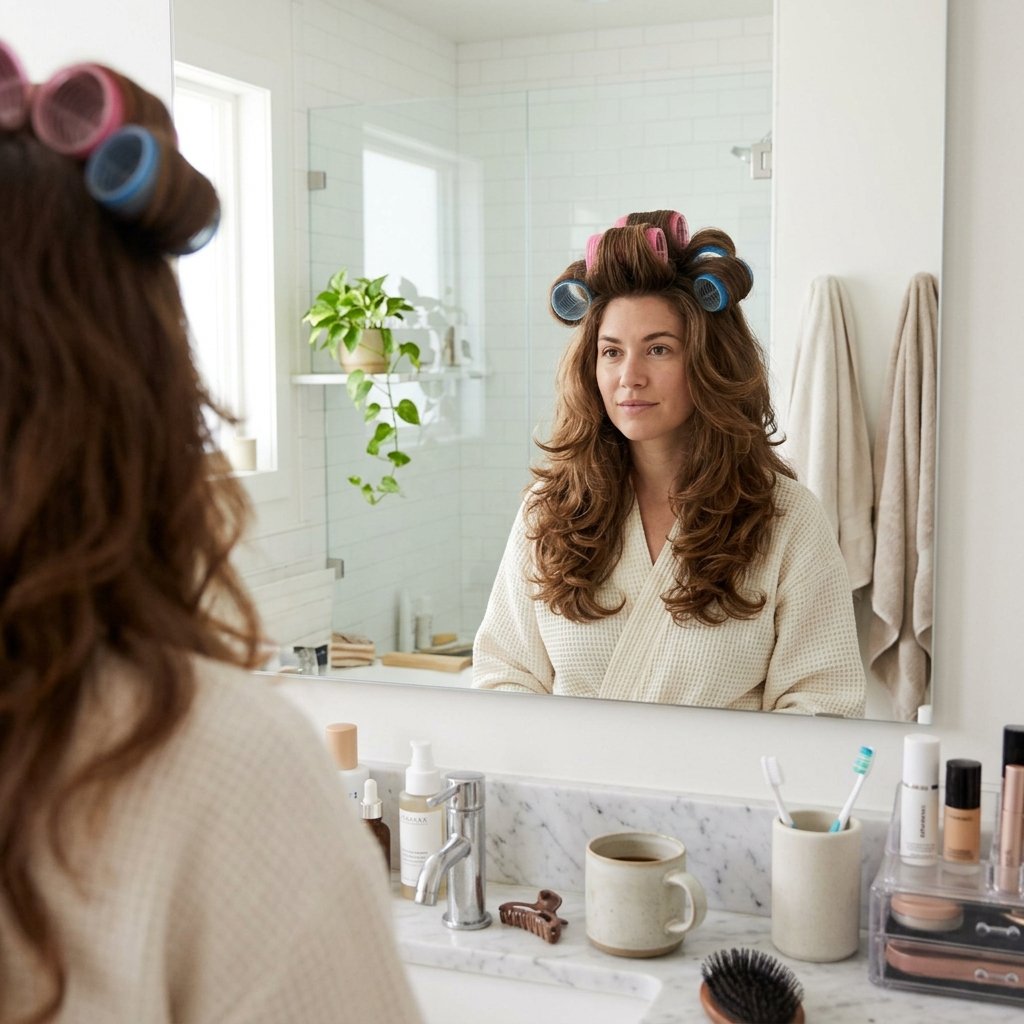
Volume at the roots is the difference between fine hair that photographs full and fine hair that photographs flat. And cameras are honest about roots.
Three tools that actually work:
- Root lift spray on damp hair before blow drying
- Velcro rollers on the crown while you do your makeup
- A round brush with a small barrel right at the root
One warning: skip heavy creams and oils near the scalp. Fine roots get weighed down fast, and greasy roots catch flash and look darker in photos.
Keep everything near the roots light, and save the richer products for your ends.
Dry Shampoo: Your Photo Day Secret
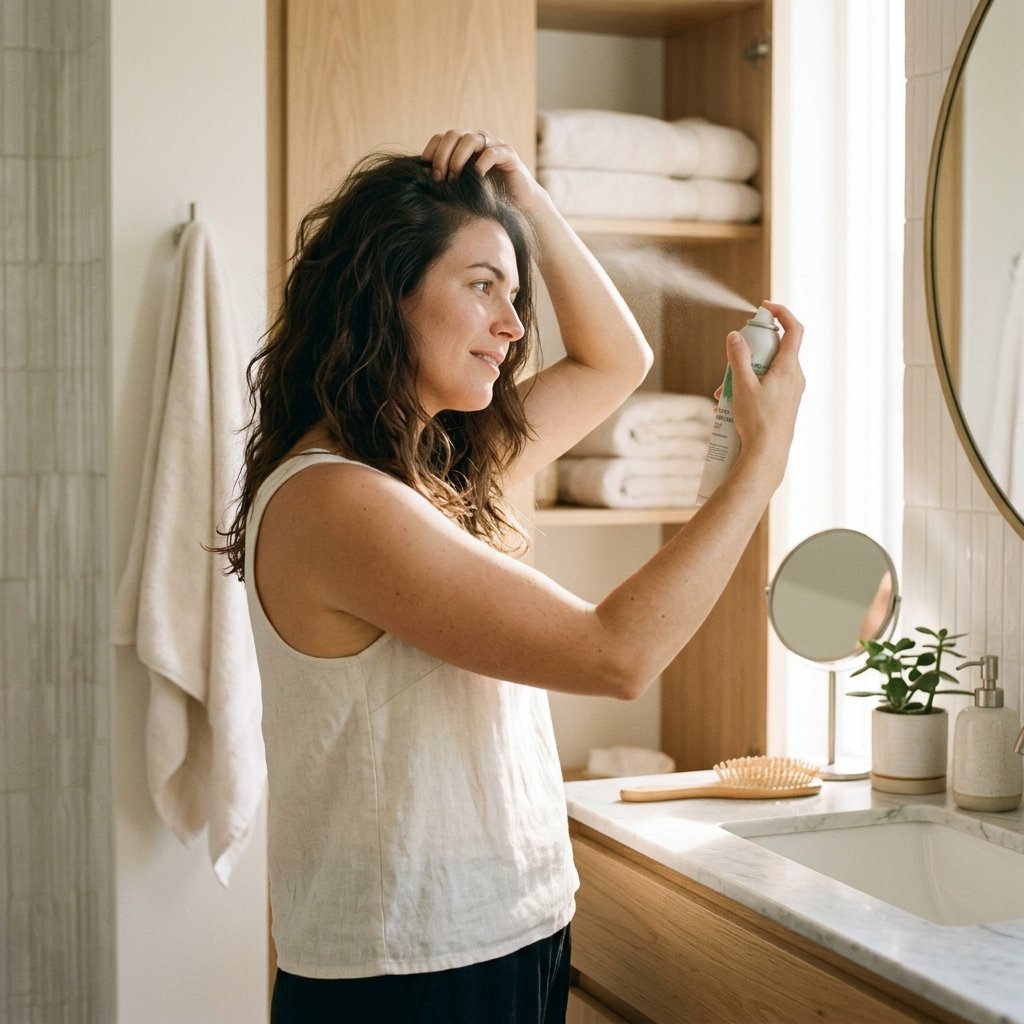
Dry shampoo is a photo day secret, not just a between-wash fix. A quick spray at the roots adds grip, absorbs oil, and creates real lift you can see on camera.
How to use it right:
- Spray six inches from the roots, in short bursts
- Wait two minutes
- Massage with your fingertips
- Brush through
Use it before your hair gets greasy, not after. Fine hair shows oil fast, and oil flattens volume in about an hour.
Keep a travel size in your bag too. One spray in the bathroom mirror can save an entire night of photos.
Mousse vs. Texture Spray
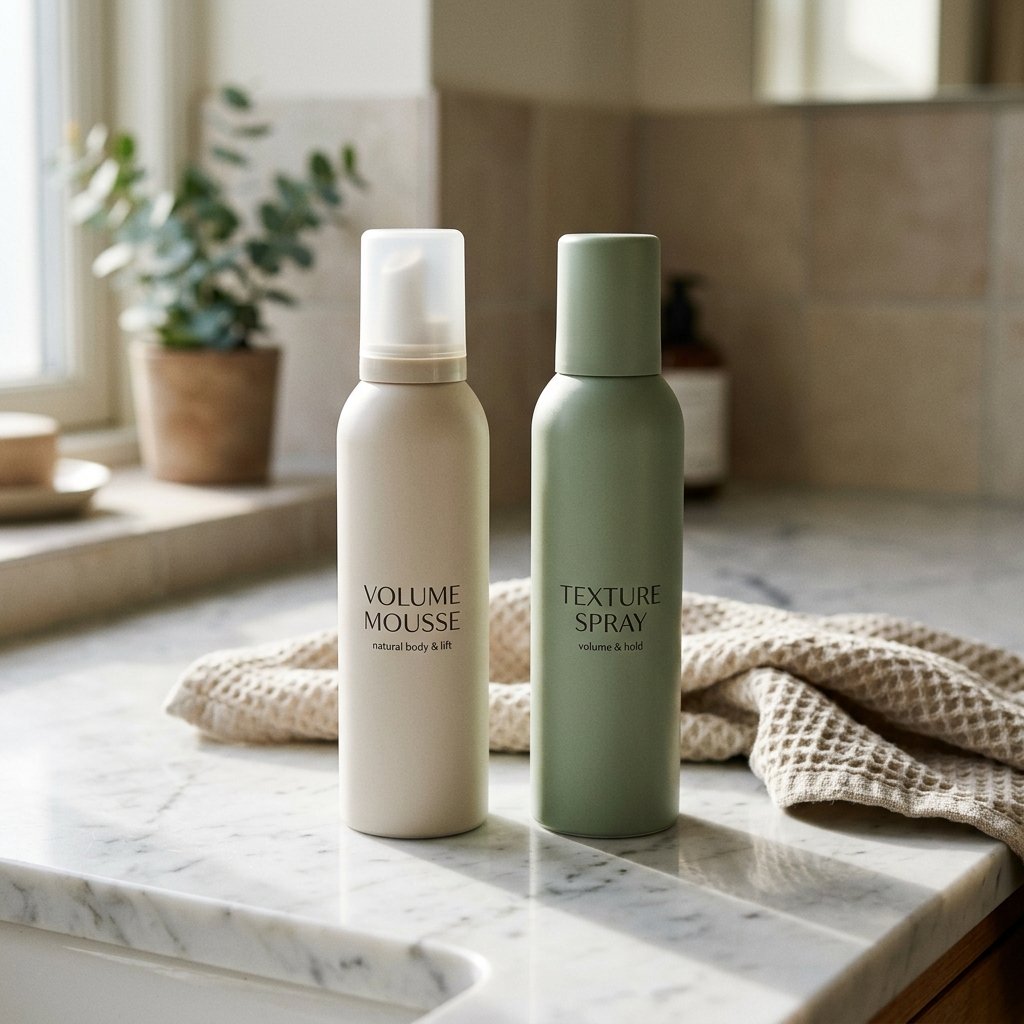
These two do completely different jobs, and fine hair usually needs both.
Mousse goes on damp hair and builds volume from the inside. It gives you that soft, full blowout look. Texture spray goes on dry hair and adds grip and separation at the ends.
Simple rule:
- Mousse at the roots, always on damp hair
- Texture spray on the mid-lengths and ends, always on dry hair
- Never both in the same spot
If your hair feels crunchy, you used too much. Start with a golf ball size of mousse and two light sprays of texture.
Root Cover Powder and Scalp Shading
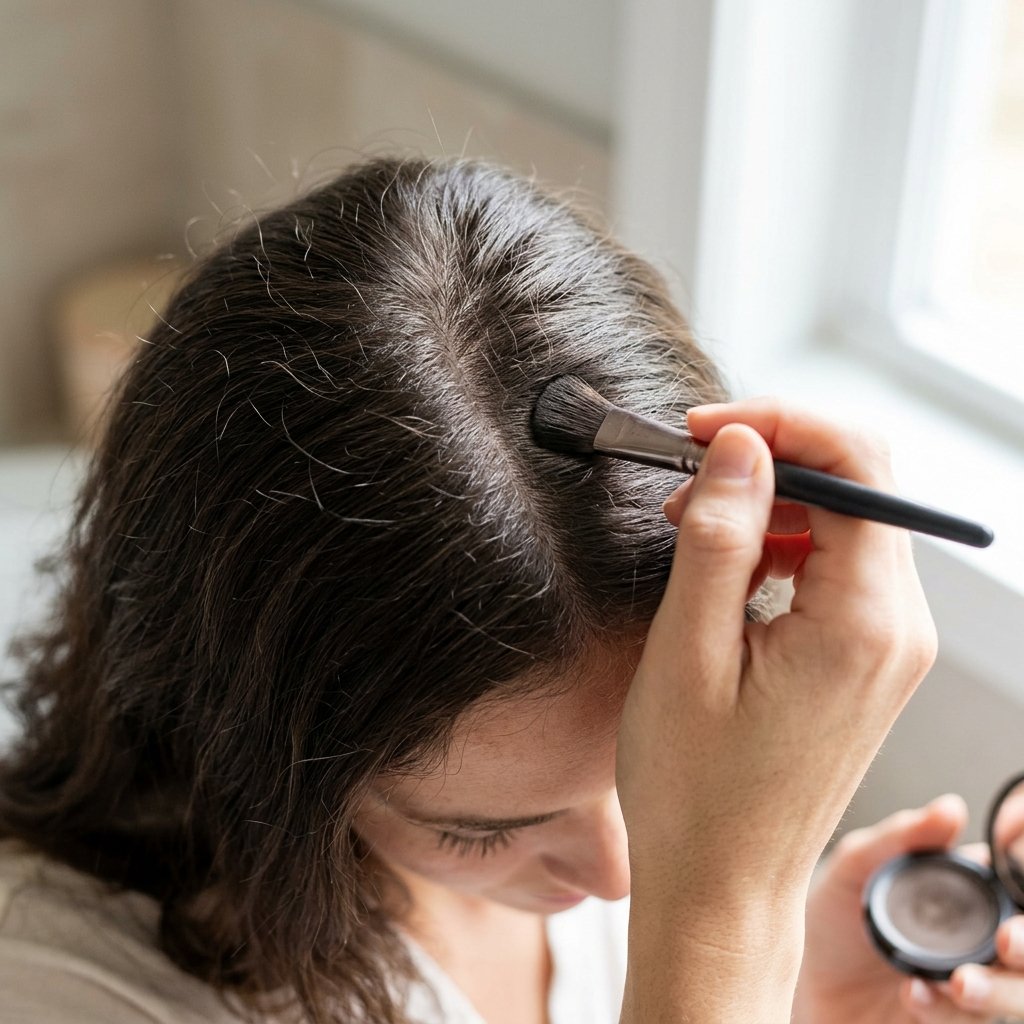
This is the tip nobody talks about, and it changes everything. Root cover powder or tinted scalp spray shades the little gaps between your strands, so your part looks denser in photos.
It is not just for covering grays. Fine hair shows scalp easily, and cameras pick up every bright patch. A quick tap of powder softens that instantly.
How to apply:
- Pick a shade that matches your roots
- Tap along your part and any thin spots
- Blend with a brush or your fingers
It washes out with shampoo and takes about twenty seconds. Total game changer for photos.
Invisible Clip-In Extensions
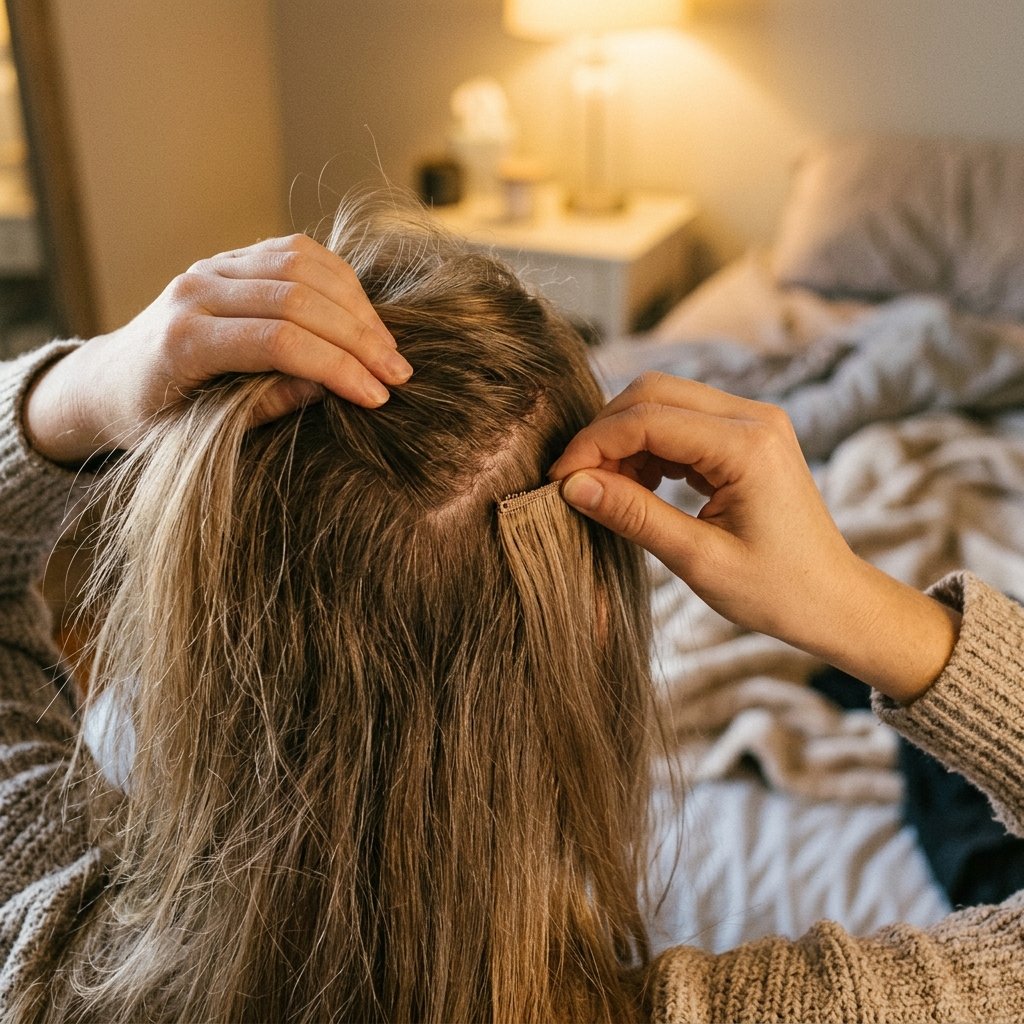
Clip-in extensions are not cheating. They are a tool, and fine hair is exactly who they are made for.
Look for lightweight wefts designed for fine hair. Heavy extensions pull at your roots and can actually flatten the top of your head, which defeats the whole point.
Quick guide:
- One four-clip weft at the back for everyday
- Two smaller pieces near the temples for volume
- Match to your root color, not your ends
Add them after styling, and blend lightly with a wide-tooth comb. Nobody will know, and your photos will look like you were born with it.
Waves That Look Fuller, Not Flatter

Heat-free waves are amazing on fine hair, but there is a right and wrong way to do them.
The wrong way: spraying water and scrunching. That can make fine hair stringy and separated, which reads thin on camera.
The right way:
- Spray in a light salt or texture mist
- Braid or twist your hair into three or four sections
- Let it dry fully, or dry gently with a diffuser
- Undo and shake, do not brush
Brushing a wave pattern out kills the volume. Use your fingers and a tiny bit of texture spray, and your waves will look thick all day.
The Hidden Volume Ponytail

A regular ponytail on fine hair can look sad in photos. The hidden volume version fixes that in about two minutes.
The idea is simple: you create lift in the crown before you tie the hair back, so the ponytail looks fuller from the front.
Steps:
- Spray dry shampoo at the roots
- Tease a small section at the crown
- Smooth the top layers over it gently
- Tie your ponytail, then pull the crown up slightly
Bonus: pull out two small face-framing pieces. They make fine hair look softer and fuller in photos.
Half-Up Styles That Fake Thickness
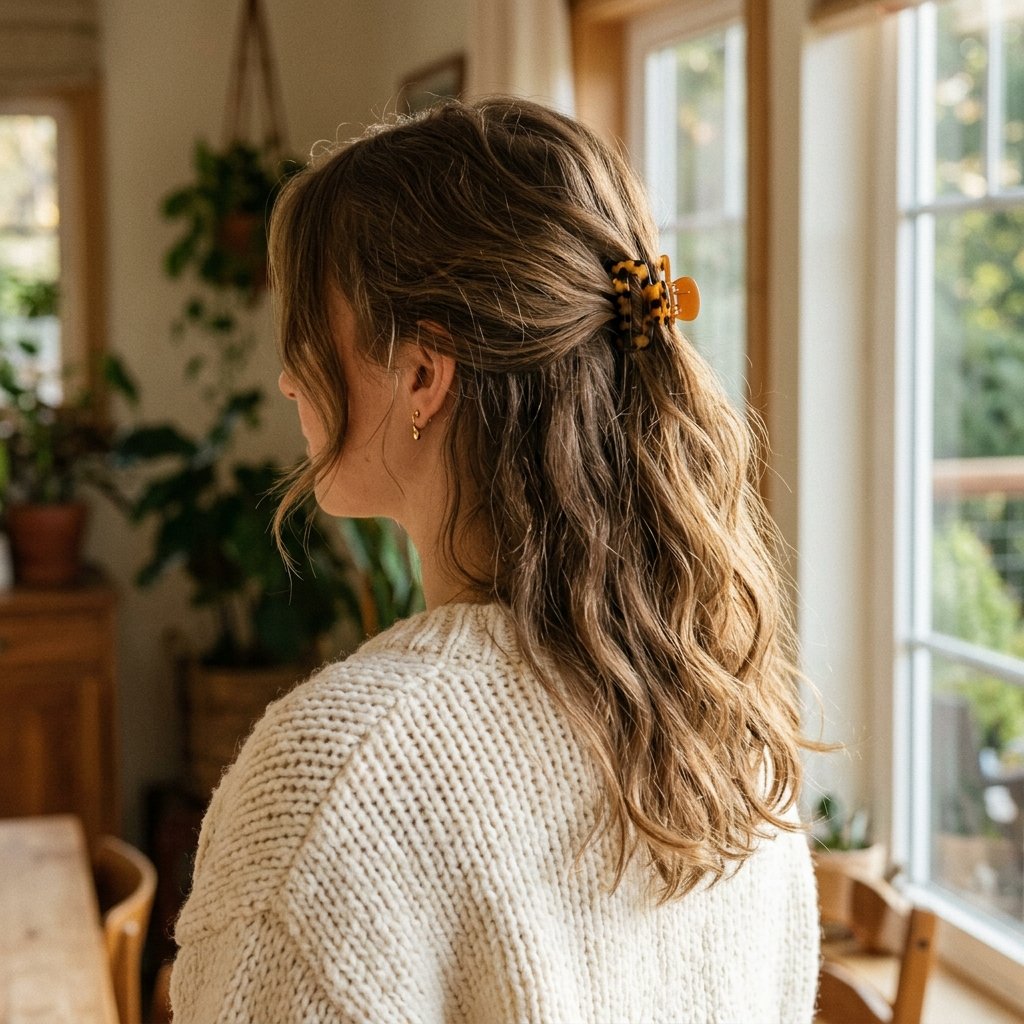
Half-up styles are secretly perfect for fine hair. You get the volume of an updo on top and the length at the bottom, and the eye reads it as a lot of hair.
Easy options:
- Two small claw clips, one on each side
- A loose half-up with a single elastic
- Mini braids on both sides meeting at the back
Keep the pulled-back part loose and soft. Tight half-ups look flat, and they show every thin spot near the temples.
Add a little root lift before you pin, and you are set for dinner, photos, and everything after.
Braids and Twists That Photograph Full
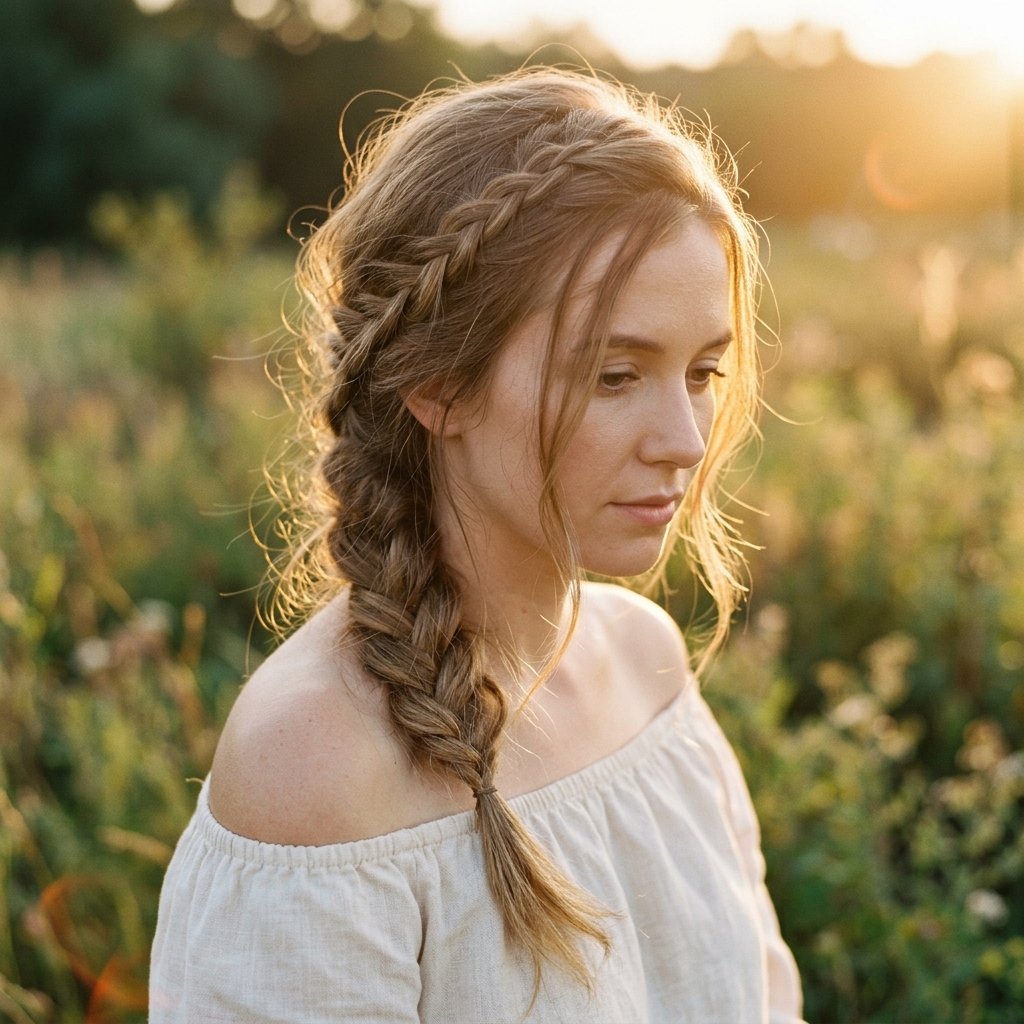
Braids are a great trick for fine hair because the pattern itself creates volume. A braid pulls width across your head, so your hair looks wider and thicker in photos.
Easy wins:
- A single loose braid over one shoulder
- Two small accent braids near the part
- A twisted half-up that hides thin temple areas
Always braid while your hair is dry and textured. Braiding damp fine hair creates tight, thin sections that look sparse.
Loosen each bump gently with your fingers afterward. That soft, lived-in look photographs much fuller than a tight braid.
Color Tricks: Shadow Roots and Babylights
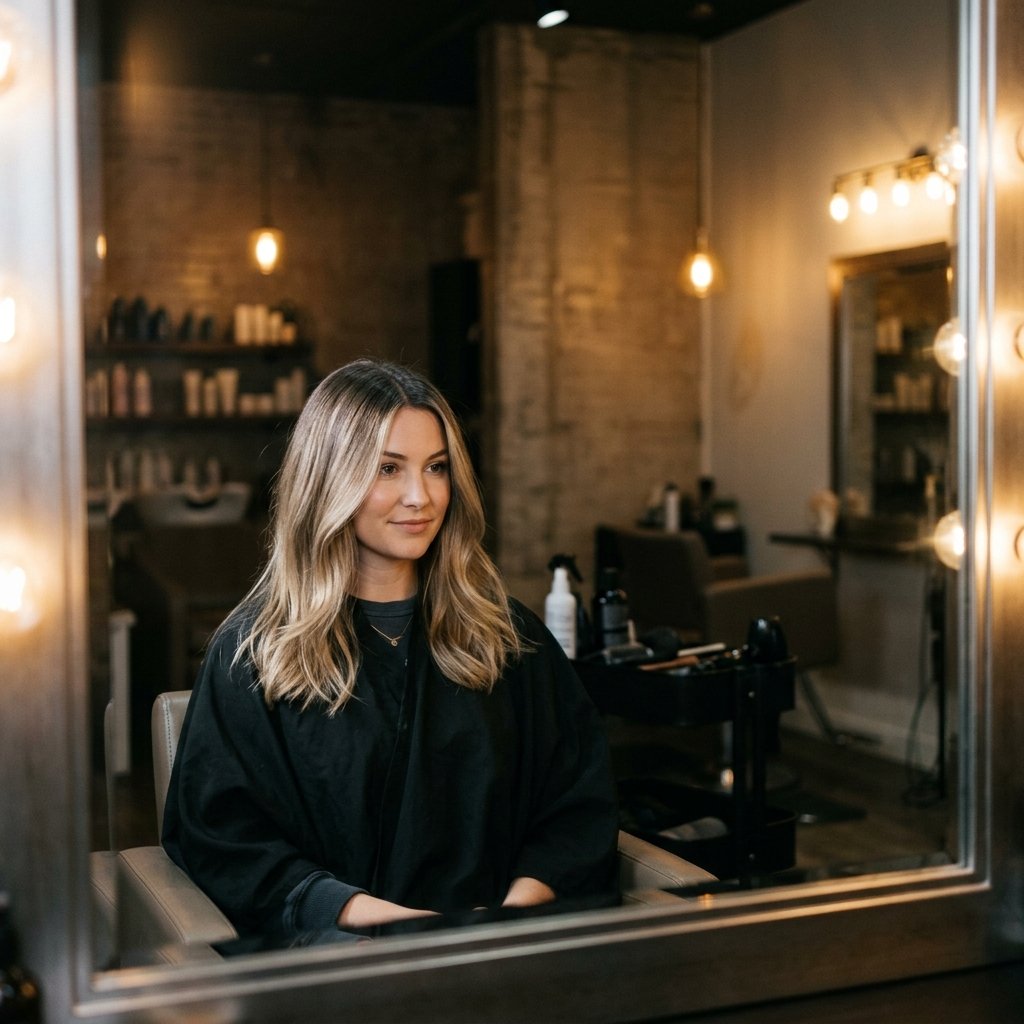
The right color can make fine hair look almost twice as dense. This is one of the most overlooked tips on this list.
What works:
- Keep your roots and base similar in depth so no bright scalp shows
- Add soft babylights, not chunky highlights
- Use a shadow root to create depth at the crown
Chunky highlights on fine hair can look stripey and thinner. Fine, blended pieces give you dimension without gaps.
Gloss treatments are worth it too. Shine makes each strand reflect light, which makes your hair look healthier and fuller in photos.
Hair Toppers and Clip-In Pieces
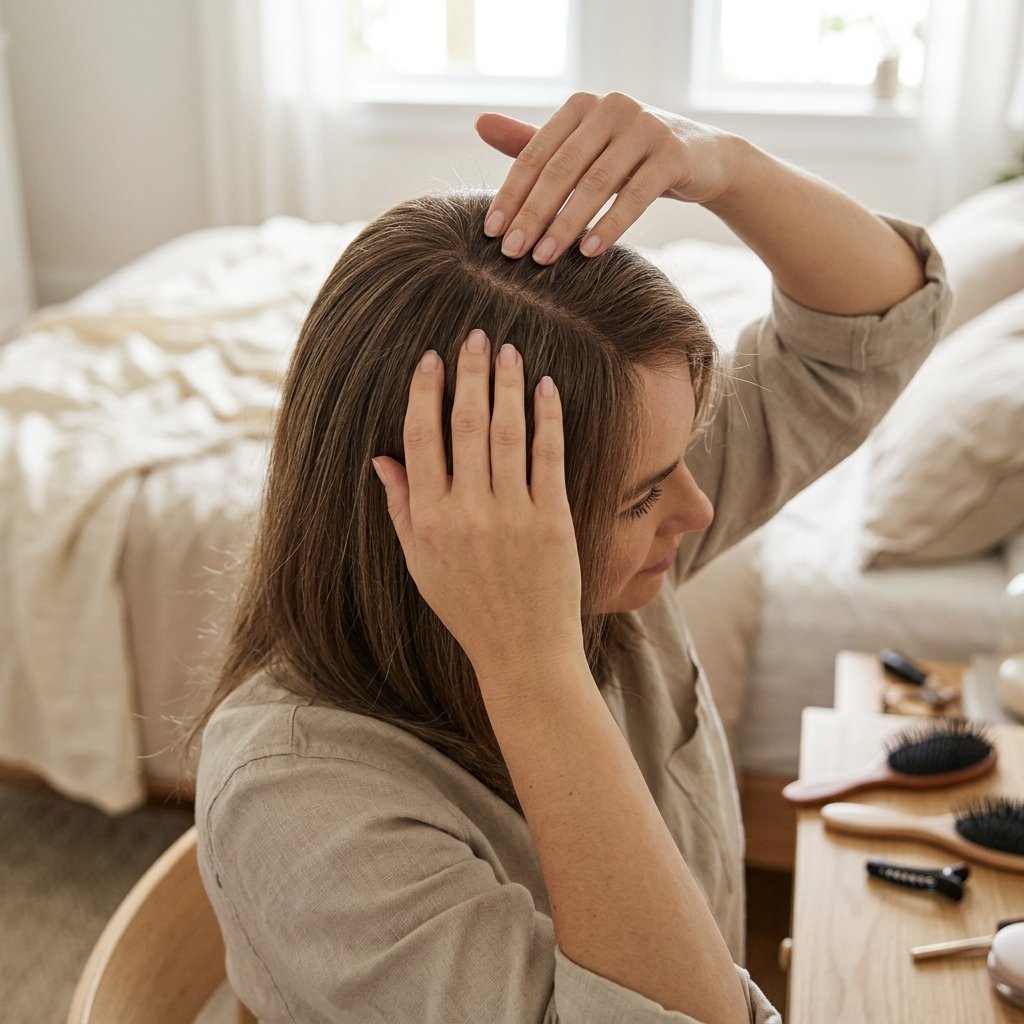
A hair topper is basically a small piece that sits on the crown and covers the top of your head. For anyone with thin spots, it is a quiet, comfortable solution.
They are lightweight, they clip in, and they blend with your own hair. Many are made specifically for fine hair, so they do not feel heavy.
Who they help:
- Thinning at the crown or part
- Anyone wanting instant volume for photos
- Fine hair that struggles to hold styled volume
Match the color to your roots and the texture to your natural pattern. A stylist can trim it so it blends perfectly.
Flash Photography: Styles That Hold Up
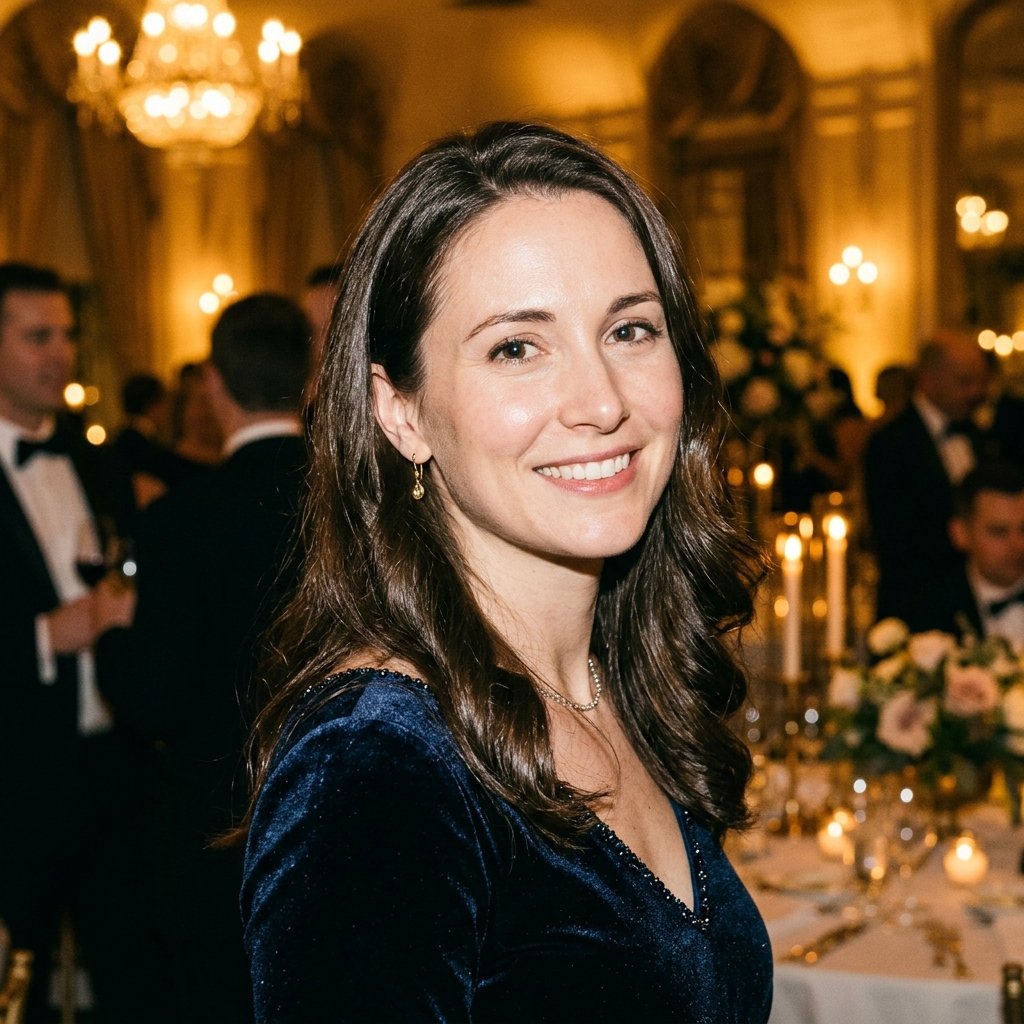
Flash is the enemy of fine hair. It flattens texture, highlights every oily root, and makes thin spots look brighter. But you can prepare for it.
Flash friendly tips:
- Use dry shampoo at the roots before the event
- Avoid heavy shine products, they bounce light and look greasy
- Choose a style with visible shape, like waves or a blunt lob
- Keep a little texture spray at the ends
Also, if you can, step slightly to the side of the flash instead of facing it head on. Your hair will look fuller and softer in every shot.
Lighting and Angles That Help Fine Hair

You can change your hair in the photo without changing your hair at all. Lighting and angles do a lot of the work.
Best light for fine hair: soft, diffused natural light from a window, slightly in front of you and a little above. It brings out shine and does not create harsh dark spots.
Angles that help:
- Chin slightly down, eyes up
- Turn your head about a quarter away from the camera
- Shoot from slightly above eye level
Overhead lights at night are the hardest. If that is all you have, move away from the lamp instead of standing under it.
Your 5-Minute Pre-Photo Routine
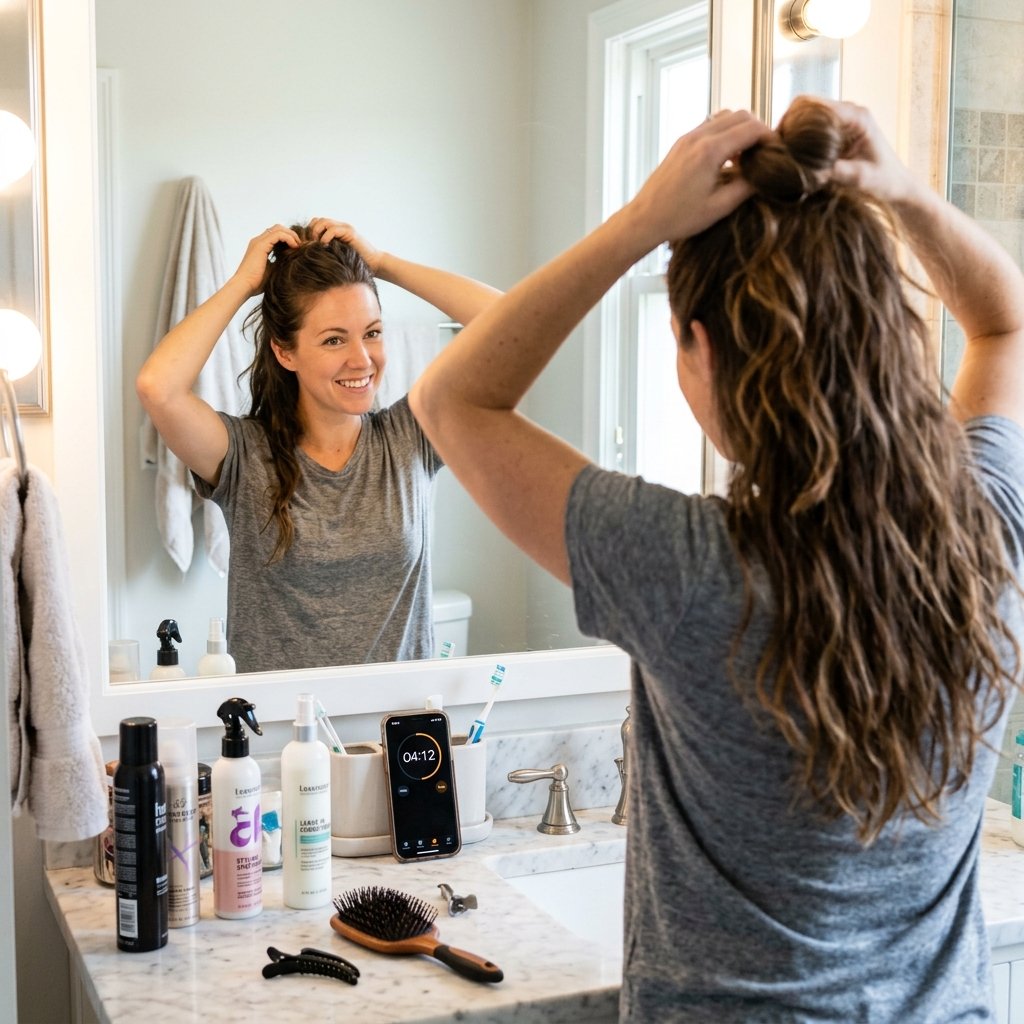
Five minutes, that is all you need. Here is my exact order, and it works for almost every style above.
- Dry shampoo at the roots, massage, brush through
- Root lift spray or velcro rollers on the crown
- Quick round brush on the front pieces only
- Texture spray on the mid-lengths and ends
- A tiny bit of root cover powder on the part
- Deep side part, then a final shake with your fingers
Do this and your hair will look fuller in photos than it does in the mirror. Every single time.
A Warm Little Wrap-Up
Fine hair is not a flaw to fix. It is just hair that likes a little structure, a little lift, and the right cut. Once you have your three or four go-to moves, photos stop being something you dread.
Start with the deep side part and the dry shampoo. Add root lift. Then try one cut from this list, like the quiet luxury bob or the asymmetrical lob, the next time you sit in the chair.
If you try any of these, I want to hear about it. Drop a comment and tell me which style you are trying first.
Save this post to Pinterest so you have it handy before your next appointment or photo day. And send it to the friend with fine hair who always says her hair looks flat in pictures. You know the one.

