

Fine hair has a personality. It’s soft, it’s shiny, and it has zero interest in faking volume at the ends. One wrong cut and suddenly your tips look like a whisper instead of a statement.
I’ve been there. I spent years asking for “light layers” and walking out with hair that looked thinner the longer it grew. The fix wasn’t a product. It was the cut.
Here’s the good news: you can wear a quiet luxury bob, a hime cut, or even a vampire haircut and still keep ends that look full. It’s all about where the weight sits.
Below are the cuts and stylist requests that actually work for fine hair in 2026. Quick read, real answers. Let’s get your ends looking full again.
Why Fine Hair Looks Sparse at the Ends

The truth is most fine hair isn’t actually thin. It’s just light. Every strand is finer than average, so when the ends taper, light passes right through them and they read as see-through.
Long hair makes it worse. Those ends are the oldest, most worn part of your hair, and they thin out over time. Add too many layers and there’s nothing left at the bottom to hold a shape.
- Fine hair shows every taper
- Long, worn ends look sparser than fresh ones
- Layers remove bulk your hair can’t spare
- Blunt lines create the look of density
The Blunt Cut Rule and When to Break It

A blunt cut is the single most effective thing you can do for fine hair. One clean line at the bottom means all your hair ends at the same place. That reads as full, even when it isn’t.
Break the rule only when you want movement. In that case, keep the bottom two inches blunt and put any layering above your jaw. That protects the ends while giving you shape.
- Ask for a blunt or softly blunt bottom
- Keep layers above the chin
- Avoid a razor on the ends
The Quiet Luxury Bob Done Right

The quiet luxury bob is everywhere in 2026 hairstyles, and it happens to be perfect for fine hair. It’s smooth, it’s blunt-ish, and it sits right where your hair is still dense.
The trick is length. Ask for the bottom to land at your collarbone or just above, not at your jaw. Jaw-length bobs can flare and expose thin sections near your neck.
- Keep the perimeter slightly blunt
- Add soft internal layers, never surface ones
- Skip heavy texturizing
- Finish with a shine serum, not a volume spray
The Asymmetrical Lob for Instant Fullness

An asymmetrical lob is basically a cheat code. When one side is longer, your eye reads the diagonal line instead of hunting for thin spots. It also lets you keep more weight on the shorter side.
Ask for a deep side part and a front piece that hits around your cheekbone. That front piece does the heavy lifting while the back stays blunt and full.
- One side 1 to 2 inches longer
- Blunt bottom, soft face frame
- Deep side part for volume
- Great grow-out shape, which saves you money
Long Layers With a Blunt Bottom

You don’t have to cut your hair short to fix sparse ends. You just have to change where the layers live. Long layers start below your shoulders so the bottom stays thick.
Tell your stylist: “I want long layers that start at my collarbone, and I want to keep my bottom line blunt.” That one sentence saves most fine-haired clients from an accidental thinning.
- Layers begin below the shoulders
- Bottom inch stays blunt
- No thinning shears anywhere near the ends
- Trim every 8 to 10 weeks
Skip the Choppy, Razored Ends
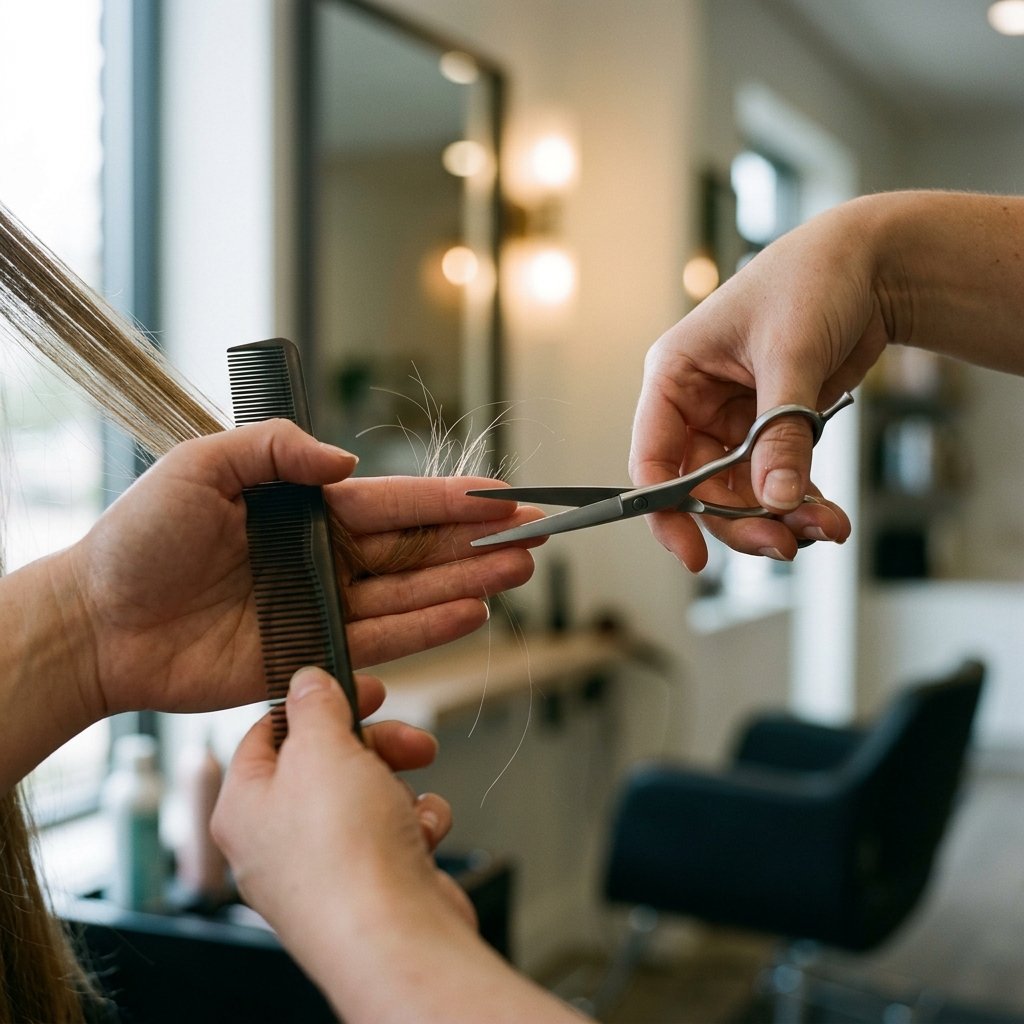
This is the mistake I made for years. Choppy, razored ends look amazing on thick, wavy hair. On fine hair, they shred your bottom line and the taper gets obvious within two weeks.
Razors slice strands at an angle, which creates wispy pieces that separate. Fine hair already separates easily. You don’t need help there.
- Say no to razors on the perimeter
- Say no to thinning shears
- Ask for point cutting only if you want softness
- Keep texture mid-shaft, not at the tips
The Hime Cut for Fine Hair

The hime cut is having a real moment, and it’s secretly great for fine hair. Those blunt side pieces frame your face and add visual weight right where people look first.
Keep the back long and blunt too. Because the whole cut is built on straight lines, there’s no tapering anywhere, which means no sparse-looking ends.
- Blunt cheekbone or jaw-length side pieces
- Long, blunt back section
- Minimal layering throughout
- Looks best with a smooth, glossy finish
Old Money Hair: Soft, Rounded, Full

Old money hair is all about polish, not volume tricks. Think soft bends, a rounded silhouette, and a healthy-looking shine. It’s the opposite of a high-texture, piecey look.
For fine hair, this is ideal. You’re not asking your strands to hold a wild shape. You’re asking them to look smooth and intentional.
- Round-brush the ends inward
- Keep the shape slightly wider at the bottom
- Use a light oil on the ends only
- Avoid heavy mousse, which can flatten
The Vampire Haircut With Weight at the Bottom

The vampire haircut is one of my favorite 2026 hairstyles for fine hair because the whole point is a thick, heavy bottom line. It’s dramatic, but it’s built on weight.
Ask for sharp, long layers that start below the chin, with a strong blunt hemline. The contrast between sharp layers and a heavy bottom is what makes it work.
- Heavy blunt hemline
- Long, sharp layers above
- Center part for a sleek look
- Deep color makes the ends look fuller
Romantic Goth Hairstyles That Keep Ends Thick

Romantic goth hairstyles usually lean soft and wavy, which can be risky for fine hair. The fix is all in the cut: keep the ends blunt so the waves have something solid to sit on.
Waves that start mid-length and end on a blunt line look full and romantic. Waves that start at the root and taper to nothing look stringy.
- Blunt bottom, soft waves above
- Use a 1-inch curling iron, not a wand
- Brush waves out for a softer finish
- Set with a flexible hold spray
Glitchy Glam Hair Without Stringy Tips

Glitchy glam hair is the fun, futuristic trend of sleek roots and glossy, almost synthetic-looking shine. It’s stunning on fine hair because sleekness hides thinness better than texture does.
The catch: any wet-look product will separate your ends. So keep the bottom blunt and apply product from mid-length up, never on the last two inches.
- Blunt, straight ends
- Product at the roots only
- Comb through, don’t scrunch
- Finish with a light gloss mist
How Short Is Too Short for Fine Hair

There’s a sweet spot. For most fine hair, chin to collarbone is the fullest-looking range. Below that, the ends get old and thin. Above that, you lose the weight you need.
A short blunt bob can absolutely work, but it should be cut with a slightly wider bottom, not tapered to the neck. Tapered short cuts on fine hair can look almost invisible at the nape.
- Chin to collarbone is the sweet spot
- Avoid tight taper at the nape
- One length beats stacked layers
- Short hair needs trims every 6 to 8 weeks
The Collarbone Reset

If your ends have been looking sparse for months, this is the one move that fixes it fast. Cut back to your collarbone, keep it blunt, and watch your hair instantly look twice as full.
It feels like a big change, but it’s only about three or four inches for most people. And it’s the fastest way to reset density without changing your whole look.
- Cut to collarbone, blunt
- Add a soft face frame
- Skip layers completely the first time
- Grow it back out with regular trims
Curtain Bangs vs. Blunt Bangs for Fine Hair

Both can work, but they do different things. Blunt bangs add a horizontal line that makes your hair look denser overall. Curtain bangs add softness without stealing weight from your ends.
If your forehead is on the smaller side, go with curtain bangs. If you want the biggest fullness boost, a slightly thicker blunt fringe is the stronger choice.
- Blunt bangs = instant density illusion
- Curtain bangs = softer, less upkeep
- Keep bangs thick enough to hold shape
- Trim bangs every 3 to 4 weeks
Face-Framing Pieces That Add Fullness

Face-framing pieces are your secret weapon. When you place a little weight near your cheekbones, the eye stops traveling down to your thin ends. It’s a design trick, not a volume trick.
Ask for pieces that start at cheekbone height and blend into the length. Keep them blunt at the tip so they don’t look wispy.
- Start at cheekbone height
- Blunt tips, not tapered
- Keep the pieces narrow, about an inch
- Style them forward for a softer look
2026 Hairstyles Worth Trying for Fine Hair
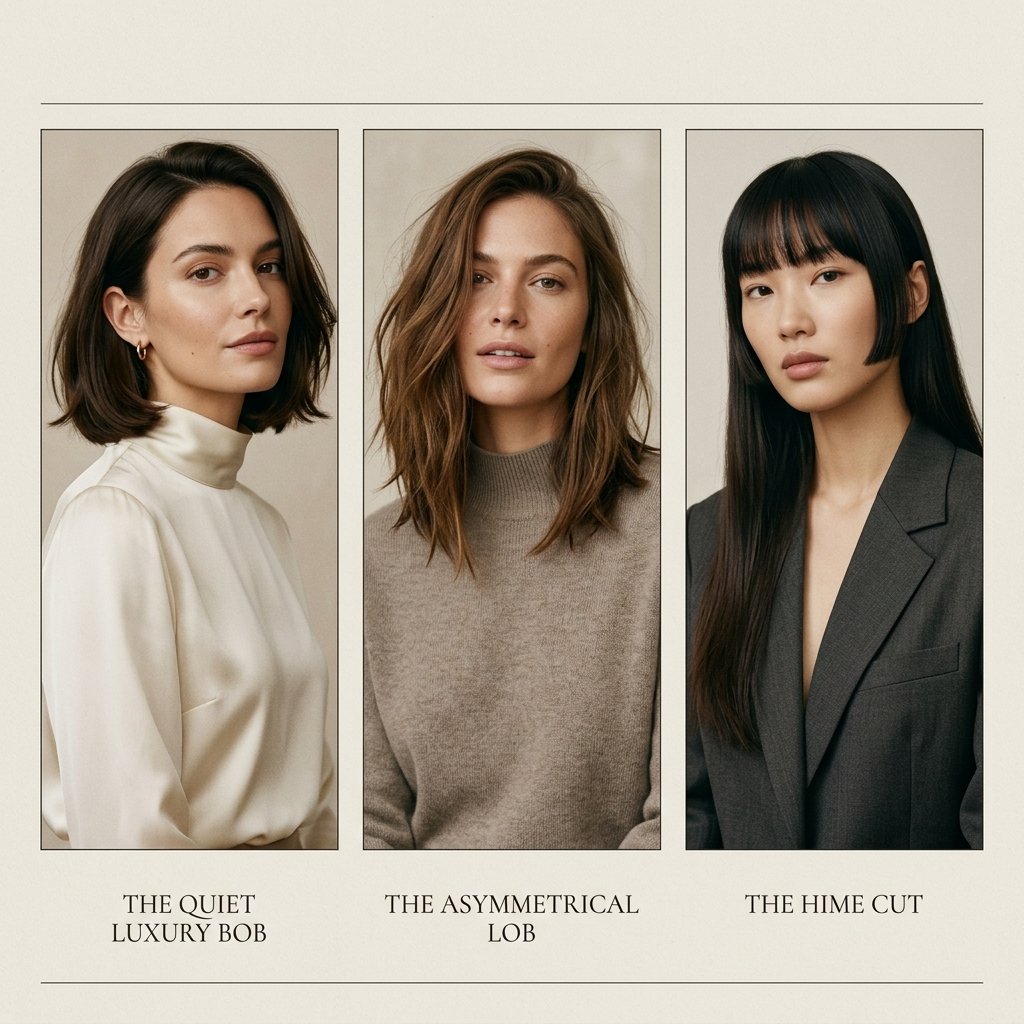
If you want one list to screenshot for your next appointment, this is it. These are the 2026 hairstyles that consistently work on fine hair without sacrificing length.
- Quiet luxury bob, collarbone length
- Asymmetrical lob with a deep side part
- Hime cut with blunt side pieces
- Old money hair, rounded and glossy
- Vampire haircut with a heavy hemline
- Glitchy glam sleek with blunt ends
Notice the pattern: every single one keeps weight at the bottom.
How to Ask Your Stylist for a Sparse-End-Friendly Cut

You don’t need to know cuttery terms. You just need to say the right three things when you sit down. Most thin-end problems come from a stylist guessing.
- “Please keep my bottom line blunt.”
- “No thinning shears or razors.”
- “I want layers only below my shoulders.”
Then show a photo. Photos do more than words ever will, especially if you point out the thick ends in the picture.
Point Cutting vs. Slide Cutting Explained
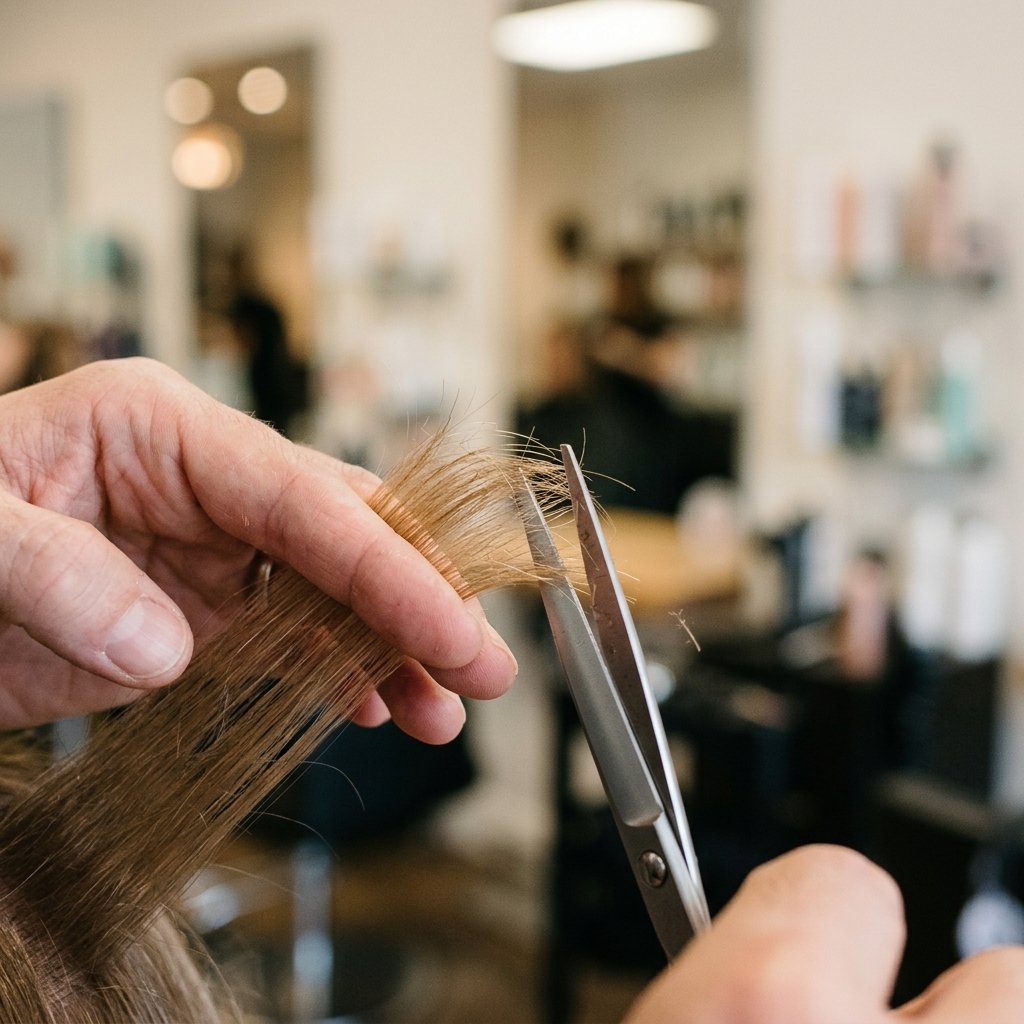
These two sound similar and behave very differently. Point cutting snips straight into the end of the hair, which softens a line without thinning it much. It’s safe for fine hair in small doses.
Slide cutting glides the blade down the strand, removing weight along the length. On fine hair, this can be a disaster if it’s done near the ends.
- Point cutting: safe for softening
- Slide cutting: keep it above the shoulders
- Razor cutting: skip it entirely
- Always ask what technique is being used
Drying and Styling Tricks That Fake Density
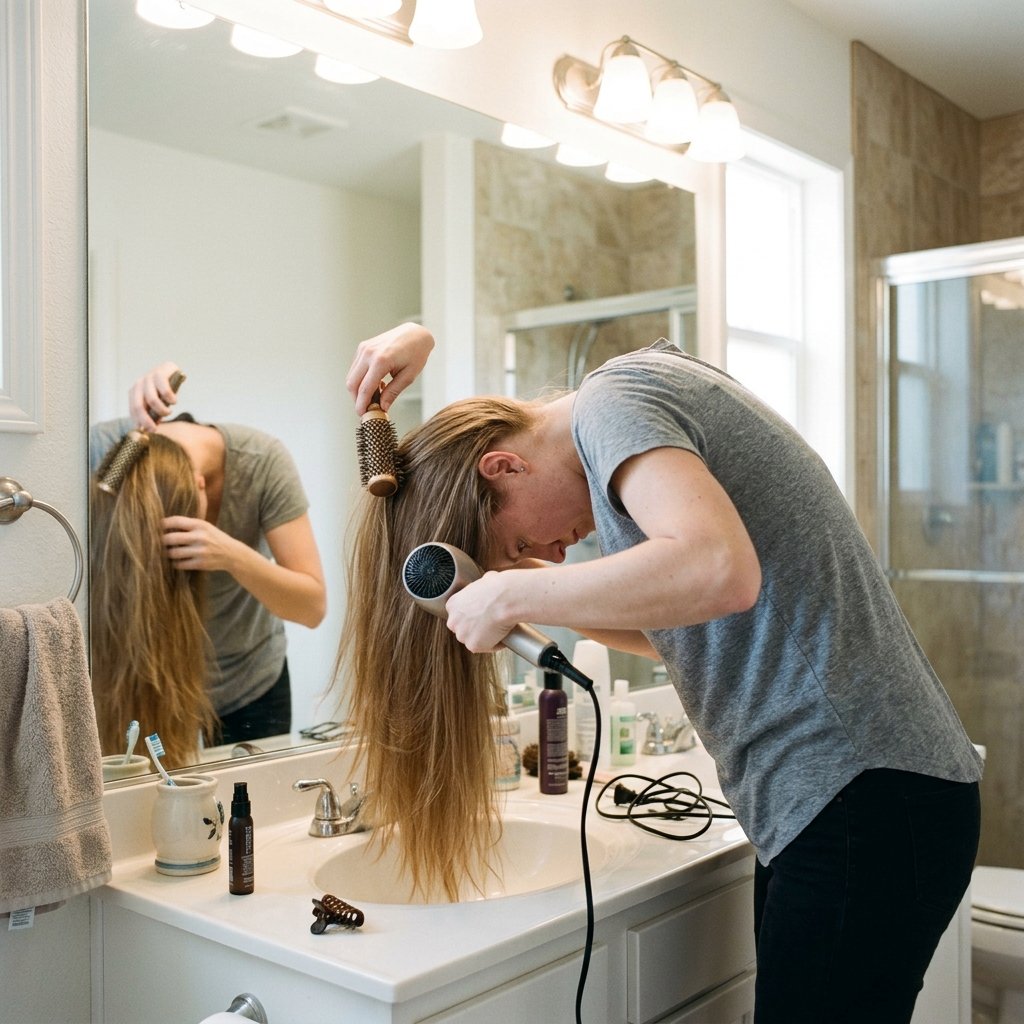
Styling matters as much as the cut. The goal is to lift the roots and keep the ends smooth, because rough ends look thin even when they’re not.
Dry your roots first, and dry them in the opposite direction they naturally fall. Then finish the ends with a round brush pointing down. That’s it.
- Blow-dry roots upside down
- Switch to a round brush for the ends
- Keep the nozzle pointing down the strand
- Cool shot to set the shape
Products That Add Weight Without Flattening
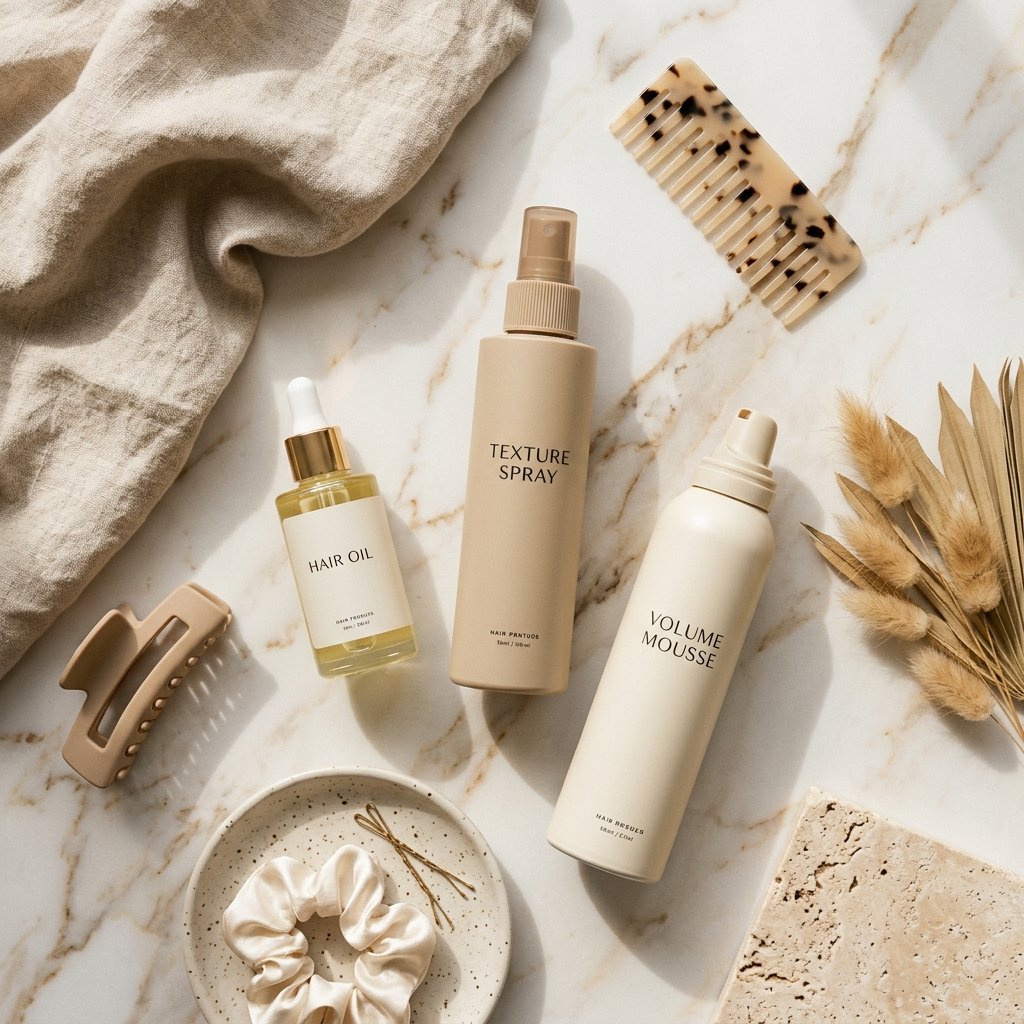
Fine hair is picky. Anything heavy drags it down, and anything drying makes it static and piecey. You want lightweight products that add grip, not grease.
My rule: one product for the roots, one for the ends. Nothing in between.
- Root lift spray or mousse at the crown
- Lightweight oil on the last two inches only
- Dry texture spray mid-shaft for grip
- Skip heavy creams and butters
Color Tricks That Make Ends Look Fuller

Color can genuinely change how full your hair looks. One flat shade shows every gap. Two or three close shades blur the edges and make the whole thing read thicker.
Keep the contrast low. High-contrast highlights on fine hair can make the ends look stringy, because the light pieces stand out against the dark ones.
- Stay within two shades of your base
- Add dimension mid-length and up
- Go a touch deeper at the very ends
- Avoid harsh, high-contrast highlights
The Every-8-Weeks Trim Rule
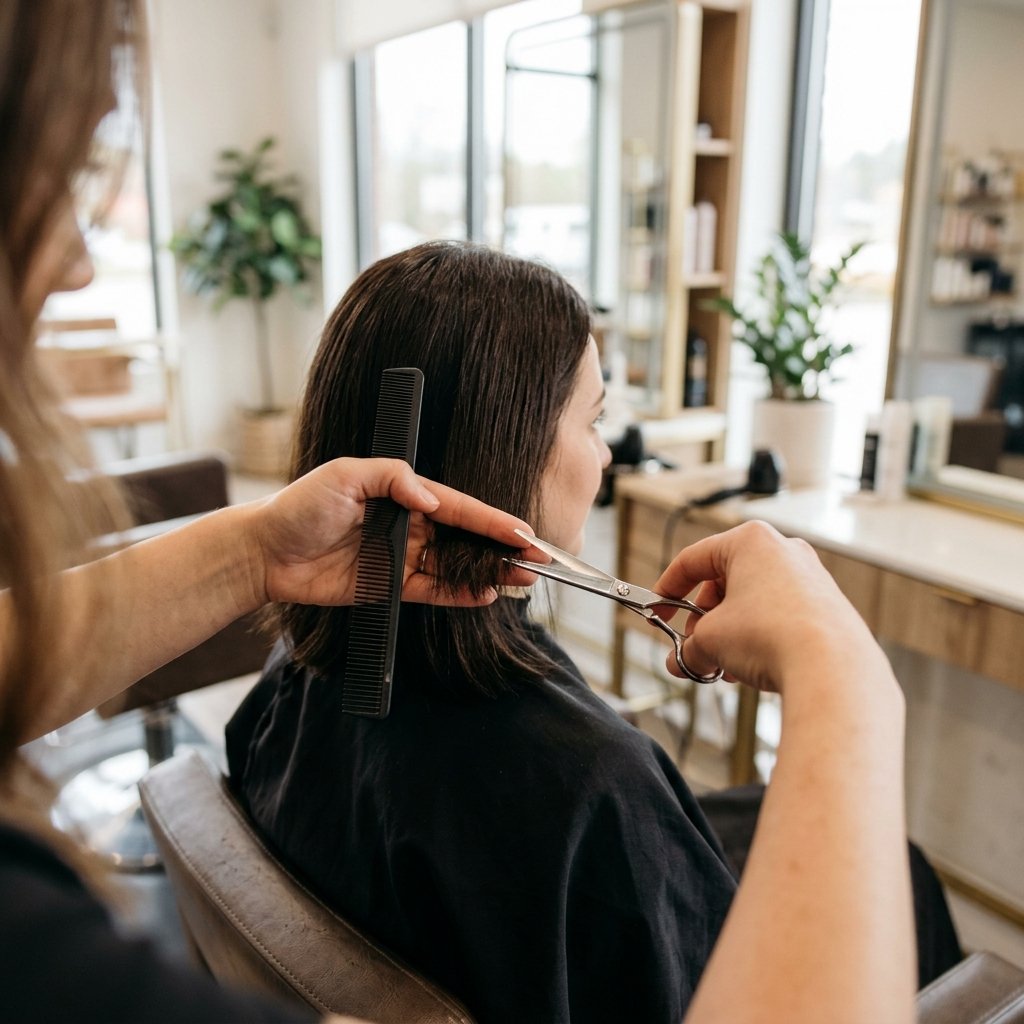
I know. Nobody wants to hear it. But fine hair shows damage faster than any other type, and split ends travel up the strand quickly.
A small trim every 8 to 10 weeks removes the worn part before it spreads. That means you keep more length over a full year, not less.
- Trim every 8 to 10 weeks
- You only need a quarter inch
- Ask for a dusting if you’re growing it out
- Book your next appointment before you leave
Fine Hair, Extensions, and Toppers
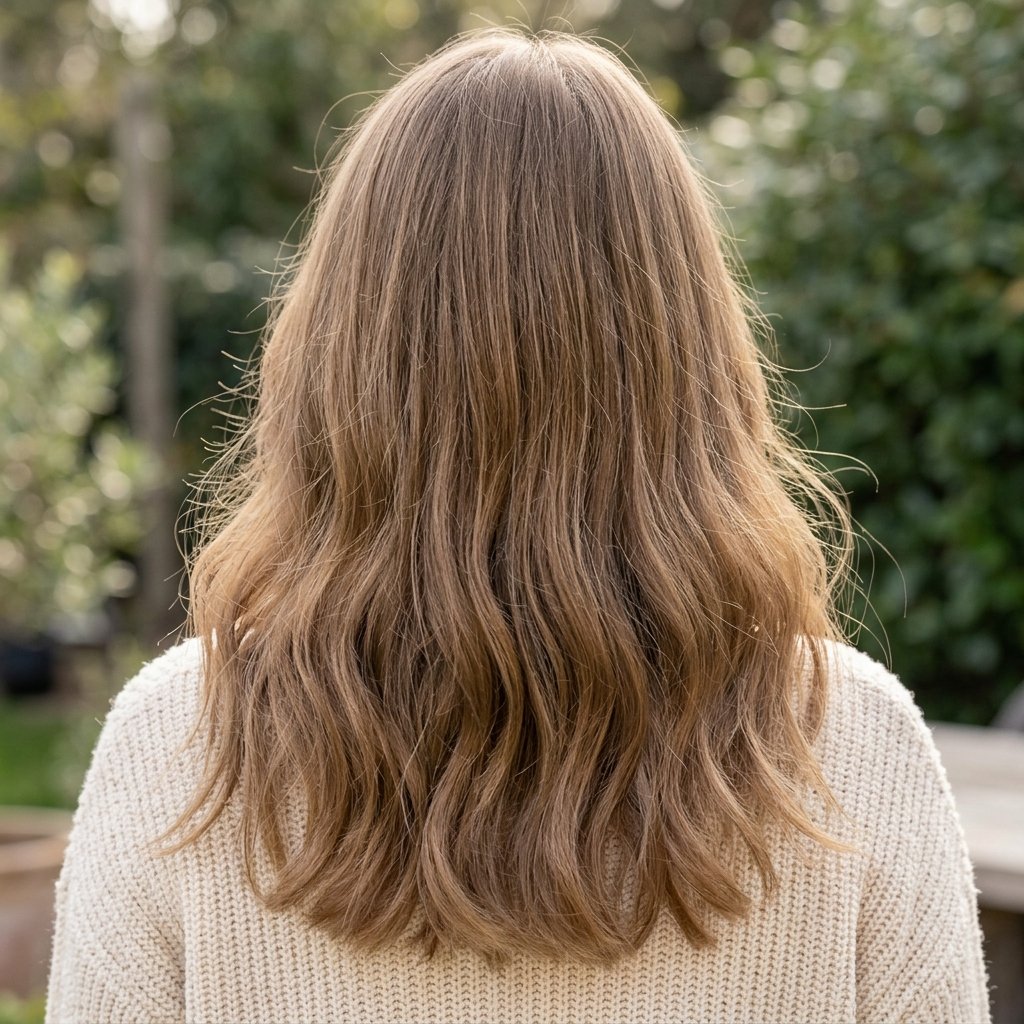
Extensions aren’t cheating, and for fine hair they can be a real fix. The key is going light and strategic. One or two wefts for volume beats a full set for length.
Heavy extensions can pull on fine strands and cause breakage, which makes the original problem worse. If you go this route, choose clip-ins over bonded ones.
- Use clip-ins for occasional volume
- Match the shade and texture closely
- Never wear them on wet hair
- Give your scalp and roots rest days
Quick Fixes Between Salon Visits
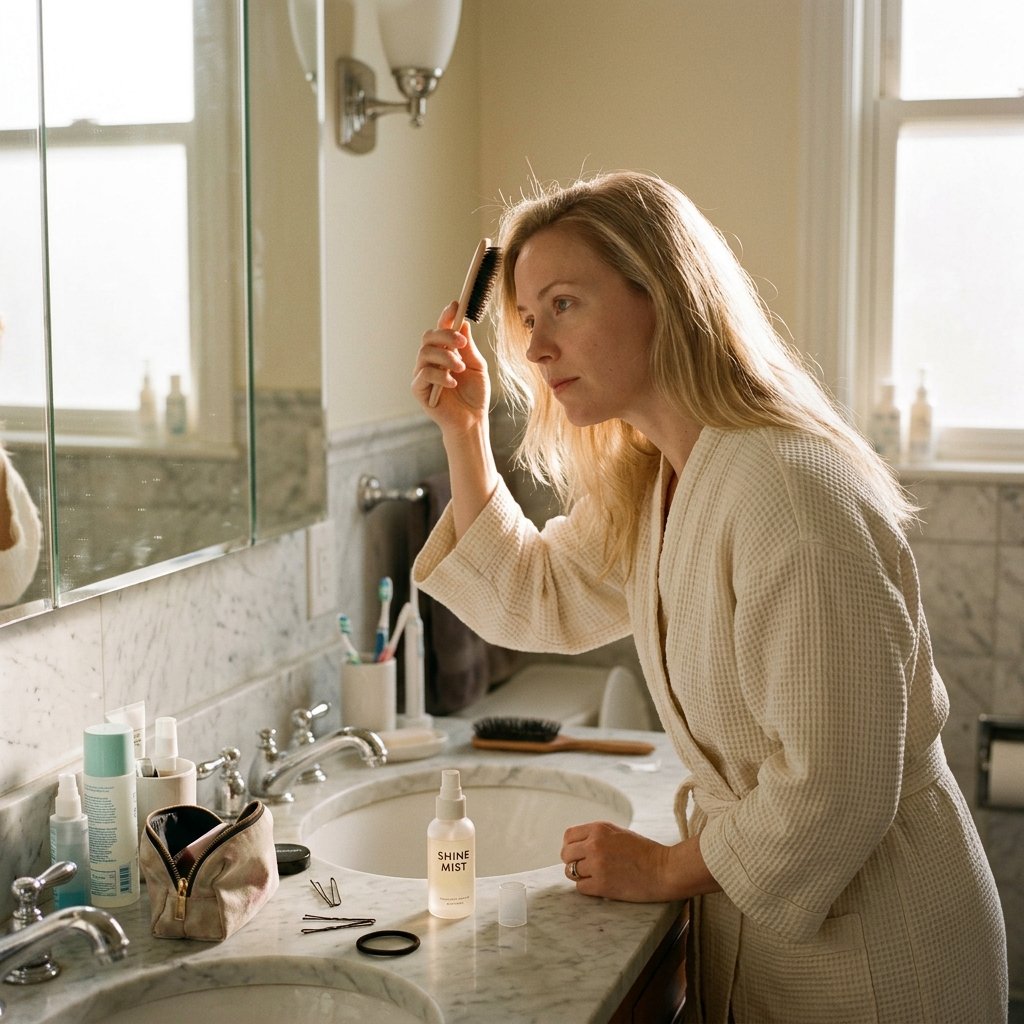
Ends looking rough three weeks before your appointment? You’re not stuck. A few small habits will carry you through until your next trim.
Keep a tiny pair of trimming scissors for the one or two split ends you can see, but don’t go hunting. Over-trimming at home creates a jagged, thinner-looking line.
- Use a leave-in oil on the ends nightly
- Sleep on a silk pillowcase
- Loosely braid before bed to prevent tangles
- Trim only the obvious singles
A Few Thoughts Before You Book That Appointment
Fine hair gets a bad reputation, and honestly, it doesn’t deserve it. It’s shiny, it’s soft, and it takes color and shine better than almost any other texture. The problem was never your hair. It was a cut that didn’t respect where your weight lives.
So take a screenshot of one or two cuts here. Bring them in. Say the three sentences. Keep your bottom line blunt, skip the razors, and trim on schedule. That’s genuinely the whole formula.
You’re going to walk out of that salon with ends that look full, and it’ll feel like a completely different head of hair. I promise.
Save this post to Pinterest so you have it ready the next time you’re sitting in that chair. And tell me in the comments, which cut are you trying first? I read every single one.

