
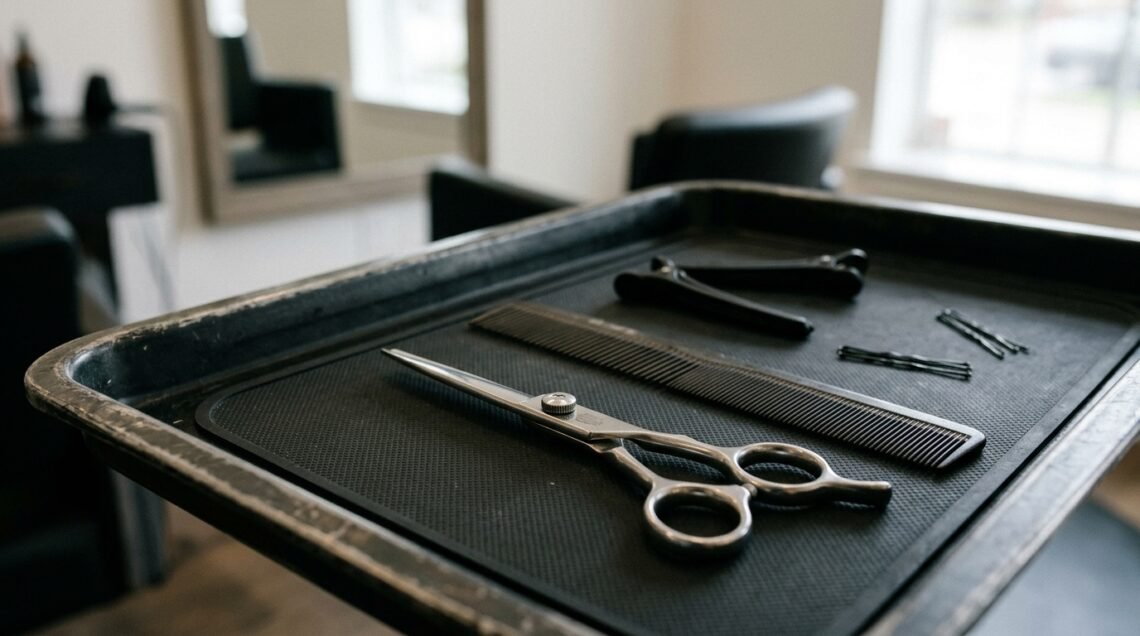
Growing out a pixie is a special kind of patience test. One week you feel chic and French, the next week you have a tiny mullet and no idea what to do with it. I have been there. Twice.
Here is the good news. That awkward stage is not actually awkward. It is just unstyled. With the right cut, the right styling trick, and about four minutes in the morning, grown out pixie cuts can look completely on purpose.
In this post I am sharing the shapes, products, and shortcuts that got me through every in-between length. No filters, no fluff, just what actually works.
Grab a coffee and let’s make this growth phase your best hair era yet.
Why Grown Out Pixie Cuts Feel So Fresh Right Now

Short hair is everywhere in 2026 hairstyles, and the grown out pixie is quietly leading the charge. It reads as confident and a little undone, which is exactly what people want right now.
Think old money hair meets quiet luxury. It is polished, but it never looks like you tried too hard.
Best of all, this length works with almost any personal style, from soft and romantic to sharp and edgy.
The One Trick That Makes Any In-Between Length Look Intentional
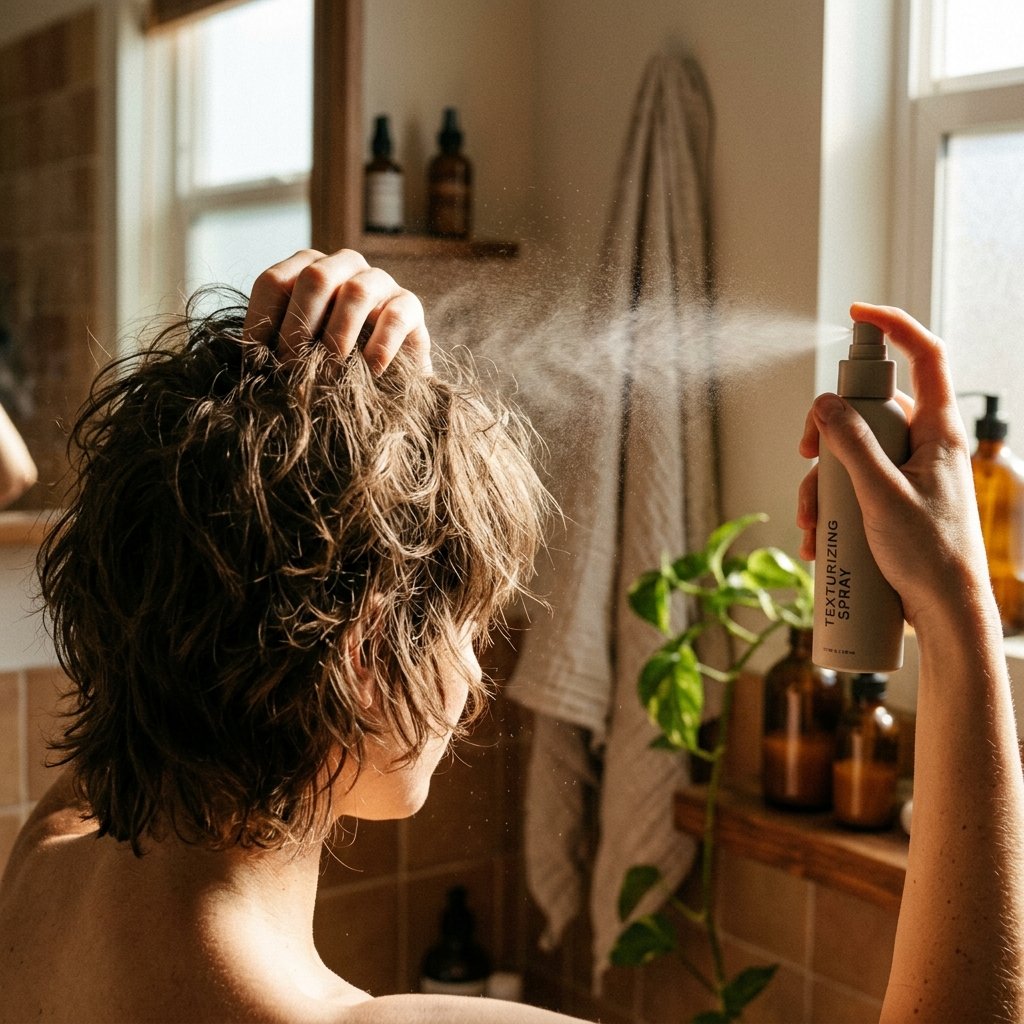
If you only take one thing from this post, take this: texture hides awkwardness. Flat, clean hair shows every uneven layer. Textured hair looks styled.
Here is my simple routine:
- Spray texturizing mist on damp roots and ends.
- Scrunch with your hands, not a brush.
- Let it air dry while you do your makeup.
- Finish with a tiny bit of cream to smooth the front.
That is it. Four minutes total, and suddenly the shape looks deliberate instead of leftover.
Asymmetrical Lob: The Easiest Pixie Escape Route

When your pixie hits that chin-length danger zone, ask your stylist for an asymmetrical lob. One side slightly longer than the other gives you movement and hides the grow-out line around the back.
It is the single most flattering transition cut I have tried. It also looks intentional, which means nobody knows you are mid-growth.
Bonus: an asymmetrical lob works with straight, wavy, or curly hair, so you do not have to fight your natural texture.
Soft Quiet Luxury Bob for Grown Out Pixies

The quiet luxury bob is basically a grown out pixie that behaves. It sits just above the shoulders, blunt or softly layered, with a smooth finish.
Ask for a slightly rounded shape at the back so the neckline still feels neat. Keep the front pieces long enough to tuck behind your ears.
Style it by blow drying with a round brush toward your face, then adding a drop of lightweight oil. Clean, expensive, effortless.
Old Money Hair: Polished Grown Out Pixie Ideas
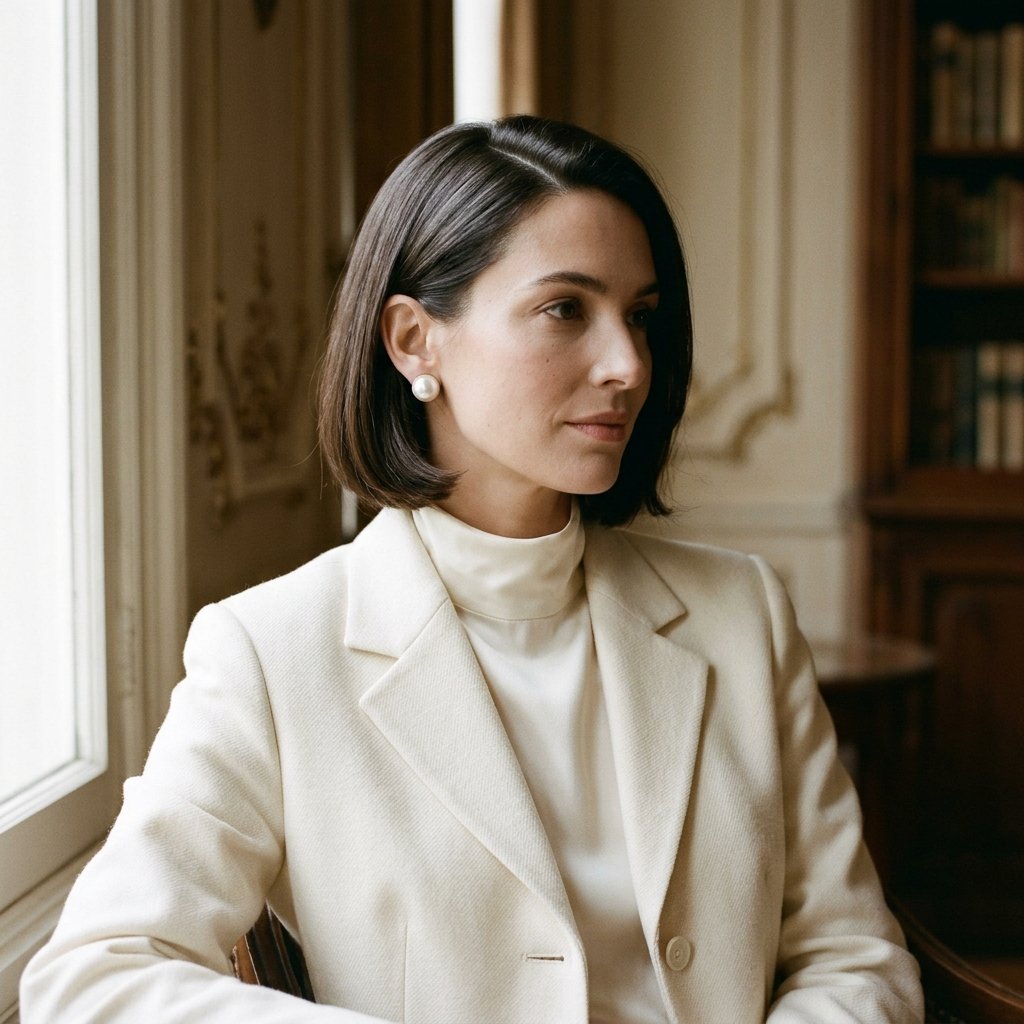
Old money hair is all about shine and shape, never trend. For a growing pixie, that means a deep side part and a smooth, glossy finish.
Try this:
- Part your hair while it is still wet.
- Blow dry with a small round brush, rolling the front away from your face.
- Set with a light mist of flexible spray.
Add a simple gold hoop or a silk scarf and you are done. It looks like you summer on a lake, even if you are running errands.
The Vampire Haircut Grows Out Beautifully

The vampire haircut, with its sharp layers and dramatic contrast, is one of the smartest choices for anyone growing out a pixie. Those choppy layers blend new growth instead of exposing it.
Keep the longest pieces around your cheekbones and jaw. Shorter, piecey layers on top create that moody, cinematic shape.
Style it with a matte paste and let the ends stay a little sharp. Sleek on top, spiky at the tips, exactly how it should look.
Romantic Goth Hairstyles for the In-Between Length
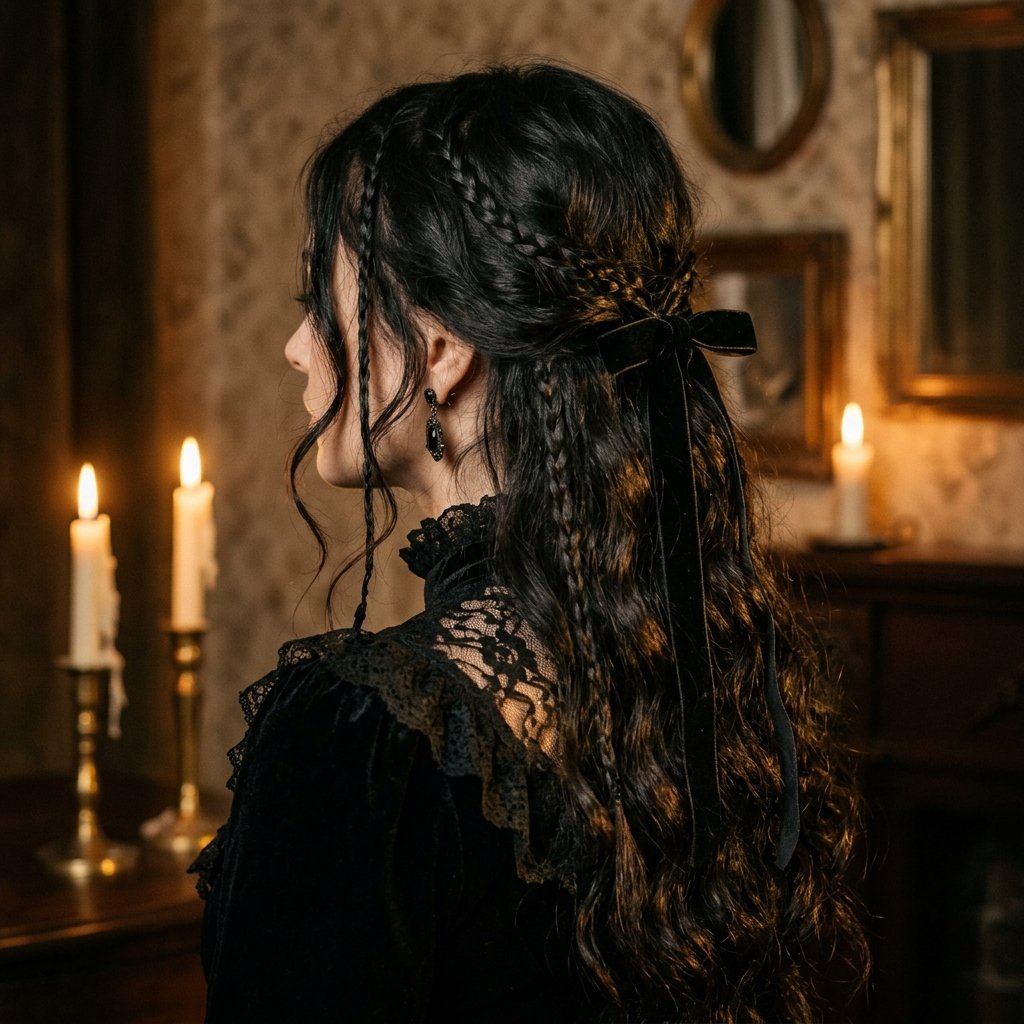
Romantic goth hairstyles are perfect for a grown out pixie because they lean into softness instead of fighting it. Think tiny braids, velvet ribbons, and loose face-framing pieces.
Try pinning two small braids back from your temples. Leave the rest textured and air dried. Add a ribbon if you are feeling dramatic.
It looks intentional, a little moody, and completely effortless. Plus, braids are a genius way to hide uneven layers around your ears.
Glitchy Glam Hair for Edgy Awkward Stages

Glitchy glam hair is the fun, slightly chaotic trend that makes uneven lengths look cool on purpose. The whole idea is polished imperfection.
Go for:
- Sharp, piecey ends with a shiny finish.
- Unexpected metallic clips or pins.
- A glossy top and a textured back.
It is playful and a little futuristic, and it works best on short hair. Your grow-out phase just became your most interesting look.
Hime Cut Layers on a Growing Pixie

The hime cut is the blunt side pieces plus a straight back, and it translates surprisingly well to short hair. Those blunt side pieces give structure while the back grows out.
Ask for the side pieces to hit right at your cheekbone or jaw. Keep them blunt, not layered. The contrast is the whole point.
It looks clean and slightly anime-inspired, which is very 2026. Smooth it with a flat iron on low heat and a little shine serum.
Micro Bangs and Face-Framing Pieces

If your front hair is long enough, micro bangs are a game changer during a pixie grow out. They reset the shape and draw attention away from the back.
Keep them short and a little piecey, not blunt and heavy. Soft edges grow out much more gracefully.
Already have bangs? Let them get slightly longer and sweep them to one side. It softens the whole look instantly.
The Mullet-Shag Hybrid Everyone Is Asking For

I know, I know. But the modern mullet-shag hybrid is genuinely the best friend of a grown out pixie. It turns the length in the back into a feature instead of a problem.
Ask for soft layers, a slightly longer back, and lots of texture. Nothing sharp. Nothing 1985.
Style with sea salt spray and scrunch. Let it be messy. The messier, the better it looks.
Slicked Back Wet Look for Bad Hair Days
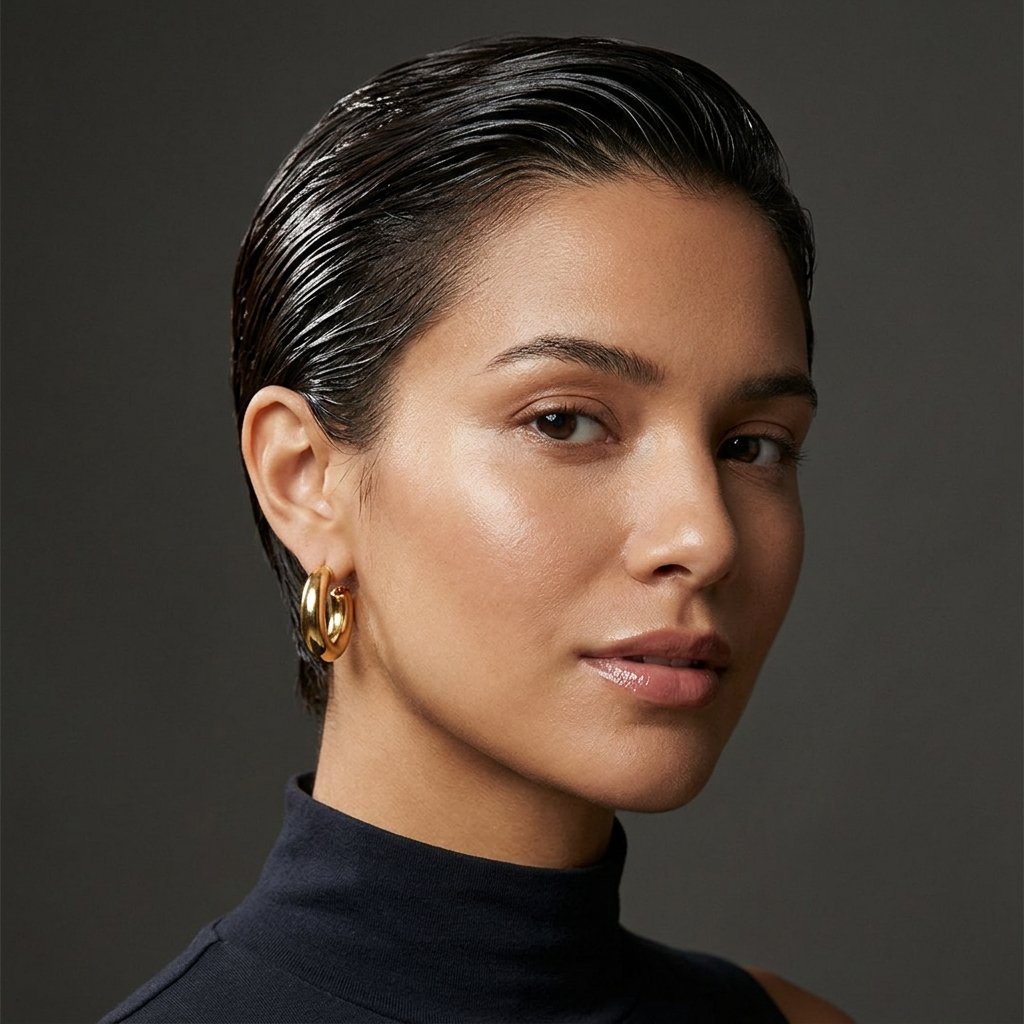
Some mornings you just need to hide everything and look expensive doing it. The slicked back wet look is your answer.
Comb gel or styling cream through damp hair from the roots back. Use a fine tooth comb for a clean finish. Tuck the sides behind your ears.
This works at literally every stage of a pixie grow out. It looks sleek, modern, and takes about ninety seconds. Keep a small comb in your bag for touch ups.
Half-Up Styles That Hide the Awkward Back
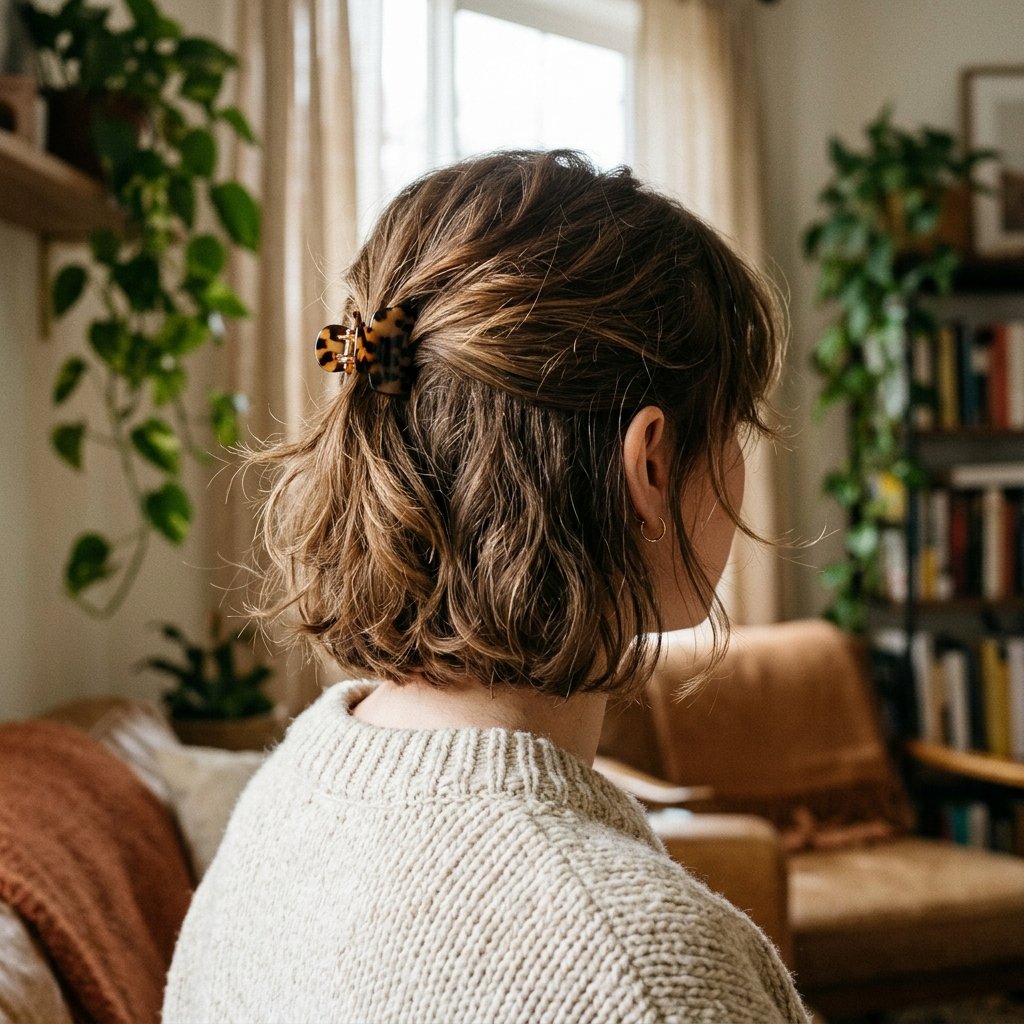
When the back of your hair is doing something weird, a half-up style is the fastest fix. Pull the top section back and secure it with a small claw clip.
Leave the sides and front loose and textured. It balances the shape and makes the length gaps look intentional.
Try:
- A tiny claw clip for everyday.
- A small silk scrunchie for something softer.
- Two small clips on each side for a playful look.
It takes seconds and completely changes the silhouette.
Clips, Pins, and Barrettes That Do the Heavy Lifting
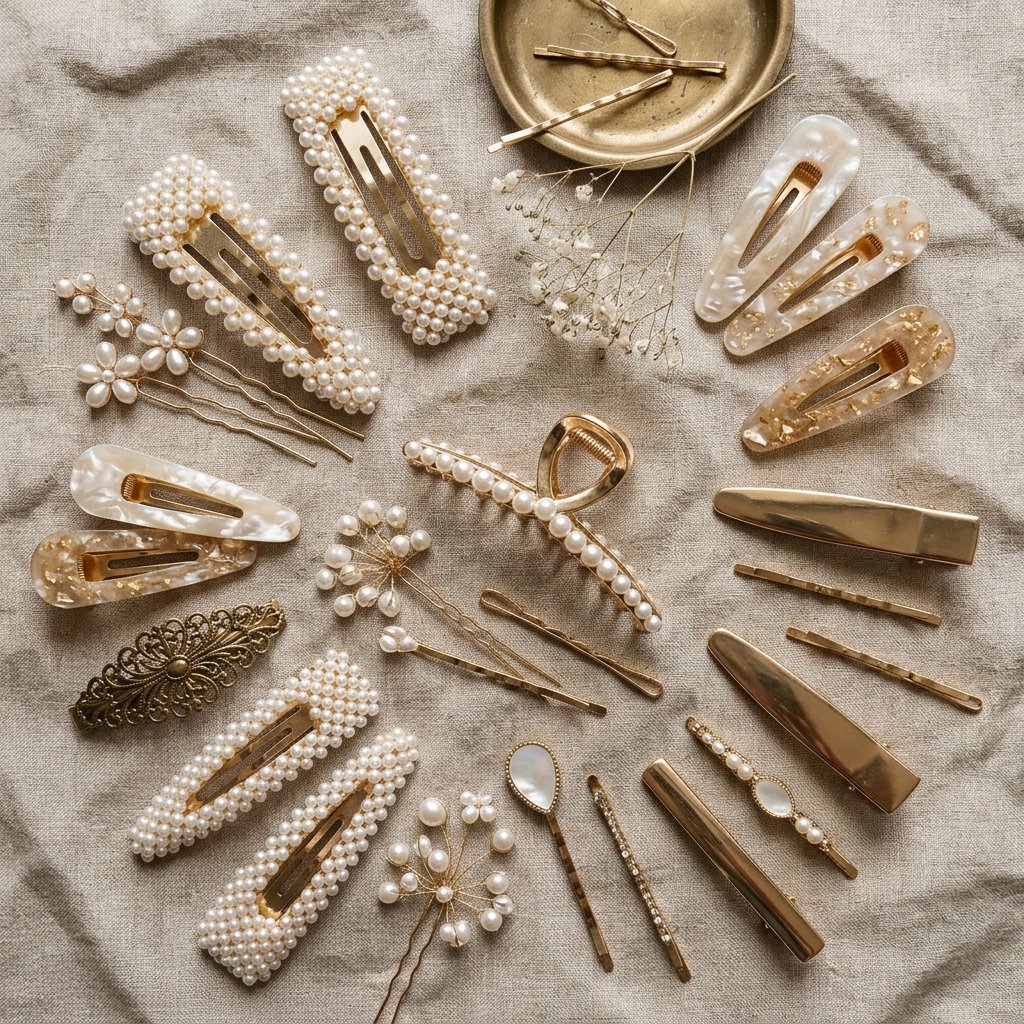
Accessories are the cheapest way to make grown out hair look styled. A good clip can rescue five bad hair days in a row.
My current favorites are pearl barrettes, small gold alligator clips, and anything with a slightly vintage feel. They work with old money hair and romantic goth hairstyles equally well.
Keep a few in your bag, your car, and your desk drawer. You will thank yourself later.
How to Style the Back of a Grown Out Pixie
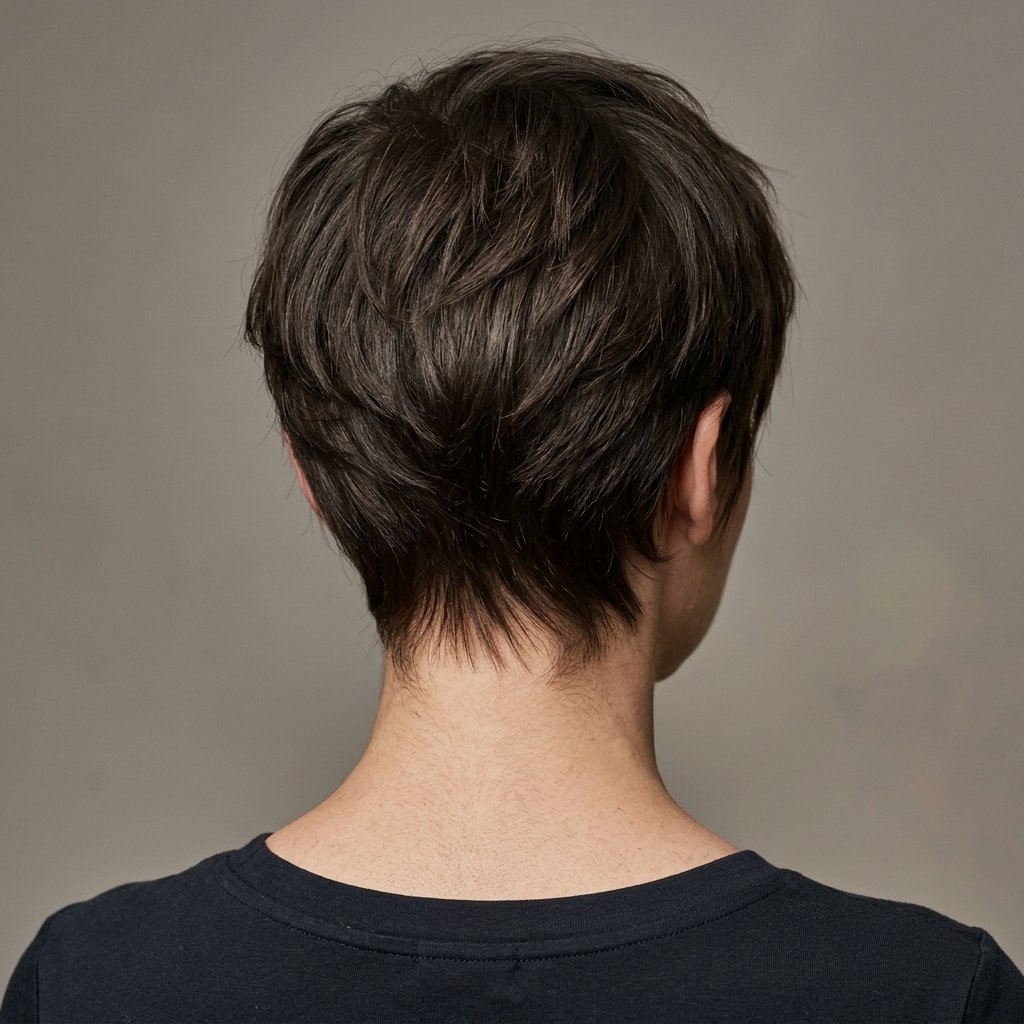
The back is where grow outs get messy, so give it a little extra attention. The goal is to make the neckline look tidy without looking flat.
Use a small brush to smooth the nape down, then add texture on top of the head for volume. The contrast makes the shape look balanced.
If the back feels too long, ask your stylist to trim just the nape between full cuts. It buys you weeks of looking polished.
Texturizing Spray vs. Sea Salt Spray
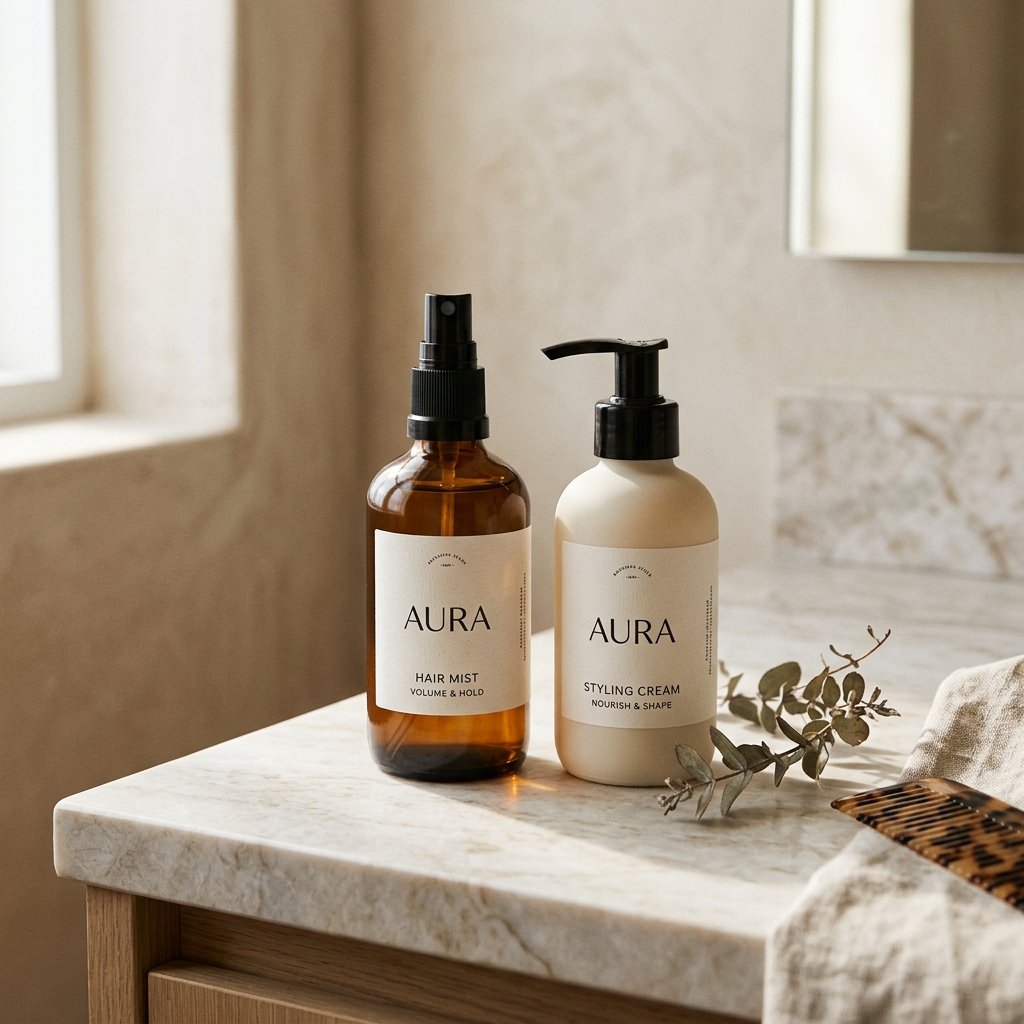
These two are not the same, and using the right one matters.
- Texturizing spray: dry, grippy, adds volume at the roots. Best for fine hair.
- Sea salt spray: adds wave and beachy grit. Best for medium to thick hair.
I keep both. Texturizing spray on day one hair, sea salt spray on day two when I want more movement.
Blow Drying Tips for Short Grown Out Hair
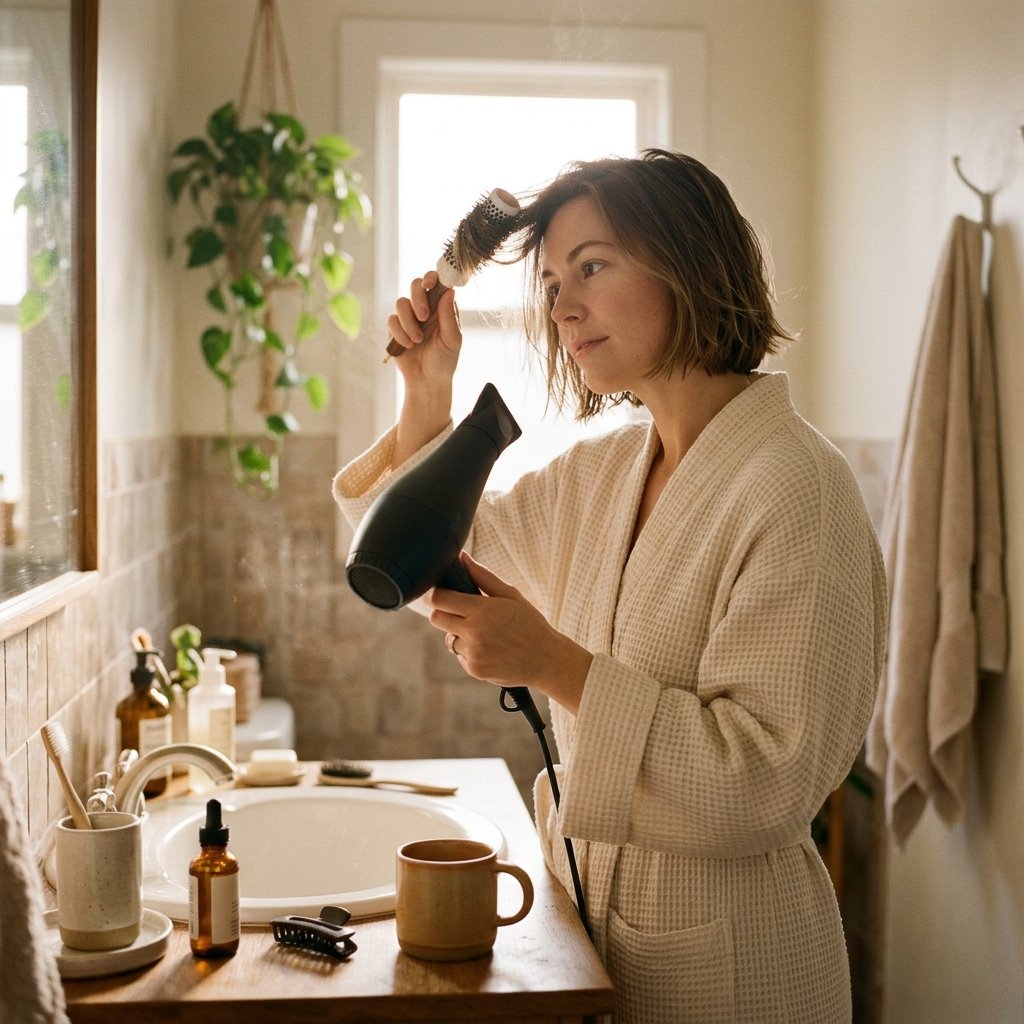
Short hair dries fast, so a two-minute blow dry really does change everything.
- Start with damp, not soaking, hair.
- Blow dry the front first, rolling away from your face.
- Flip your head over and dry the back for volume.
- Finish with cool air to set the shape.
Use a small round brush, not a big one. Small brushes give short hair direction and a bit of lift at the root.
Heatless Overnight Tricks That Save Time
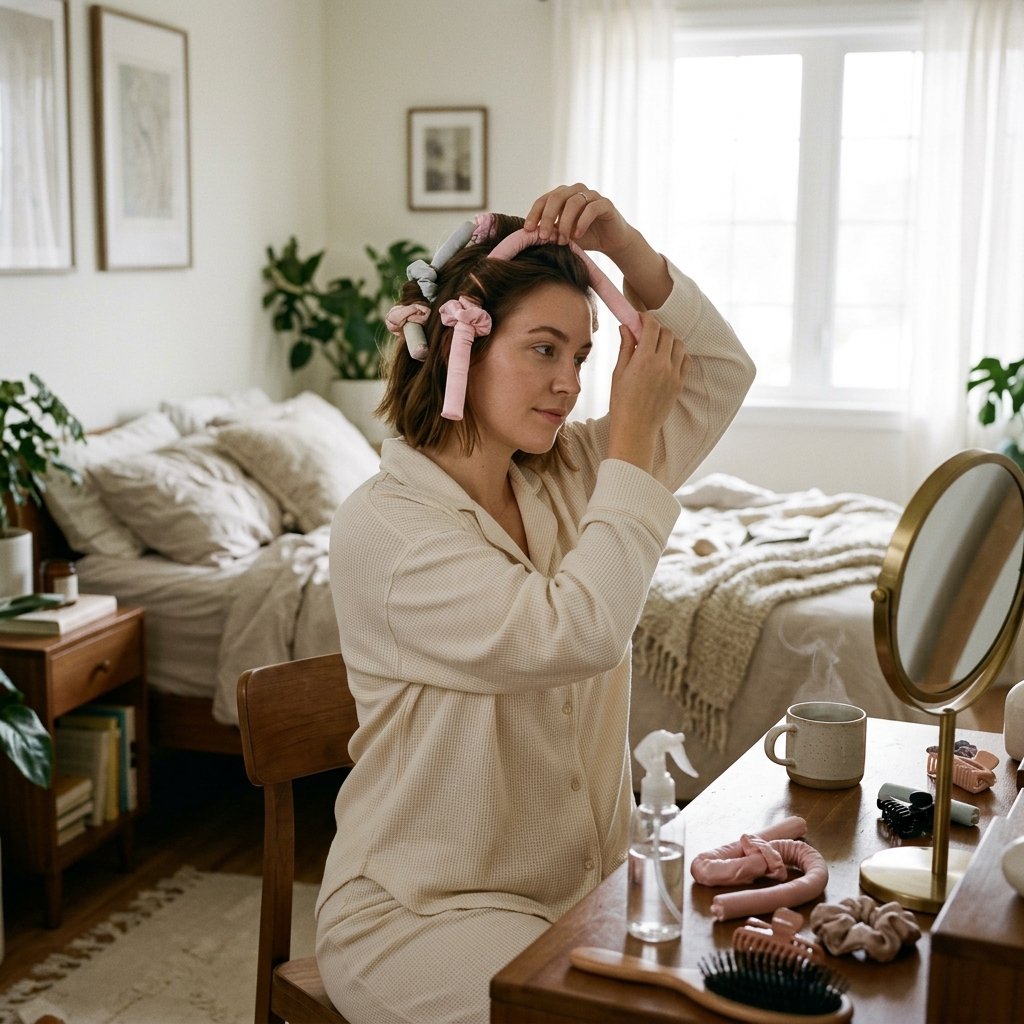
Overnight styling is underrated for short hair. You wake up with shape already built in.
Try a few small velcro rollers on top for lift, or a soft foam curler on the front pieces for a gentle bend. Sleep on a silk pillowcase to reduce frizz.
In the morning, take everything out, shake, and go. No heat, no damage, no fuss. This is how I survive busy weeks without looking like I gave up.
What to Tell Your Stylist at the Salon
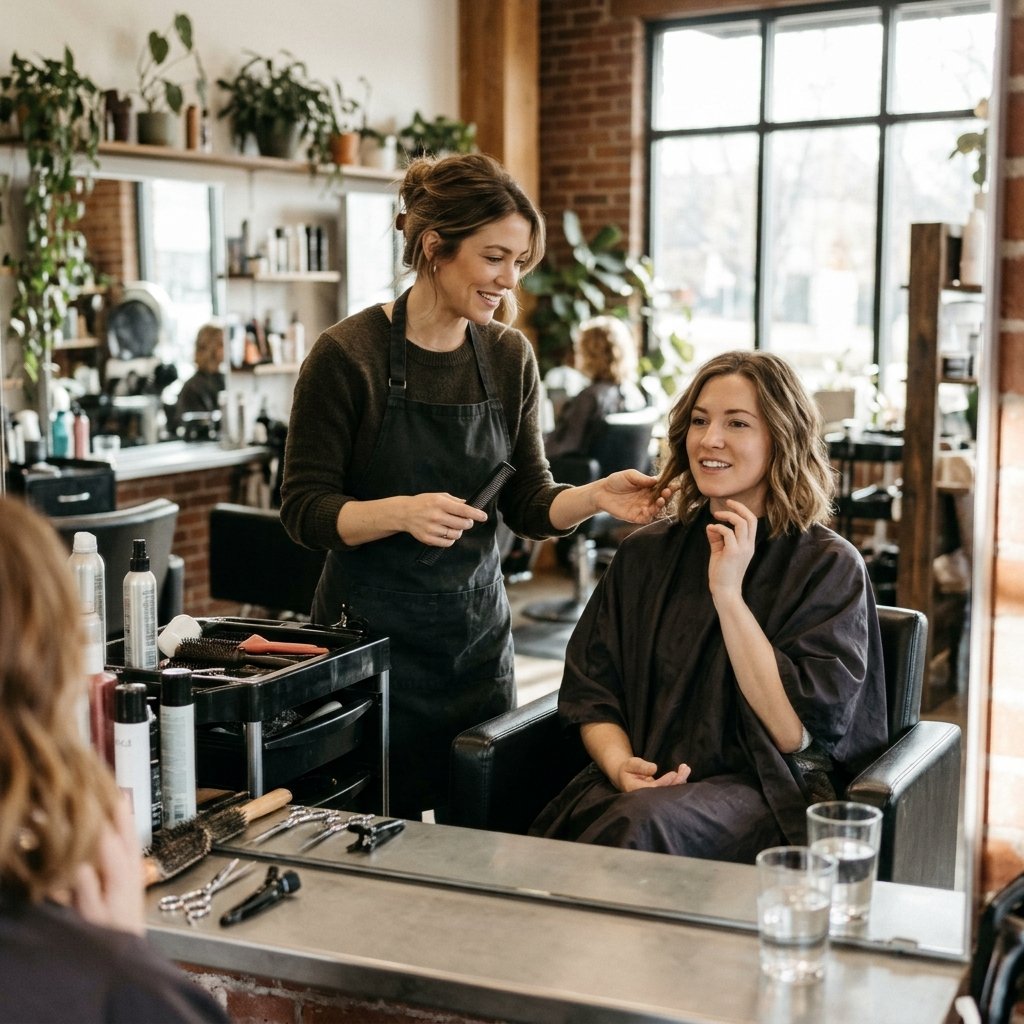
Be honest and specific. Say you are growing out a pixie and you want to look good at every stage, not just right after the cut.
Ask for:
- Soft layers instead of blunt lines.
- A slightly longer back to avoid the mullet cliff.
- Face-framing pieces you can tuck or leave out.
- Trims every six to eight weeks to keep the shape.
Bring two photos. One for the shape, one for the vibe. It saves so much explaining.
How Often to Trim While Growing Out a Pixie
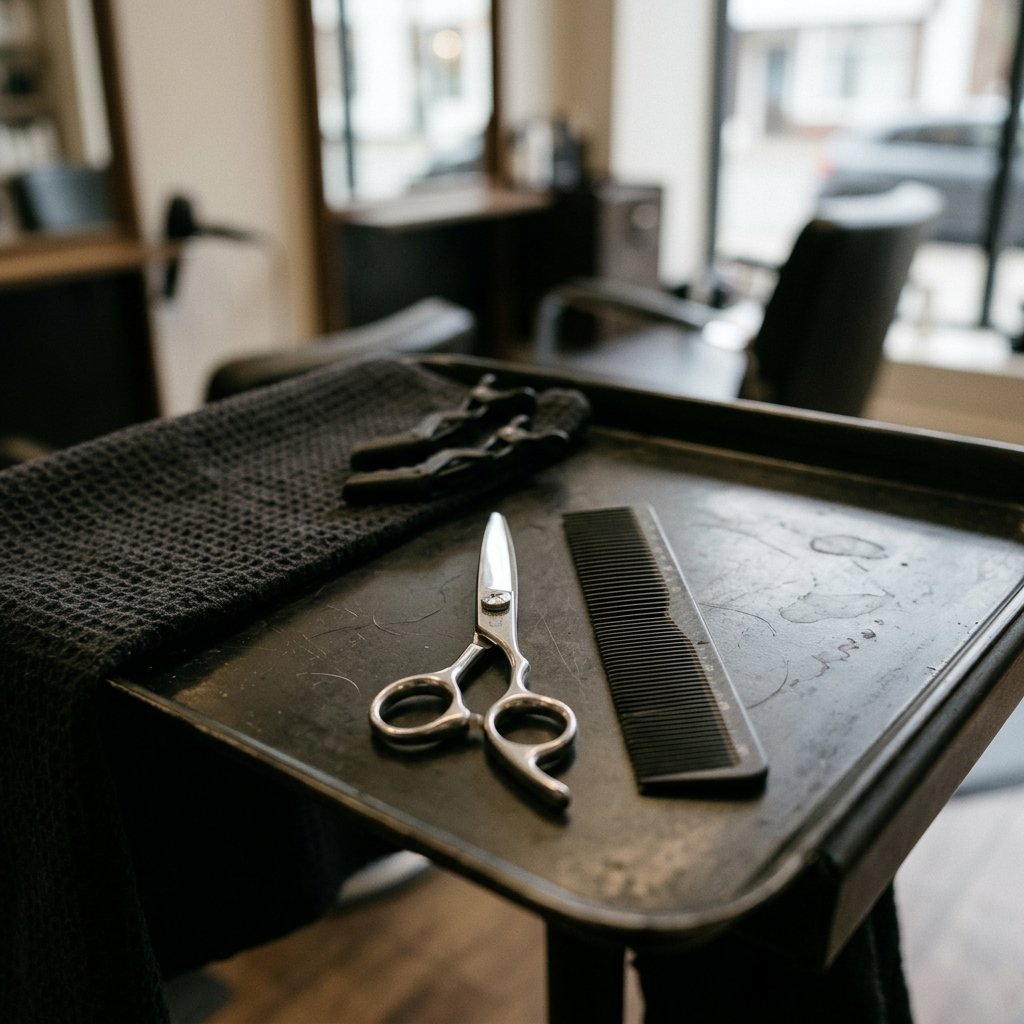
Growing out a pixie does not mean skipping the salon. It means trimming smart.
Go every six to eight weeks for the first few months. You are not cutting for length, you are cutting for shape. Removing weight at the back and cleaning up the neckline makes everything look better.
Once you hit shoulder length, you can stretch it to ten or twelve weeks. Just do not disappear completely, or you will end up with a shape you have to start over from.
Products That Make Growth Less Painful
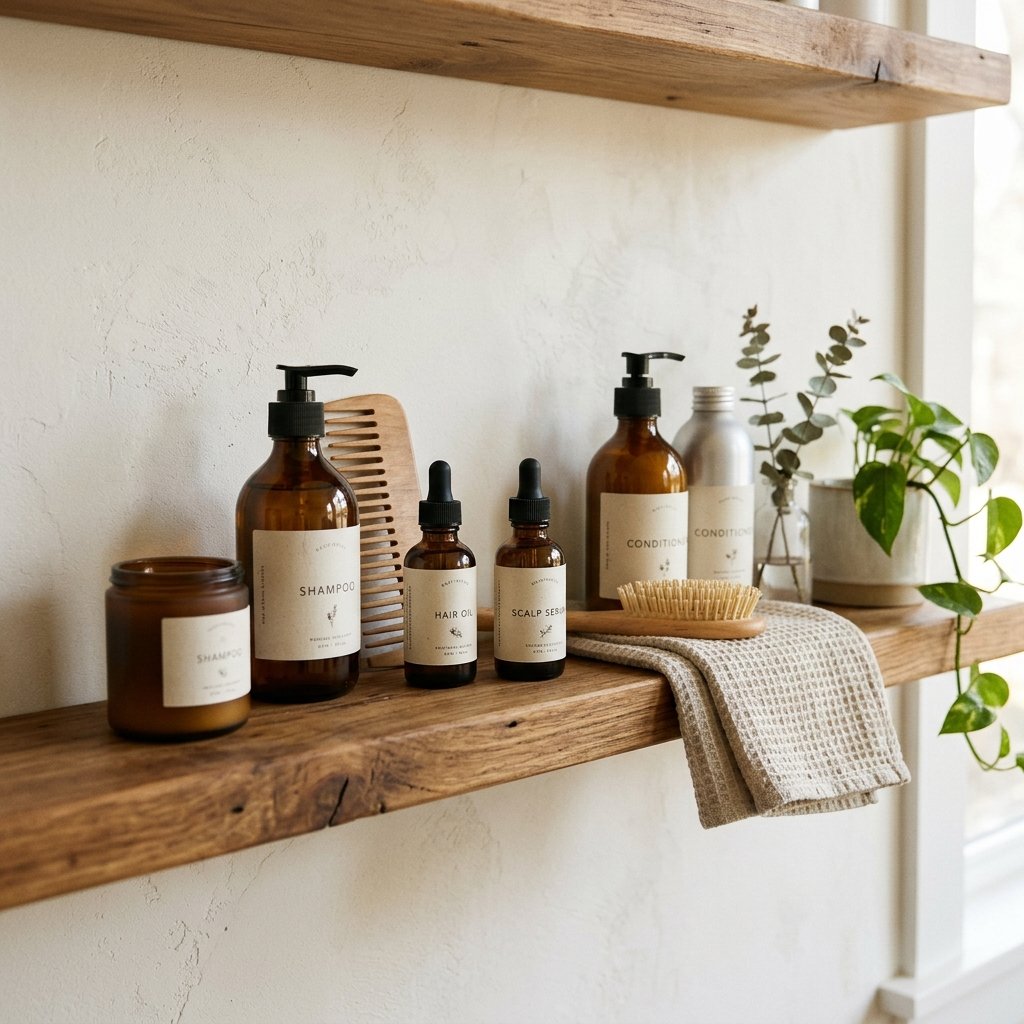
You do not need ten products. You need four good ones.
- A lightweight texturizing spray for grip.
- A smoothing cream for the front and nape.
- A shine serum for finishing.
- A flexible hold spray that never gets crunchy.
That is my whole shelf. Everything else is extra. Keep it simple and you will actually use what you buy.
Headbands, Scarves, and Bandanas for Rough Days

On the days when nothing works, cover it. A silk scarf tied at the front, a wide headband, or a folded bandana instantly looks styled.
Silk scarves lean elegant. Bandanas lean cool and casual. Wide fabric headbands are the easiest of all and they hide the entire hairline.
This is my go-to for day three hair, workouts, and travel days. It takes ten seconds and looks like a choice.
Color Ideas That Flatter Grown Out Pixies

Color can do a lot of work when your cut is in transition. Soft dimension hides uneven layers and adds shine.
Try a few face-framing highlights if you want brightness, or a rich single tone like deep espresso or warm chestnut for old money hair energy. Low contrast grows out gracefully.
Skip harsh lines and heavy root shadows. They show every layer and every three weeks of growth. Gentle, blended color is always the better call here.
How to Get Through the Next Three Months

Three months feels long, but it goes fast when you break it down.
- Month one: add texture and clips. Learn your four-minute routine.
- Month two: get a shape trim and try an asymmetrical lob.
- Month three: experiment with a hime cut or soft quiet luxury bob shape.
Take a photo every two weeks. I promise you will see progress long before your hair feels different. Small wins keep you patient.
Your Five Minute Morning Routine
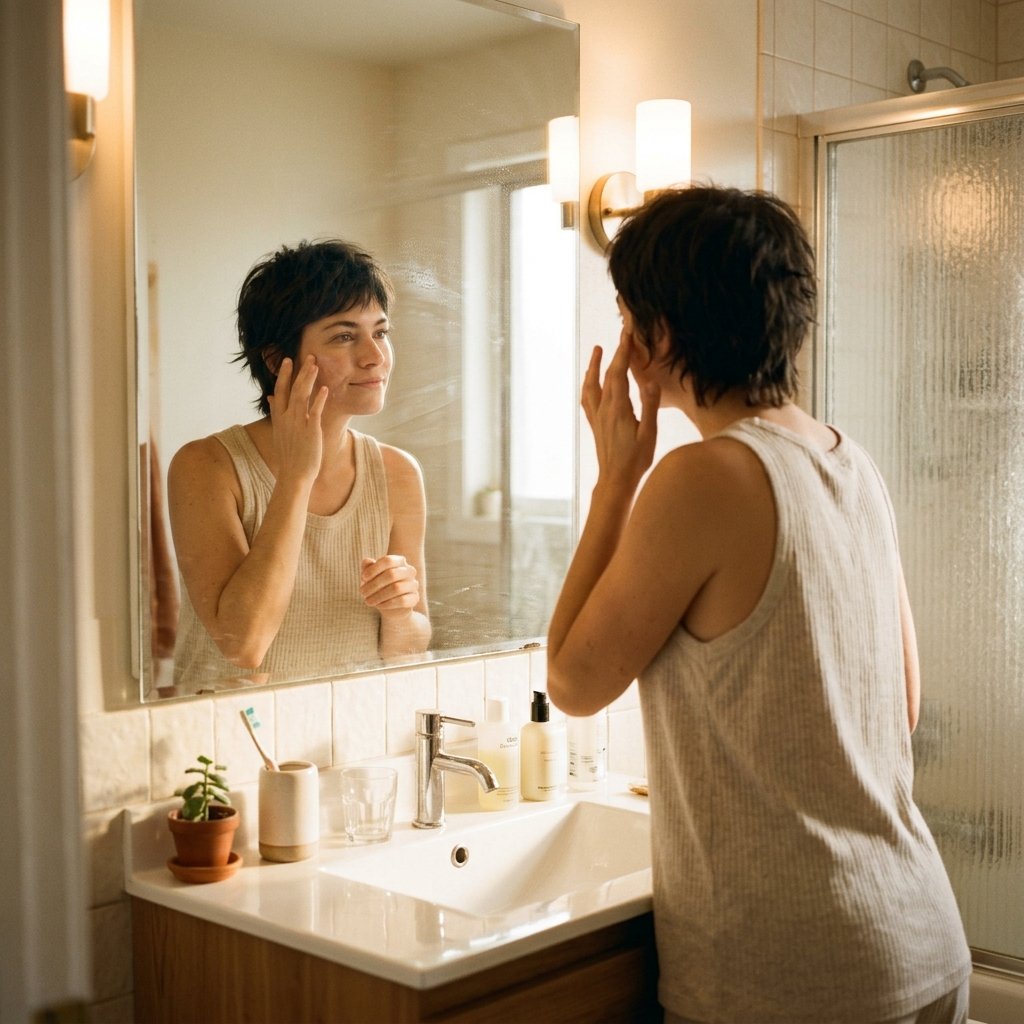
Here is the whole thing, start to finish.
- Spray texturizing mist on damp hair.
- Blow dry the front for two minutes.
- Scrunch the back and sides with your hands.
- Add a clip or tuck one side behind your ear.
- Finish with a tiny drop of shine serum.
Five minutes, every single day. Once you have it down, the awkward stage stops feeling awkward.
A Few Last Thoughts Before You Go
Growing out a pixie is not a waiting period. It is a series of really good short hairstyles you only get to try once.
Lean into texture, use your clips, book those shape trims, and let the length do its thing. You are not between haircuts. You are in one.
And honestly? This stage has given me some of my favorite hair days ever.
Save this post to Pinterest so you have it ready the next time your hair refuses to cooperate. And tell me in the comments which stage you are in right now. I read every single one, and I have been exactly where you are.

