
Get ready to unleash your creativity with homemade nail polish! Making your own nail colors at home is not only a fun activity but also allows you to customize shades that perfectly match your personality and style. Crafting unique colors can save you money and ensure you have nail polish that no one else has. From shimmering sparkles to bold hues, the possibilities are endless.
With just a few simple ingredients and tools, you can mix and match to create your dream shades. Whether you’re preparing for a special event or just want to pamper yourself, making DIY nail polish is the way to go! Let’s explore some exciting methods and creative ideas to fill your nail polish collection with fun, vibrant colors!
1. The Basic DIY Nail Polish Recipe

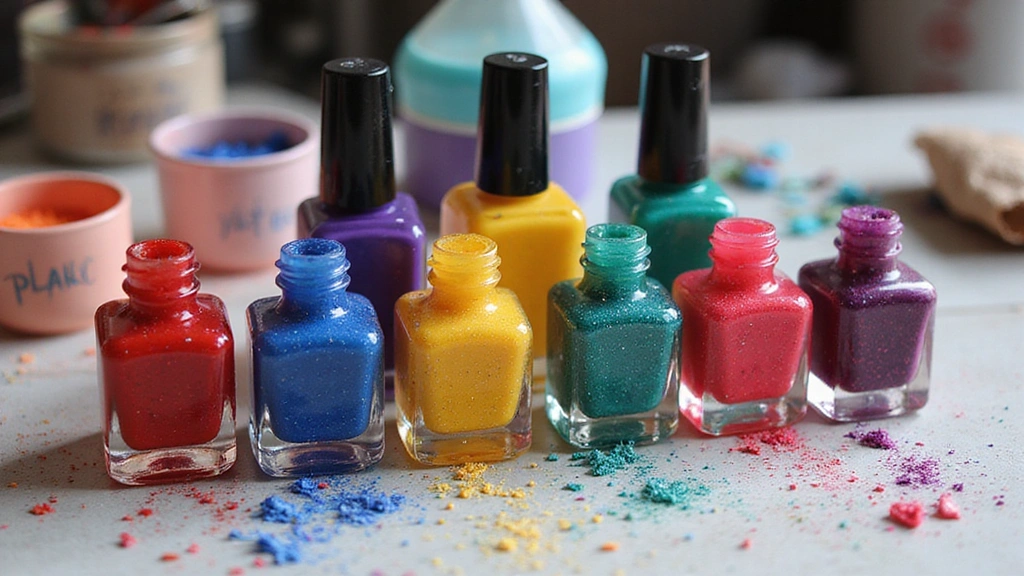
Starting your DIY nail polish journey is easy with a basic recipe that requires just a few ingredients. The foundation includes clear nail polish, a few drops of food coloring, and a tiny scoop of glitter if you want some sparkle. Mix these ingredients in a small bowl and then funnel them into an empty nail polish bottle. You’ll be surprised at how quickly you can whip up a unique color!
– Tips for Mixing: Use a toothpick or small brush to mix thoroughly.
– Glitter Choices: Experiment with different sizes and colors of glitter for varying effects.
– Storage: Store any leftover polish in a cool, dark place for longevity.
This basic mix is a canvas for your creativity. Want pastels? Add fewer drops of food coloring. Prefer vibrant shades? Go all out! Play around until you find what you love.
2. Seasonal Shades: Embrace Nature’s Palette

Nature changes with the seasons, and so can your nail polish! Create colors inspired by the beauty around you. For instance, mix earth tones and muted colors in autumn or bright, fresh shades in spring. You can even use natural ingredients like beet juice for red, turmeric for yellow, or spirulina for green. This approach allows you to connect with nature while flaunting stunning nails!
– Autumn Ideas: Warm browns, deep oranges, and brass tones.
– Spring Vibes: Light pinks, mint greens, and sunny yellows.
– Summer Feels: Bright blues, vibrant corals, and bold purples.
Emulating these colors will ensure your nails are chic and seasonally appropriate!
3. Shimmer and Shine: Adding Glitter

Glitter is a fun way to elevate your homemade nail polish. To achieve that glam look, mix a variety of glitter types into your polish base. You can create a holographic effect by combining tiny glitter particles with larger ones, or opt for a more classic approach with fine glitter. Layering different colors of glitter can result in magical effects!
– Fine Glitter: Ideal for a subtle shimmer.
– Chunky Glitter: For a bold, eye-catching sparkle.
– Mix It Up: Combine different colors and sizes for a unique twist!
Don’t be afraid to experiment! A little sparkle can transform your nails from simple to stunning.
4. Scented Nail Polish: A Treat for Your Senses

Why not make your DIY nail polish not just gorgeous but also delightful to smell? Adding essential oils is an easy way to achieve this. A few drops of lavender or peppermint oil can elevate your nail polish into a soothing experience. Just remember to mix the oils carefully to ensure they don’t affect the polish’s consistency.
– Oil Choices: Lavender for relaxation, lemon for a refreshing scent, or tea tree oil for its antibacterial properties.
– Dosage: A few drops will do. Too much can affect the polish’s finish.
– Tips: Test the scent before adding more to get your desired aroma!
Your nails will not only look fabulous but will smell fantastic too!
5. Create Your Own Custom Shades

The true joy of DIY nail polish is the ability to create custom shades. Mix and match colors to design your very own signature polish! Start by blending a drop of two different colored polishes together and see what you come up with. Adjust the ratio until you find your perfect hue. Want a soft lavender? Mix purple and white!
– Color Wheel: Familiarize yourself with color theory to understand which colors complement each other.
– Testing: Use a small piece of paper to dab the color before pouring into the bottle.
– Record Your Mixes: Keep track of your formula for future reference!
Custom colors are not only fun but also a great conversation starter!
6. Eco-Friendly Ingredients for Healthy Nails

Sustainability is key! Opt for eco-friendly ingredients to make your DIY nail polish more environmentally conscious. Use natural pigments, such as beet juice or activated charcoal, instead of synthetic dyes. You can even make your base using plant-based nail polish removers that are less harsh on your nails.
– Natural Pigments: These provide unique and rich colors without harmful chemicals.
– Plant-based Base: Look for options that promise minimal toxicity.
– DIY Removers: Consider homemade removers using vinegar and lemon juice for a gentler touch!
Incorporating these practices means your nails will be as healthy as they are stylish!
7. Fun Nail Art with Your DIY Polish

Once you’ve created your DIY nail polish, it’s time to get artsy! Use tools like dotting pens, striping brushes, and sponges to create stunning nail art. From ombre effects to delicate floral patterns, your newly crafted colors will shine even brighter with some creativity. Experiment with layering colors or make designs with contrasting shades!
– Techniques: Try using a sponge for gradient effects or a toothpick for fine details.
– Mix and Match: Combine different polishes for a unique design.
– Practice: Don’t worry if it takes a few tries to get it right!
Your nails can be your canvas—let your imagination run wild!
8. How to Properly Store Your DIY Nail Polish

Storing your homemade nail polish correctly is crucial for maintaining its quality. Keep your polishes in a cool, dark place to prevent separation and color fading. Ideally, use small, dark glass bottles for storage, which help protect the polish from light. Also, label each bottle with the color and ingredients used so you can replicate your favorites later!
– Organization: Use a dedicated box or drawer for your DIY polishes.
– Temperature Matters: Ensure they don’t get too hot or cold.
– Maintain the Seals: Always cap the bottles tightly to avoid drying out.
Proper storage will ensure your creations stay fresh and fabulous for as long as possible!
9. Share Your Creations: Hosting a DIY Nail Party

Turn your nail polish making into a social event! Host a DIY nail polish party where friends can join in on the fun. Gather ingredients, provide empty bottles, and let creativity flow as everyone mixes their own polishes. You can also set up nail art stations for some added fun. It’s a playful way to bond while discovering each other’s tastes and styles!
– Theme Ideas: Seasonal colors, favorite characters, or matching shades.
– Supplies: Don’t forget tools for mixing, pouring, and nail art!
– Swap Polishes: At the end of the party, trade polishes to expand your collection!
This is not only a great way to create but also to celebrate friendship and creativity together.
10. Troubleshooting Your DIY Nail Polish

Even the most skilled DIYers face challenges! If your polish is too thick, thin it out with a few drops of clear polish or nail polish thinner. If it separates after storage, shake well before use. Proper mixing and storing techniques are key in avoiding such issues. Remember, practice makes perfect, and each imperfection is just a step towards mastering the art!
– Consistency Issues: A little extra thinner can go a long way.
– Separation Problems: Always give it a good shake before applying.
– Keep Experimenting: Don’t get discouraged; every trial is a learning experience!
These tips will help ensure that your DIY journey is satisfying and enjoyable.
Conclusion

Creating your own DIY nail polish is not just about the final product; it’s about the joy of making something uniquely yours. From crafting new shades to experimenting with textures and scents, every step is an opportunity to express yourself.
So gather your supplies, invite some friends, and start mixing up a storm! Your nails will thank you for it, and you might just discover a new favorite hobby.

