
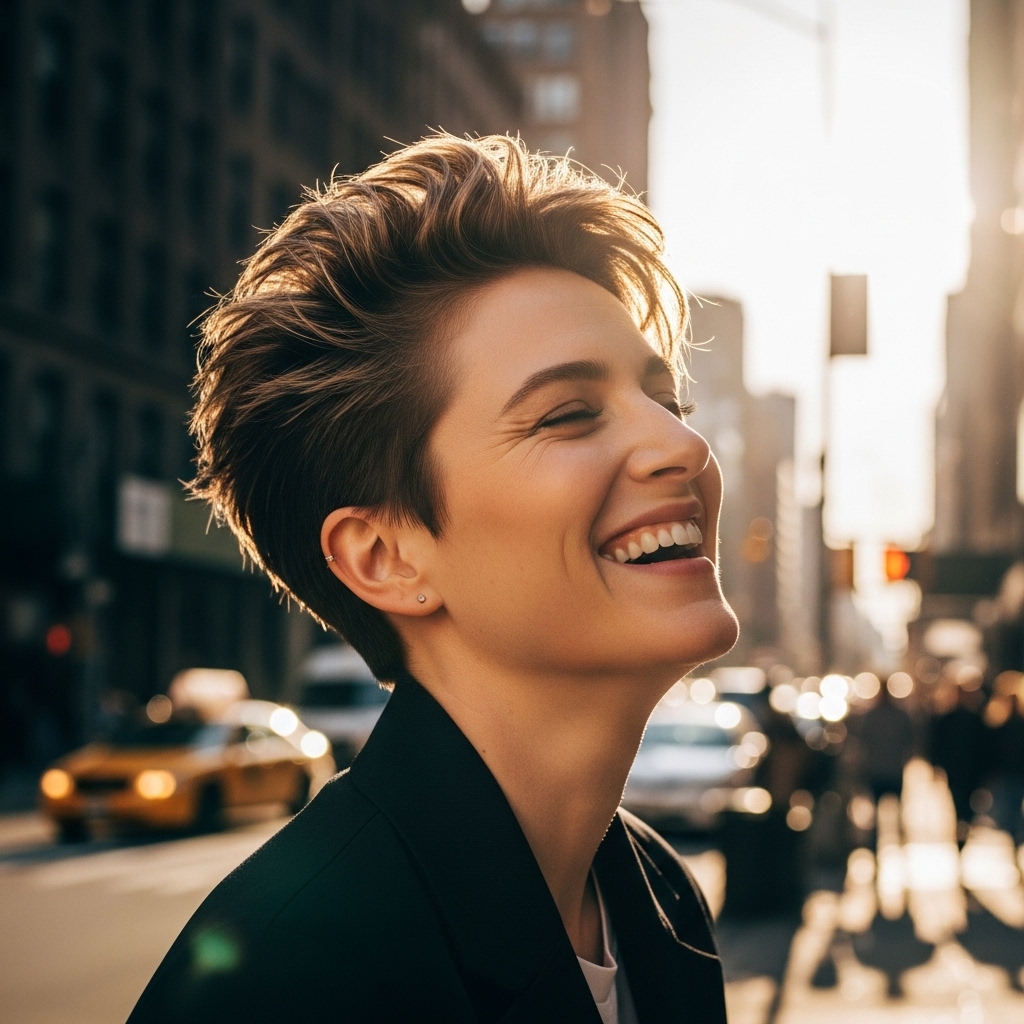
Thinking about taking the plunge into a textured pixie cut? Or maybe you already have one and are looking to elevate your style? The textured pixie is more than just a short haircut; it’s a statement of confidence, a nod to effortless chic, and a liberating style that celebrates individuality. Unlike the sleek, polished pixies of the past, today’s textured pixie is all about movement, volume, and a touch of playful rebellion.
This guide is your ultimate resource for mastering this trendy look. We will walk you through everything from finding the right cut for your face shape to the daily styling tricks and product secrets that will keep your pixie looking fresh, modern, and utterly rock-and-roll. Get ready to unleash the full potential of your short hair and learn how to make your textured pixie the trendiest look you’ve ever worn.
Why the Textured Pixie is the Ultimate Style Statement
The textured pixie cut has dominated the fashion and beauty scenes for a reason. It’s a versatile and powerful style that breaks free from conventional beauty standards. This isn’t just a haircut; it’s an attitude. By embracing shorter hair, you’re highlighting your facial features, from your eyes to your cheekbones, in a way that longer hair often obscures.
What sets the textured pixie apart from a simple short cut is its deliberate, artful chaos. Through strategic layering, point cutting, and sometimes even razor cutting, stylists create a shape that has built-in movement and body. This means your hair looks fantastic with minimal effort—it’s designed to look a little piece-y, a little messy, and completely intentional. It’s a low-maintenance, high-impact style that works for a variety of hair types, from pin-straight to naturally curly.
Finding Your Perfect Textured Pixie Cut
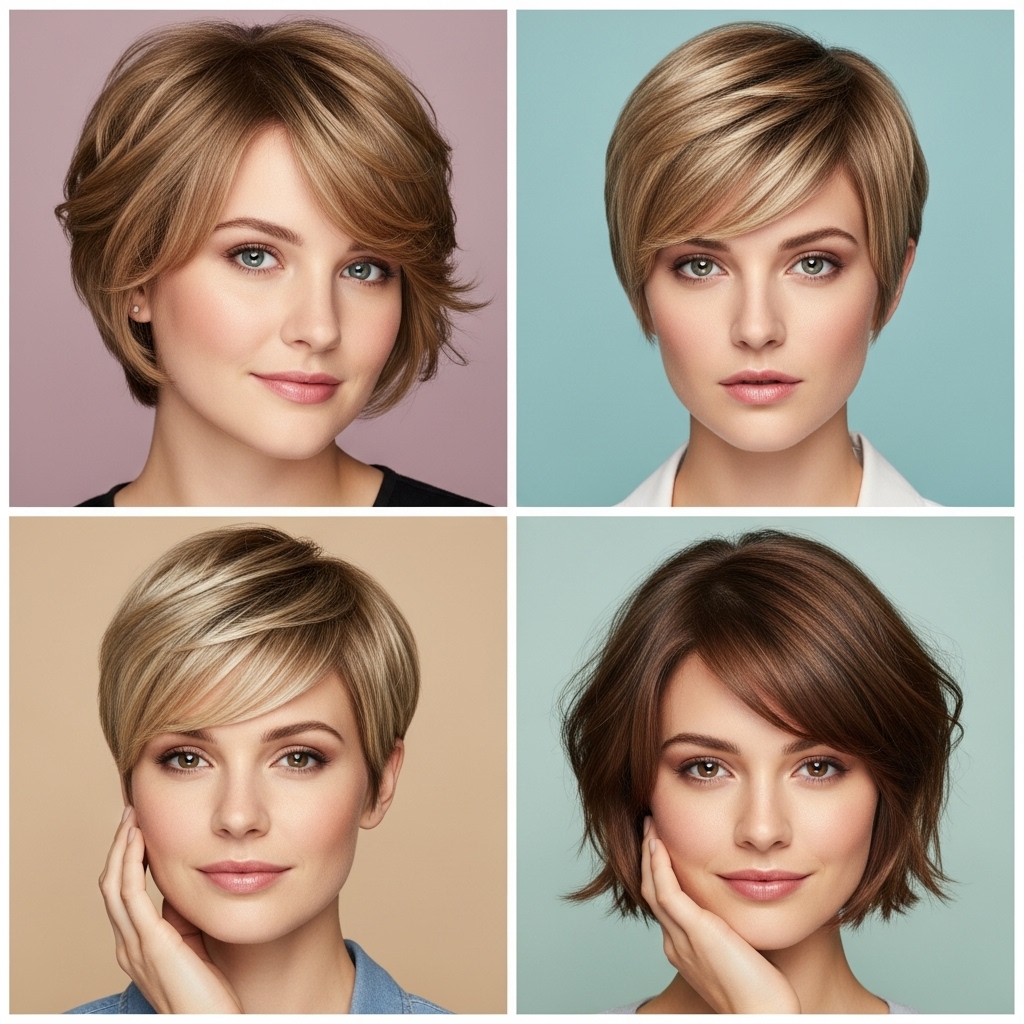
Not all pixie cuts are created equal. The key to a truly fabulous textured pixie is choosing a shape that complements your unique bone structure and hair texture. Walking into the salon with a one-size-fits-all photo can lead to disappointment, so it’s crucial to consider what will work for you.
For Round Faces: Consider a pixie that is longer on top with volume and height. This creates an elongating effect. Shorter sides can help to slim the face. A deep side part can also add asymmetry and angles.
For Square Faces: Softness is your best friend. Ask your stylist for wispy, textured layers around the forehead and temples to soften a strong jawline. A tousled, piece-y finish works beautifully.
For Oval Faces: You’re in luck! Oval faces are the most versatile and can pull off almost any pixie style. You can experiment with super short sides, a dramatic undercut, or a more uniform, tousled crop.
For Heart-Shaped Faces: A pixie with volume at the temples and cheekbones can help balance a narrower chin. Soft, side-swept bangs or wispy fringe are incredibly flattering for this face shape.
When consulting with your stylist, bring photos but be open to their professional advice. A good stylist will assess your hair’s density, growth patterns, and texture to create a customized version of the textured pixie that you’ll love.
The Styling Arsenal: Must-Have Products for Texture
The right products are non-negotiable for achieving that coveted textured look. Forget the heavy, greasy gels of the past. Modern texturizing products are designed to add grip, body, and separation without weighing your hair down or making it look crunchy.
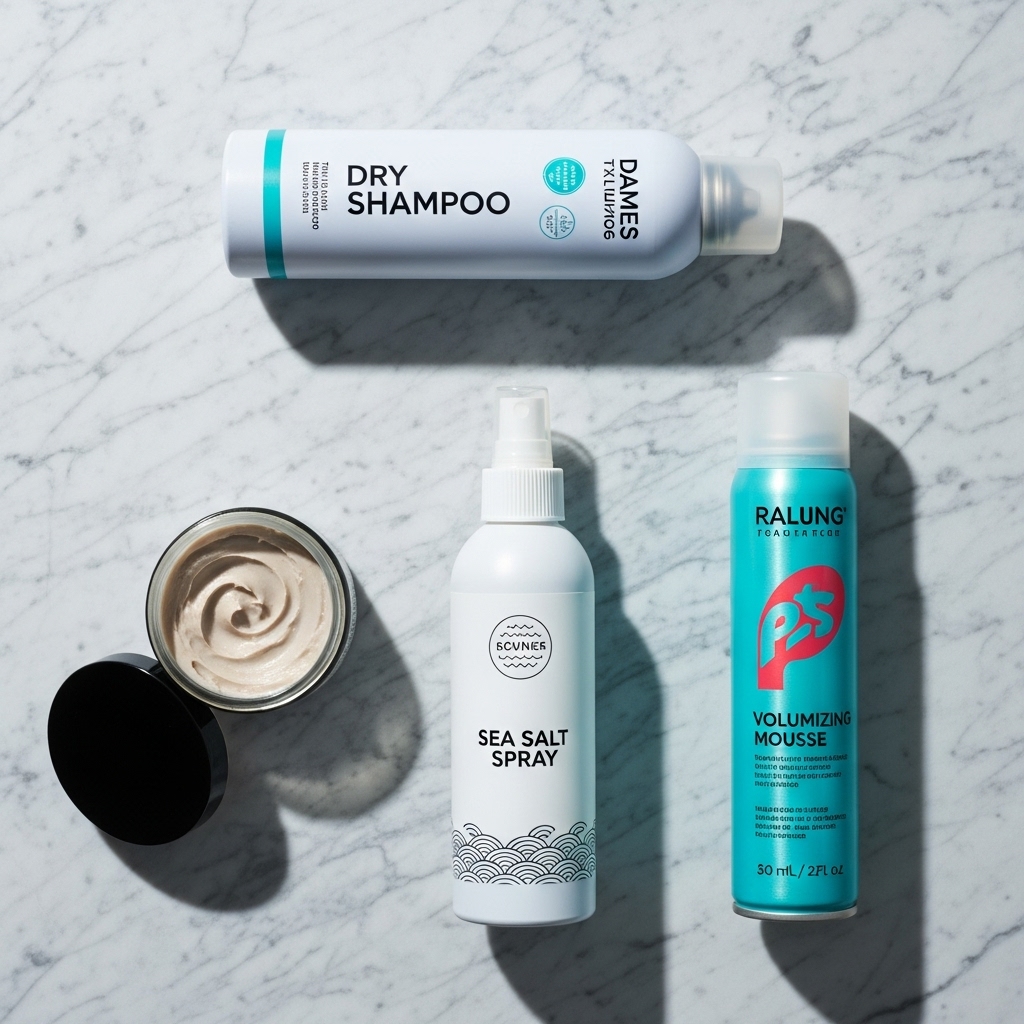
Sea Salt Spray: This is your go-to for a beachy, lived-in texture. Spritz it onto damp or dry hair and scrunch with your fingers to create effortless waves and volume. It’s perfect for a casual, “I just woke up like this” vibe.
Texturizing Paste or Clay: For more definition and control, a paste or clay is ideal. These products offer a matte finish and a stronger hold, allowing you to sculpt individual pieces, create a messy, spiky look, or tame flyaways. Rub a small amount between your palms and work it through your hair, focusing on the ends.
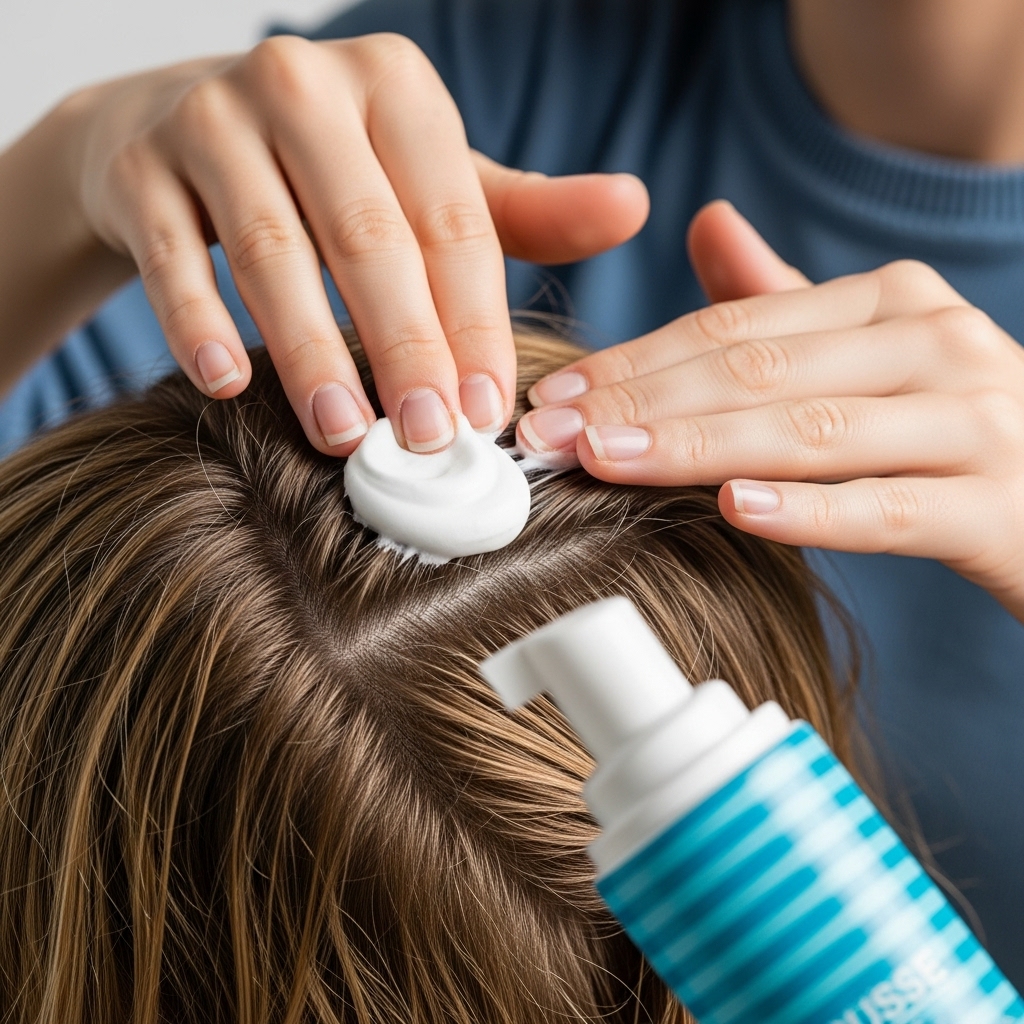
Volumizing Mousse: Applied to the roots of damp hair before blow-drying, a good mousse provides the foundational volume and lift that makes texture possible. It gives your hair the “oomph” it needs to hold a style all day.
Dry Shampoo: This is a pixie’s best friend. Not only does it absorb oil and refresh your style between washes, but it also adds incredible texture and grit. Spray it at the roots for instant volume and throughout the lengths for extra hold and separation.
Pro Tip: Always start with a small amount of product—you can always add more. The goal is to enhance your hair’s natural movement, not to plaster it down.
Your Daily Styling Routine Made Easy
Styling a textured pixie should be quick and easy. With the right technique, you can be out the door in under 10 minutes looking like a style icon.
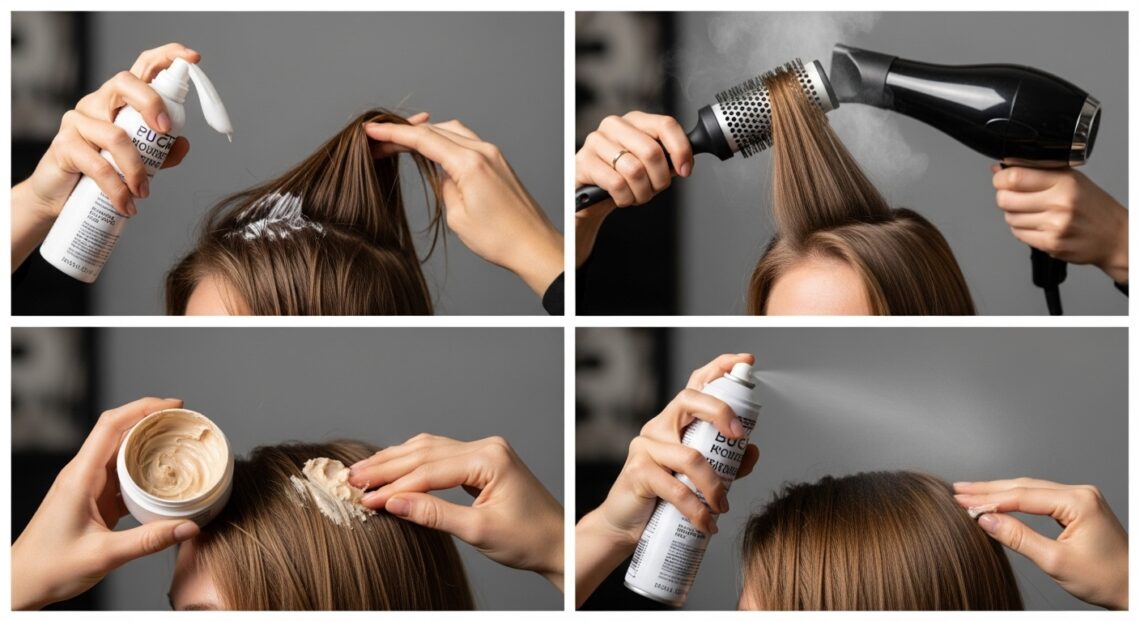
Step 1: Prep and Protect. Start with towel-dried hair. Apply a heat protectant spray and a dollop of volumizing mousse at the roots. This sets the stage for volume and shields your hair from styling tools.
Step 2: Blow-Dry for Volume. Using a round brush or your fingers, blow-dry your hair while lifting the roots away from your scalp. Tilt your head to the side and upside down for even more volume. Don’t aim for perfection; a little chaos is good!
Step 3: Create Texture. Once your hair is about 90% dry, it’s time to add texture. Switch your blow dryer to a cool setting to lock in the shape. Then, take a pea-sized amount of texturizing paste or clay, emulsify it in your hands, and scrunch it into the ends of your hair. Use your fingertips to pinch and pull random sections for that piece-y, defined look.
Step 4: The Final Touch. For extra hold and a matte finish, a light mist of a flexible-hold hairspray can set your style without making it stiff. Alternatively, a quick spray of dry shampoo at the roots will add both hold and texture.
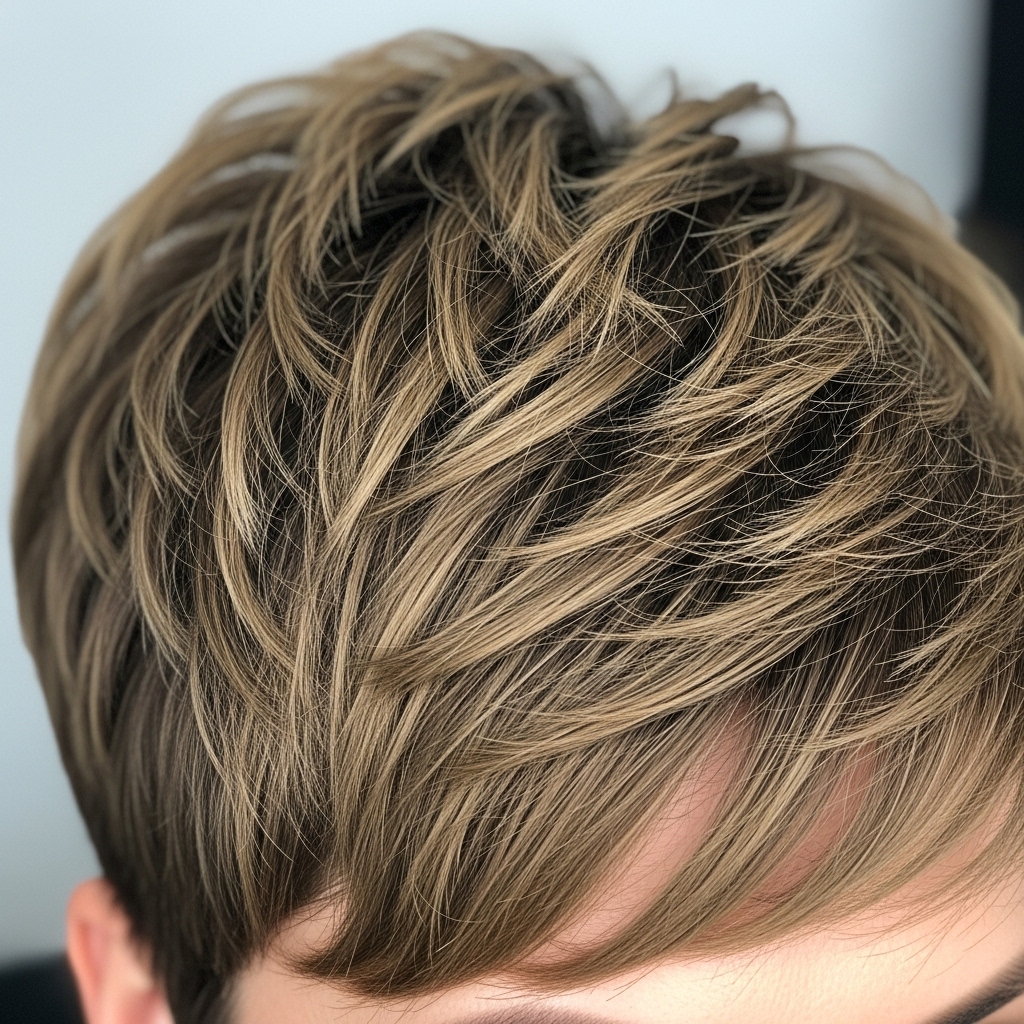
Mastering the Art of the “Messy” Look
The “messy” textured pixie is an art form. It looks effortless, but it’s a carefully curated kind of chaos. The goal is to look like you just ran your hands through your hair after a windy walk, not like you just rolled out of bed.
The secret lies in contrast and separation. You want some pieces to be flat against your head while others stand up. You want some sections to be clumped together and others to be separated. To achieve this, avoid using a comb or brush after applying your styling products. Your fingers are your best tool.
Gently twist small sections of hair around your fingers near the ends. Pinch the very tips of your hair to create defined points. Use the pad of your thumb and your fingertips to push the hair at your crown upwards, creating lift and volume. Remember, asymmetry is your friend. A deep side part or pushing all your hair to one side can instantly create a cool, modern edge.
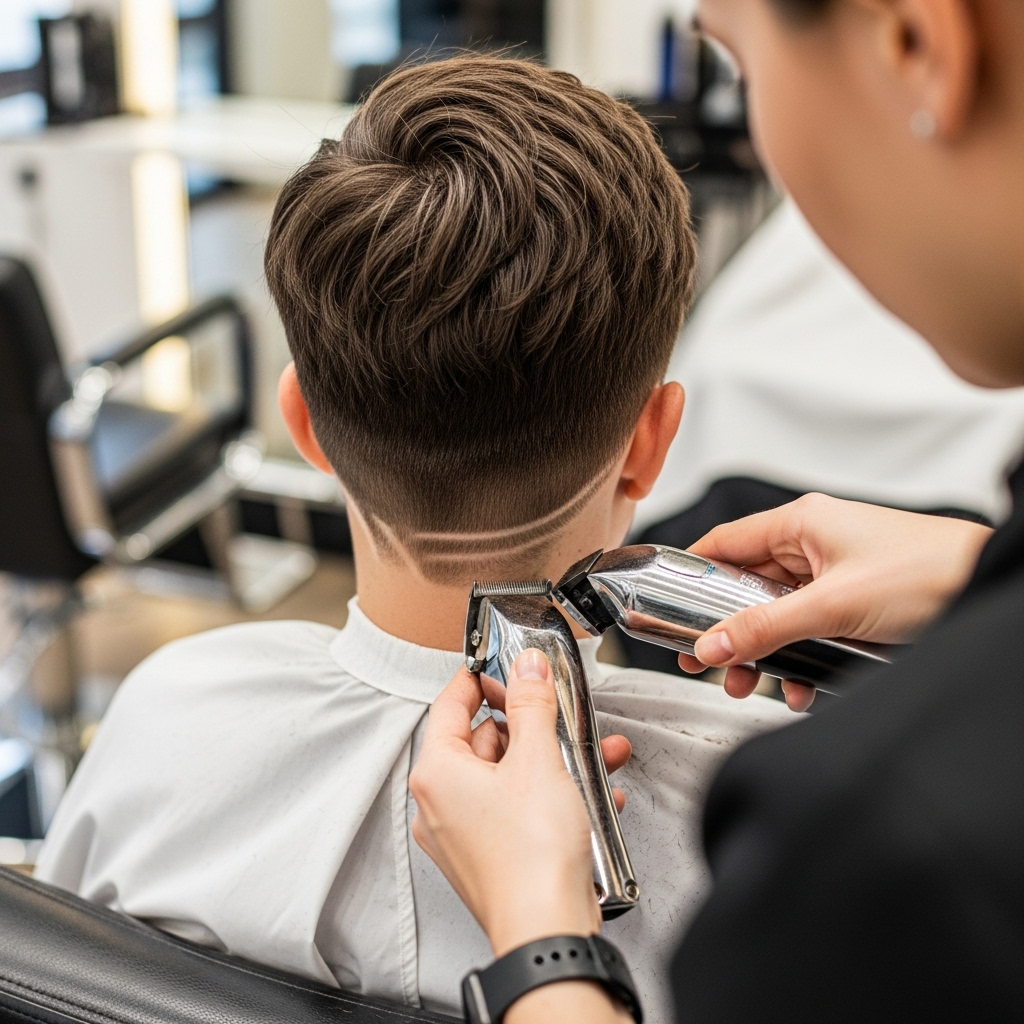
Maintenance and Trims: Keeping Your Pixie Sharp
The biggest myth about pixie cuts is that they are no-maintenance. The truth is, while daily styling is faster, you’ll be visiting the salon more frequently to maintain the shape. A textured pixie loses its definition quickly as it grows out.
Schedule trims every 4 to 6 weeks. This might seem frequent, but it’s essential for keeping the layers sharp, the neckline clean, and the overall shape intact. A regular trim prevents your chic pixie from turning into a shapeless bob.
Between trims, keep your hair healthy. Use a nourishing shampoo and conditioner to prevent dryness, and consider a weekly deep-conditioning treatment. Healthy hair holds style better and has a more vibrant texture. Don’t forget to protect your hair and scalp from the sun with a hat or a UV-protectant spray, especially with more skin exposed.
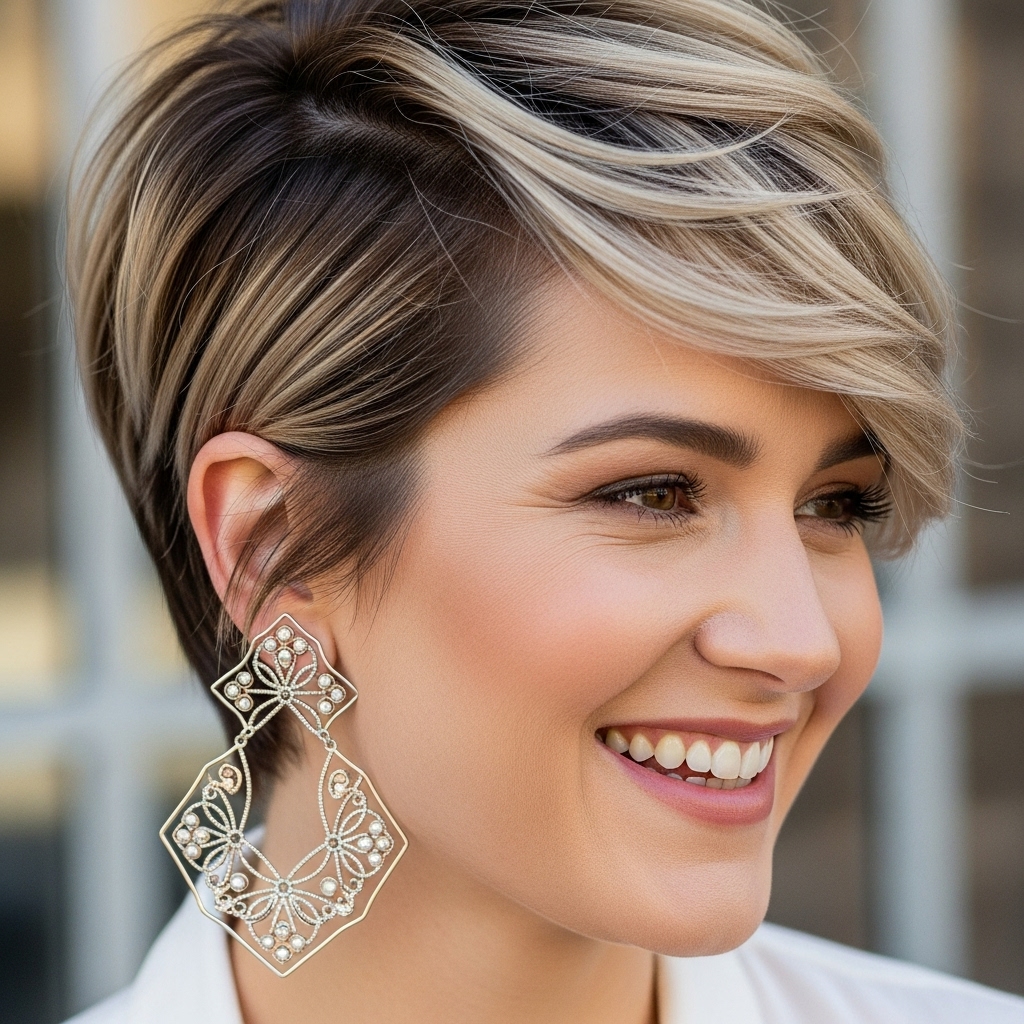
Accessorize and Elevate Your Pixie
Who says short hair can’t be fun to accessorize? A textured pixie is the perfect canvas for bold accessories that might get lost in longer hair.
Statement Earrings: This is your moment to shine! With your hair off your face and neck, dramatic hoops, elegant drops, or bold geometric earrings become the star of the show.
Headbands and Bandanas: A thin, elegant headband can add a touch of preppy charm. A silk scarf tied as a headband can introduce a pop of color and pattern, perfect for a boho-chic look.
Hair Jewelry and Pins: For special occasions, slide a delicate chain or a few sparkly pins into your hair. They can be nestled into the textured layers for a subtle, magical glimmer.
Embracing your textured pixie is also about embracing your overall style. Play with bold makeup, especially eye makeup and lipstick, to further accentuate your features. Your pixie cut is a powerful frame for your face—make the most of it!
Rock Your Textured Pixie with Confidence
At the end of the day, the most important accessory for your textured pixie cut is confidence. It’s a bold look that commands attention and reflects a fearless approach to personal style. There will be days you love it and maybe days you feel unsure, but owning your choice is what truly makes the look trendy and powerful.
Your textured pixie is a celebration of you—your features, your personality, your individuality. With the right cut, the perfect products, and these simple styling techniques, you have everything you need to rock this look every single day. So go ahead, scrunch, tousle, and texture your way to a trendier, more confident you.

