

Remember the shag haircut from decades past? Think again. The layered shag has made a colossal comeback, but this time, it’s sleeker, more sophisticated, and utterly customizable. This isn’t your grandmother’s shag; it’s a modern interpretation that screams effortless cool, textured volume, and rock-and-roll edge. If you’re craving a hairstyle that combines low-maintenance appeal with high-impact style, you’ve come to the right place.
The beauty of the contemporary shag lies in its imperfections. It’s a haircut that celebrates movement, personality, and natural texture. Whether your hair is pin-straight, wavy, or a mass of curls, there’s a shag variation designed to set your look free. This comprehensive guide will walk you through everything you need to know—from talking to your stylist to mastering your morning routine—so you can confidently rock the layered shag and own this timelessly trendy look.
What Exactly is a Modern Layered Shag?
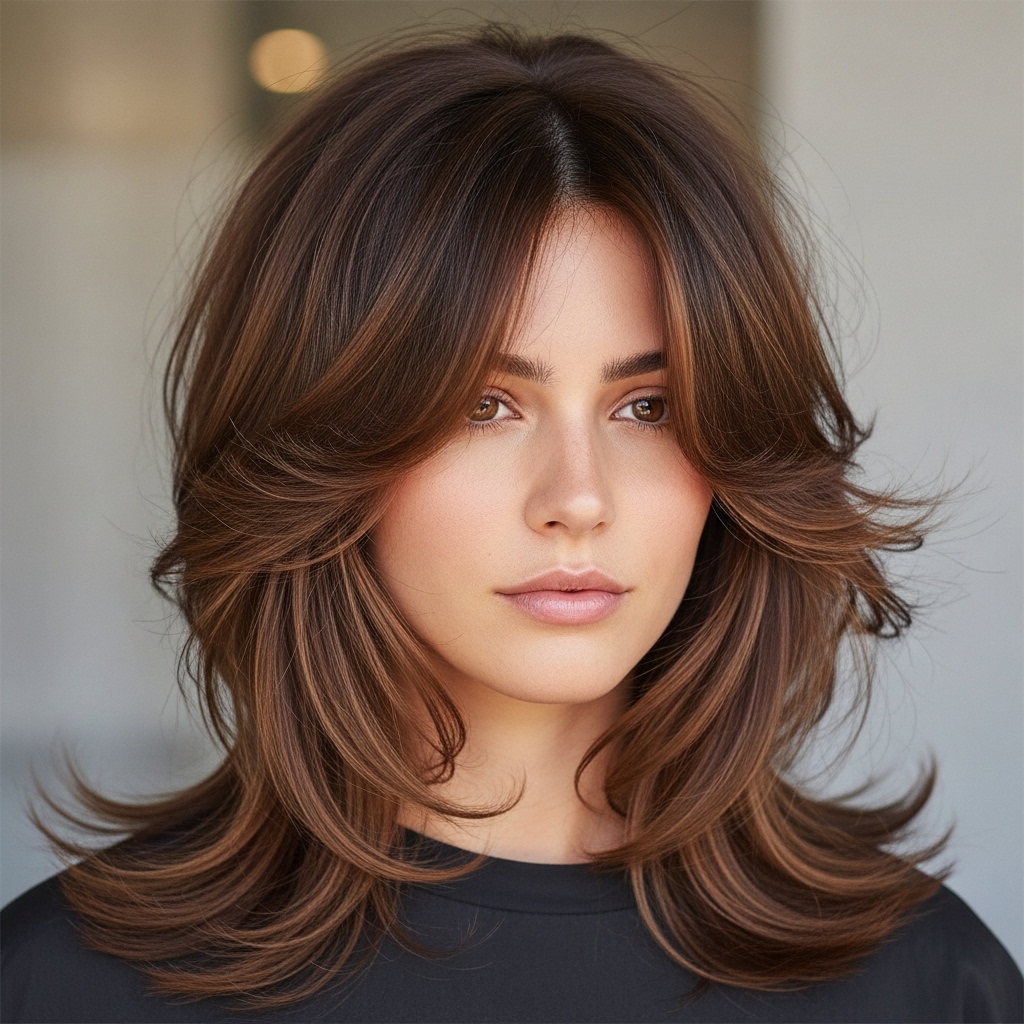
At its core, the layered shag is defined by its choppy layers, heavy texture, and often, a fringe (bangs). The traditional shag was characterized by short layers on top that gradually lengthened, creating a dramatic, shape-heavy silhouette. The modern version softens this approach. It maintains the signature internal layers that remove weight and build volume, but the overall shape can be more tailored to the individual.
Key elements of today’s shag include:
Internal Layers: These are the layers you don’t necessarily see from the outside. They are cut within the interior of the hair to create movement and body without sacrificing the overall length.
Face-Framing Layers: Essential to the shag, these layers are cut around the face to highlight your features. They are often the shortest and most textured part of the cut.
The Fringe: While not always mandatory, a fringe is a classic shag component. Modern options range from wispy curtain bangs to a strong, blunt fringe, allowing you to personalize the look.
Textured Ends: Forget clean, blunt ends. The shag is all about ends that look piece-y, separated, and effortlessly messy.
Finding Your Perfect Shag: A Cut for Every Face Shape
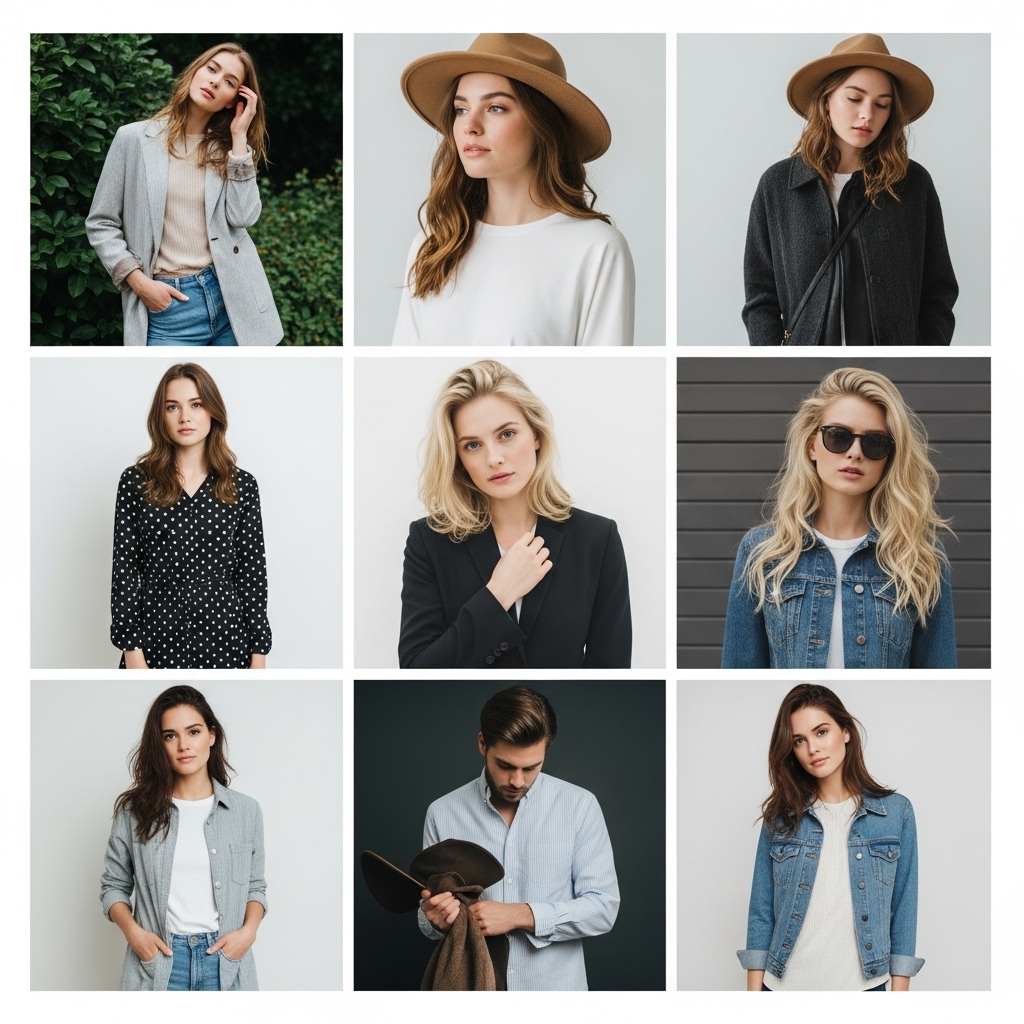
One of the biggest myths about the shag is that it only suits certain face shapes. The truth is, with the right customization, anyone can wear it. The secret is in the placement of the shortest layers and the fringe.
For Round Faces: The goal is to create length and definition. Ask your stylist for longer face-framing layers that start at the jawline or below, drawing the eye downward. A side-swept fringe can also help elongate the face.
For Square Faces: Soften strong jawlines with layers that begin at the cheekbones. These layers will frame your face beautifully and add a touch of softness. Wispy, curtain bangs are a fantastic choice here.
For Oval Faces: You have the most versatility! An oval face can carry almost any type of shag. Feel free to experiment with shorter layers and bold, eyebrow-grazing fringes.
For Heart-Shaped Faces: Balance a wider forehead and a narrower chin with layers that start around the chin length. This helps to add volume where it’s needed most. Curtain bangs are practically made for heart-shaped faces.
For Long Faces: To create the illusion of width, have your stylist add lots of layers throughout the mid-lengths to build volume at the sides. A fuller, brow-skimming fringe will help shorten the appearance of the face.
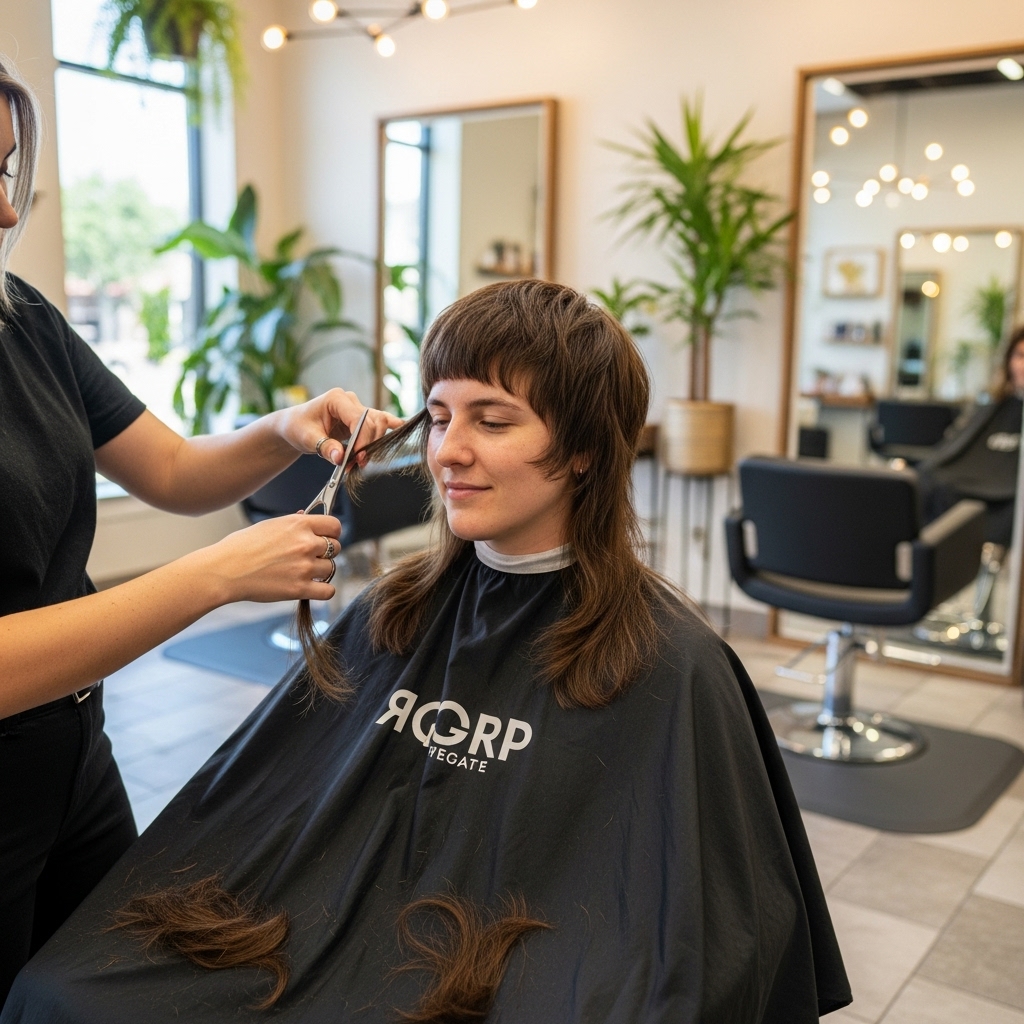
The Stylist Consultation: How to Ask for “The Shag”
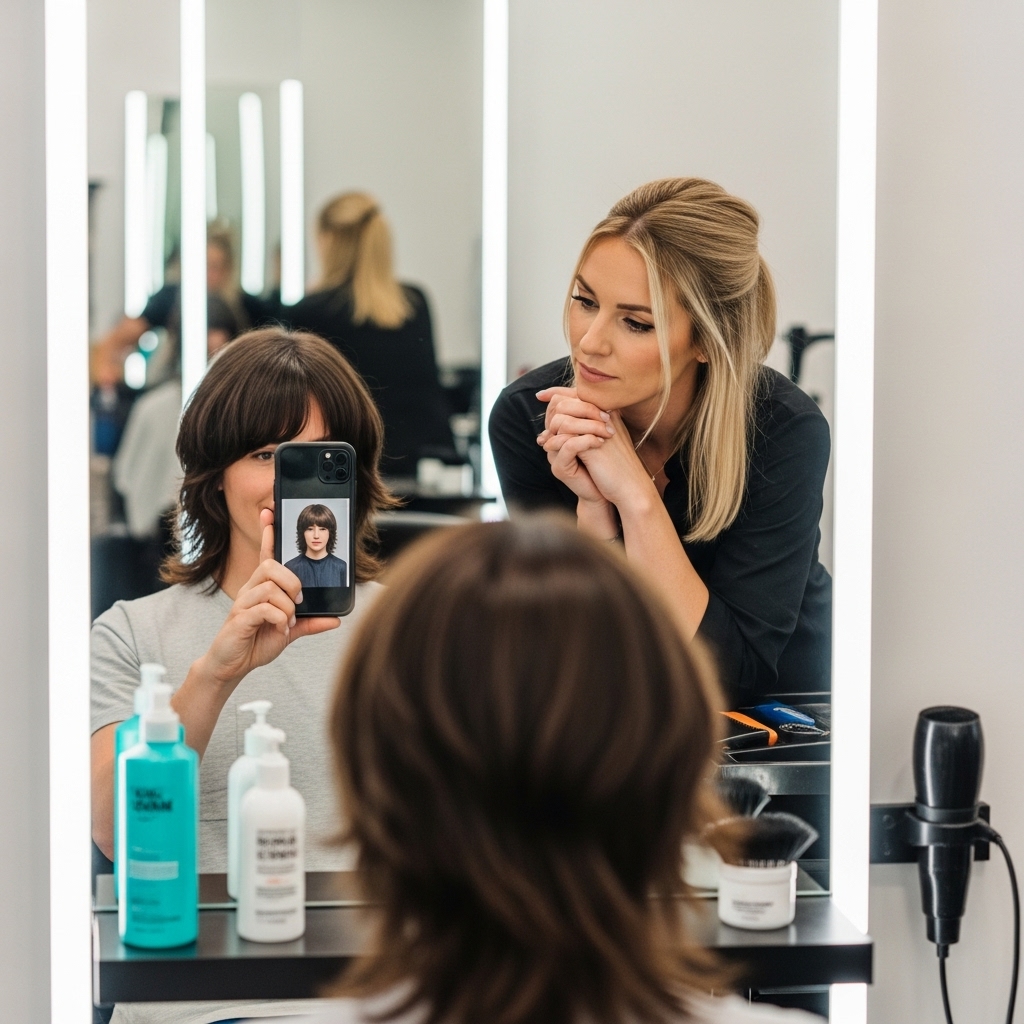
Walking into a salon and simply asking for “a shag” can be a gamble. Communication is key to ensuring you walk out with the haircut of your dreams. Come prepared. The best tool you can bring is a collection of photos that illustrate the specific elements you like.
When you’re in the chair, be specific. Talk about length, layers, and fringe. Do you want to maintain most of your length, or are you open to a short, punk-inspired shag? How short do you want your face-framing layers? Most importantly, discuss your hair’s natural texture. A good stylist will cut your shag with your texture, not against it. If you have curly hair, they will use different techniques than if you have fine, straight hair. Be open to their professional advice—they understand how hair behaves and can tailor the cut to work with your unique attributes.
Your At-Home Styling Arsenal: Products and Tools
The modern shag is celebrated for being low-maintenance, but “low” doesn’t mean “no.” The right products and tools will help you enhance that built-in texture and volume.
Essential Products:
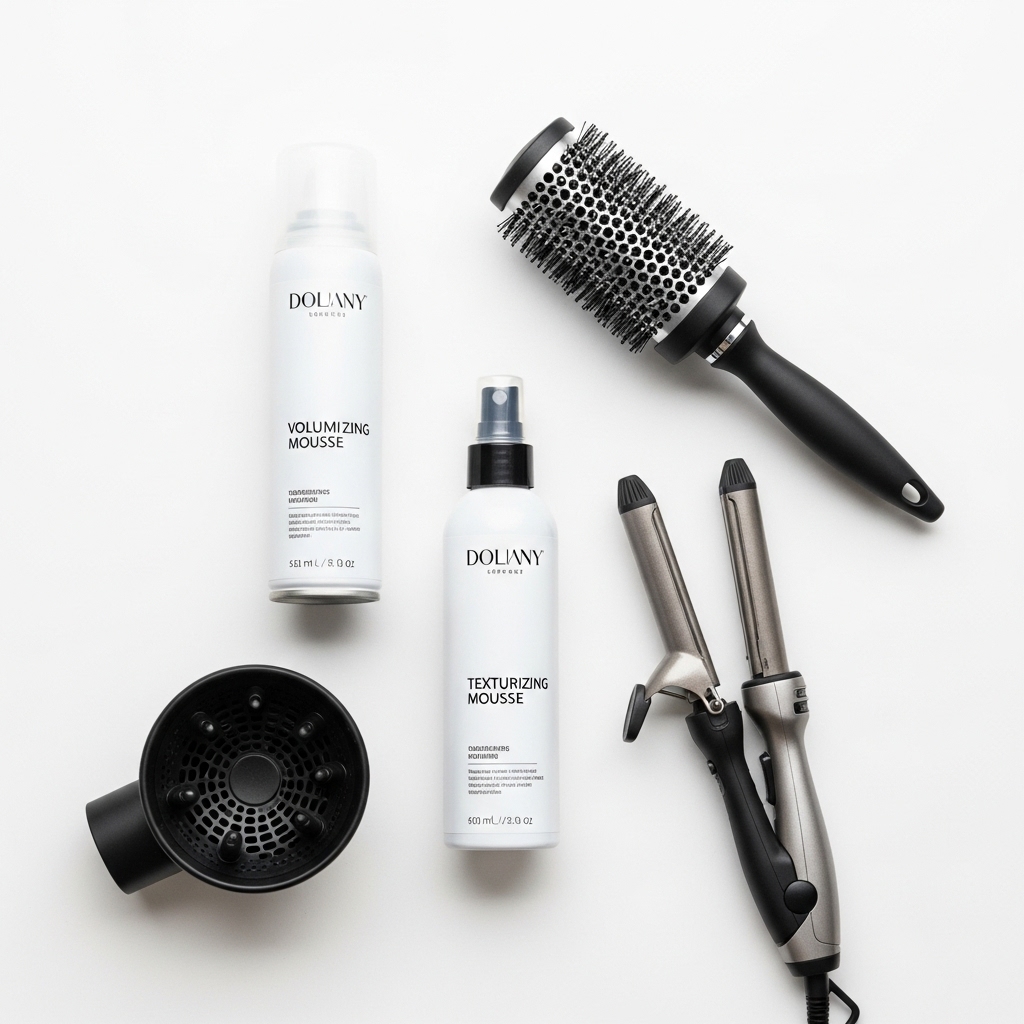
Texture Spray: This is your new best friend. A good texture or sea salt spray adds grit, separation, and that perfectly undone feel. Spritz it on damp or dry hair and scrunch.
Volumizing Mousse: Apply a golf-ball-sized amount to the roots of towel-dried hair before blow-drying to give your shag a lift from the very start.
Dry Shampoo: Not just for second-day hair! A quick spray at the roots on clean hair can add instant volume and texture.
Flexible Hold Hairspray: You want to lock in the style without making it look stiff or helmet-like. A flexible-hold formula is perfect for keeping the piece-y look intact.
Key Tools:
A Round Brush: Essential for blow-drying your fringe and face-framing layers with tension and smoothness.
A Diffuser: If you have wavy or curly hair, a diffuser is non-negotiable. It enhances your natural pattern without creating frizz, making your shag look incredible with minimal effort.
A Curling Wand (with a small barrel): For adding defined waves and bends to straight hair, a 1-inch curling wand is perfect for creating the piece-y, textured ends that define the shag.
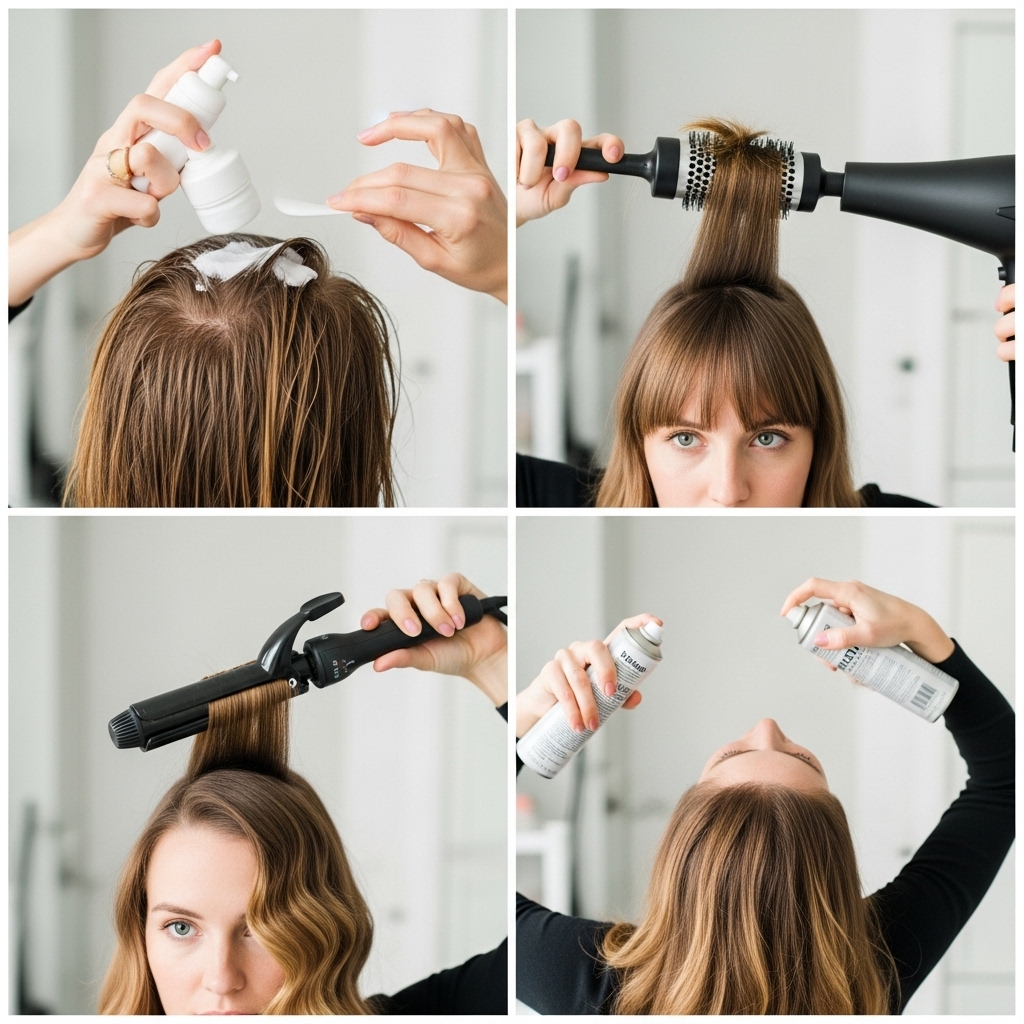
The 5-Minute Styling Routine for a Perfect Shag
You don’t need to spend an hour in front of the mirror to look great. Here’s a quick, effective routine to make your shag pop.
Step 1: Prep and Protect. Start with damp hair. Apply a heat protectant and your volumizing mousse, focusing on the roots. Rough dry your hair with your fingers until it’s about 80% dry. This is the time to encourage your natural texture.
Step 2: Define the Fringe and Frame. Using your round brush, blow-dry your fringe and the front layers in the direction you want them to fall. This sets the stage for your entire look.
Step 3: Create Texture and Waves. If you have straight hair, take your curling wand and wrap random sections of hair around it, focusing on the mid-lengths to ends. Don’t curl all the hair, and alternate the direction of the curls for a more natural, messy effect. For wavy/curly hair, apply your favorite curl cream and diffuse until dry, scrunching as you go.
Step 4: The Final Touch. Flip your head upside down and mist a texturizing spray at the roots for extra volume. Then, gently run your fingers through your hair to break up the waves and separate the layers. Spritz with a flexible-hold hairspray to lock in the style.
Maintaining Your Masterpiece: Trims and Hair Health
A shag haircut is a shape, and to keep that shape looking sharp, regular maintenance is crucial. Because the cut is so layered-heavy, you’ll notice the style losing its definition faster than a one-length cut. Plan for a trim every 6-8 weeks to keep the layers from growing out and becoming bulky or shapeless.
All that texturizing can lead to dryness, so it’s vital to keep your hair healthy. Incorporate a hydrating hair mask into your routine once a week. This will replenish moisture and keep your ends looking smooth and piece-y, not frayed and frizzy. When using hot tools, always apply a heat protectant to prevent damage that can undermine your shag’s cool-girl aesthetic.
Conclusion: Embrace the Ease and Edge of the Shag
The layered shag is more than just a haircut; it’s an attitude. It’s a declaration that you value style that is as easy to wear as it is striking to look at. It works with your natural texture, encourages movement, and frames your face in the most flattering way possible. By understanding the cut, communicating clearly with your stylist, and mastering a simple styling routine, you can unlock a look that is uniquely yours.

