
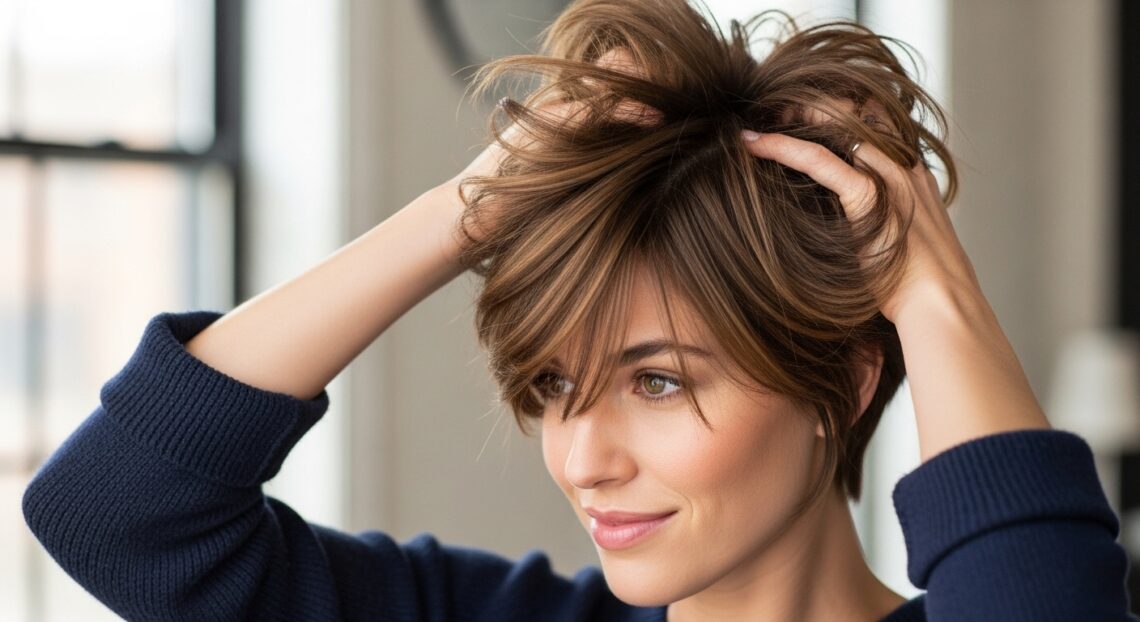
So, you took the plunge. You chopped off your locks and embraced the bold, liberating world of the pixie cut. But now, you might be staring in the mirror, wondering if your only option is to slick it back or let it dry into a fluffy mushroom cloud. We’ve all been there. The secret to transcending that awkward stage and achieving a truly show-stopping pixie lies in one magical word: layers.
A layered pixie isn’t just a haircut; it’s a blueprint for texture, movement, and personality. It’s the difference between a haircut that happens to you and a hairstyle you command. This guide is your go-to manual for mastering your layered pixie. We’re moving beyond complex salon jargon and intimidating tutorials. Here, you’ll find practical, achievable styles that will make you fall in love with your short hair all over again.
Why Layers are a Pixie Cut’s Best Friend
Before we dive into the styling, let’s talk about why layers are so crucial for a pixie. Think of your hair as a piece of sculpture. Without layers, it’s a block of marble—solid but lacking definition. Layers are the chisel that carves out shape, reveals texture, and brings the entire look to life.
Strategically placed layers add volume at the crown for lift, create movement throughout to prevent a “helmet head” effect, and frame your face with soft, flattering pieces around the eyes and cheekbones. They can even make fine hair appear thicker and help tame thick, unruly hair by removing bulk. In short, layers are the ultimate customization tool, allowing your pixie to be as unique as you are.

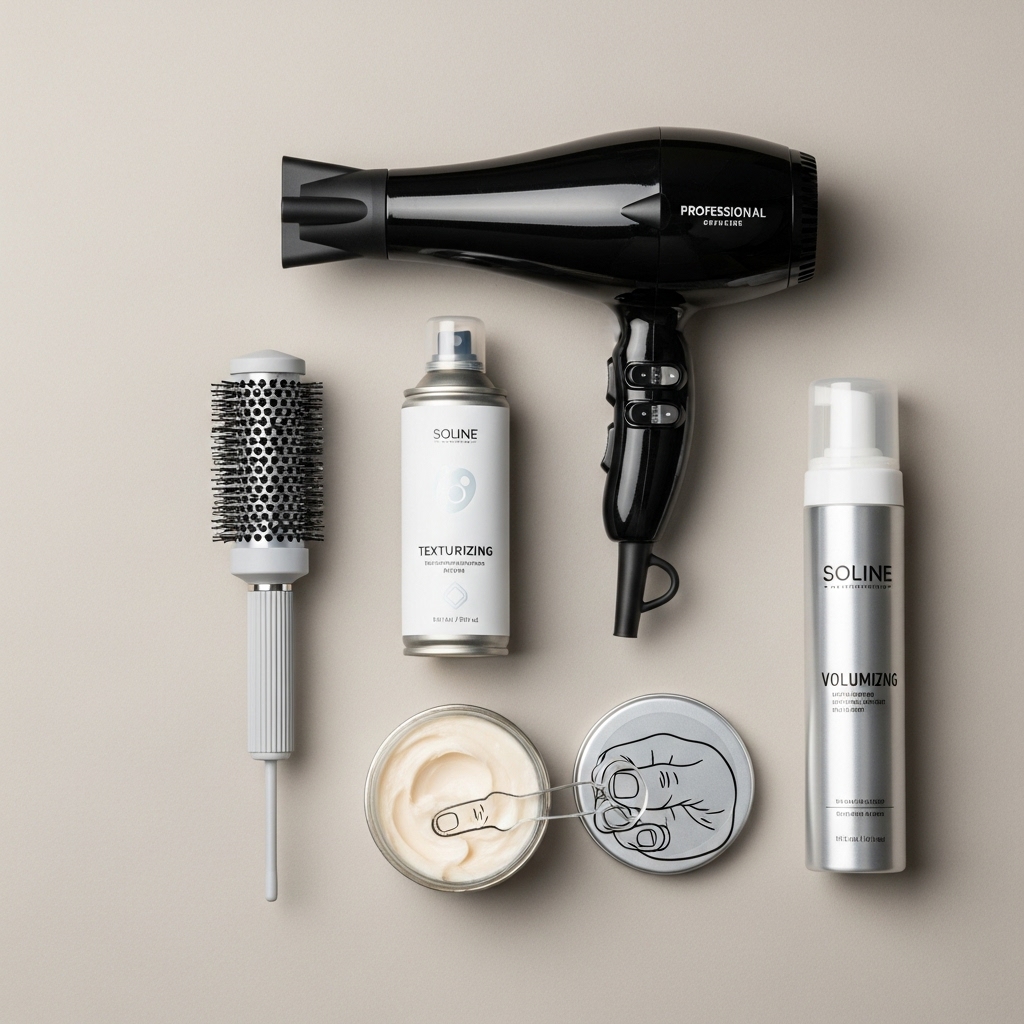
Essential Tools and Products for Your Layered Pixie Arsenal
You can’t build a masterpiece without the right tools. Fortunately, styling a pixie cut doesn’t require a vanity overflowing with products. It’s about quality and knowing how to use a few key items.
The Tools: A good blow dryer with a concentrator nozzle is non-negotiable for directing airflow. A round brush (small to medium size) is perfect for adding lift at the roots and smoothing ends. For texture, a texturizing spray or sea salt spray is your best friend, while a lightweight pomade or wax allows you to define pieces and control flyaways without weighing hair down. Finally, a volumizing mousse applied to damp roots can be a game-changer for added body.
Remember, with short hair, a little product goes a long way. Start with a pea-sized amount, warm it between your palms, and build up as needed.
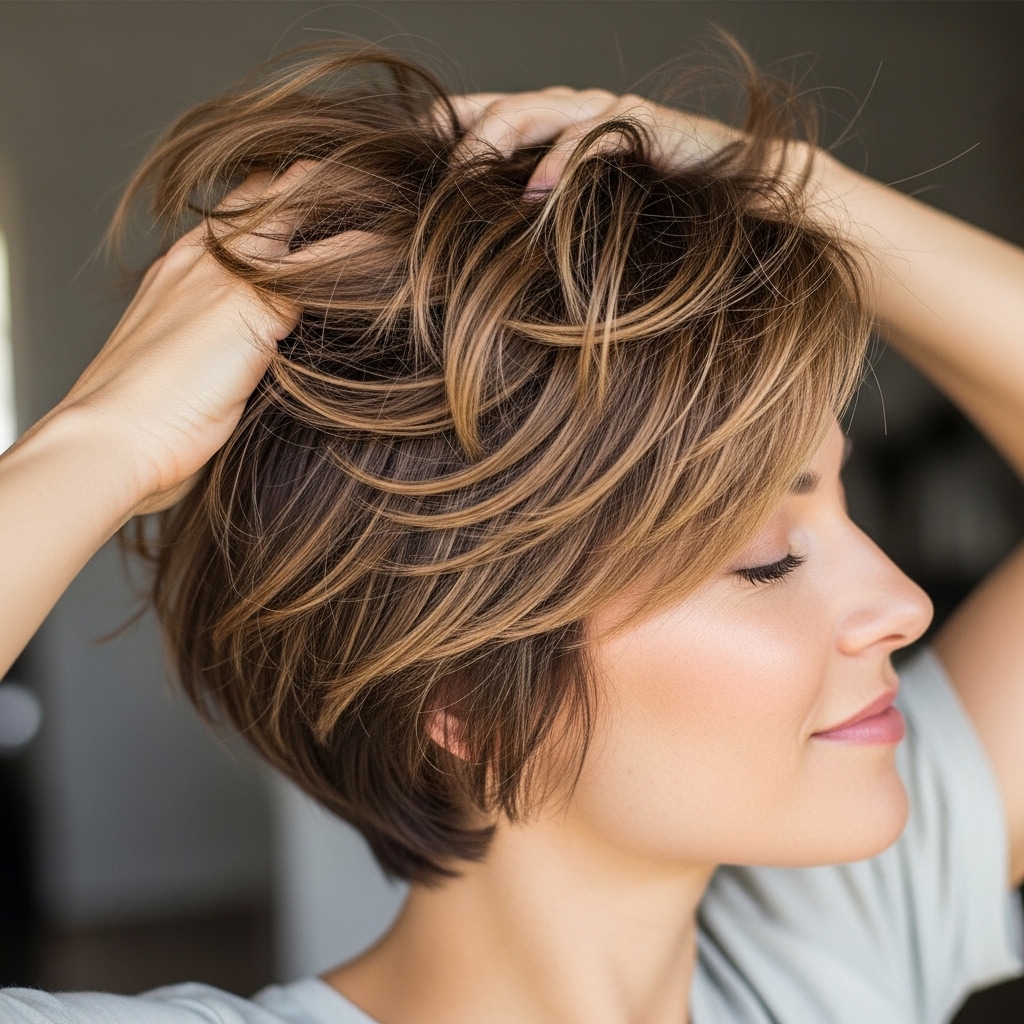
The Effortless, Textured “Day-Old” Look
This is the holy grail of pixie styling—looking perfectly imperfect with minimal effort. It’s all about enhancing your hair’s natural texture and making it look like you just rolled out of bed, but in the chicest way possible.
Start with dry or towel-dried hair. Spritz a texturizing or sea salt spray throughout, focusing on the mid-lengths to ends. Then, using your fingers, scrunch your hair upwards towards the crown to encourage piece-y texture. Don’t use a brush—the goal is controlled chaos. Once you’re happy with the shape, flip your head upside down and blast the roots with your blow dryer on a cool setting for a few seconds to set the volume. Finish by using your fingertips to dab a tiny bit of pomade on the ends of the top layers to separate them and define those coveted, piece-y bits.
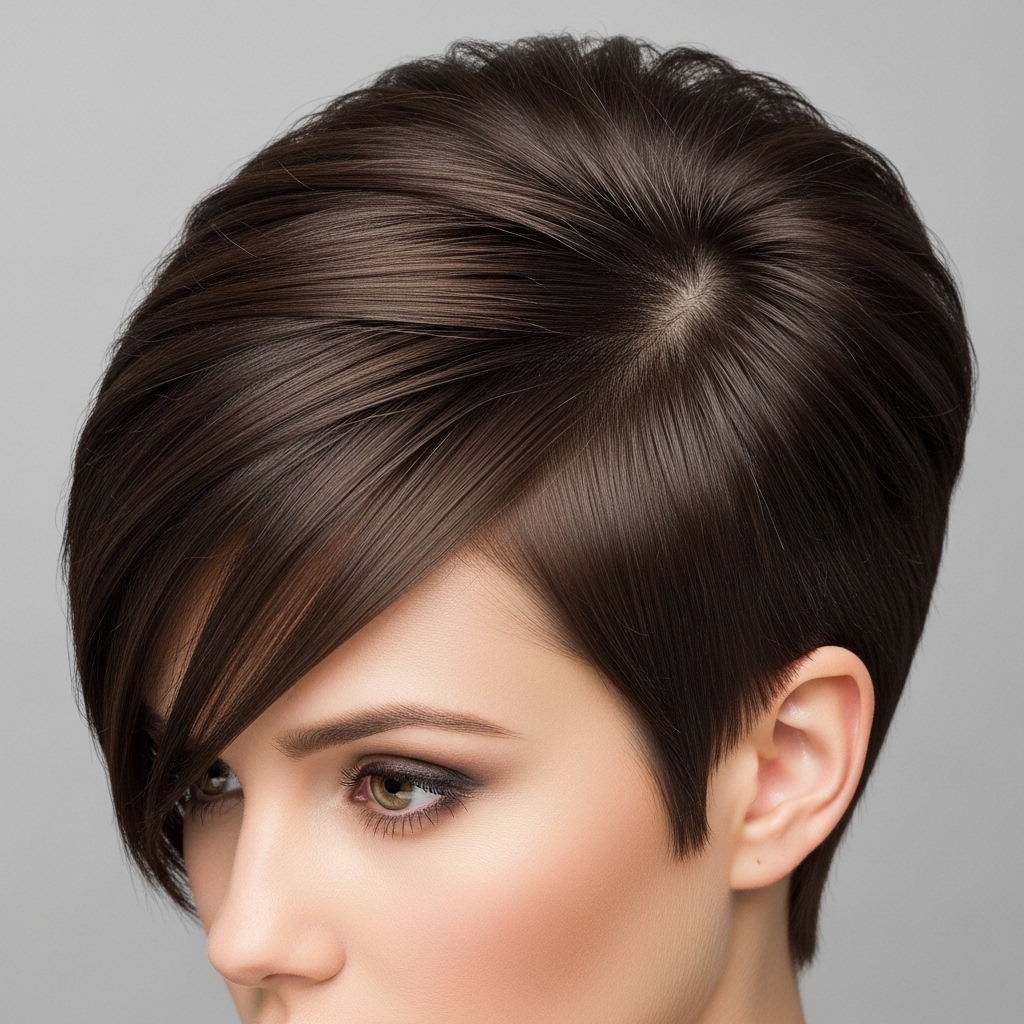
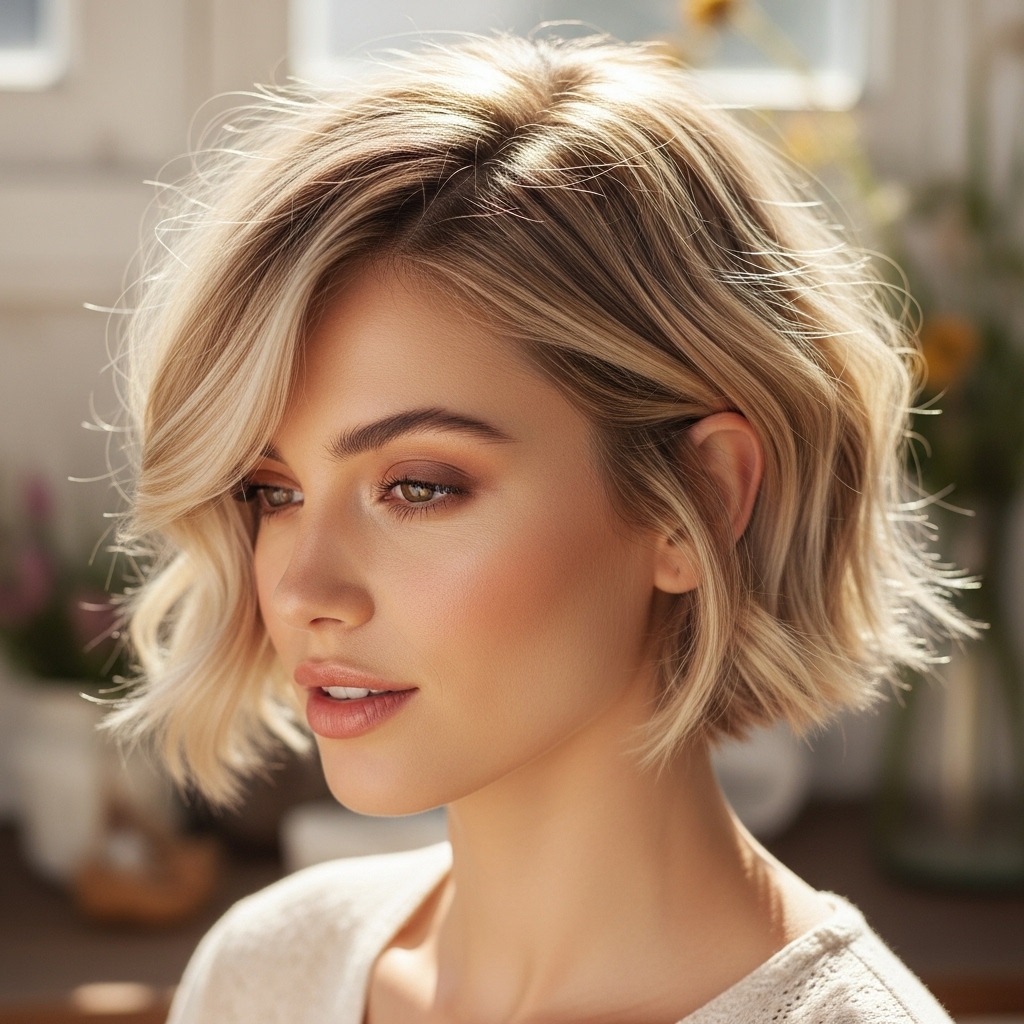
The Sleek and Sophisticated Blowout
When you need to look polished and put-together, a sleek blowout is your go-to. This style showcases the precision of your cut and gives you a sharp, confident edge.
Begin with damp hair. Apply a heat protectant and a volumizing mousse at the roots. Using your round brush and blow dryer, start at the front. Take small sections, wrapping the hair around the brush and pulling it up and away from your face to create maximum lift at the roots. Direct the airflow down the hair shaft to smooth the cuticle. Work your way around your head, paying special attention to the crown. For the sides and back, you can often use the brush to smooth the hair down or back. Once fully dry, you can use a flat iron on any stubborn pieces for extra sleekness, and finish with a light-hold hairspray to lock in the style.
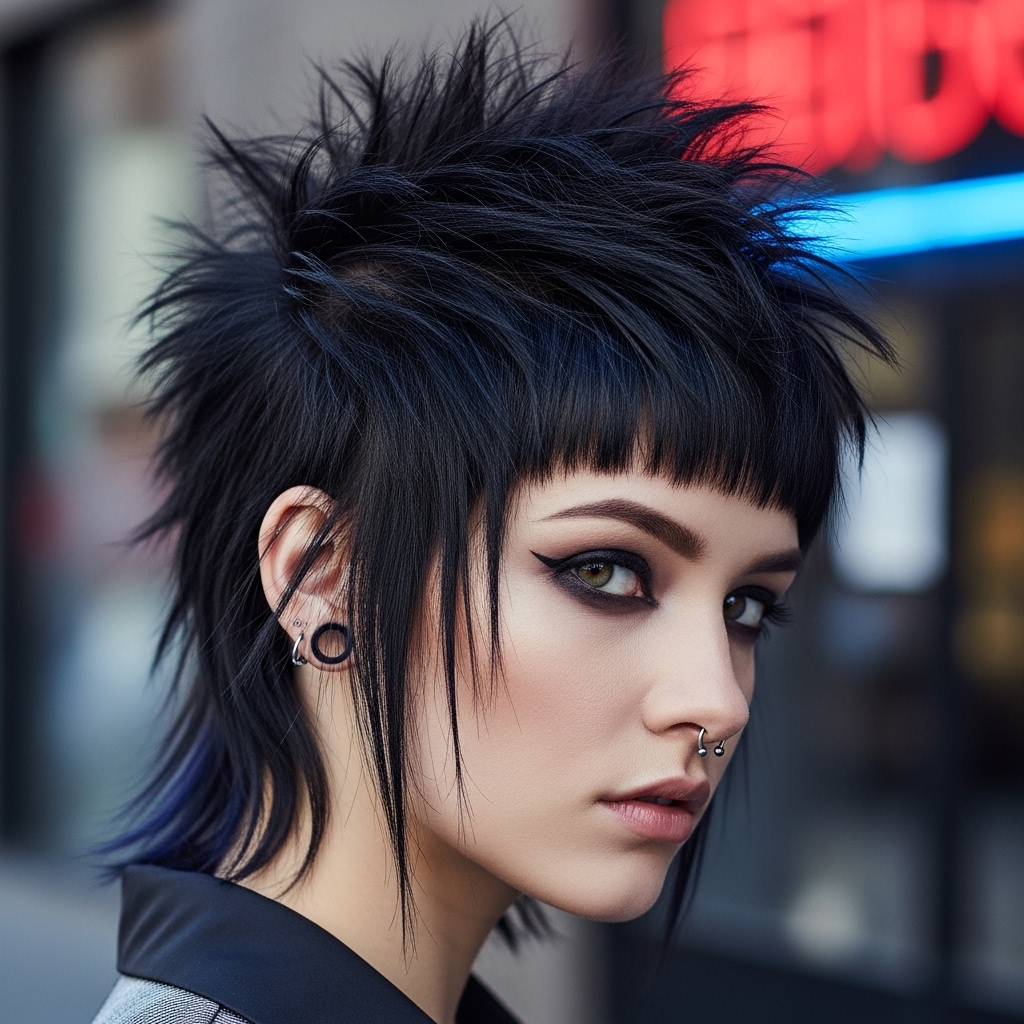
The Edgy, Piece-y Pixie with Maximum Definition
This style is for when you want to make a statement. It highlights the artistry of your layers by creating sharp, defined sections that look modern and edgy.
This look works best on dry hair. Apply a texturizing powder or a strong-hold paste to your roots and ends. The key tool here is your fingers. Instead of brushing, use your fingertips to literally piece out sections of hair. Pull and twist small strands at the crown and front to stand them up or direct them in different directions. The goal is to create separation and visual interest. Don’t be afraid to make it a little asymmetrical! This style celebrates individuality and is all about playing with shape and form.
The Soft and Romantic Pixie with Waves
Who says pixies can’t be romantic? Adding soft waves to your layered cut introduces a touch of whimsy and softness that is utterly captivating.
If your hair has a natural wave, enhance it with a curl-enhancing cream on damp hair and let it air dry, scrunching occasionally. For straight hair, you’ll need a small-barreled curling iron (about 1/2 inch). Take random, small sections of hair from the top and crown layers. Wrap them around the curling iron away from your face, hold for a few seconds, and then release. Don’t curl all your hair—just the top layers to create dimension. Once all the waves are set, run your fingers through them to break them up and soften the curls. Finish with a flexible-hold hairspray to maintain the bounce without stiffness.
Mastering the Art of the Accessory
Accessories are a pixie cut’s secret weapon. They can instantly transform your look from day to night, or simply add a pop of personality.
Headbands are incredibly versatile. A thin, metallic band looks elegant, while a fabric scarf headband adds a boho touch. Statement Earrings are a must—with less hair around your face, your ears and neck become a focal point. Don’t be shy; go for bold hoops, dramatic drops, or colorful studs. For a fun, retro vibe, try adding a few decorative bobby pins. Criss-cross them at the side of your head or use them to pin back a section of hair, adding a sparkly or patterned detail.

Conquering the Dreaded “Awkward Stage”
As your pixie grows out, you will hit a point where it’s too long to style easily but too short to tie back. This is a universal experience, but layers can be your savior.
During this phase, focus on texture and direction. Use pomade and a strong-hold spray to push the front pieces to the side, creating a deep side-swept look. This prevents them from falling into your eyes. Embrace the shagginess! A texturizing spray can make the in-between length look intentional and cool, like a modern mullet or a shag cut in the making. This is also the perfect time to play with accessories like headbands and clips to manage the length. Remember, regular trims to maintain the shape of your layers, even as you grow it out, will make the process infinitely more manageable.

Your Layered Pixie, Your Rules
The beauty of a layered pixie cut is its incredible versatility. It’s a canvas for your personal style. Whether you’re feeling sleek and powerful, soft and romantic, or edgy and undone, the layers in your hair provide the foundation for endless creativity.
Don’t be afraid to experiment. Mix and match these techniques. Try a sleek blowout one day and a textured mess the next. The most important tool in your kit is your confidence. Your layered pixie is a statement—a declaration of independence and style. Now, armed with these easy-to-do techniques, you have everything you need to make that statement loud, clear, and utterly fabulous.

