
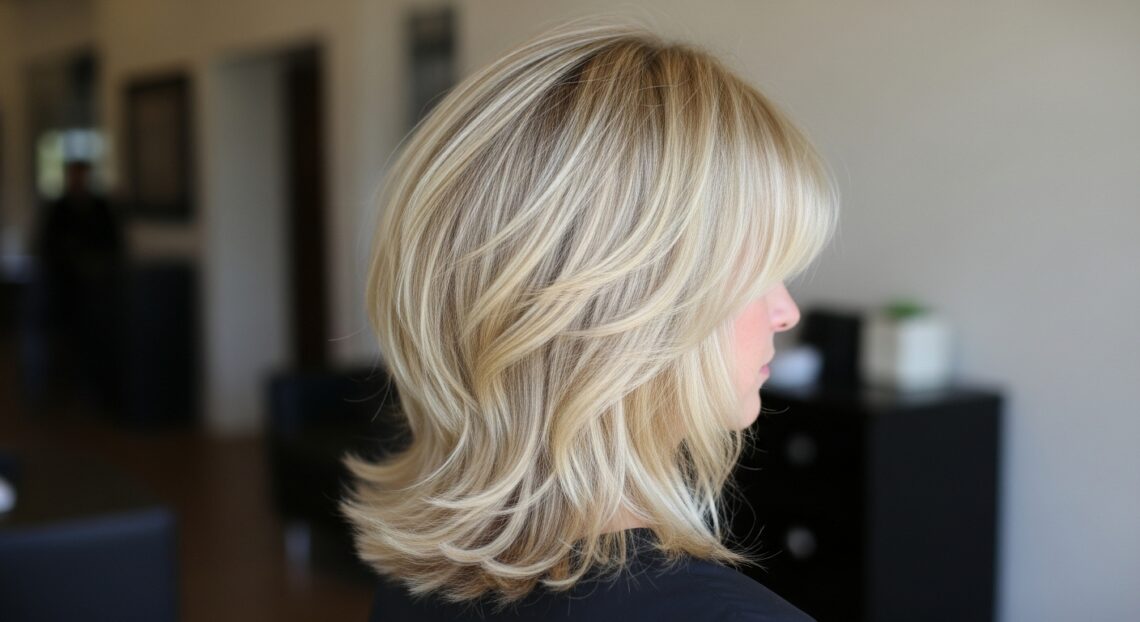
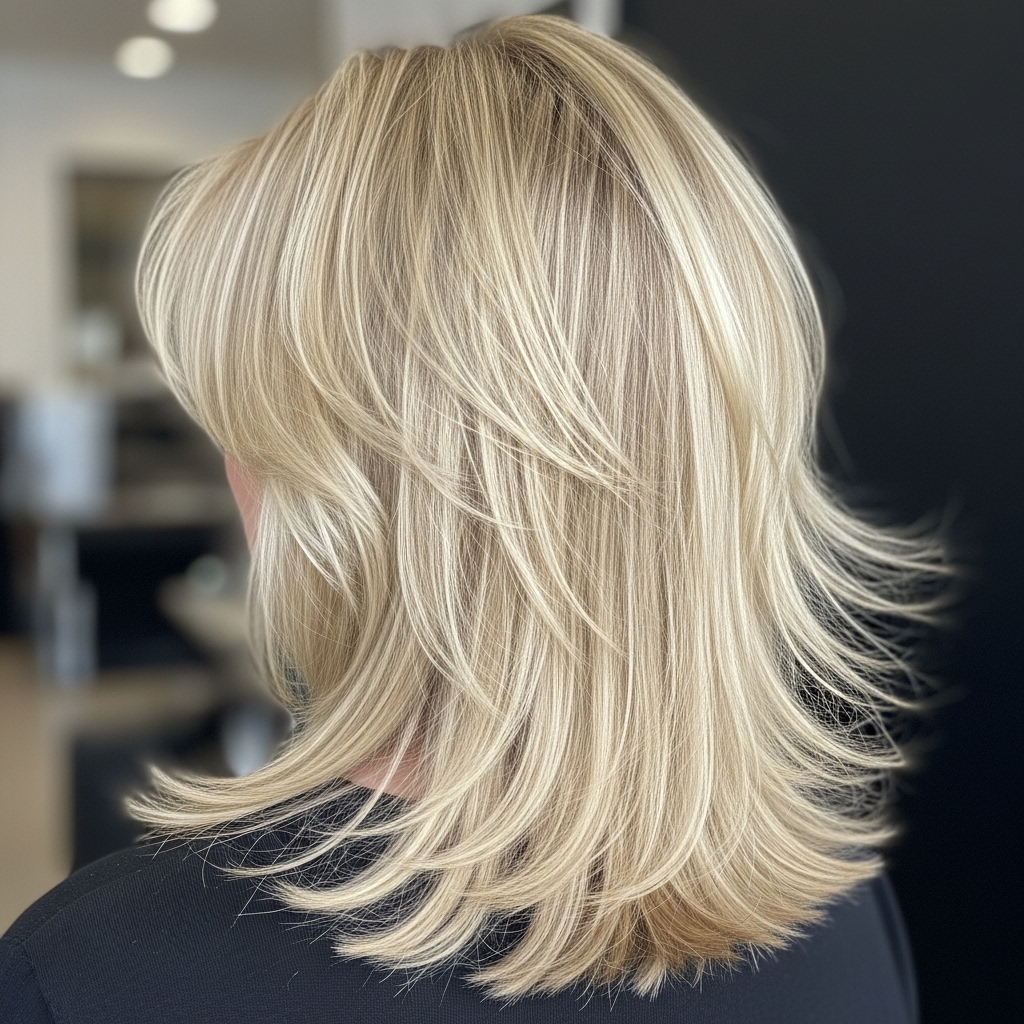
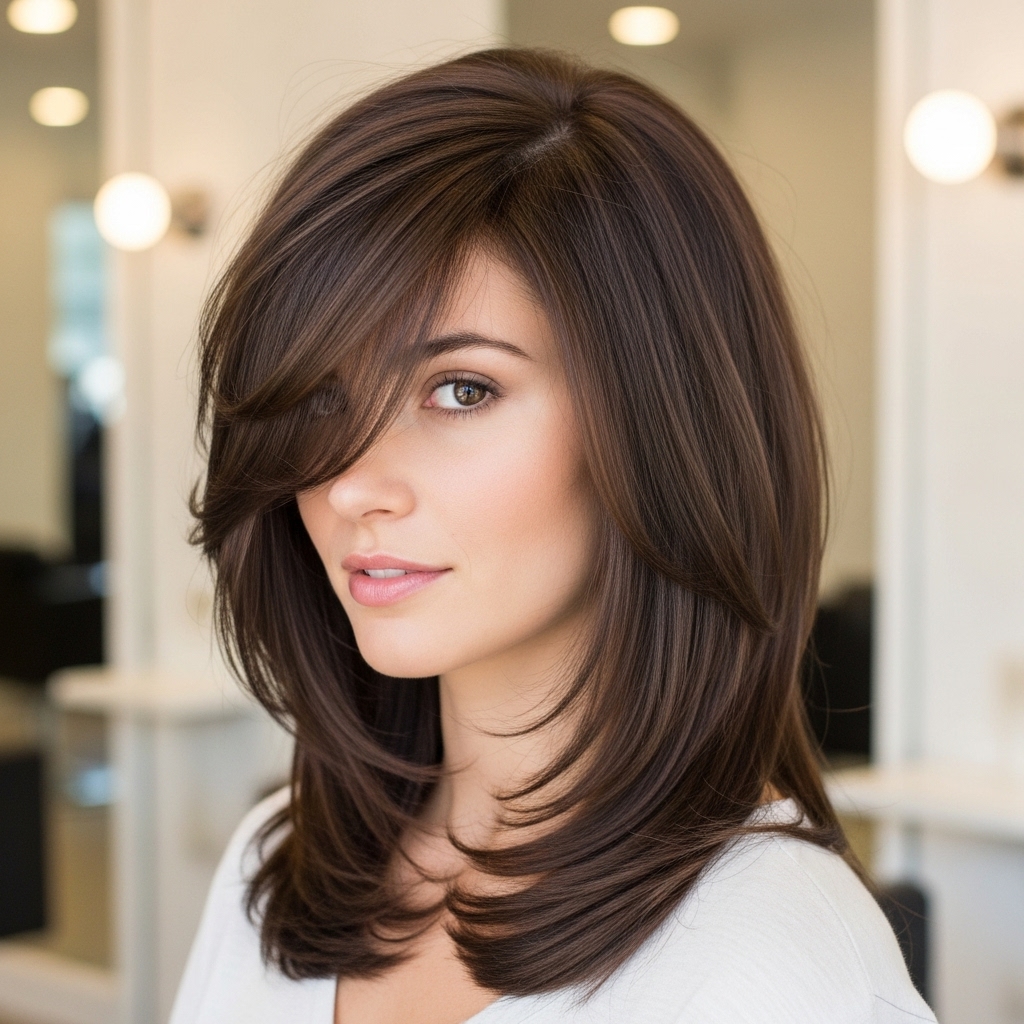
Remember the shag? That iconic, rock-and-roll haircut from the 70s that screamed freedom and nonchalant cool? Well, it’s back, but with a modern, sophisticated twist that makes it more wearable than ever. The medium shag is the Goldilocks of haircuts—not too short, not too long, but just right. It’s the perfect blend of texture, movement, and effortless style that works for virtually every hair type and face shape.
If you’ve been scrolling through Instagram, mesmerized by tousled layers and face-framing pieces but worried it’s too high-maintenance, this guide is for you. We’re demystifying the modern shag and showing you that this isn’t your grandmother’s shag (no offense to grandma). Today’s version is softer, more customizable, and shockingly easy to manage. Get ready to unlock a world of volume, dimension, and undeniable cool-girl vibes.
Why the Modern Medium Shag is Your Next Perfect Cut
So, what makes the medium shag the it cut right now? It all comes down to its incredible versatility and flattering nature. Unlike the razor-sharp, uniform layers of the past, the contemporary shag is all about creating a lived-in, effortless look. The layers are cut to enhance your hair’s natural texture, whether it’s pin-straight, wavy, or curly. This means less daily styling and more embracing what you already have.
The beauty of a medium-length shag lies in its ability to add instant volume and body. By strategically removing weight and creating internal movement, the cut gives fine hair a much-needed boost and helps tame thick, heavy hair. The signature elements—the curtain bangs, the wispy layers, the textured ends—all work together to frame your face beautifully, drawing attention to your eyes and cheekbones. It’s a cut that looks like you woke up like this, even if it took a little (very little) effort.

Finding Your Shag: The Best Styles for Your Hair Texture
Not all shags are created equal. The key to a successful shag is tailoring it to your specific hair type. The goal is to work with your natural texture, not against it. Here’s how to find your perfect shag match.
For Fine or Straight Hair
If you have fine or straight hair, you might think volume is a distant dream. Enter the shag. The magic here is in the layering technique. Your stylist will focus on creating internal layers that build body from within, without making your hair look thin or wispy. Ask for soft, blended layers and consider light texturizing at the ends to encourage movement. A fringe, like curtain bangs, can also add the illusion of fullness around your face.
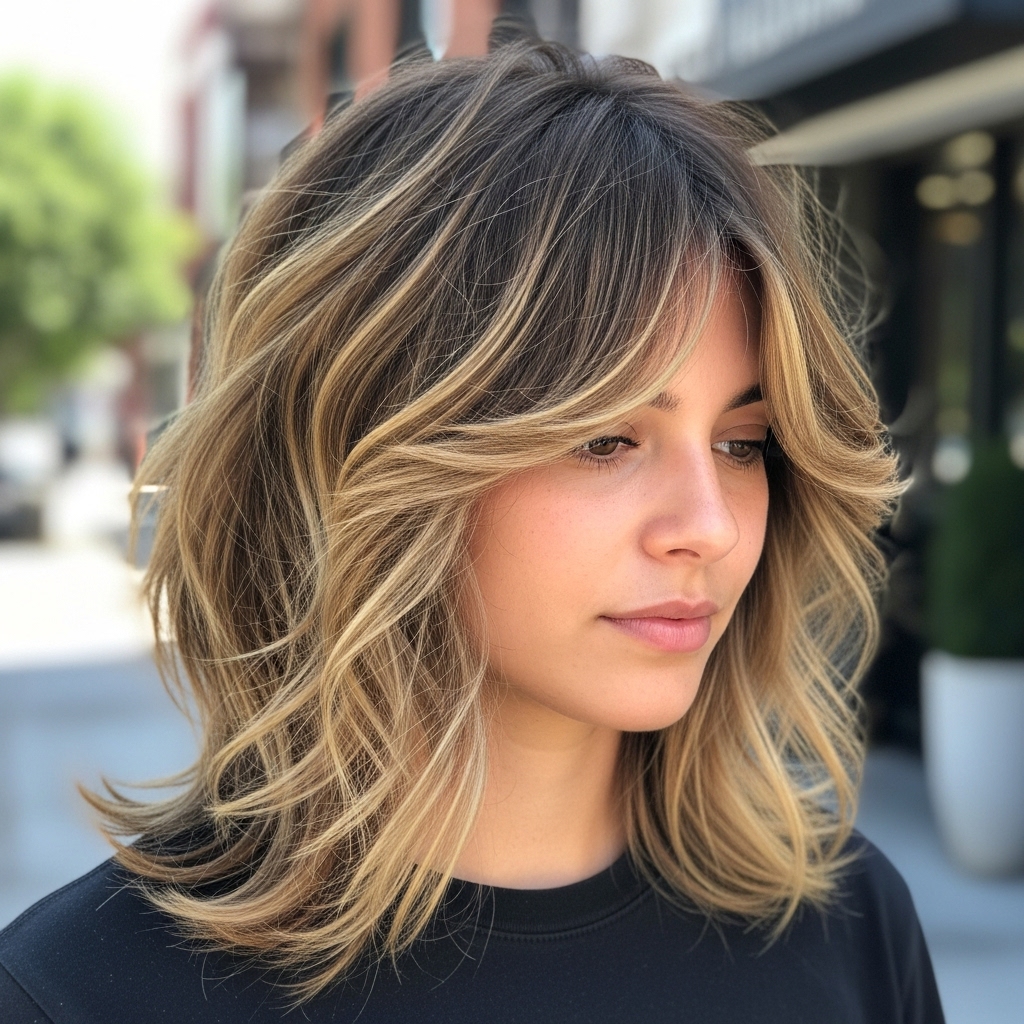
For Wavy or Curly Hair
Wavy and curly hair is a dream canvas for a shag. The layers naturally enhance your curl pattern, preventing the dreaded “triangle” shape that can happen with one-length cuts. The shag allows your curls to spring up at different lengths, creating a beautiful, rounded shape full of life. For this texture, a dry cut is often best, as it allows the stylist to see your natural curl formation and place the layers perfectly to support it. Embrace the chaos—the shag is meant to be a little wild!
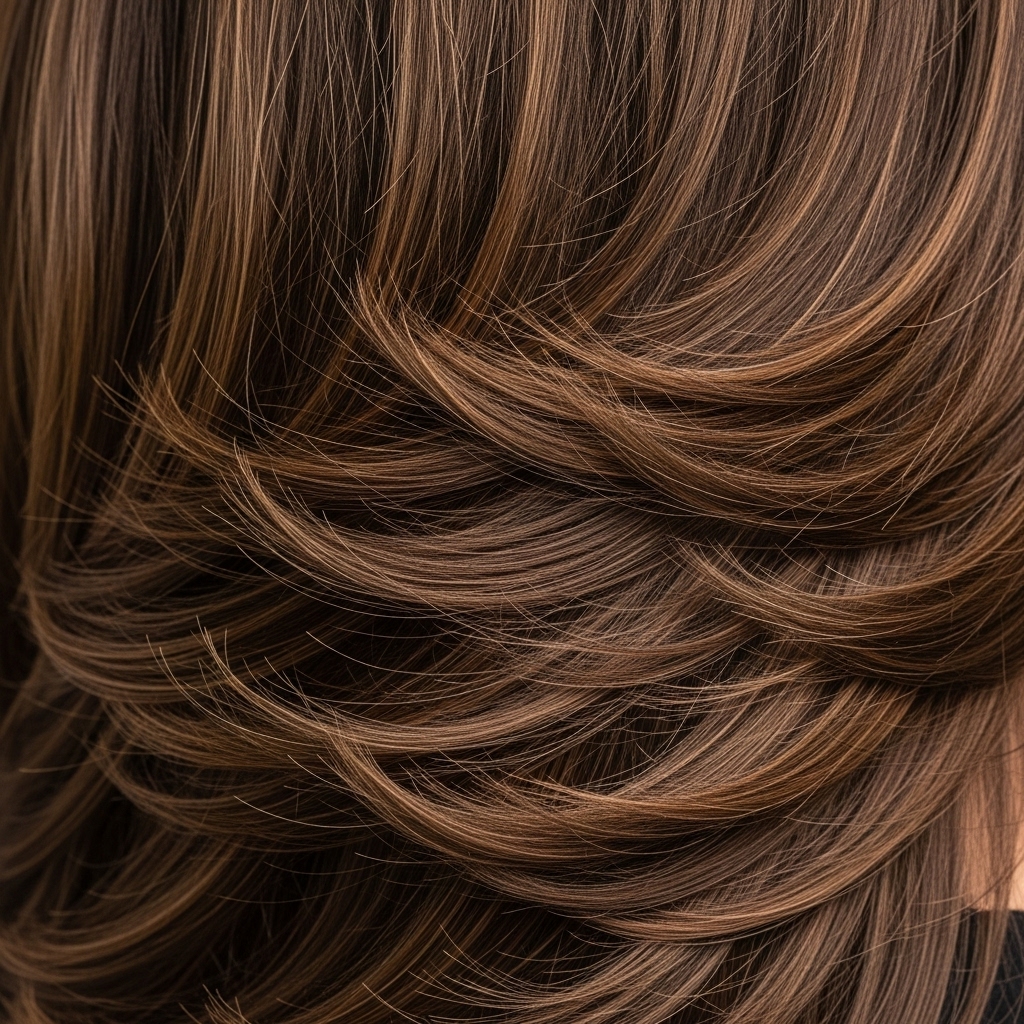
For Thick or Coarse Hair
If you have thick, heavy hair, the shag is your new best friend for weight reduction. This cut removes bulk in all the right places, making your hair more manageable and less prone to frizz. The layers will be more pronounced to effectively thin out the density while maintaining the shape. You’ll be amazed at how much lighter and bouncier your hair feels. It’s a liberating cut for those with a lot of hair.
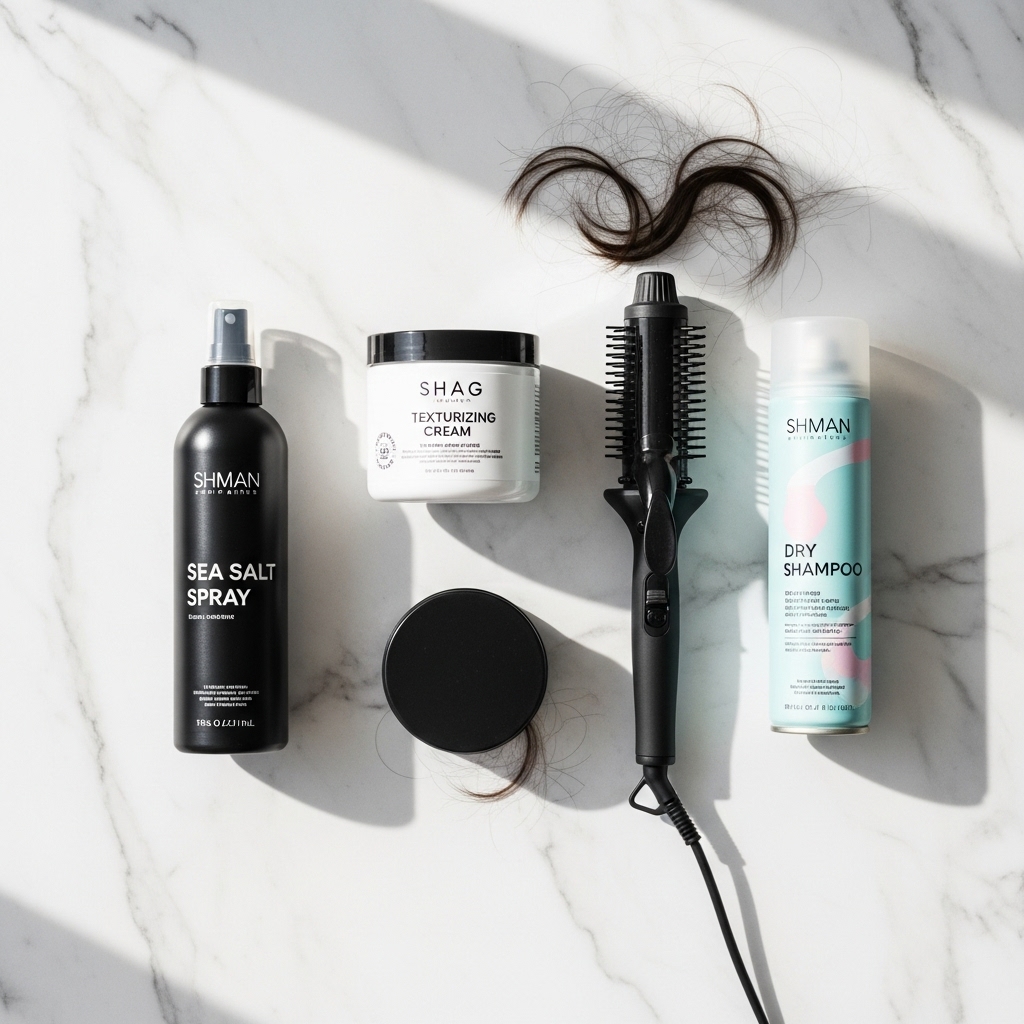
The Styling Toolkit: Products and Tools You’ll Actually Use
The best part about the modern shag? You don’t need a salon’s worth of products to style it. A few key items are all you need to achieve that perfectly imperfect look.
Texture Spray or Sea Salt Spray: This is your holy grail. A few spritzes on damp or dry hair will enhance your natural wave, add grit, and provide hold without stiffness. It’s the secret to that “I just got back from the beach” texture.
A Lightweight Mousse: For those with fine or flat hair, a mousse applied to the roots on damp hair can be a game-changer for volume. It provides lift and body without crunch.
A Small-Barrel Curling Wand or Flat Iron: You won’t be creating perfect curls here. A 1/2-inch to 1-inch barrel is perfect for adding piecey texture, bending the ends, or enhancing a few face-framing layers. The goal is randomness, not uniformity.
Dry Shampoo: A shag often looks better on day two or three. Dry shampoo will absorb oil at the roots, adding even more volume and texture, extending the life of your style.
5 Easy Medium Shag Styles to Master in Minutes
Now for the fun part—how to actually style your shag. These looks are designed to be quick, easy, and incredibly chic.
1. The Effortless Air-Dry
This is the quintessential shag look. Start with towel-dried hair. Apply a texturizing mousse or cream from mid-lengths to ends. Scrunch your hair gently with your hands and let it dry naturally. If you have straight hair, let it dry about 80% of the way, then twist a few random sections and secure them with clips until fully dry for a subtle, undone wave. The key is to touch it as little as possible.

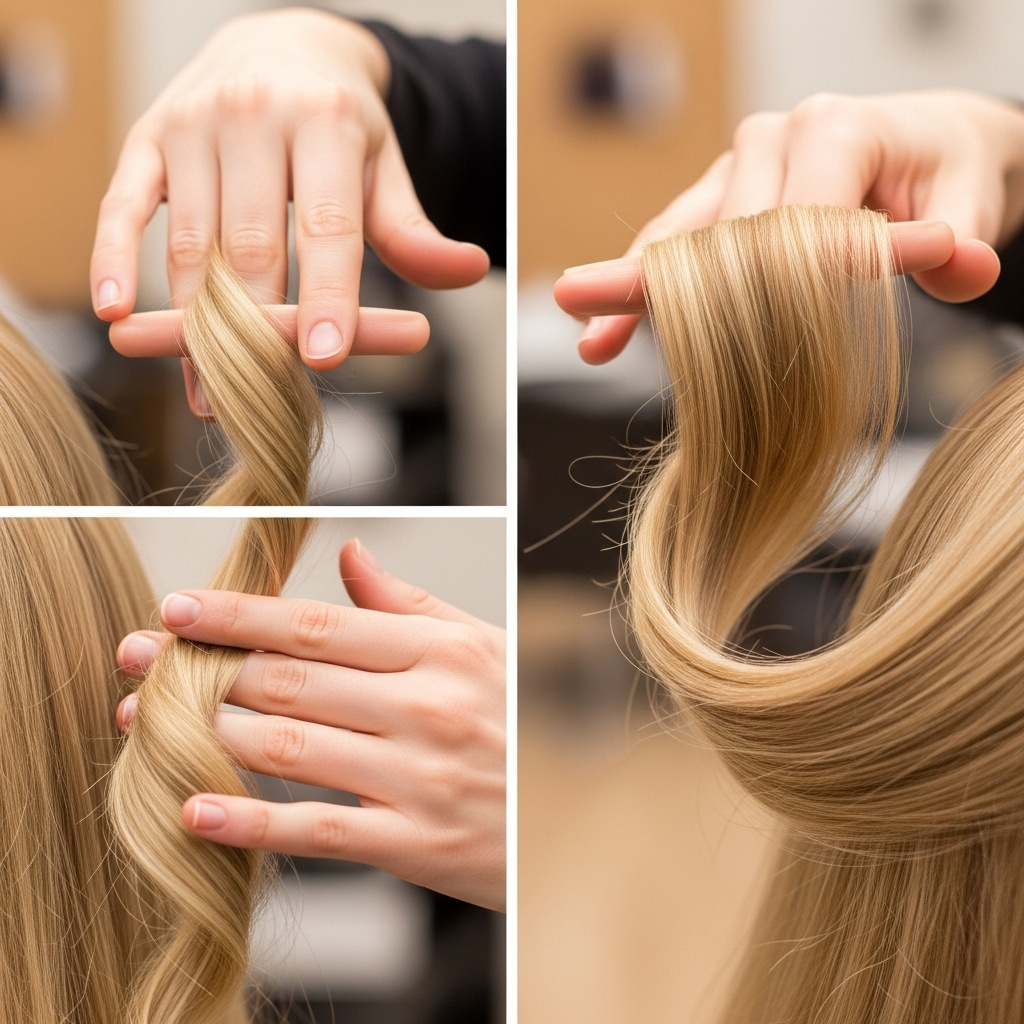
2. The Piecey Textured Wave
For a more defined look, use that small-barrel curling wand. Don’t wrap large sections of hair around the barrel. Instead, take very small, random pieces and wrap them away from your face, holding for only a few seconds. Alternate the direction for a more natural effect. Once you’ve curled a few pieces, run your fingers through your hair to break up the curls and finish with a texturizing spray for separation.
3. The Sleek and Smooth (With an Edge)
Yes, you can wear your shag straight! But to keep it from looking flat, blow-dry your hair using a round brush to create volume at the roots. Once straight, go in with a flat iron and slightly bend the ends outwards or inwards in an irregular pattern. This prevents a harsh, blunt line and maintains that shaggy, textured feel. A light mist of hairspray will lock in the shape.
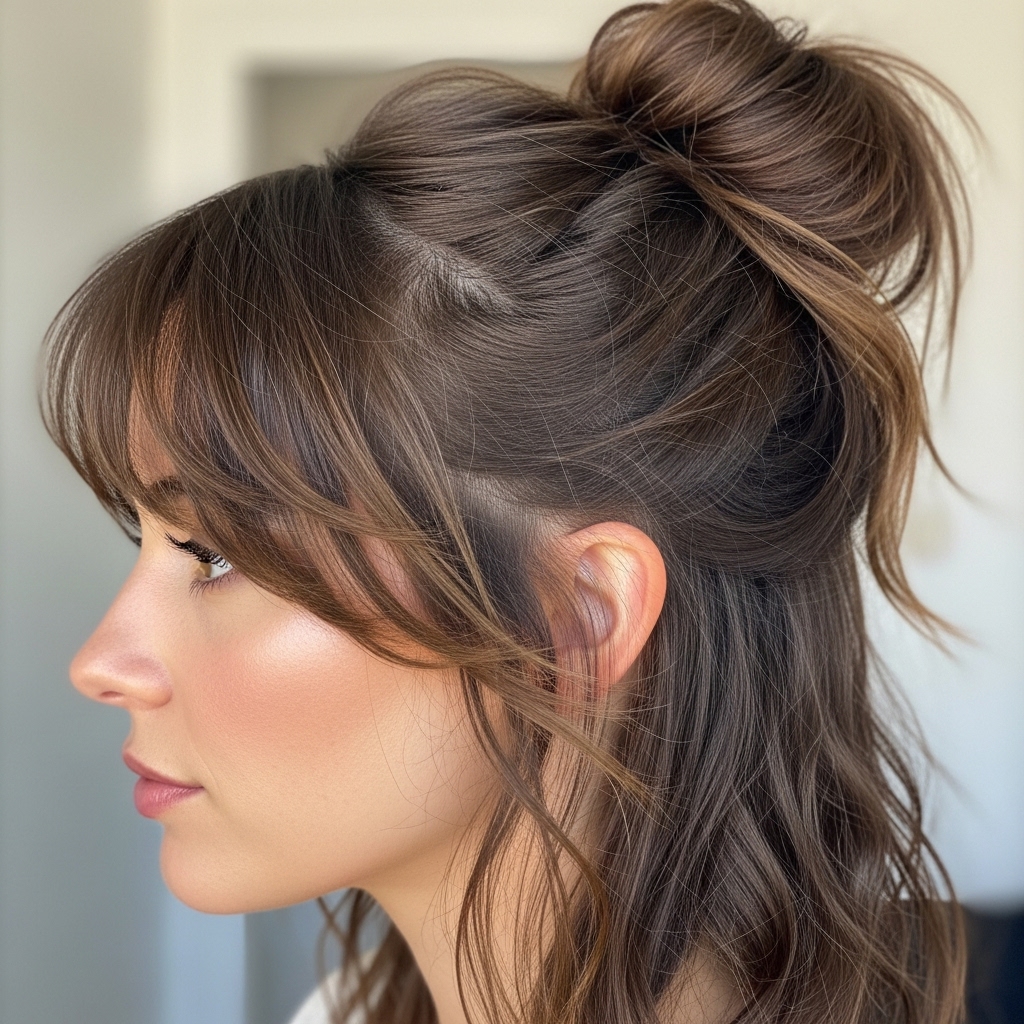
4. The Half-Up, Messy Bun
This is the perfect style for a bad hair day or when you want to keep hair off your face. Pull the top section of your hair (from around your temples back) and loosely twist or gather it at the crown. Leave out your curtain bangs and a few face-framing pieces. Secure with a claw clip or coil it into a small, messy bun. Gently pull out a few pieces around your face and at the crown for that effortless, romantic vibe.
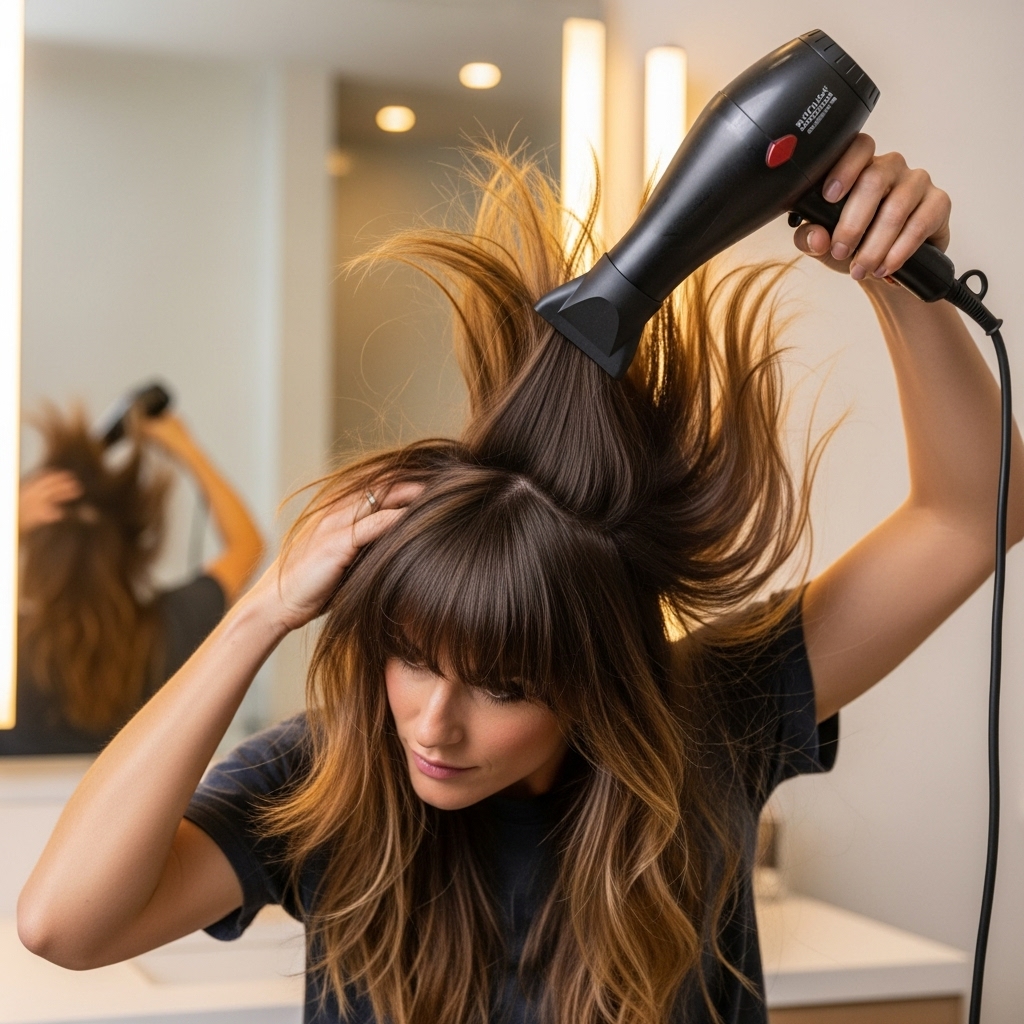
5. The Voluminous Root Blowout
If volume is your main goal, focus your energy on the roots. After washing, flip your head upside down and blow-dry your roots until about 80% dry. Flip back up and use a round brush to lift the roots at the crown as you finish drying. Once done, part your hair as desired. For extra oomph, clip the top section of your hair at the root while it cools. This simple trick makes a world of difference.
Maintaining Your Masterpiece: Shag Haircut Care Tips
To keep your shag looking its best, a little maintenance goes a long way.
Regular Trims are Non-Negotiable: The shag is a shape-driven cut. To keep the layers from growing out and looking messy, plan for a trim every 8-10 weeks. This will maintain the structure and health of your ends.
Embrace the Right Products: Avoid heavy, oily serums and creams that can weigh down your layers. Stick to lightweight, texturizing products that enhance, rather than suppress, your hair’s natural movement.
Protect Your Hair: If you’re using heat tools regularly, always apply a heat protectant spray first. Healthy hair holds a style better, and the shag relies on the condition of the ends to look its best.
The medium shag is more than just a haircut; it’s an attitude. It’s a celebration of texture, movement, and easy-going style. It’s a cut that empowers you to work with your natural hair, not fight it. So, take the plunge, book that appointment, and get ready to rock a look that’s as uniquely cool as you are.

