

Let’s be honest. We’ve all been there. You see a gorgeous, voluminous updo on Pinterest or the red carpet—a masterpiece of texture, height, and effortless elegance. You grab your hairbrush and a fistful of pins, ready to recreate the magic. An hour later, you’re surrounded by a halo of flyaways, your arms are tired, and your hair looks less like a chic bun and more like a sad, deflated pastry. It’s enough to make you reach for the trusty ponytail yet again.
But what if we told you that achieving a beautiful, voluminous updo isn’t a talent reserved for celebrity stylists? What if you could create these stunning looks with simple techniques and a little know-how? The secret isn’t in a magical product (though texture spray helps!) but in understanding a few key principles that build body and lift from the get-go.
Why Volume is the Secret to a Perfect Updo
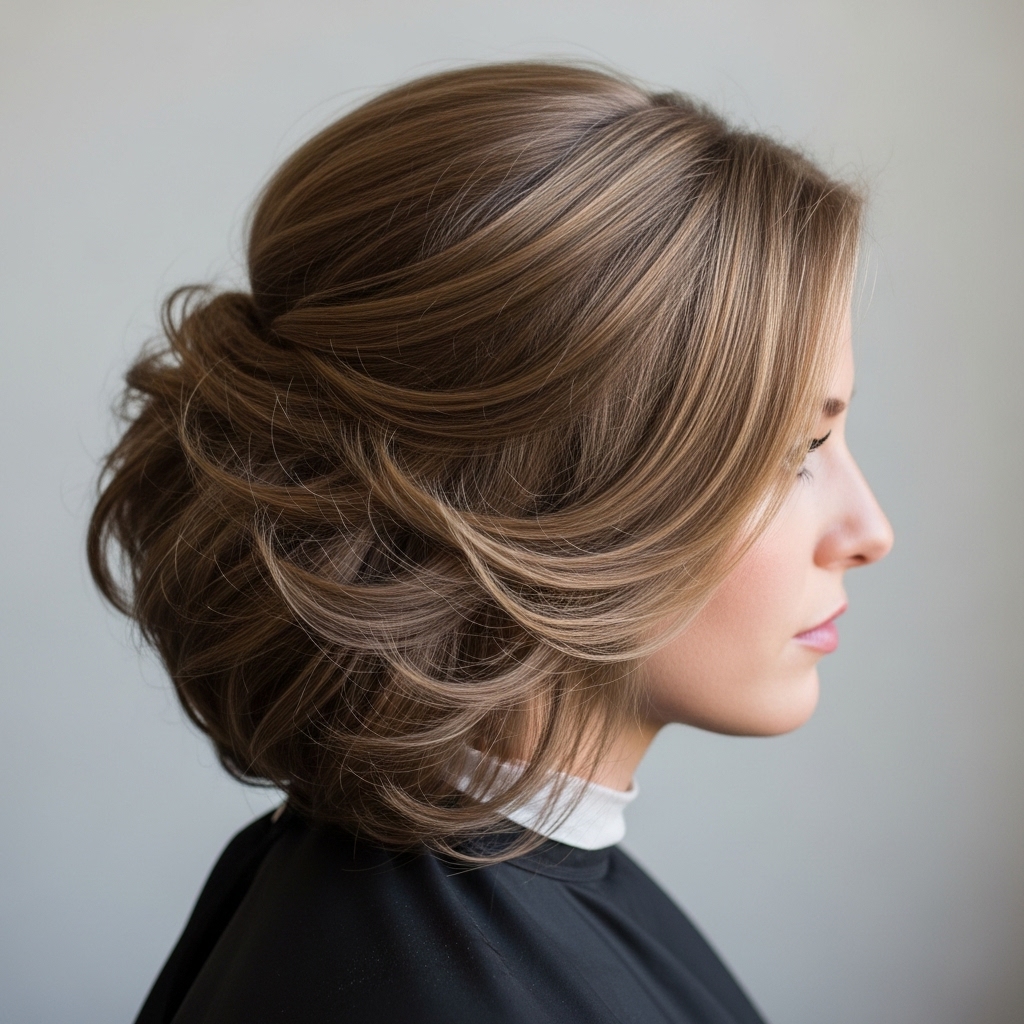
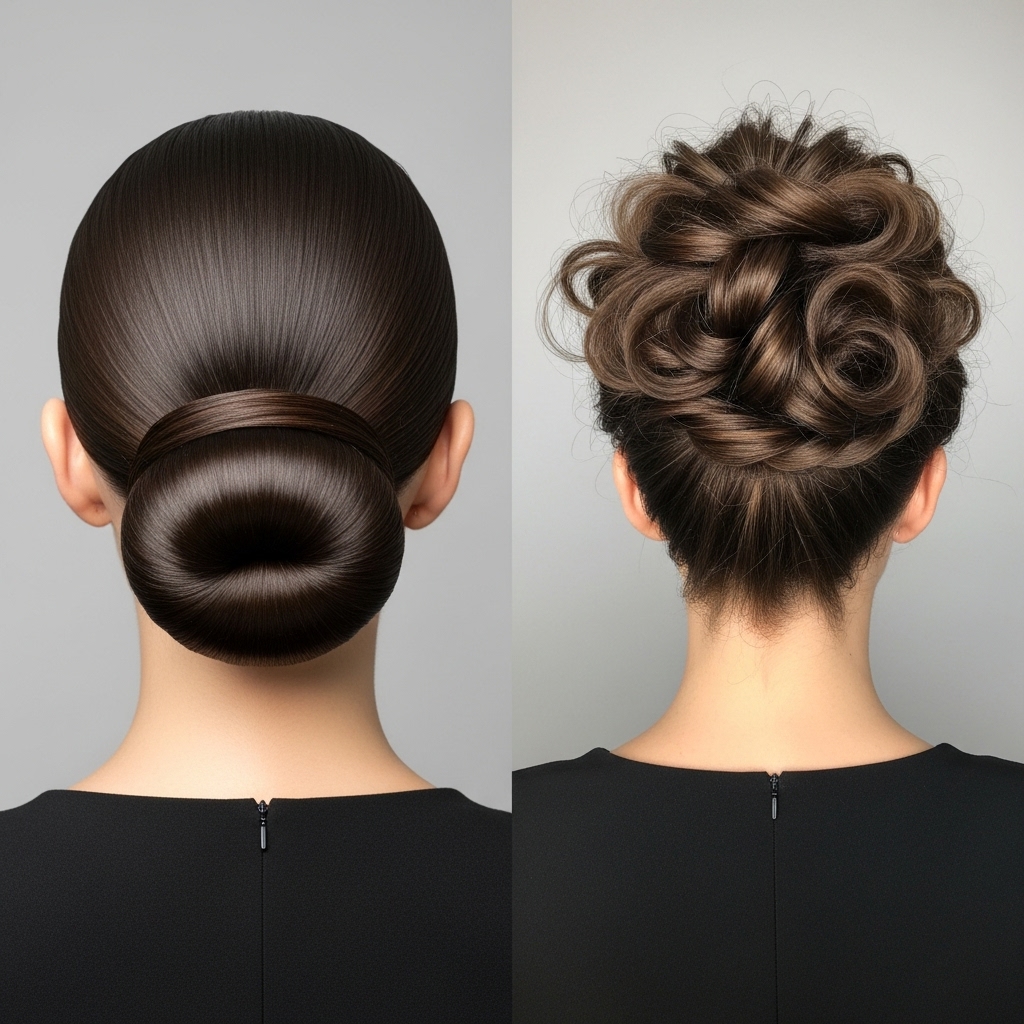
Before we dive into the styles, let’s talk about why volume is so crucial. A flat updo can often look severe, dated, or just plain unfinished. Volume, on the other hand, adds a touch of modern romance, softens your facial features, and makes your hair look thicker and healthier. It’s the difference between a tight, restrictive ballerina bun and a soft, ethereal style that looks both polished and approachable.
Think of volume as the foundation of your hairstyle. It creates a framework that holds the shape, adds interest, and prevents your updo from looking like a last-minute effort. Whether you have fine, thick, straight, or curly hair, the techniques for building volume are universal. It all starts with the prep work.
Prep Work: Building the Foundation for Volume
You can’t build a castle on sand, and you can’t build a voluminous updo on limp, freshly washed hair. The perfect foundation is key. Here’s how to prep your hair for maximum body and hold.
1. Start with Day-Old Hair: If possible, style your hair on the second or even third day after washing. The natural oils and previous product buildup provide grit and texture that clean hair lacks, making it much easier to manipulate and hold a style.
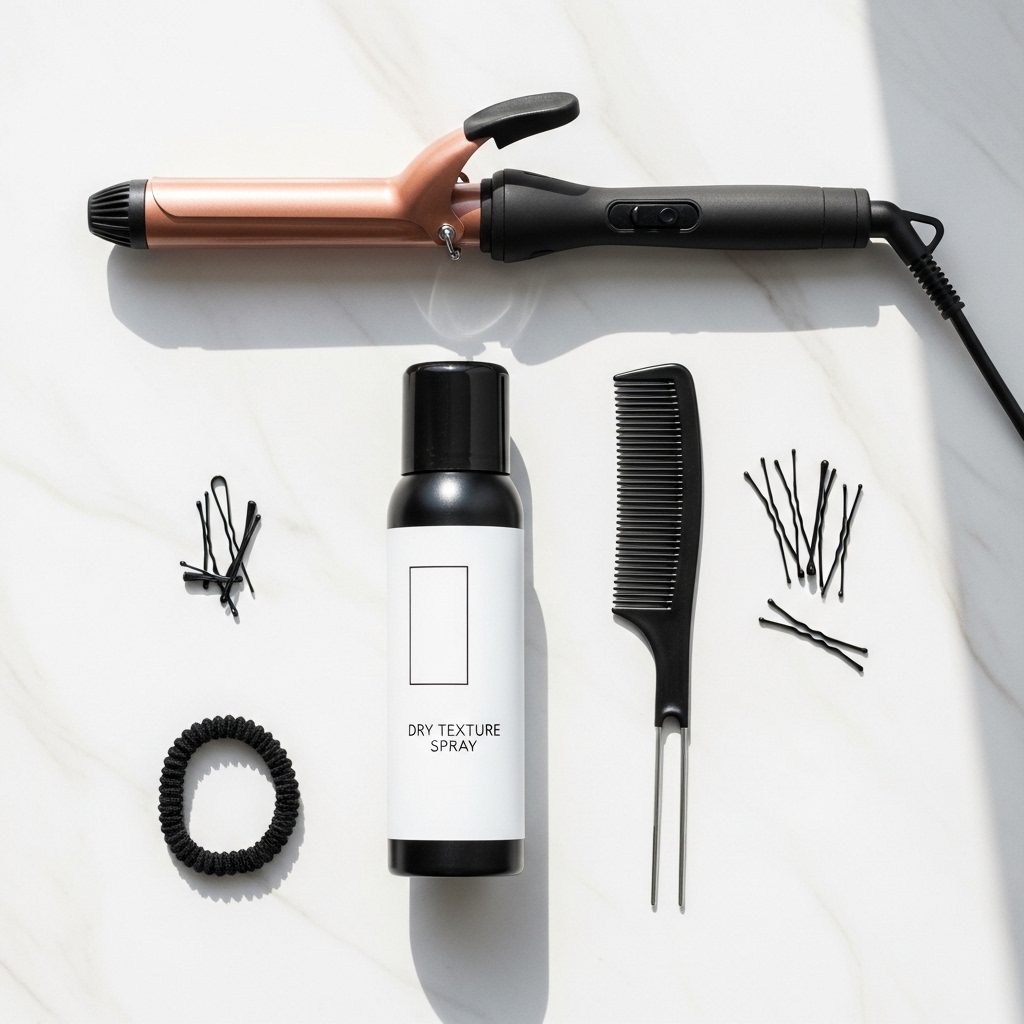
2. The Magic of Texture Spray: This is your MVP. Before you do anything, lift your hair at the roots and spritz a texture or volumizing spray directly onto your roots. This creates instant grip and lift. Don’t be shy—coat the mid-lengths as well for extra hold and that coveted piecey texture.
3. Tease with Purpose (Don’t Be Afraid!): Backcombing, or teasing, has a bad reputation, but when done correctly, it’s the ultimate volume-creator. Take small, horizontal sections of hair at the crown of your head. Hold the section straight up, and using a fine-tooth comb, gently push the hair down towards your scalp in short, gentle strokes. Be gentle to avoid breakage. You only need to tease the hair closest to the roots. Smooth the top layer over the teased section, and voilà—hidden volume.
4. The Right Tools: Have a rattail comb for precise sectioning and teasing, strong-hold bobby pins that match your hair color, a few hair elastics, and maybe a curling wand to add wave before you start. Wavy or curled hair will always create a fuller-looking updo than stick-straight hair.
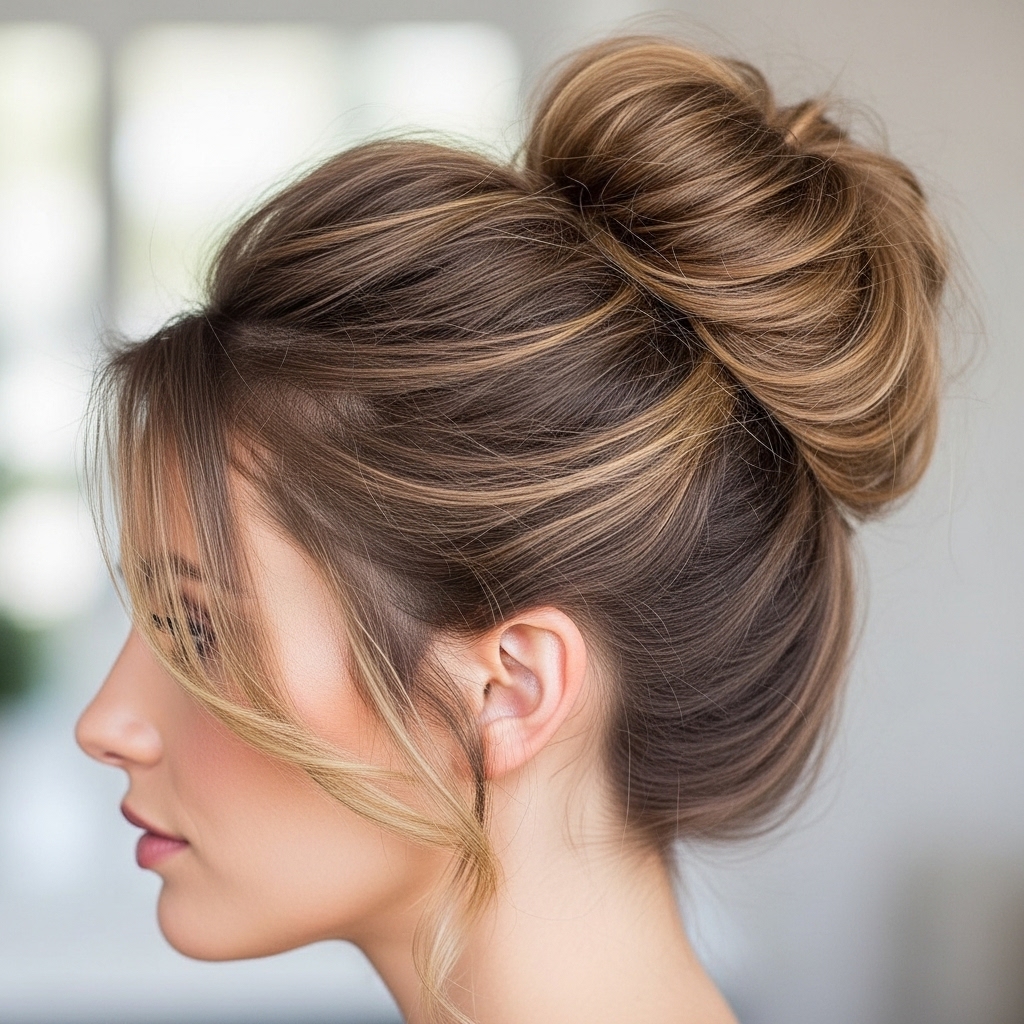
The Effortless Textured Messy Bun
This is the perfect starting point for updo beginners. It’s designed to look a little undone, which means it’s incredibly forgiving and always chic.
Step-by-Step:
1. Begin with prepped, textured hair. If your hair is straight, use a curling wand to create a few loose waves for extra body.
2. Flip your head upside down and gather all your hair into a high ponytail at the crown of your head. Secure it with a hair elastic, but on the last loop, don’t pull the hair all the way through. You should have a looped ponytail.
3. Gently pull apart the loop to loosen and widen the bun. Don’t be afraid to tug sections to make it look fuller.
4. Now, take the tail of the ponytail (the bit hanging down) and wrap it around the base of the bun. Tuck the end underneath and secure it with 2-3 bobby pins, pushing them through the bun and into the base of your ponytail.
5. The final touch: gently pull out a few face-framing pieces and some shorter layers around your neck. Then, using your fingers, gently tug at small sections all over the bun to create even more volume and a perfectly imperfect shape.
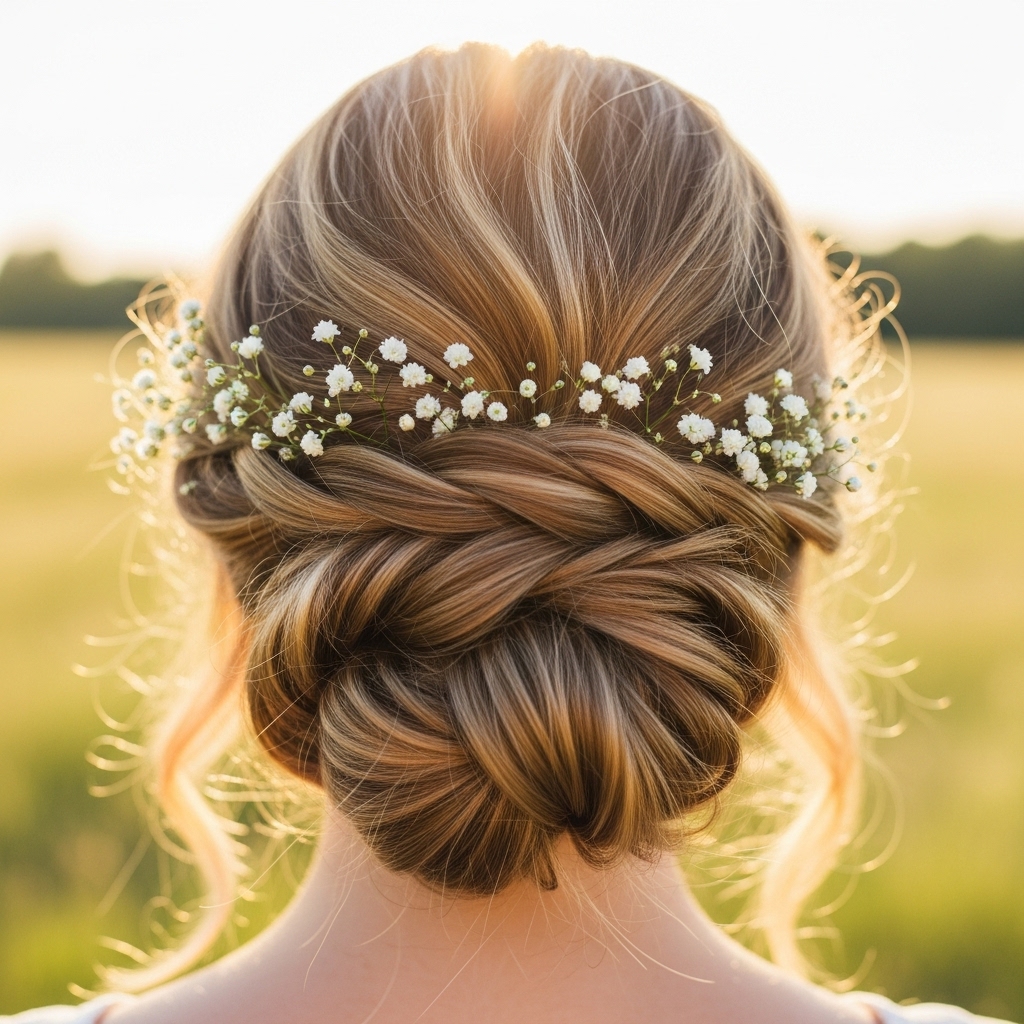
The Romantic Boho Twist
This style looks intricate but is deceptively simple. It’s perfect for a wedding, a date night, or any time you want to feel effortlessly romantic.
Step-by-Step:
1. Create a deep side part. On the side with more hair, take a section from the front, about two inches back from your hairline.
2. Divide this section into two equal parts. Begin twisting them away from your face, crossing the top strand over the bottom.
3. As you continue twisting, start adding in small sections of hair from the top, like a French braid but with only two strands. Continue this rope-twist technique, following the curve of your head towards the back.
4. Stop adding hair once you reach the back of your head, just behind your ear. Secure the end of the twist with a small clear elastic.
5. Gather all of your hair, including the twisted section, into a low, loose ponytail at the nape of your neck. Leave the ponytail as is for an elegant look, or twist it into a soft, low bun. Gently pull on the twists to loosen them and create a softer, more voluminous effect.
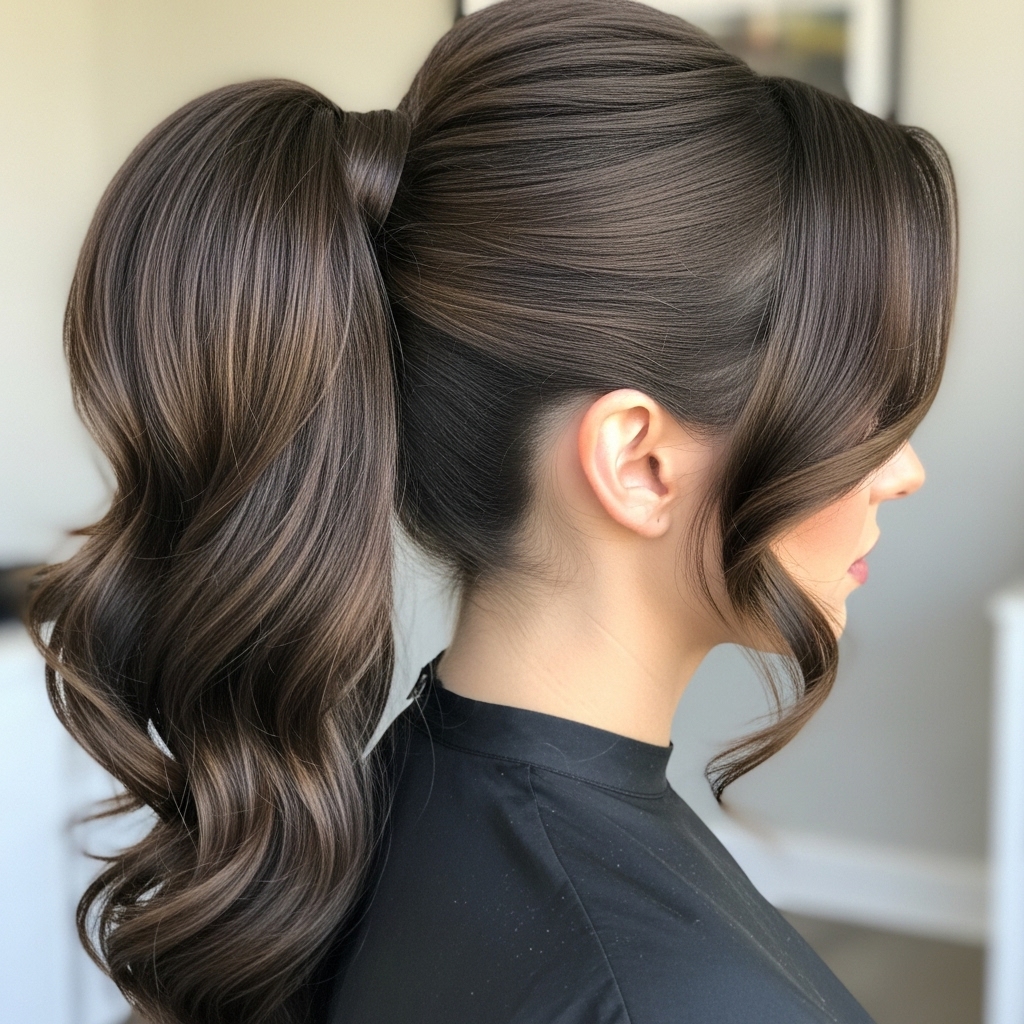
The Modern Voluminous Ponytail
Yes, a ponytail counts as an updo! This isn’t your gym-class ponytail; this is a high-fashion, sleek-yet-full style that delivers major impact.
Step-by-Step:
1. This style works best with teased hair. Focus your backcombing at the crown.
2. Smooth the top and sides of your hair back into a high ponytail, but don’t pull it too tight. You want to maintain the volume you created at the roots. Secure it with a strong elastic.
3. Here’s the magic trick: take a small section of hair from the underside of your ponytail and wrap it around the elastic to conceal it. Secure the end underneath with a bobby pin.
4. To add even more volume, gently backcomb the ponytail itself. Then, use a curling wand to curl large sections away from your face. Once all the hair is curled, run your fingers through it to break up the curls and create a soft, full, wavy texture.
5. For the final touch, lightly hairspray a toothbrush and gently smooth down any flyaways around your hairline for a polished finish.
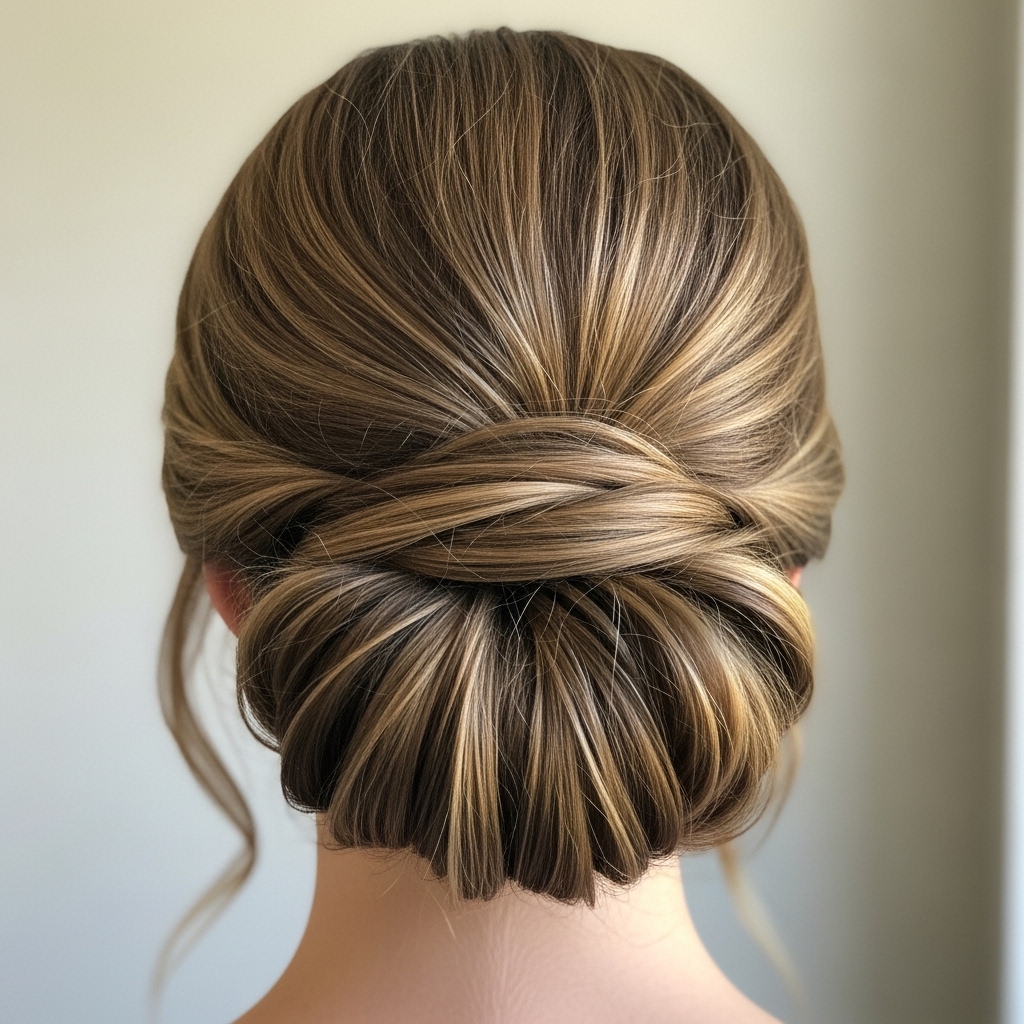
The Elegant Tucked Chignon
This low chignon is the epitome of classic elegance with a modern, voluminous twist. It’s perfect for the office, a fancy dinner, or any event where you want to look sophisticated and put-together.
Step-by-Step:
1. Create a low, side-parted ponytail at the nape of your neck. Don’t pull it too tight; keep it loose and soft.
2. Gently tease the ponytail to give it extra body. This will make the final chignon much fuller.
3. Instead of twisting the ponytail, simply split it horizontally into two sections.
4. Take the top section and, holding it loosely, start tucking the ends under and into the base of the ponytail, securing with bobby pins as you go to form the top half of the bun.
5. Now, take the bottom section and do the same, tucking it under and pinning it so it sits just below the top section. The goal is to create a soft, folded look rather than a tight twist.
6. Once everything is secure, gently pull at the sides of the chignon to flatten and widen it, creating a more voluminous, elegant shape. Pull out a few soft pieces around your neck and ears to frame your face.
Pro Tips for Long-Lasting Volume
You’ve built the perfect updo—now let’s make it last.
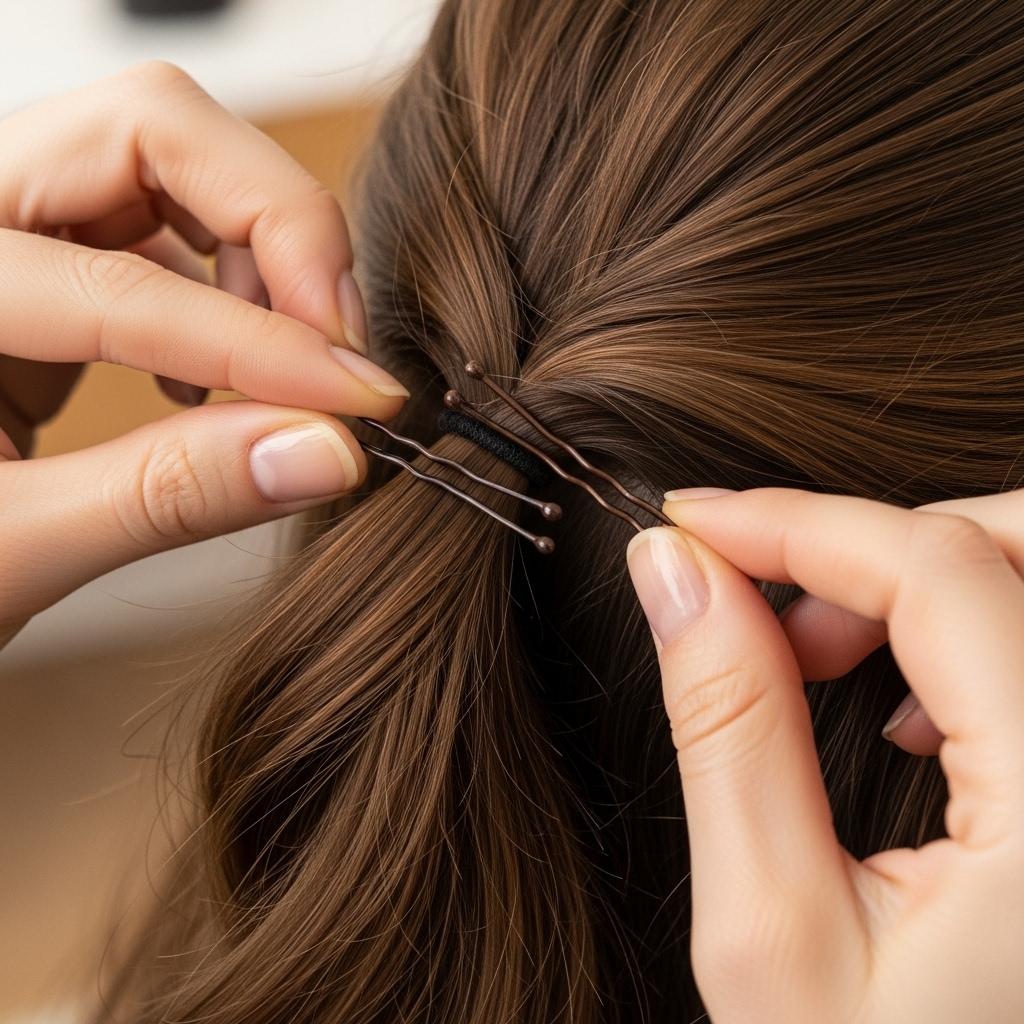
Pin Like a Pro: Always criss-cross your bobby pins when inserting them. The wavy side should grip the hair and face downwards towards your scalp for maximum hold. Don’t just slide them in straight.
Hairspray is Your Friend: But use it strategically. Instead of spraying your entire head, lift the finished updo and mist the underside, focusing on the areas where you’ve placed pins. This locks in the style without making it look stiff or crunchy.
Touch-Ups on the Go: Keep a few extra bobby pins and a travel-sized texture spray in your bag. If you feel your updo starting to sag, a quick spritz at the roots and a strategic new pin can revive it in seconds.
Embrace Your Inner Stylist
Creating a voluminous updo doesn’t have to be a frustrating battle with your hair. It’s a creative process that gets easier with every attempt. The most important tool you have is confidence. Don’t strive for perfection—strive for volume, texture, and a style that makes you feel incredible.
So, put down the simple ponytail, grab your texture spray, and give one of these styles a try. With this guide in your back pocket, you have everything you need to create beautiful, voluminous updos that you can actually do. Your hair is your canvas; now go and create something beautiful.

