
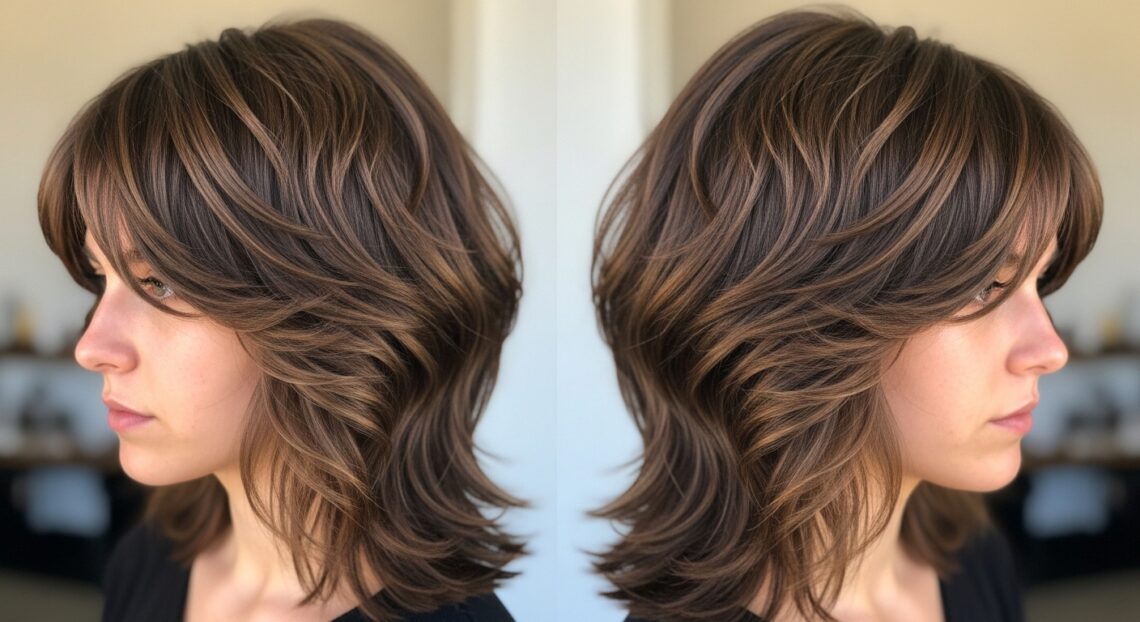
The shag haircut is back, and it’s bolder and more beautiful than ever. With its cascading layers, textured ends, and undeniable rock-and-roll spirit, it’s the ultimate statement cut. But if you’re the proud owner of a particularly voluminous shag, you might have experienced that fine line between artfully messy and… just plain messy. Mornings can feel like a battle against the very texture and volume you asked for.
Fear not! That incredible volume and texture are not obstacles; they’re your secret weapons. The key lies in learning how to harness that raw energy and direct it into a look that is polished, intentional, and effortlessly chic for everyday wear. This isn’t about fighting your hair’s natural personality, but about refining it. We’re going to show you how to transform your voluminous shag from a high-maintenance diva into a low-maintenance, everyday dream.
Embrace the Foundation: Understanding Your Shag’s Power
Before we dive into styling, it’s crucial to appreciate what makes your shag so special. That voluminous quality is built right into the cut’s DNA. The multiple layers create natural movement and body, while the texturizing techniques remove weight, allowing your hair to lift and swing with ease. This means your hair is pre-programmed for greatness; you just need to learn the code.
A common mistake is trying to flat-iron a shag into submission. This not only fights the cut’s intended shape but can also make it look flat and lifeless on top while the ends flip out unpredictably. Instead of resisting, your goal is to work with the layers, enhancing their shape and defining their texture. Think of yourself as a sculptor refining a beautiful piece of marble, not trying to turn it into something else entirely.
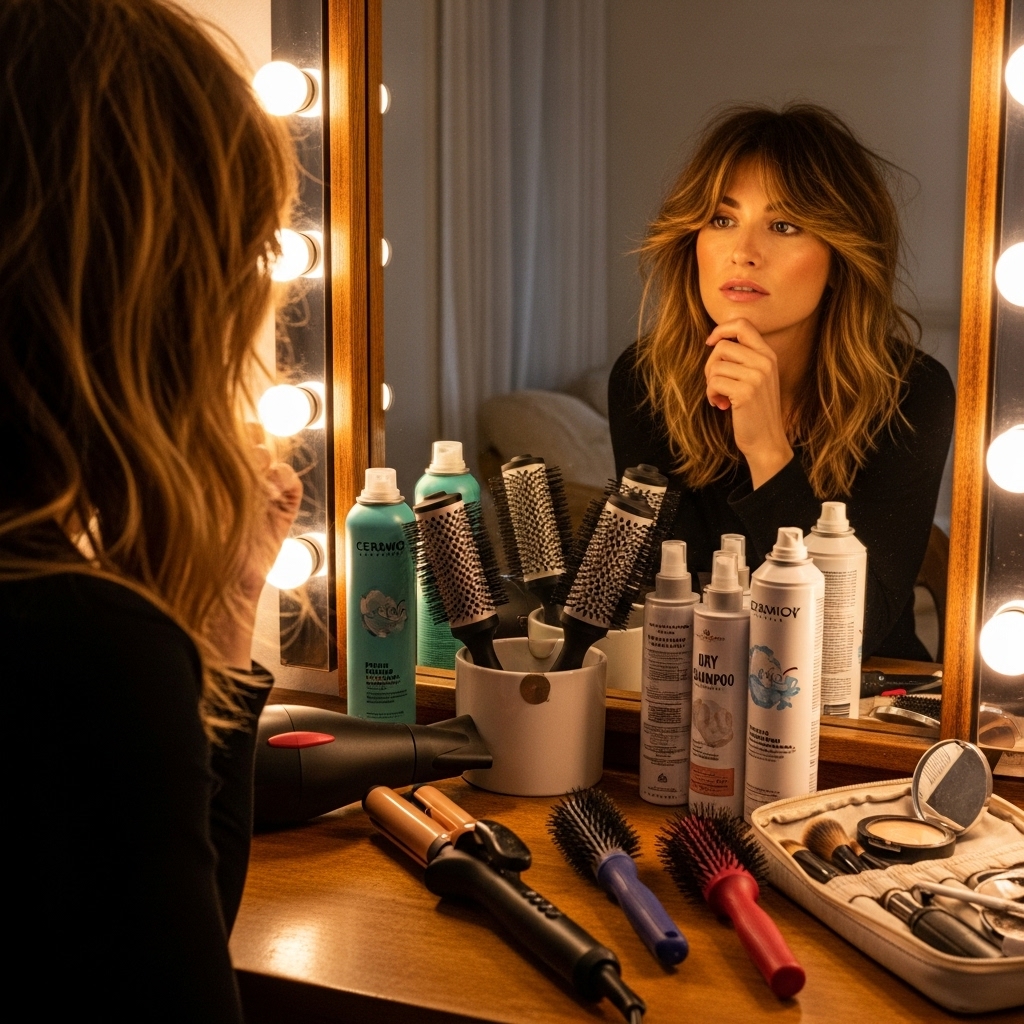
Your Styling Arsenal: The Right Tools and Products
Conquering your voluminous shag starts with having the right team on your side. Ditch the heavy, wax-based products that can weigh fine hair down and the high-heat tools that can turn your texture into frizz. Here’s what you really need:
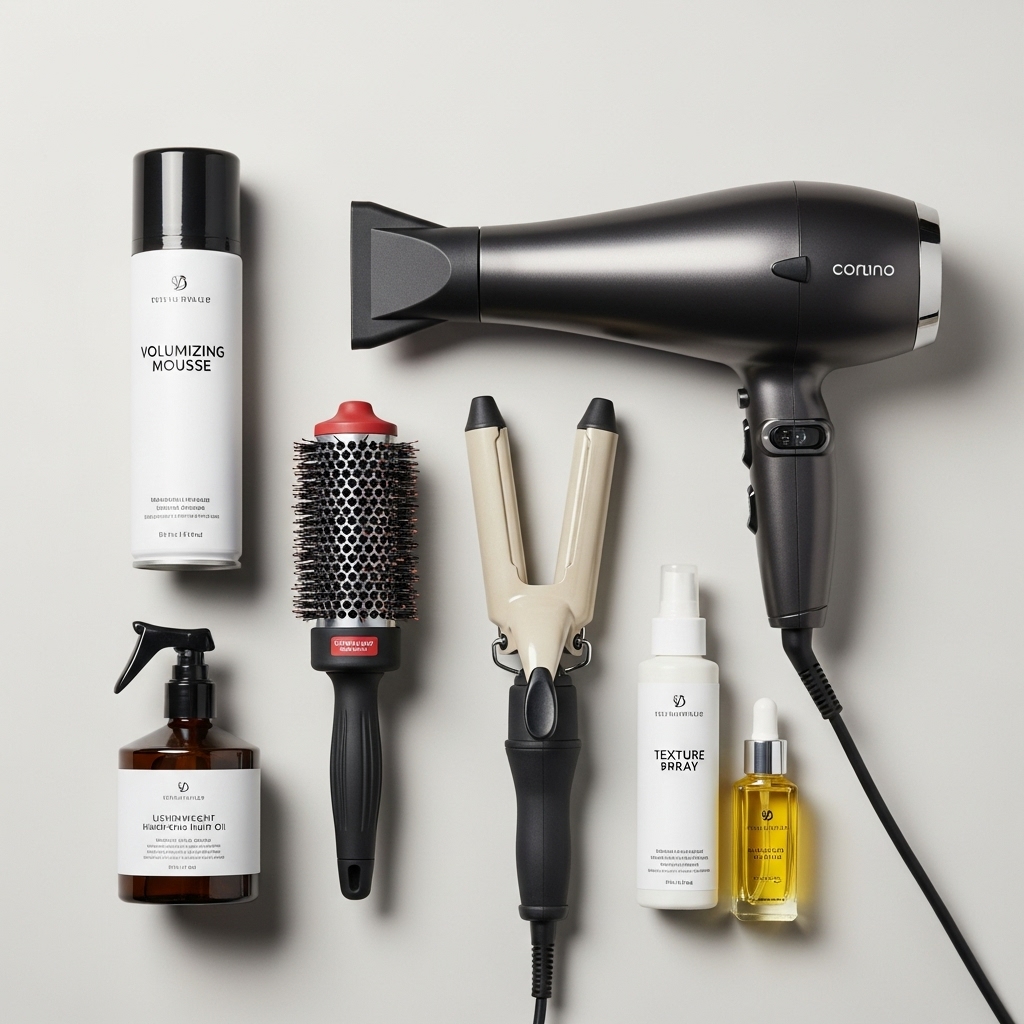
Tools:
A High-Quality Blow Dryer with a Concentrator Nozzle: This is non-negotiable. The concentrator nozzle directs the airflow precisely, allowing you to smooth sections and encourage your layers to fall in the right direction.
A Round Brush: Choose a medium-sized brush for overall smoothing and volume at the crown, and a smaller one for curling those face-framing layers and ends.
A Flat Iron with Rounded Edges (or a Curling Wand): You won’t use this to straighten, but to add polished bends, enhance waves, and redefine the flick of your layers. A wand is often easier for creating seamless, piecey texture.
Products:
Heat Protectant: Always, always start with this. It shields your hair and reduces frizz.
Volumizing Mousse or Root-Lifting Spray: Apply this to damp roots to build a lasting foundation of lift where you want it most.
Texture Spray or Sea Salt Spray: This is your best friend for enhancing that piecey, lived-in feel without the crunch.
Lightweight Hair Oil or Serum: A tiny amount smoothed over the mid-lengths and ends will tame flyaways and add shine without sacrificing volume.
The Effortless Chic Routine: Step-by-Step Styling
Now for the main event. This everyday routine is designed to maximize your shag’s potential in 15 minutes or less.
Step 1: Prep and Protect. Start with towel-dried hair. Apply your heat protectant followed by a ping-pong ball sized amount of mousse, focusing on the roots. Comb through to ensure even distribution.
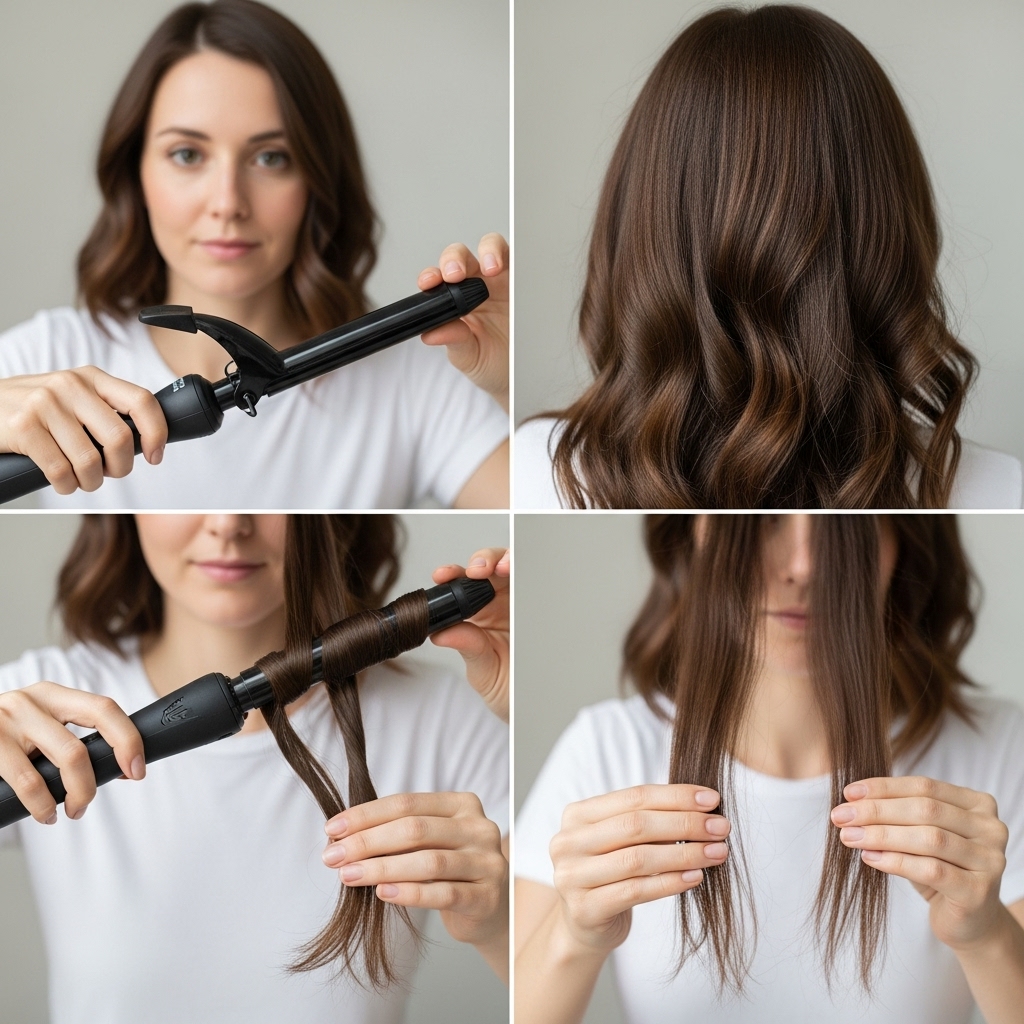
Step 2: The Strategic Blow-Dry. Using your blow dryer and round brush, focus on the roots and the top layers. You’re not aiming for poker-straight, but for directed smoothness. Lift the hair at the roots with the brush as you dry to create volume. Dry the face-framing layers by curling them slightly under or away from your face with the brush to establish their shape. You don’t need to dry it 100% bone-dry; let the ends remain slightly damp.
Step 3: Define and Polish. This is where the magic happens. Take your flat iron or curling wand. Working in small, vertical sections, wrap the face-framing pieces around the barrel away from your face to create a soft, retro-inspired bend. For the rest of the hair, simply grip the ends and twist the iron slightly to create a uniform, effortless flick or bend. The goal is to unify the layers, not create perfect curls.
Step 4: The Piecey Finish. Flip your head upside down and mist a texture spray lightly through your mid-lengths and ends. Scrunch gently with your hands. When you flip back, use your fingers to gently separate any clumped-together layers, creating that signature “piecey” texture. Finally, rub one drop of hair oil between your palms and gently smooth it over the surface of your hair to catch any flyaways.
Low-Maintenance Magic: The Second-Day Shag
One of the best things about a shag is that it often looks better on day two or three. Your natural oils have set in, and the style has relaxed into something even more cool and effortless. To revive your voluminous shag, you don’t need to start from scratch.
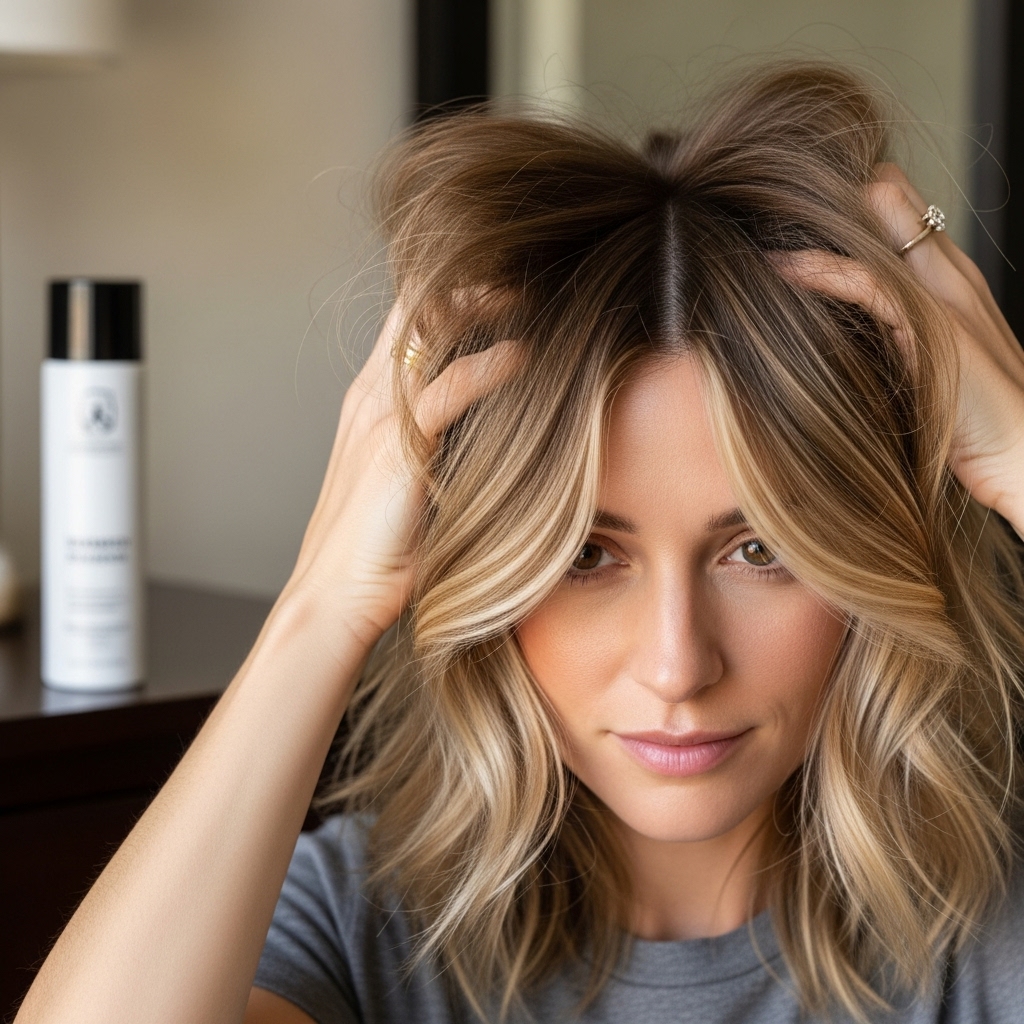
First, flip your head over and fluff your roots with your fingers. If your volume has fallen, a quick spritz of dry shampoo at the roots will not only absorb oil but also add instant grit and lift. For any flattened waves or bends, lightly mist them with a mix of water and a drop of leave-in conditioner in a spray bottle, then scrunch. Redefine a few key pieces around your face with your iron if needed, but often, just the dry shampoo and scrunching are enough.
This “lived-in” look is the epitome of chic. It shows you’ve mastered your hair, and it doesn’t require perfection.
Accessorize to Maximize Your Style
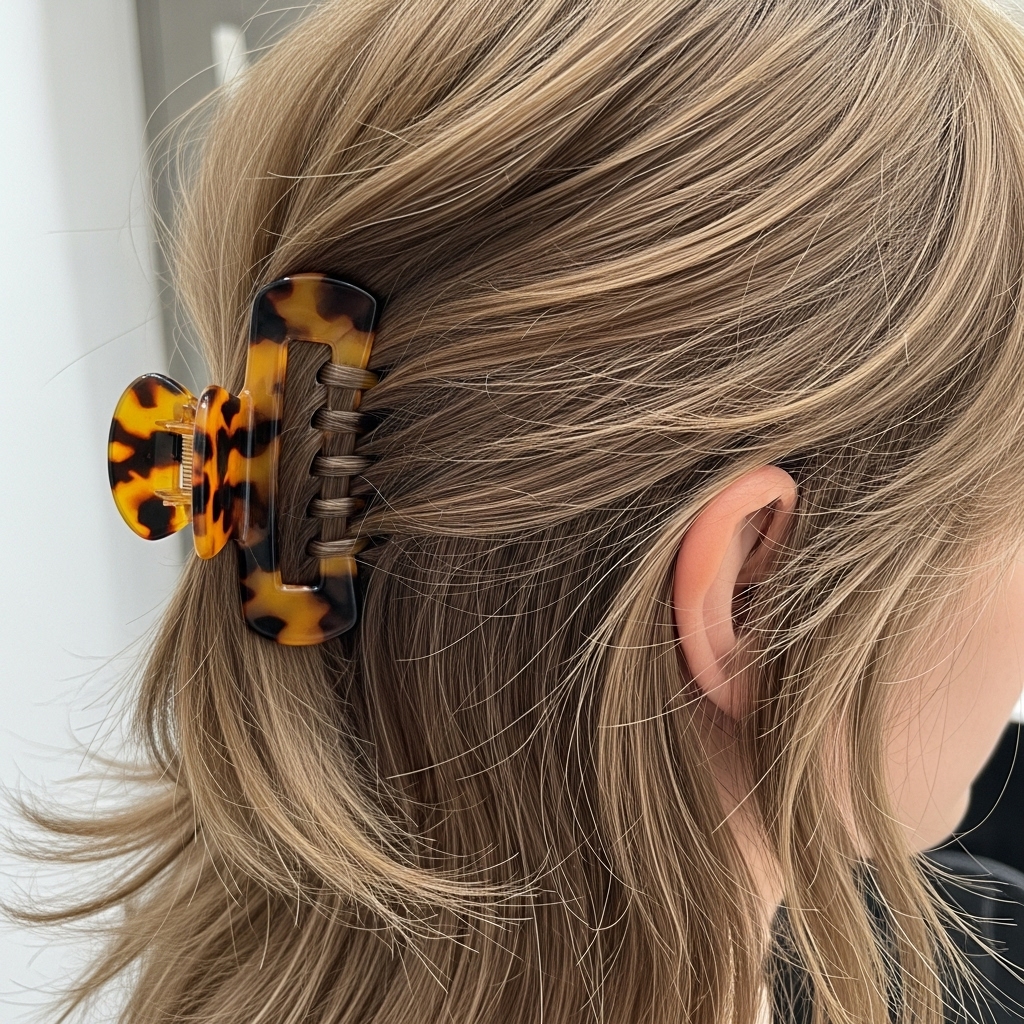
Accessories are a shag’s best friend for creating a quick, chic look. A simple clip or barrette pulling one side back instantly polishes the style and keeps hair out of your face while showing off your beautiful layers. A sleek headband can tame any fringe or face-framing pieces for a more retro, polished vibe. Even a simple silk scarf tied as a headband or around a ponytail adds a touch of Parisian elegance to your textured cut.
These tools are not just decorative; they are functional pieces that can solve a minor bad hair day in seconds, making your voluminous shag the most versatile cut in your arsenal.
Conclusion: Your Shag, Your Signature
Transforming your voluminous shag into a chic everyday look is not about taming a wild beast. It’s about partnership. It’s about understanding the brilliant architecture of your haircut and using simple, effective techniques to highlight its best features. By embracing the texture, using the right products, and mastering a quick styling routine, you can turn what once felt like a challenge into your most reliable and stylish asset.
Your shag is a reflection of confidence and individuality. Now, with these tips in your back pocket, you can wear that confidence every single day, from the boardroom to the weekend brunch, with effortless, voluminous chic.

