
Let’s be honest: who doesn’t dream of effortlessly gorgeous, wavy hair? That perfect, just-back-from-the-beach texture that looks both polished and carefree. But for many of us, our natural hair seems to exist in two states: stubbornly straight or frustratingly frizzy. The promise of wavy styles often feels locked behind a salon door or requires the dexterity of a professional stylist.
Well, we’re here to change that. This guide is dedicated to demystifying wavy hairstyles. We’re moving beyond complex tutorials and expensive tools to focus on wavy cut styles you can actually do yourself. Whether you have short hair, long locks, or something in between, get ready to unlock a world of texture, volume, and undeniable style. Say goodbye to hair envy and hello to your new signature look.
Why Wavy Cuts Are Universally Flattering
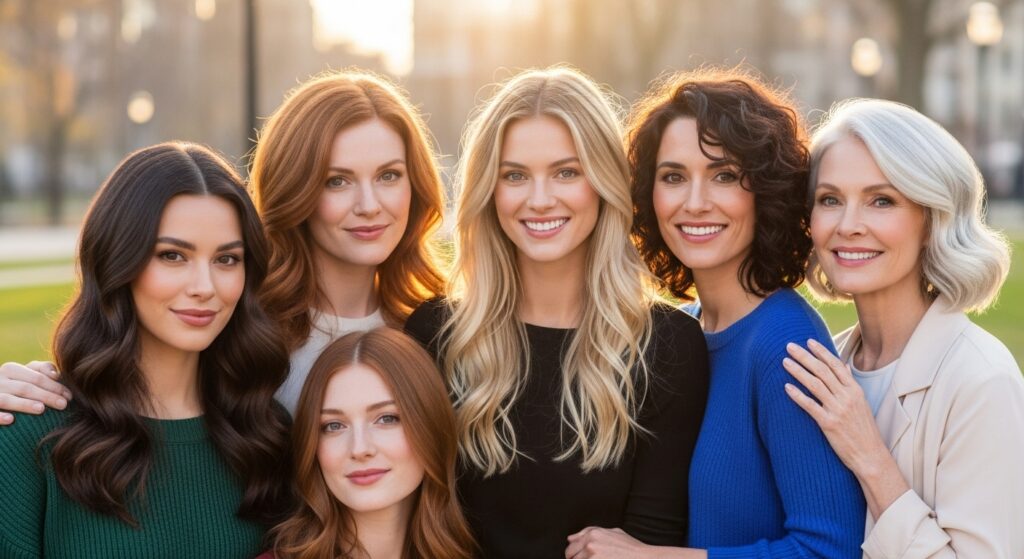
Before we dive into the “how,” let’s talk about the “why.” Wavy hairstyles aren’t just a trend; they’re a timeless look for a reason. Waves add incredible body and movement to your hair, creating an illusion of thickness that can be a game-changer for those with fine or flat hair. The texture also helps to soften facial features and can be adapted to complement any face shape.
More importantly, a great wavy cut is incredibly versatile. It’s the chameleon of hairstyles. You can wear it defined and glamorous for a night out, or loose and tousled for a casual day at the office. It’s the perfect middle ground between the sleekness of straight hair and the tight ringlets of a curl, offering a manageable, low-fuss style that still makes a statement. The best part? You don’t need a head full of natural waves to achieve it.
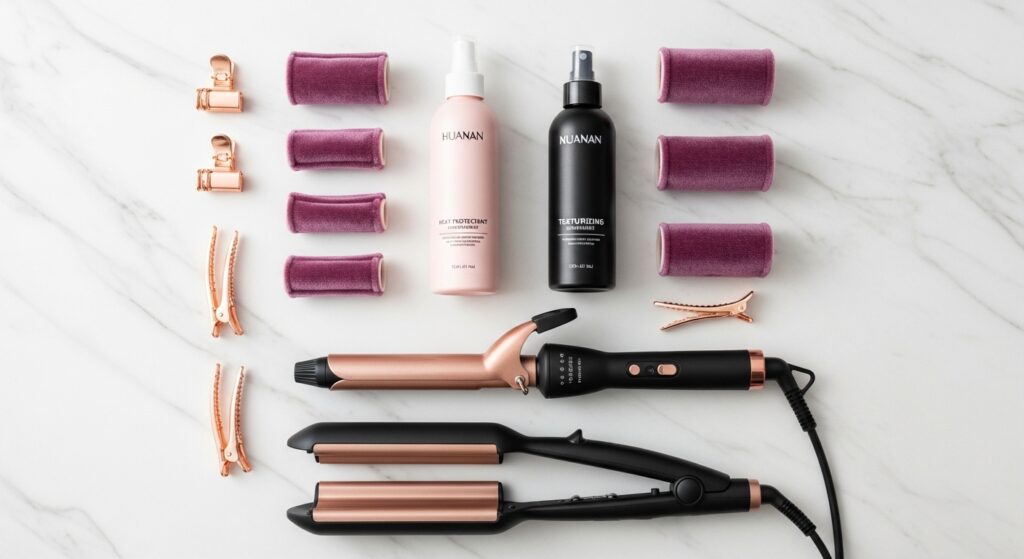
Essential Tools for Your Wavy Hair Toolkit
You don’t need a salon’s worth of equipment to create beautiful waves, but having a few key tools will make the process infinitely easier and more effective. Think of this as your foundational toolkit.
The Right Hairdryer: A good hairdryer with a concentrator nozzle is non-negotiable. It helps direct airflow for smooth, frizz-free results and is essential for pre-styling.
Heat Protectant is a Must: Never, ever skip this. A good heat protectant spray creates a barrier between your hair and the styling tool, preventing damage and locking in moisture.
Your Styling Weapon of Choice: This is where personal preference comes in. A 1-inch curling wand is fantastic for creating loose, natural-looking waves. A waver iron creates more defined, zig-zag patterns for a trendy, textured look. For a no-heat option, you can’t beat high-quality hair rollers or a texturizing spray.
Finishing Products: A light-hold hairspray will keep your waves in place without making them crunchy. A texturizing spray or sea salt spray can also enhance the piecey, separated look of your waves.
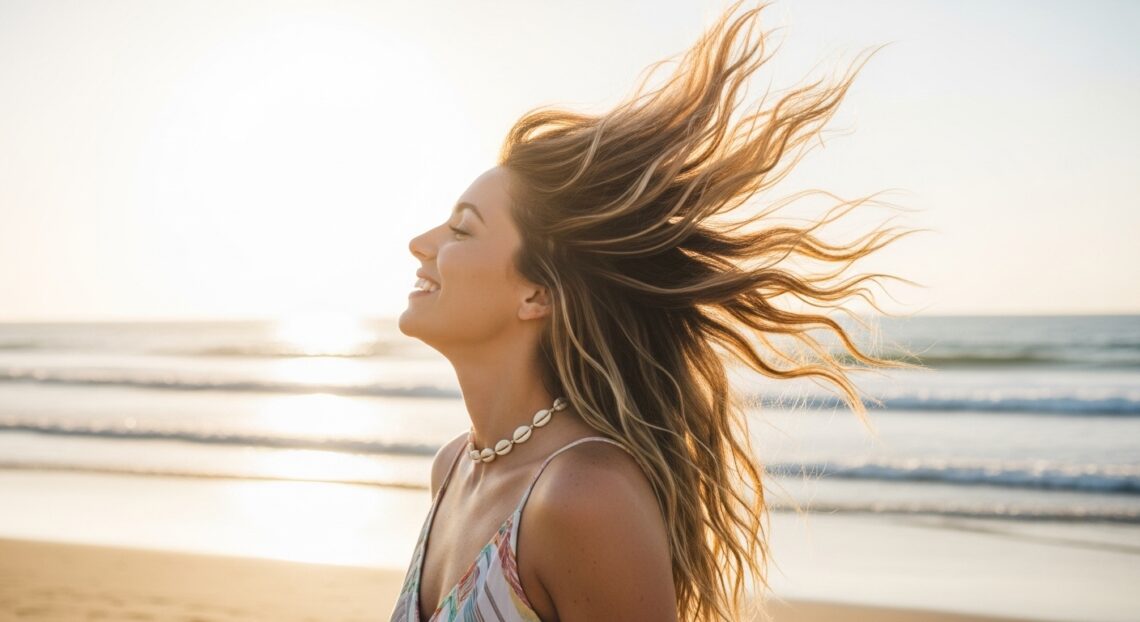
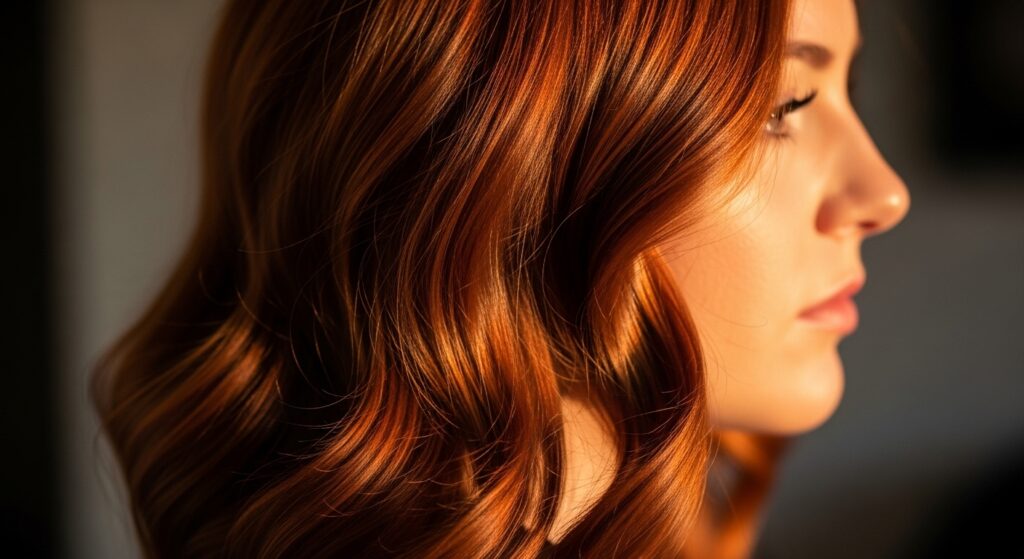
The Classic Beach Wave: Your Everyday Go-To
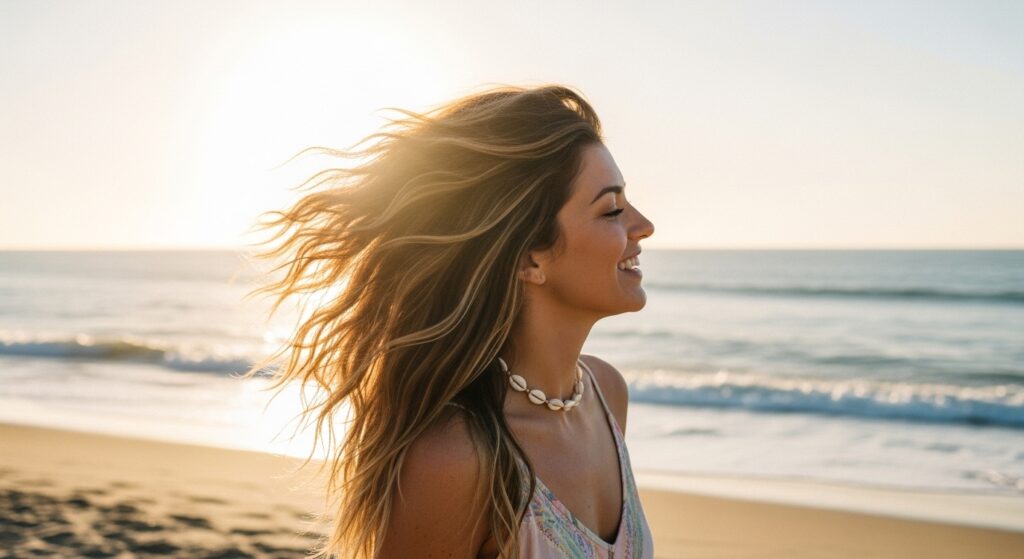
This is the quintessential wavy style—the one that started it all. It’s relaxed, a little messy, and looks like you just spent the day by the ocean. The key to perfect beach waves is randomness; you don’t want uniform curls.
Start with day-old hair or spritz dry roots with a texturizing spray for extra grip. Section your hair, clipping the top part away. Using a 1-inch curling wand, take a two-inch section of hair and wrap it away from your face. Hold for 8-10 seconds, then release. The trick is to alternate the direction of the curl with each section—one forward, one backward. This creates that natural, undone look.
Once all your hair is curled, do not brush it out. Instead, run your fingers gently through the waves to separate them. Finish with a light mist of texturizing spray, scrunching your hair upwards with your hands to enhance the wave pattern and add volume.
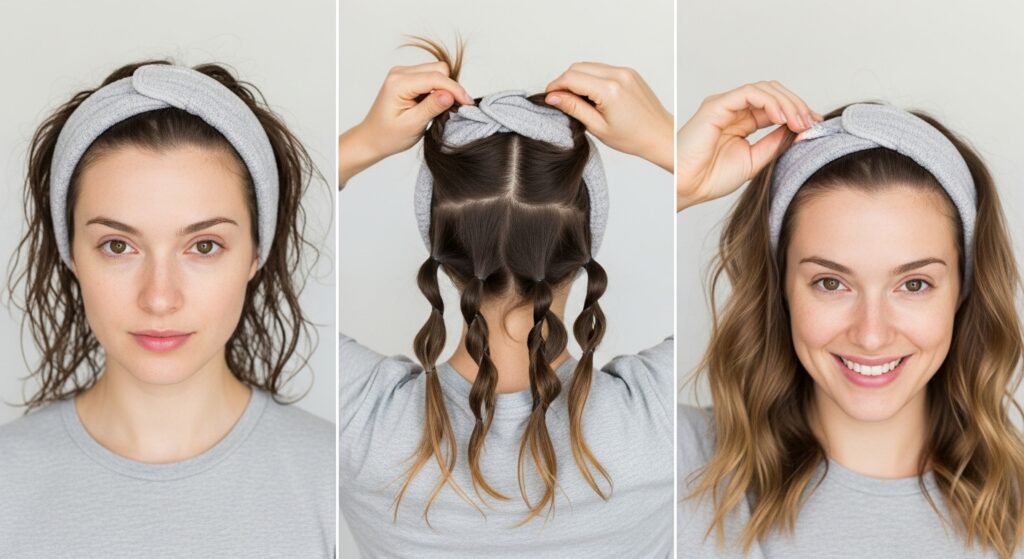
Effortless Overnight Waves: Beauty Sleep, Literally
If you’re wary of heat damage or simply want to save time in the morning, overnight waves are your best friend. This method requires a bit of planning but delivers stunning, heat-free results.
The most popular method is the headband technique. Take a soft, fabric headband and place it on your head like a crown. Take small sections of damp (not wet) hair and wrap them over and around the headband, working your way around your entire head. Go to sleep, and in the morning, gently unravel each section. You’ll be left with soft, romantic waves that have a beautiful, natural bend.
Another fantastic no-heat method is using sock buns or soft flexi-rods. Twist sections of damp hair and wrap them into a bun secured with a no-crease coil or even a soft sock. Or, wind sections of hair around flexi-rods before bed. When you take them out in the morning, you’ll have defined, bouncy waves without a single tool.
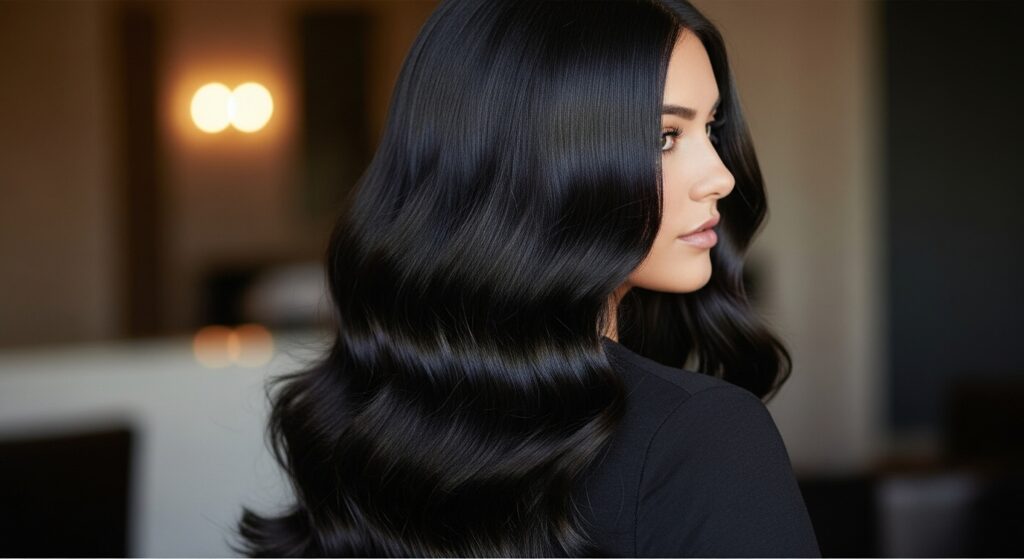
Sophisticated Mermaid Waves for Long Hair
For those with longer locks, mermaid waves are a show-stopping option. These are like beach waves’ more glamorous cousin—deeper, more defined, and incredibly luxurious. This style works best on hair that is at least shoulder-length.
To achieve this look, a waver iron or a large-barrel curling wand (1.25 to 1.5 inches) is your ideal tool. Start with perfectly smooth, dry hair. Using the waver iron, clamp it down at the root of a section and hold for 10 seconds before moving down the length of your hair, creating a consistent S-wave pattern.
If using a curling wand, wrap large sections of hair around the barrel, holding for 10-15 seconds. The goal is a soft, rolling wave rather than a tight spiral. Once your entire head is done, gently separate the waves with your fingers and spritz with a shine spray for that iconic, mermaid-esque gloss.
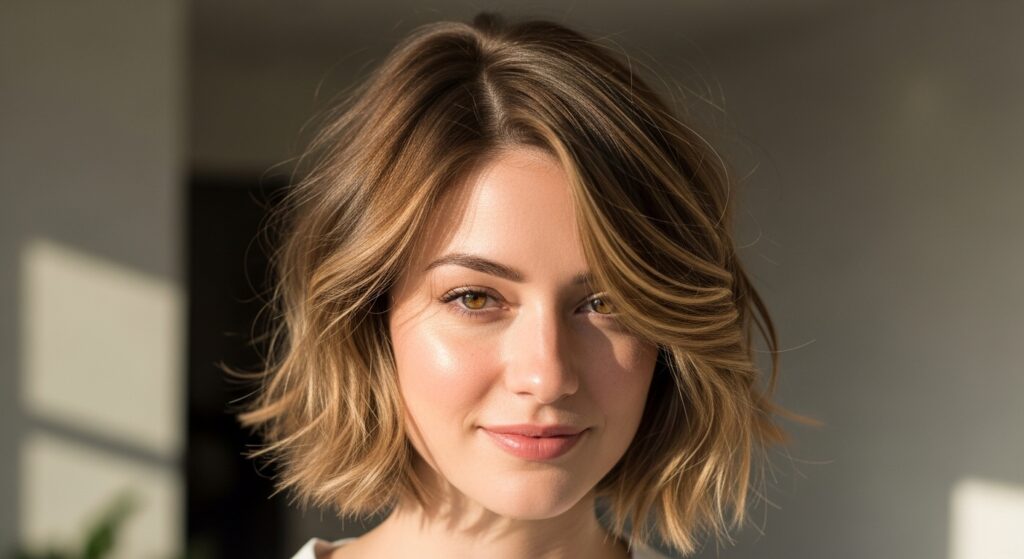
Chic, Textured Waves for Short and Bobbed Hair
Short hair can be incredibly chic with the right wave. The goal here is to add texture and piecey-ness to prevent the style from looking helmet-like or too rounded. This is all about creating movement and dimension.
For a bob or lob (long bob), use a small-barrel curling wand (around ¾-inch). Take very small, horizontal sections of hair. Wrap the top layer of sections away from your face and the bottom layers toward your face. This creates a natural, multi-directional texture.
Don’t curl all the way to the ends; leave the last inch or two straight for a modern, undone finish. Once curled, rub a small amount of texturizing paste or wax between your palms and gently scrunch and pinch the ends of your waves to define them. This technique adds grit and separation, giving your short cut an edgy, effortless vibe.
Pro Tips for Making Your Wavy Styles Last All Day
You’ve created the perfect waves—now how do you make them last? The secret lies in the prep and the finish.
Start with the Right Cut: If you’re serious about waves, talk to your stylist about adding layers. Layers remove weight and help your hair hold a wave pattern much more effectively.
Prep is Everything: Always start on completely dry hair. Styling on damp hair traps moisture, leading to frizz. Use a volumizing mousse at the roots before blow-drying for extra lift and hold.
Cool It Down: After using a hot tool, blast your hair with the cool shot button on your hairdryer for a few seconds. This cools the hair shaft and “sets” the wave, making it last significantly longer.
Strategic Spraying: Instead of spraying hairspray all over, turn your head upside down and mist the spray onto the undersides of your hair. This provides hold at the root for volume without weighing down the visible top layers.
Embrace Your Inner Wave Queen
Mastering the art of the wavy hairstyle is all about experimentation and finding what works for your hair length, texture, and personal style. Don’t be afraid to mix techniques—maybe you love the base from overnight waves but add a few defined curls with a wand in the morning. The beauty of these styles is their adaptability.
With this ultimate guide, you have everything you need to break free from flat, boring hair. These are not impossible, salon-exclusive looks; they are achievable, everyday styles that will boost your confidence and have you falling in love with your hair all over again. So grab your tools, channel your inner beach babe or glamour icon, and get ready to wave goodbye to hair boredom for good.

