
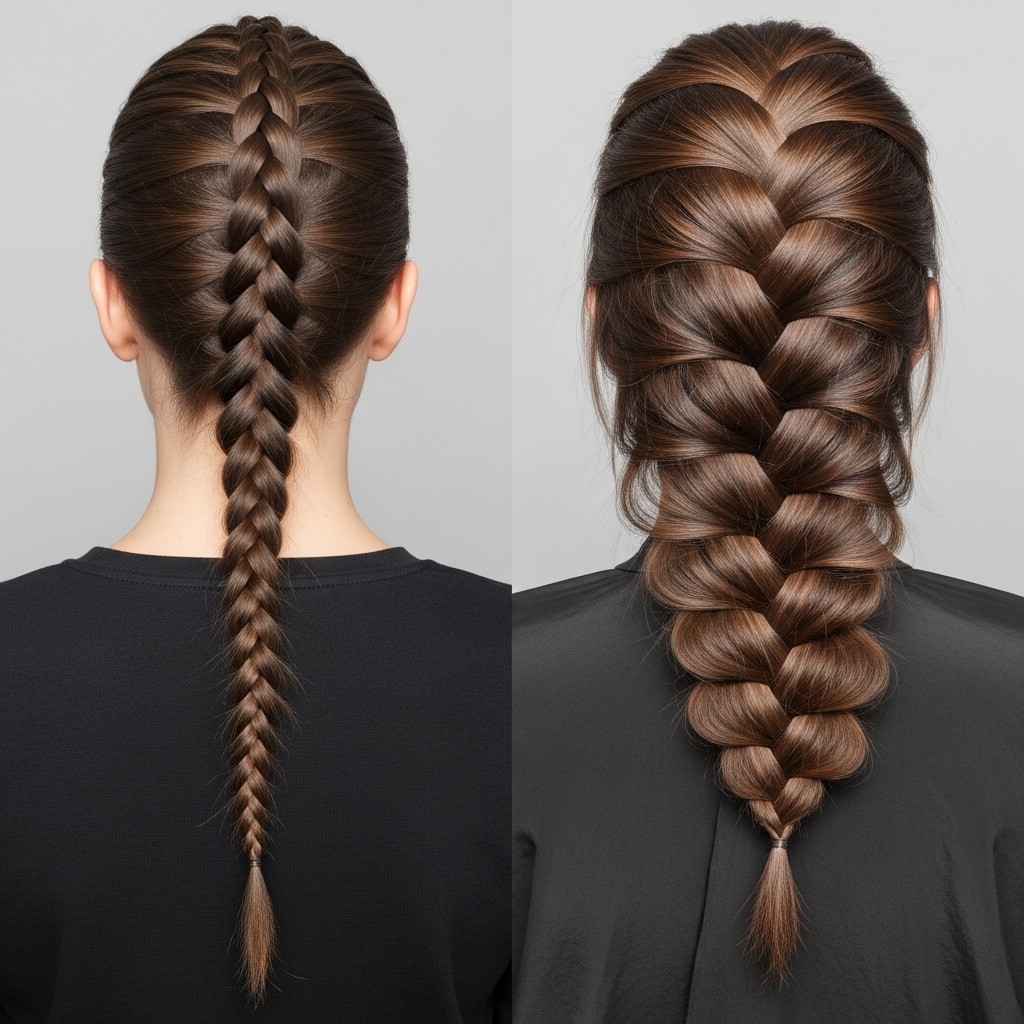
There’s something undeniably chic about a sleek, polished braid. It’s a timeless look that exudes elegance and effortlessness. But if you have fine, straight, or flat hair, you’ve likely encountered the dreaded side effect of a classic braid: it can make your hair look thinner and your braid skinnier than you’d like. You start with a full ponytail and end up with what feels like a solitary piece of string. It’s a common frustration, but the secret to solving it doesn’t lie in a new styling product—it’s in the foundation, your haircut.
Why Your Braids Fall Flat: The Anatomy of Volume
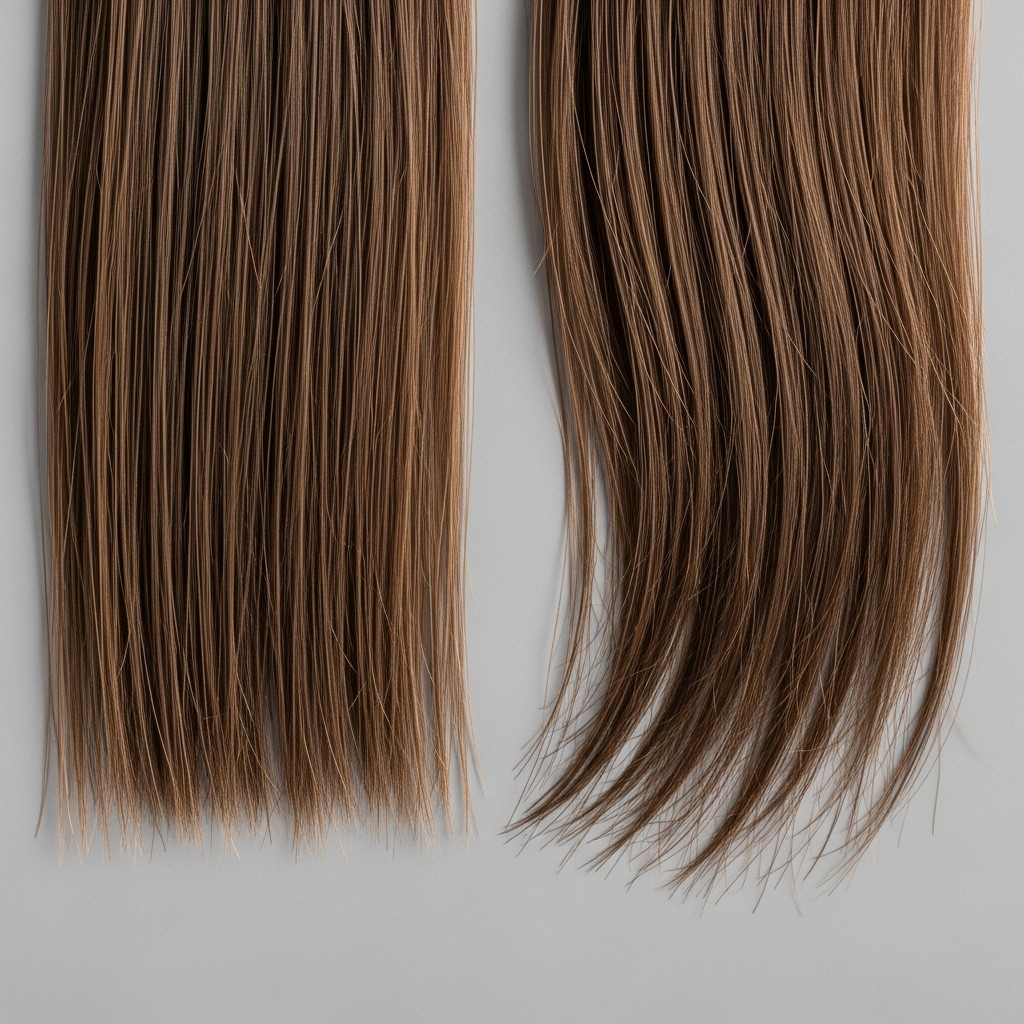
Before we explore the solutions, it’s crucial to understand the problem. Sleek braids often lack volume because the process of braiding pulls hair tightly against the scalp, smoothing down the natural lift at the roots and compressing the hair strands together. On hair that is naturally fine, straight, or one-length (a “blunt” cut), there is nothing to interrupt this process. The hair slides neatly into place, creating a smooth but often flat result.
The key to combating this is creating internal support and external texture. A great volumizing haircut does two things: it removes weight to allow the hair to lift more easily at the roots, and it creates varying lengths and endpoints that catch and hold onto each other during the braiding process. This internal friction is what builds body and prevents the braid from collapsing in on itself. It’s the architectural secret to a braid that looks thick from root to tip.
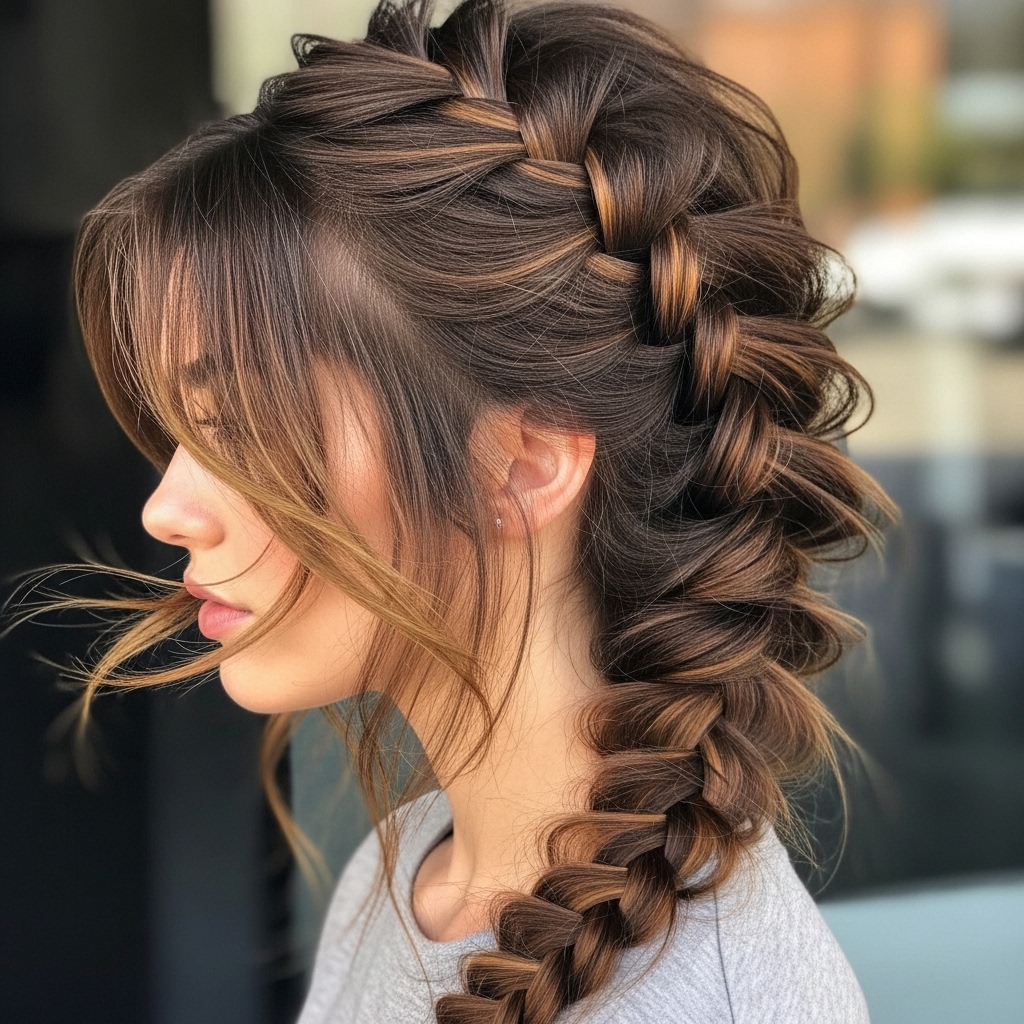
The Shag or Modern Mullet: The Ultimate Texture Creator
If you’re looking for maximum volume and a seriously cool, edgy vibe, the shag (or its close cousin, the modern mullet) is your undisputed champion. This cut is all about strategic, heavily layered chaos that creates an incredible amount of built-in texture. The short layers around the crown and top of the head are designed to push volume upward, while the longer layers throughout the length provide movement.
When you braid a shag, magic happens. Those shorter layers don’t all get pulled neatly into the braid. Instead, they pop out, creating a halo of wispy, face-framing pieces and a braid that looks effortlessly full and piece-y. The braid itself appears thicker because the varying lengths of hair can’t lie perfectly flat; they create a beautiful, textured, almost “undone” look that is packed with volume. This is the perfect cut for anyone who wants their braids to have a bohemian, rock-and-roll edge.
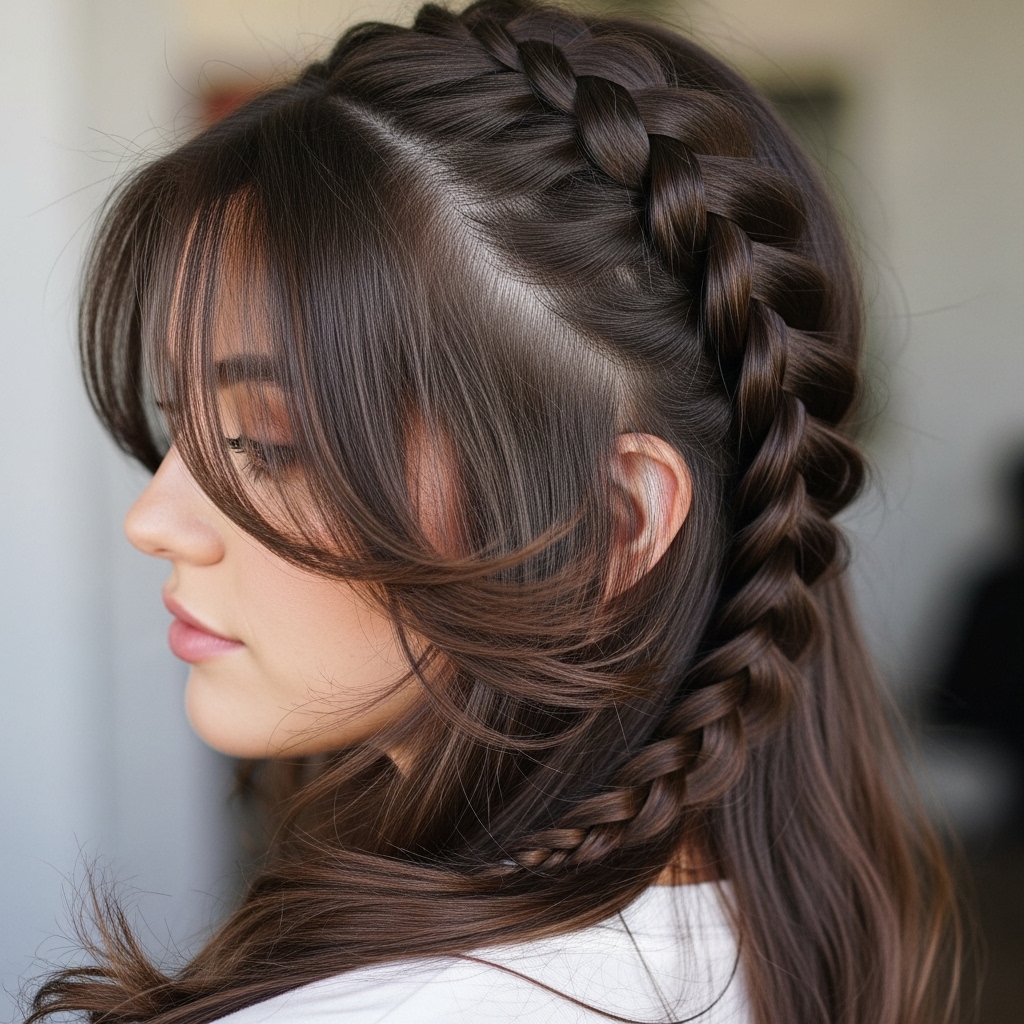
Face-Framing Layers and Long Layers: A Softer Approach to Body
If the shag feels a bit too drastic for your taste, face-framing and long layers are a more universally flattering and subtle option for adding volume to braids. This technique involves cutting layers that start around the chin or collarbone, focusing on the perimeter of your hair. These layers remove weight from the ends and the sides, which automatically allows the hair to have more bounce and swing.
For braids, this is a game-changer. When you gather your hair for a braid, these face-framing layers create instant fullness around your face, preventing that “pulled-back too tight” look. As you braid, the different lengths within the long layers create a braid with more dimension and a less uniform, therefore thicker, appearance. It’s a sophisticated way to add body without sacrificing the overall length or a sleek feel. This is an ideal cut for those with medium to long hair who want to maintain a classic look with a volumizing boost.
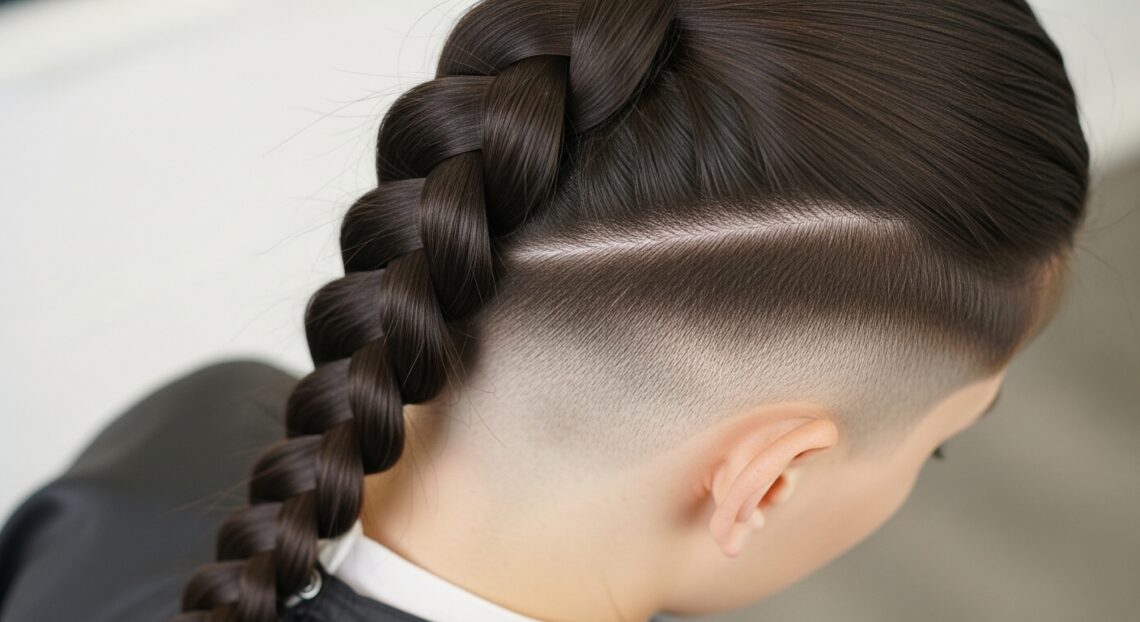
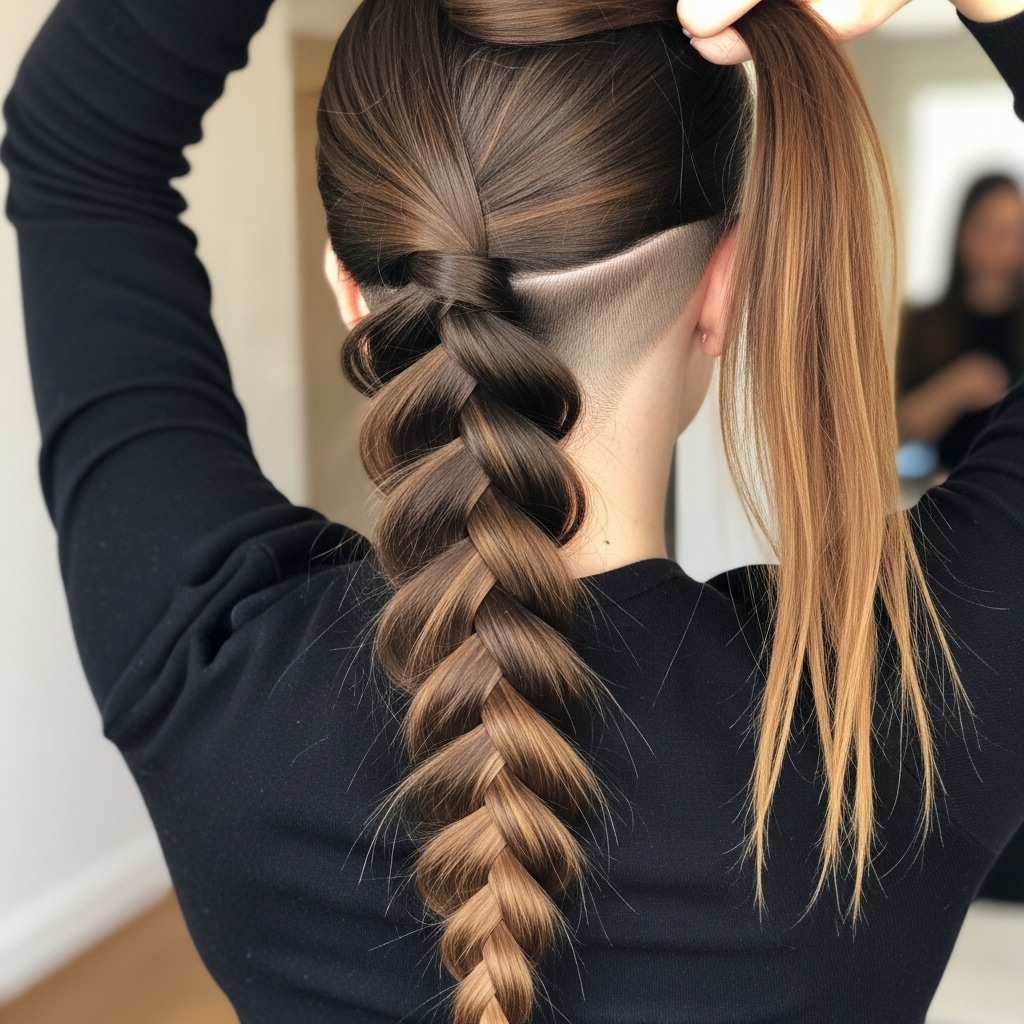
The Power of the Undercut: A Secret Weapon for Thickness
This one might seem counterintuitive, but hear us out. An undercut—where the bottom section of hair at the nape of the neck is shaved or cut very short—can be a secret weapon for creating the illusion of a thicker braid. How? By removing the finest, wispiest, and often thinnest layer of hair that typically sits at the bottom of a braid.
When you braid the remaining, thicker top section of hair, the result is a braid composed solely of your densest hair. There are no fine, see-through ends to dilute the visual impact. The braid appears consistently thick and solid from top to bottom. This is a brilliant solution for those with hair that is thick at the roots but tapers into fine, thin ends. It’s a hidden trick that delivers a powerful visual punch.
Texturizing and Thinning Techniques: The Art of Friction
Sometimes, the most impactful changes are the ones you can’t see. Beyond clear layers, stylists use advanced texturizing and thinning techniques to remove bulk and create movement from within the hair. This isn’t about making your hair thinner; it’s about making it lighter and more malleable.
Techniques like point cutting (cutting into the ends of the hair at an angle to create softness), notching (removing small, strategic sections), and slide cutting are used to break up solid lines of hair. This introduces what stylists call “grip” or “friction.” When you braid hair that has been expertly texturized, all those little endpoints catch on each other, making the braiding process easier and resulting in a braid that holds its shape and volume far better than hair that has been cut with a blunt line.
Styling Tips to Maximize Your Volumizing Cut
A great haircut does most of the heavy lifting, but pairing it with the right styling techniques will elevate your braid to new heights. Here’s how to get the most out of your new ‘do:
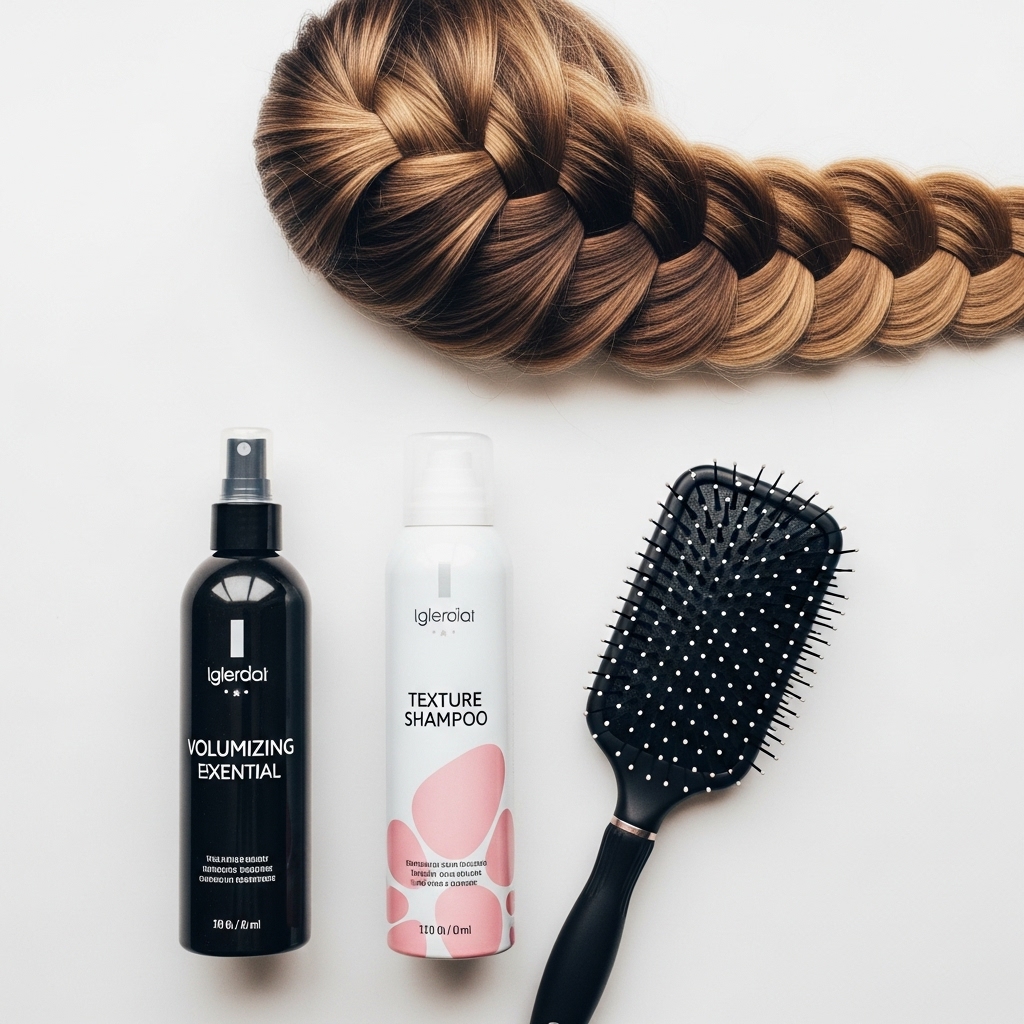
Embrace Texture Sprays and Dry Shampoo: These are your best friends. A light dusting of dry shampoo or a spritz of texture spray at the roots before braiding adds grit and lift, giving your hair something to “hold onto.” This complements the texturizing work of your haircut perfectly.
Braid on Second-Day Hair: Hair that is slightly dirty has more natural texture and grip than freshly washed, silky hair. Your volumizing haircut will perform even better when your hair isn’t at its slickest.
Tease Gently at the Crown: For an extra boost, gently backcomb the hair at the crown before you start your braid. Be gentle to avoid damage—you’re just creating a little cushion of volume underneath.
Pancake Your Braid: After you’ve secured the end of your braid, gently pull apart the loops of the braid with your fingers. This “pancaking” technique widens the braid, making it look instantly fuller and showcasing all the beautiful texture your haircut created.
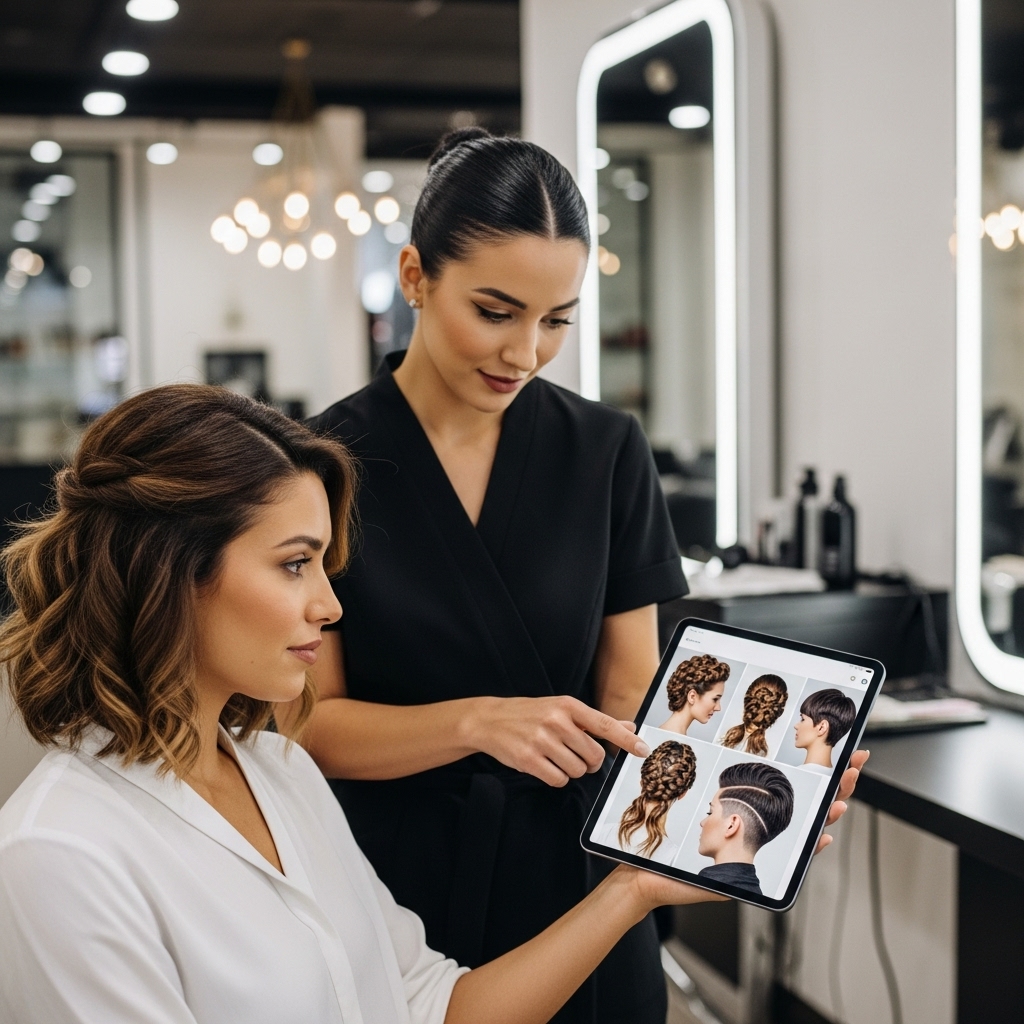
Consulting with Your Stylist: What to Ask For
Walking into the salon and asking for “layers” might not get you the specific results you’re after. Communication is key. Be specific with your stylist about your goal: I want a haircut that will make my braids look thicker and have more volume.
You can say: “I love wearing sleek braids, but they always end up looking flat. I’m looking for a cut that adds a lot of texture and body, specifically to make my braids look fuller. I’m open to layers, texturizing, or anything that will help.” Bring photos of both the haircut styles you like (like a shag or long layers) and photos of the kind of voluminous braids you want to achieve. A good stylist will understand the assignment and choose the right combination of techniques for your hair type and density.
Conclusion: Your Journey to Fuller Braids Starts Now
The dream of a thick, voluminous braid doesn’t have to be a fantasy reserved for those with naturally thick hair. It’s an achievable reality that begins with a strategic foundation. By choosing a haircut that is designed to create body, texture, and movement—like a shag, face-framing layers, or a clever undercut—you are equipping your hair with the internal architecture it needs to build a better braid.
Pair your new cut with the right styling techniques, and you’ll unlock a world of styling possibilities where every braid you create is full of life, body, and stunning volume. So, book that salon appointment, arm yourself with the knowledge from this guide, and get ready to fall in love with your braids all over again.

