
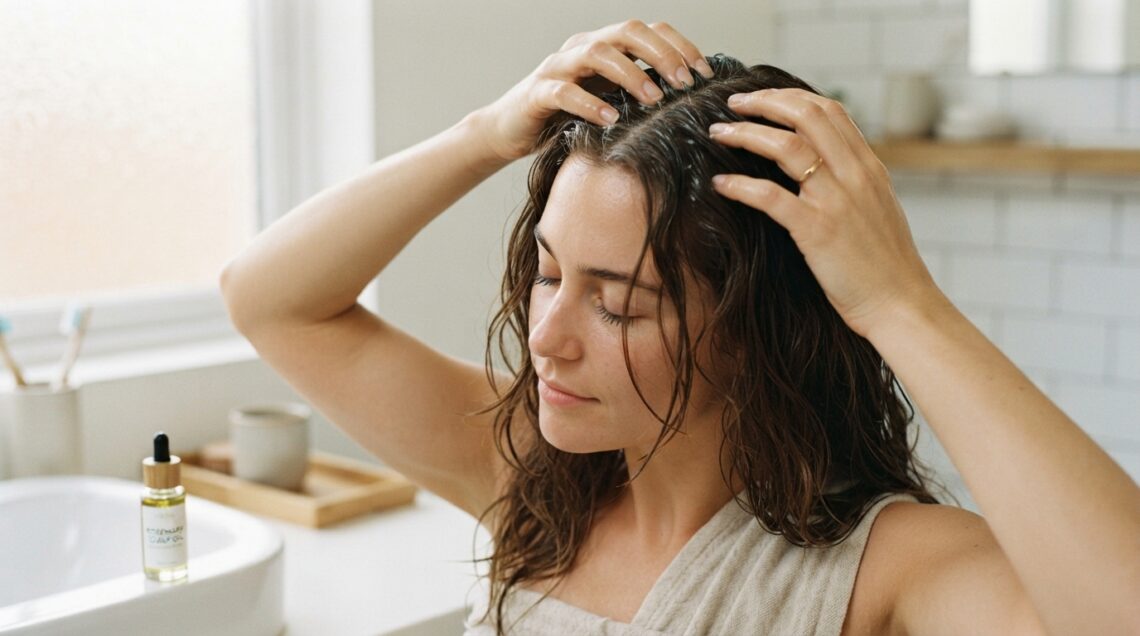
If your hair has been feeling thinner, slower, or just not the same, you are not alone. I have been there, staring at my edges and wondering if rosemary oil is really worth the hype. Short answer: yes, but only if you dilute it right. Rosemary oil can support dormant follicles, but strong oil straight from the bottle can irritate your scalp. That is the opposite of what we want.
In this post, I am sharing simple rosemary oil dilution hacks you can do at home safely. No salon prices. No confusing math. Just practical blends, timing tips, and red flags to watch. Whether you are growing out a quiet luxury bob or keeping your hime cut sharp, healthy follicles matter.
Grab a carrier oil and a dropper. Let us make your scalp ritual easy, effective, and kind.
Why Rosemary Oil Helps Dormant Follicles

Rosemary oil is not magic, but it is a steady little helper. It may improve circulation when you massage it into your scalp. Better blood flow can bring nutrients to follicles that have been sluggish.
It also has antioxidant and anti-inflammatory properties. That means it can support a cleaner, calmer scalp environment. Dormant does not always mean dead. Sometimes follicles just need consistency and less buildup.
Use it as part of a routine, not a one-night fix. Most people need three to six months of regular care to notice baby hairs or less shedding.
The Golden Dilution Rule for Scalp Safety
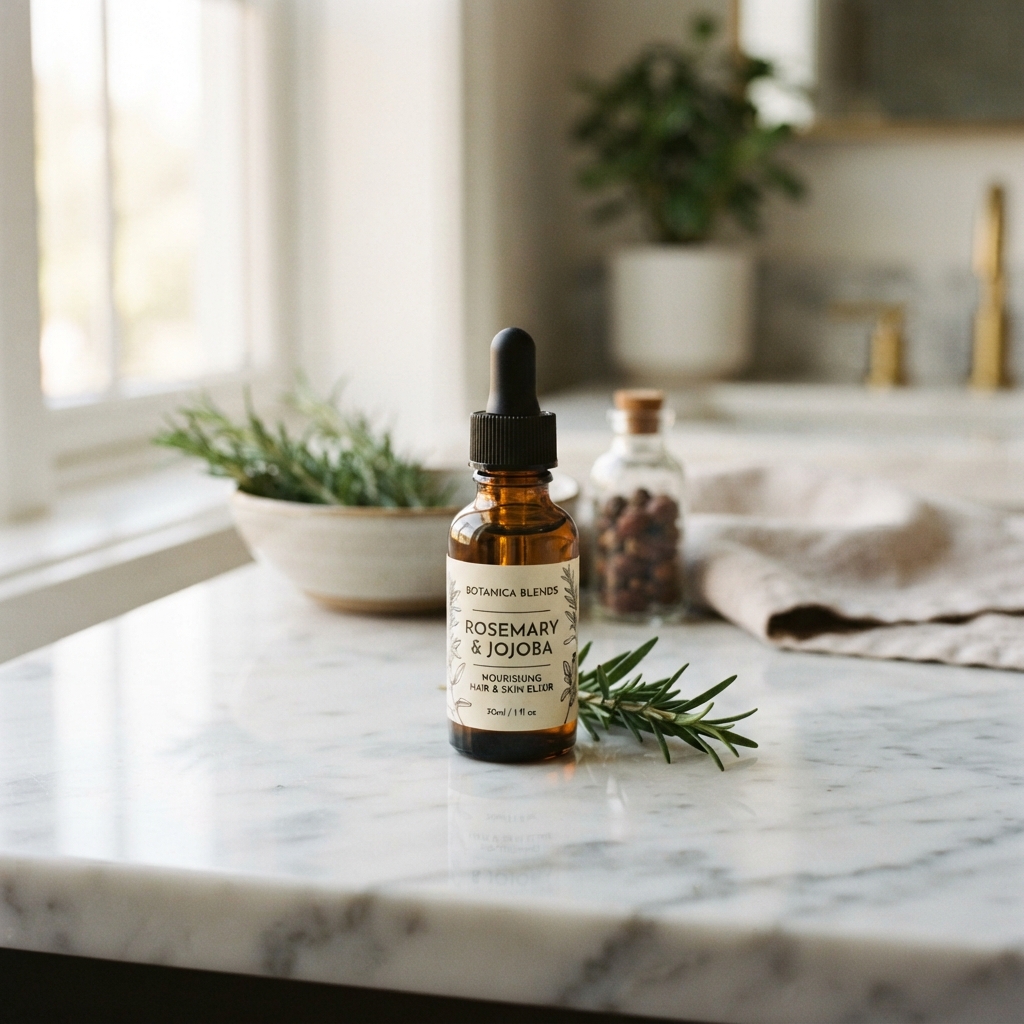
Never put pure rosemary essential oil on your scalp. That is the rule. Essential oils are strong, and your scalp is skin. Treat it with respect.
For scalp use, aim for 2% to 3% dilution. Two percent is for regular weekly use. Three percent is for short-term spot treatments only.
- 1 tablespoon carrier oil + 6 drops rosemary = about 2%
- 1 tablespoon carrier oil + 9 drops rosemary = about 3%
- More drops do not mean faster growth
Mix small batches. Label them. And always patch test first.
Best Carrier Oils for Rosemary Blends
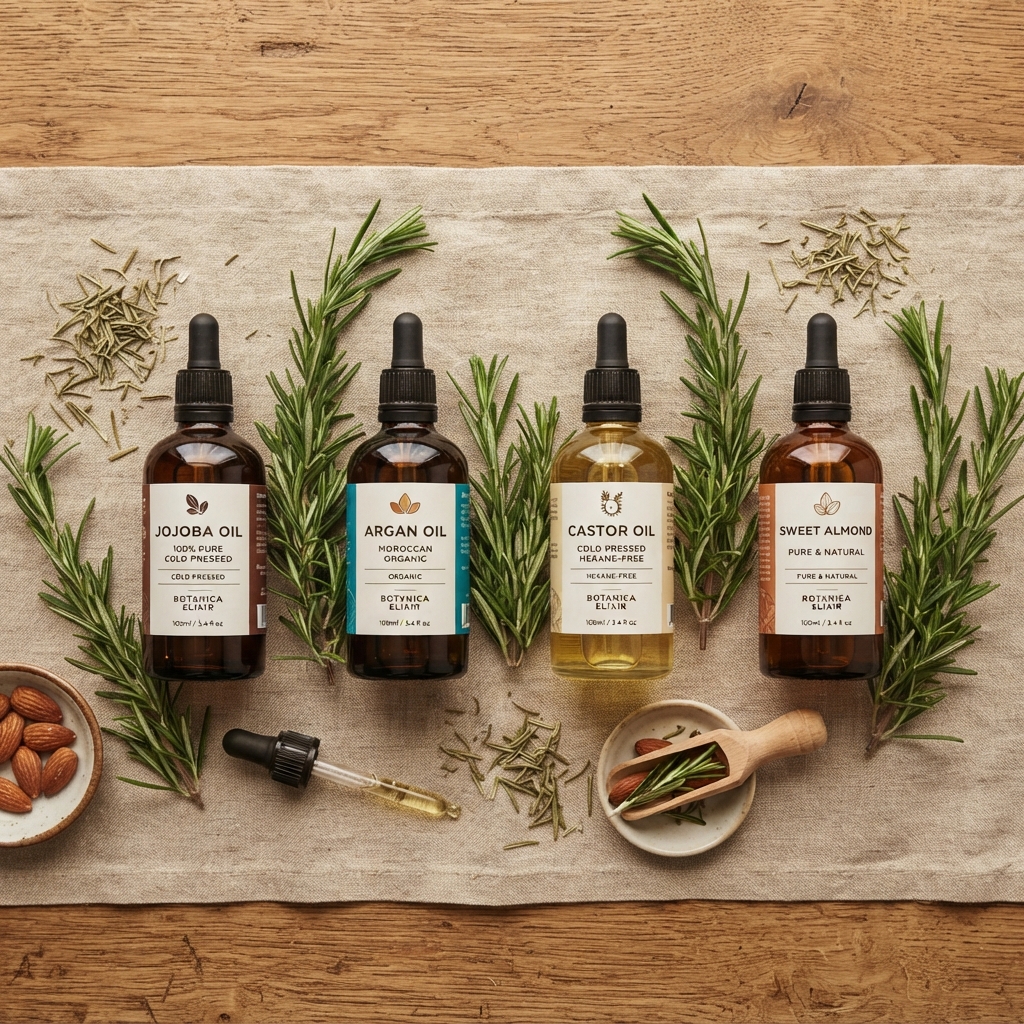
The carrier oil matters just as much as the rosemary. It spreads the essential oil, protects your scalp, and adds its own benefits.
- Jojoba: lightweight, great for fine hair and oily scalps
- Argan: nourishing and shiny, perfect for old money hair vibes
- Sweet almond: soft and soothing for dry scalps
- Grapeseed: very light, good for an asymmetrical lob or hime cut
- Castor: thick and heavy, best mixed with a lighter oil
Choose one that fits your hair texture. If you have sensitive skin, start with jojoba or sweet almond.
The 2% Beginner Dilution Hack
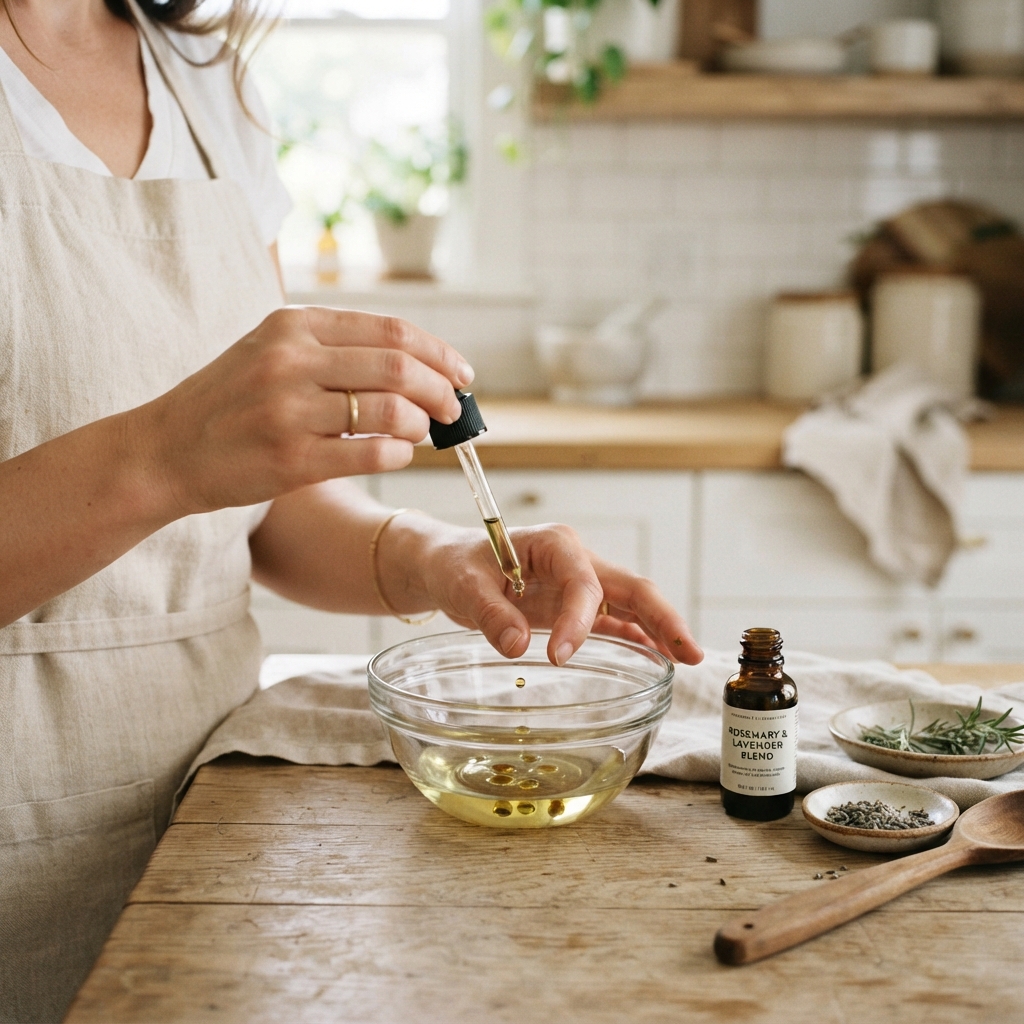
This is the safest starting point. It is gentle enough for most people and easy to make at home.
- Add 1 tablespoon jojoba or sweet almond oil to a small bowl.
- Add 6 drops of rosemary essential oil.
- Stir with a clean toothpick or mini whisk.
- Transfer to a small amber dropper bottle.
Use it two to three times a week. Apply to a dry scalp, massage for five minutes, and wash out after 20 to 30 minutes. If your scalp feels calm, keep going. If not, stop and reassess.
The 3% Stronger Spot Treatment

Some areas need a little more attention. The 3% blend is for stubborn sparse spots like temples, part lines, or edges. It is not for your whole head every day.
- Mix 1 tablespoon carrier oil with 9 drops rosemary essential oil.
- Dip a cotton swab into the blend.
- Dab only on the target area.
- Massage gently for one minute.
Use this once or twice a week for up to four weeks. Then switch back to 2%. If you feel burning, itching, or redness, wash it out right away. Stronger is not better.
Patch Test Before First Use

Before you oil your whole scalp, do a patch test. This takes 24 to 48 hours and can save you weeks of irritation.
- Mix your chosen dilution in a tiny batch.
- Apply a drop behind your ear or on your inner wrist.
- Wait 24 to 48 hours without washing it off.
- Check for redness, itching, bumps, or burning.
If your skin stays calm, you are likely good to go. If you react, wash with mild soap and skip rosemary oil. Even natural ingredients can cause allergies. Your scalp deserves patience.
Dropper Method for Exact Drops
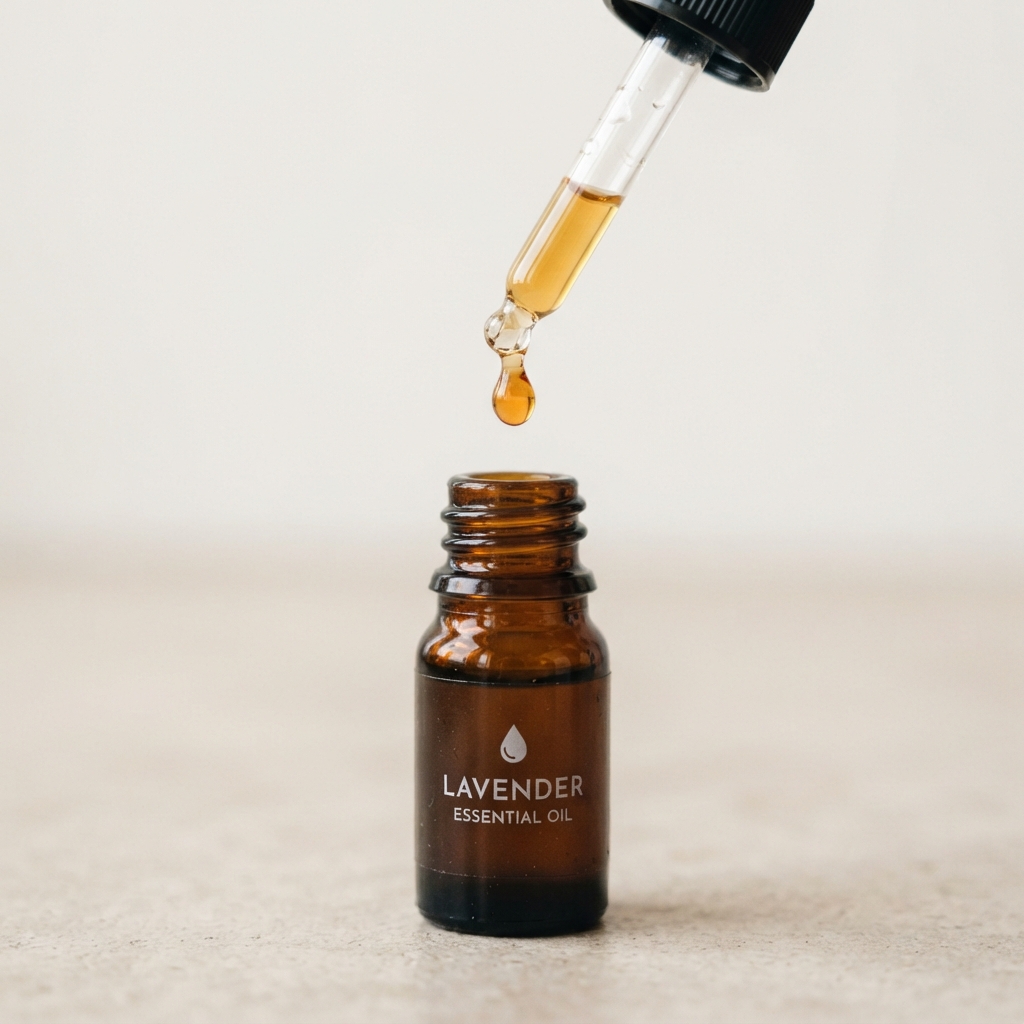
Guessing drops is how people accidentally make a too-strong blend. The dropper method keeps things exact and simple.
- Fill your bottle with carrier oil first.
- Add rosemary essential oil drop by drop.
- Count out loud so you do not lose track.
- Cap and shake gently to mix.
- Label with the date and dilution percentage.
If your dropper is clogged, clean it with warm soapy water and let it dry. A clean dropper gives you a clean blend. This tiny habit makes your at-home scalp ritual safer and more consistent.
Spoon and Shot Glass Method

No dropper? No problem. You can still make a safe dilution with tools you already have.
- Measure 1 tablespoon carrier oil into a clean shot glass.
- Add 6 drops rosemary for 2%, or 9 drops for 3%.
- Stir with a toothpick for 30 seconds.
- Pour into a small bottle or use immediately.
This method is great for a single treatment. If you use it immediately, you do not need to store it. Just make a fresh batch each time. Keep your shot glass only for beauty recipes, not drinks.
10-Minute Pre-Wash Scalp Ritual

This is my favorite way to use rosemary oil. It fits into a busy day and does not leave you greasy for long.
- Part dry hair into four sections.
- Apply the 2% blend directly to your scalp.
- Massage with fingertips for five minutes.
- Leave it on for 10 to 20 minutes.
- Shampoo twice, then condition your ends.
Do this before styling your quiet luxury bob or asymmetrical lob. Your scalp gets support, and your hair still looks fresh. Just do not apply oil right before a sleek event.
Overnight Rosemary Oil: Safe or Not?
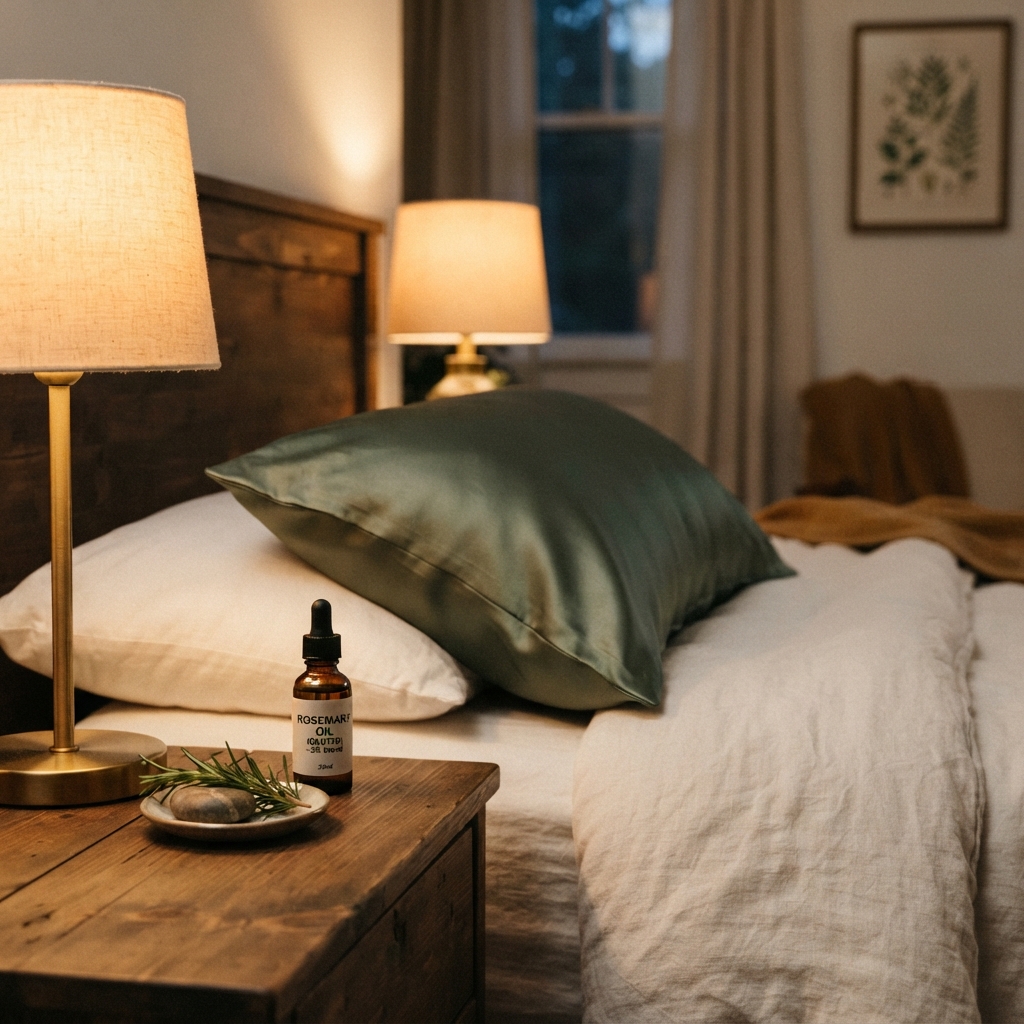
Overnight oiling can work, but it is not for everyone. If your scalp is sensitive, skip it. If you try it, use only a 2% dilution.
- Use a satin or silk pillowcase to reduce friction.
- Place a towel over your pillow to protect it.
- Apply a small amount, not a dripping soak.
- Wash it out in the morning.
Leaving oil on too long can cause buildup, itching, or breakouts. Start with 30 minutes during the day first. If that feels fine, you can test one overnight session. Listen to your scalp.
Rosemary and Castor Oil for Thick Hair
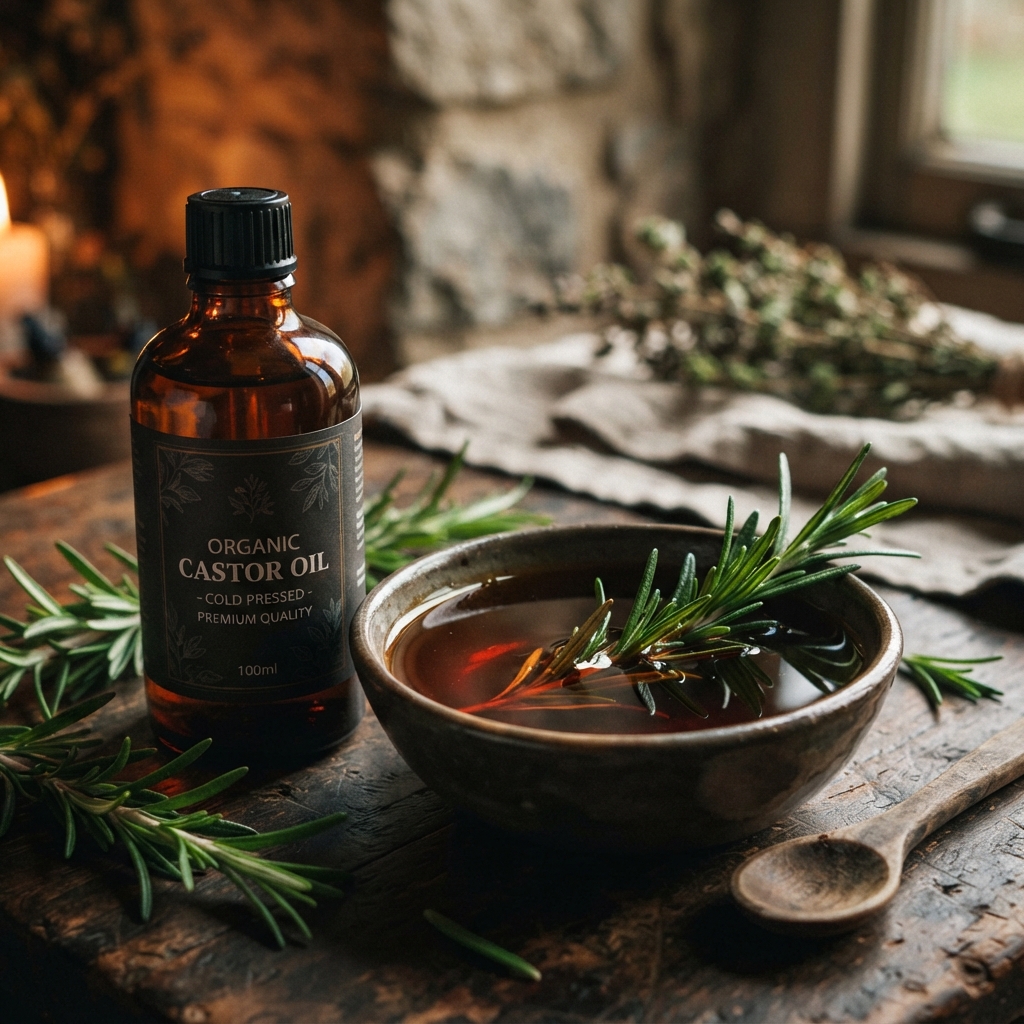
Castor oil is famous for thick hair, but it is heavy. It can clog pores if you use too much. Mix it with a lighter oil for balance.
- Mix 1 teaspoon castor oil with 1 tablespoon jojoba oil.
- Add 6 drops rosemary essential oil.
- Apply to edges and sparse areas.
- Leave on for 30 minutes, then shampoo.
Use this once a week. It is great for romantic goth hairstyles that need strong, defined edges. Just keep it away from your roots if you have an oily scalp. Castor is powerful, so a little goes a long way.
Rosemary and Jojoba for Fine Hair
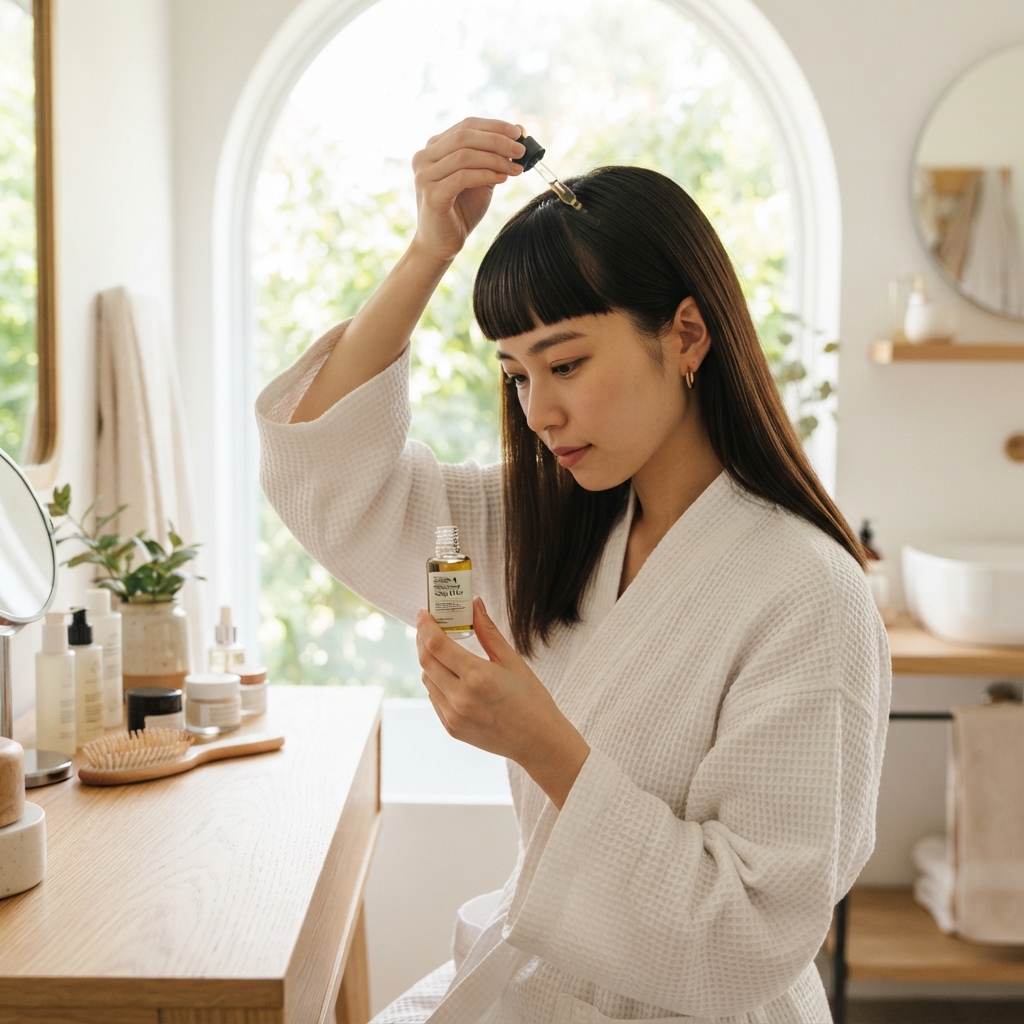
Fine hair can get weighed down fast. Jojoba is the perfect partner because it mimics your scalp’s natural oils without feeling greasy.
- Mix 1 tablespoon jojoba oil with 6 drops rosemary.
- Apply to scalp only, not mid-lengths or ends.
- Massage for five minutes.
- Wash out after 15 to 20 minutes.
This blend is ideal if you love a hime cut or glitchy glam hair. You get follicle support without flattening your style. For extra lightness, use it before a wash day, not on clean hair.
Rosemary and Argan for Old Money Hair
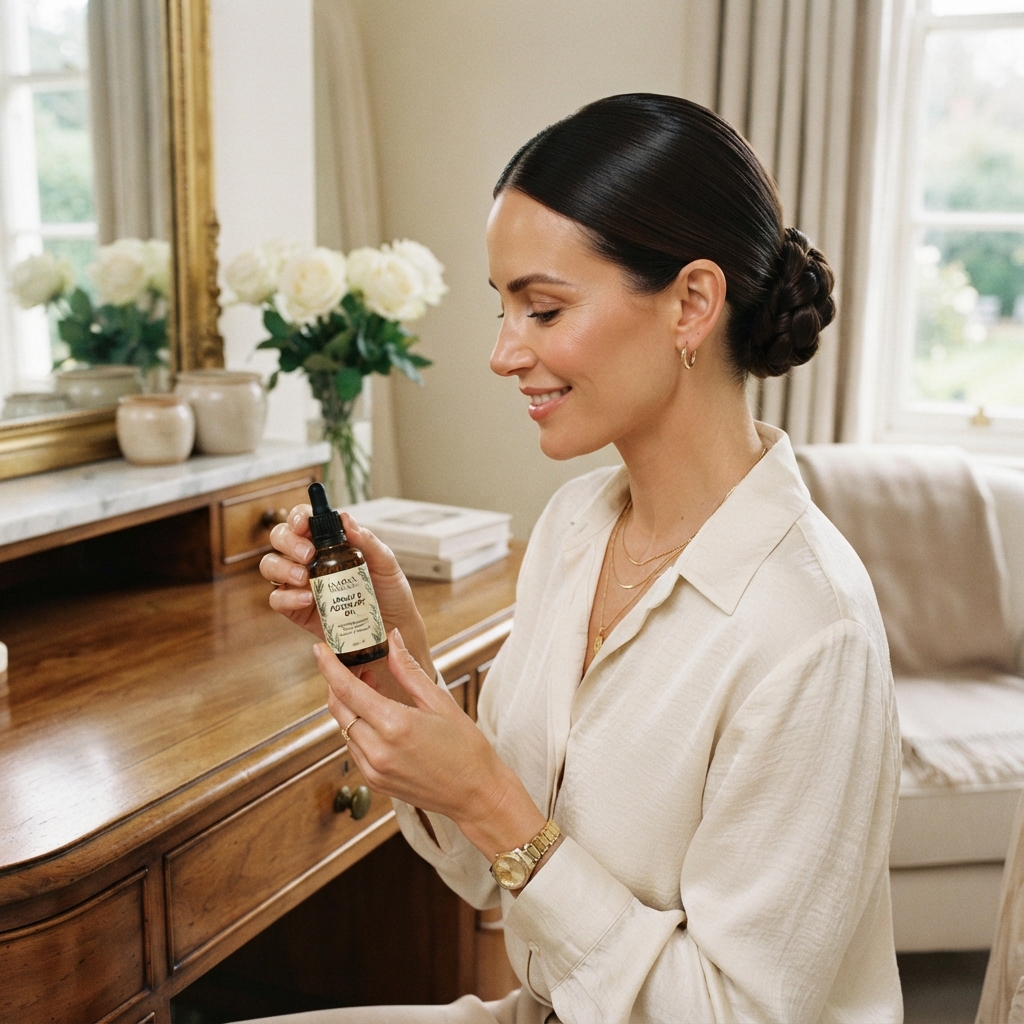
Old money hair is not about trends. It is about shine, health, and quiet polish. Argan oil brings that soft, expensive-looking finish.
- Mix 1 tablespoon argan oil with 6 drops rosemary.
- Apply to a dry scalp in sections.
- Massage gently for five minutes.
- Shampoo and condition as usual.
This is a beautiful pre-wash treatment for a quiet luxury bob. It supports your scalp without making your hair look oily. Remember: healthy hair starts at the root. The shine comes later.
Rosemary and Peppermint for Tingle

Peppermint adds a cooling tingle that many people love. But it can also irritate sensitive skin. Less is more here.
- Mix 1 tablespoon carrier oil with 6 drops rosemary.
- Add 2 drops peppermint essential oil.
- Patch test behind your ear for 24 hours.
- Apply to scalp and wash out after 20 minutes.
You want a mild, pleasant tingle, not a burning sensation. If it feels too strong, add more carrier oil to your blend. Skip peppermint if you have a reactive scalp or open scratches.
Rosemary and Tea Tree for Flaky Scalp

Flakes can make dormant follicle care feel impossible. Tea tree oil has antibacterial and antifungal properties that may help with flaking.
- Mix 1 tablespoon carrier oil with 6 drops rosemary.
- Add 2 drops tea tree essential oil.
- Apply to flaky areas only.
- Leave on for 15 minutes, then shampoo.
Use this once or twice a week. If flaking does not improve, see a dermatologist. It could be seborrheic dermatitis or another condition. Rosemary oil is a helper, not a medical treatment. If your skin is sensitive, start with rosemary alone.
Rosemary and Aloe for Sensitive Scalp

If your scalp reacts easily, aloe vera can soothe while rosemary supports. Make this fresh and use it right away.
- Mix 1 tablespoon aloe vera gel with 1 teaspoon jojoba oil.
- Add 3 drops rosemary essential oil.
- Stir well and apply to scalp.
- Leave on for 10 minutes, then rinse and shampoo.
Do not store this blend because aloe is water-based. It can grow bacteria. Patch test first. If you feel any burning, rinse immediately. Aloe can also help calm itchiness from other treatments. Gentle is the goal.
Massage Technique That Helps Absorption

Massage is not just a nice extra. It helps move the oil and boosts circulation. Use your fingertips, not your nails.
- Start at your hairline and press gently.
- Make small circles for 30 seconds in each spot.
- Move to your temples, then behind your ears.
- Work up to your crown and back of your head.
- Finish with a gentle scalp squeeze.
Do this for five minutes. It should feel relaxing, not rough. This simple technique can make your rosemary oil blend work harder without adding more drops.
How Often to Use Rosemary Oil

Consistency beats intensity. Most people do well with rosemary oil two to three times per week at a 2% dilution.
- 2% blend: two to three times weekly
- 3% blend: once or twice weekly, short term
- Overnight: only if your scalp tolerates it
- Take a one-week break every four to six weeks
Results take time. Think in months, not days. If you are consistent for three to six months, you may notice less shedding and tiny baby hairs along your hairline. If not, adjust or see a pro.
Signs Your Dilution Is Too Strong

Your scalp will tell you if your blend is too strong. Do not ignore it. Stop using the oil and wash your scalp with a gentle shampoo.
- Burning or stinging
- Redness or rash
- Itching that gets worse
- Small bumps or blisters
- Headache or dizziness
Apply a cool compress if needed. Do not add more oil or scrub the area. If symptoms are severe or do not go away, contact a doctor. If you are unsure, mix a fresh 1% batch and build up slowly. A safe dilution should feel mild or like nothing at all.
How to Store DIY Scalp Oil
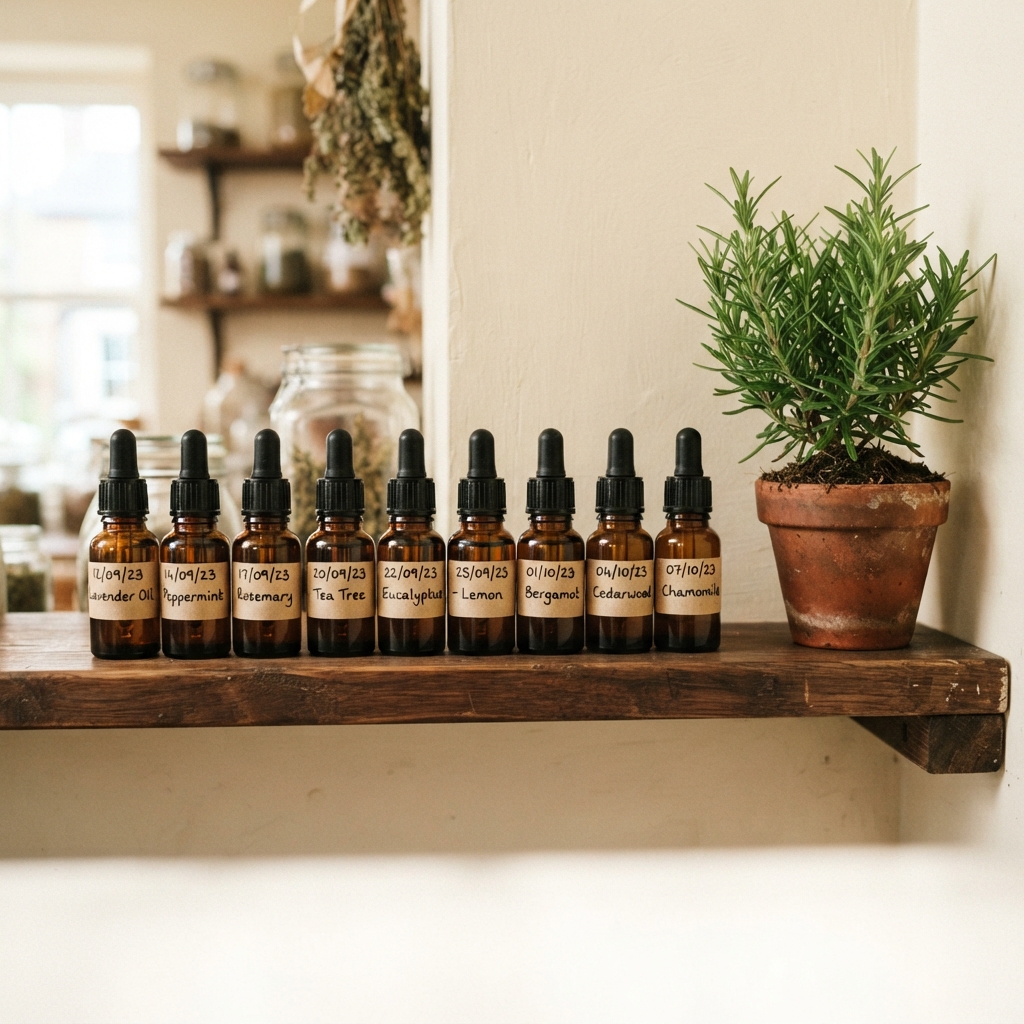
Your DIY blend can go bad, especially if it is stored in heat or light. Treat it like fresh food for your hair.
- Use amber or dark glass bottles.
- Keep in a cool, dark cabinet.
- Label with date and dilution percentage.
- Use within three to six months.
- Keep away from pets and kids.
Do not store it in the shower. The heat and humidity can make it spoil faster. If it smells off or looks cloudy, toss it. A fresh batch is cheap and safer.
Rosemary Oil and 2026 Hairstyles Styling

Healthy follicles make every hairstyle look better. In 2026, we are seeing old money hair, quiet luxury bobs, romantic goth hairstyles, glitchy glam hair, asymmetrical lobs, vampire haircuts, and hime cuts.
All of these styles need a healthy scalp. But oil and styling do not always mix. Use rosemary oil as a pre-wash treatment, not a leave-in before a sleek look.
- Pre-wash oil for growth support
- Shampoo well before styling
- Use lightweight products for volume
Your scalp care is the foundation. The style is the fun part.
Rosemary Oil for Edges and Hairlines
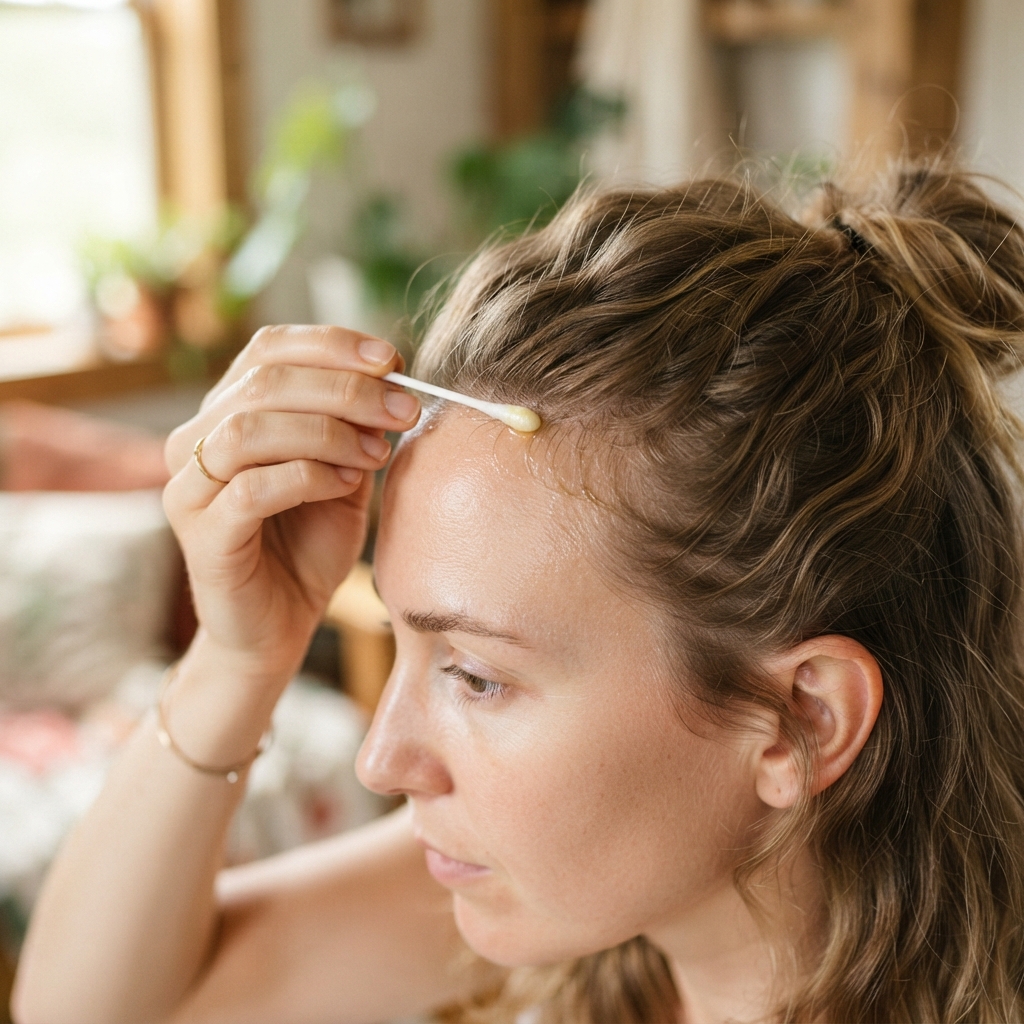
Edges are delicate. They need gentle care, not aggressive rubbing. Use only a 2% dilution on your hairline and temples.
- Dip a cotton swab into your blend.
- Dab along the hairline, not saturating it.
- Massage with your fingertip for one minute.
- Leave on for 20 minutes, then rinse.
Do not pull your hair back tightly while treating your edges. That defeats the purpose. If you love a vampire haircut or hime cut, clean edges matter. Be patient and consistent.
When to See a Doctor

Rosemary oil is a great at-home helper, but it cannot fix everything. Some hair loss needs medical care.
- Sudden or patchy hair loss
- Scalp pain, sores, or scarring
- Hair loss after medication or illness
- No improvement after six months
Conditions like thyroid issues, anemia, PCOS, and alopecia are common. A dermatologist can help you find the real cause. Do not blame yourself if oil alone does not work. Getting help is a smart hair move. Bring a list of your medications and hair care products to your appointment.
Your Simple Weekly Schedule
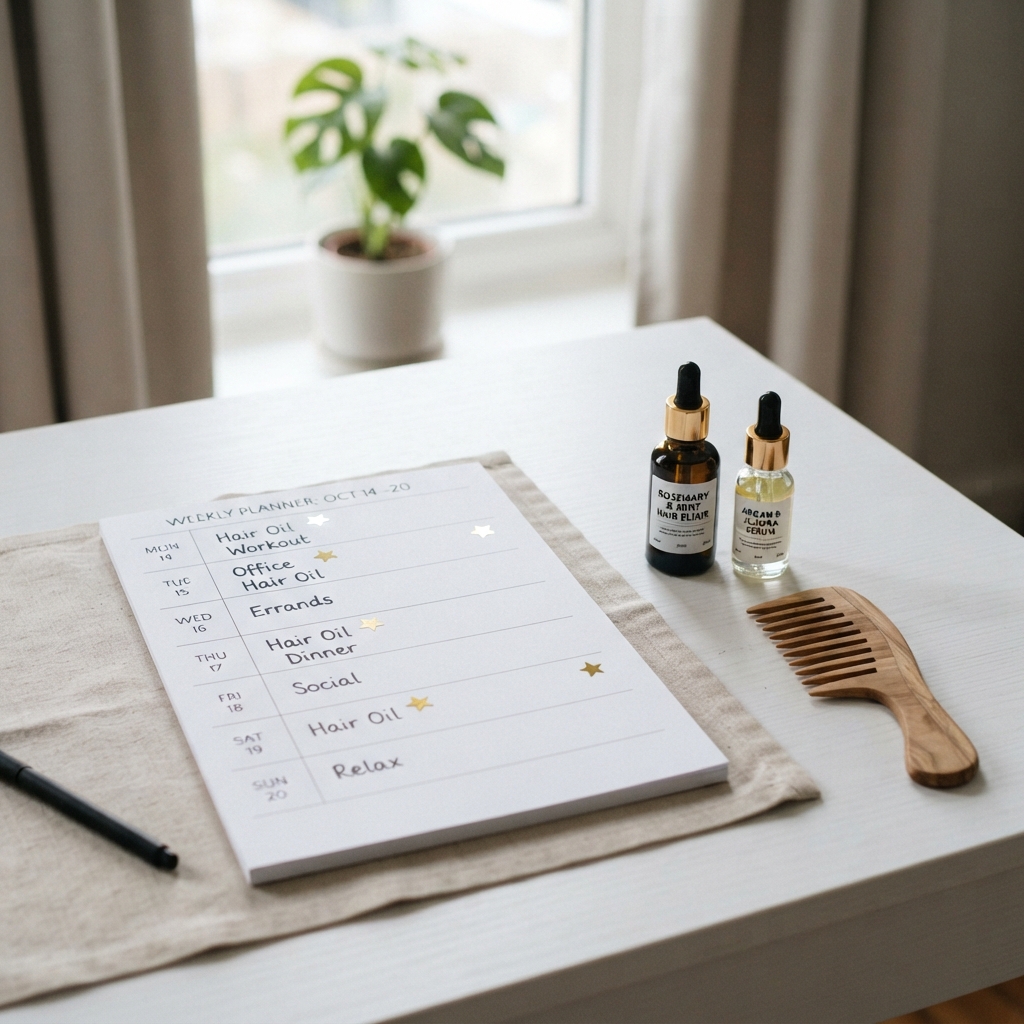
Here is a simple schedule you can steal. Adjust it to your scalp and lifestyle.
- Monday: 2% rosemary pre-wash for 20 minutes
- Wednesday: 2% scalp massage for 10 minutes
- Friday: 3% spot treatment on edges only
- Sunday: wash day and gentle scalp scrub
Keep it light. If your scalp feels irritated, skip a day. The goal is healthy follicles, not a perfect routine. Slow and steady wins here. If you miss a day, just pick up where you left off. No guilt.
A Warm Goodbye for Now
I hope this makes rosemary oil feel less scary and more doable. You do not need a complicated routine. You need a safe dilution, a carrier oil you like, and a little consistency.
Start with 2%, patch test, and give it time. Your future hair, whether it is a quiet luxury bob or a bold vampire haircut, will thank you.
Save this post to Pinterest so you can find your favorite dilution hack later. And tell me in the comments: which rosemary oil blend are you trying first? I read every comment.

