
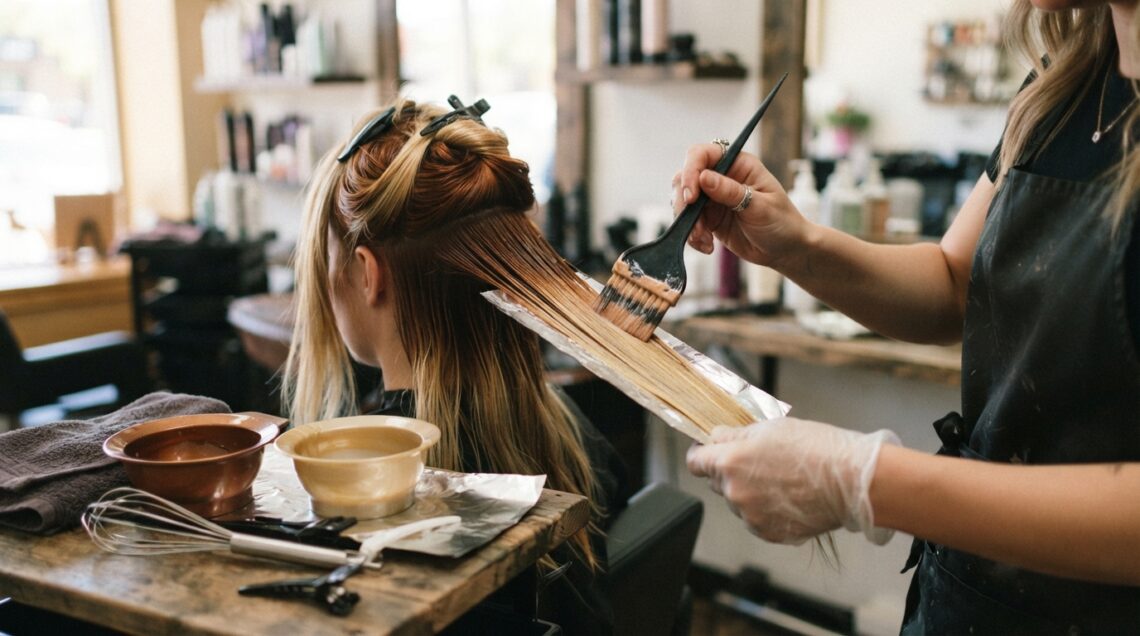
You’ve seen it on your feed a hundred times: hair that flows from a deep espresso root into soft honey ends with zero harsh lines. No stripes. No banding. Just one smooth, liquid pour of color.
It looks effortless, and it’s exactly why everyone keeps asking about color melting versus balayage.
Here’s the short version. Both can give you that seamless gradient, but they get there differently. Color melting blends shades while they’re wet. Balayage paints lighter pieces on freehand, strand by strand.
So which one actually creates the most seamless liquid gradient? I dug into it, talked to stylists, and broke it all down. Five minutes and you’ll know exactly what to ask for at your next appointment.
What Is Color Melting, Exactly?
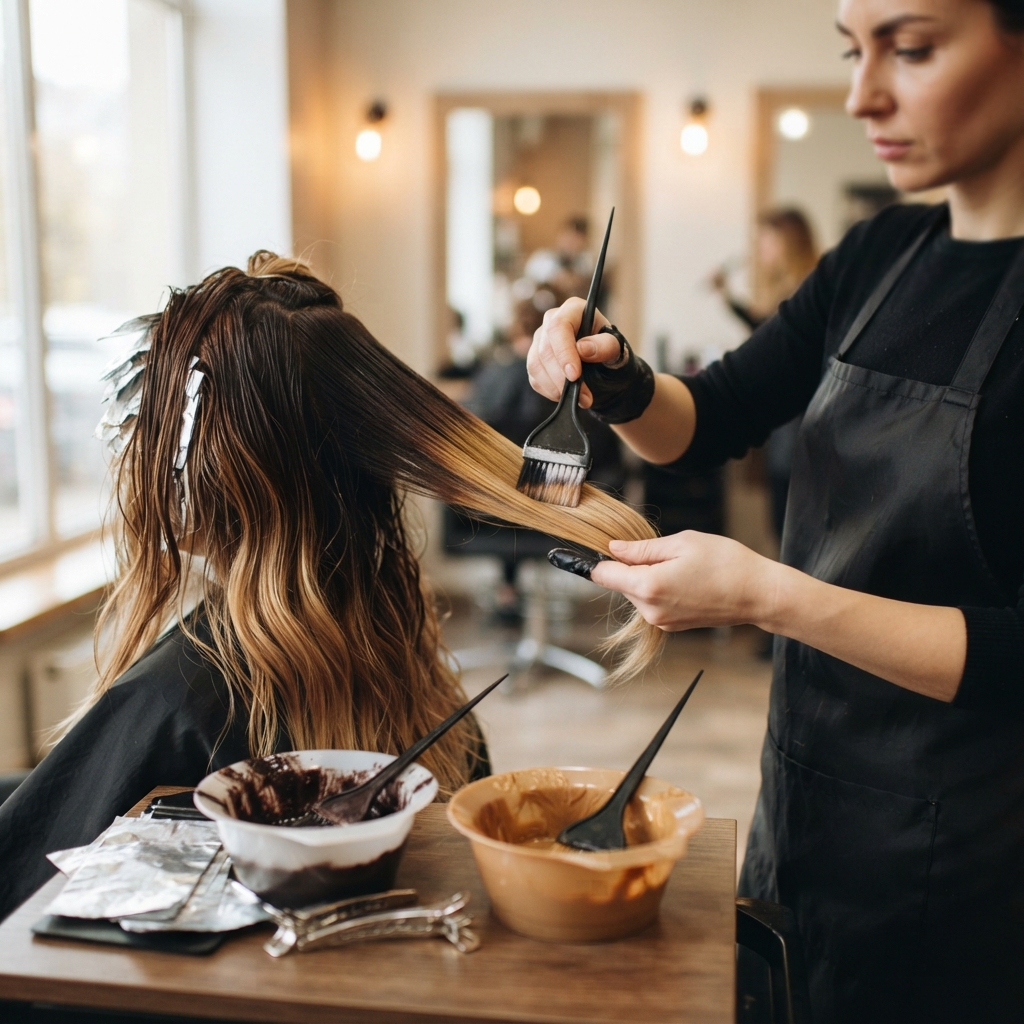
Color melting is a blending technique. Your stylist mixes two or more shades and works them together while the color is still wet, feathering the line where one shade meets the next.
Think of it like blending eyeshadow. You don’t want a hard edge, so you smudge the middle until it disappears.
- Best for: soft root shadows and tone-on-tone transitions
- Done in the bowl and on the strand
- Usually paired with a base color or lightening service
Result: a gradient that looks poured, not painted.
What Is Balayage, Exactly?
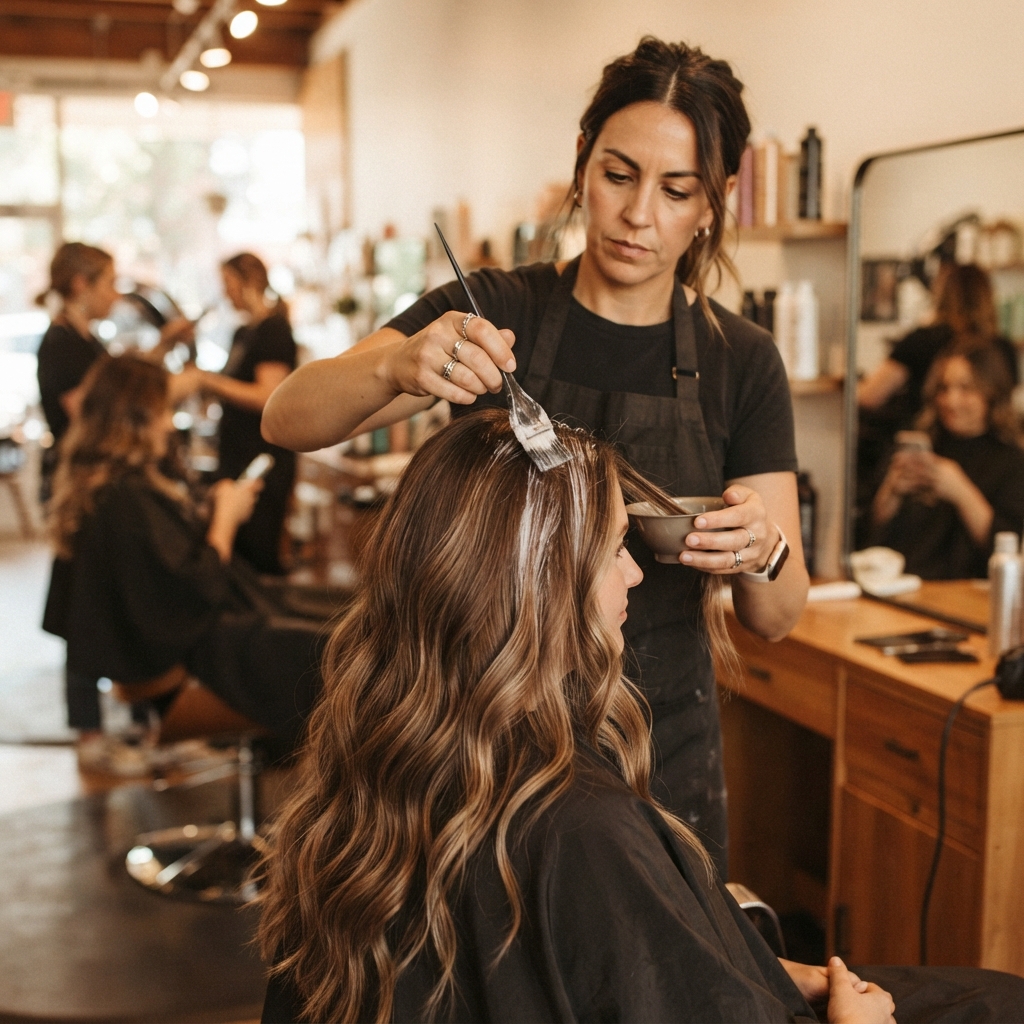
Balayage is French for “to sweep.” Your stylist paints lightener onto the surface of the hair freehand, no foils required, following the way your hair naturally falls.
Because it’s hand-painted, balayage is more about placement than blending. It creates ribbons of lightness that grow out beautifully.
- Best for: lived-in, sun-kissed dimension
- Freehand painting, sometimes with foils for extra lift
- Focuses on the mid-lengths and ends
On its own, balayage can look a little striped up close. That’s where melting comes in.
The Real Difference: Blending vs. Painting
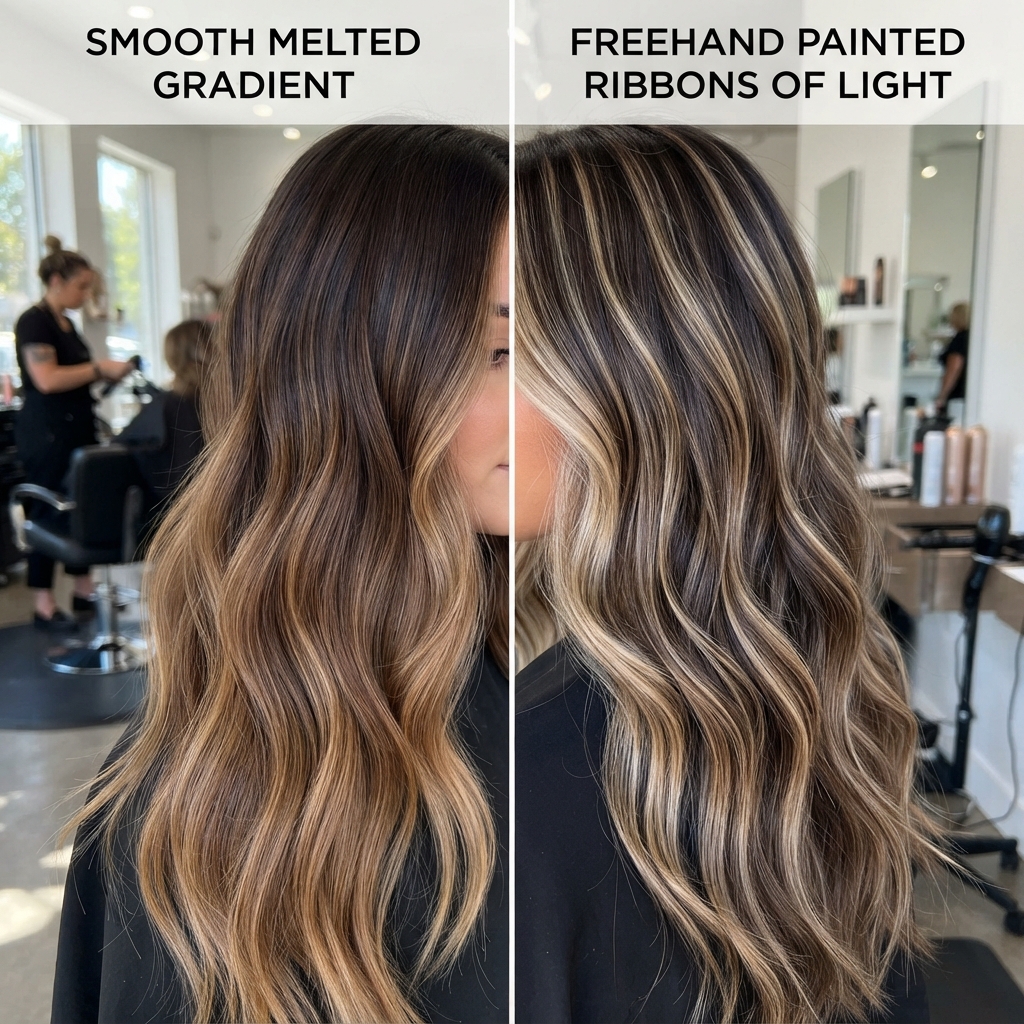
Here’s the simplest way to hold it in your head. Color melting is about the transition. Balayage is about the placement.
Melting smooths the space between two colors. Balayage decides where the lightness lives.
- Melting = blending the seam
- Balayage = painting the lightness
- Most gorgeous results use both
That’s why the “versus” question is a little tricky. They’re not rivals so much as teammates. Picking one comes down to the look you want and how much upkeep you’ll happily tolerate.
Why the Liquid Gradient Is Everywhere in 2026
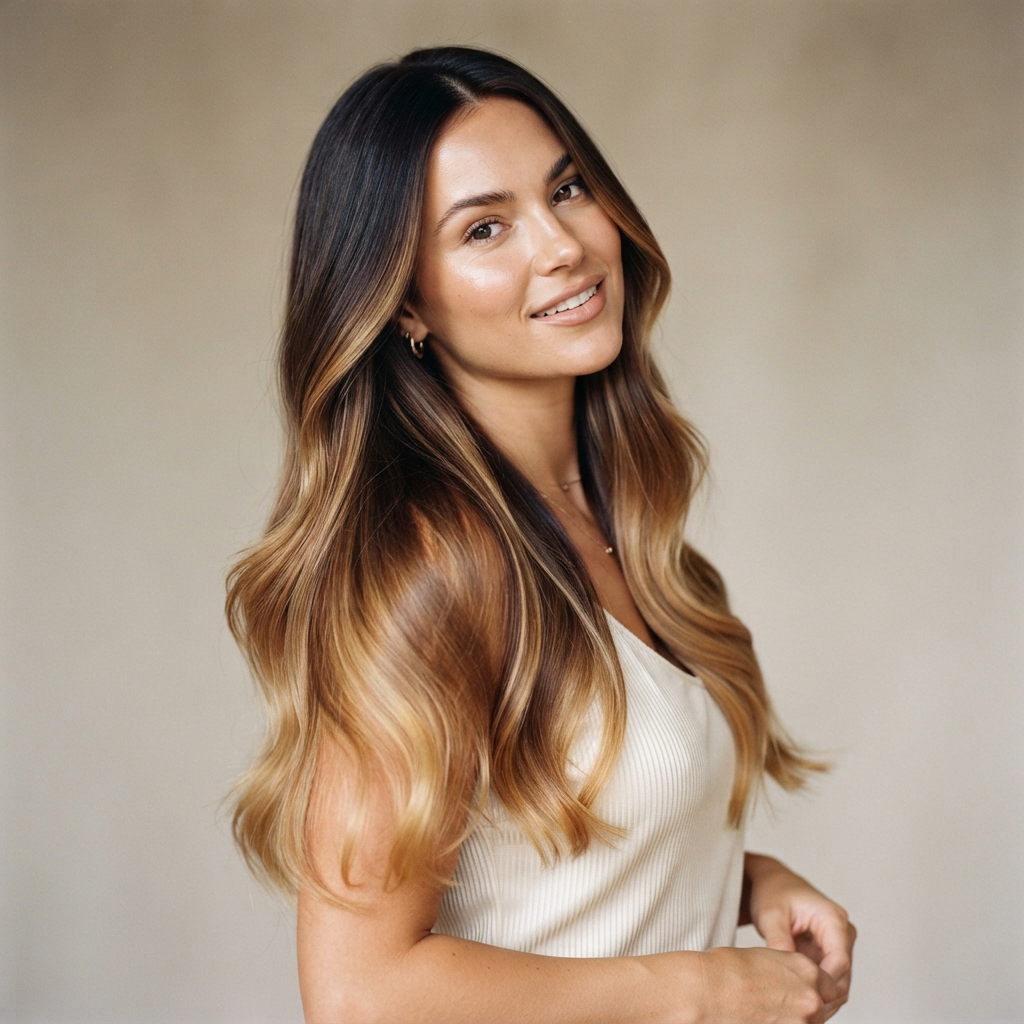
2026 hairstyles are leaning soft and expensive. Hard lines are out. Grown-out, touched-by-the-sun color is in.
Old money hair, quiet luxury bobs, and that polished-but-not-trying vibe all depend on a smooth gradient. Even moodier looks, like romantic goth hairstyles, use melted roots to keep things elegant instead of harsh.
- Soft transitions photograph better
- They grow out gracefully
- They work on every hair color
Basically, the liquid gradient is the backbone of almost every look trending right now.
How Color Melting Builds That Seamless Blend
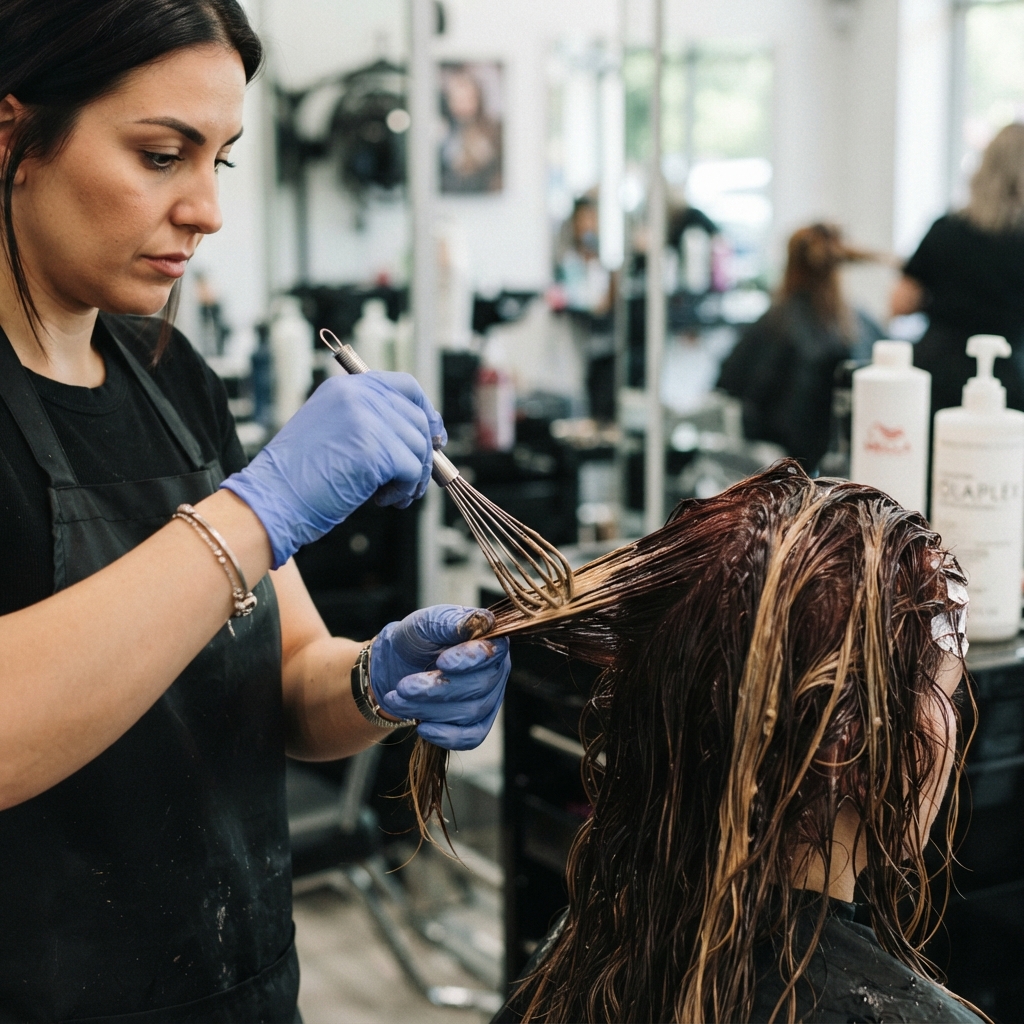
Melting is the technique that literally creates the seamless part. Your stylist overlaps the two shades in the middle, then works a brush through the meeting point until the line dissolves.
Some stylists use a color mixer, a whisk-like tool that blends faster and smoother.
- Apply the darker shade at the root
- Apply the lighter shade through the ends
- Feather the two together in the middle
- Process, rinse, and tone
If seamless is the goal, this is the step that gets you there.
How Balayage Creates Soft, Sun-Kissed Dimension

Balayage gives you dimension, movement, and that “been at the beach” glow. It’s painted on the surface, so it catches light in a very natural way.
The catch: freehand painting can leave subtle bands if it’s rushed. A great balayage artist will tease, weave, and backcomb to soften the edges.
- Beautiful grow-out, low maintenance
- Great for length and movement
- Needs a melt or toner for true seamlessness
Balayage alone? Gorgeous. Balayage plus a melt? Liquid.
So Which One Wins the Seamless Gradient Crown?
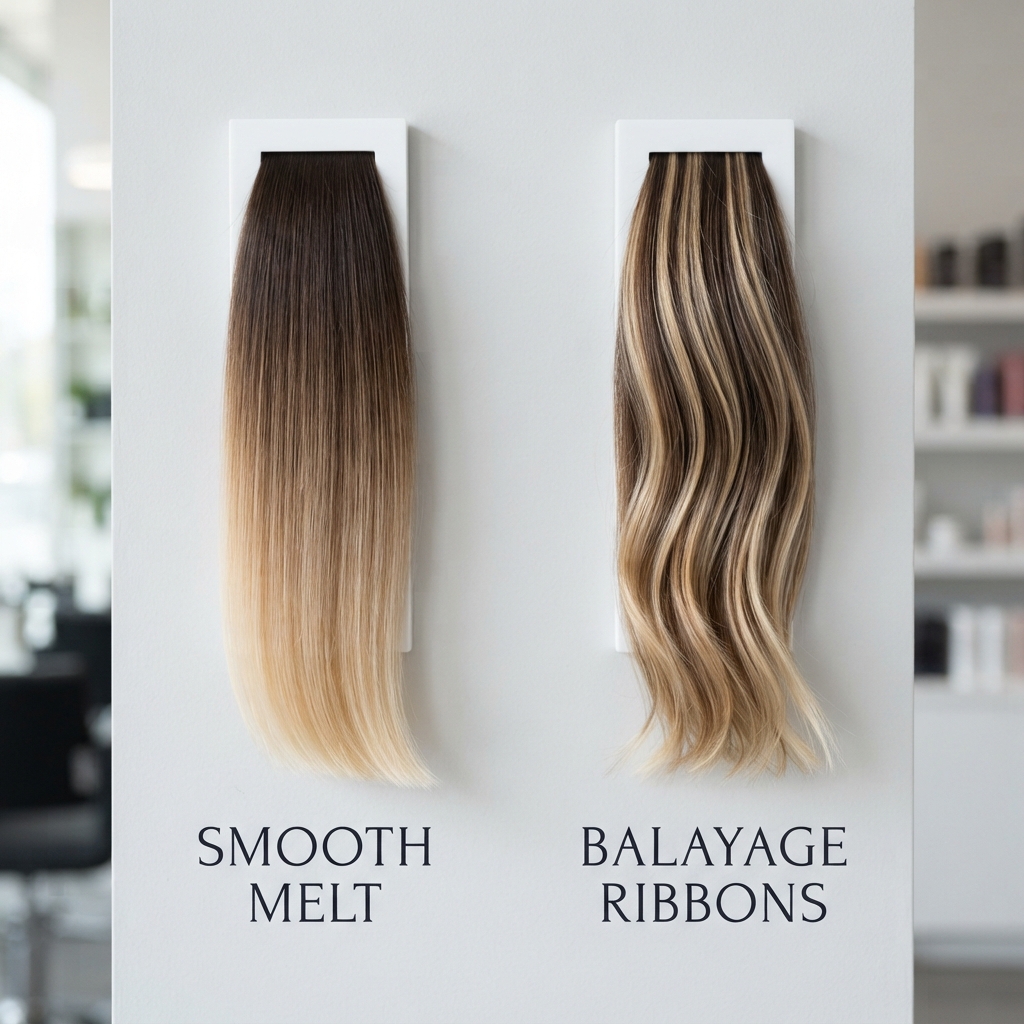
If we’re being honest: color melting wins on pure seamlessness. It’s designed to erase lines, so it does that job best.
But balayage wins on dimension and grow-out. It’s the technique that makes hair look alive.
The real answer most stylists give? Combine them.
- Balayage for placement and lightness
- Melting for a smooth, blended transition
- Toning to seal the whole thing
Ask for both and you get the liquid gradient everyone is chasing.
Color Melting vs. Balayage: Side-by-Side
Here’s the quick version if you’re skimming in the salon chair.
- Seamlessness: Color melting wins
- Dimension: Balayage wins
- Grow-out: Balayage wins
- Time in the chair: Melting is usually faster
- Cost: Similar, balayage tends to run higher
- Best on dark hair: Melting plus balayage
- Best on blonde hair: Either, with a good toner
Print this in your brain and you’ll never feel confused at a consultation again.
Dark Hair: Which Technique Blends Better?
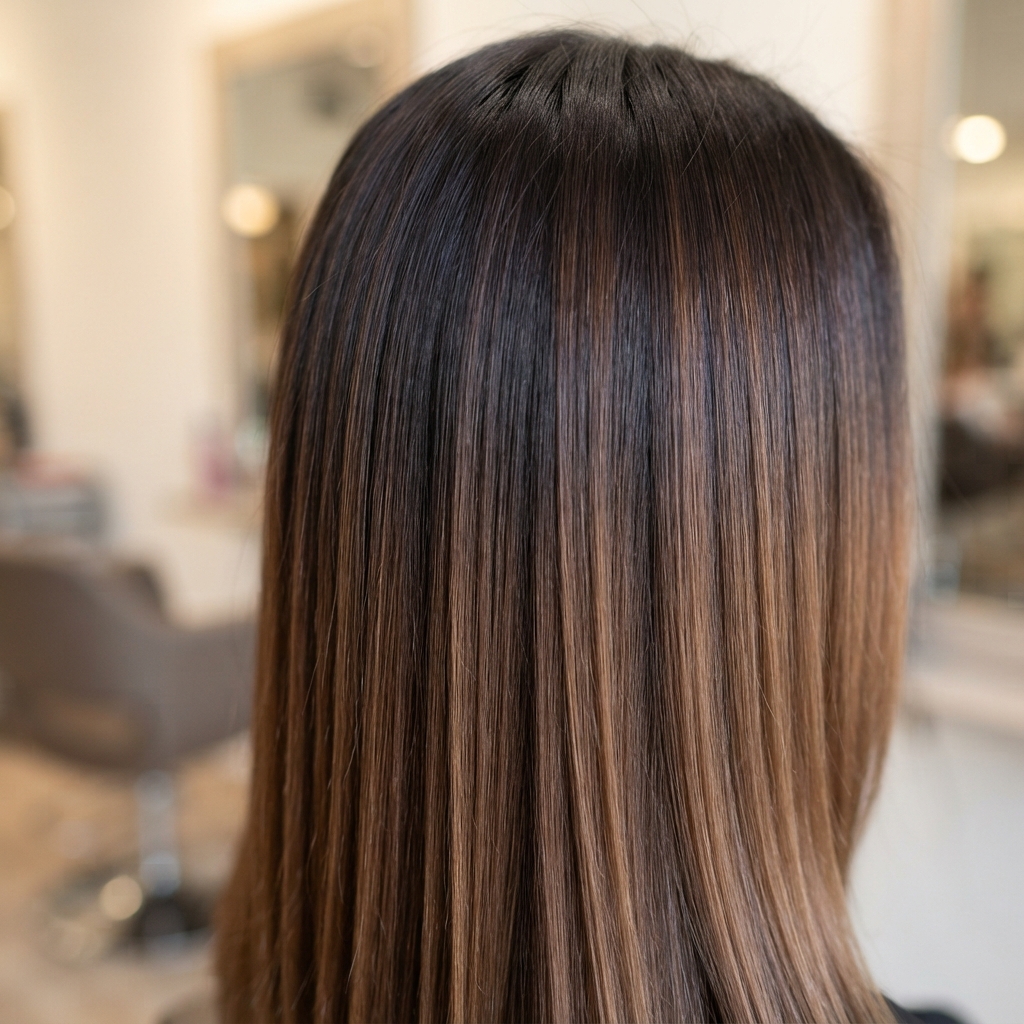
Dark hair is the hardest to blend because the contrast between your natural color and the lightened pieces is so strong. Hard lines show up fast.
For dark hair, color melting is basically non-negotiable. You want that soft transition so the grow-out doesn’t look like a stripe.
- Start with a warm or neutral melt to lift safely
- Add balayage for dimension once the base is blended
- Always finish with a toner
If your stylist suggests balayage alone on jet black hair, ask how they plan to melt the roots.
Blonde Hair: Getting a Soft, Expensive Finish
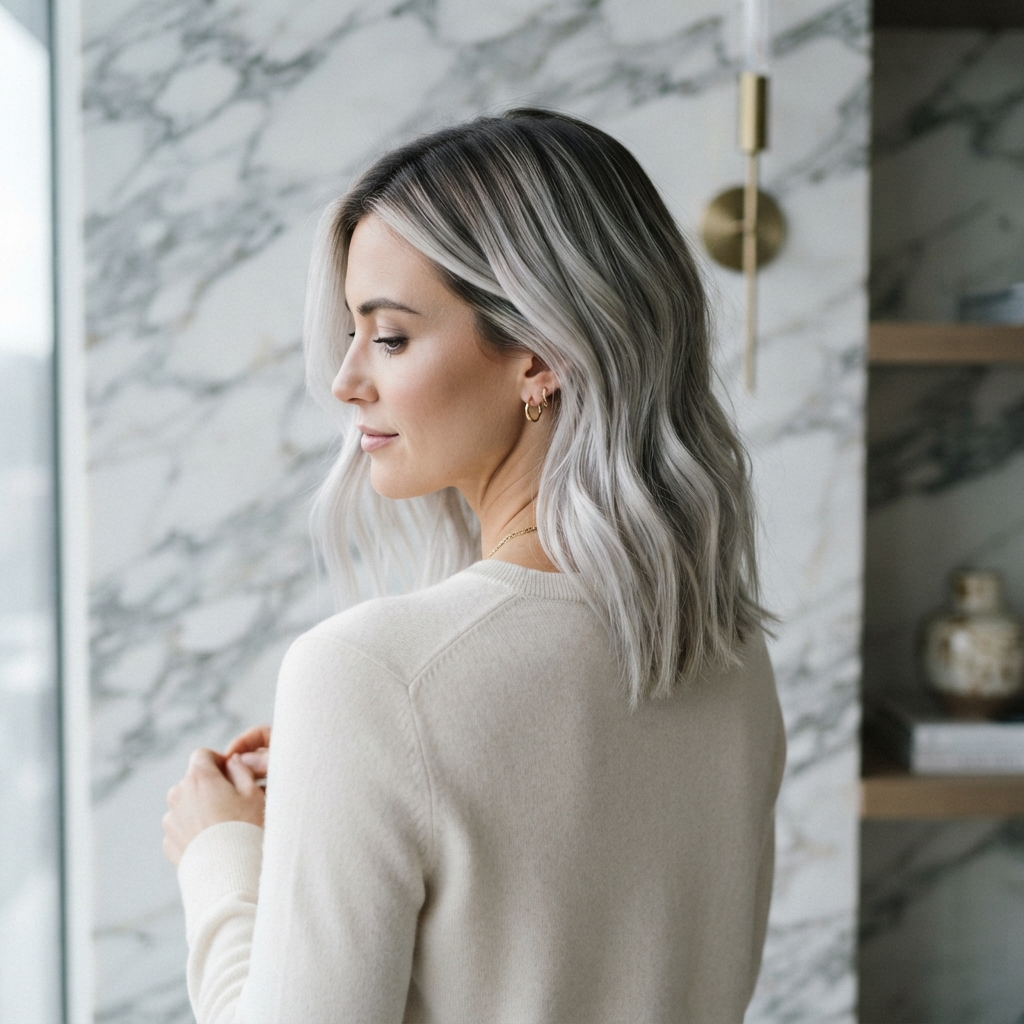
Blonde has the opposite problem. It lifts easily, but it can go brassy or flat, and the root line can look severe if it isn’t blended.
Color melting shines here. A shadow root melted into a bright end is the definition of old money hair.
- Keep the root one or two shades deeper
- Melt slowly through the mid-lengths
- Tone with a cool or neutral finish
Balayage can work too, but it needs a melt at the root to look expensive instead of streaky.
Red, Copper, and Auburn Tones

Red is the trickiest family to blend because it fades fast and the tones are so visible. A harsh line in copper hair looks obvious within weeks.
Color melting is your friend here. Blending a deeper auburn into a warm copper creates that glowy, dimensional red everyone wants.
- Melt within the same color family
- Avoid going more than two shades lighter
- Book a gloss every six to eight weeks
Balayage on red can be stunning, but it needs a very careful hand.
Quiet Luxury Bob Meets Color Melting
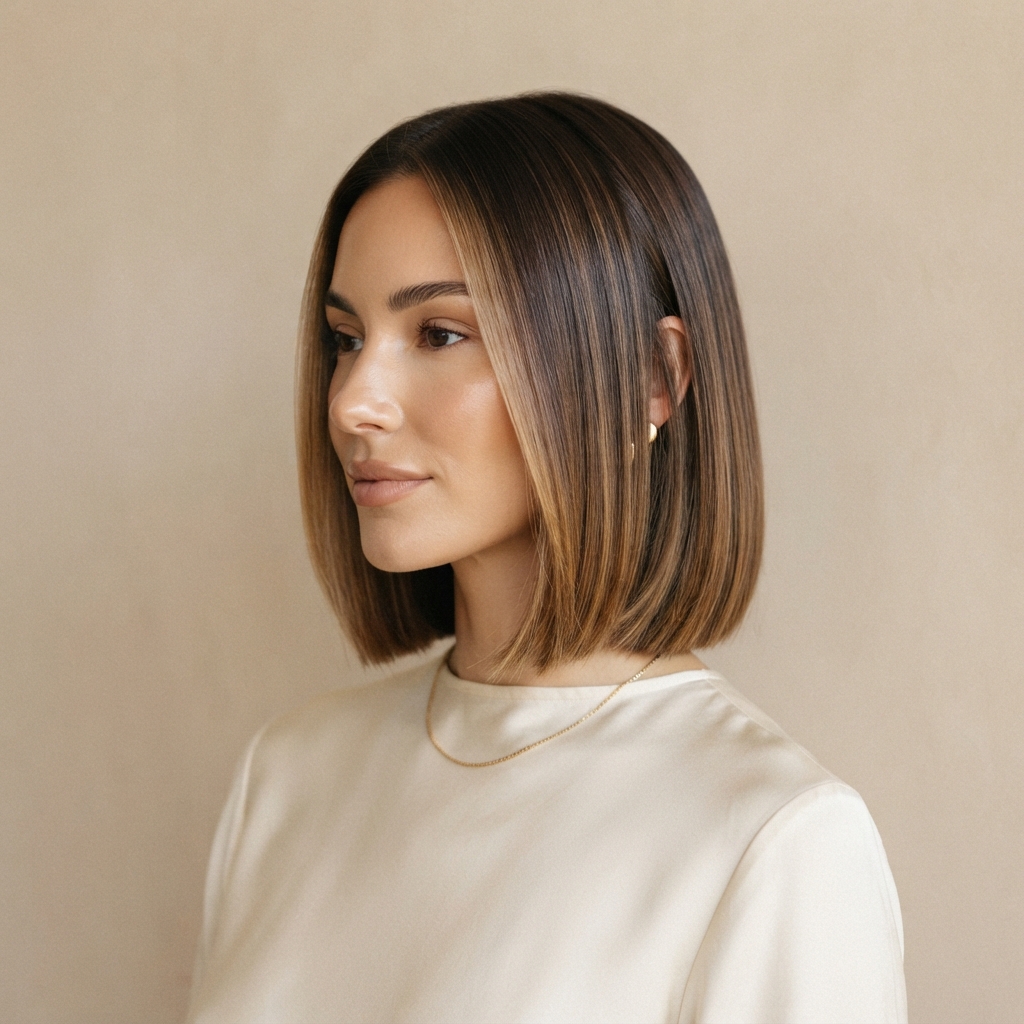
The quiet luxury bob is all about polish. Clean lines, healthy shine, nothing loud. A hard color line would ruin the whole effect.
Color melting keeps the cut looking expensive. A soft shadow at the root that melts into a creamy end makes the blunt line feel intentional, not heavy.
- Keep the gradient subtle, one to two shades
- Ask for a gloss for mirror shine
- Skip high-contrast placements
This is the combo that makes people ask, “Who does your hair?”
Old Money Hair and the “No Roots Showing” Rule
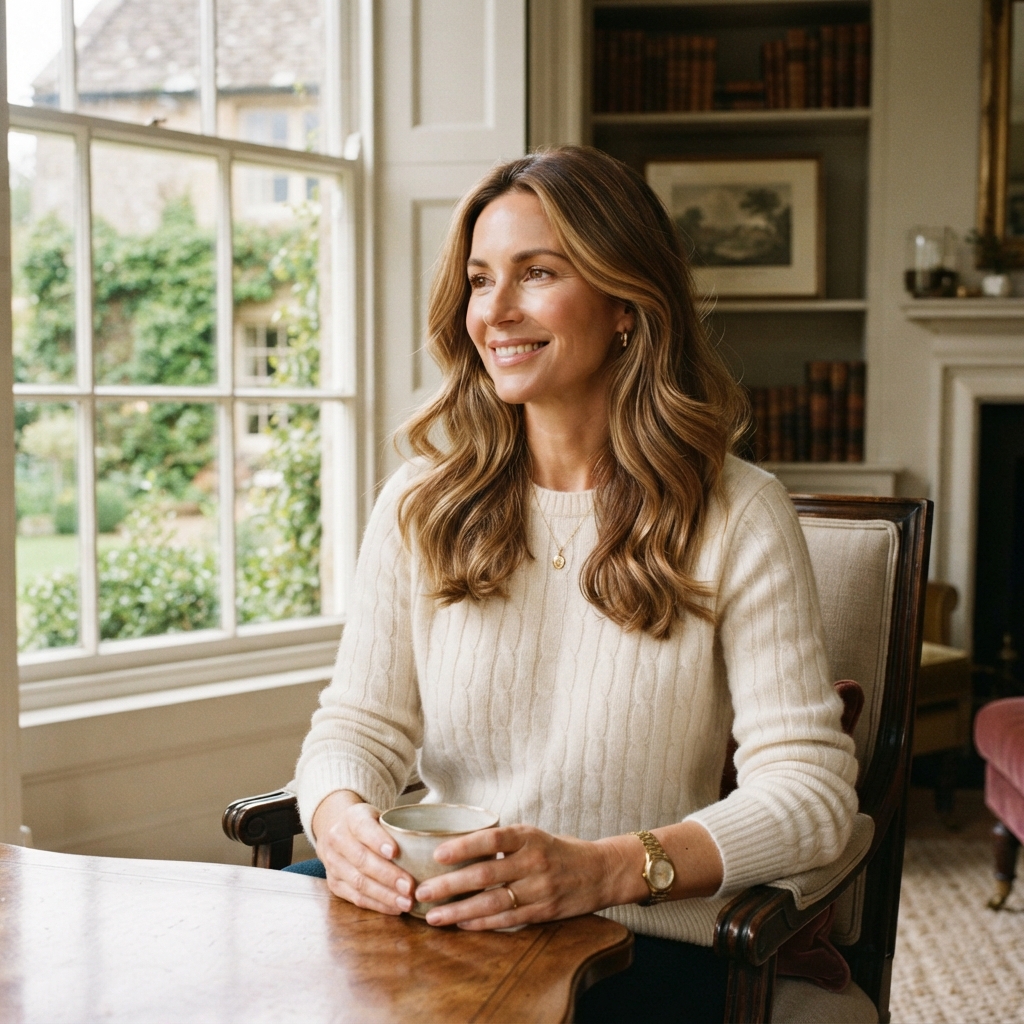
Old money hair is not about a specific color. It’s about looking like you were born with it and never had to try.
That means no visible grow-out line. Ever. Color melting makes this possible, because the transition is so gradual you can’t tell where your natural color ends.
- Stay within two shades of your natural
- Choose warm, muted, natural tones
- Refresh with a gloss, not a full color
Quiet, blended, and effortless. That’s the whole point.
Romantic Goth Hairstyles and Deep Melts

Romantic goth hairstyles lean moody and soft at the same time. Think black cherry, deep plum, cool espresso, all blended into something dreamy instead of flat.
Color melting is perfect for this. You can melt a near-black root into a deep burgundy end for a gradient that looks like velvet.
- Melt within deep, rich tones
- Keep the finish glossy, not matte
- Add a shine gloss for dimension
Romantic, dark, and seamless. Exactly the vibe.
Glitchy Glam Hair Loves Balayage Streaks

Glitchy glam hair is all about contrast and unexpected placement. Chunky ribbons, visible streaks, and a little bit of chaos on purpose.
That’s where balayage wins. Freehand painting is made for those bold, painterly ribbons that look almost digital.
- Use balayage for the streak placement
- Melt just the root so it still feels wearable
- Play with two contrasting tones
If you want a gradient that’s intentionally a little broken, balayage is your technique.
Asymmetrical Lob, Meet Liquid Gradient
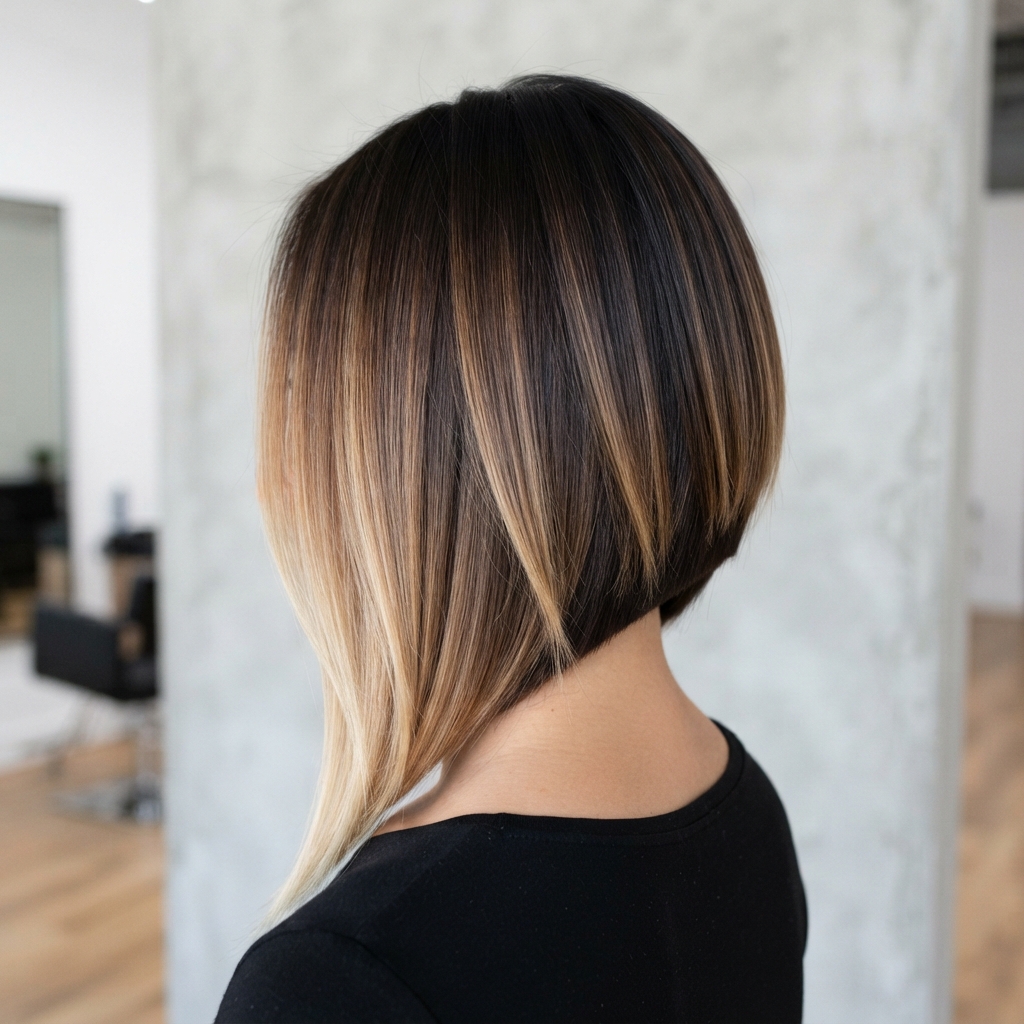
An asymmetrical lob already has drama on its own. Adding color can either elevate it or make it busy.
A liquid gradient is the move. A melted root flowing into a lighter end keeps the eye moving down the length, which makes the asymmetry feel intentional.
- Keep the color soft so the cut stays the star
- Melt from root to end for continuous flow
- Skip harsh face-framing pieces
Soft color, sharp cut. That combination always works.
Vampire Haircut: Keeping the Drama Sharp
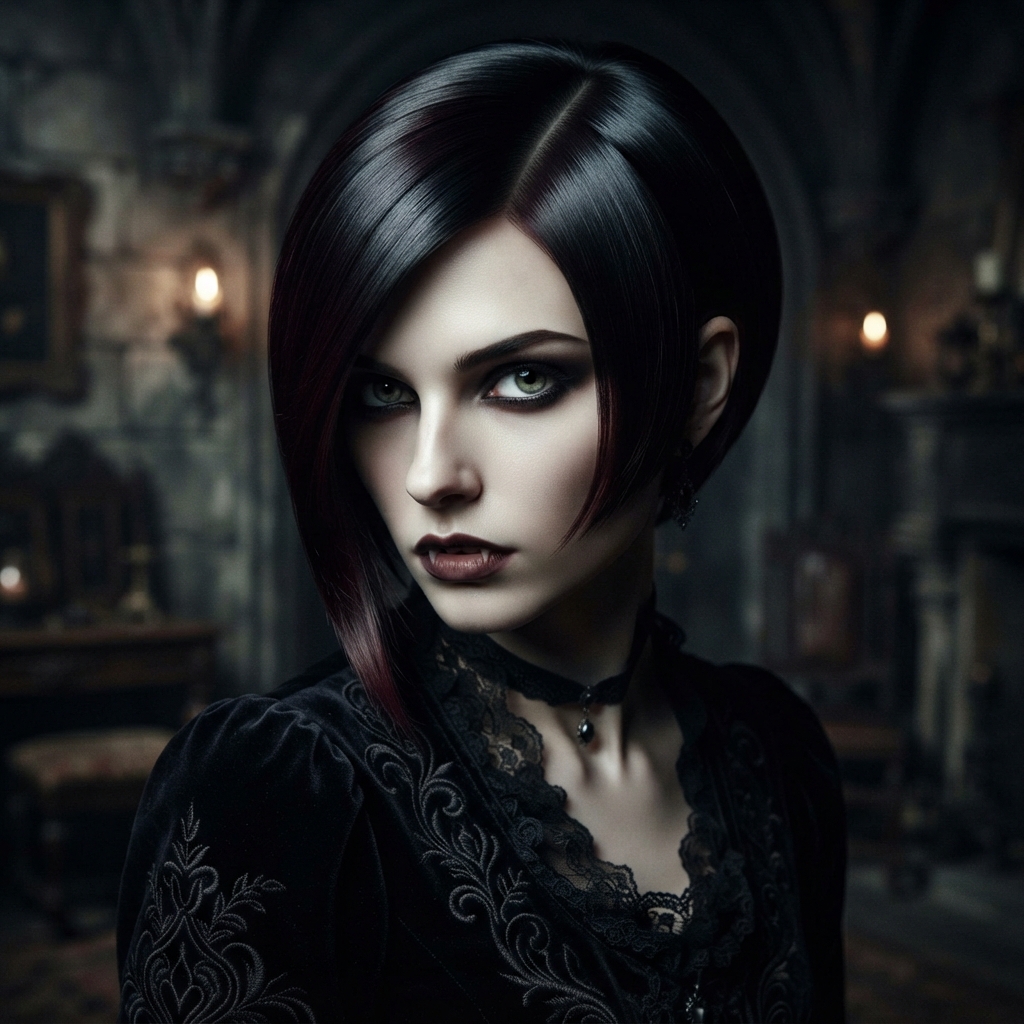
The vampire haircut is sleek, dark, and a little bit dangerous. Think blunt ends, deep color, and a lot of shine.
With a cut this dramatic, skipping the blend is actually fine. But if you want dimension without losing the drama, a deep melt is the safest bet.
- Melt deep black into a cool espresso
- Keep the gradient within one shade
- Use a gloss for a glass-like finish
Subtle blending, maximum mood.
Hime Cut and Blunt Lines: Blending Without Losing the Edge
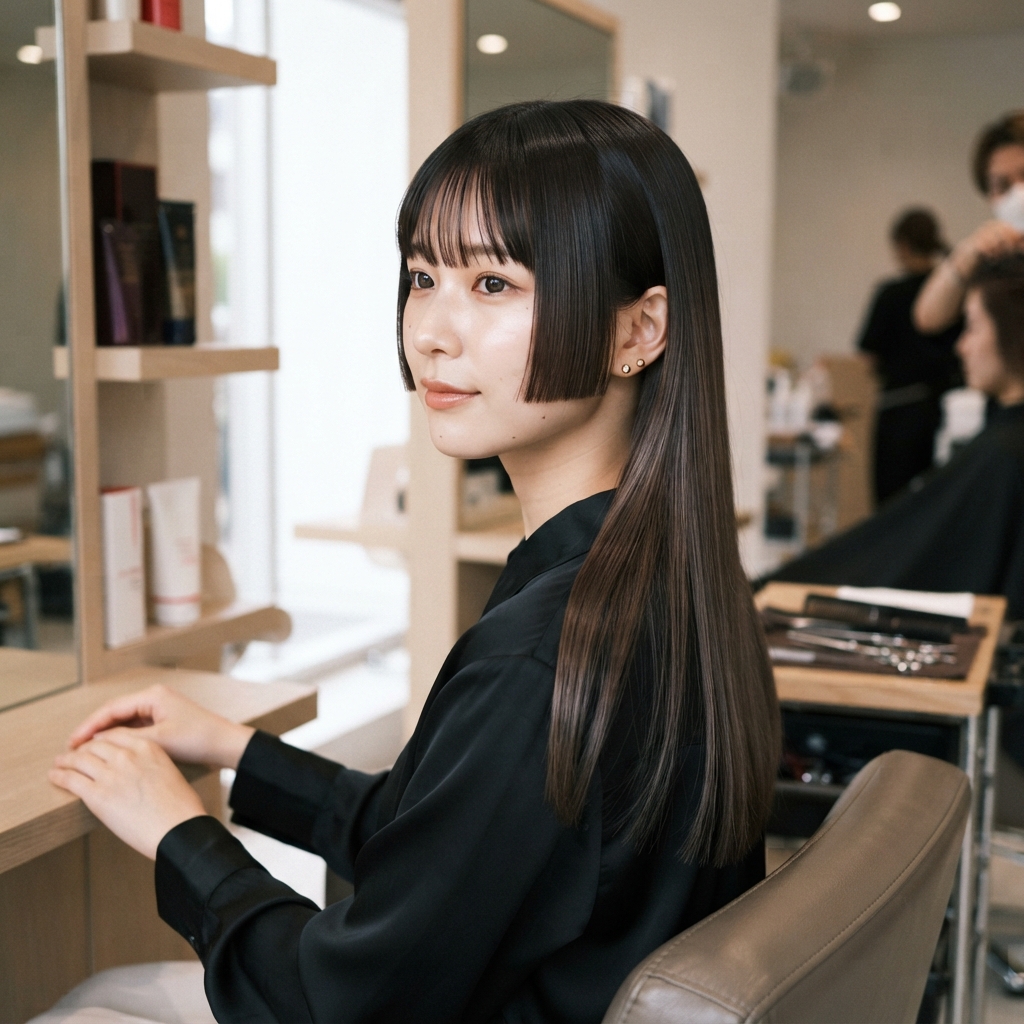
The hime cut is defined by its blunt side pieces and straight back. It’s precise, graphic, and very intentional.
You do not want blotchy color here. A melted gradient keeps the lines crisp while the color stays smooth, so the cut reads clean instead of heavy.
- Keep the root deep and the ends soft
- Blend gradually, no visible bands
- Avoid chunky highlights near the face
Precision cut, seamless color. Perfect pairing.
How to Ask Your Stylist for a True Liquid Gradient
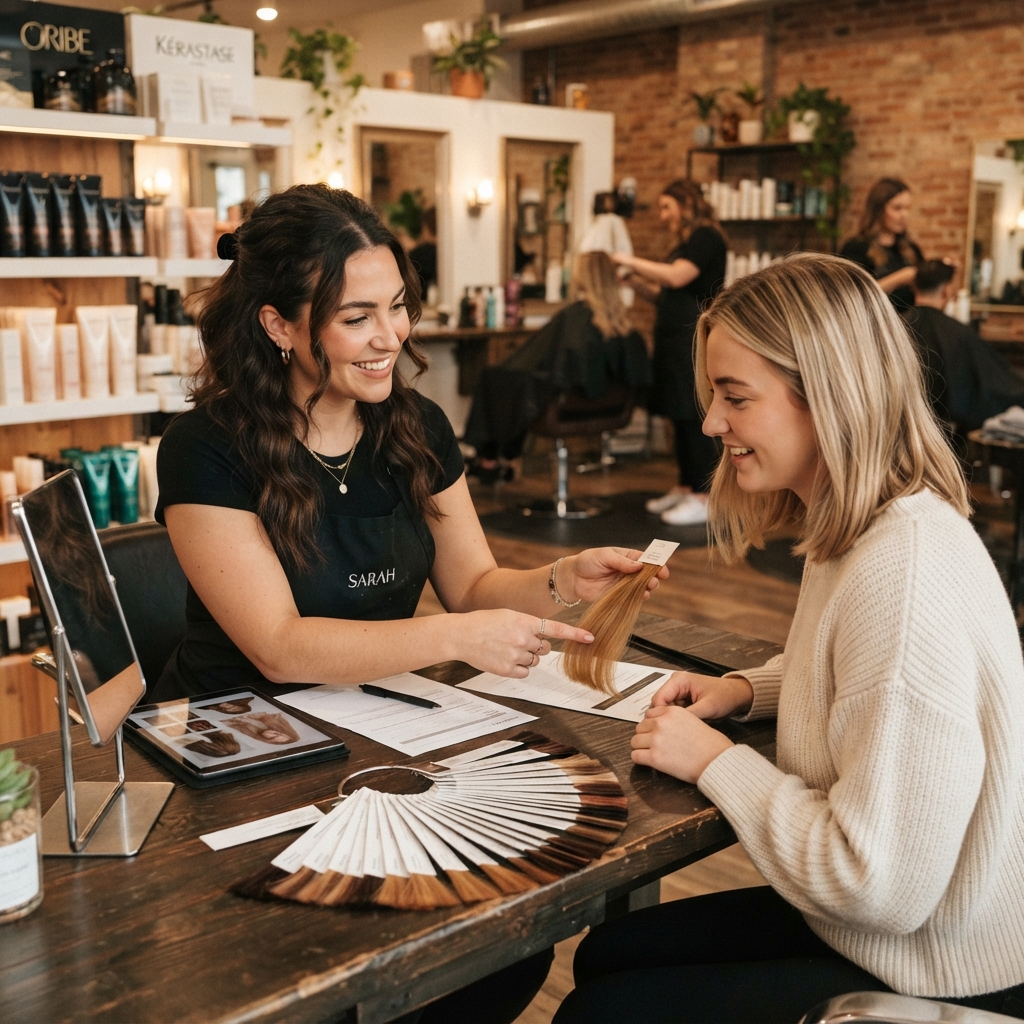
Words matter at a consultation. Say “seamless liquid gradient” and then describe exactly what you mean.
- Show three inspiration photos, not one
- Point at where you want the blend to start
- Ask if they plan to melt or paint
- Confirm the toner step
- Ask how it will grow out
A good stylist will explain their plan before they mix anything. If they can’t, keep looking.
Maintenance: What To Expect After
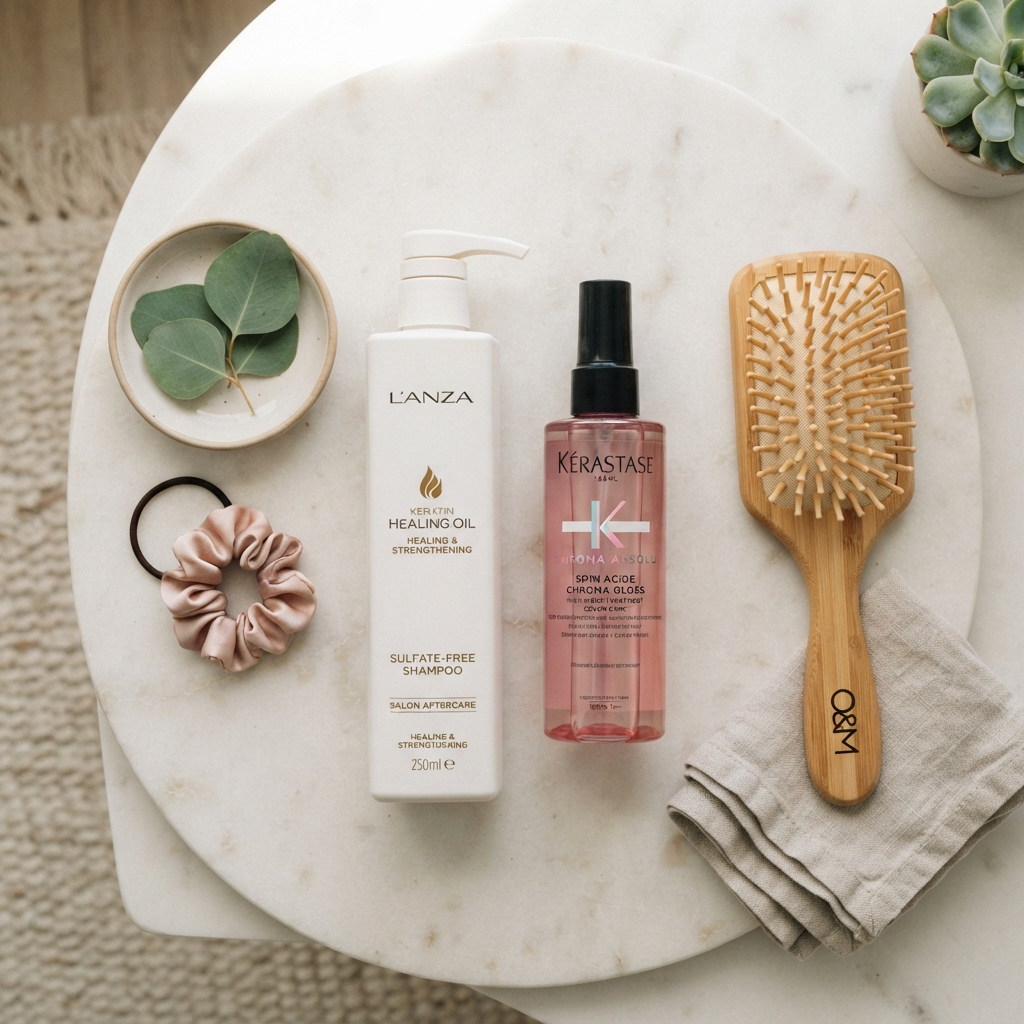
Neither technique is one-and-done. Here’s the honest timeline.
- Color melting: Gloss every 6 to 8 weeks, full refresh every 3 to 4 months
- Balayage: Touch-up every 3 to 4 months, gloss every 8 weeks
- Both combined: Touch-up every 3 to 4 months with a gloss in between
Balayage technically grows out easier, but a melted root still needs a refresh to stay seamless. Budget for it now so it doesn’t surprise you later.
Cost and Time: Real Talk
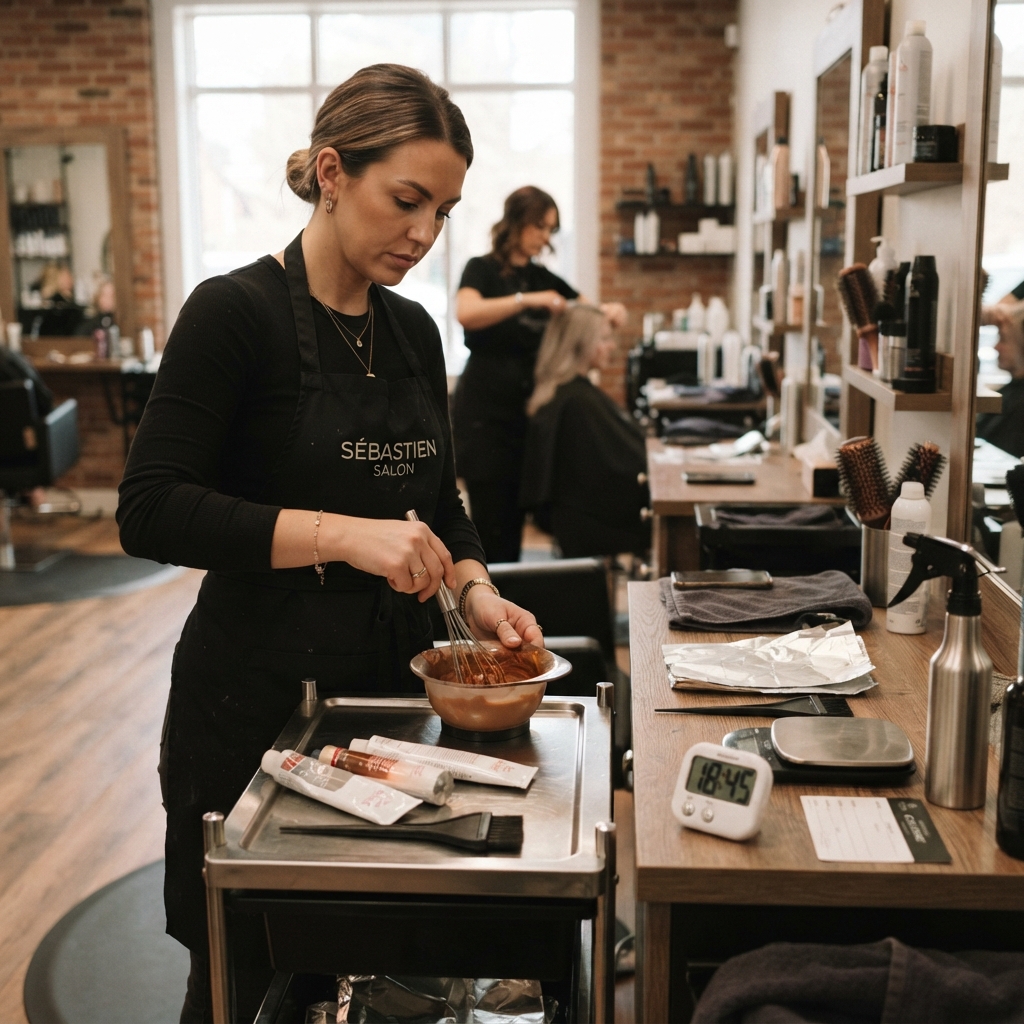
Prices vary a lot by city and stylist skill. But here’s the general range.
- Color melting: usually two to three hours
- Balayage: usually three to four hours
- Combined services: four hours or more
Expect balayage to cost a bit more because it’s slower and more technical. A master colorist will charge more, and honestly, it’s worth it. A bad blend is expensive to fix.
If your budget is tight, ask about a partial placement or a gloss-only refresh.
At-Home Care That Protects Your Gradient
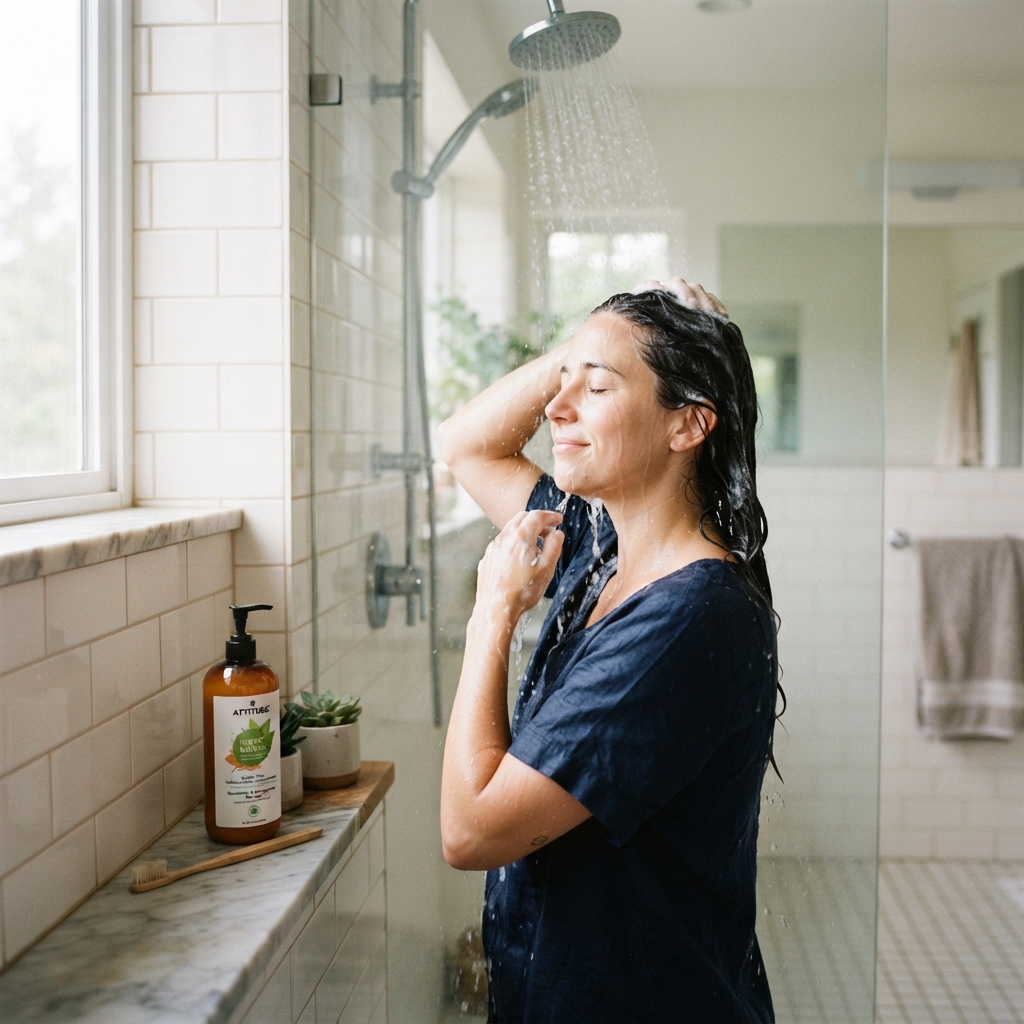
You spent hours in that chair. Protect it.
- Wash with sulfate-free shampoo
- Rinse with cool water
- Use a weekly bond-building mask
- Add a heat protectant before styling
- Skip the hot tools when you can
Purple or blue toning products help keep brass away, but don’t overdo it. Once a week is plenty.
Also, get a trim every ten to twelve weeks so the ends stay sharp and the gradient stays clean.
Five Mistakes That Ruin a Seamless Blend
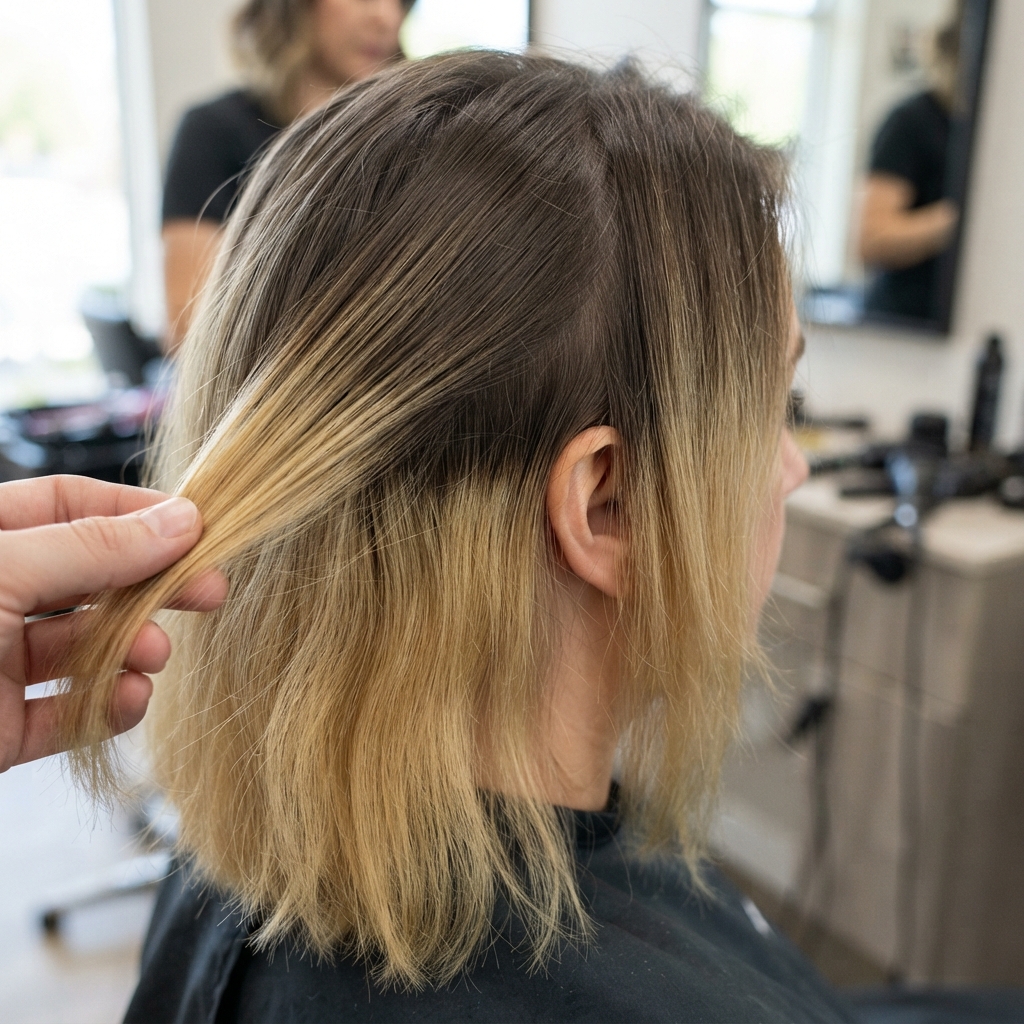
I’ve seen all of these happen. Learn from other people’s pain.
- Going more than three shades lighter in one session
- Skipping the toner
- Rushing the melt at the root
- Choosing a stylist who doesn’t specialize in color
- Waiting too long between glosses
Every one of these creates banding, brass, or a visible line. Fix the melt and you fix the look.
Can You Combine Color Melting and Balayage?
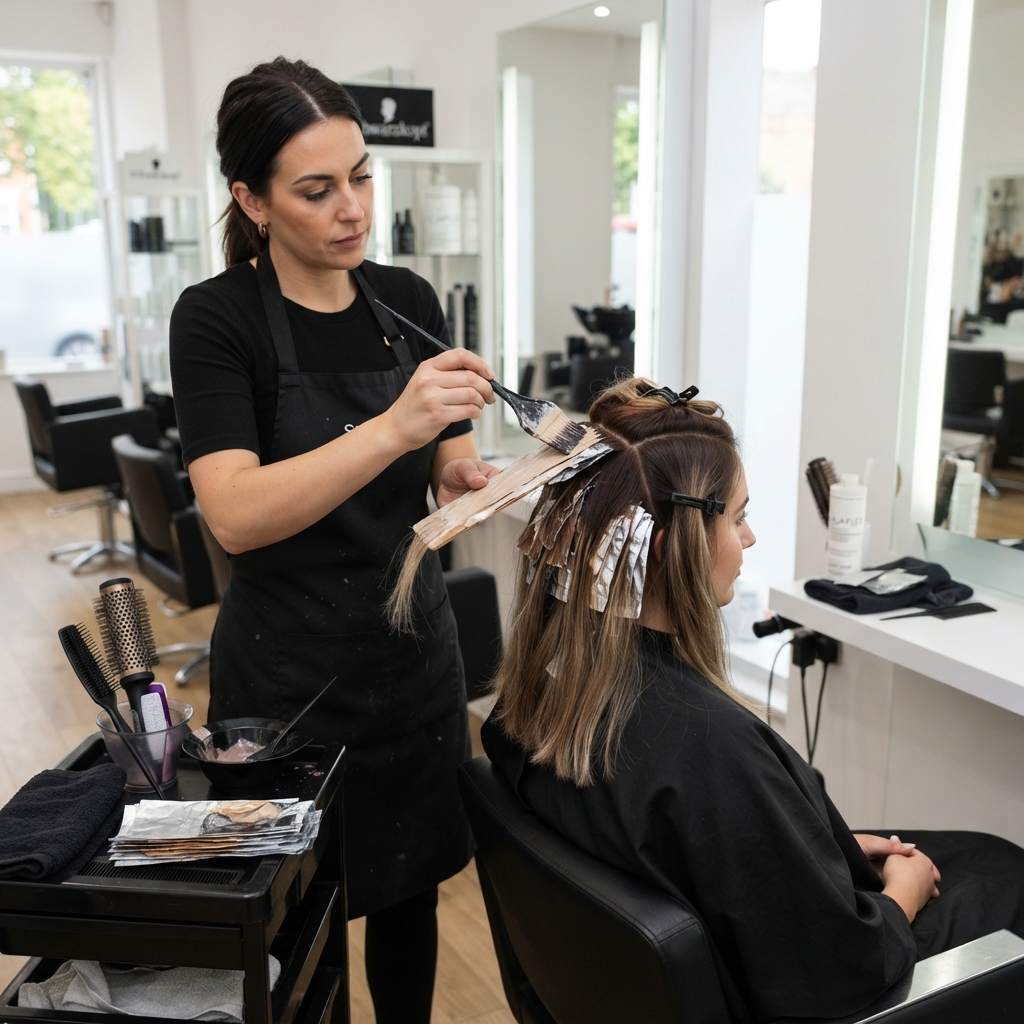
Yes, and honestly, this is what most great colorists do anyway.
They balayage for placement, then melt the root and the transition point. Sometimes they melt between foils too. The result is dimension plus seamlessness, which is exactly what you want.
- Ask for “balayage with a melt”
- Mention you want a soft root shadow
- Confirm a toner is included
You get the best of both techniques in one appointment. It’s the standard for a reason.
Who Should Skip Color Melting
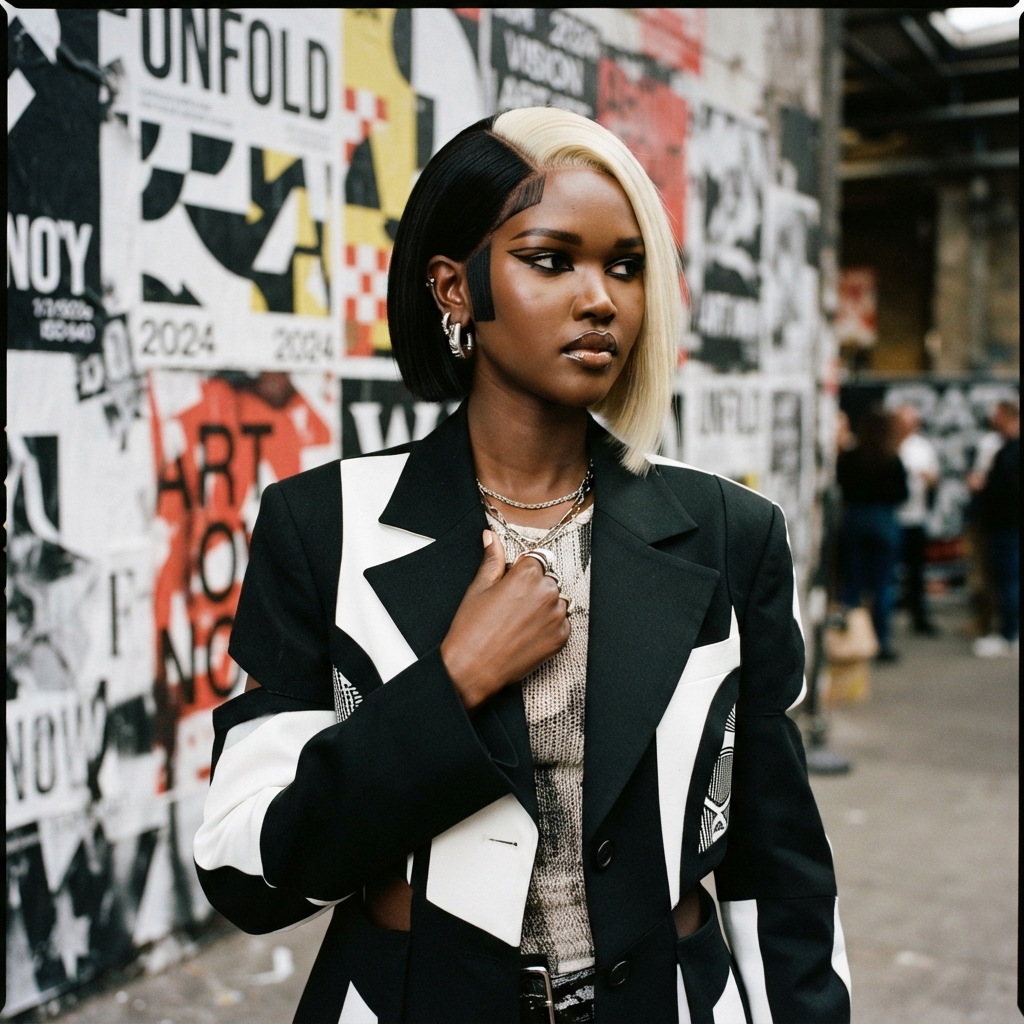
Melting isn’t for everyone. If you want high contrast, dramatic streaks, or a visible two-tone look, melting will soften exactly what you’re trying to achieve.
Also skip it if you change your mind often. Melting is subtle by nature, and it’s meant to last.
- You love bold, visible contrast
- You want a graphic, editorial look
- You change color every few weeks
In those cases, balayage or color-blocked placement will make you much happier.
Who Should Skip Balayage
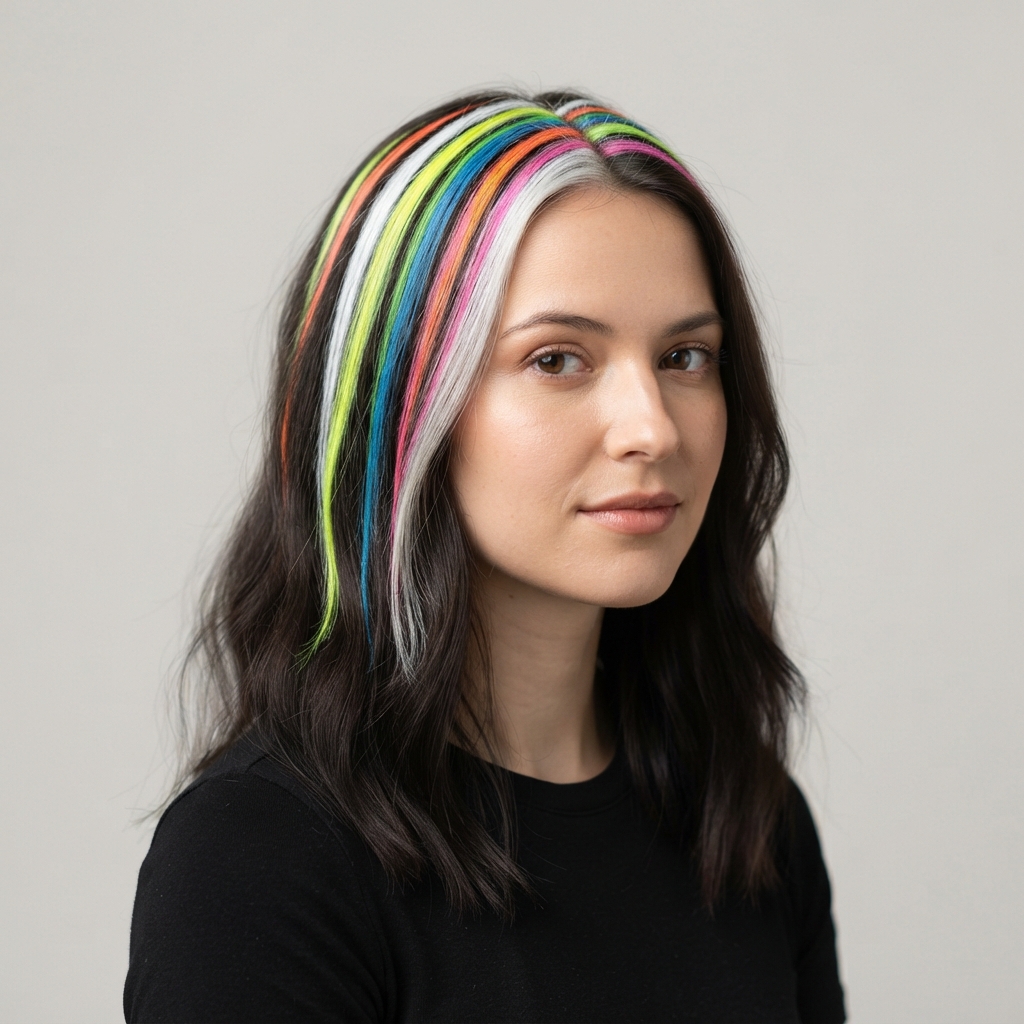
Balayage can be wrong for you too. If your hair is very dark and very fine, freehand painting alone can look striped or muddy.
If you want a smooth, uniform gradient with no visible ribbons, melting is the better route.
- You want a single, continuous gradient
- Your hair is fine or very dark
- You hate the look of visible painted strands
Balayage is beautiful, but it isn’t the answer to every hair goal.
Your Quick Cheat Sheet
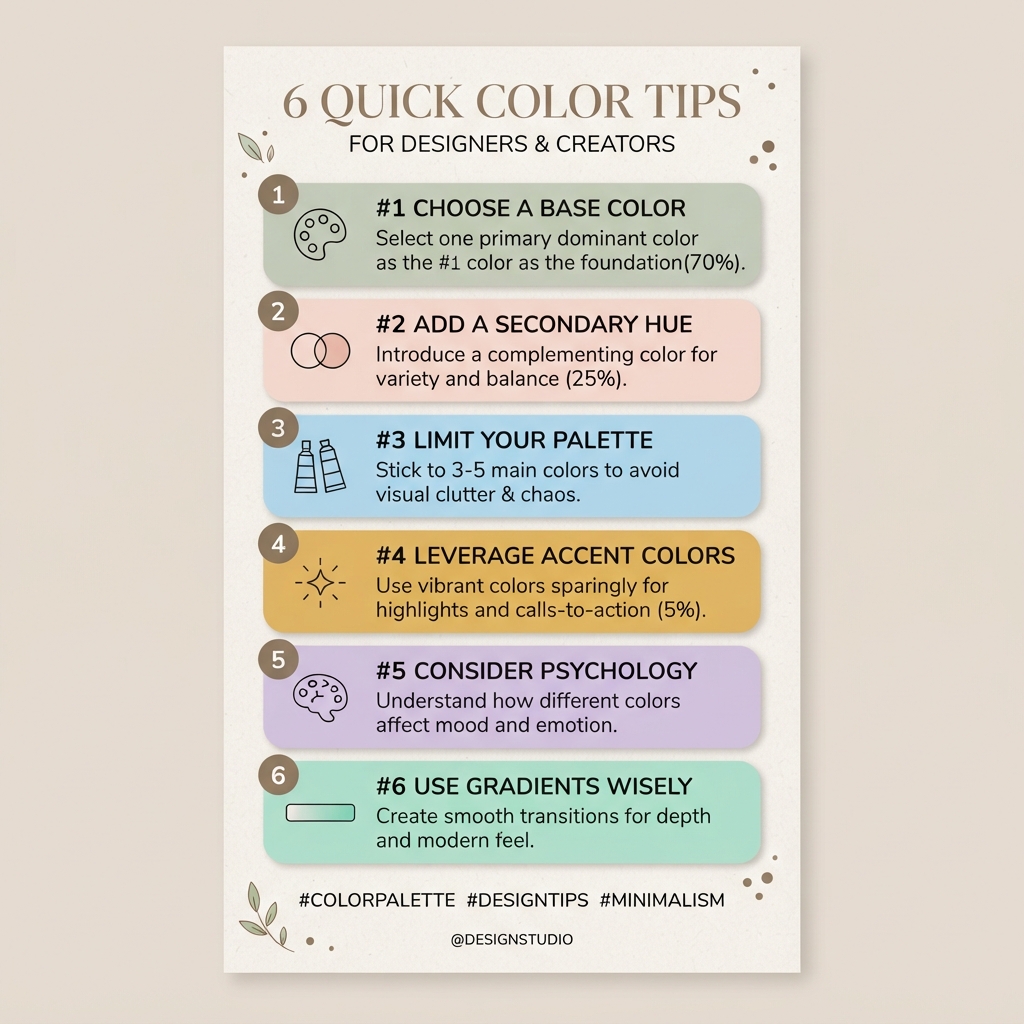
Here’s the whole post in six lines. Screenshot it.
- Want maximum seamlessness? Color melting
- Want dimension and easy grow-out? Balayage
- Want both? Ask for balayage with a melt
- Dark hair? Melting is essential
- Blonde hair? Melting keeps it expensive
- Bold contrast? Go balayage
Pair either technique with a quiet luxury bob, an asymmetrical lob, or a sleek vampire haircut and you’re set for 2026.
A Warm Little Wrap-Up
If you only remember one thing, make it this: color melting is the technique that creates seamlessness. Balayage is the technique that creates dimension. Together, they give you the liquid gradient you keep double-tapping on your feed.
Choose melting if smooth and blended matters most. Choose balayage if you want easy grow-out and movement. And if you want both, just say “balayage with a melt” and watch your stylist nod.
Either way, you’re going to look like you woke up like this. That’s the goal.
Save this post to Pinterest so you have it ready at your next appointment.
And tell me in the comments: are you team color melting or team balayage? I read every single one.

