
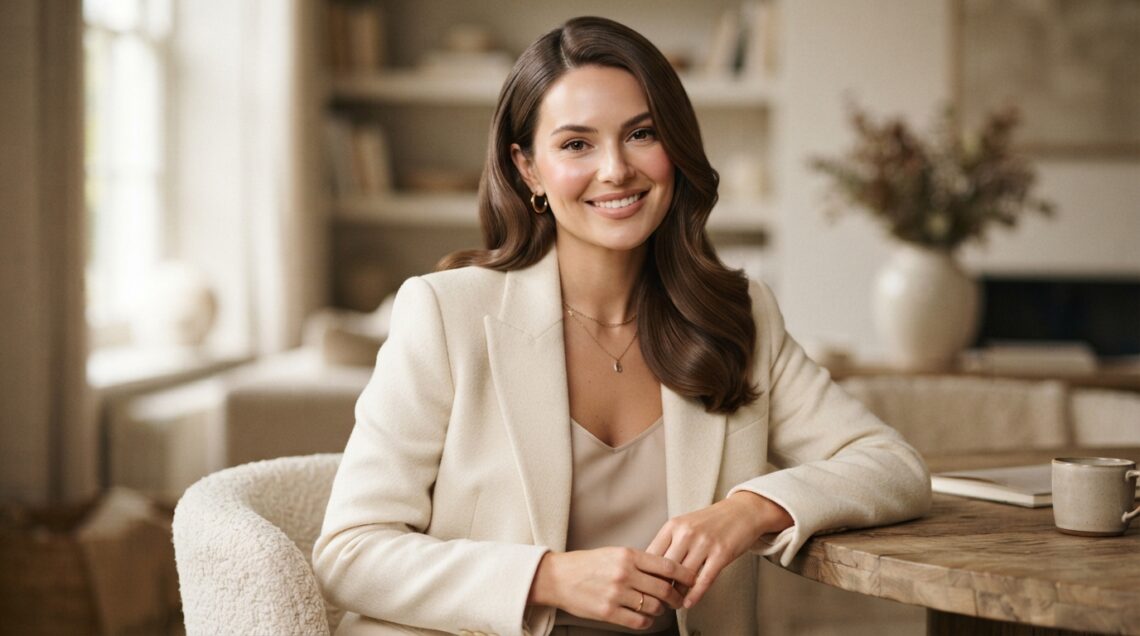
You know that hair. The kind that catches the light on a red carpet, moves like silk, and makes everyone ask who did it. Hollywood glamour waves are not as hard as they look.
I used to think you needed a stylist, a team, and three hours. Turns out you need the right prep, one good curling iron, and a little patience.
In this post, I’m walking you through every single step, plus how to make these waves fit right in with 2026 hairstyles like old money hair, the quiet luxury bob, and even glitchy glam hair.
Whether you have an asymmetrical lob, a hime cut, or waist-length hair, there’s a version here for you. Grab your clips and let’s do this.
What Are Hollywood Glamour Waves, Really?
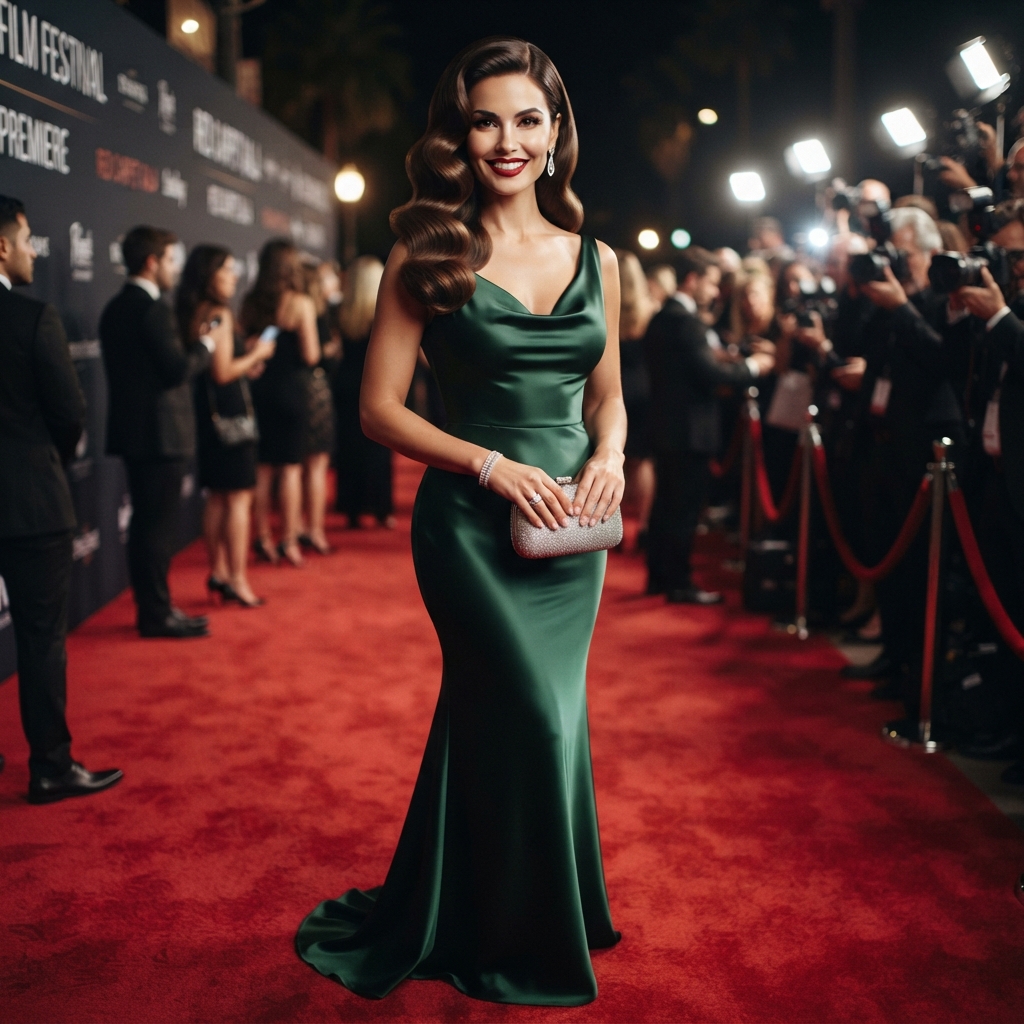
Hollywood glamour waves are big, smooth, glossy curls that flow in one direction. Think old-school movie stars, not beachy texture.
The pattern is soft and uniform, and the finish is shiny. The key difference from regular curls? You brush them out. You want waves, not spirals.
- Deep side part or middle part
- Smooth crown, zero frizz
- One clear direction of movement
- High shine finish
That’s the whole look. Simple in theory, a little fussy in practice, but very doable at home.
What You Need Before You Start
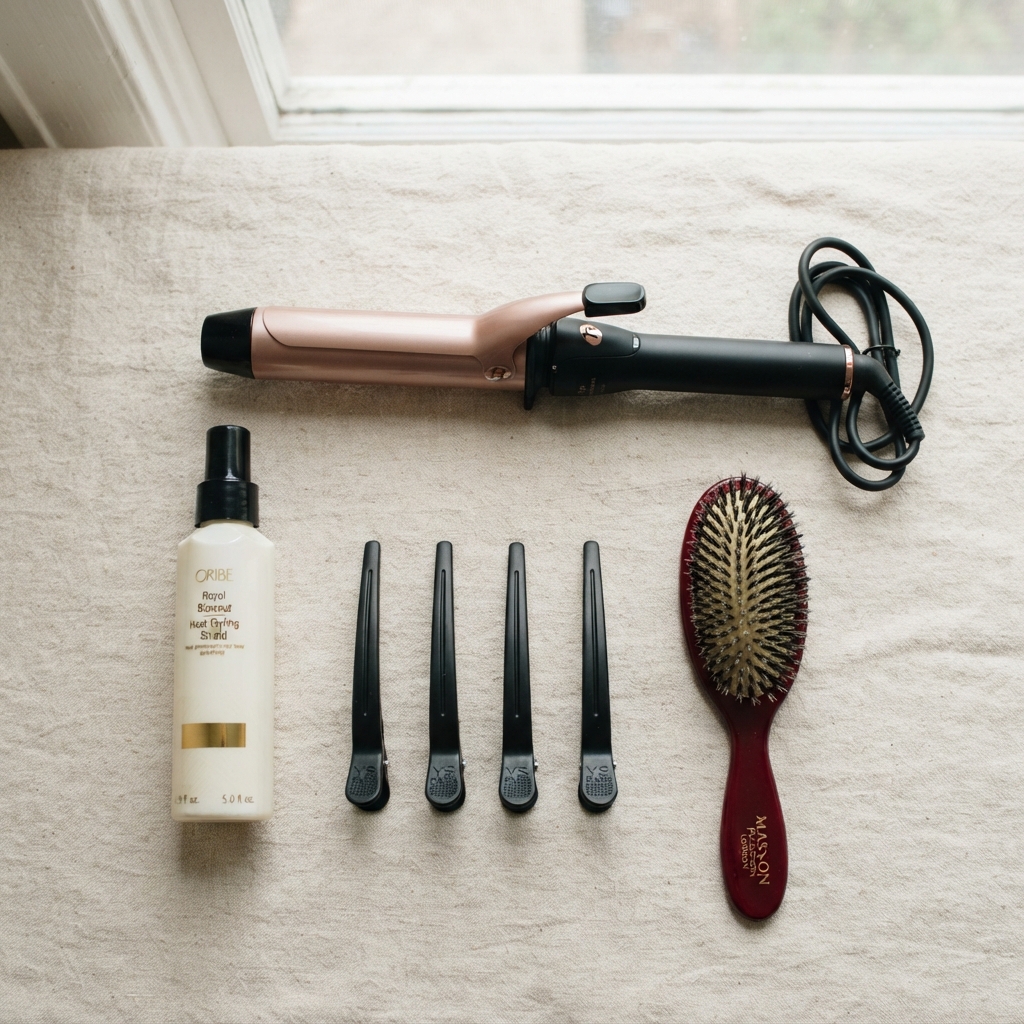
- Curling iron, 1 to 1.25 inch
- Heat protectant spray
- Sectioning clips
- Fine-tooth comb and a boar bristle brush
- Setting clips or pin curl clips
- Flexible hold hairspray
- Shine serum or lightweight oil
You don’t need a $400 tool. A good mid-range iron with adjustable heat works beautifully. Just make sure it has a clamp, not a wand. Wands give you beachy spirals, and that is not the vibe here.
Fine hair, add a volumizing mousse. Thick or coarse hair, add a smoothing cream.
Prep Your Hair the Right Way
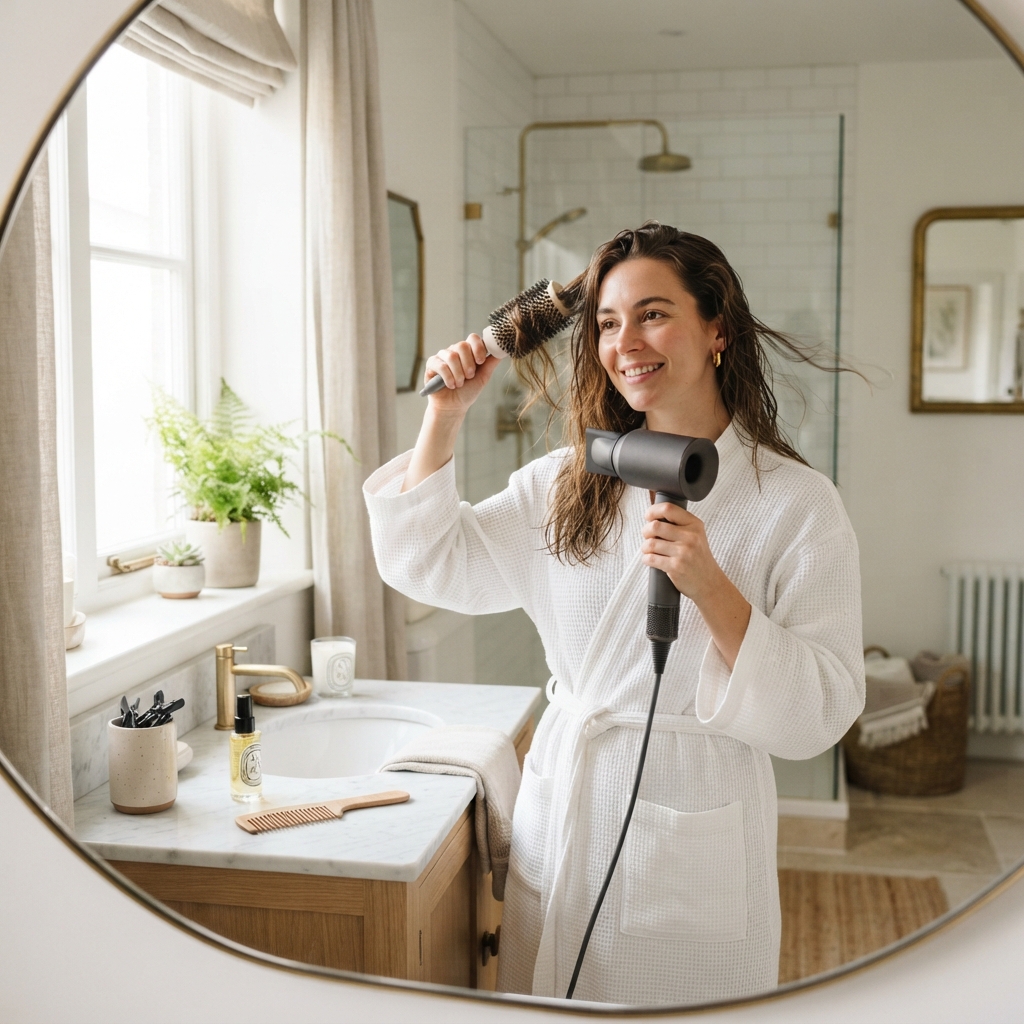
Waves start before the iron ever touches your hair. Wash and condition like normal, then towel dry gently.
Here’s the order that works:
- Spray heat protectant on damp hair
- Add mousse or cream, roots to ends
- Rough dry until completely dry
- Wait five minutes so hair is cool
Bone-dry hair is non-negotiable. Damp hair won’t hold the shape, and you’ll end up with frizz instead of shine. Short on time? Hit the roots with the dryer first, since that’s where volume matters most.
How to Create Hollywood Glamour Waves Step by Step
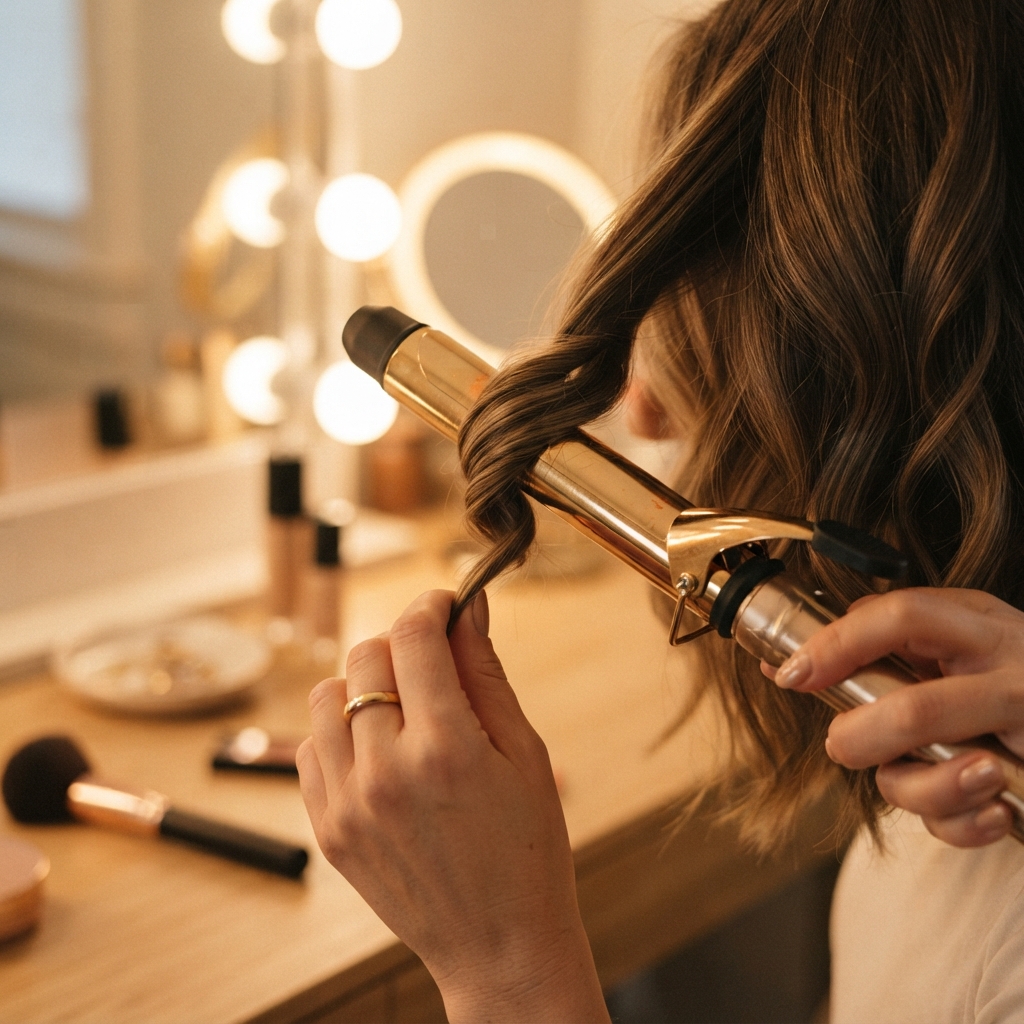
- Part your hair where you want it
- Section into four to six chunks
- Curl each piece away from your face
- Hold eight to ten seconds, then release
- Pin the curl up while it cools
- Repeat all the way around your head
- Let everything cool completely
- Brush out and set with spray
That’s the whole process. The magic lives in the cooling step. Hot curls that get brushed too early fall flat within an hour, every single time.
The Secret Is in the Sectioning
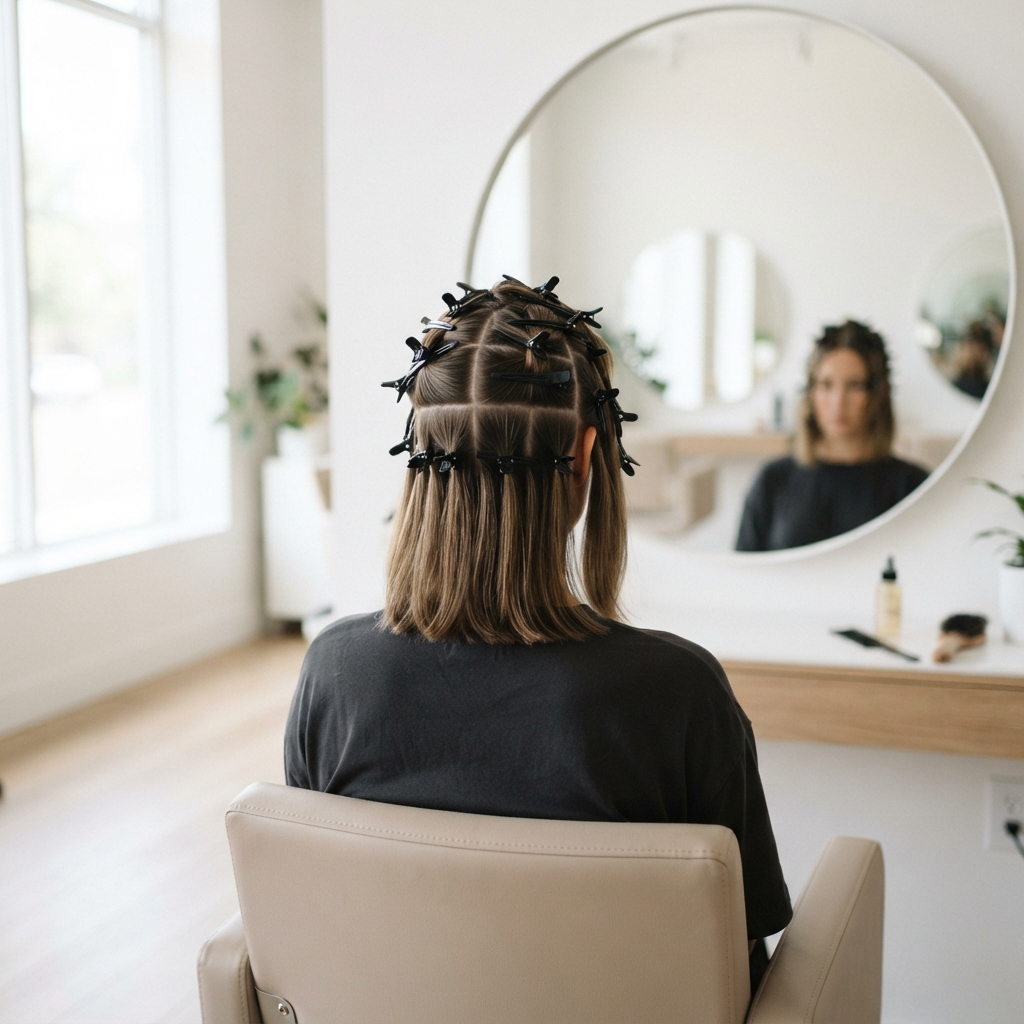
Messy sections give messy waves. Clip everything up and work one piece at a time.
For most hair lengths, four to six sections is plenty. If your hair is very thick, go up to eight.
- Two front sections on each side of your part
- Two back sections
- Keep each piece about one to two inches wide
Smaller pieces give tighter waves. Bigger pieces give softer ones. For that relaxed old money hair look, go wider. For a bouncier red carpet finish, go narrower.
Curling Technique That Actually Works
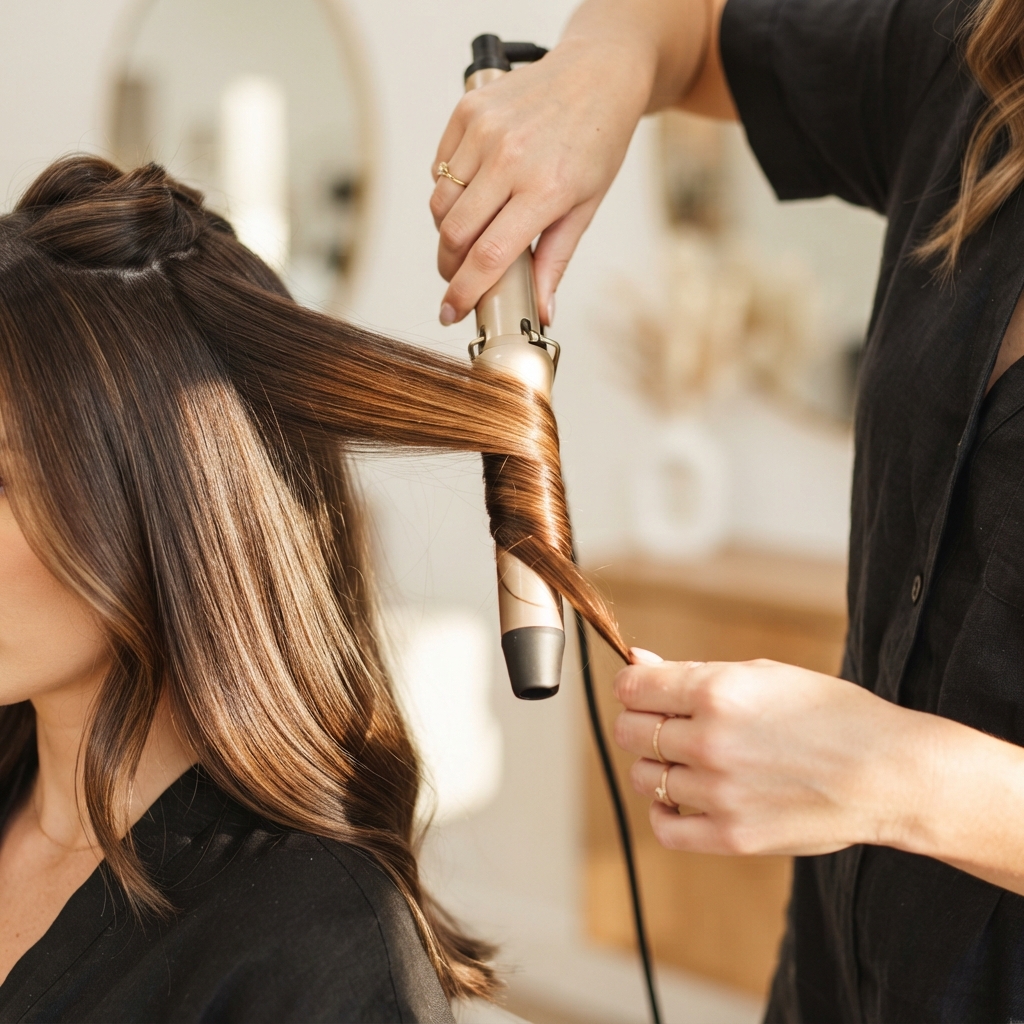
Hold the iron vertical with the clamp facing down. Wrap hair around it starting near the mid-lengths, not the root.
Always curl away from your face. This is the one rule that makes waves look glam instead of accidental.
- Leave the last inch out of the iron for a softer end
- Don’t clamp the same piece twice
- Keep the iron moving, never parked
Burnt, dented curls are the number one giveaway that you did it at home. Slow and steady wins here.
Which Curler Size Gives That Red Carpet Look
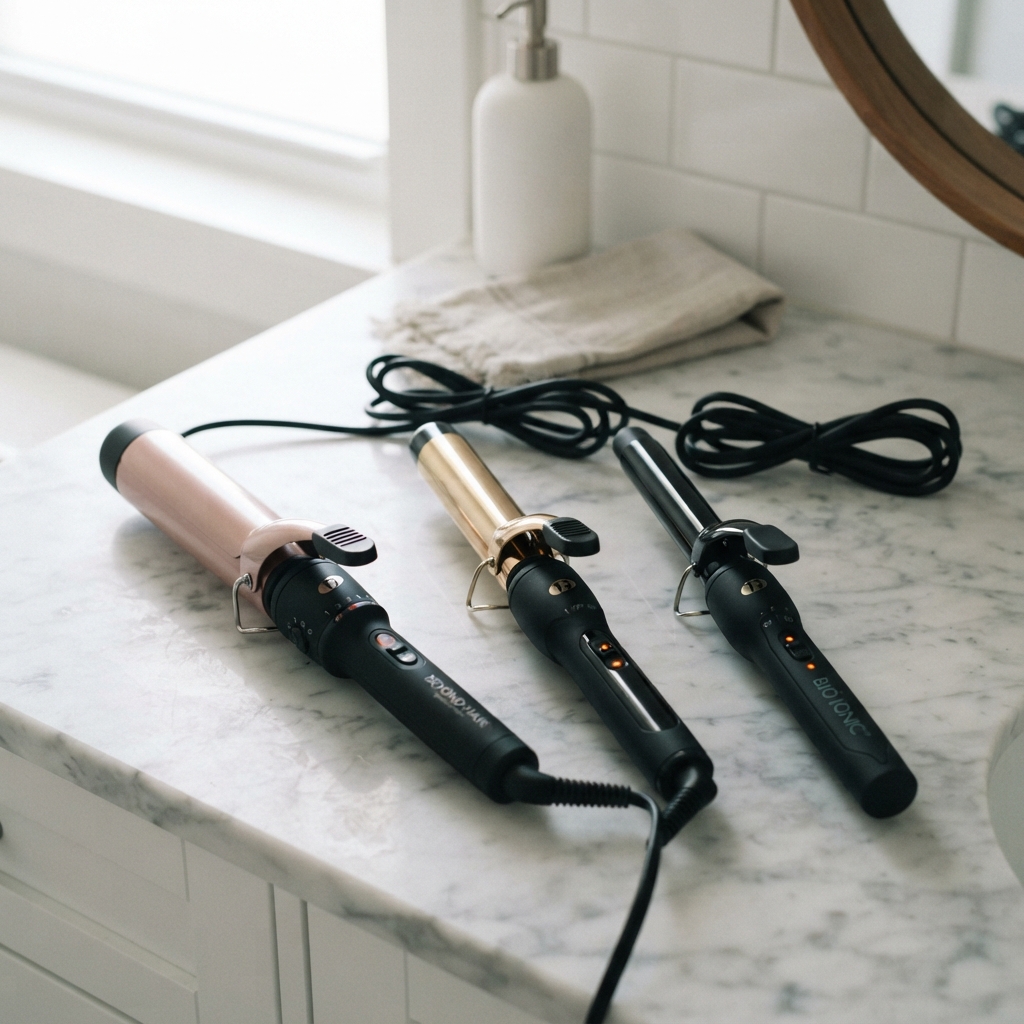
Size changes everything about the final result.
- 1 inch: tight, defined, very retro
- 1.25 inch: classic Hollywood glamour waves
- 1.5 inch: soft, loose, everyday glam
- 2 inch: barely-there bends
For the look you see on red carpets, grab a 1.25 inch iron. It’s the sweet spot that gives you body without ringlets.
Short hair does better with 1 inch. Long, heavy hair can handle 1.5 inch and still hold the shape all night.
The Pin-and-Cool Trick
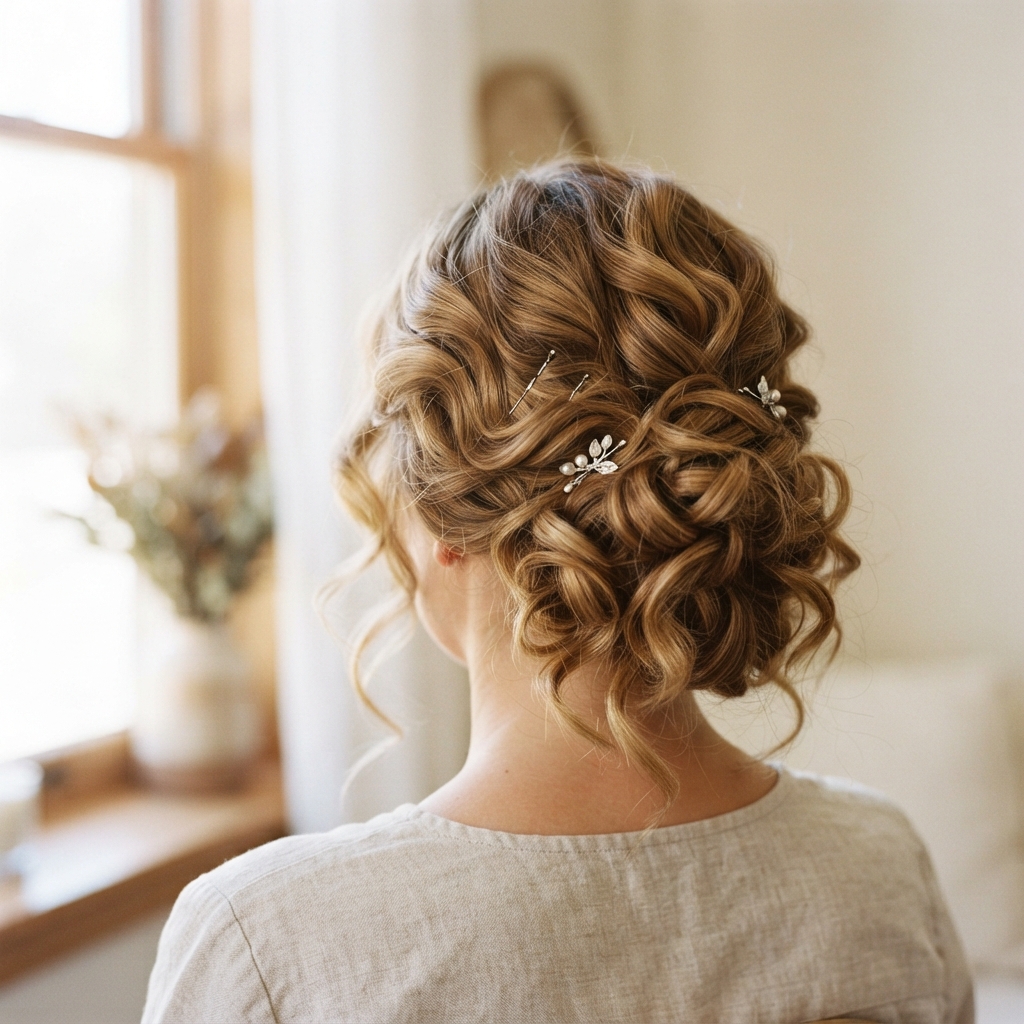
This is the step everyone skips, and it’s the one that makes waves last.
After you release each curl, roll it up and pin it flat against your head. A small alligator clip or a pin curl clip works perfectly.
- Pin it the way the wave should fall
- Leave it for at least ten minutes
- Cooler hair equals longer hold
Do this all the way around, then go do your makeup. By the time you’re done, your hair will be set.
How to Brush Out the Curls Without Losing the Bounce
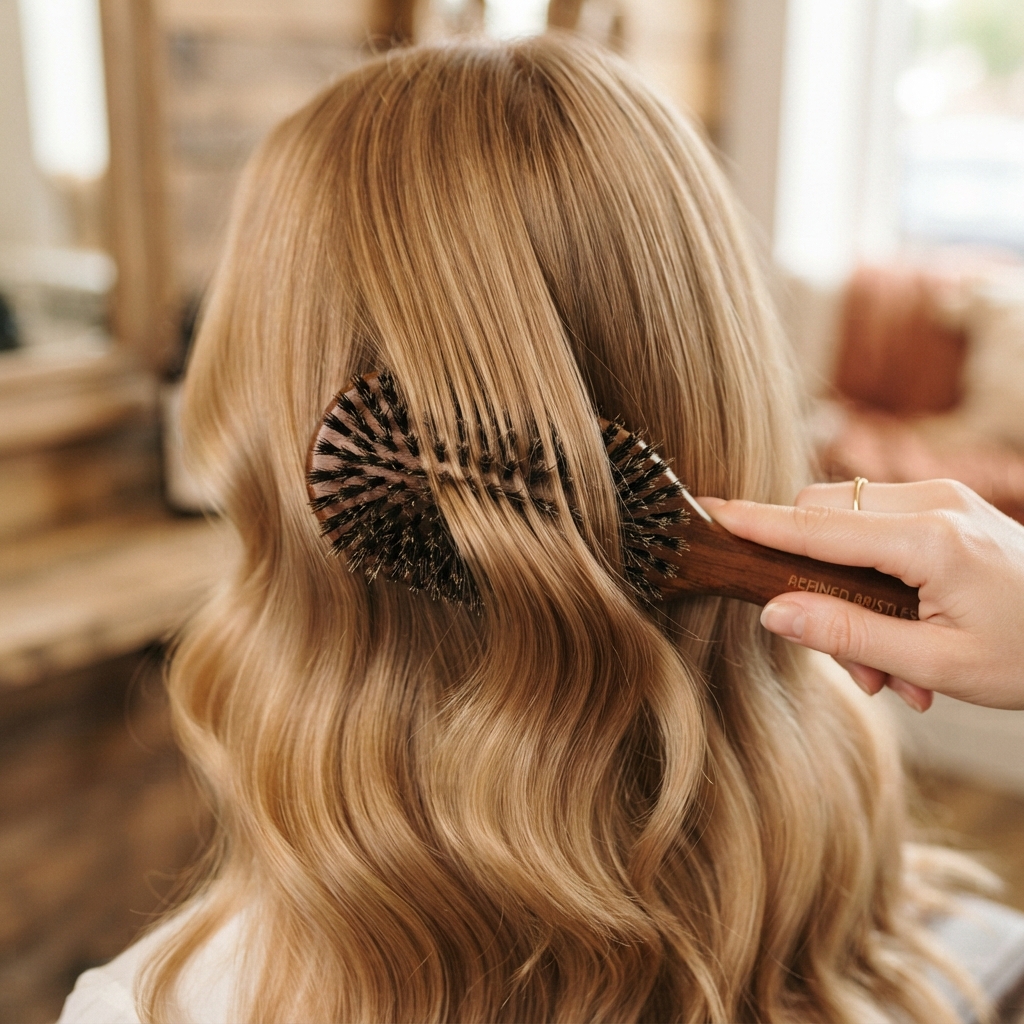
Now for the fun part. Take out all the clips and let the curls fall.
Use a boar bristle brush or a wide-tooth comb. Start at the ends and work upward, gently.
- Brush in the direction you want the waves to flow
- Don’t brush straight down from the root
- Use your fingers to shape the front pieces
If it looks a little too fluffy, that’s normal. Add a drop of shine serum and smooth it back down with your palms. That instantly brings the wave pattern back into focus.
Setting the Waves So They Last All Night
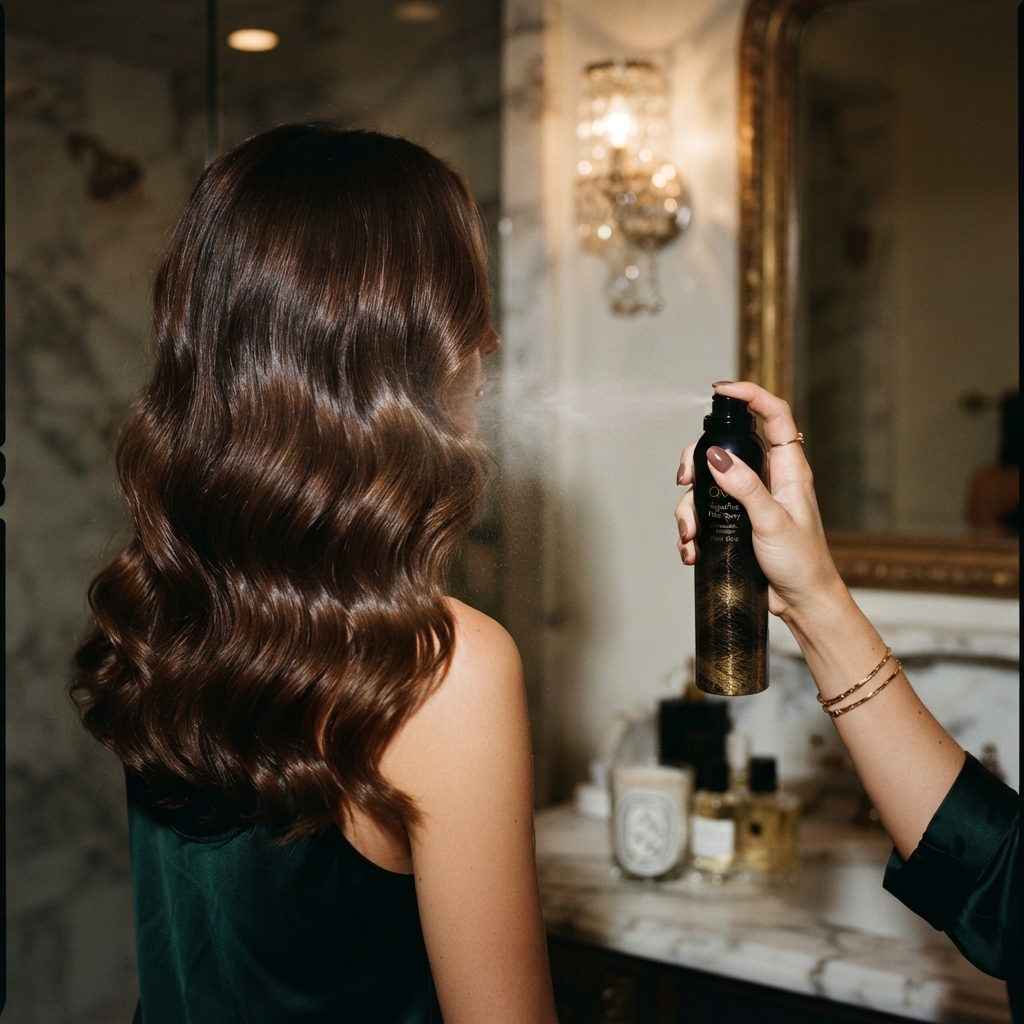
Set with a flexible hold spray, not a rock-hard one. You want movement, not helmet hair.
Spray from about ten inches away, then press the waves into place with your hands while it dries.
- Light mist all over
- Extra spray on the crown for volume
- Skip the roots if your hair gets greasy fast
Finish with a tiny bit of oil on the ends only. That’s the shine that reads expensive in photos. Two light passes beat one heavy coat every time.
How to Make Them Last Day Two

Sleep on a silk pillowcase or wrap your hair in a loose pineapple with a soft scrunchie.
The next morning, don’t brush. Refresh instead.
- Mist with water and a little leave-in conditioner
- Scrunch gently with your hands
- Re-curl just the front two pieces
Day two waves actually look better than day one, in my opinion. Softer, more lived-in, very quiet luxury. If you only have five minutes, focus on the front pieces and let the rest be.
Hollywood Waves for Short Hair
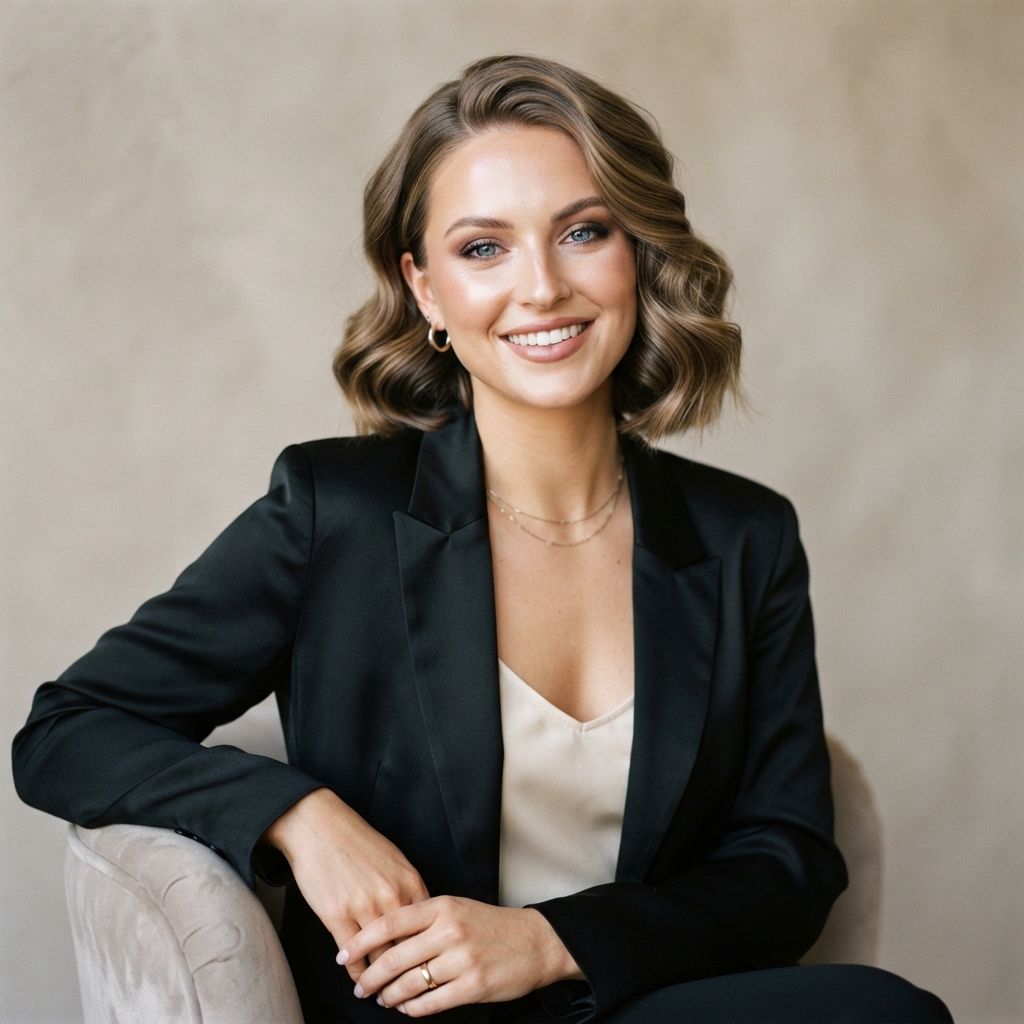
Short hair can absolutely do glamour waves. You just need a smaller iron and less product.
- Use a 1 inch barrel
- Section into four pieces max
- Curl away from the face, always
If you have a quiet luxury bob, keep the ends smooth and only add bend through the mid-lengths. That gives you polish without puffiness.
For a pixie or a very short cut, curl just the top layers and leave the rest alone. Less really is more here.
Hollywood Waves for the Asymmetrical Lob
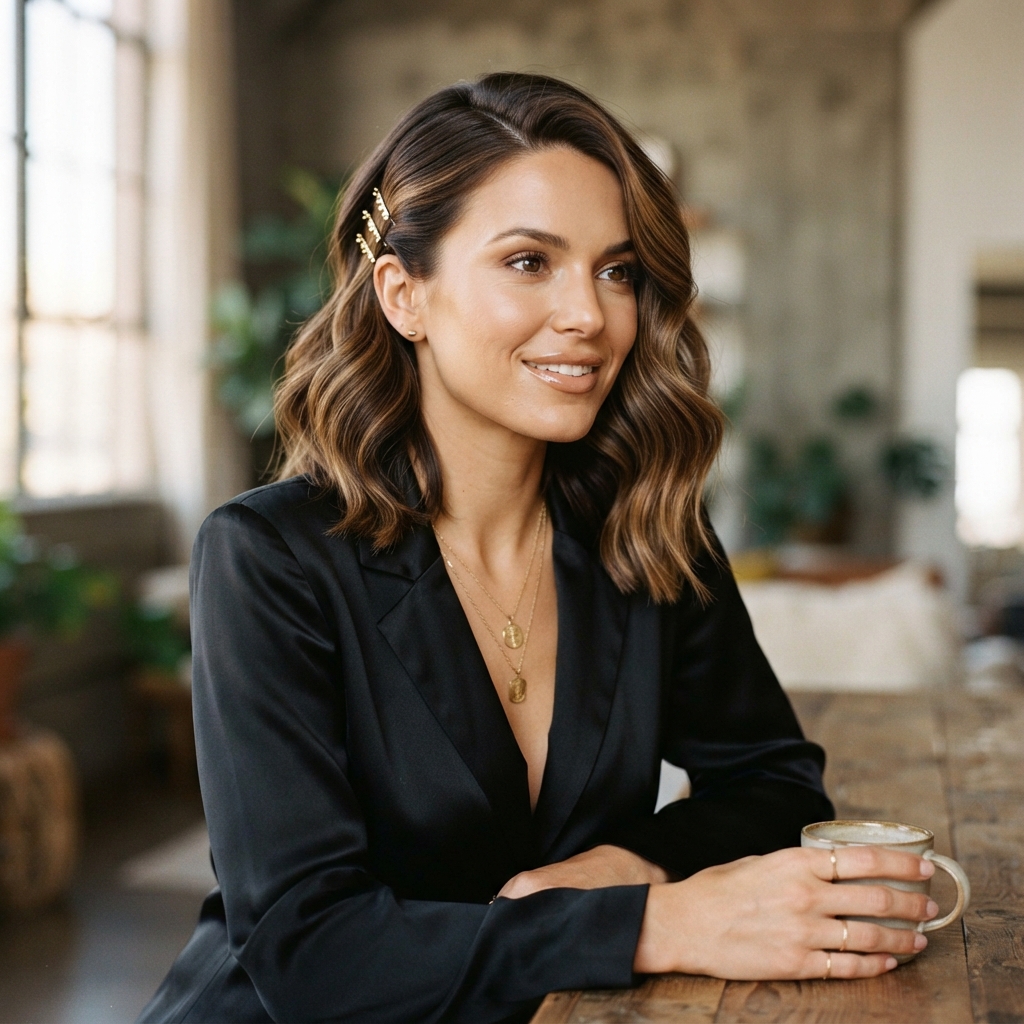
The asymmetrical lob is everywhere in 2026 hairstyles, and it looks stunning with glamour waves.
Curl the longer side away from your face for drama. On the shorter side, curl toward the back so it blends.
- Keep the long side wavier
- Keep the short side smoother
- Pin the front pieces back while they cool
This gives you that intentional, salon-fresh look without much effort. It’s one of my favorite pairings right now.
Hollywood Waves for Long Hair
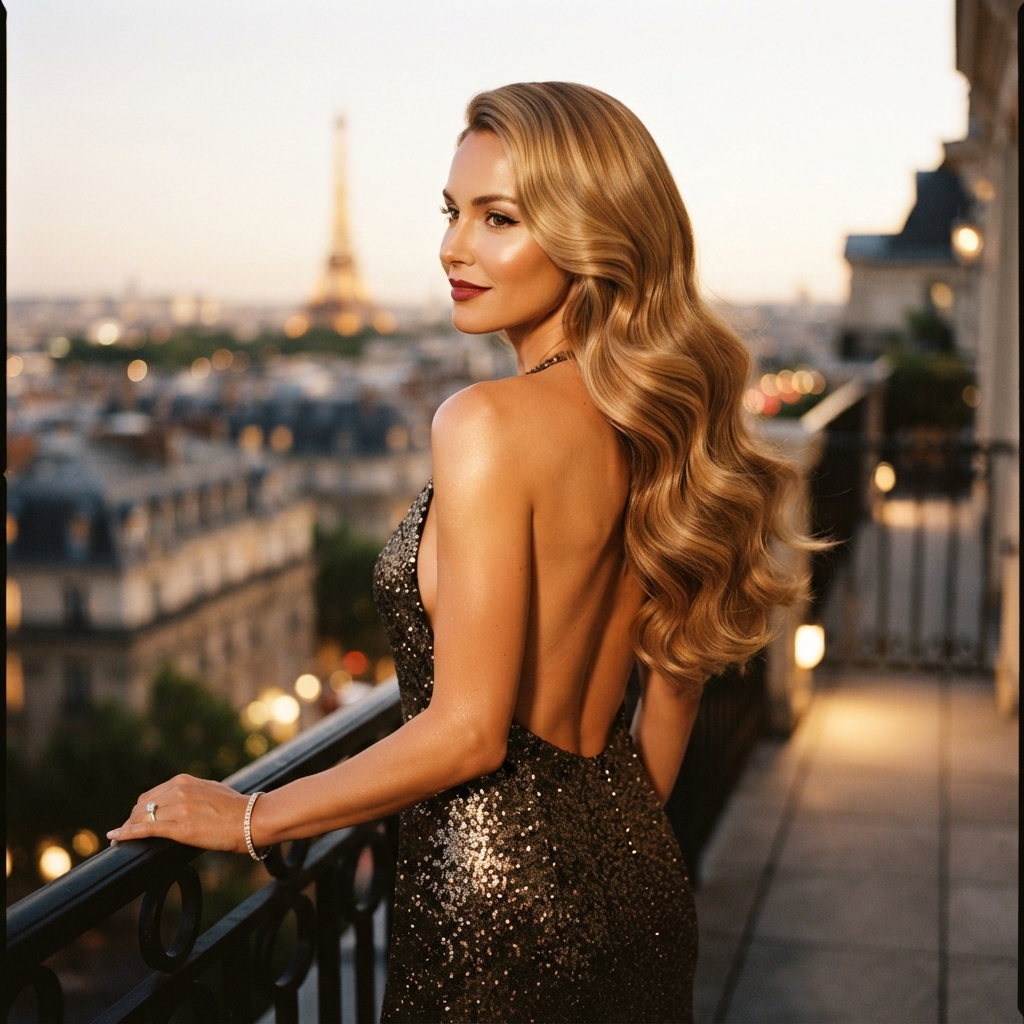
Long hair needs more time and a little more hold. Plan for about 45 minutes.
- Use a 1.25 inch iron
- Work in eight sections
- Pin each curl as you go
The weight of long hair pulls waves down, so use a stronger hold spray and let the curls cool fully pinned. Skip heavy oils at the root, or your crown will fall flat by dinner.
If your hair is very long, curl in two passes: mid-lengths first, then ends.
Hollywood Waves on Natural Hair
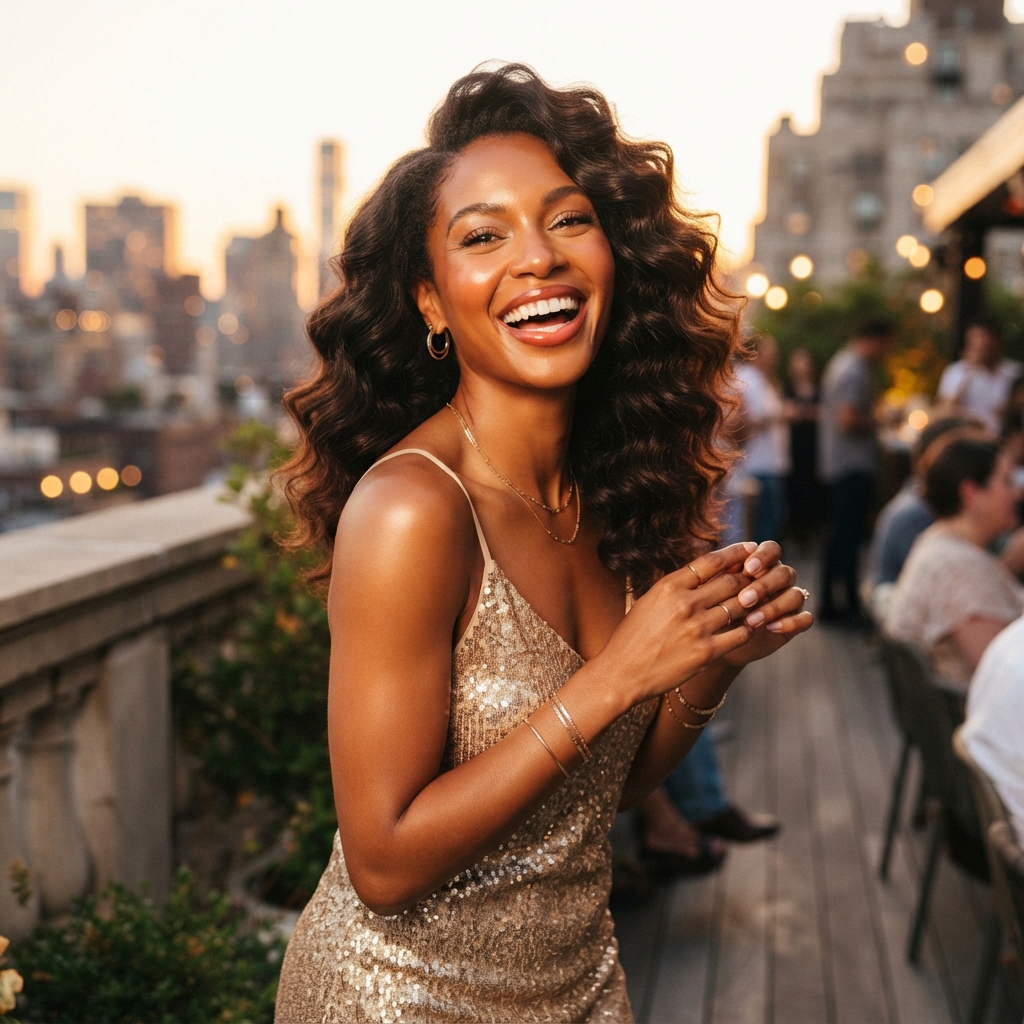
Natural hair holds waves beautifully. The trick is respecting your texture instead of fighting it.
- Start on blown-out or stretched hair
- Use a lower heat setting
- Add a heat protectant with silicone for slip
Curl, pin, cool, then gently separate with your fingers instead of a brush. That keeps your definition and your shine.
Finish with a light oil for a glossy, healthy result. This look pairs gorgeously with old money hair energy.
Hollywood Waves on Fine or Thin Hair
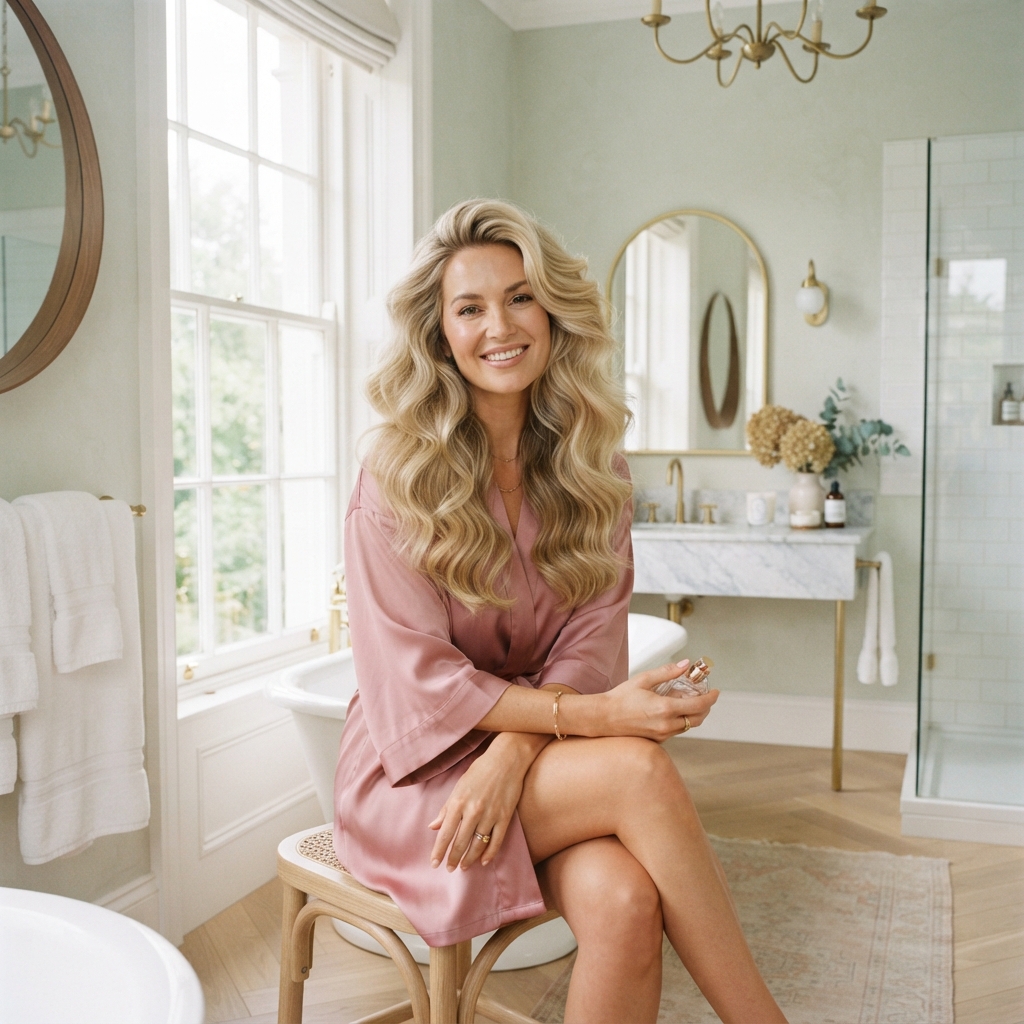
Fine hair is all about grip and volume.
- Use volumizing mousse on damp roots
- Set with velcro rollers at the crown
- Use a 1 inch iron for more body
- Keep every product lightweight
Skip heavy creams, they’ll weigh you down within an hour. Dry shampoo at the roots before you start adds surprising grit and lift.
Pin every curl to cool. Fine hair needs that extra setting time more than any other texture.
Hollywood Waves With a Hime Cut or Blunt Bangs

The hime cut, with its straight side pieces and blunt fringe, pairs beautifully with glamour waves in the back.
Keep the front completely straight. Curl only from the ear back.
- Flat iron the side pieces and bangs
- Add waves from mid-length back
- Use a light mist so the front stays sleek
The contrast between sharp front pieces and soft waves is so striking. It’s a modern take on a classic look, and it photographs incredibly well.
How to Blend Hollywood Waves With 2026 Hairstyles
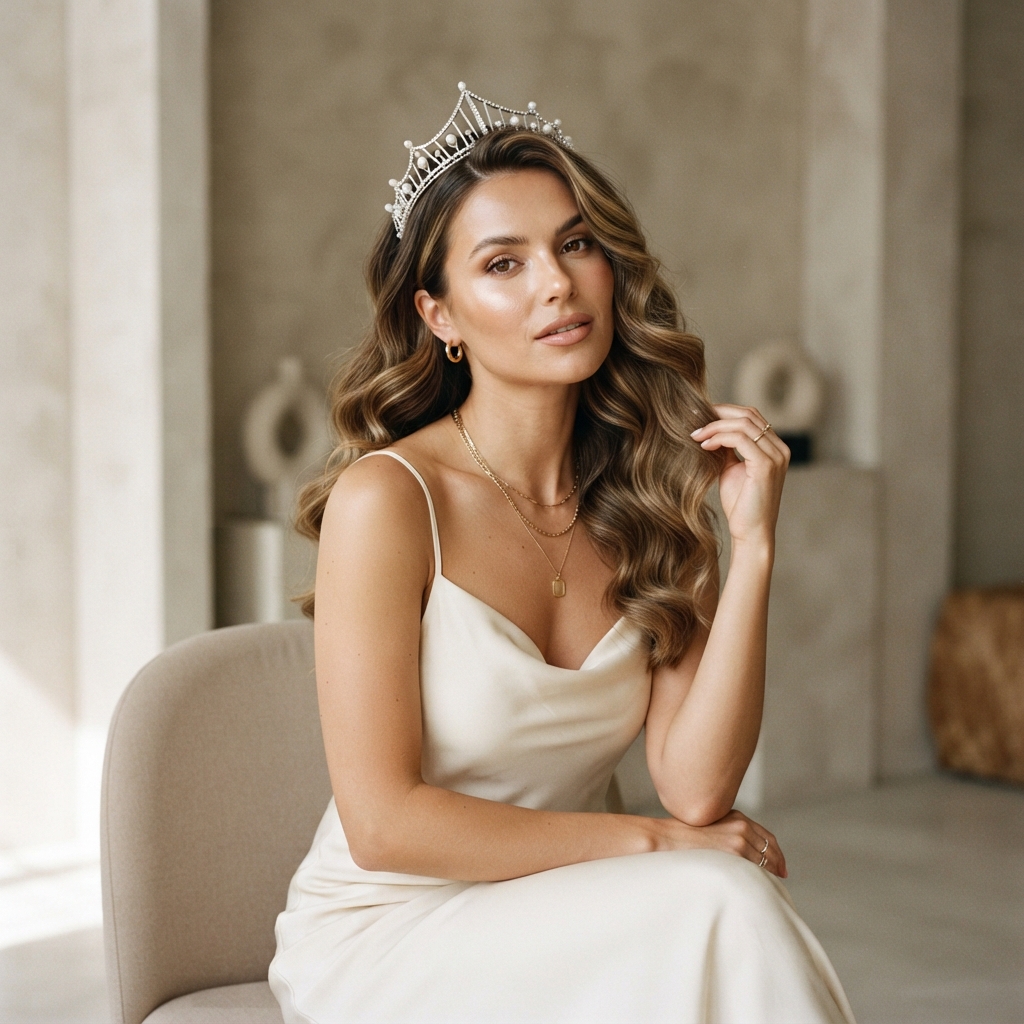
Classic waves don’t have to look dated. Here’s how to make them feel current.
- Deep side part for old money hair energy
- Center part with a sleek crown for a quieter feel
- Loosen the waves at the ends for a modern finish
- Add a statement clip or pearl pin
Small tweaks change the entire vibe. Tighter waves read vintage. Looser waves read modern and effortless. Pick your mood before you pick your iron.
Old Money Hair Meets Hollywood Waves
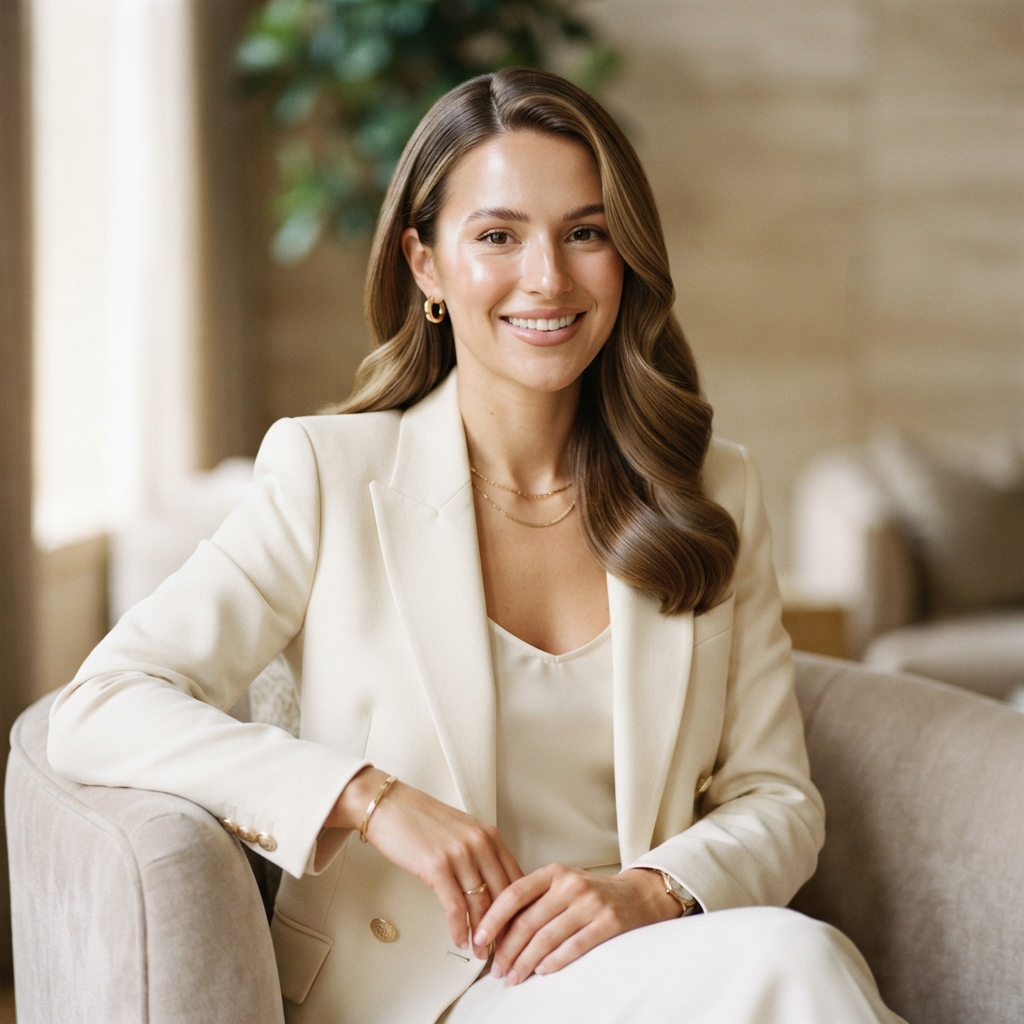
Old money hair is smooth, shiny, and never trying too hard. Hollywood waves fit right in.
Keep the crown sleek, the waves loose, and the finish glossy.
- Use a boar bristle brush to smooth the top
- Loosen each wave with your fingers
- Finish with a light shine spray
Skip glitter, skip heavy texturizing spray. Clean and polished is the entire point. If it looks like you spent an hour on it, you’ve gone too far.
Glitchy Glam Hair: A Modern Twist
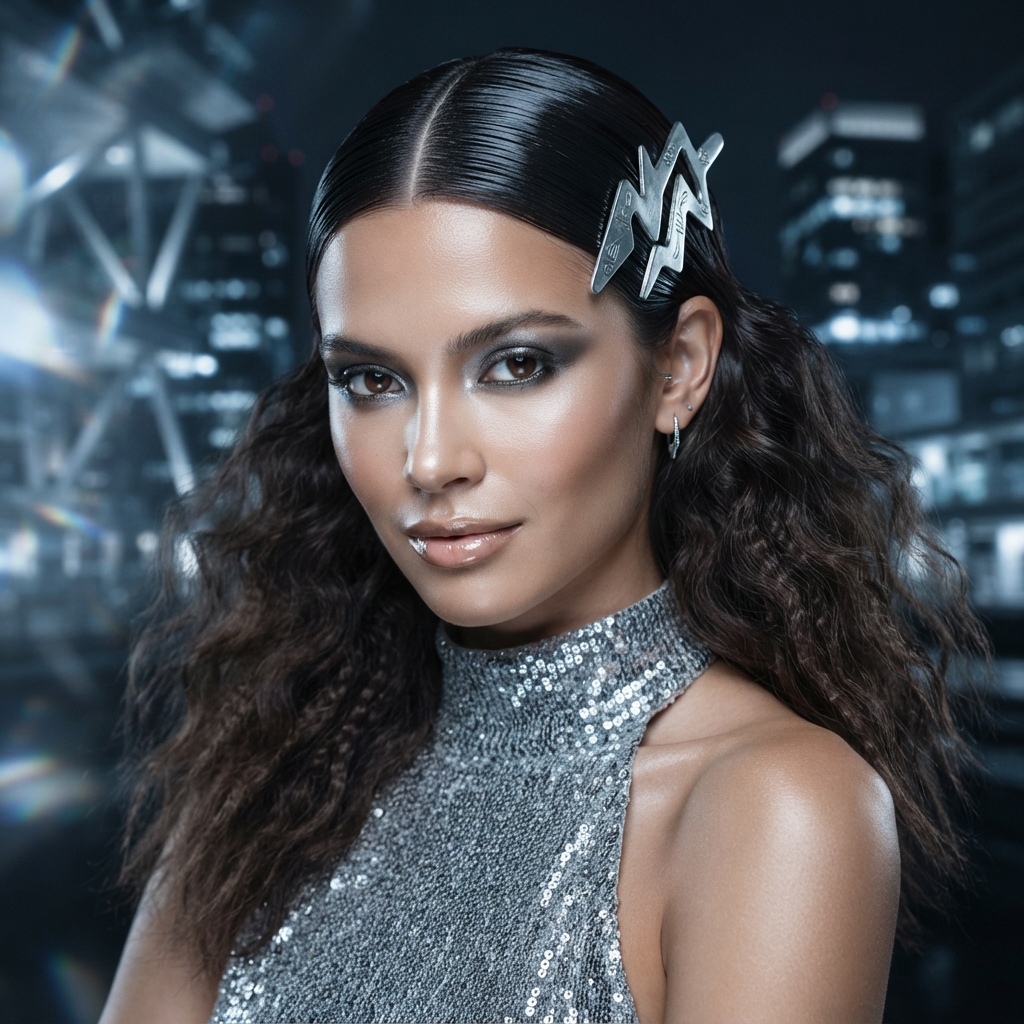
Glitchy glam hair is a 2026 trend that mixes high shine with unexpected texture. Think sleek roots and slightly imperfect waves.
- Keep the top smooth and glassy
- Make the bottom waves uneven on purpose
- Add a metallic or silver hair pin
It’s glamour with a little edge. If traditional Hollywood waves feel too sweet for you, this version keeps your personality in the mix. Pair it with a sharp outfit and you’re set.
Romantic Goth Hairstyles With Vampire Haircut Energy
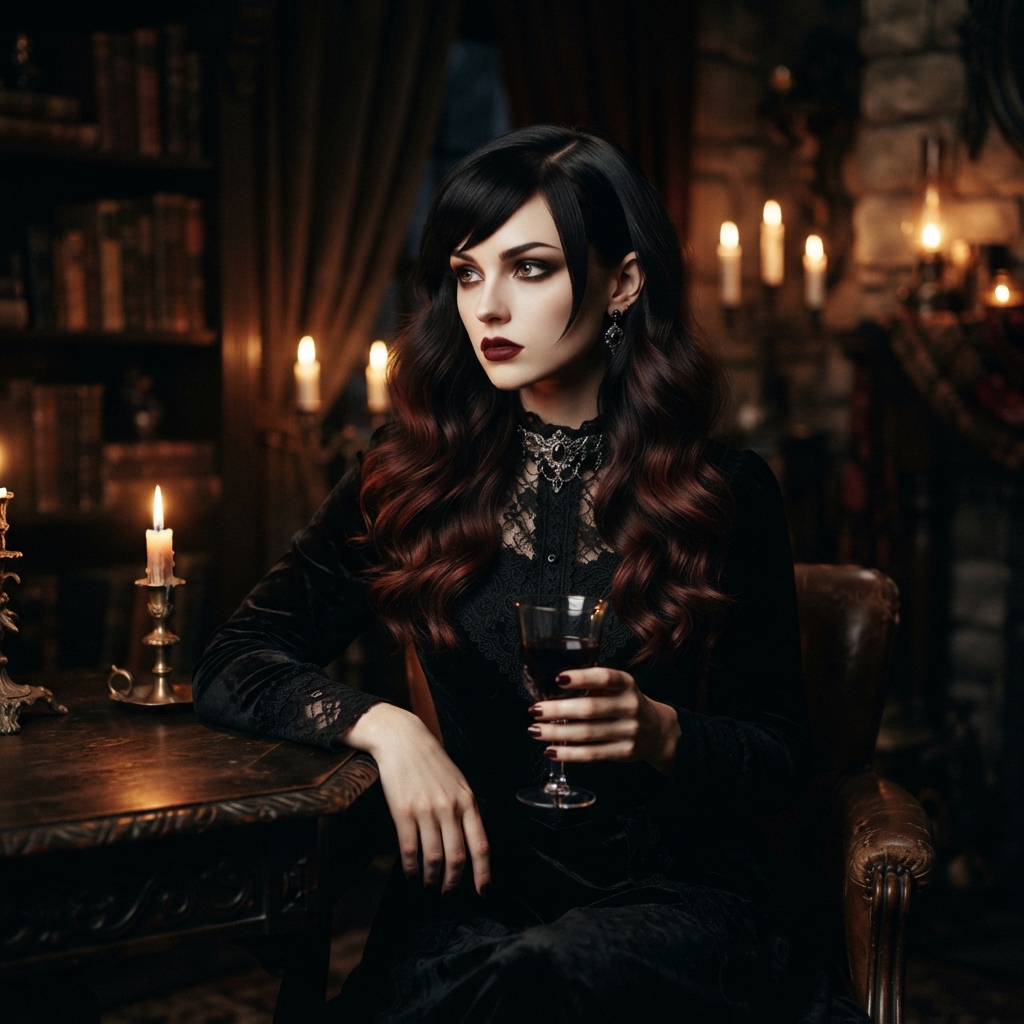
If your style leans dark and dreamy, glamour waves work here too. Romantic goth hairstyles love soft, moody movement.
Pair waves with a vampire haircut, which usually means a middle part, sharp layers, and a dramatic silhouette.
- Use a dark shine serum for depth
- Keep the waves soft around the face
- Add a deep side part for drama
Finish with a satin spray instead of high gloss for a moodier, more mysterious result.
Best Products for Hold Without Crunch
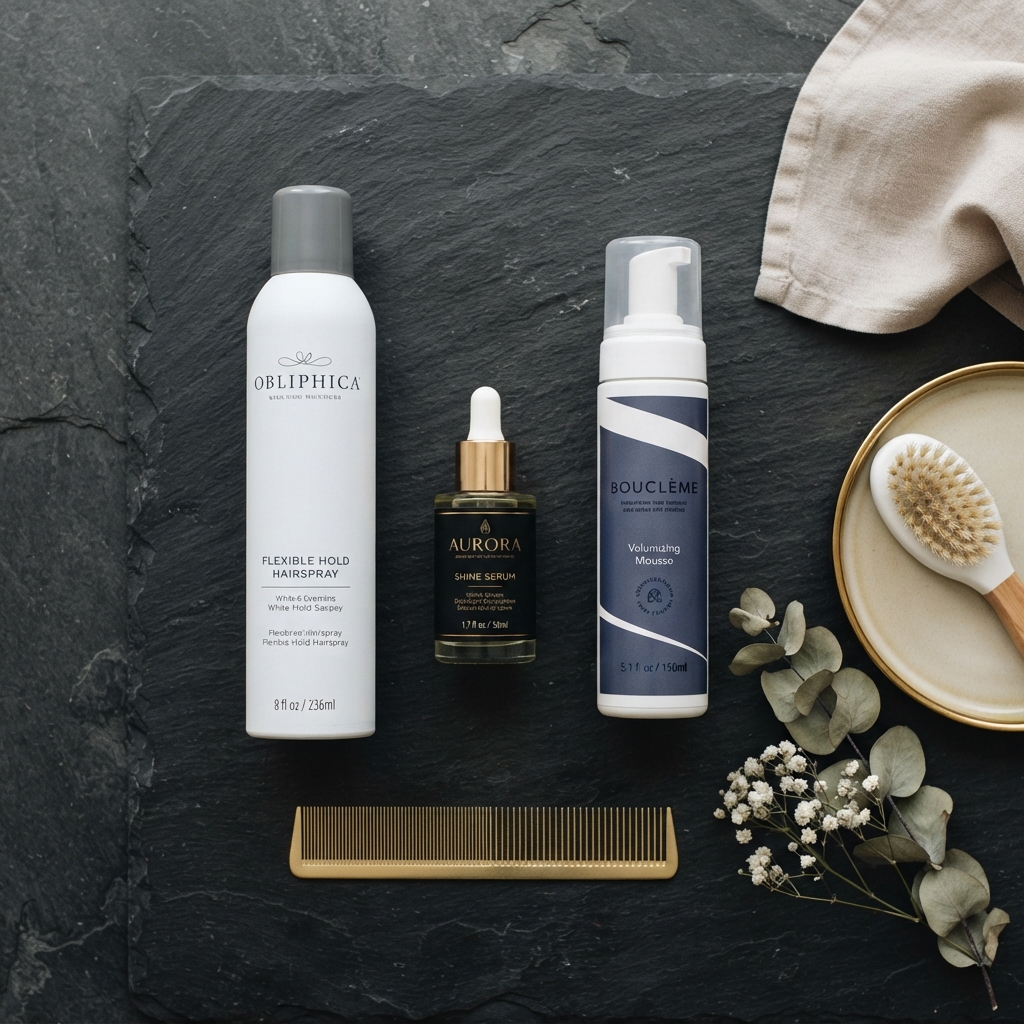
- Flexible hold hairspray
- Lightweight shine serum
- Volumizing mousse for fine hair
- Smoothing cream for thick hair
- Dry shampoo for grip
Anything labeled “maximum hold” tends to look stiff on camera. Go for flexible or medium hold instead, and layer lightly.
If your waves feel crunchy, you can fix it. Just run slightly damp hands over the surface and let it dry.
Common Mistakes to Avoid
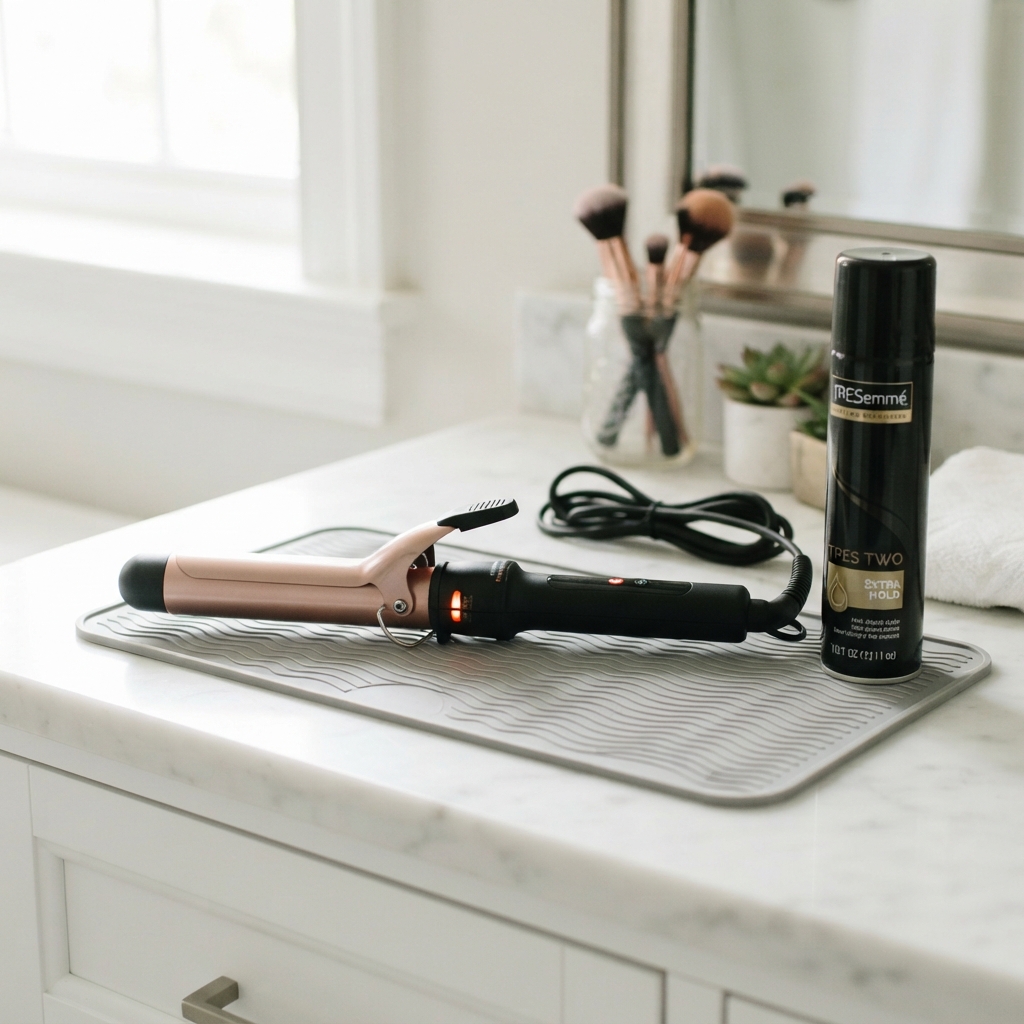
- Curling damp hair
- Brushing hot curls
- Skipping heat protectant
- Using too much product
- Iron set too hot
- Not pinning curls to cool
Almost every bad at-home glamour wave comes from one of these. The biggest one is rushing the cooling step.
Give your hair ten minutes to set and you’ll get twice the wear time. It’s the cheapest upgrade there is.
How to Make Hollywood Waves Look Expensive
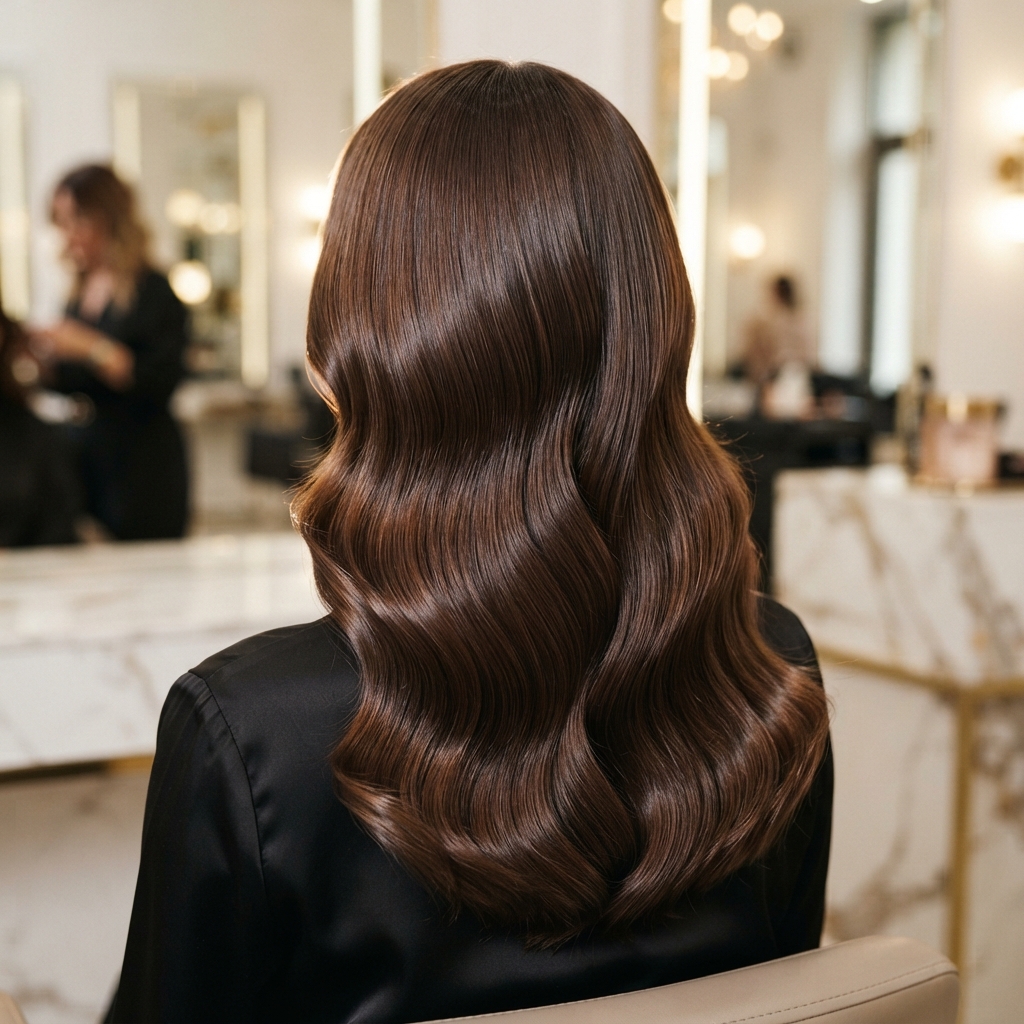
- Smooth, frizz-free crown
- Shiny ends
- One direction of movement
- Soft, not stiff, hold
Expensive hair is mostly about finish, not technique. If the top is smooth and the ends are glossy, nobody will notice if one wave is slightly different from the next.
Keep the front pieces deliberate. That’s what people actually see in photos.
The 10-Minute Version
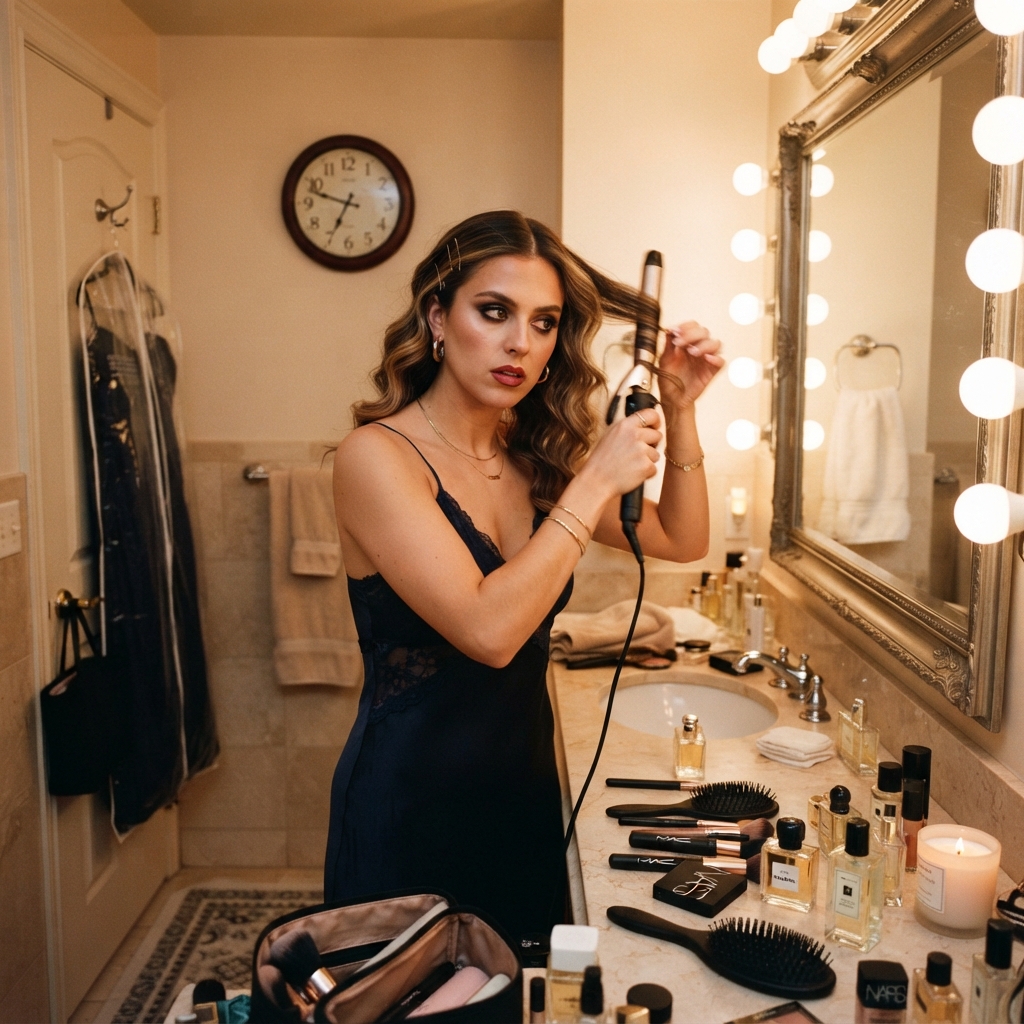
Short on time? Here’s the fast track.
- Dry shampoo the roots
- Split hair into four sections
- Curl only the visible front pieces and the ends
- Pin for three minutes
- Brush out, spray, go
It won’t be identical to the full version, but it reads glam from across the room. And honestly, that’s usually all you need.
A Little Pep Talk Before You Go
You don’t need a glam squad. A good iron, a little patience, and that cooling trick will get you 90 percent of the way there.
Practice once before the event. The second time is always easier.
Save this post to Pinterest so you can find it the next time you’re getting ready. And tell me in the comments: are you going classic Hollywood waves, or are you trying glitchy glam instead?

