
In today’s eco-conscious world, finding creative ways to repurpose materials is both rewarding and environmentally friendly. One fantastic way to reduce waste while expressing your personal style is by crafting hair accessories from recycled materials. Not only does this approach help the planet, but it also allows you to create unique, one-of-a-kind pieces that stand out.
Whether you’re a seasoned crafter or a beginner looking for a fun project, this guide will walk you through the process of transforming everyday discarded items into beautiful hair accessories. From old fabric scraps to plastic bottles, the possibilities are endless!
Why Make Hair Accessories from Recycled Materials?
Before diving into the crafting process, let’s explore why this is such a worthwhile endeavor. Upcycling—the process of transforming waste materials into new products—offers numerous benefits:
- Environmental impact: Reduces landfill waste and minimizes the need for new raw materials
- Cost-effective: Most materials can be sourced for free from items you’d normally throw away
- Unique style: Your creations will be truly one-of-a-kind
- Creative satisfaction: There’s immense joy in making something beautiful from “nothing”
By making your own hair accessories, you’re not just saving money—you’re contributing to a more sustainable future while expressing your creativity.
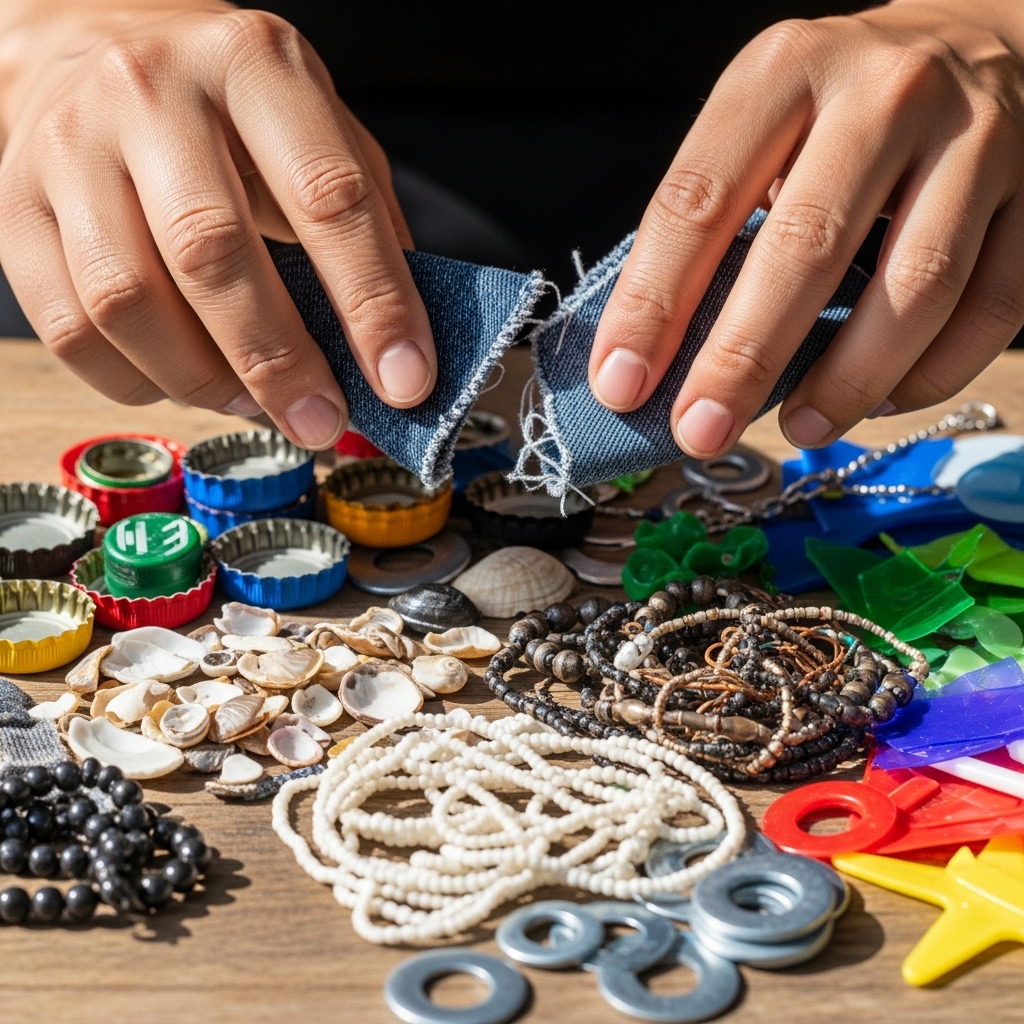
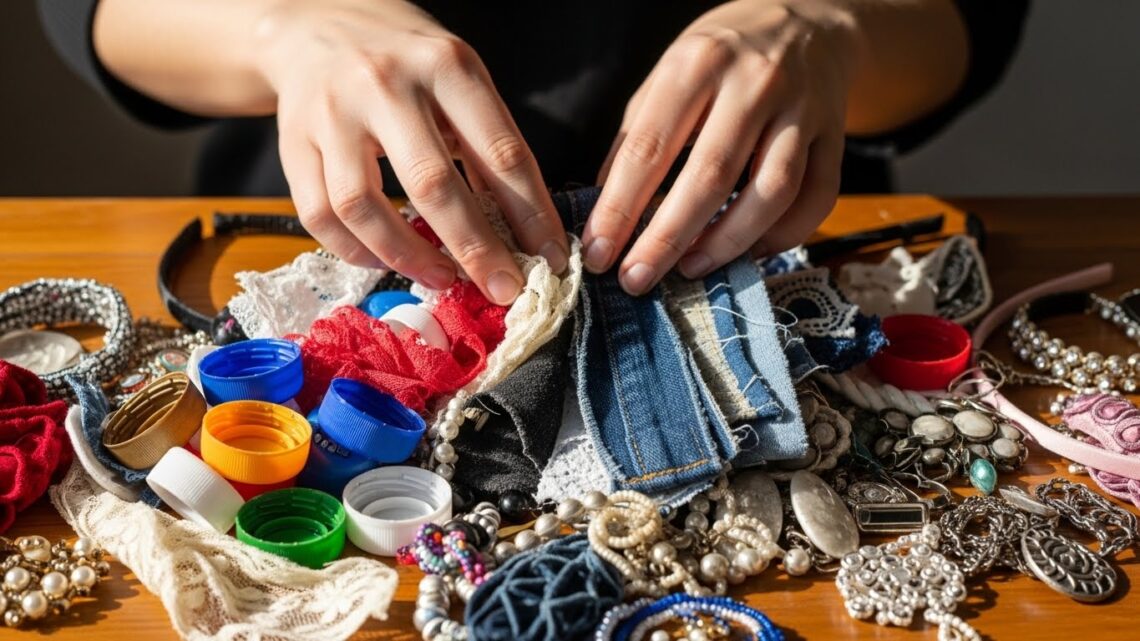
Materials You Can Repurpose for Hair Accessories
The beauty of this project lies in the incredible variety of materials you can use. Here are some excellent candidates for upcycling:
Fabric Scraps
Old clothing, bedding, or fabric remnants can become:
- Fabric flowers
- Scrunchies
- Ribbon hair ties
Plastic Items
Give new life to plastic waste:
- Bottle caps as hair clip bases
- Plastic bags melted into decorative elements
- Old credit cards cut into geometric shapes
Paper Products
Newspaper, magazines, and cardboard can transform into:
- Paper bead headbands
- Decoupage barrettes
- Quilled hair ornaments
Metal Components
Repurpose small metal items like:
- Soda can tabs as chain connectors
- Old jewelry pieces as decorative elements
- Wire from electronics for structural support

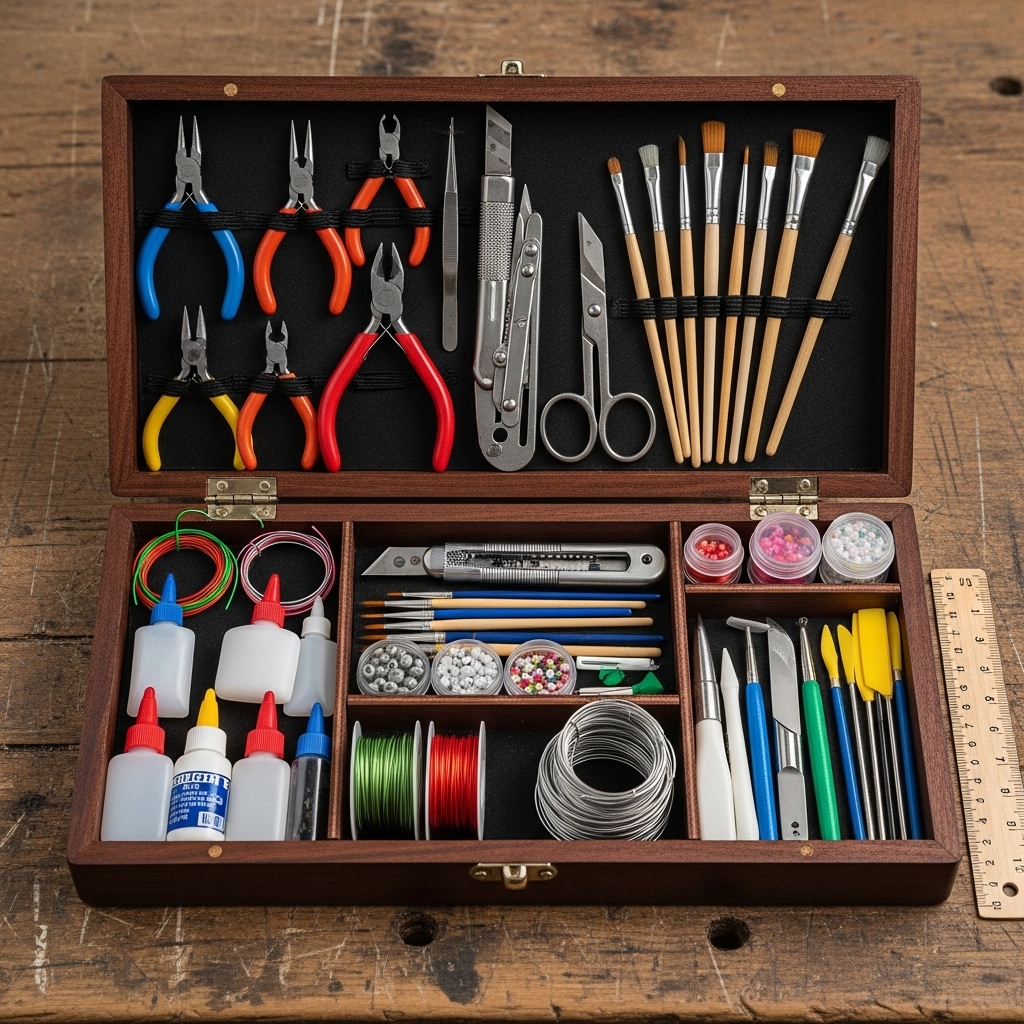
Essential Tools for Your Upcycling Project
While the specific tools you’ll need depend on your chosen project, here’s a basic toolkit for creating recycled hair accessories:
- Scissors: Fabric scissors and general-purpose scissors
- Hot glue gun: For secure attachment of various materials
- Needle and thread: For fabric-based projects
- Pliers: For bending and shaping metal components
- Paint and brushes: To add color and designs
- Hair accessory bases: Blank clips, headbands, or bobby pins
Remember, you can often find these tools secondhand or borrow them to keep your project truly eco-friendly!
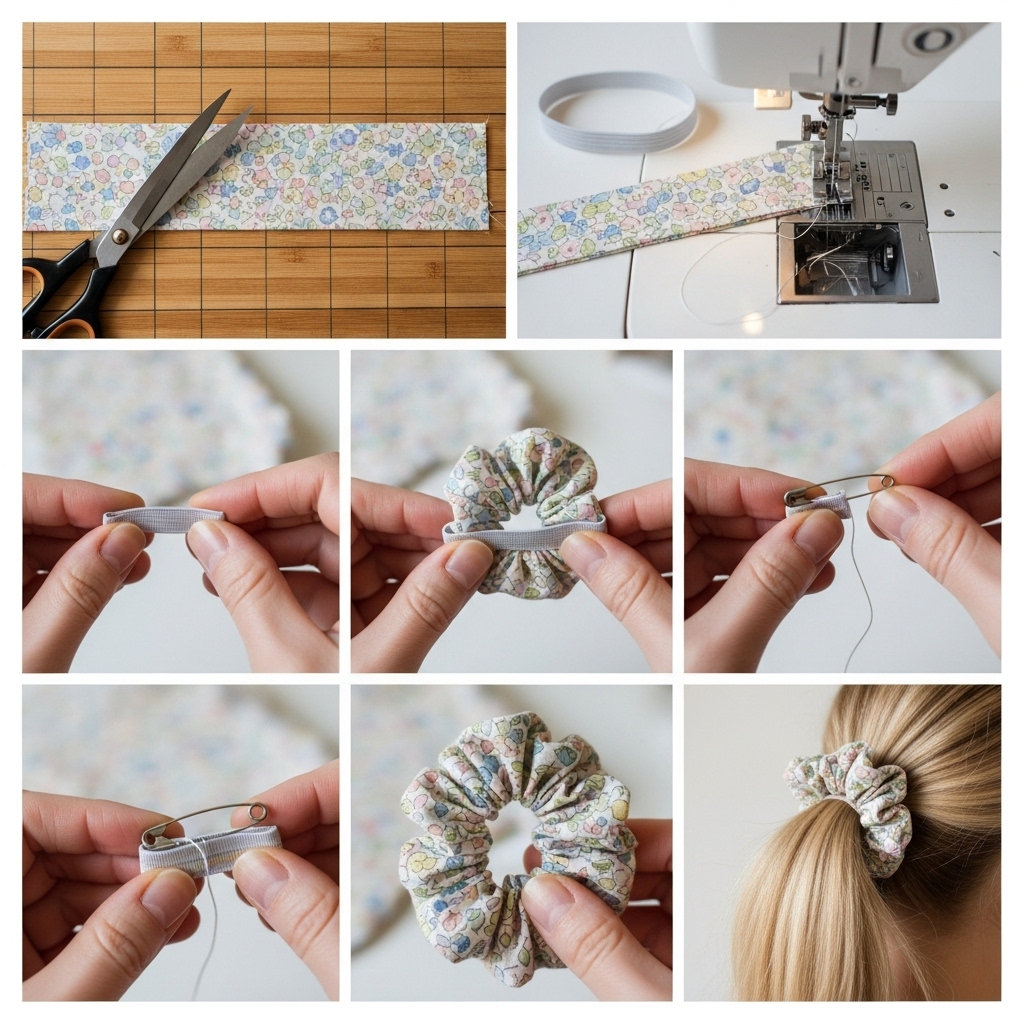
Step-by-Step: Creating a Fabric Scrunchie from Old Clothing
Let’s start with a simple beginner project that yields beautiful results—a fabric scrunchie made from an old t-shirt.
Materials Needed:
- Old cotton t-shirt
- Scissors
- Needle and thread (or sewing machine)
- Elastic band (or recycled elastic from old clothing)
- Safety pin
Instructions:
Step 1: Cut a strip of fabric about 3-4 inches wide and 18-20 inches long from your t-shirt. The stretchier the fabric, the better it will gather.
Step 2: Fold the strip in half lengthwise with the right sides together and sew along the long edge, creating a tube. Turn the tube right side out.
Step 3: Cut a piece of elastic about 7-8 inches long (depending on your wrist size). Attach a safety pin to one end.
Step 4: Thread the elastic through the fabric tube using the safety pin. Once through, overlap the ends of the elastic by about 1 inch and sew them together securely.
Step 5: Fold the raw edges of the fabric tube inward and hand-stitch the opening closed, hiding the elastic inside.
Step 6: Fluff and adjust your new scrunchie! For variation, try braiding three fabric tubes together before attaching the elastic.
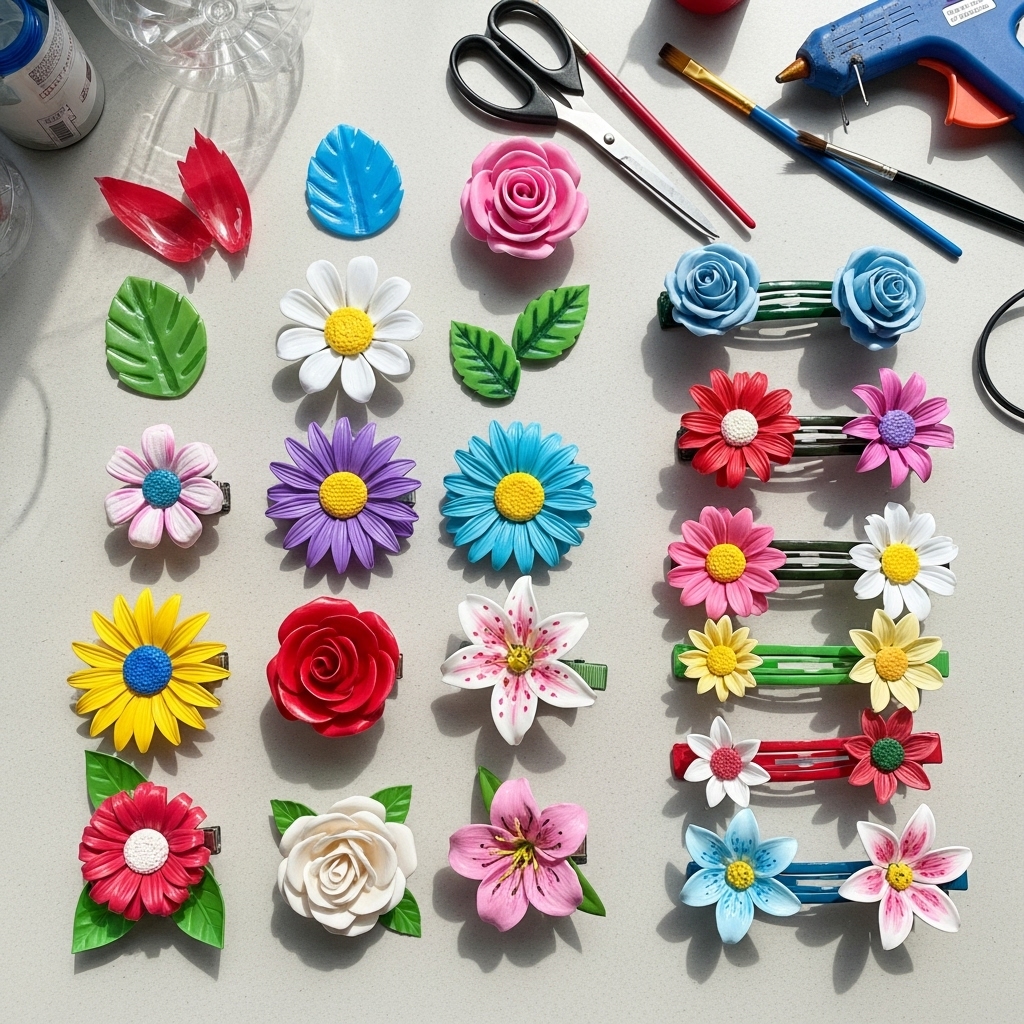
Transforming Plastic Bottles into Flower Hair Clips
Plastic bottles make surprisingly beautiful hair accessories when given some creative attention. Here’s how to make floral hair clips:
Materials Needed:
- Clear plastic bottles (water or soda bottles work well)
- Acrylic paints or permanent markers
- Scissors
- Hot glue gun
- Hair clip or bobby pin base
- Candle or heat gun (for shaping)
Instructions:
Step 1: Clean and dry your plastic bottles thoroughly. Remove any labels.
Step 2: Cut the bottle into flower shapes. The curved parts work best for petals. Experiment with different sizes and shapes.
Step 3: Use your heat source to gently warm the plastic petals (be careful not to melt them completely). This allows you to curl and shape them for a more natural look.
Step 4: Paint your flowers with acrylics or color them with permanent markers. Layer different colors for depth.
Step 5: Stack multiple flower shapes together with hot glue, creating dimension. Add smaller pieces in the center as stamens.
Step 6: Once dry, attach your plastic flower to a hair clip or bobby pin using hot glue.
Tip: For extra sparkle, add glitter or glue on small beads before the paint dries completely.
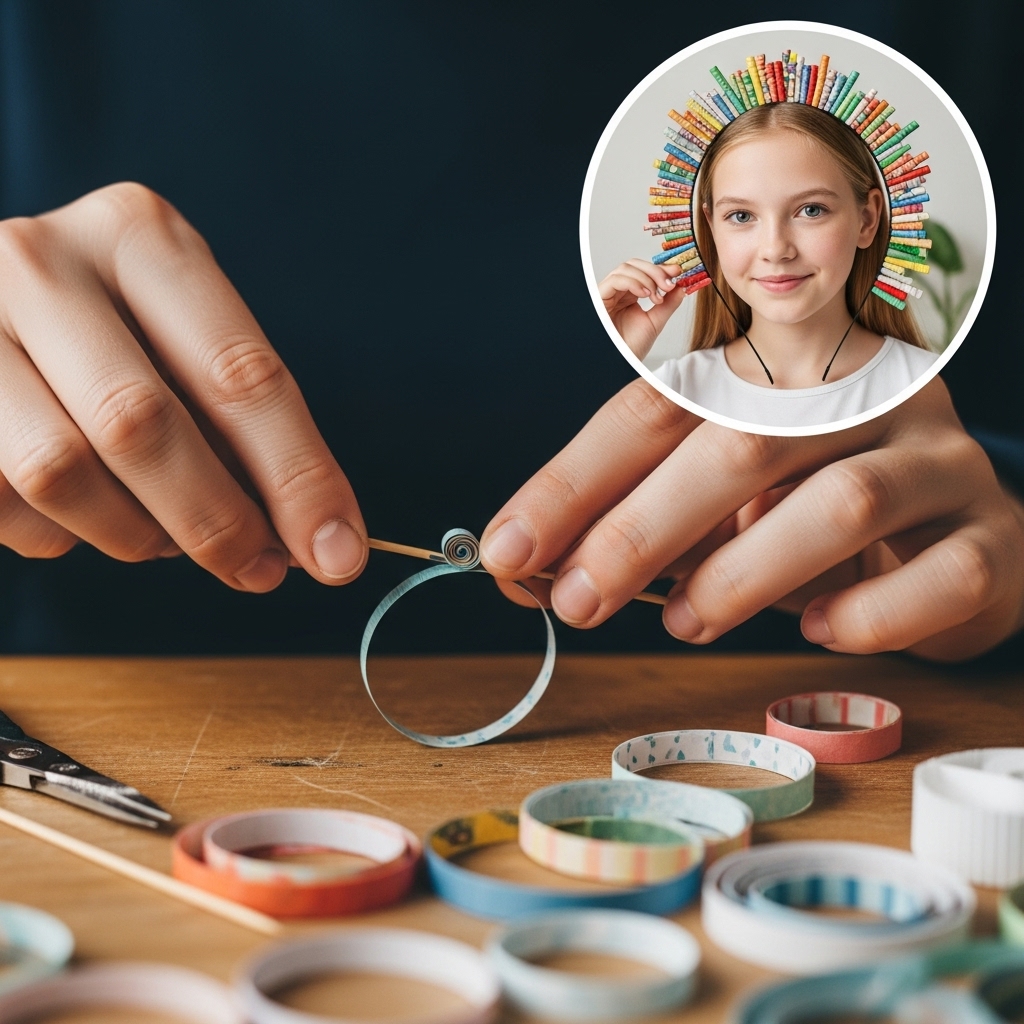
Advanced Project: Newspaper Bead Headband
For those ready for a more challenging project, try creating elegant beads from recycled paper to decorate a headband.
Materials Needed:
- Old newspapers or magazines
- Wooden skewers or toothpicks
- White glue or Mod Podge
- Acrylic paint and varnish
- Plain headband
- Strong glue (E6000 or similar)
Instructions:
Step 1: Cut the paper into long triangular strips (about 10 inches long, ½ inch at the base tapering to a point).
Step 2: Starting at the wide end, tightly roll the paper around the skewer, adding a thin layer of glue as you go.
Step 3: When completely rolled, add a final coat of glue to seal and let dry completely on the skewer.
Step 4: Once dry, slide the bead off the skewer and paint as desired. Apply varnish for durability.
Step 5: Make enough beads to cover your headband (typically 15-20 depending on size).
Step 6: Arrange your beads in a pleasing pattern and glue them to the headband. Let dry completely before wearing.
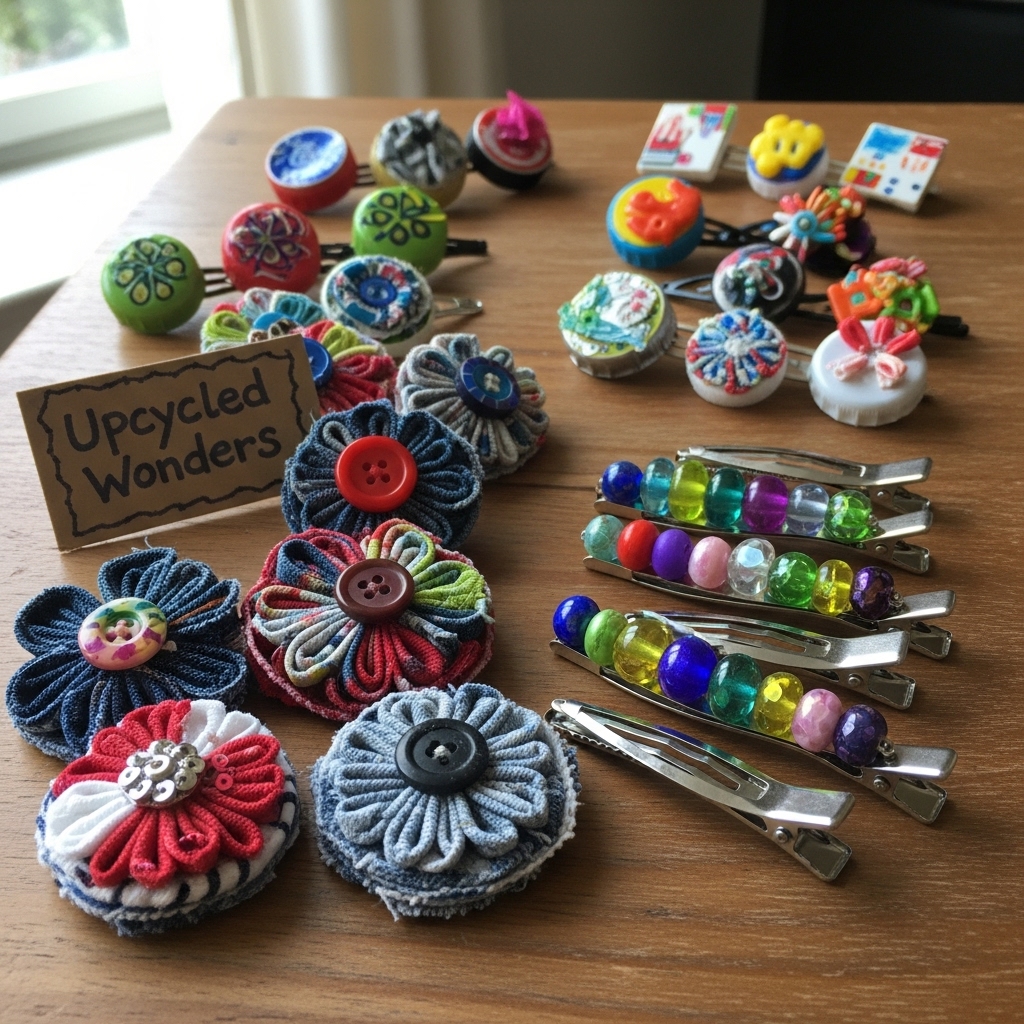
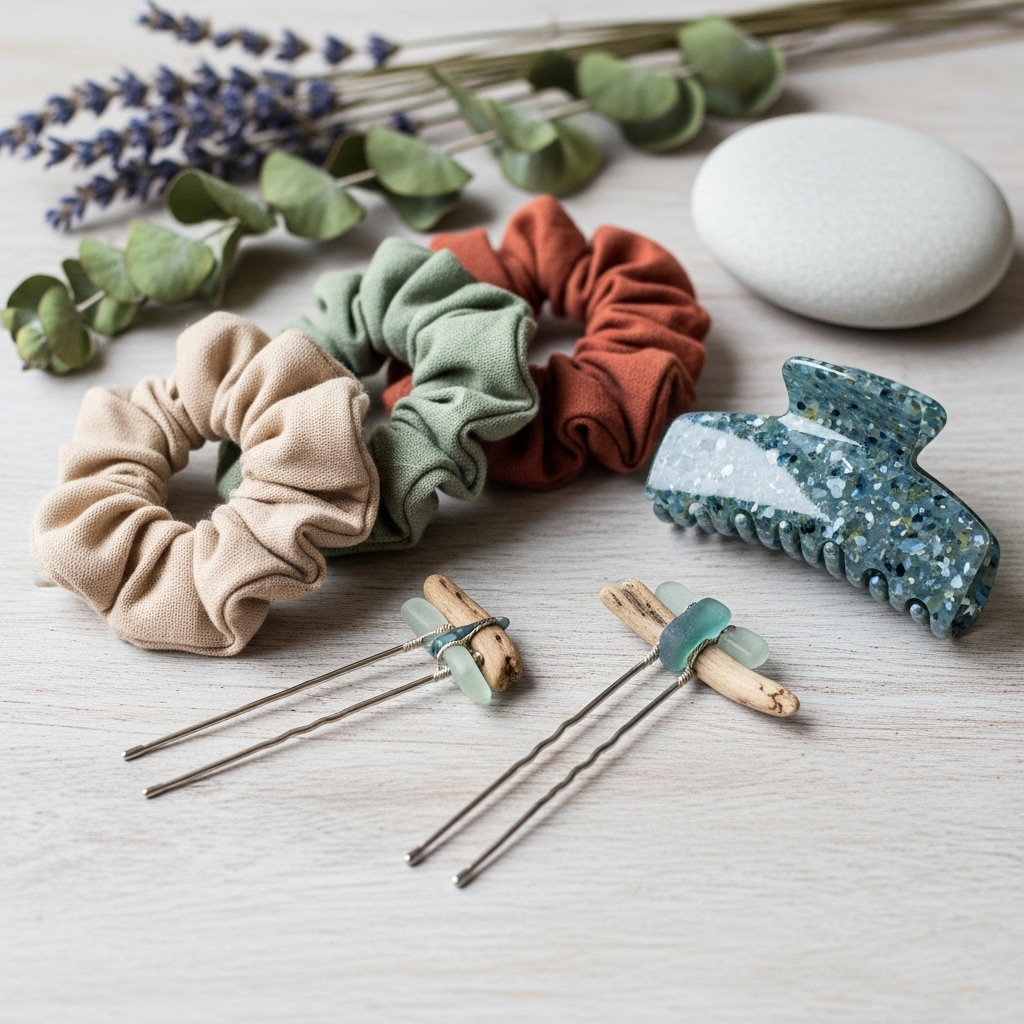
Tips for Selling Your Recycled Hair Accessories
If you find yourself enjoying this craft and creating more accessories than you can use, consider selling them! Here are some tips:
- Emphasize the eco-friendly aspect: Market your items as sustainable fashion.
- Tell the story: Share what materials were repurposed in each piece.
- Quality matters: Ensure all pieces are well-made and durable.
- Photograph creatively: Show the before-and-after of materials when possible.
- Price fairly: Consider time invested and uniqueness, but keep handmade market prices in mind.
Platforms like Etsy, local craft fairs, or even social media shops are great places to start selling your creations.
Conclusion: Wear Your Values with Pride
Creating hair accessories from recycled materials is more than just a craft—it’s a statement about sustainable living and creative problem-solving. Each time you wear or gift one of your handmade pieces, you’re showcasing what’s possible when we rethink “waste.”
We hope this guide has inspired you to look at everyday discarded materials with new eyes. Remember, the most important ingredients in any upcycling project are creativity and enthusiasm. Don’t be afraid to experiment, make mistakes, and develop your own unique techniques.
What will you create first? Share your recycled hair accessory projects in the comments below—we’d love to see how you’ve put your personal spin on these ideas!

