
Why learn to trim your own hair? Not only does it save you money in the long run, but it also gives you complete control over your look. Whether you’re maintaining your style between salon visits or embracing the DIY lifestyle, mastering the art of hair trimming is a valuable skill.
Essential Tools for Professional-Quality Hair Cutting
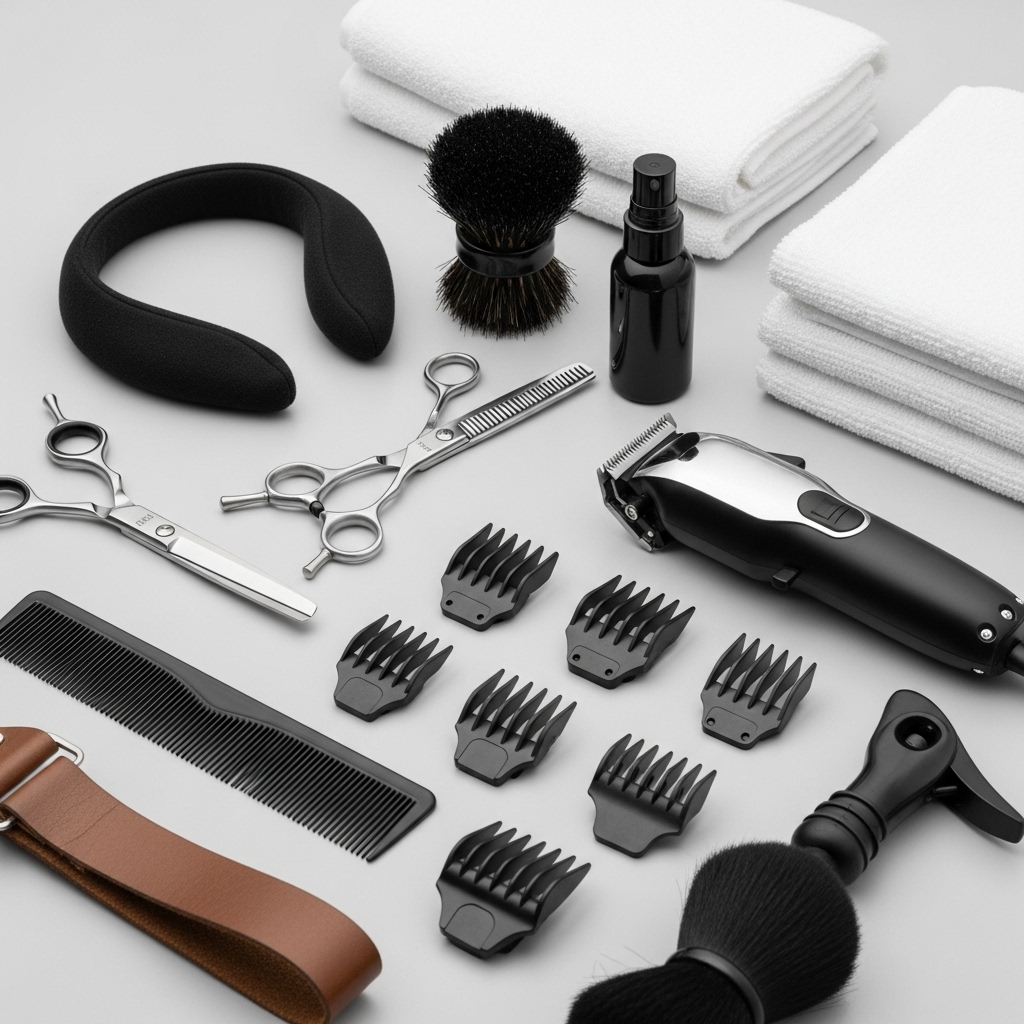
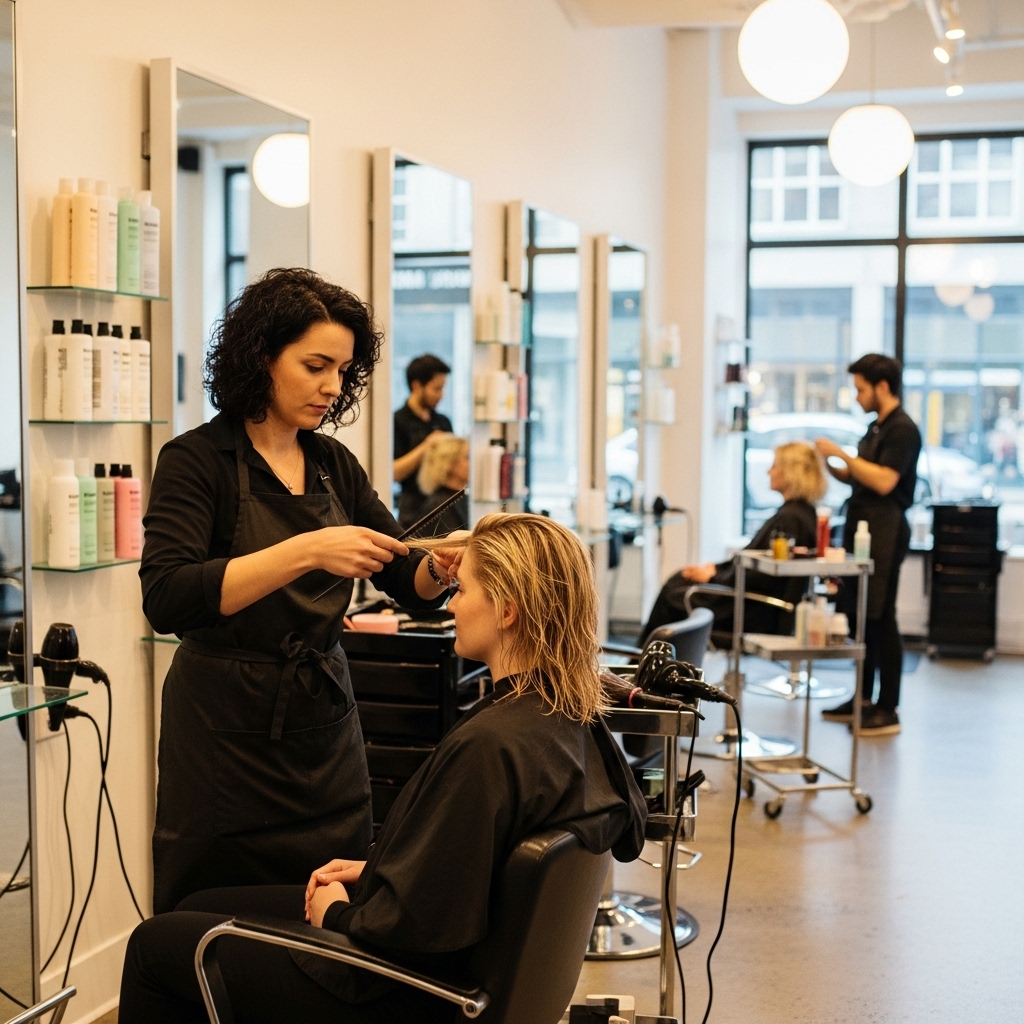
Before you make the first snip, you’ll need to gather the right tools. Professional stylists rely on specific equipment to create precise cuts, and while you don’t need everything they use, these essentials will set you up for success:
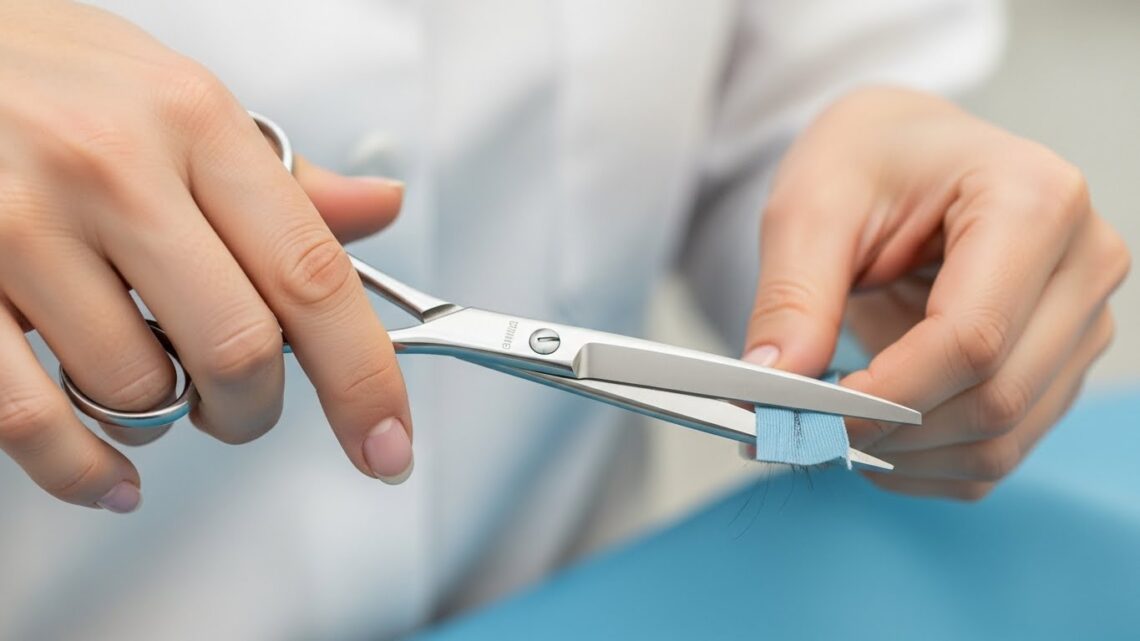
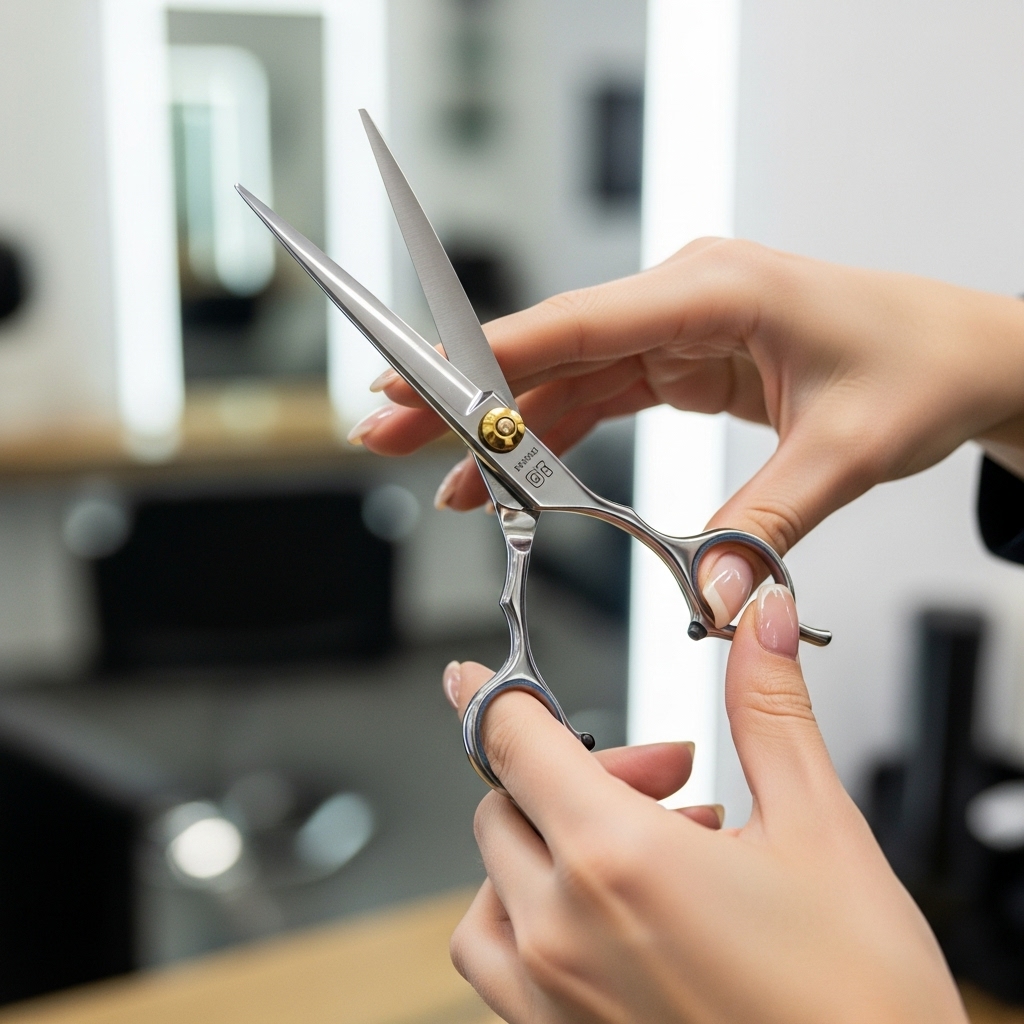
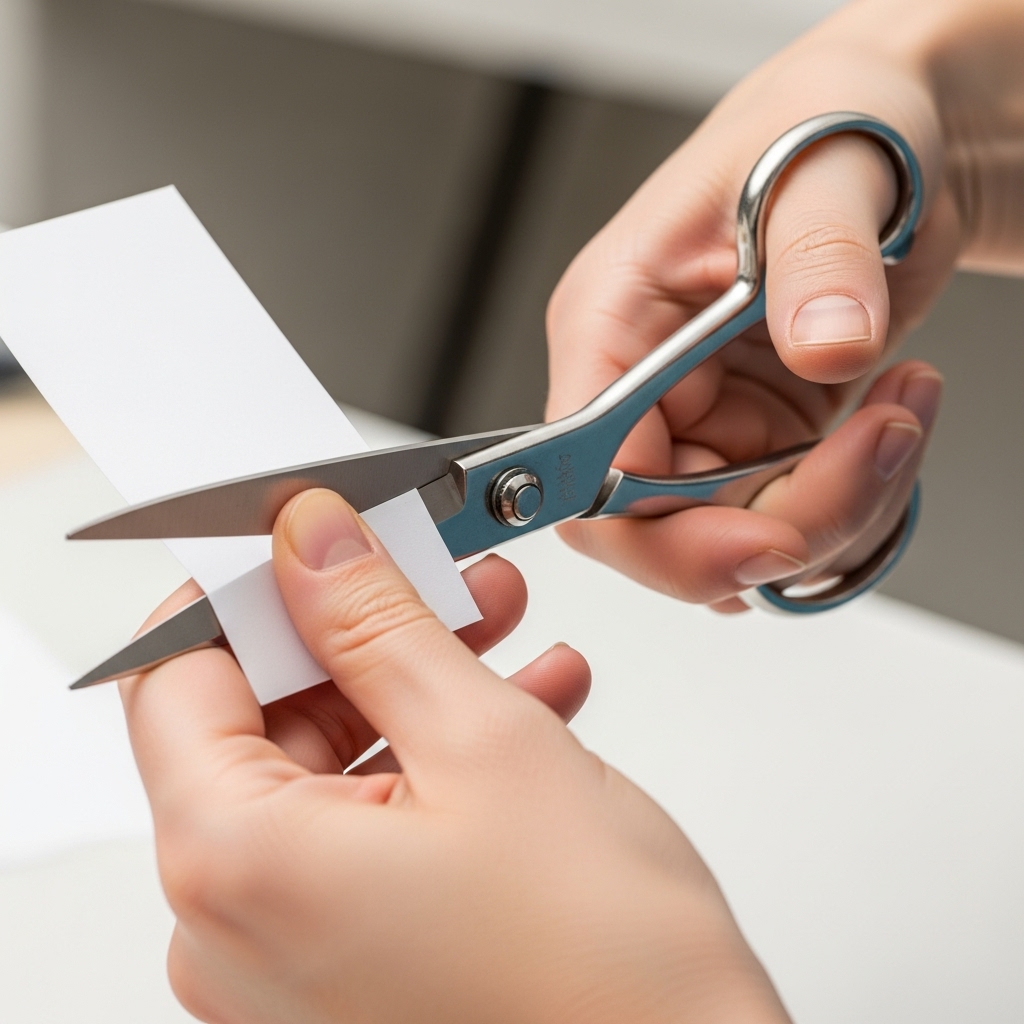
Hair cutting scissors: Never use regular scissors as they can damage your hair. Invest in a pair of sharp, professional shears (6-7 inches is ideal).
Clippers: Essential for short styles or fades, with multiple guard sizes for different lengths.
Fine-tooth comb: Helps section hair evenly and guides your cuts.
Spray bottle: For keeping hair damp during cutting (some styles are easier to cut when wet).
Two mirrors: One handheld and one wall-mounted to see the back of your head.
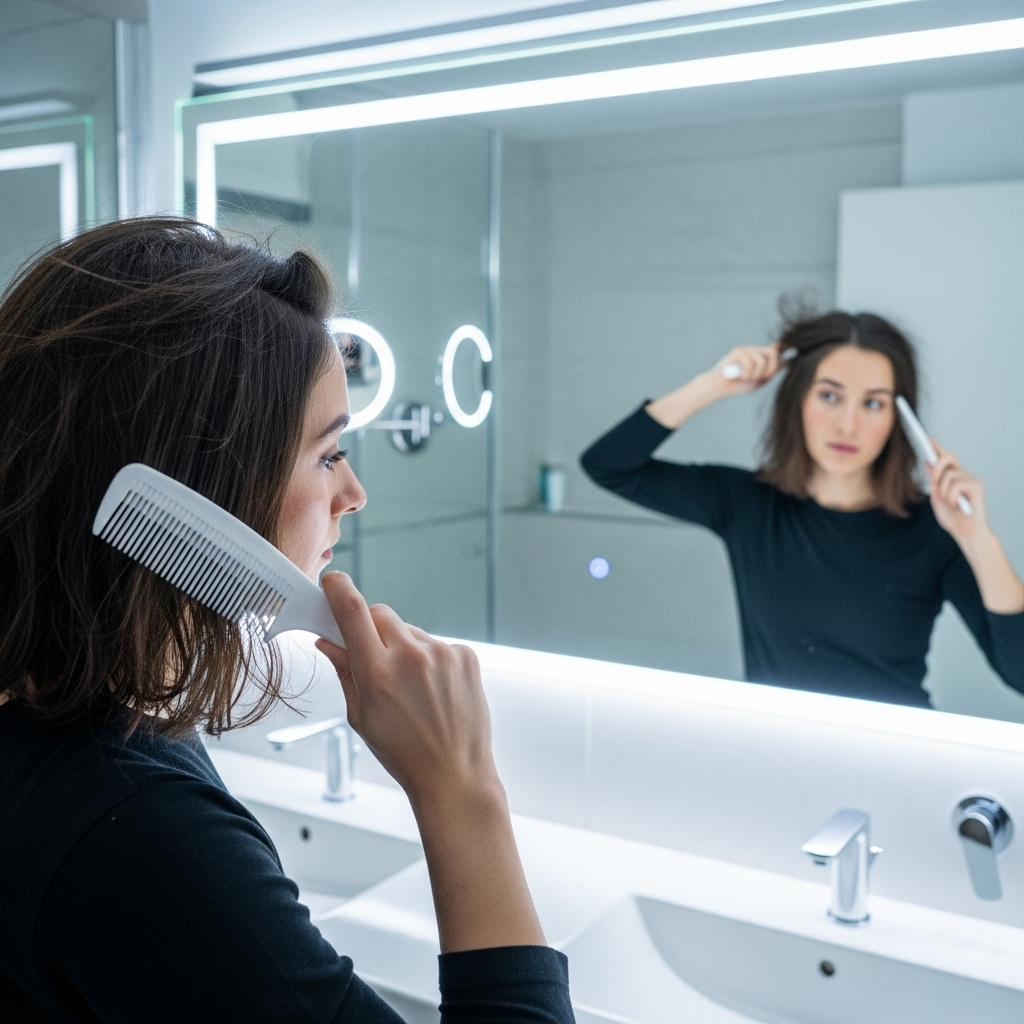
Preparing Your Hair for the Perfect Trim
Preparation is key to achieving salon-quality results at home. Follow these steps before you start cutting:
1. Start with clean, dry hair: Wash and completely dry your hair so you can see its natural texture and fall. Some styles are cut better on damp hair, but for your first attempt, dry cutting gives you more control.
2. Analyze your hair type: Straight hair shows every cut, so be extra precise. Wavy or curly hair is more forgiving but requires different techniques.
3. Choose your style wisely: If this is your first time, opt for a simple trim rather than a dramatic change. Practice makes perfect!
4. Set up your space: Work in a well-lit area with a clean floor that’s easy to sweep. Cover your shoulders with a towel or cutting cape.
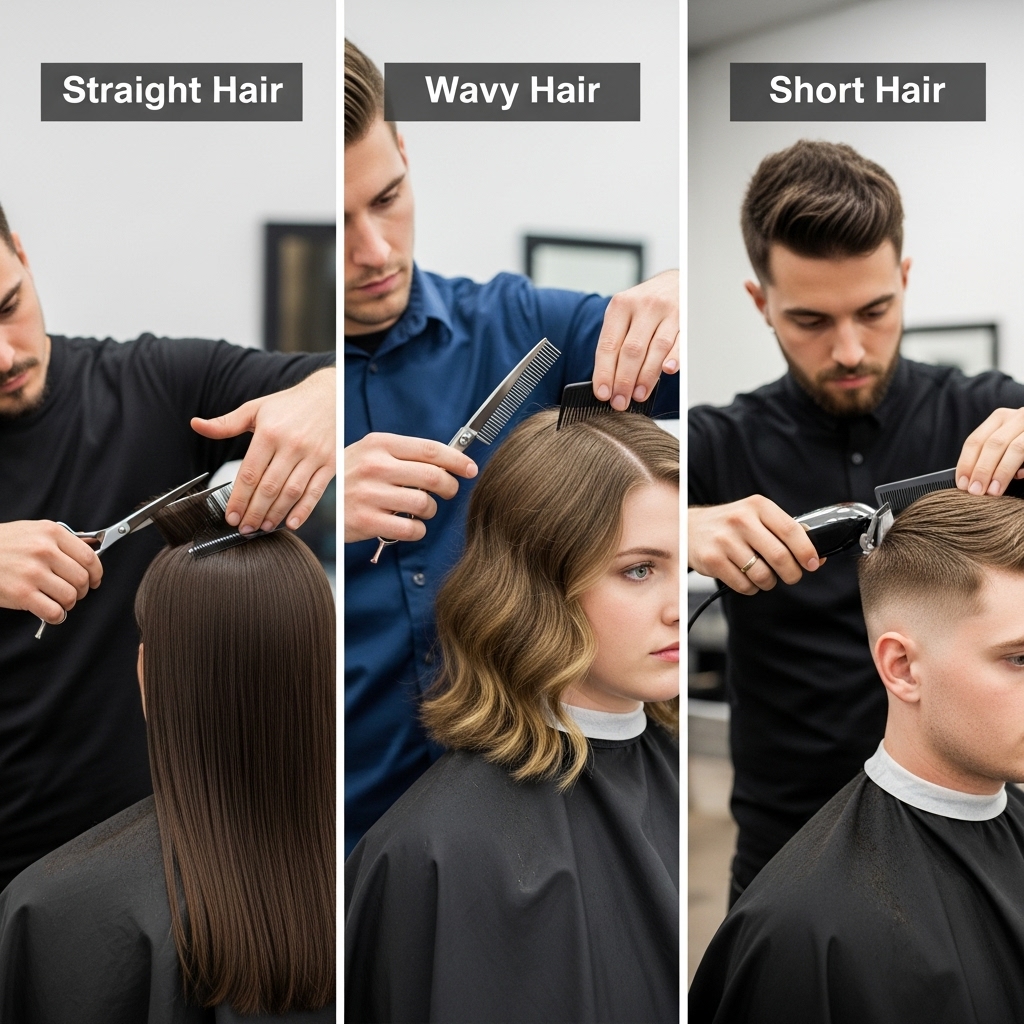
Step-by-Step Guide to Cutting Different Hair Types
For Straight Hair
The ponytail method: Great for long hair trims. Gather hair at the crown as if making a high ponytail, secure with an elastic, then trim the desired amount from the ends.
Point cutting: Instead of cutting straight across, hold scissors vertically and make small upward cuts to create soft, feathered ends that blend naturally.
For Wavy/Curly Hair
Dry cutting: Curls shrink when dry, so always cut curly hair when it’s dry to avoid surprises. Twist small sections and trim the ends that stick out.
The unicorn cut: Pull front sections up to a point at the center of your forehead (like a unicorn horn), secure, then trim for face-framing layers.
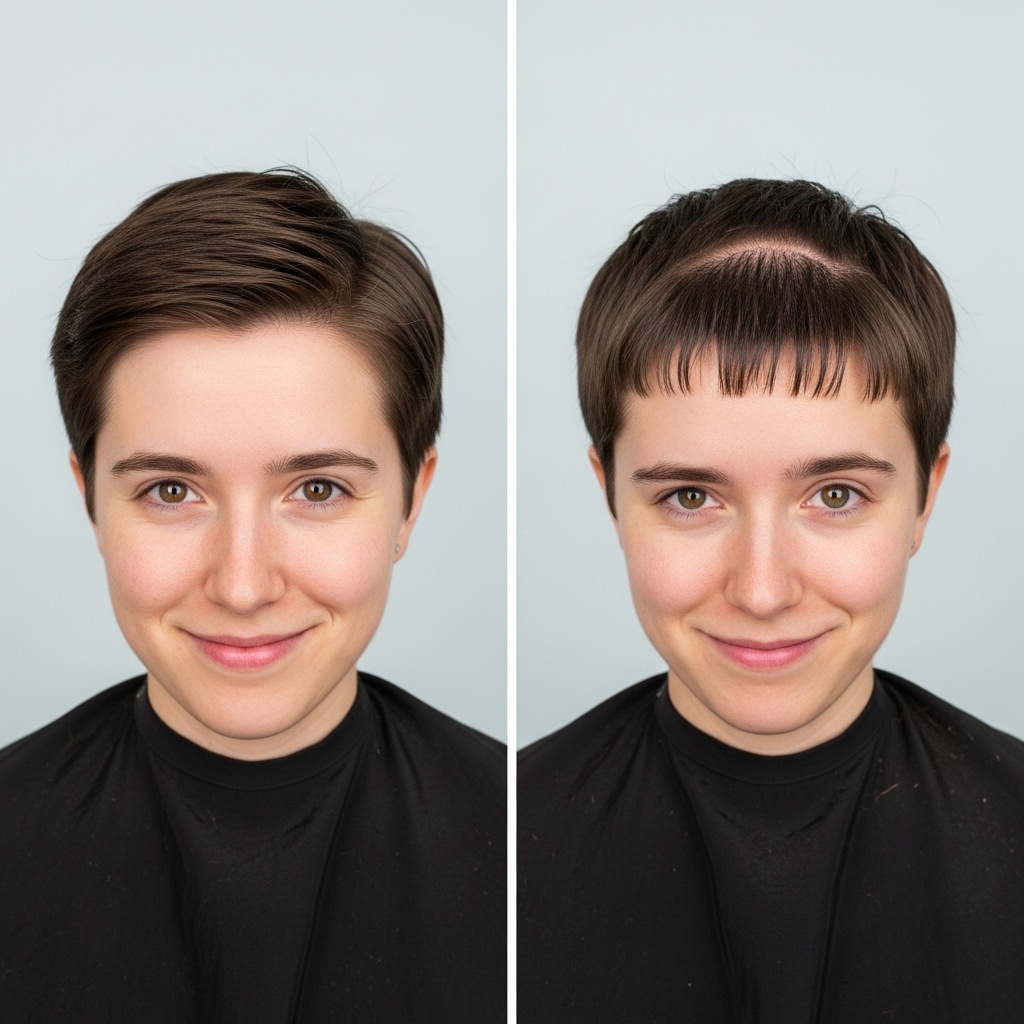
For Short Hair and Bangs
Scissors-over-comb technique: Hold the comb at a 45-degree angle and cut hair that extends above it for gradual blending.
Bang trimming: Never cut bangs straight across. Instead, cut at a slight angle from shorter at the bridge of the nose to longer at the temples.
Professional Tips for Flawless Results
These insider tips will elevate your DIY haircut from amateur to professional-looking:
Less is more: Always cut less than you think you need to. You can always take more off, but you can’t put hair back!
Work in small sections: Clip up the top layers and work from the bottom up for even results.
Maintain proper tension: Hold sections firmly (but not tightly) between your fingers to ensure even cutting.
Check your work constantly: After each section, step back, shake out your hair, and check in multiple mirrors.
Blend carefully: Use thinning shears or point cutting to blend any harsh lines between sections.
Common Mistakes to Avoid
Even professionals make mistakes when they’re learning. Here’s how to avoid the most common DIY haircut pitfalls:
Cutting too much at once: Gradual trimming prevents drastic mistakes. Remember the golden rule: you can always cut more later.
Uneven tension: If you pull some sections tighter than others, your cut will be uneven when your hair relaxes.
Forgetting about natural partings: Always consider how your hair naturally falls when sectioning.
Skipping the mirror check: The back of your head needs as much attention as the front. Use two mirrors to see all angles.
Using dull tools: Dull scissors will crush rather than cut hair, leading to split ends.
Aftercare: Making Your DIY Cut Last
Now that you’ve achieved the perfect cut, here’s how to maintain it:
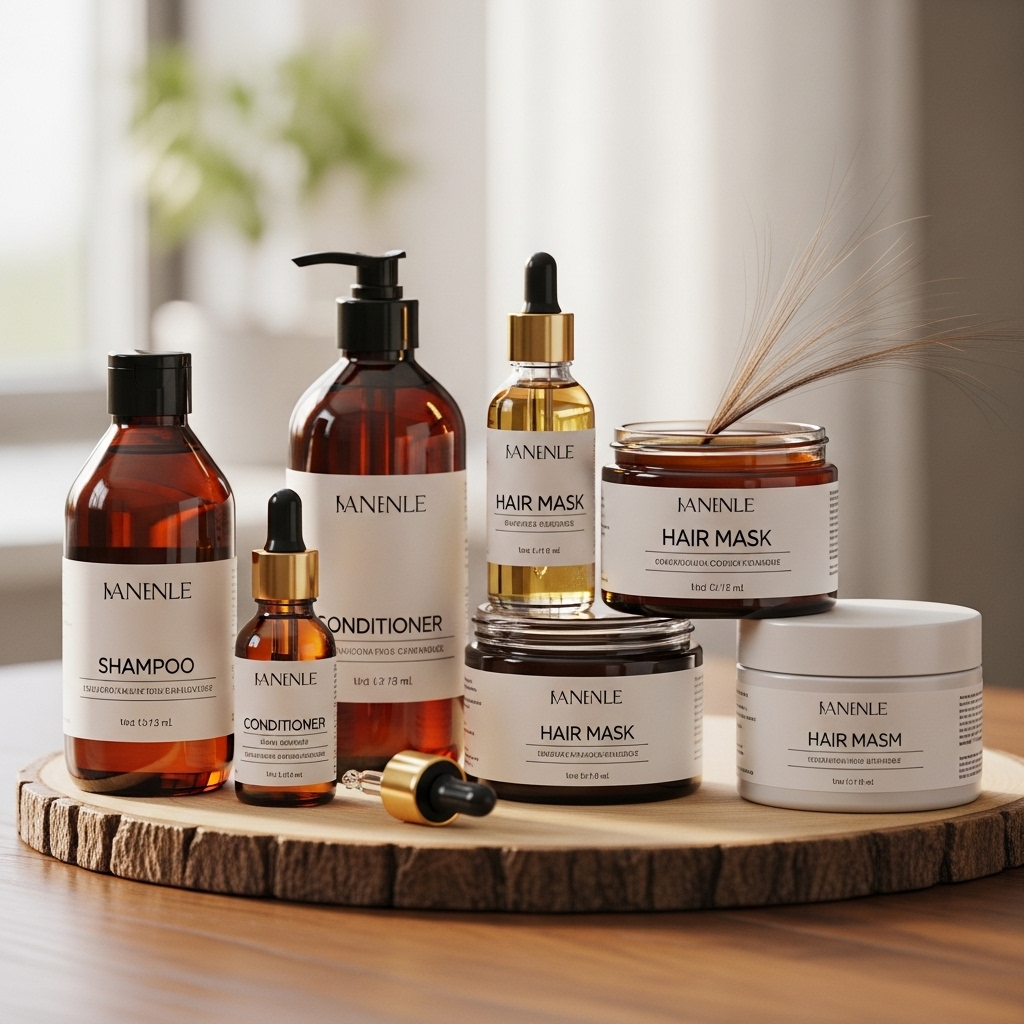
Wash with care: Use sulfate-free shampoo and always condition to prevent split ends.
Regular trims: Schedule mini trims every 6-8 weeks to maintain your style and prevent damage.
Invest in quality products: A good leave-in conditioner and heat protectant will keep your ends healthy.
Nighttime protection: Sleep on a silk pillowcase or use a silk scarf to prevent breakage.
When to Call a Professional
While many haircuts can be successfully done at home, some situations call for professional help:
Major style changes: Drastic length changes or complex layered styles are best left to experts.
Chemical treatments: If you color or chemically treat your hair, consult a stylist about cutting timing.
Hair damage: Severely damaged hair needs specialized cutting techniques.
If you make a mistake: Don’t panic! Most haircut mistakes can be fixed by a professional.
Final Thoughts
Cutting your own hair might seem daunting at first, but with practice, the right tools, and these professional techniques, you’ll gain confidence and save money. Remember that hair grows back, so don’t be afraid to experiment within reason. Start with small trims and work your way up to more complex cuts as your skills improve.
The key to success? Patience, proper preparation, and trusting the process. Your at-home haircuts will get better each time you try. Who knows – you might discover a hidden talent for hairstyling!

