

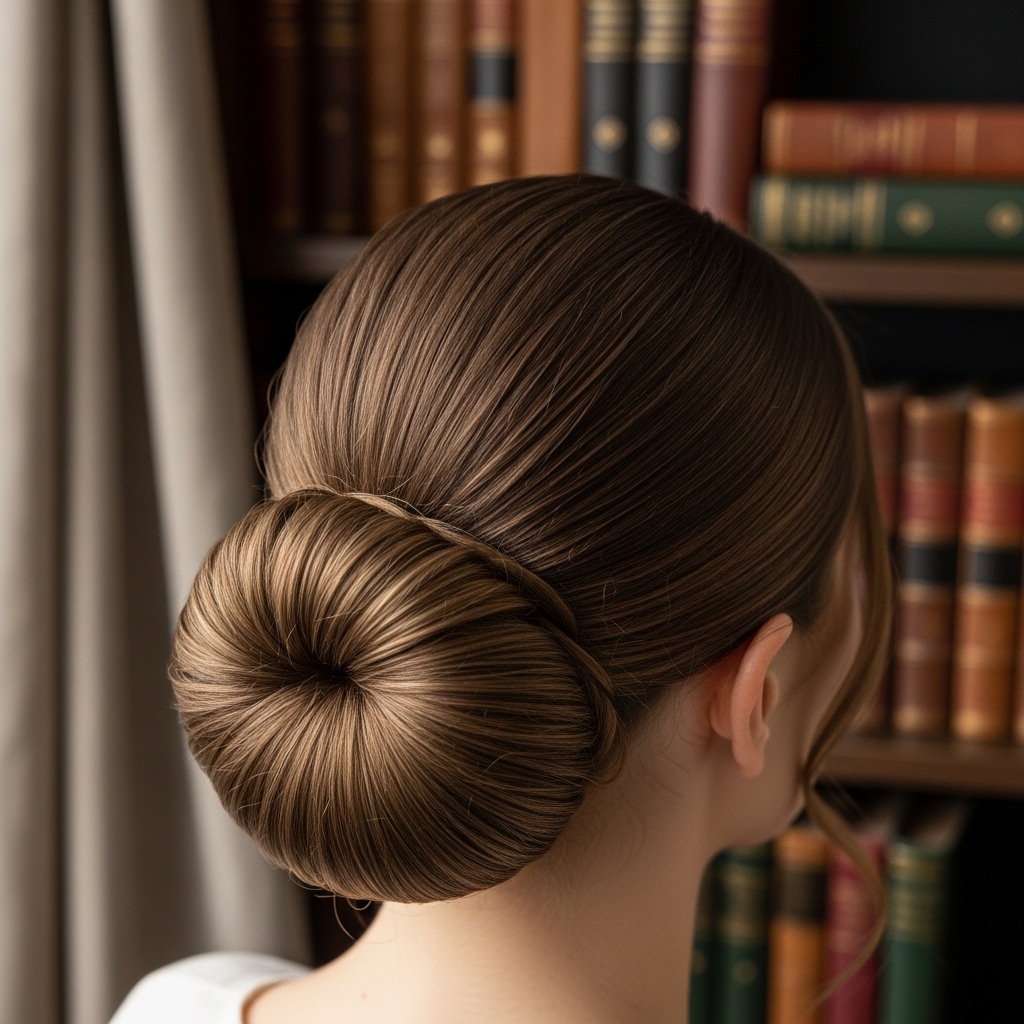
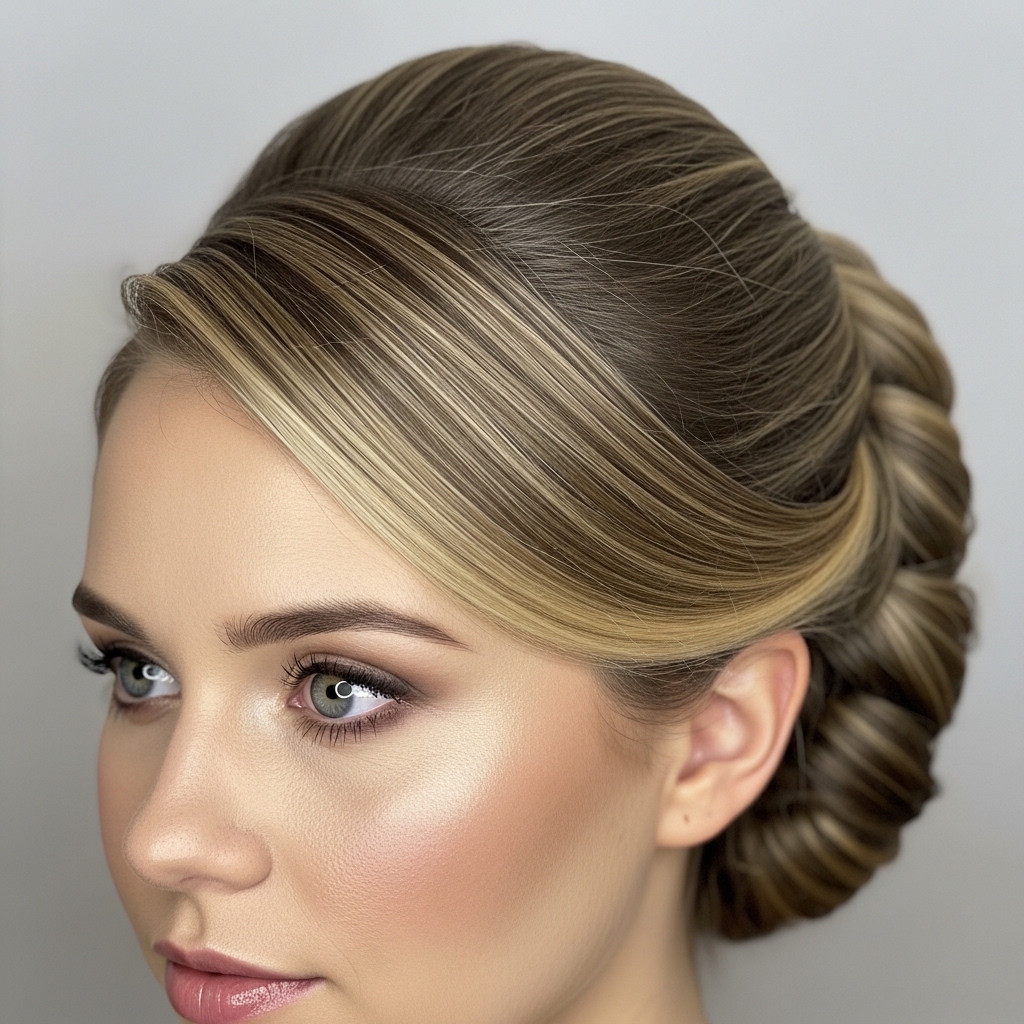
Okay, let’s talk about a hairstyle that never gets an invite to the party because it’s too busy being the host. The Old Money French Roll. It’s that perfectly polished, slightly undone updo you spot on someone who looks effortlessly put-together. It whispers “timeless,” not “trendy.”
You know the look. It’s Grace Kelly, it’s Carolyn Bessette-Kennedy. It’s clean, confident, and works for literally everything—from a Tuesday work meeting to a Saturday wedding.
And the best part? It’s way easier to do than it looks. I’m going to walk you through the exact steps, from the prep to the final pin. No salon appointment needed. Let’s create that quiet luxury vibe with your own two hands.
What Exactly Is “Old Money Hair”?
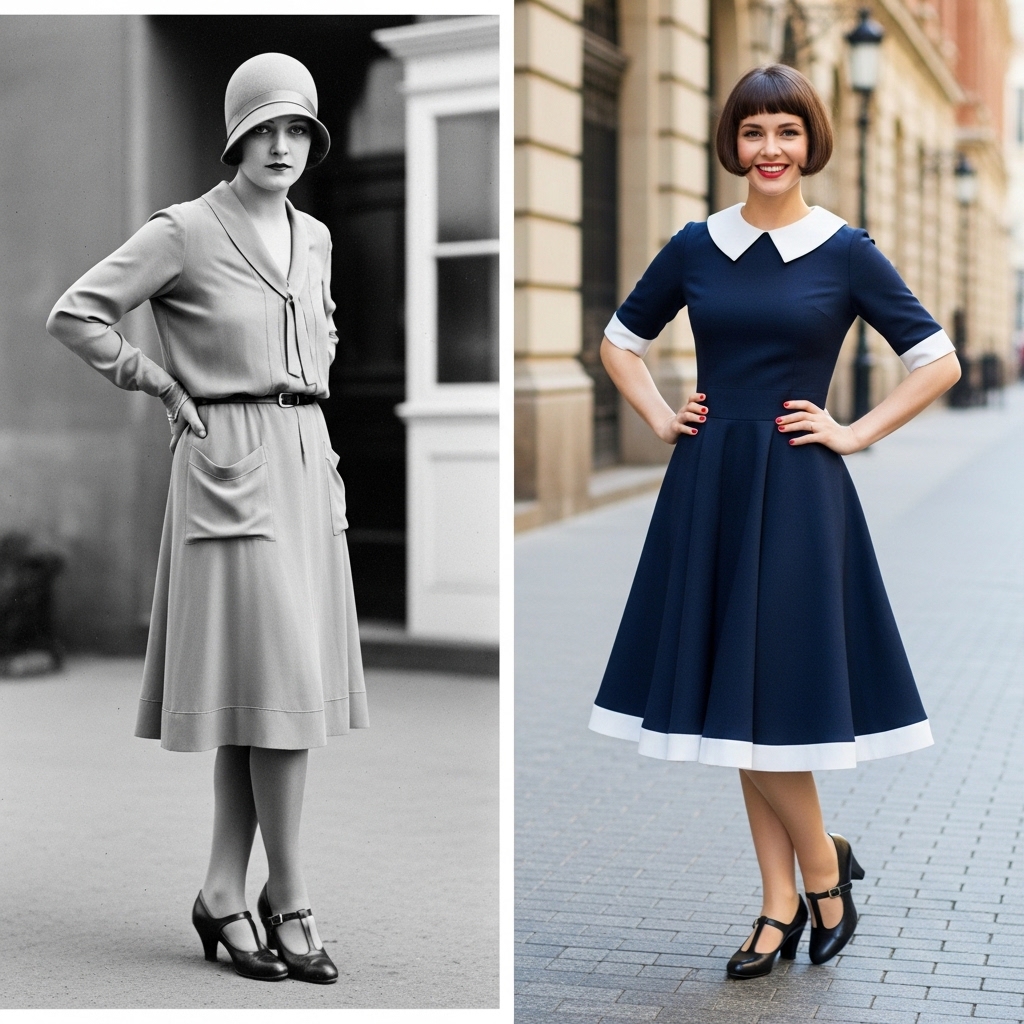
It’s not about being literally wealthy. It’s an aesthetic. Think of it as the hair version of a perfectly tailored blazer or crisp white shirt. The vibe is quality, longevity, and understated elegance.
It’s the opposite of loud, overly styled trends. While glitchy glam hair or romantic goth hairstyles make a bold statement, old money hair is about subtle confidence. It’s perfectly groomed but looks like you just woke up like that.
Why the French Roll is the Ultimate Timeless Updo
This style has been chic for decades because it’s so versatile and flattering. It lifts your features, shows off your neck, and works on almost every hair type and length (with a little help!).
Unlike a messy bun, it has structure. Unlike a tight ballerina bun, it has softness. It sits right at that sweet spot between done and undone. It’s a cornerstone look that outlasts any list of 2026 hairstyles.
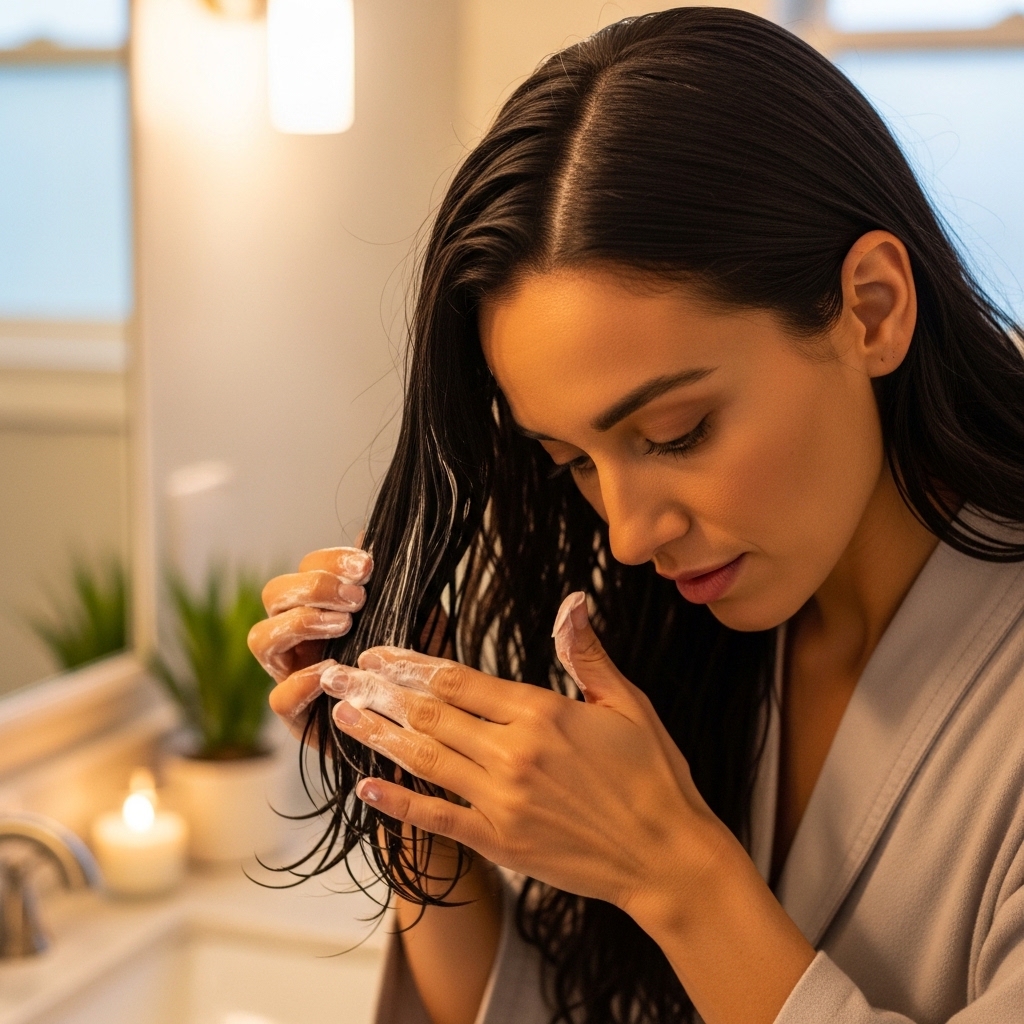
Hair Prep: The Non-Negotiable First Step
Great hair starts in the shower. For this style, you want smoothness and grip, not volume. Skip the heavy volumizing products. Instead, focus on smoothing and control.
- Use a moisturizing shampoo and conditioner.
- Apply a lightweight leave-in conditioner or smoothing cream to damp hair.
- Blow-dry your hair as straight as you can. The smoother the base, the sleeker the roll.
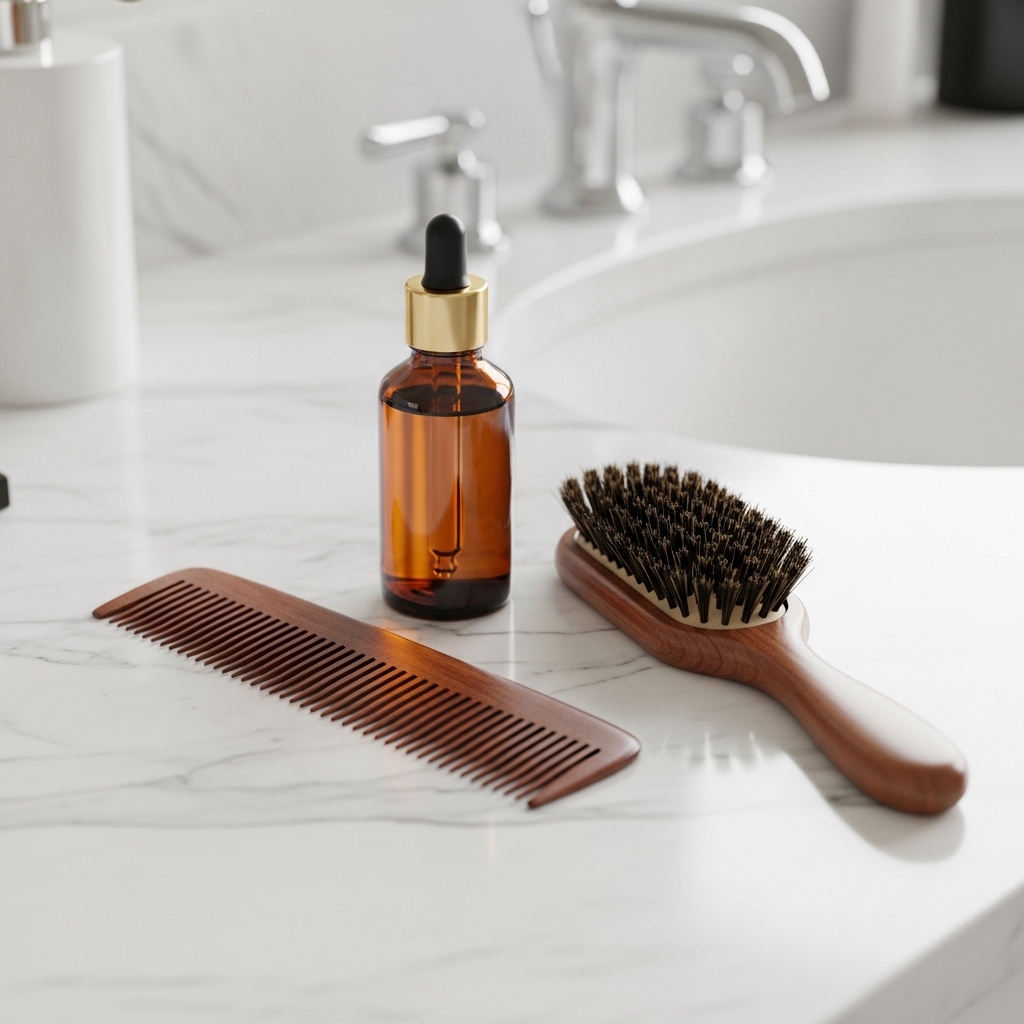
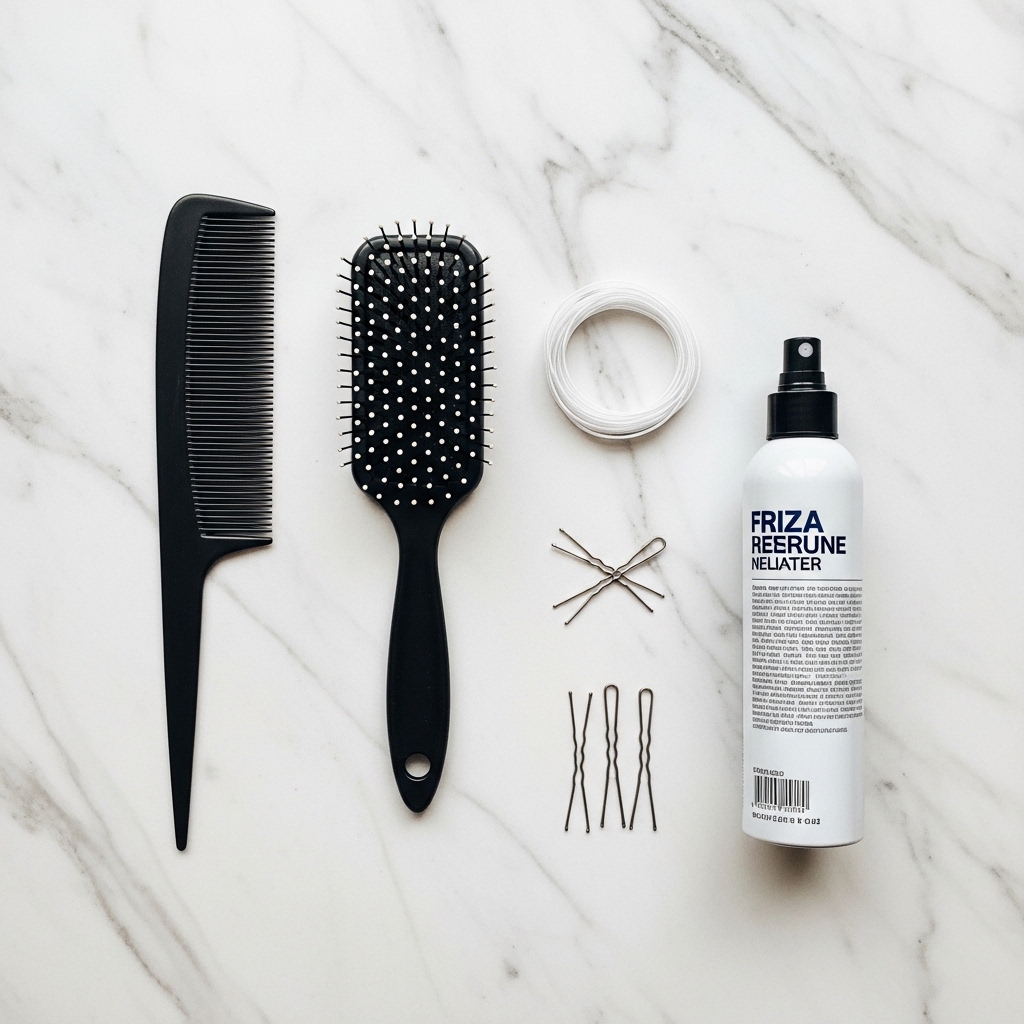
Tools You’ll Need (It’s a Short List!)
You don’t need a pro kit. Just a few basics. A fine-tooth comb is your best friend here for creating clean lines. You’ll also need a brush, hairspray, and the right pins.
- Fine-tooth comb
- Boar bristle or paddle brush
- Strong-hold hairspray (a light mist)
- U-shaped pins OR bobby pins that match your hair color
- A single, thin hair elastic
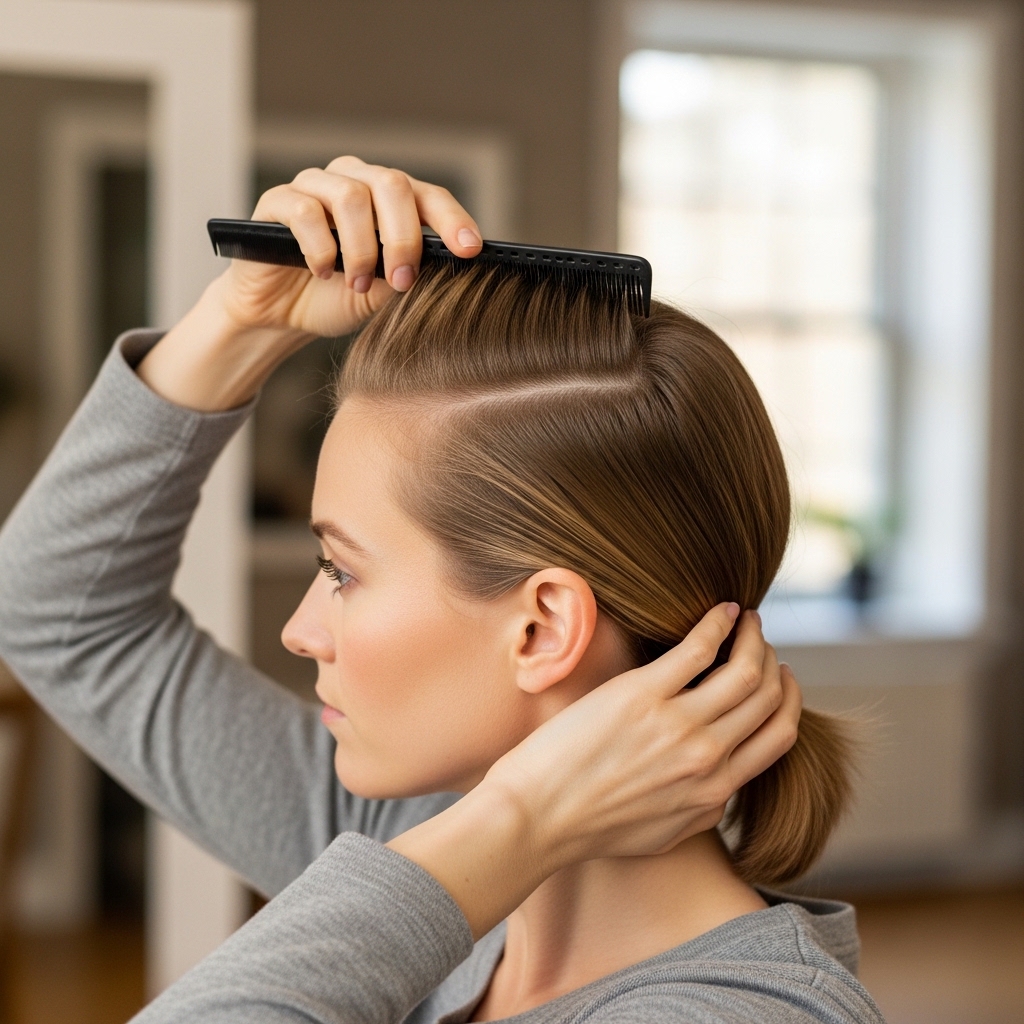
Step 1: Create a Smooth Foundation
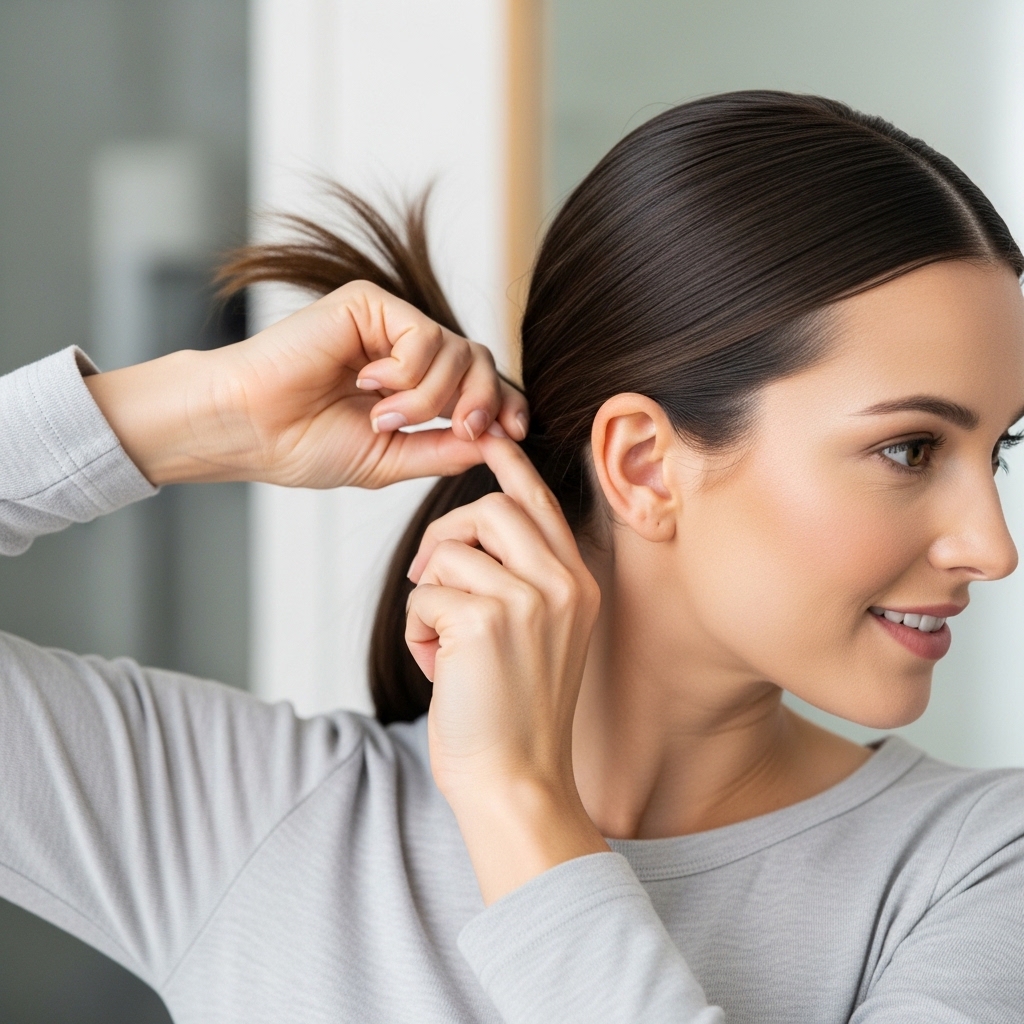
Start with day-old hair if you can; it has more natural grip. Brush all your hair back, away from your face, as if you’re making a very low, tight ponytail. No part.
Secure it at the nape of your neck with a thin elastic. Don’t pull it all the way through on the last loop—create a small, tucked-under ponytail. This is your anchor.
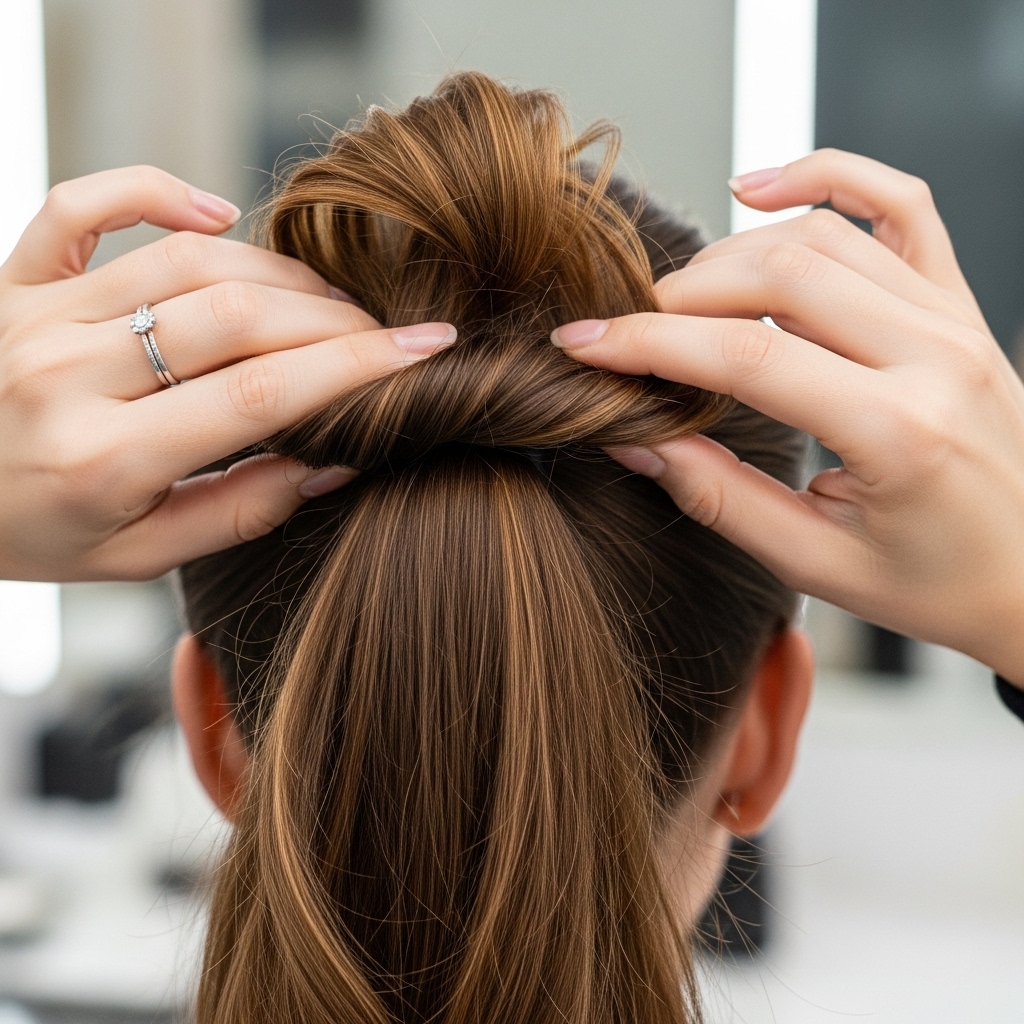
Step 2: The Initial Tuck & Roll
Take the tail of the ponytail and gently twist it once or twice. Then, start tucking the ends upward and under, into the base of the ponytail. Use your free hand to hold the roll in place.
Think of it as folding the hair under itself. You’re not wrapping it around the base; you’re creating a soft, folded cushion. Keep it relaxed, not tight.
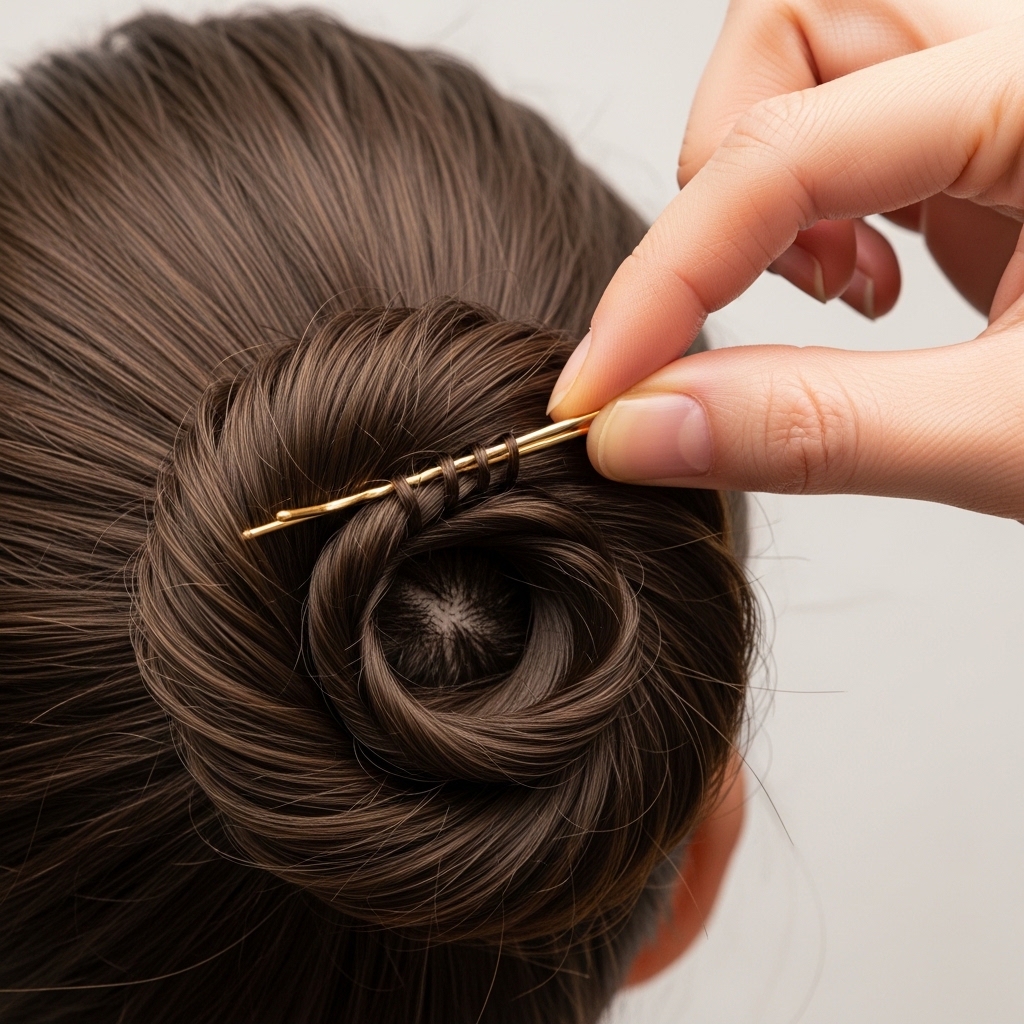
Step 3: Securing with Pins (The Secret!)
Here’s the pro move. Use U-pins or bobby pins. Insert them horizontally, not vertically, through the roll and into the hair at the base of your head. This locks it in.
- Slide the pin through the outer layer of the roll.
- Push it into the anchored hair underneath.
- Criss-cross pins for maximum security. Start with 3-4 pins.
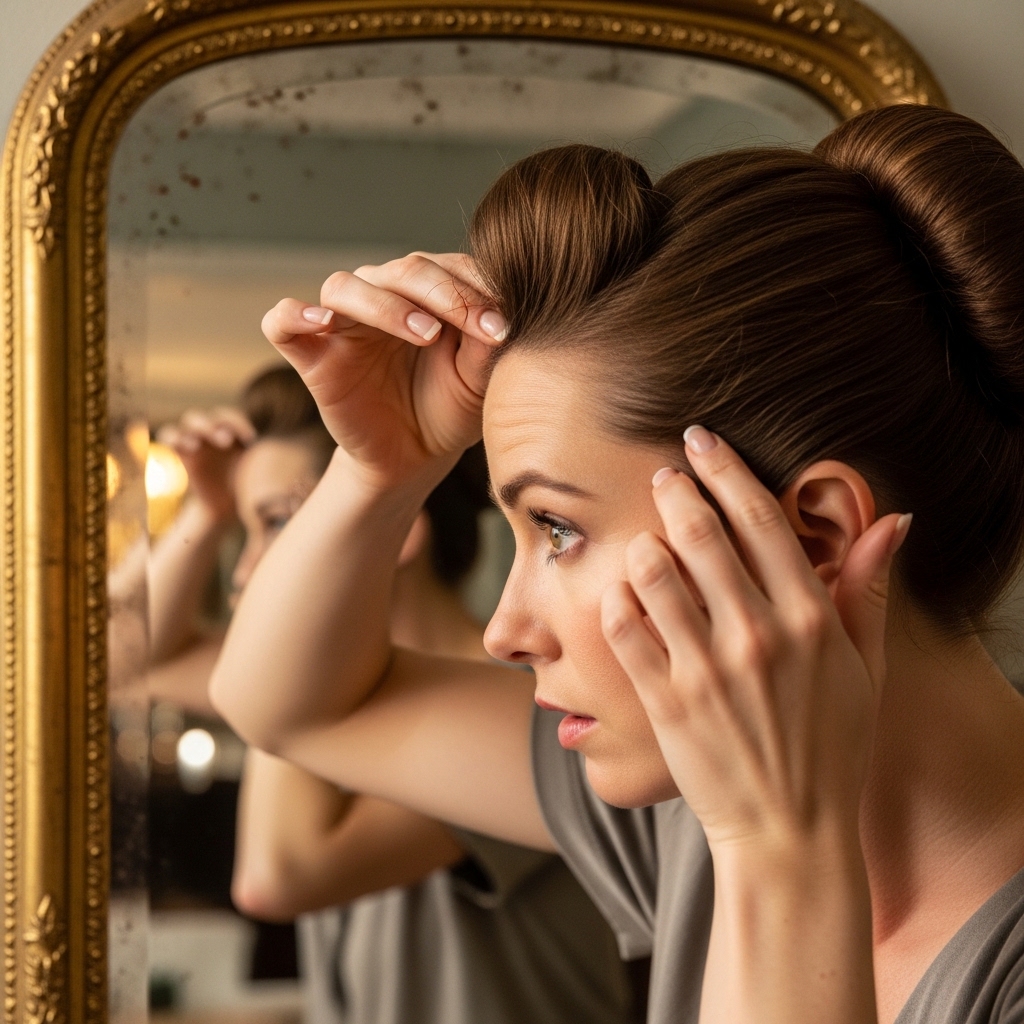
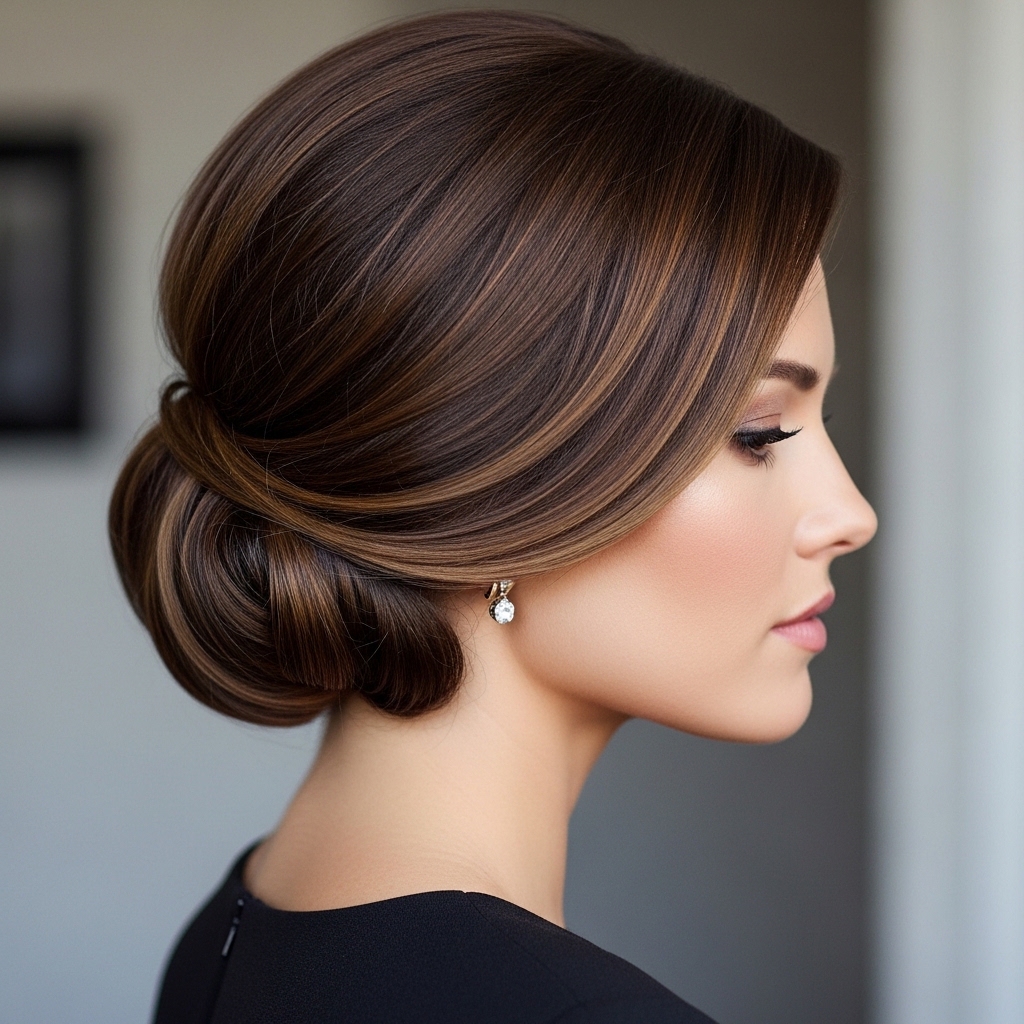
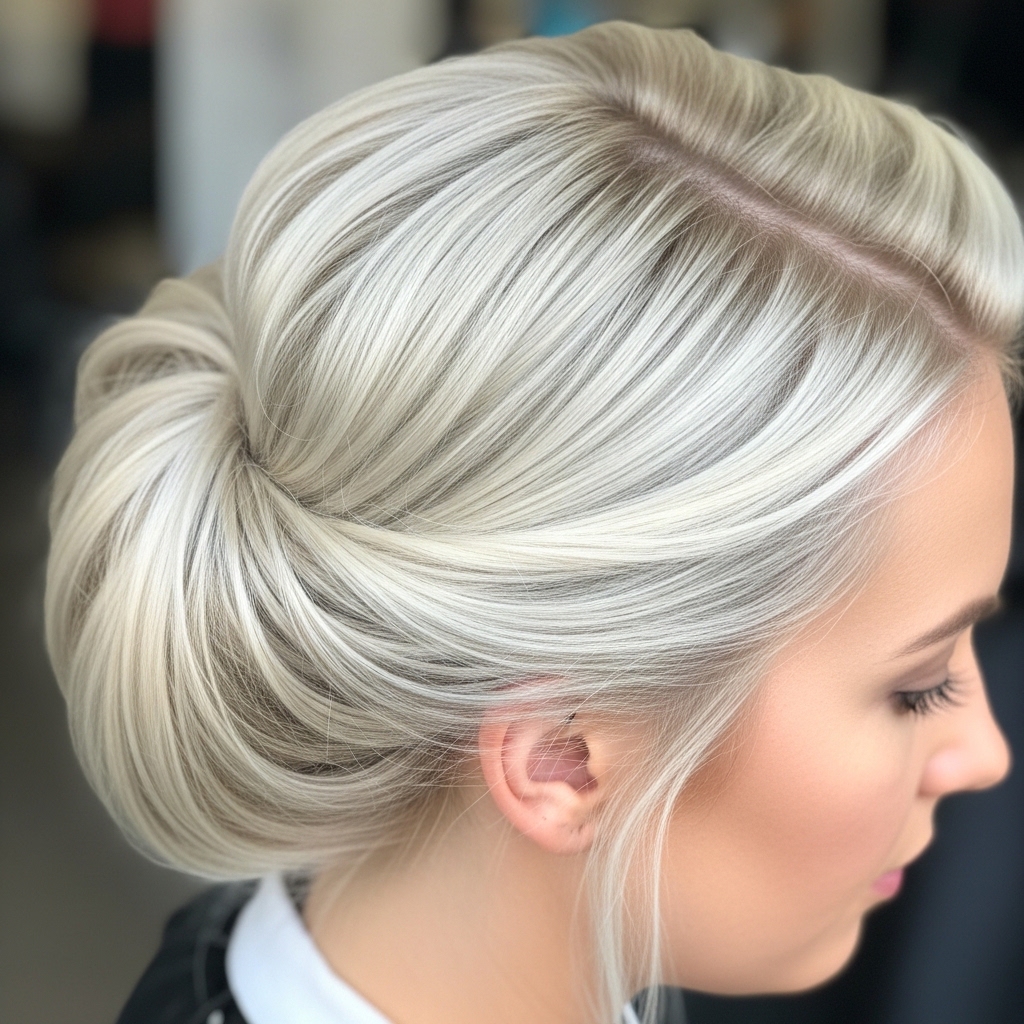
Step 4: Perfecting the Shape & Silhouette
Step back and look in the mirror. You want a soft, rounded roll, not a pointy one. Gently tug at the sides of the roll to plump it up and smooth any bumps.
The silhouette from the side should be a gentle curve from the crown to the nape. Use the tail of your comb to adjust any stray hairs into the roll.
Step 5: The Art of the “Undone” Finish
This is what makes it “old money” and not “pageant.” Deliberately loosen a few tiny hairs around your hairline and nape. Pull out two or three soft pieces to frame your face.
The goal is to look like you’ve been busy living your fabulous life, not like you spent an hour perfecting this. A little imperfection is key.
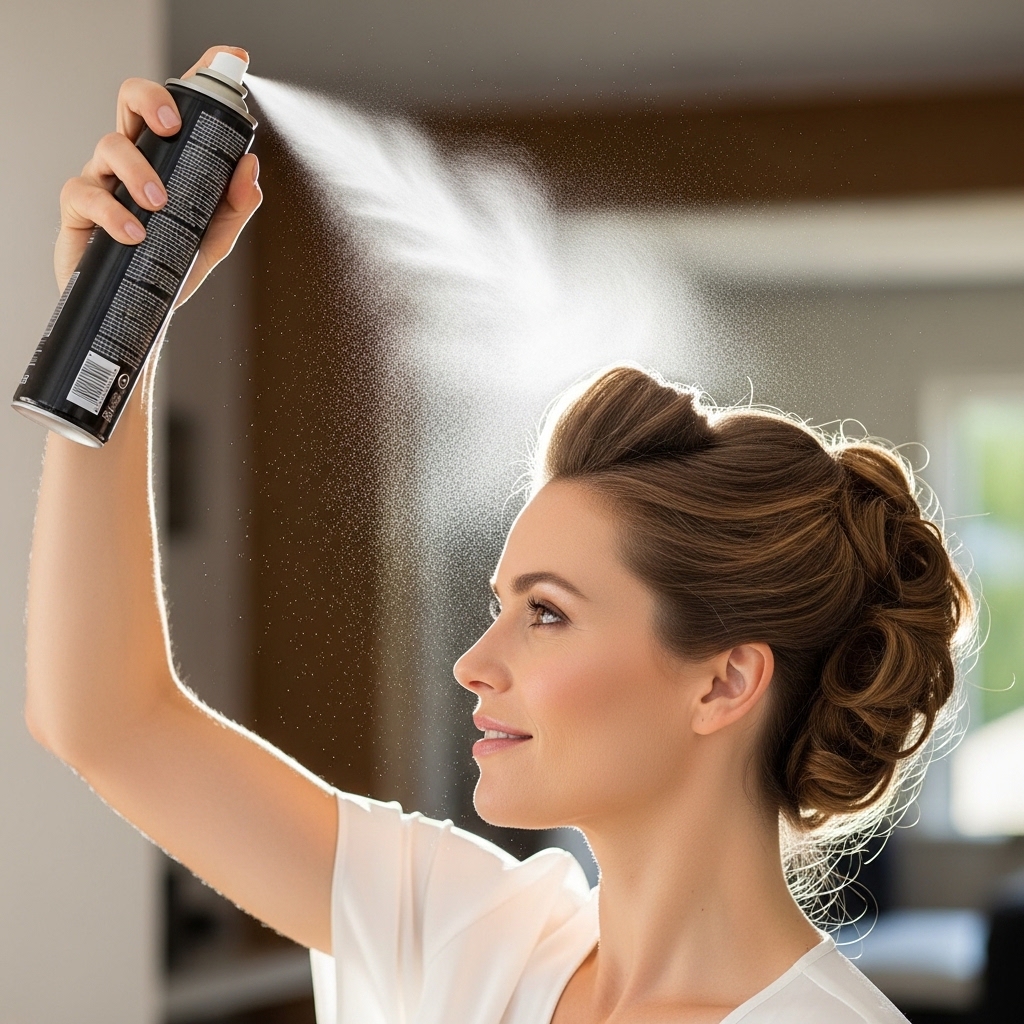
How to Make It Last All Day & Night
A light mist of strong-hold hairspray is your final seal. Hold the can about 10 inches away and spray in a quick, sweeping motion. Avoid soaking it—you want hold, not crunch.
Throw a few extra bobby pins in your bag. If you feel it loosening later, you can quickly tuck and pin without a mirror. The style is forgiving.
Adapting for Fine or Thin Hair
You might need a little help with volume. Tease the hair at the crown lightly before brushing it back. Use a texturizing spray at the roots for grip.
When you create your initial ponytail, consider using a small, hidden “donut” bun form just to give the roll something to anchor to and create a fuller appearance.
Adapting for Thick or Curly Hair
The key is control and smoothing. Use a stronger-hold smoothing cream when damp. You may need to make two sections: roll the bottom half first, then incorporate the top.
More pins are your friend. Don’t fight your texture—work with it. A slightly fuller, more voluminous roll on thick hair looks incredibly luxurious.

The “Quiet Luxury” Version
This is the quintessential quiet luxury bob translation. If you have a bob or asymmetrical lob that’s too short for a full roll, just do the version at your nape.
Take the lower section of your hair, twist, and tuck. Leave the top layers down. It gives that same polished-neck feel with a modern, breezy finish.
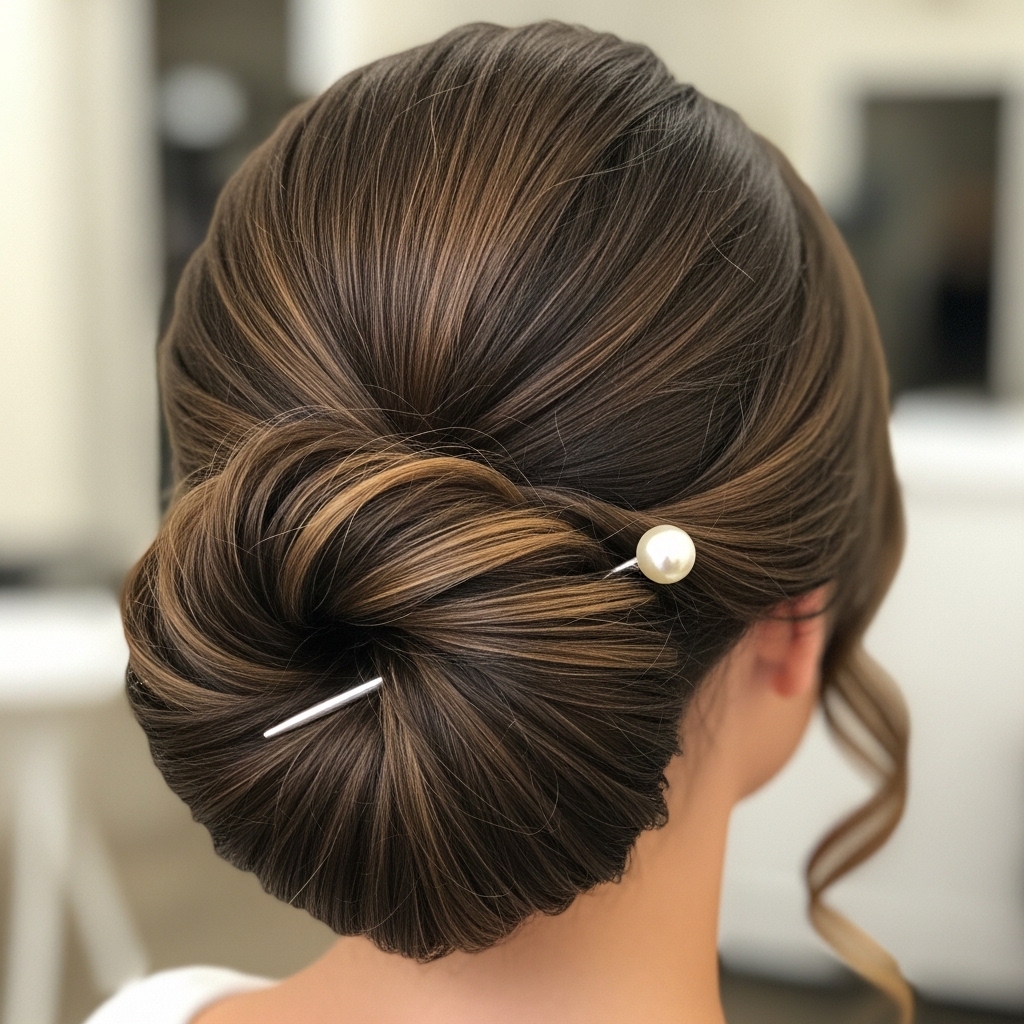
The Romantic Evening Variation
Swap the “undone” pieces for soft, face-framing curls. Before you start the updo, curl a few front sections and pin them back. After the roll is set, release those curls.
Add a simple, elegant accessory like a pearl-encrusted pin or a delicate silk scarf tied around the base. Instant black-tie ready.
Pairing with Other 2026 Hair Trends
Love trends? Mix them. The structure of the roll is a perfect contrast to pieces of glitchy glam hair (think a bold money piece highlight).
It also balances the drama of romantic goth hairstyles or the edginess of a vampire haircut. The polished updo grounds the look and makes it wearable daily.
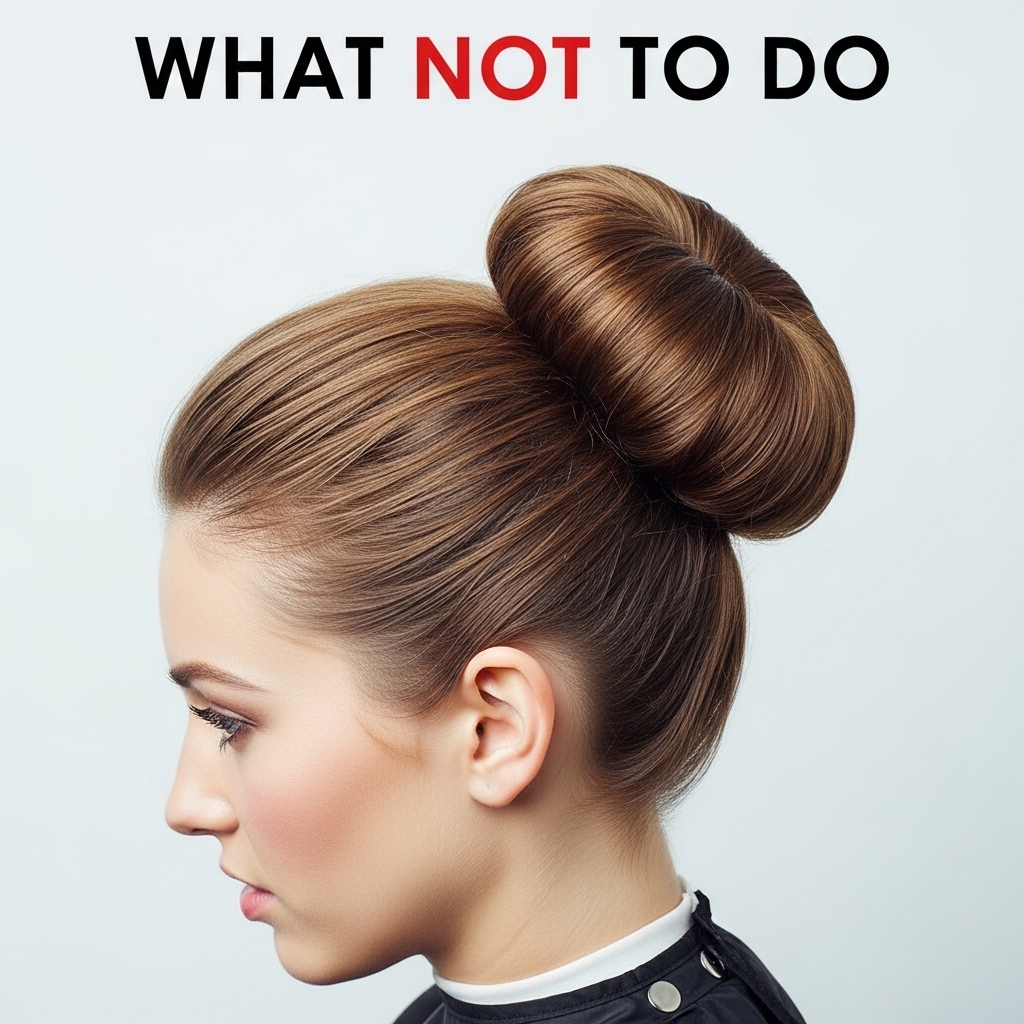
What to Avoid: Common Mistakes
Don’t make it too tight or slick. You’re not going for a swim meet. Avoid using gel or wax that makes hair look wet or crispy.
Don’t place the roll too high. It should sit at or just below the occipital bone (the bump at the back of your head). Too high ventures into dated territory.
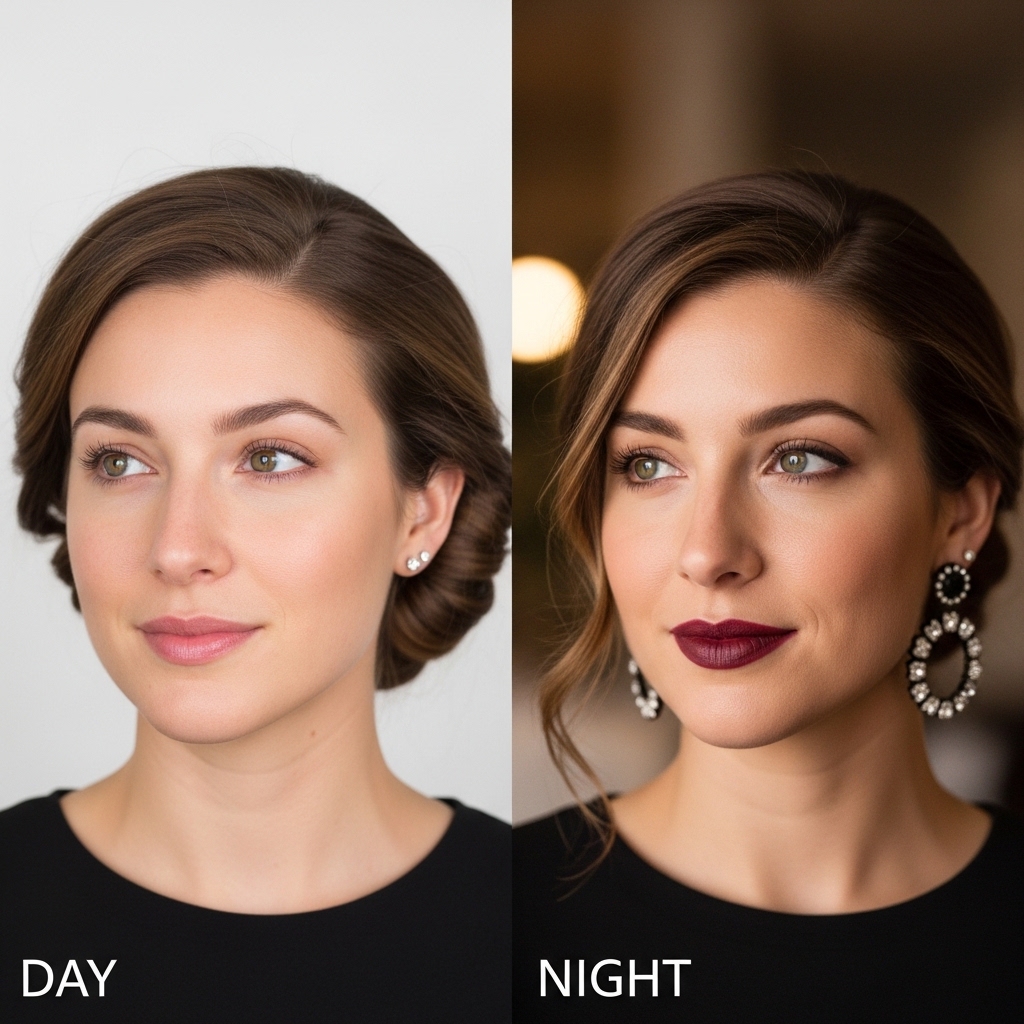
Day-to-Night Transition in 2 Minutes
Wearing it to work? Keep it clean and tight. For evening, it’s the easiest transition ever. Pull out a few more face-framing pieces.
Spritz a texturizing spray at the roots and gently massage to create a tiny bit of lived-in volume at the crown. Switch your earrings to something statement-making.
Maintaining Healthy Hair for Styling
Regular trims are a must to prevent split ends that make styling messy. Use a heat protectant every time you blow-dry. And give your hair a break from tight styles a few days a week.
A deep conditioning treatment once a week keeps hair supple and easier to work with, whether you’re doing this or trying a hime cut.
Your FAQs Answered Quickly
Can I do this on myself? Absolutely! The back-view might feel tricky at first, but it’s all about feel. Practice a few times.
Does it work on short hair? Yes, if it’s long enough to tuck. A asymmetrical lob often is. Use mini pins and just focus on the nape hair.
How do I hide the elastic? The roll itself covers it! After pinning, you can also take a tiny piece of hair and wrap it around the base, securing with a pin.

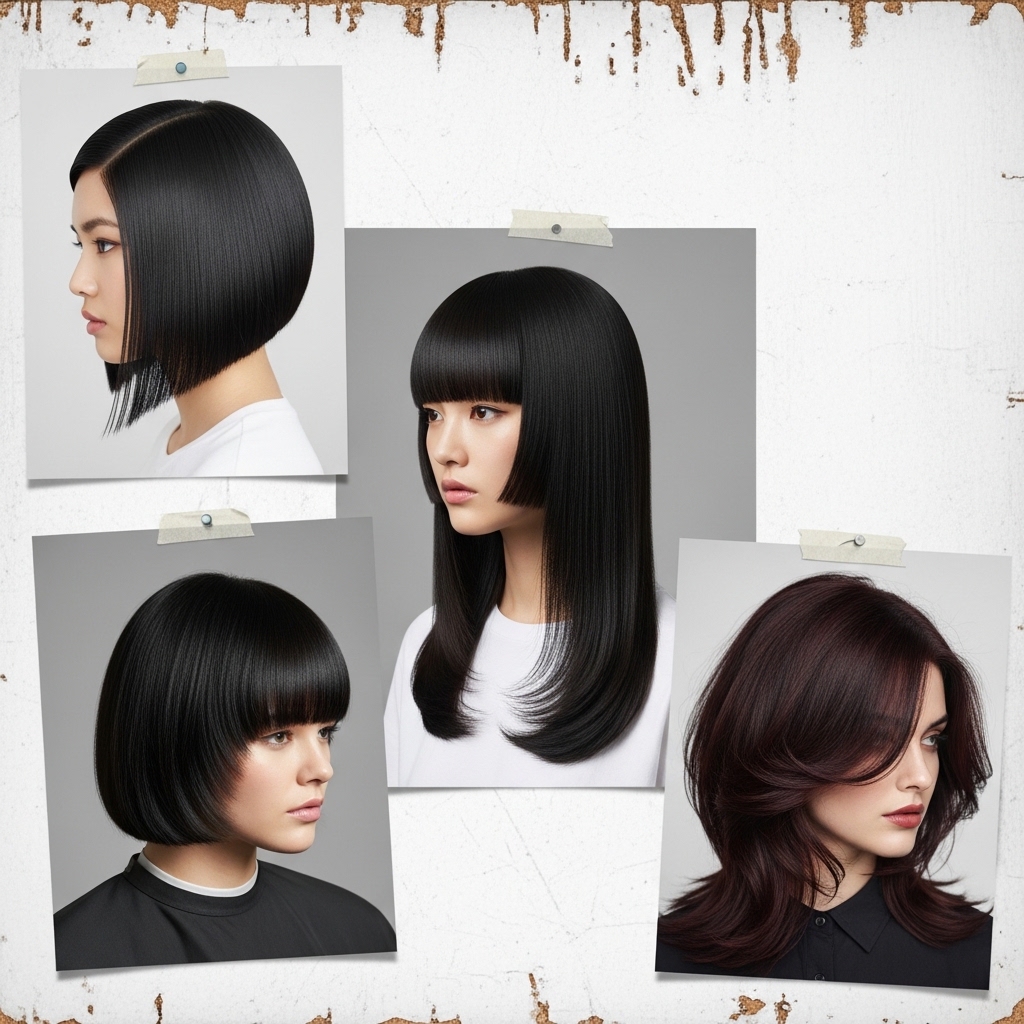
Inspiration Beyond the French Roll
If you love this vibe, explore other low-maintenance, high-impact styles. The quiet luxury bob is its sister in spirit. The hime cut offers a structured, graphic shape.
Even the vampire haircut has that same sense of intentional, personal style. It’s all about finding what feels like “you,” but polished.
Final Touch: The Confidence Check
The last step isn’t with a pin or spray. It’s in the mirror. Stand up straight, pull your shoulders back, and own it. This hairstyle carries an attitude of quiet assurance.
That confidence is the real secret ingredient. It’s what makes the look go from “nice hairstyle” to “who is she?” Trust me, you’ve got this.
And that’s it, friend. The magic of the Old Money French Roll isn’t in some complicated technique—it’s in the feeling it gives you. Polished, pulled-together, and quietly powerful. It’s a style that works for you, not the other way around.
I hope you give it a try this week. Maybe for a date night, or just to make your Tuesday grocery run feel a little more special. Sometimes the simplest style changes make the biggest difference in how we carry ourselves.
Save this post to Pinterest so you can always find the steps when you need them! Did you try it? Tell me in the comments—what’s your go-to “I need to look put together” hairstyle?

