
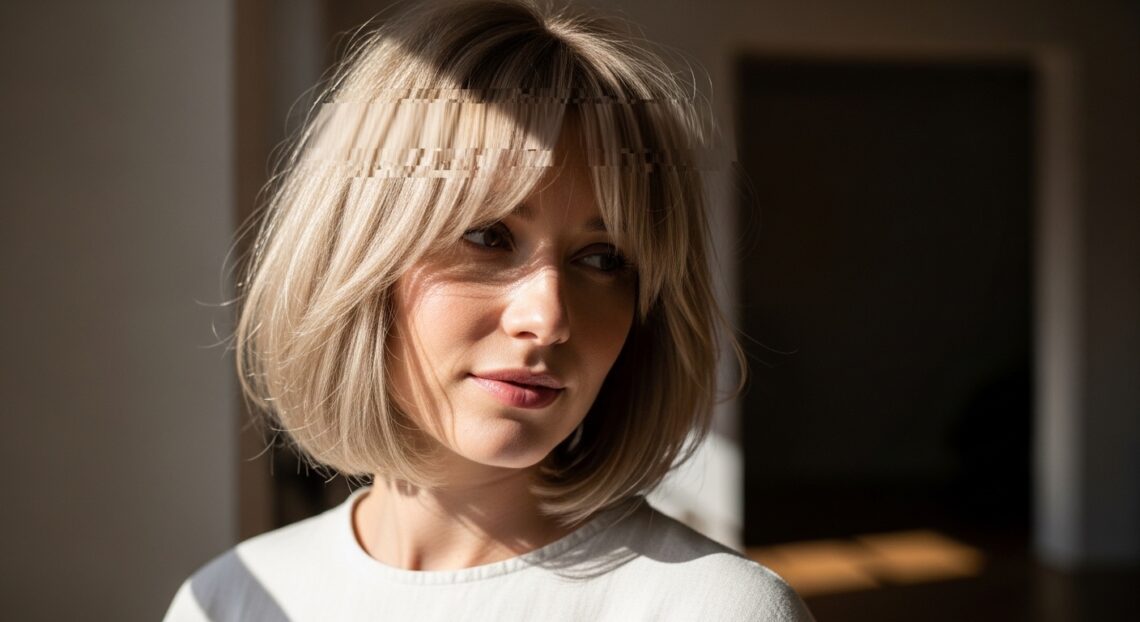
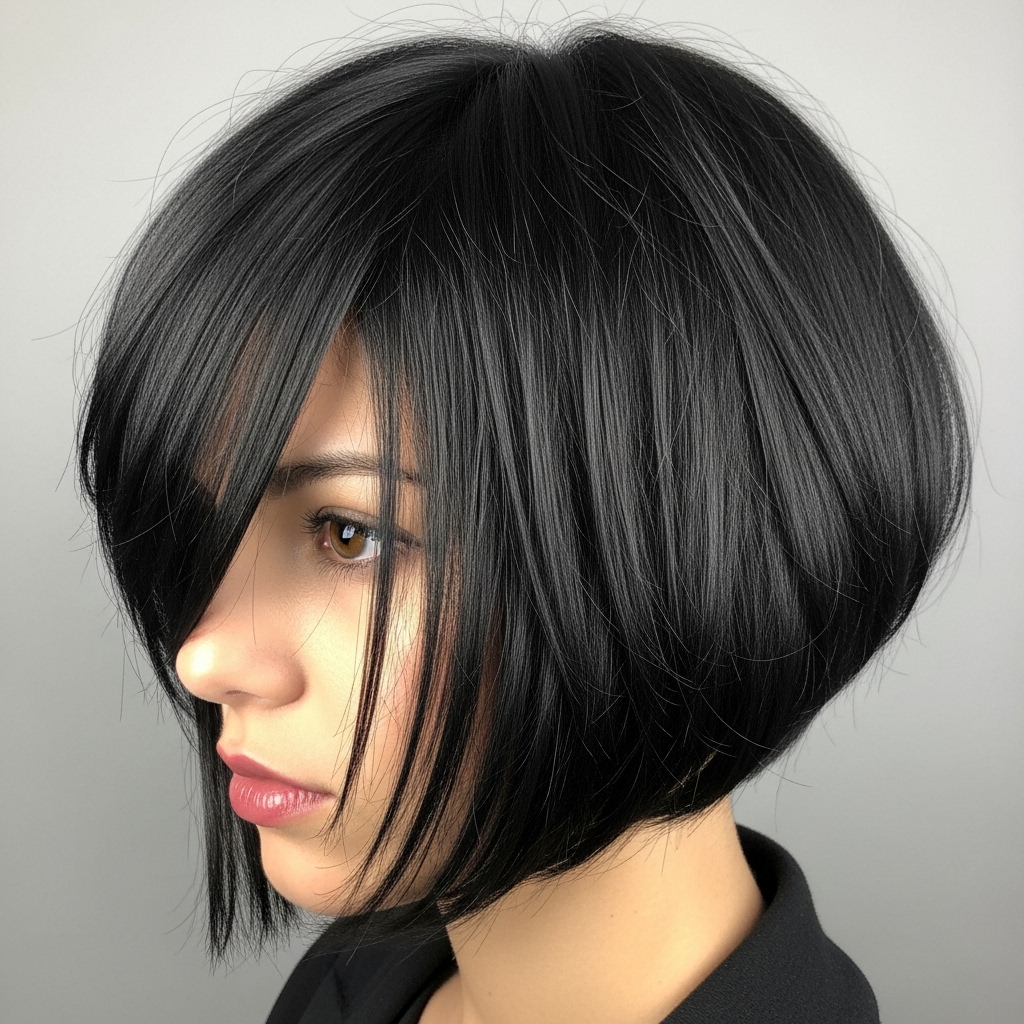
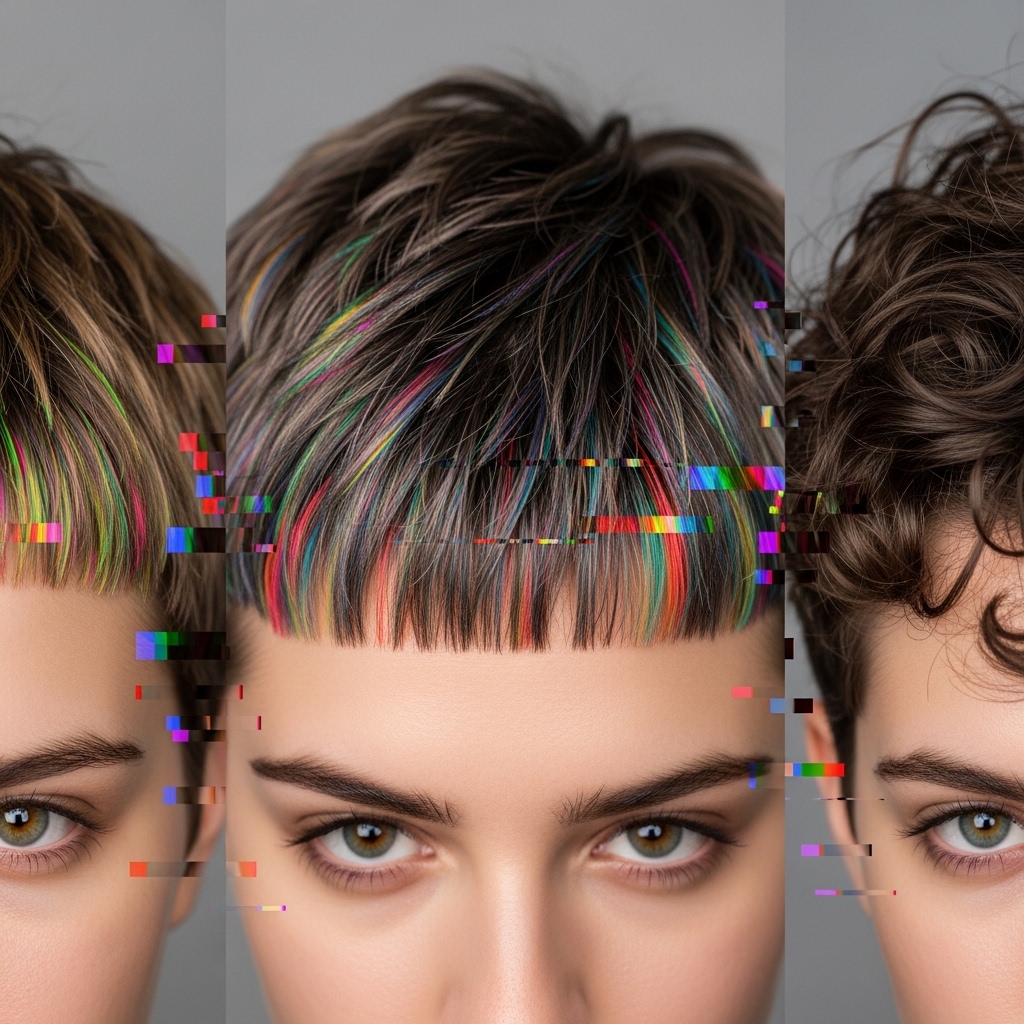
Okay, let’s talk about the coolest thing happening to short hair right now. It’s not just a cut; it’s a whole mood. I’m calling it the glitchy glam fringe, and if you’re feeling a little bored with your bob or lob, this is your sign to shake things up.
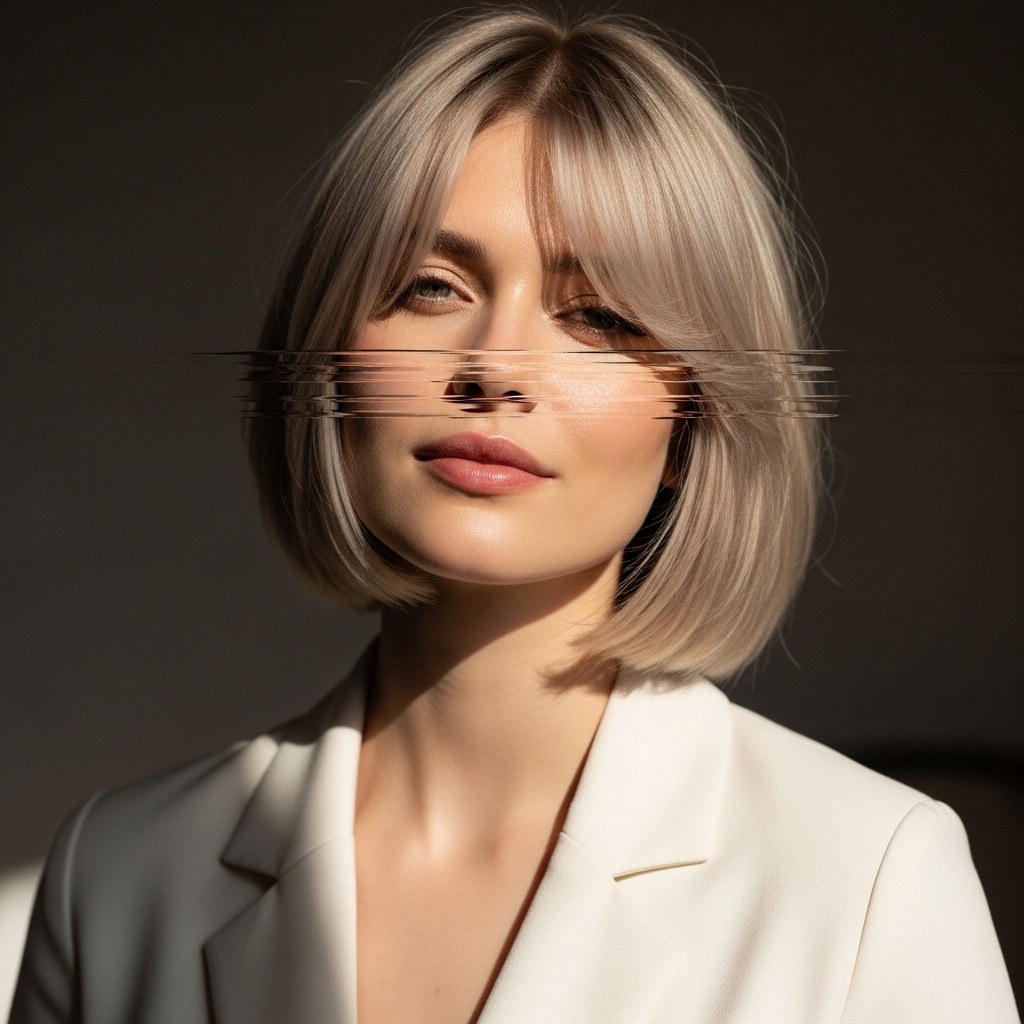
Think of it as your classic, chic cut—maybe that quiet luxury bob you love—getting a digital remix. It’s elegant but with a deliberate, stylish “error.” A fringe that’s piece-y, broken-up, and full of texture, playing with light and shadow.
This look sits right at the sweet spot between romantic goth hairstyles and clean-girl aesthetics. It’s for anyone who wants their hair to have a bit of personality and edge without going full costume.
The best part? It’s surprisingly low-maintenance and incredibly versatile. I’m going to walk you through everything, from getting the right cut to styling it in five minutes flat. Let’s unlock this next-level look for your short hair.
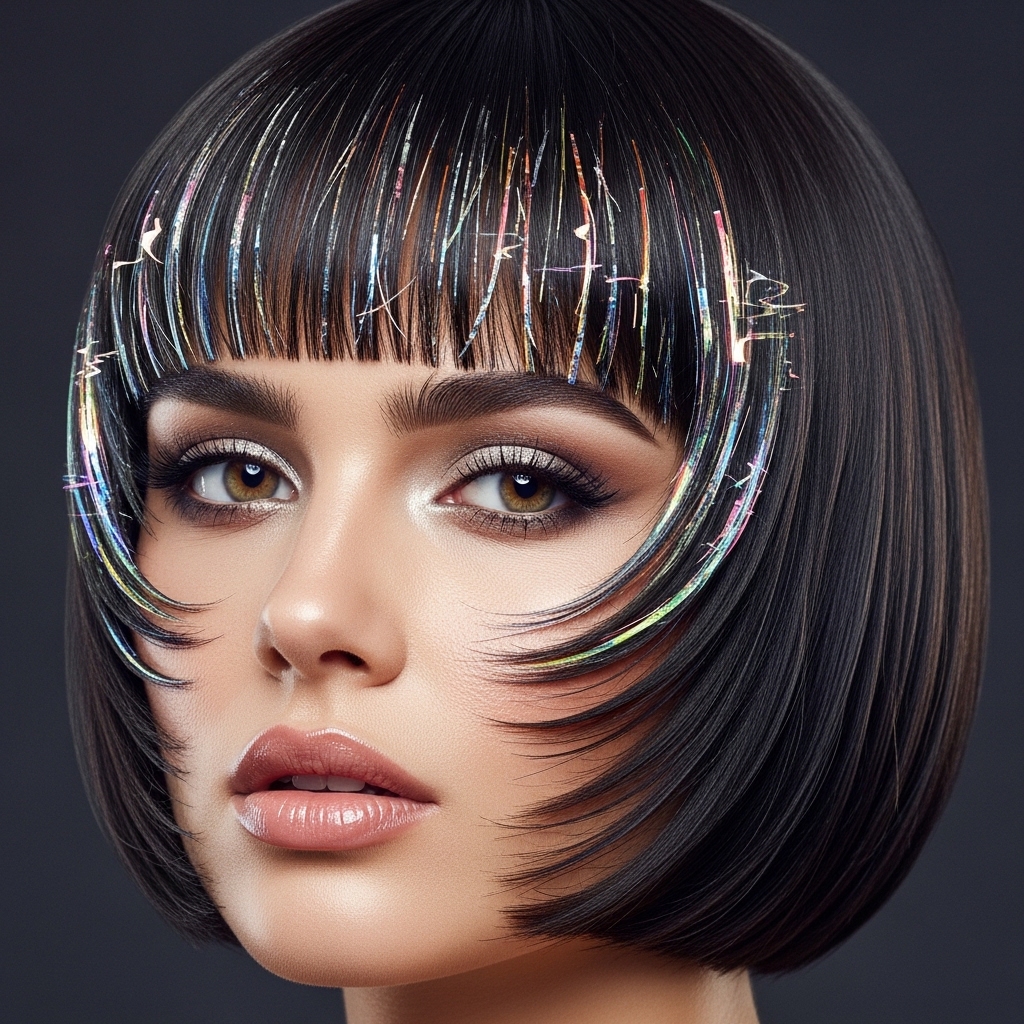
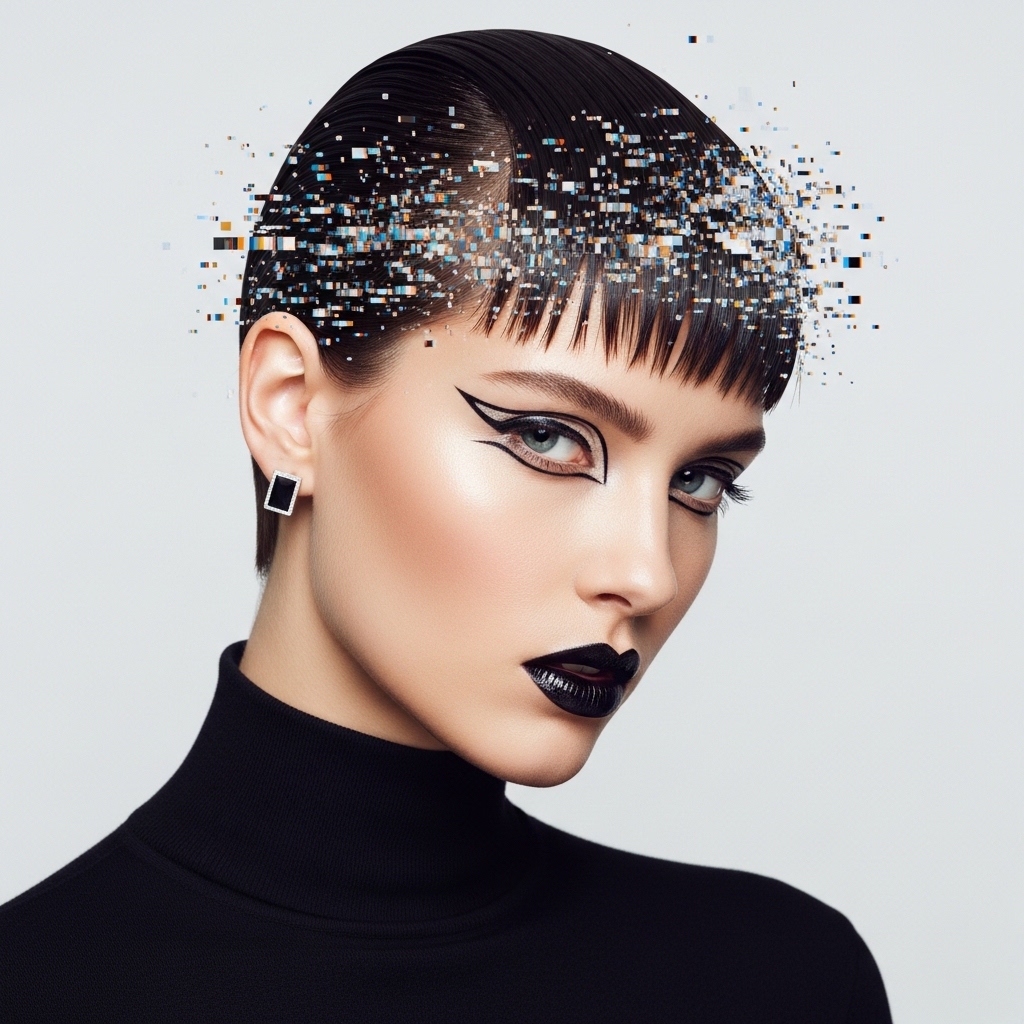
What Exactly Is Glitchy Glam Hair?
Glitchy glam hair is that perfect, intentional imperfection. It takes the sleekness of 2026 hairstyles trends—think old money hair vibes—and adds a raw, textured disruption. Usually through the fringe and face-framing layers.
The “glitch” is in the details: pieces that stick out, ends that are shattered instead of blunt, and a fringe that looks artfully messed-up, not just slept-in. It’s controlled chaos.
It works because it feels modern and personal. Your hair isn’t “done” in a traditional sense; it’s styled with attitude. This is the key difference between a standard bob and an asymmetrical lob with a glitchy fringe.
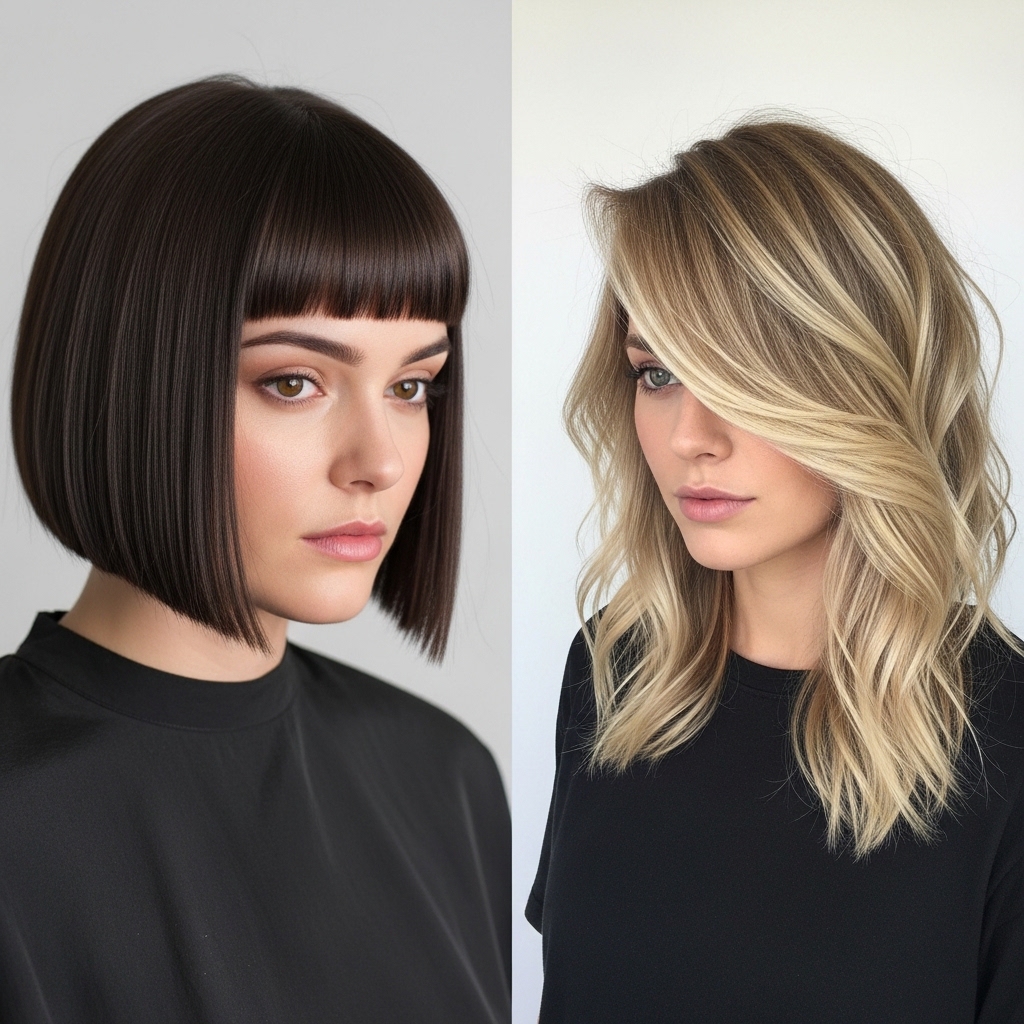
Start With the Right Foundation Cut
You need a great canvas. This style works best on cuts that already have structure and movement. Bring these keywords to your stylist for the best results.
- The Asymmetrical Lob: Longer in the front, shorter in the back. It gives the fringe and face-framers more length to play with.
- The Vampire Haircut: A sharp, blunt bob with heavy, straight-across bangs that you can then “glitch up” with texture.
- The Hime Cut: Those dramatic, straight-across front pieces are a fantastic starting point for adding choppy, glitchy texture.
Tell them you want lots of texture in the ends and in the fringe area. This isn’t a one-length, solid cut.
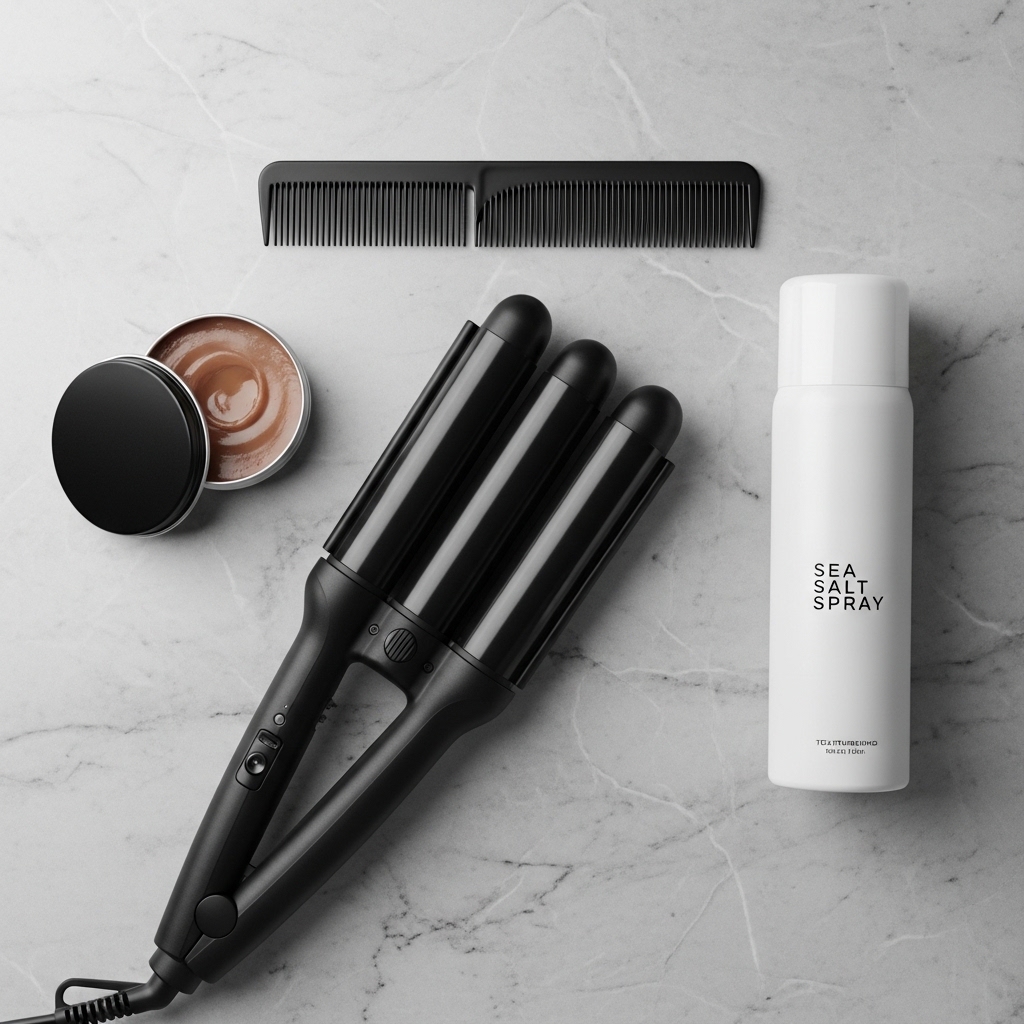
Essential Tools You’ll Actually Use
You don’t need a salon full of gear. Just a few key players will get you there every time. Keep it simple.
- A flat iron with rounded edges (a waver is even better).
- Texturizing spray or a light-hold sea salt spray.
- A tiny tub of matte pomade or wax for detail work.
- A fine-tooth comb for separating pieces.
- A strong-hold hairspray (but we’ll use it lightly).
That’s it! With these, you can create any version of the glitchy fringe we talk about.
The Core Styling Method: Create the “Glitch”
This is your base routine. Master this, and the rest are just fun variations. Start with day-old hair or use a dry shampoo for grip.
- Spritz texturizing spray lightly all over, focusing on your fringe and ends.
- Using your waver or flat iron, create random, uneven bends in your fringe. Don’t make uniform waves. Twist some pieces, barely curl others.
- Pinch a tiny amount of pomade between your fingers. Rub them together to warm it up.
- Gently twist and separate the pieces of your fringe, coating them lightly with the product. Pull a few strands forward intentionally.
You’ve just created the core glitchy texture. Now let’s play with shapes.
Style 1: The Soft Glitch Bob
This is your gateway glitch. It’s subtle, elegant, and perfect for easing into the trend. It keeps that quiet luxury bob feel but with a twist.
Follow the core method, but keep the “glitches” soft. Use a wider-barrel waver for gentle bends. The goal is broken-up texture, not sharp angles.
Use your comb to gently separate the fringe into soft, piece-y sections. Finish with a light mist of hairspray from a distance to hold without stiffness.
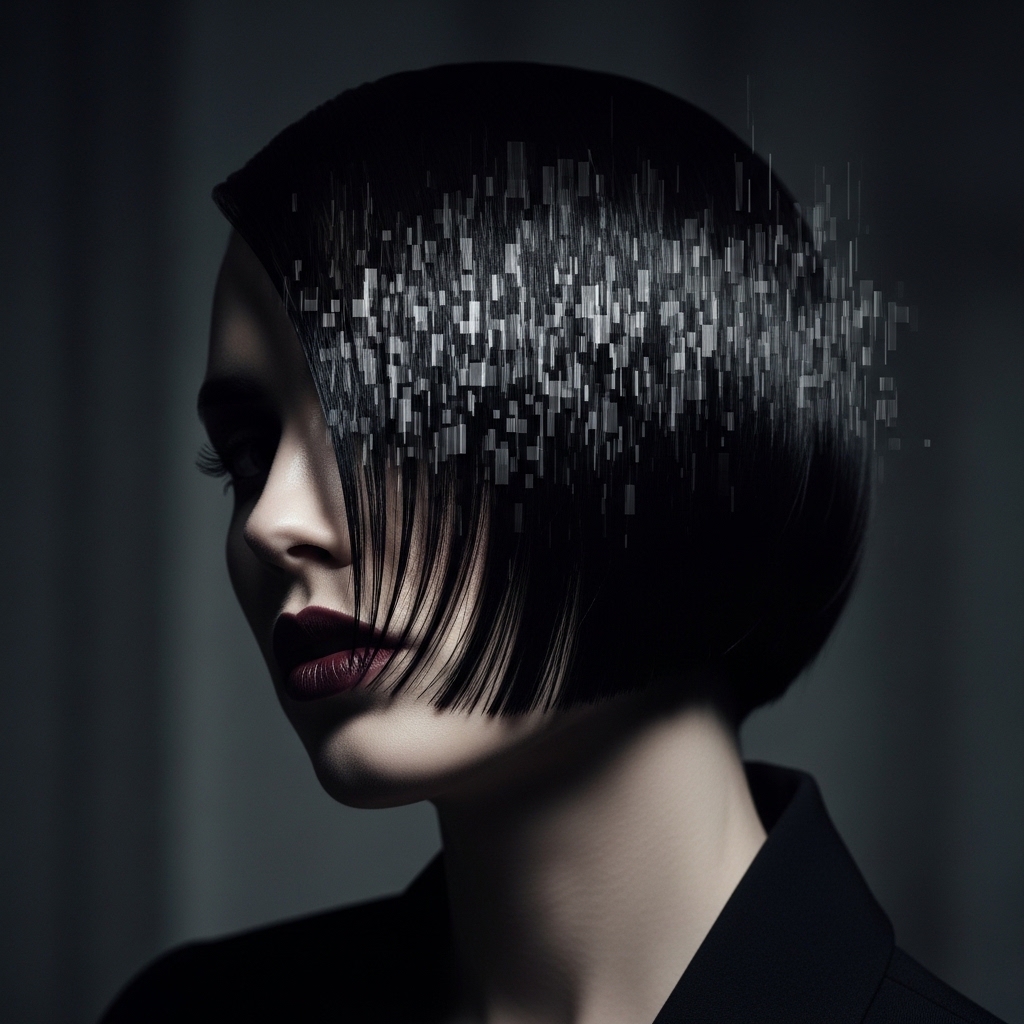
Style 2: The Romantic Goth Glitch
Here’s where we lean into those romantic goth hairstyles. It’s darker, more dramatic, and perfect for making a statement.
Start with a deep side part. Create your glitchy texture, but focus on having one side of the fringe be longer and more dramatic, sweeping across the forehead.
Add a bit more pomade for a slightly damp, defined look. This style pairs perfectly with a sharp vampire haircut base. Think less messy, more intense.
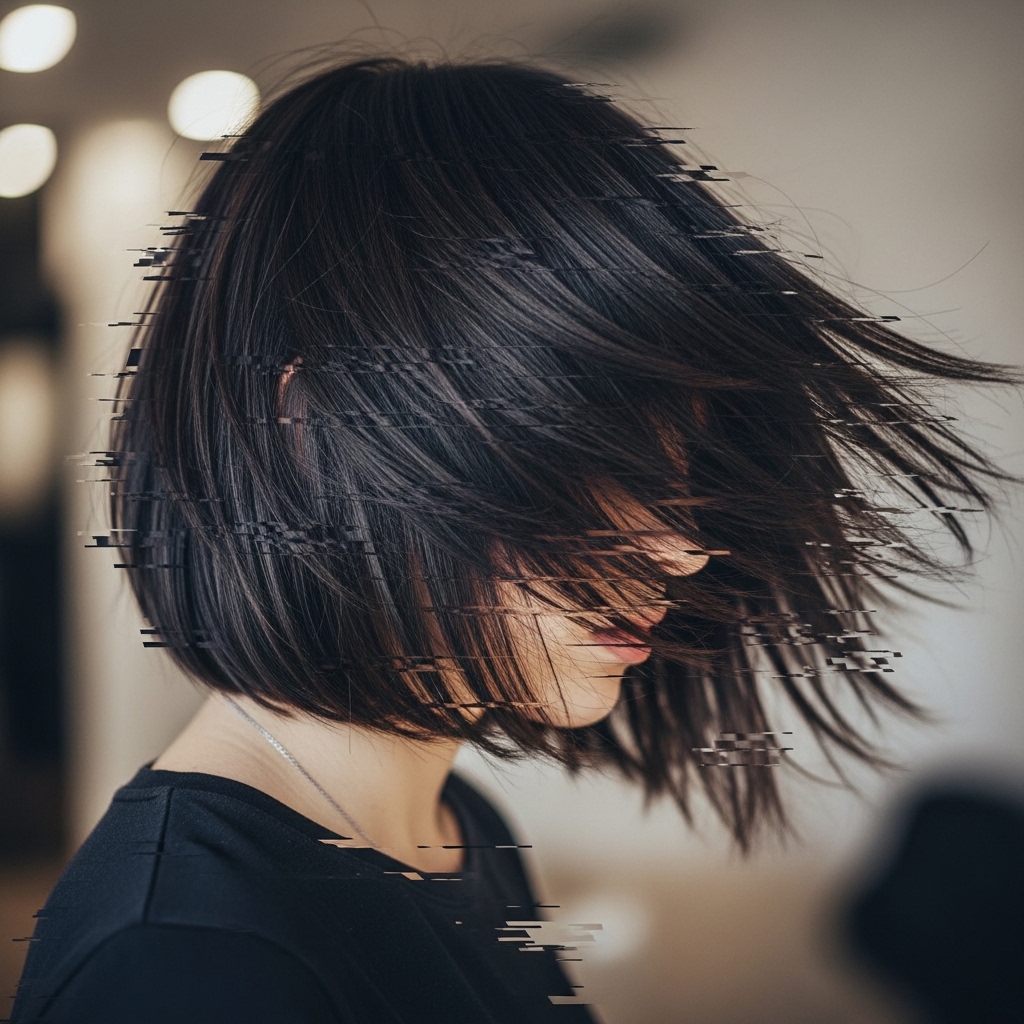
Style 3: The Piece-Y Asymmetrical Glitch
This is for my asymmetrical lob girls. The length difference already adds drama, and the fringe amplifies it.
Concentrate the most textured, piece-y sections on the longer side of your lob. Use your flat iron to create a few outward flicks on that side.
Keep the shorter side more sleek and tucked behind the ear. The contrast is everything. This style has incredible movement and feels very modern.
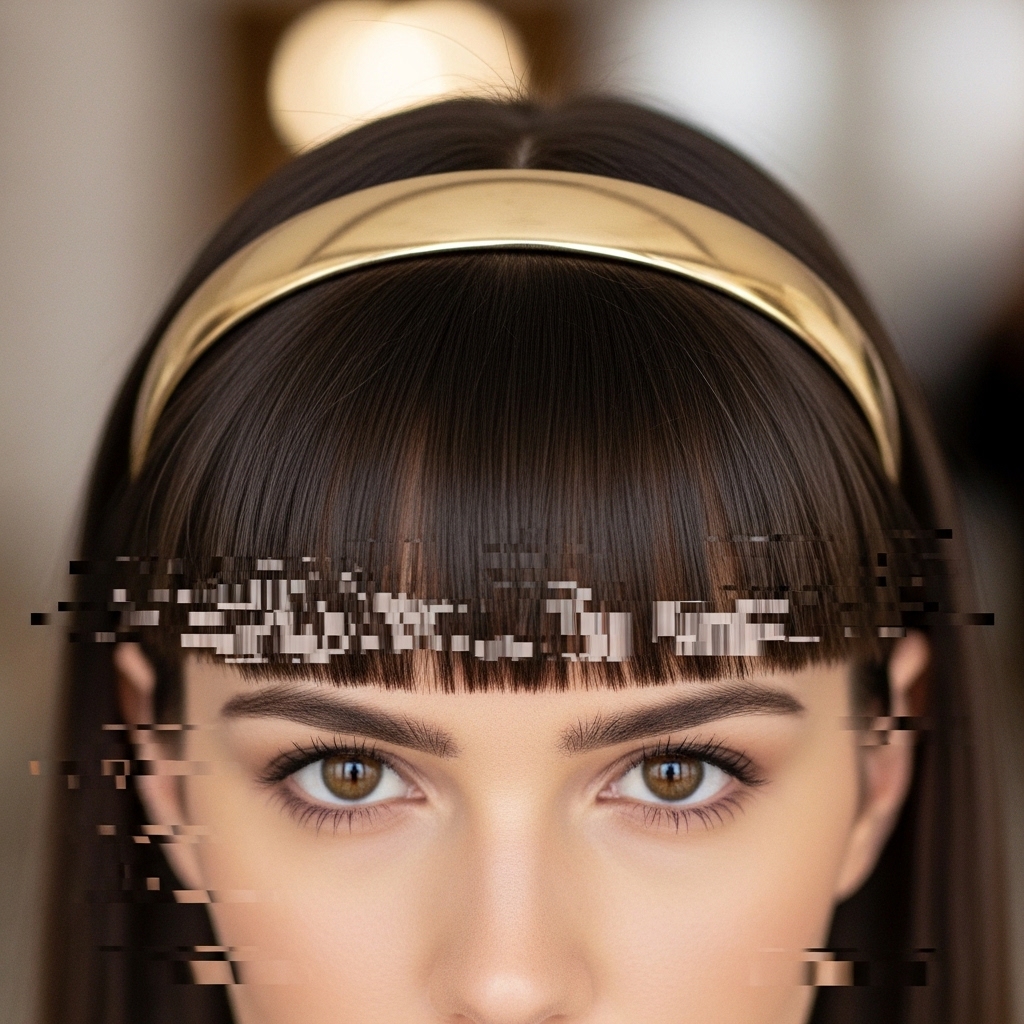
Style 4: The Hime Cut Glitch Update
The traditional hime cut is bold and graphic. Updating it with glitchy texture makes it feel fresh and less costumey.
Instead of keeping the front panels perfectly straight and blunt, use your iron to add slight bends and irregularities. Razor-cut the ends for a feathered effect.
Separate the panels into distinct but textured sections. This modernizes the look instantly, blending an ancient style with a 2026 hairstyles sensibility.
Style 5: The Slicked-Back with Glitchy Fringe
This is a killer evening look. It shows you’re a pro at this. It combines polished and punk in the best way.
Slick back the majority of your hair (sides and top) smoothly with a strong gel or pomade, into a low bun or just tucked back.
Let your glitchy fringe be the star. Make it extra textured and piece-y, standing in contrast to the sleekness behind it. This is a major power look.
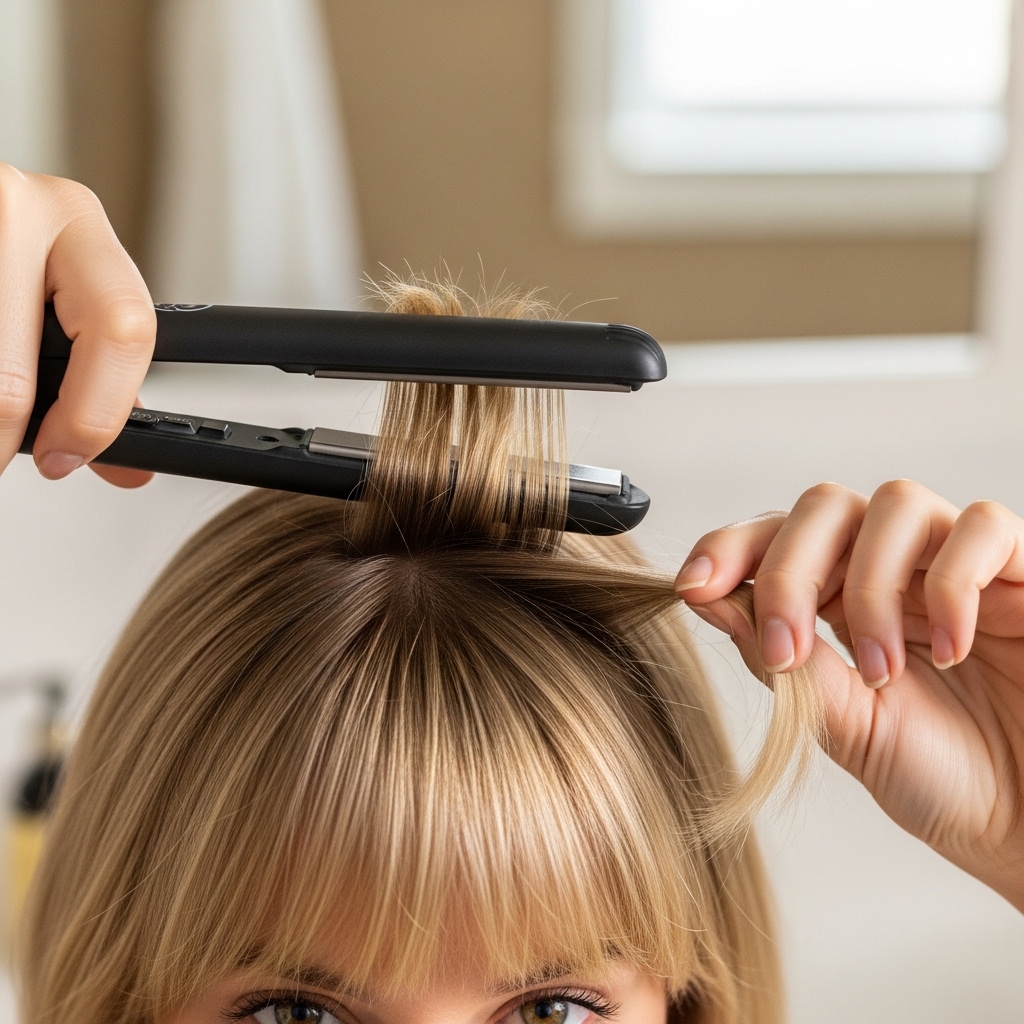
How to Use a Flat Iron for Texture
Don’t just curl. The goal is irregular bends. Grab small, random sections of your fringe. Don’t clamp and slide smoothly.
Instead, clamp near the root, give a slight twist with your wrist, and pull down slowly. For some pieces, just clamp mid-length and bend outward.
The key is inconsistency. Some pieces get a wave, some get a bend, some get left straighter. This creates the digital “glitch” effect we want.
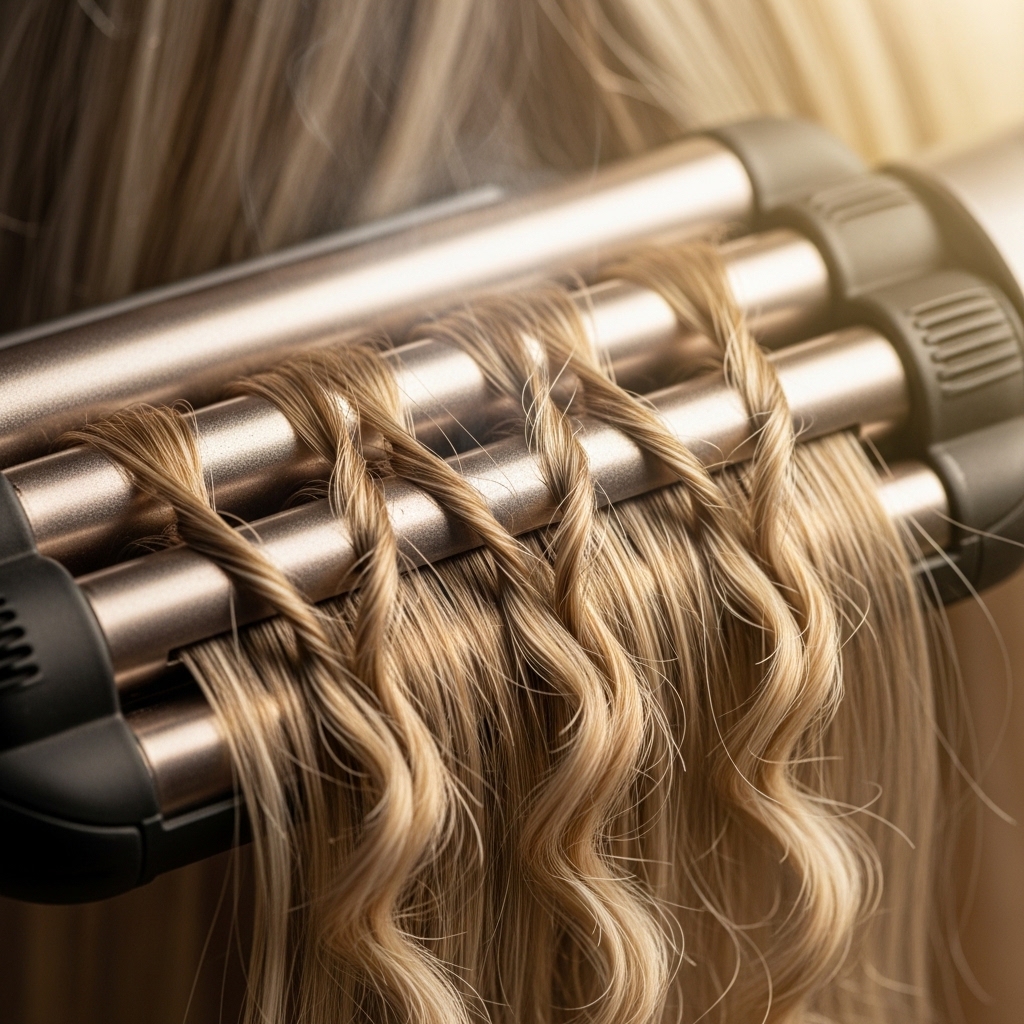
How to Use a Waver for Perfect Broken Waves
A waver is your secret weapon. It creates that perfect, shattered wave pattern that looks like glitchy art. It’s faster than a flat iron for this look.
Take slightly larger sections of your fringe. Clamp the waver at the root, hold for 5 seconds, release, move down an inch, and clamp again.
Don’t wave the entire length. Stop halfway down for some pieces, go all the way for others. Finish by running your fingers through to break them up more.
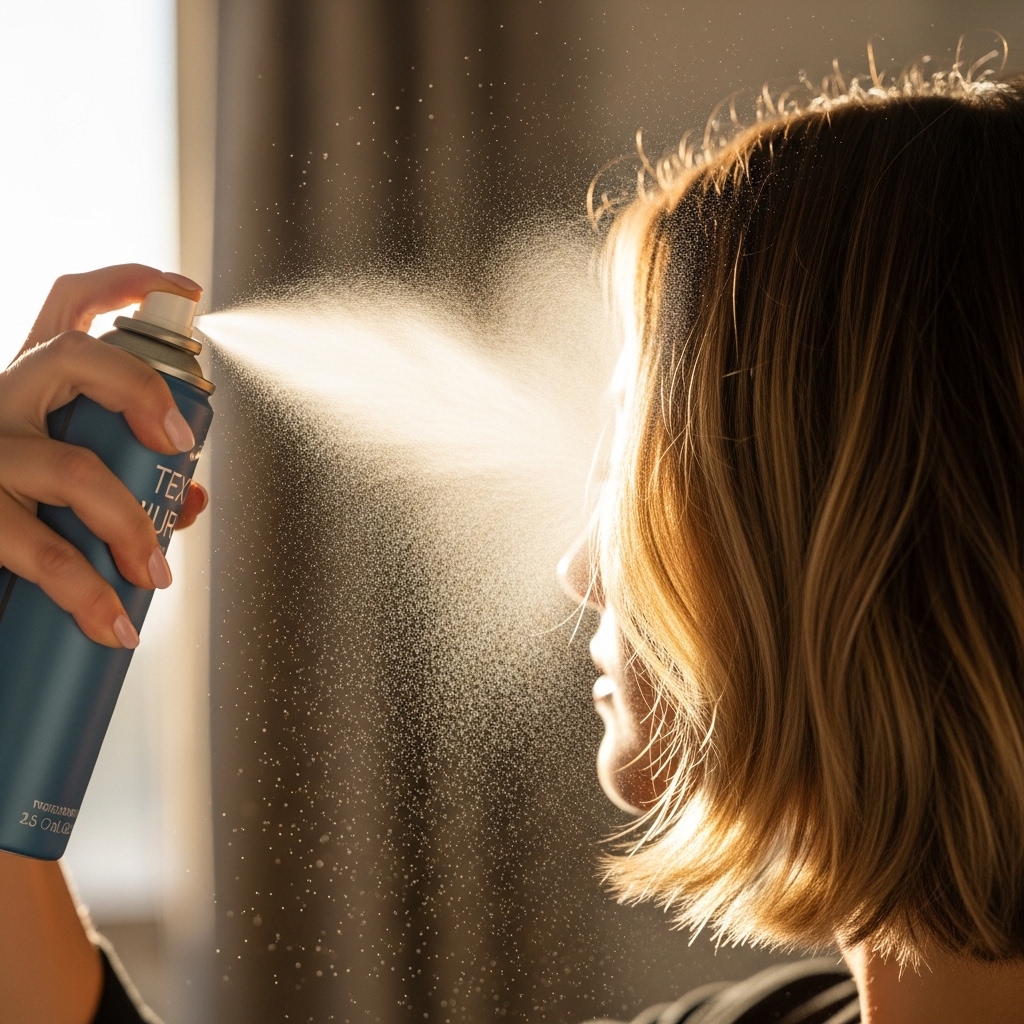
The Magic of Texturizing Spray
This is not hairspray. It’s your prep and finishing hero. It adds grit, volume, and that “lived-in” feel that holds the style.
Shake the can well. Spritz it onto DRY hair from about 10 inches away. Focus on the mid-lengths to ends of your fringe and the under-layers of your hair.
Let it sit for 30 seconds, then scrunch or tousle with your fingers. It gives the hair something to grip onto, so your glitchy pieces hold their shape all day.
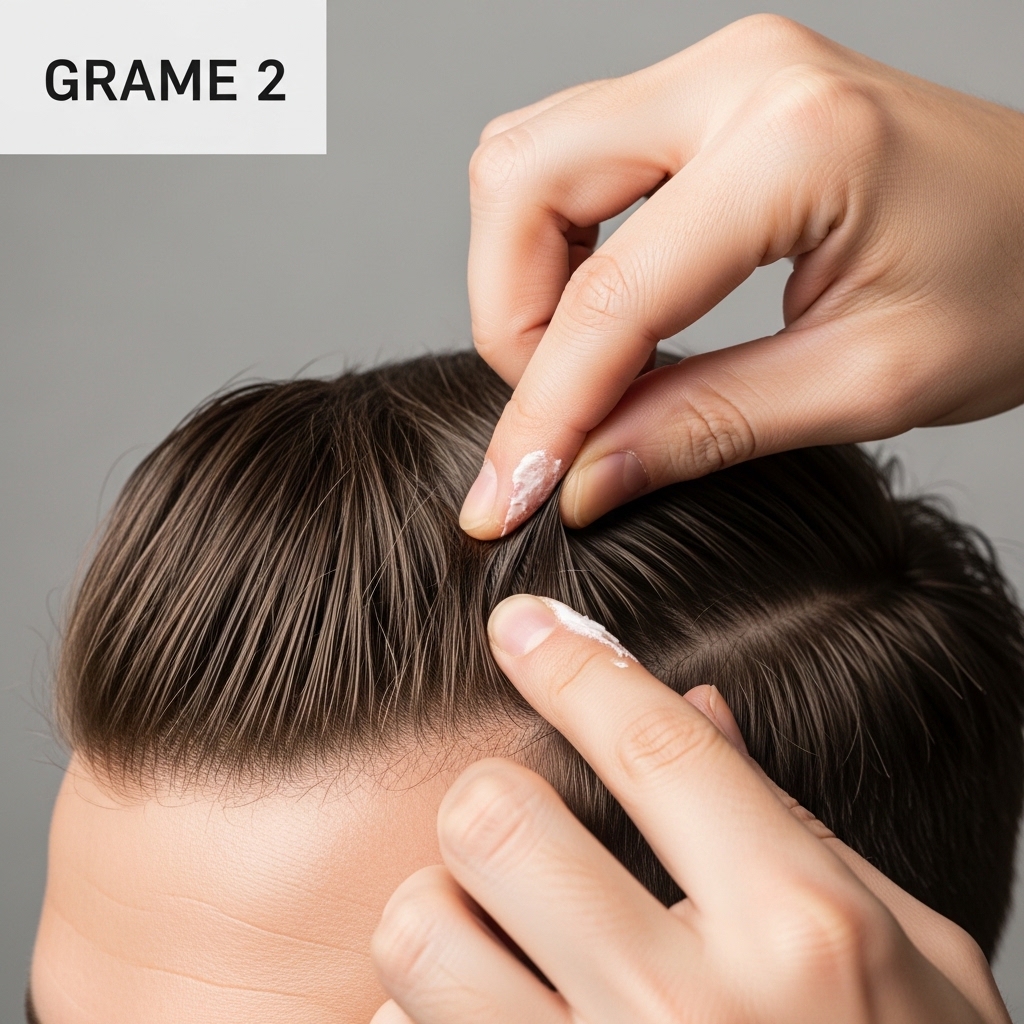
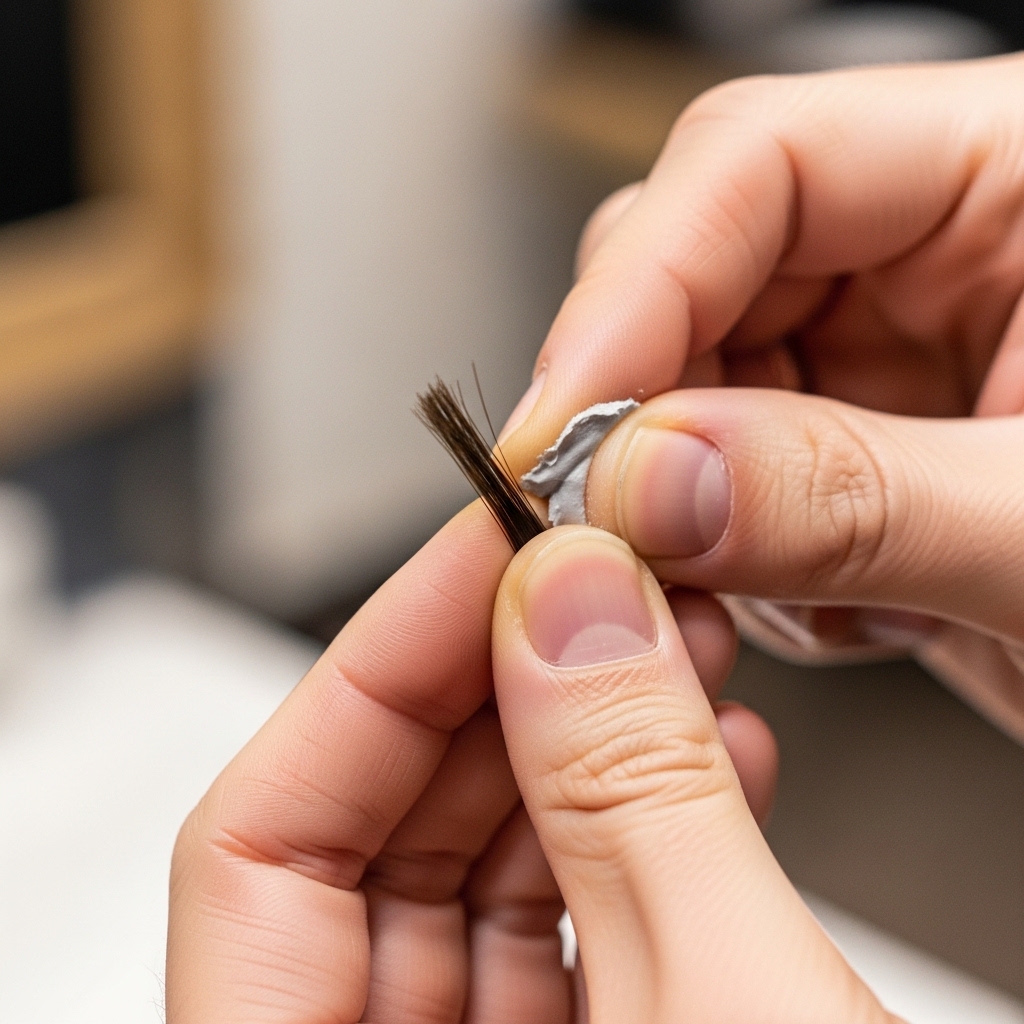
Using Pomade to Define & Separate
Pomade or wax is for the final, detailed artistry. This is what makes pieces look intentional, not just messy. Always use a matte formula.
Scrape a tiny amount (half a pea-size) onto your fingertip. Rub your hands together vigorously to warm and thinly distribute the product.
Then, gently pinch, twist, and pull individual strands in your fringe. Coat them lightly to define them and make them stand apart from the rest. Less is more.
Mastering the “Lived-In” Hold with Hairspray
You want hold without the helmet head. The technique is everything. Choose a flexible or strong-hold spray, but use it strategically.
Hold the can at least 12 inches away from your head. This lets a fine mist settle, not a wet spray. Lightly mist over the entire style, focusing on the fringe area.
Immediately after spraying, gently scrunch your hair with your hands. This breaks up any stiffness and keeps the movement alive while locking in the texture.
Quick Refresh for Day 2 & 3 Hair
This style gets better on day two and three! The natural oils add to the texture. Your refresh is simple.
First, hit the roots with dry shampoo for volume. Then, lightly dampen just the fringe with a spray bottle of water or a bit of texturizing spray mixed with water.
Re-twist the key pieces with a tiny bit of pomade on your fingers. Use the cool shot setting on your dryer for 30 seconds to set it. Good as new!

Accessorizing Your Glitchy Fringe
A little hardware can elevate the whole look. But you have to choose wisely to keep the cool-girl vibe.
- Thin, delicate headbands: Push back just the top, let the fringe do its thing in front.
- Mini claw clips: Use one to pin back just a tiny section behind the fringe, adding height.
- Simple barrettes: A single, small barrette on the side adds a touch of old money hair polish to the glitch.
Avoid anything too bulky or cutesy. The hair is the star.
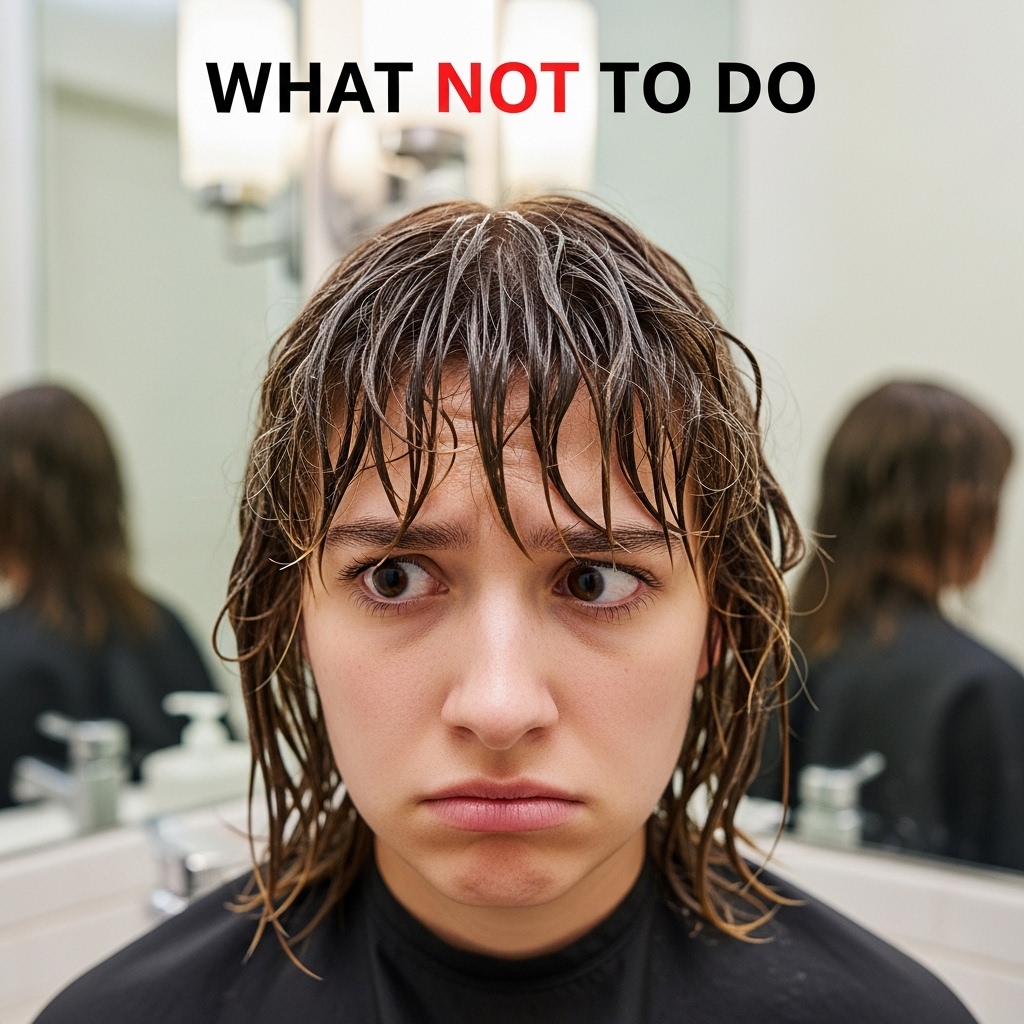
Common Mistakes to Avoid
A few wrong moves can take this from cool to “needs a wash.” Let’s sidestep the pitfalls.
Using too much product is the biggest one. You want definition, not grease. Start with a tiny amount, you can always add more.
Making the texture too uniform is another. If every piece has the same wave pattern, you lose the “glitch.” Embrace randomness. Finally, don’t neglect the back. Keep the back of your hair sleek or subtly textured to anchor the bold fringe.
Is This Style Right for Your Hair Type?
Good news: with the right prep, it works for most. Fine hair needs texturizing spray and light layers to avoid flatness. Pomade is your friend for creating faux-thickness.
Thick hair is a dream for this. You might need a stronger-hold product to weigh down and define those pieces. Ask your stylist for thinning if it’s very bulky.
Curly or wavy hair can create an amazing glitchy effect by enhancing your natural pattern. Use a diffuser and curl cream, then pick out and define individual curl clumps for the “glitch.”
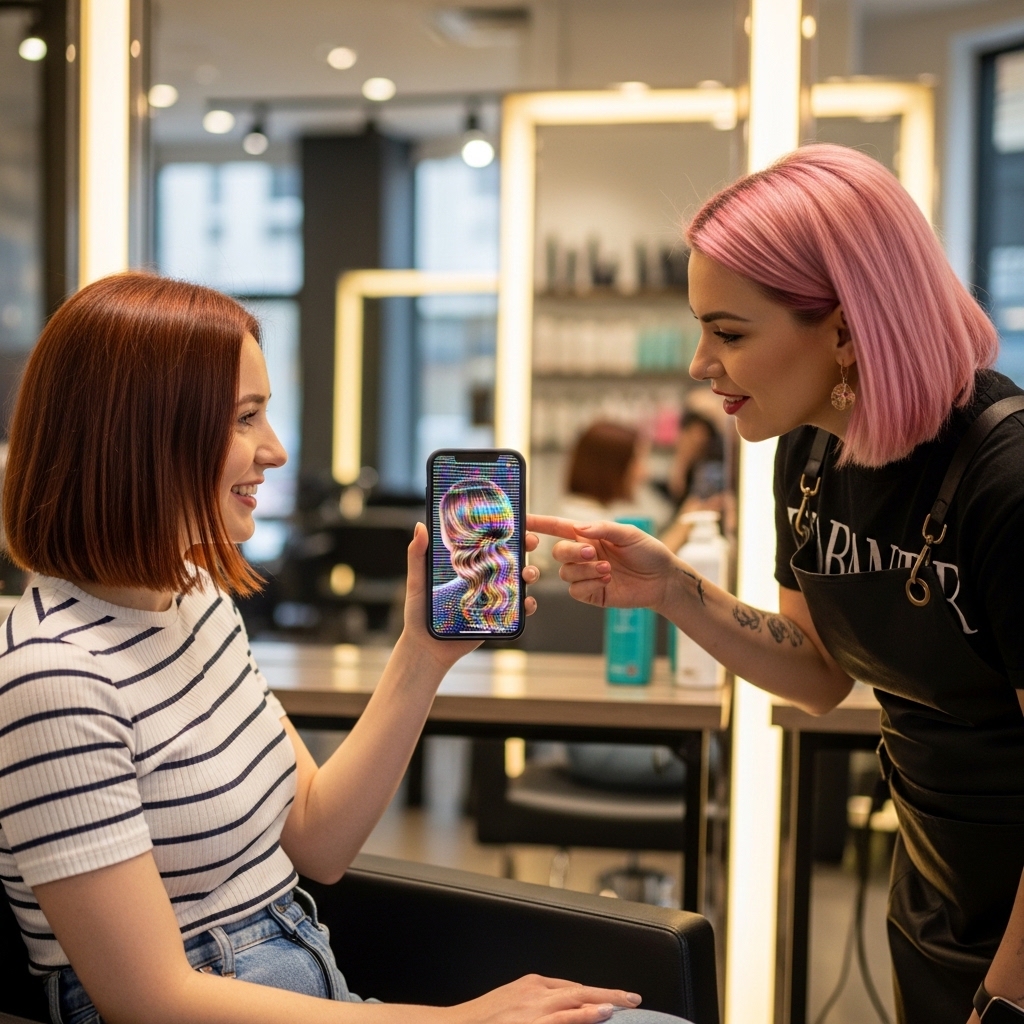
Getting the Cut: Talking to Your Stylist
Communication is key. Don’t just say “glitchy glam.” Show pictures from this post! Use the vocabulary we’ve built.
Say: “I want a textured, asymmetrical lob (or a blunt bob) with a heavy, piece-y fringe that can be styled with a ‘glitchy’ texture. I want lots of movement and shattered ends, especially around my face.”
Mention specific styles: “I like the vampire haircut base but with a textured fringe,” or “I want an updated hime cut with piece-y panels.” It gives them a clear visual blueprint.
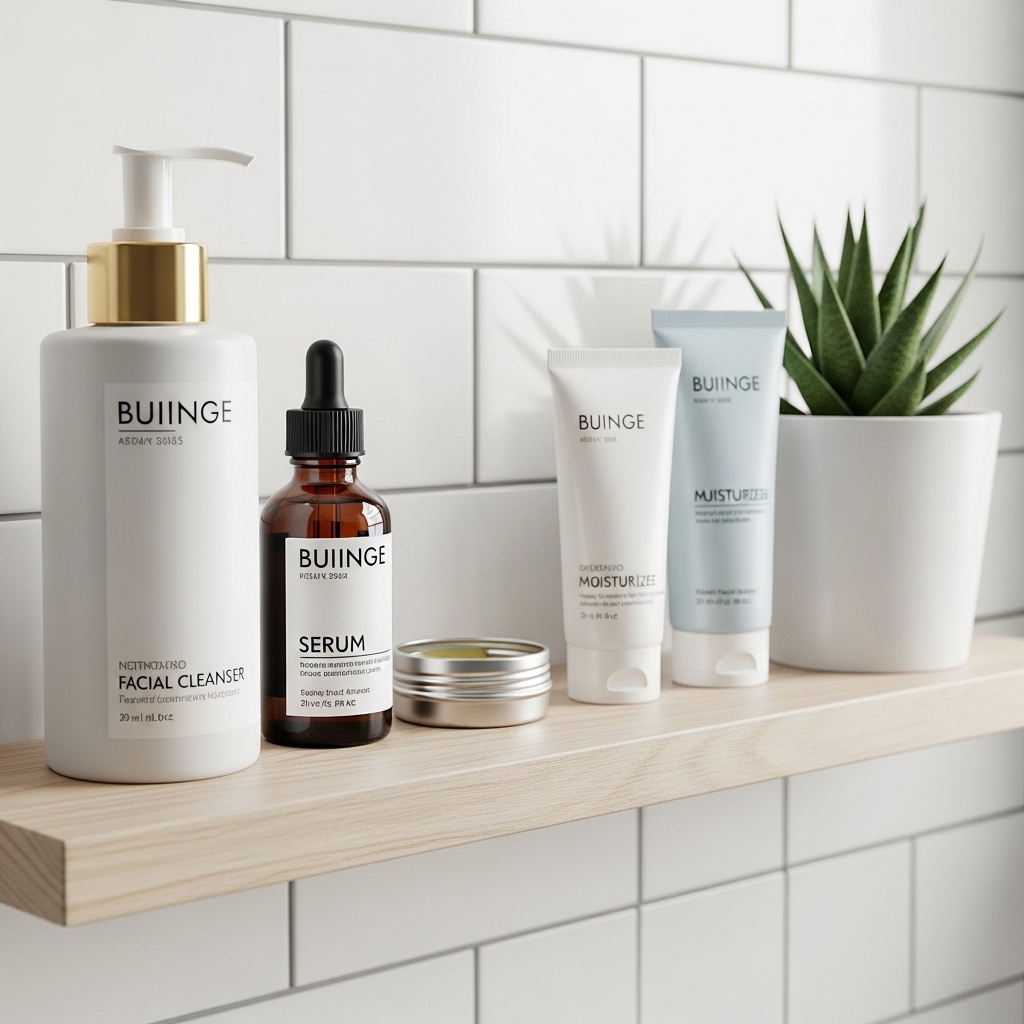
My Favorite Products for This Look
I’ve tested a ton. These are my current, no-fail favorites that I use on myself and clients. They just work.
- Texture Spray: Oribe Dry Texturizing Spray or Sea Salt Spray.
- Matte Pomade: Baxter of California Clay Pomade (tiny amount!).
- Waver: The Hot Tools Professional 1-Inch Waver is a classic.
- Dry Shampoo: Batiste for the refresh (any scent).
You don’t need the priciest stuff. Drugstore texturizing sprays and a good iron will do the trick.
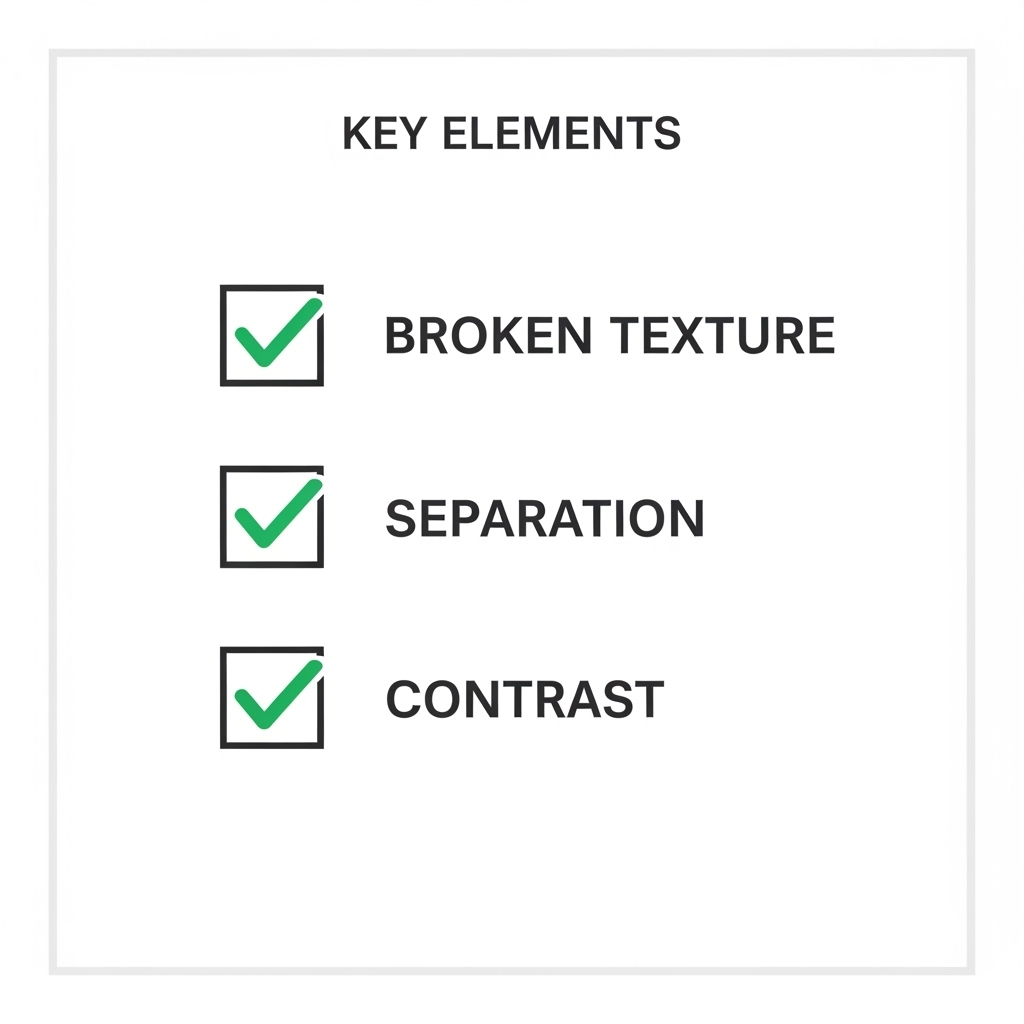
Your Final Glitchy Glam Checklist
Before you head out the door, do a quick scan. Does your style have these three elements? If yes, you’re golden.
- Broken Texture: Your fringe should have uneven, piece-y waves or bends, not uniform curls.
- Separation: Individual strands should be defined, not clumped together.
- Contrast: There should be a play between sleek sections (like the back/sides) and the textured fringe.
Nail these three things, and you’ve absolutely mastered the glitchy glam hair trend. It’s that simple.
Rocking Your New Look with Confidence
This hairstyle has attitude. The final step is to wear it like you mean it. It’s meant to look cool and a bit undone, so don’t fuss with it all day.
If a piece falls out of place, that’s part of the look. Run your fingers through it lightly to rearrange, but never try to make it perfect.
This style works for the office (paired with a crisp shirt) or a night out (with a leather jacket). It’s versatile because it’s a reflection of your personal edge. Own it.</p

