

Okay, let’s be real. We’ve all seen that “quiet luxury” hair on our feeds. It’s not about being loud or trendy. It’s about hair that looks and feels incredibly healthy, with a soft, expensive-looking shine. It’s the kind of hair that makes people ask, “What do you use?”
And guess what? That “old money hair” glow isn’t about a $500 salon treatment. It’s about a simple, consistent routine. The real secret is a good hair oil, used the right way.
I’ve tried everything, and I’m breaking down my exact, foolproof routine. This is the practical, no-fuss guide to getting that healthy shine, whether you’re rocking a quiet luxury bob or long, romantic waves. Let’s get into it.
Why Your Hair Needs Oil (It’s Not What You Think)
First, let’s clear something up. Hair oil isn’t just for dry hair. Every single hair type benefits from a sealing oil. Think of it as the final step in your skincare routine—that moisturizer that locks everything in.
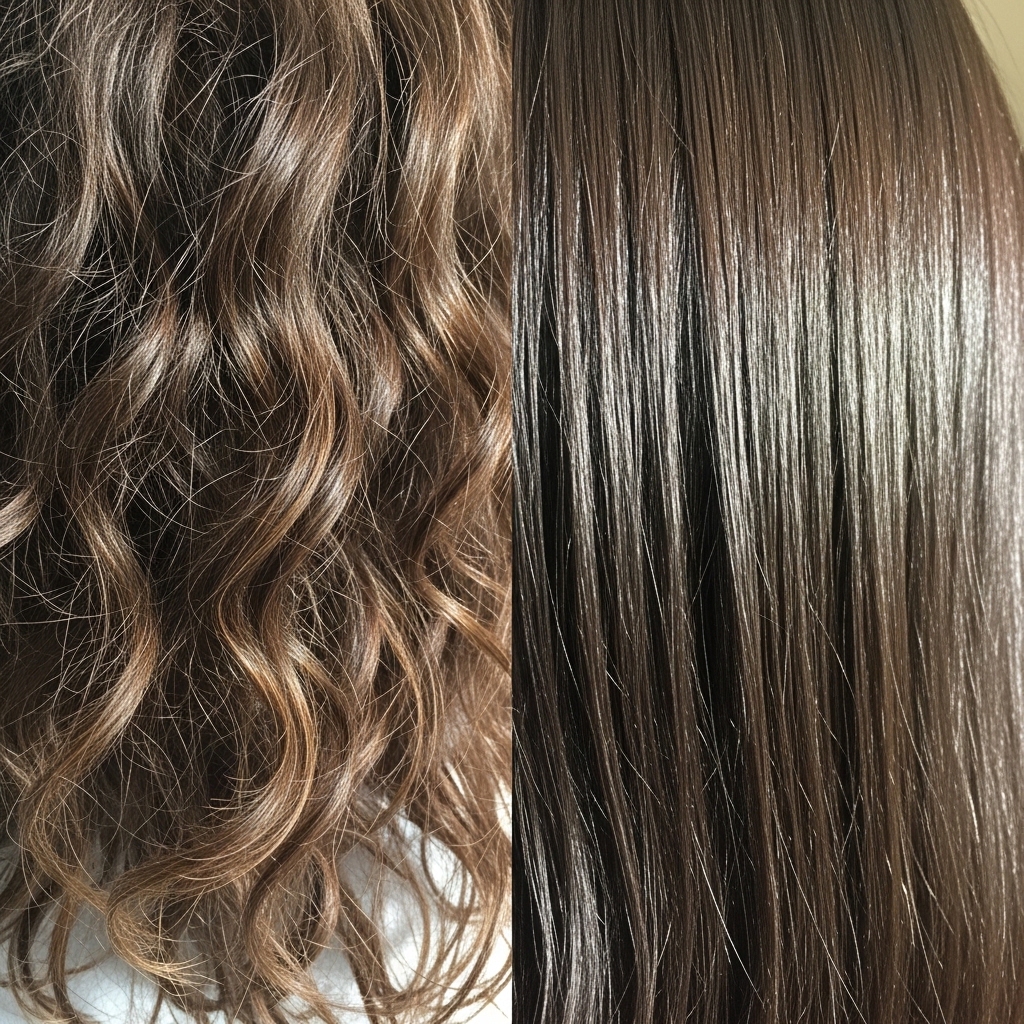
Oil protects your hair from humidity, heat styling, and even just daily friction. It smooths the hair cuticle, which is what creates that reflective, glossy shine. Without it, even the healthiest hair can look a bit dull and frizzy.
The One Product That Changed Everything For Me
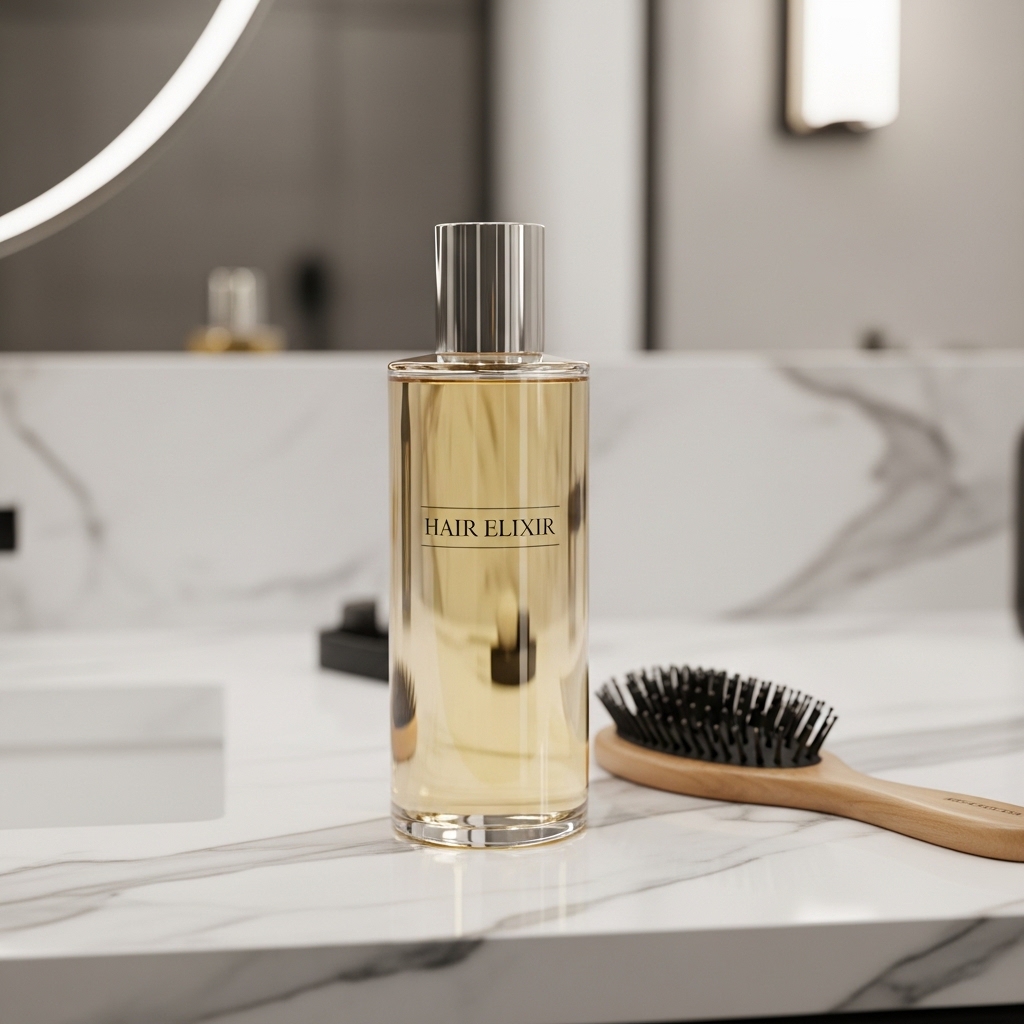
I tested so many oils. The winner for me is a lightweight, blendable formula. You want something that absorbs, doesn’t just sit on top. My holy grail has a mix of argan, marula, and squalane.
It’s not sticky or heavy. It gives that perfect glass-like finish without weighing down my fine hair. This is the cornerstone of my entire routine. Finding your perfect match is step one.
Step 1: Start With Damp, Not Soaking Wet, Hair
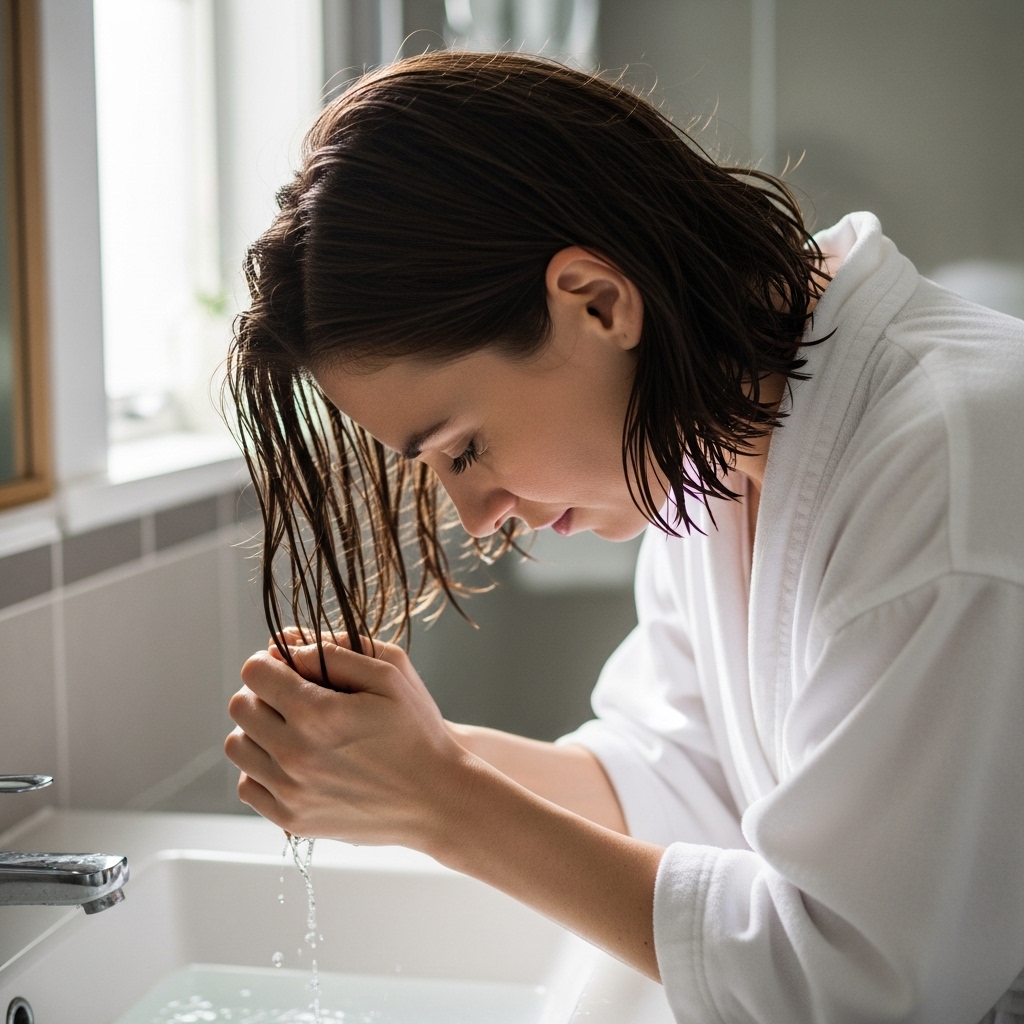
Timing is everything. The best moment to apply oil is when your hair is about 70% dry. After you gently towel-dry, let it air-dry for just 5-10 minutes. Your hair should feel cool and damp to the touch.
Applying oil to sopping wet hair can dilute it. On bone-dry hair, it might not distribute evenly. This damp stage is the sweet spot for maximum absorption and perfect, even shine.
Step 2: The Exact Amount You Need (It’s Less Than You Think)
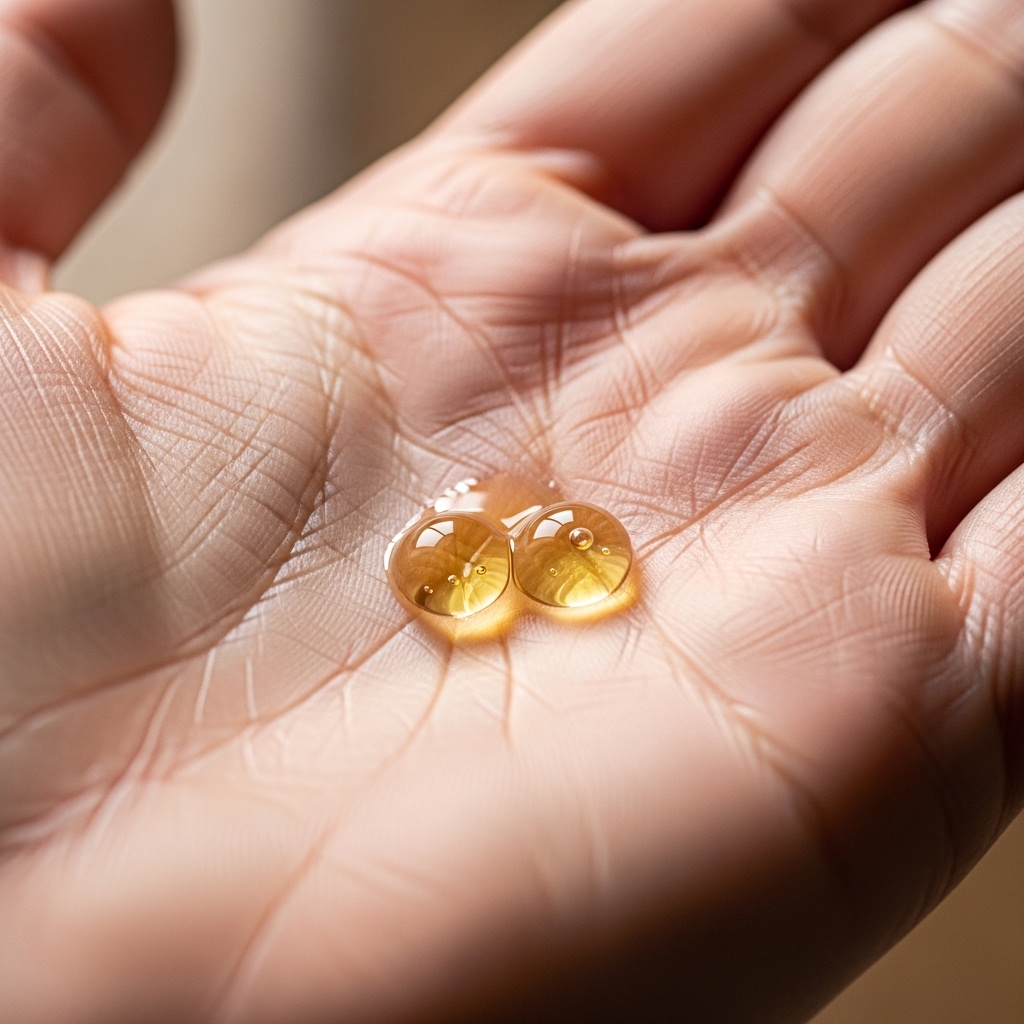
This is the most common mistake. You do not need a lot. For medium-length hair, I use just 2-3 drops. For longer hair, maybe 4. Start with ONE drop. You can always add more.
- Fine hair: 1-2 drops
- Medium hair: 2-3 drops
- Thick/long hair: 3-4 drops
Seriously, less is more. A greasy look is the opposite of quiet luxury.
Step 3: Warm It Up In Your Palms First
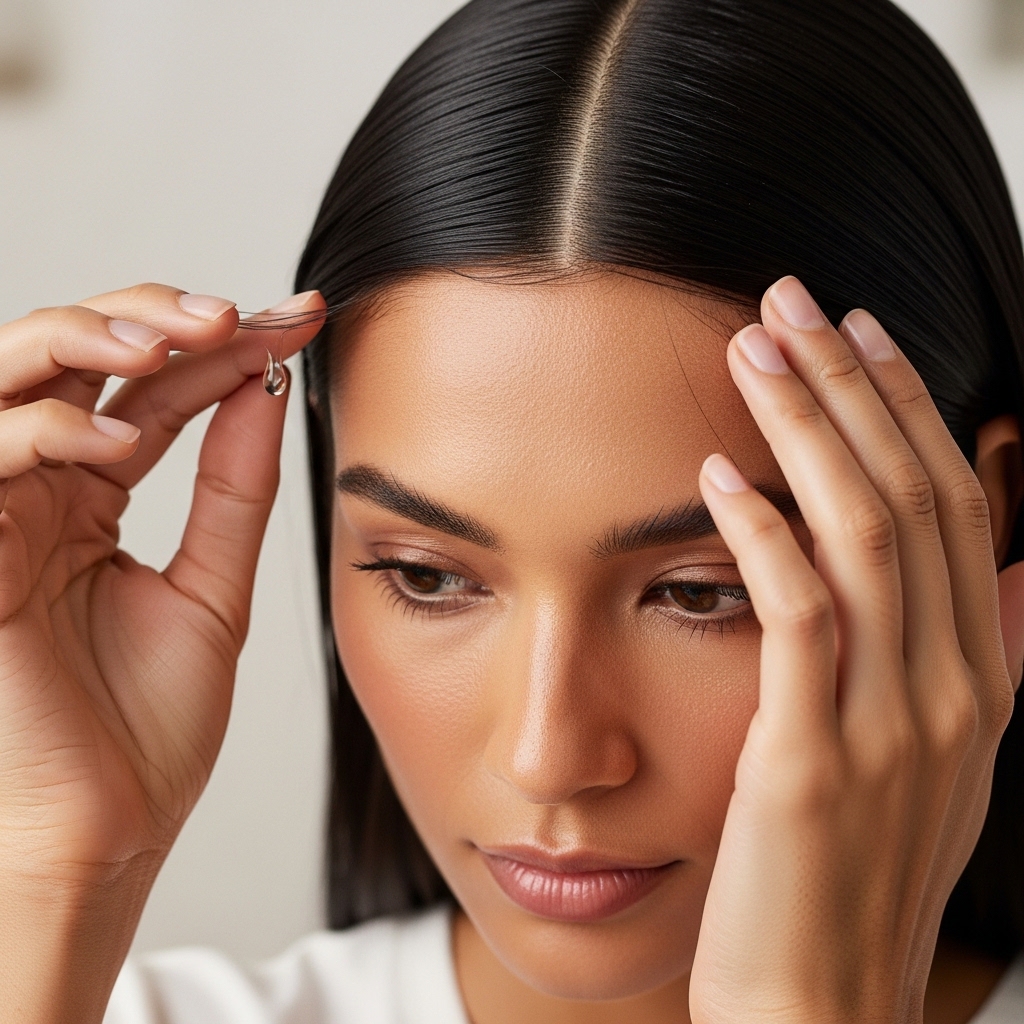
Don’t just drop it on your head! Pour the oil into your palms and rub them together vigorously for a few seconds. This warms the oil up, making it more fluid and easier to spread evenly.
It also helps you see if you’ve started with the right amount. You should just see a light sheen across your palms, not a puddle of oil. This little trick makes all the difference in application.
Step 4: Apply to Your Mids & Ends ONLY
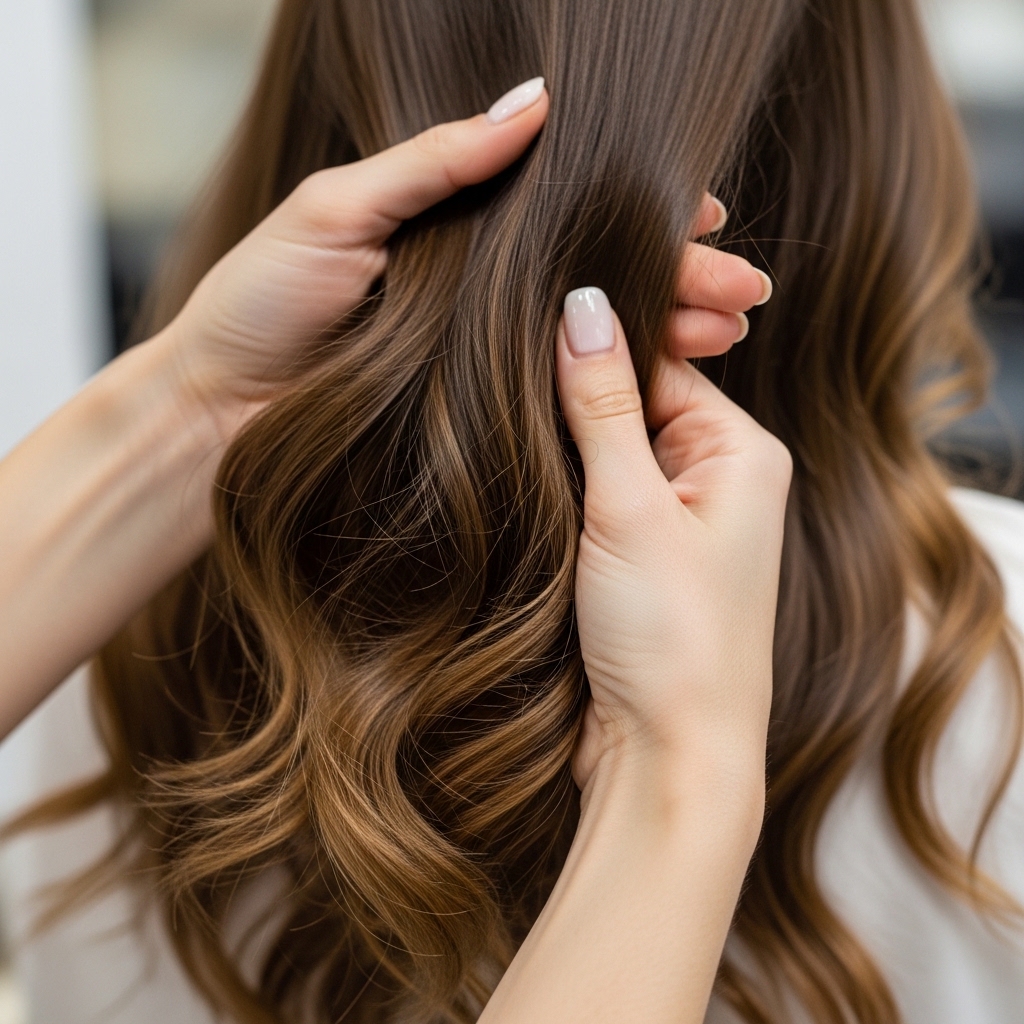
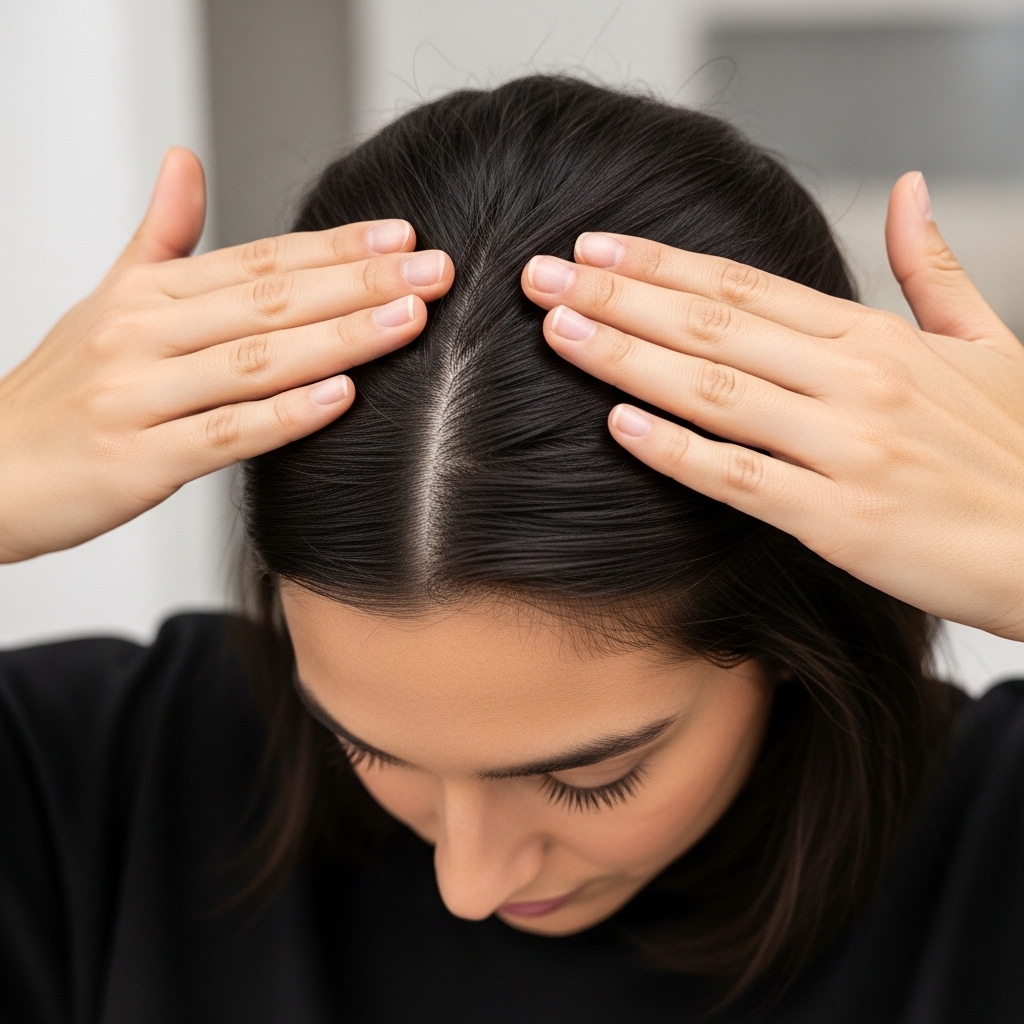
Rule number one: avoid your roots. Start by smoothing your oiled hands over the very ends of your hair, where damage is worst. Then, work your way up to the mid-lengths.
Your scalp produces its own natural oils. Adding more there just leads to flat, greasy roots. Focus on the areas that are oldest, driest, and most in need of that protective seal.
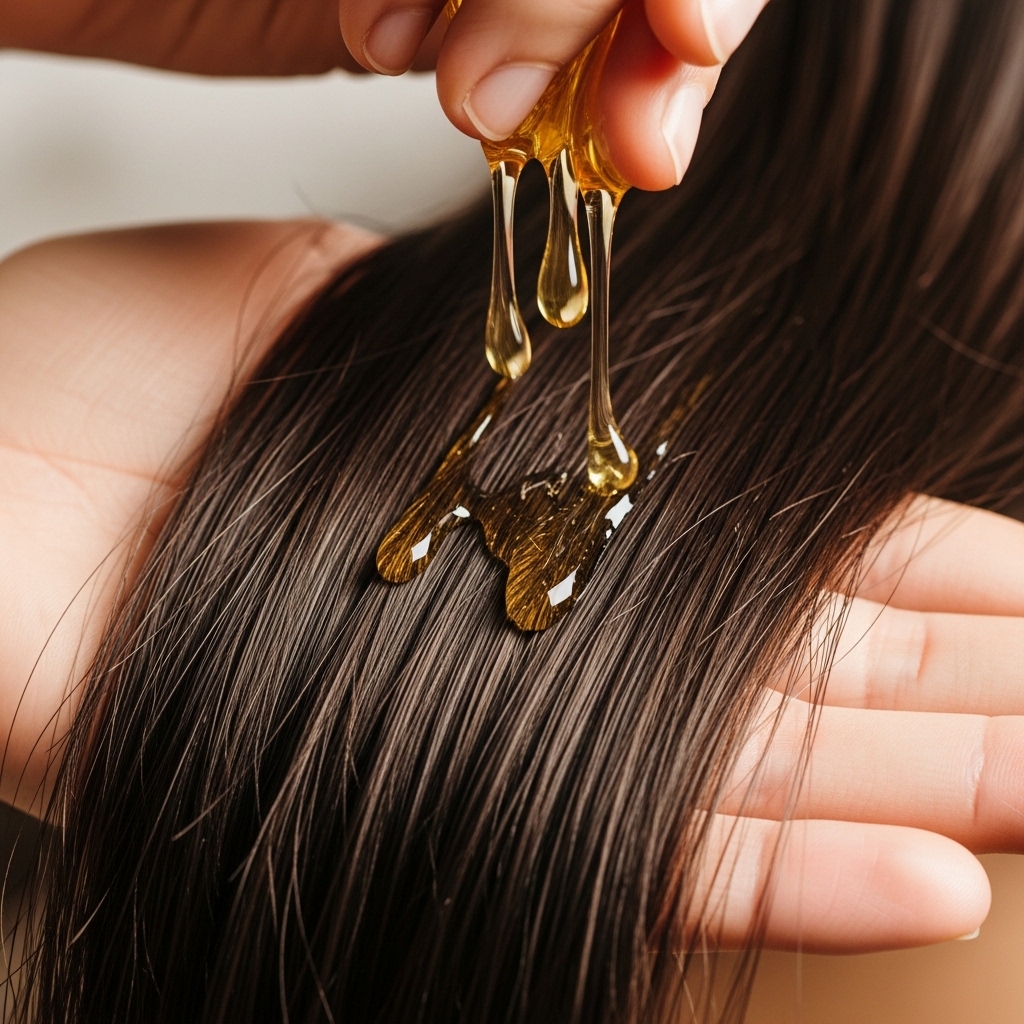
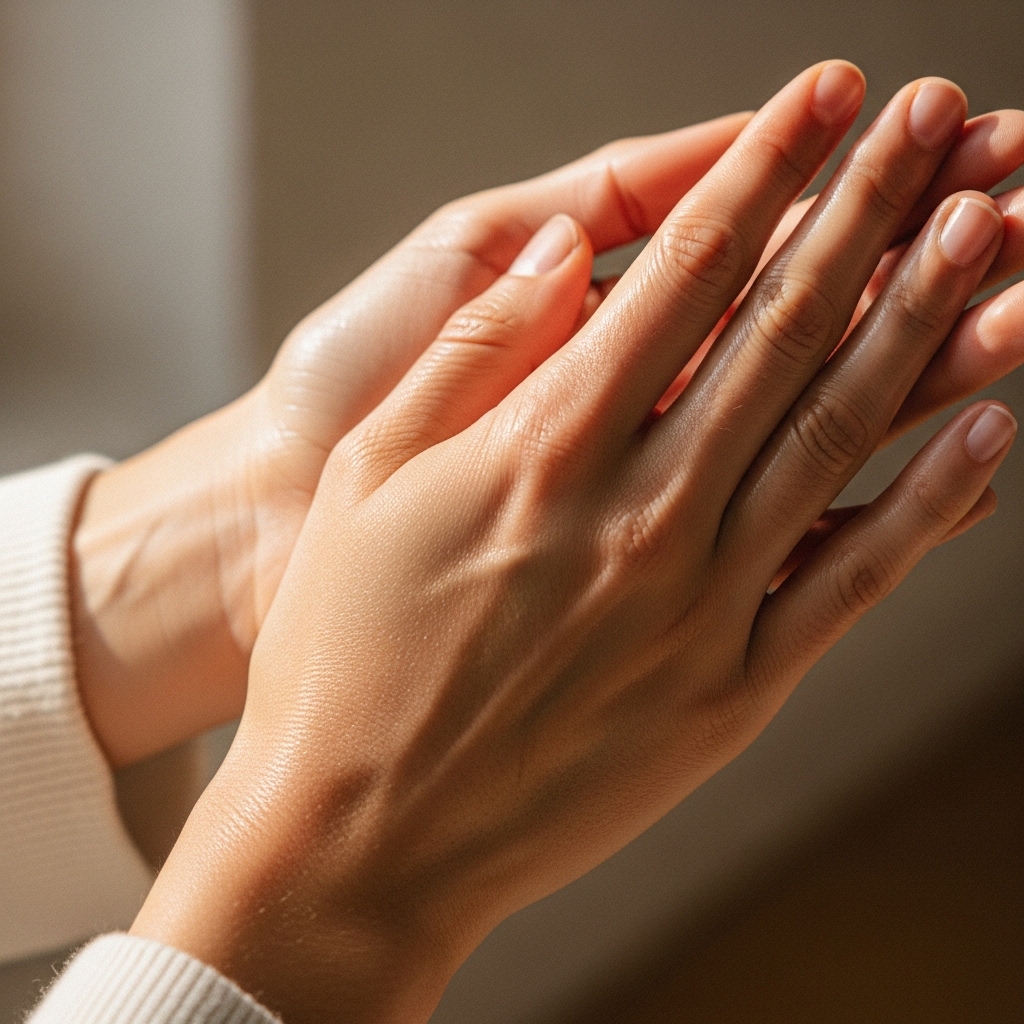
Step 5: The “Praying Hands” Smoothing Technique
For the smoothest finish, use the “praying hands” method after you’ve distributed the oil. Take a section of hair and gently clamp it between your flat palms, smoothing from the top of the section down to the tip.
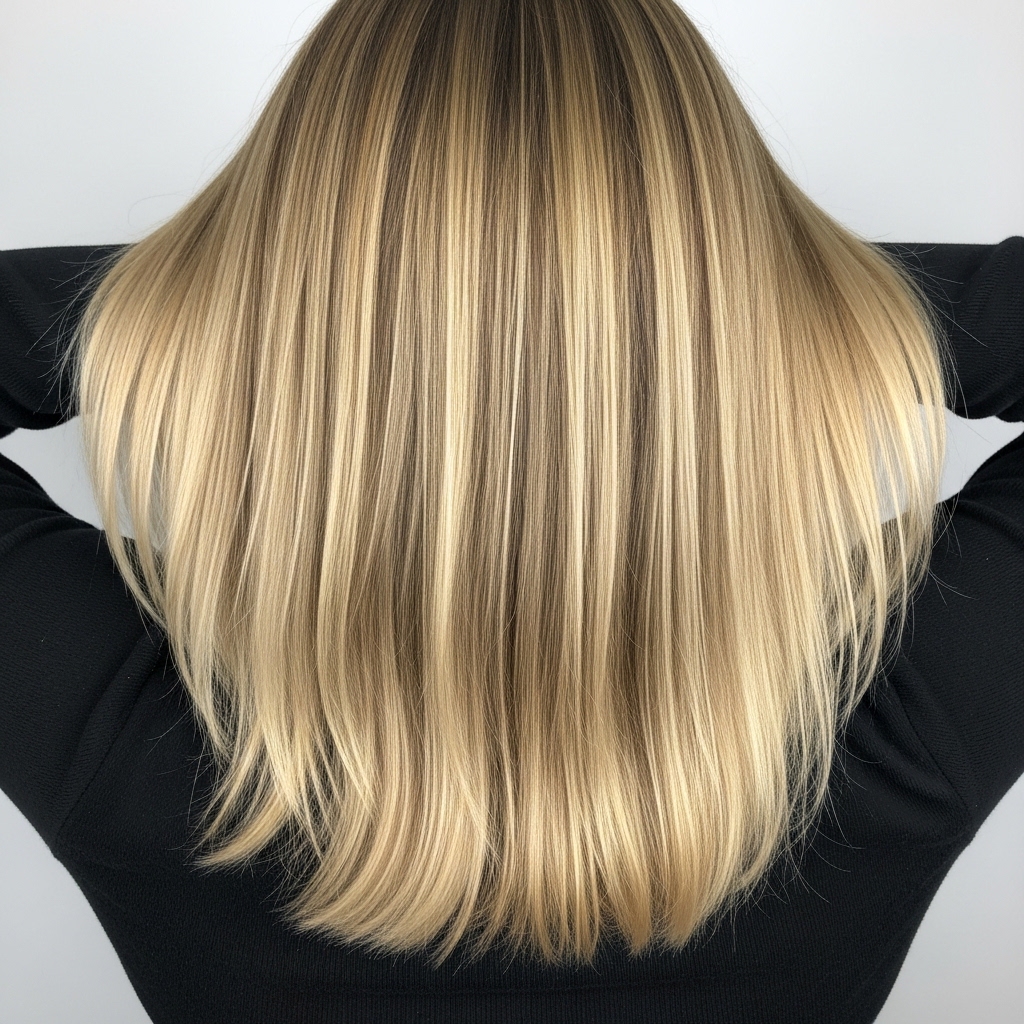
This action helps press the oil into the hair shaft and flattens the cuticle layer. A smooth cuticle reflects more light, which is exactly how you get that incredible, healthy shine.
How to Style With Your Oil for Maximum Shine
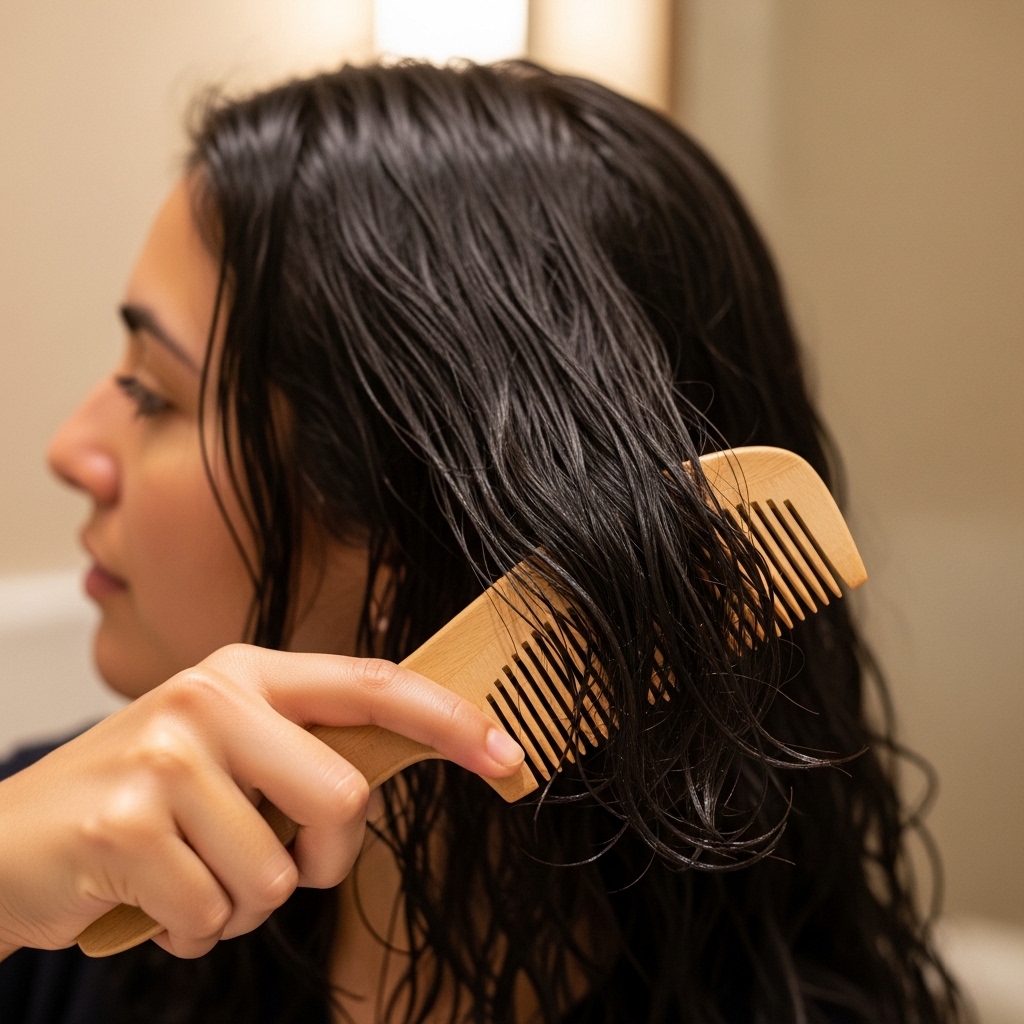
After applying oil, I always use a wide-tooth comb to distribute it perfectly from root to tip. Then, I style as usual. If I’m blow-drying, I use a heat protectant first, then the oil after.
For air-drying, the oil alone is perfect. It defines my waves and prevents frizz as my hair dries. This step locks in moisture and gives you a perfect base for any 2026 hairstyles you want to try.
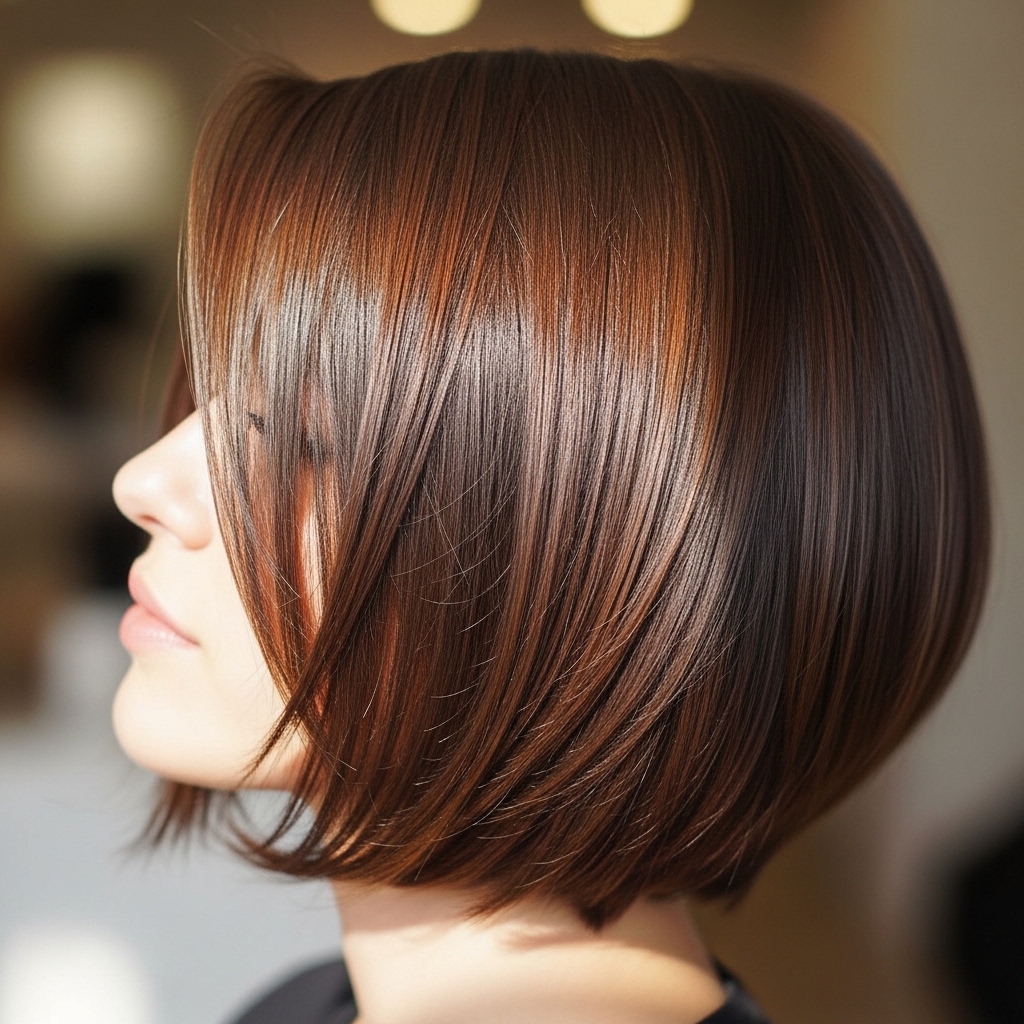
Oiling for Different Haircuts: Bobs to Long Layers
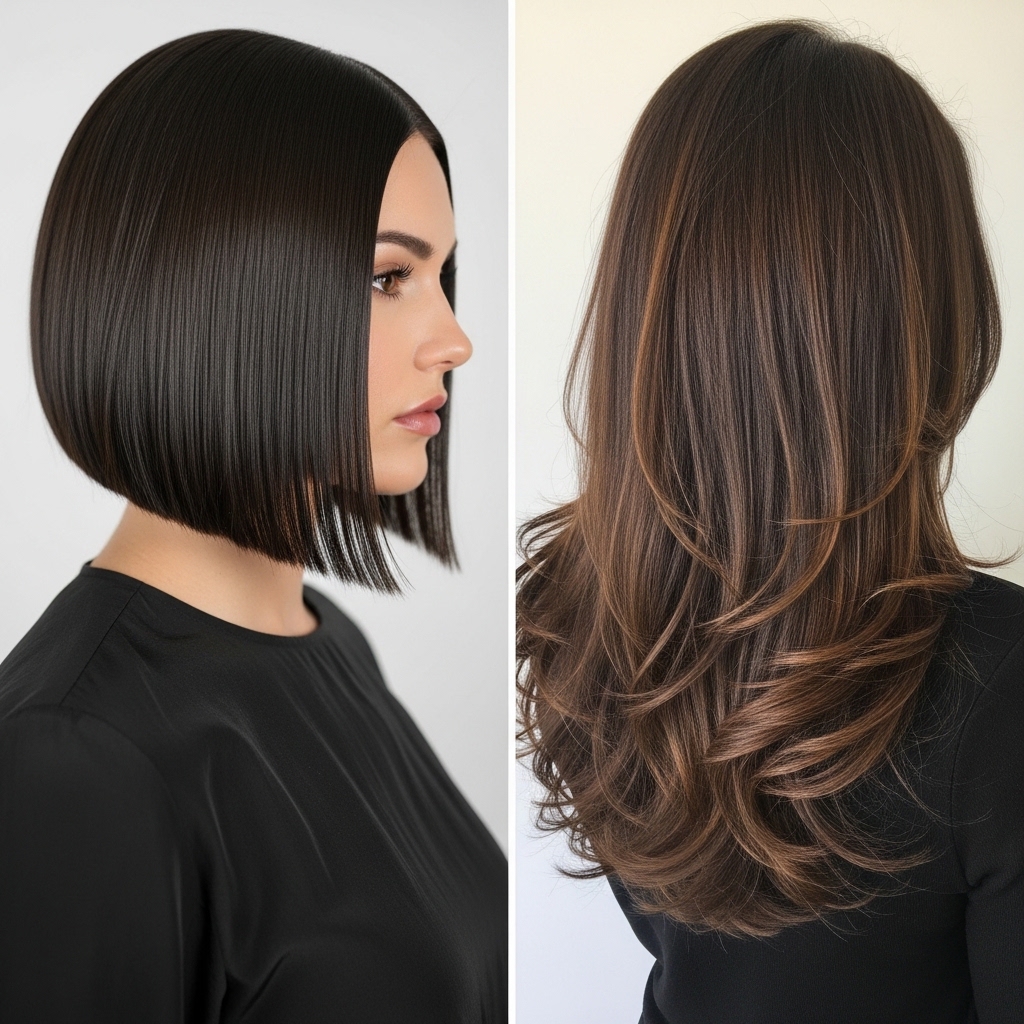
Your cut changes the game. For a sharp asymmetrical lob or quiet luxury bob, focus oil on just the very ends to keep the shape sharp and swingy. Too much will soften the lines.
For long layers or a shag, you can be more generous through the mid-lengths to enhance movement. For something edgy like the vampire haircut or romantic goth hairstyles, oil is key for making those sharp cuts look sleek, not scraggly.
The Night Before Trick for Next-Day Perfection

For the ultimate second-day hair, try this. On clean, damp hair before bed, apply a tiny bit of oil (half your usual amount). Then, put your hair in a loose braid or silk scarf.
You’ll wake up with soft, defined waves that have absorbed all the goodness. It’s the easiest way to get that “I woke up like this” old money hair vibe with zero effort in the morning.
Why This Beats Frizz Serums Every Time
Many frizz serums are silicone-based. They coat the hair, which is great temporarily, but can build up. A good plant-based oil actually nourishes and integrates with your hair’s natural lipids.
It treats the cause of the frizz (a raised, dry cuticle) rather than just masking it. The result is longer-lasting smoothness and health that improves over time, not just for one day.
Can You Use Oil on Fine, Thin Hair? Yes!
I have fine hair, so I get this fear. The key is the type of oil and the amount. Look for lightweight oils like squalane or camellia. And remember—one drop! Apply only to the very last inch of your ends.
This will prevent breakage and add shine without any weight. It actually makes fine hair look thicker and healthier, because each strand is smooth and reflective.
The Quick Refresh for Day 2 or 3 Hair
Don’t wash your hair! To revive your style between washes, take a single drop of oil, rub it on your fingertips, and gently tap it only on any visible flyaways or dry ends.
Avoid the roots entirely. This smooths everything back into place and restores the shine instantly. It’s the secret to making a blowout last all week.
Pairing With Heat Styling for That “Blowout” Look
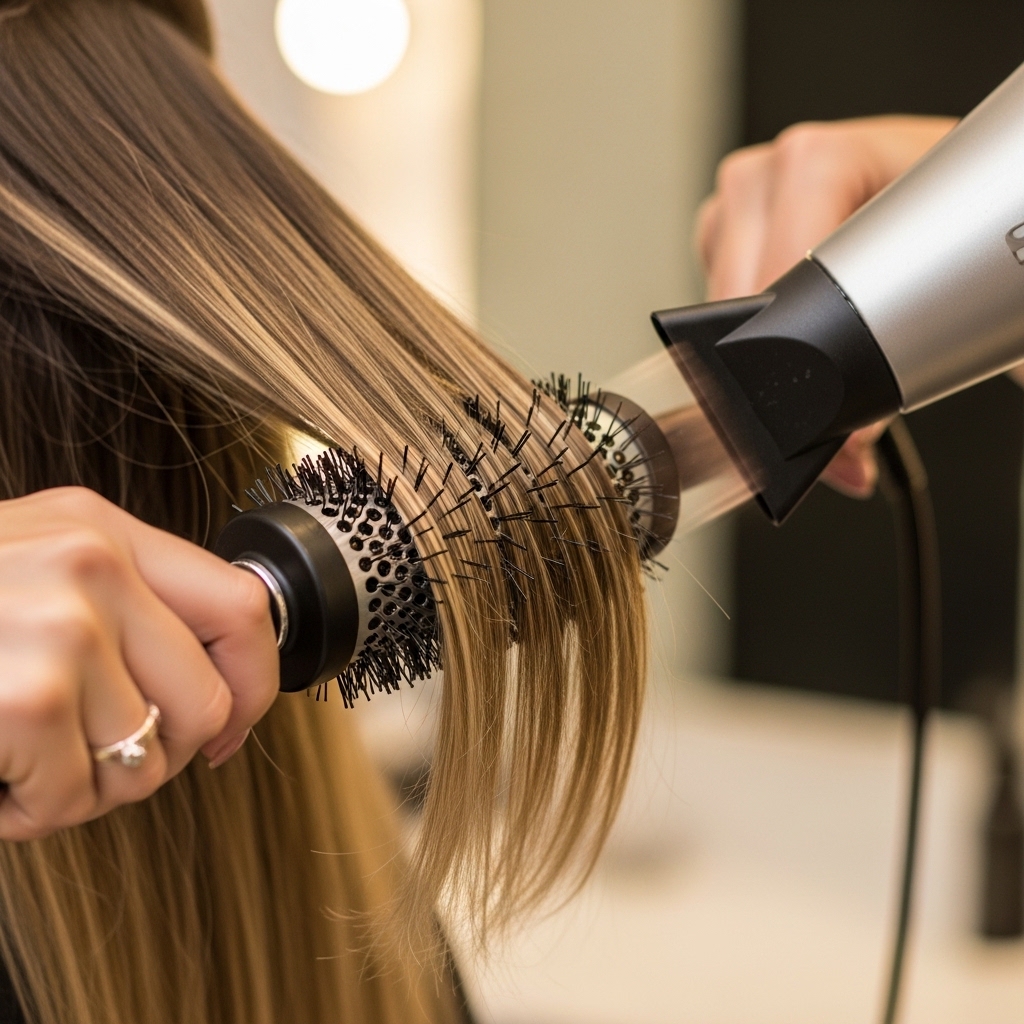
For a salon-style blowout at home, apply your oil to damp hair as usual. Then, when you’re about 80% done blow-drying, hit the cool shot button on your dryer for 30 seconds on each section.
The cold air seals the cuticle with the oil inside, locking in the shine and smoothness. This gives you that iconic, bouncy, glossy finish that works for everything from a hime cut to a glitchy glam hair look.
My Summer vs. Winter Oil Adjustments
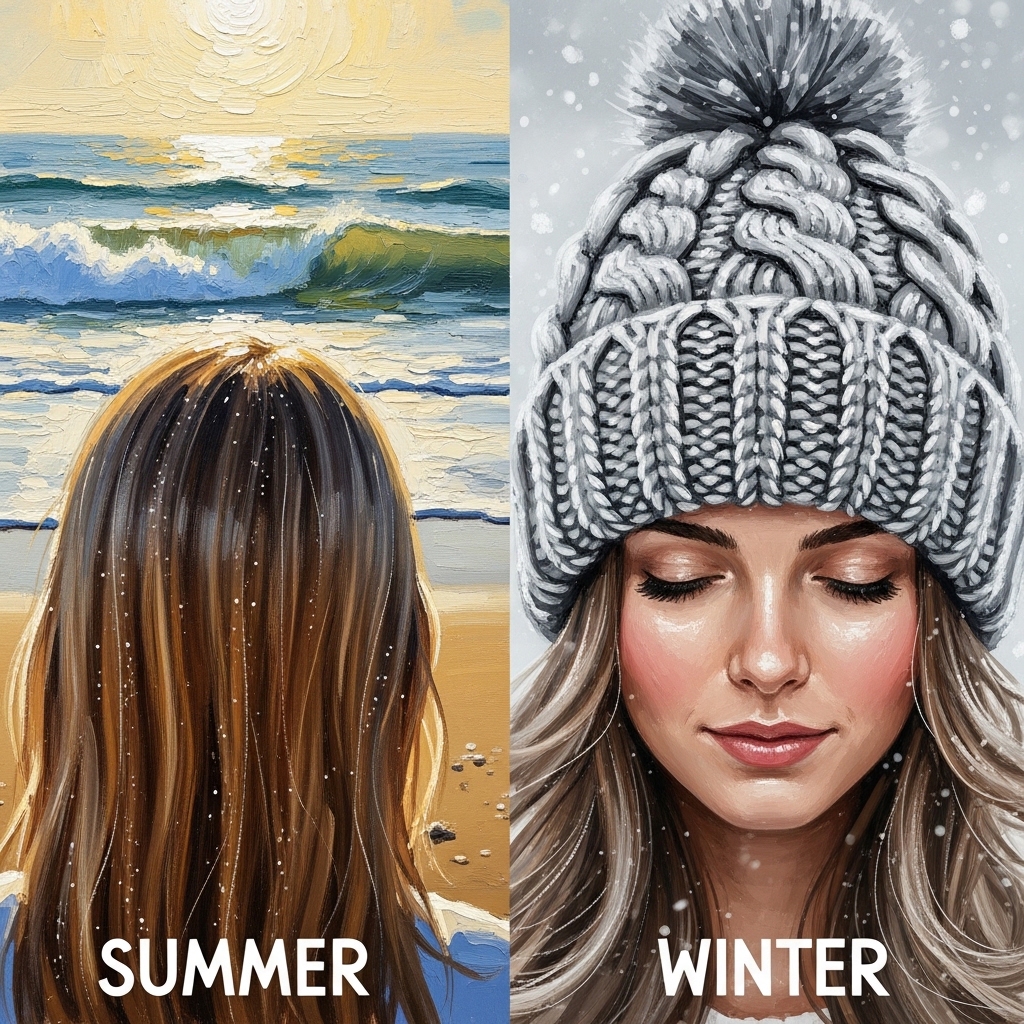
In humid summer, I use a tiny bit less oil and focus purely on ends to combat frizz. In dry winter, I might add an extra half-drop and apply it slightly higher on the mid-lengths to fight static and dryness.
Listen to your hair. If it feels drier, use a touch more. If it feels limp, use less. This simple adjustment keeps that healthy shine perfect 365 days a year.
The Big Mistake: Overwashing After Using Oil
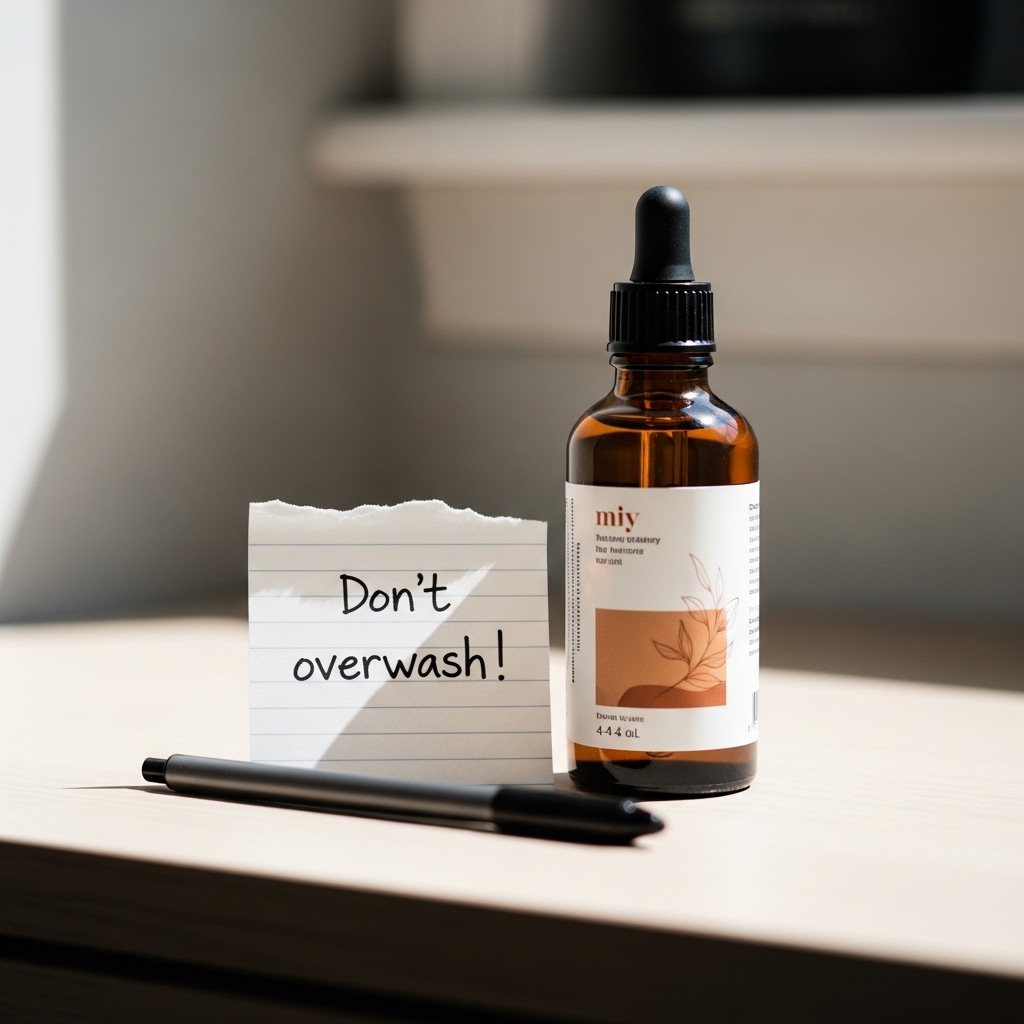
If you start using oil and suddenly think your hair is greasy, don’t panic and shampoo twice a day. You’re probably using too much oil or applying it too high.
Stick with it. Your scalp might need a week or two to adjust its natural oil production. Try dry shampoo at the roots if needed, but let your hair find its new, healthier balance.
How This Routine Elevates Any Hair Trend
Think about it. Whether you’re into the romantic goth hairstyles, the sharp vampire haircut, or the elegant quiet luxury bob, they all look better on shiny, healthy hair.
Trends come and go. But healthy, shiny hair is always in style. This routine is the foundation that makes any cut or color look expensive and intentional.
Building the Habit: Making It Stick
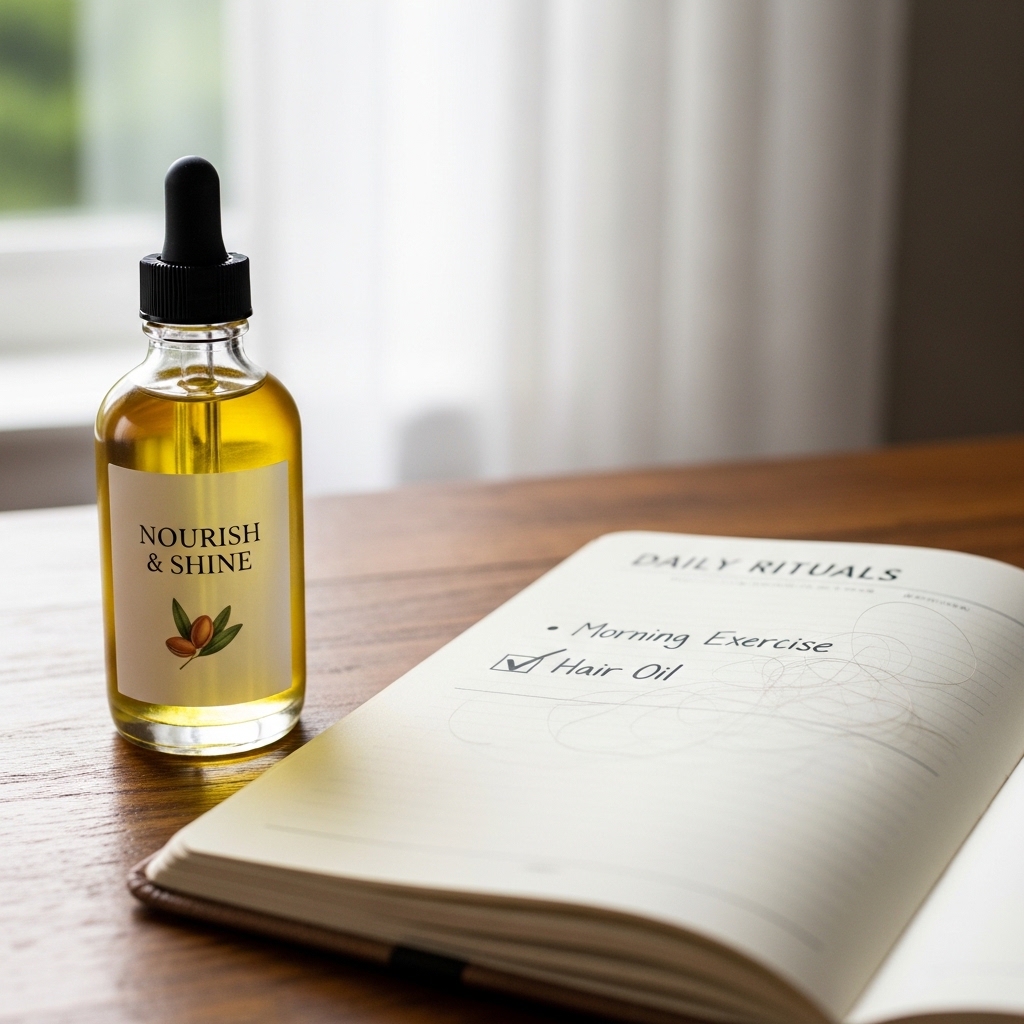
Consistency is key. I keep my oil right next to my towel, so I see it after every shower. It takes less than 60 seconds. That’s it.
Don’t make it complicated. Just link it to an existing habit—like after you apply your body lotion, do your hair oil. In two weeks, it’ll be automatic.
Your Questions, Answered: The FAQ
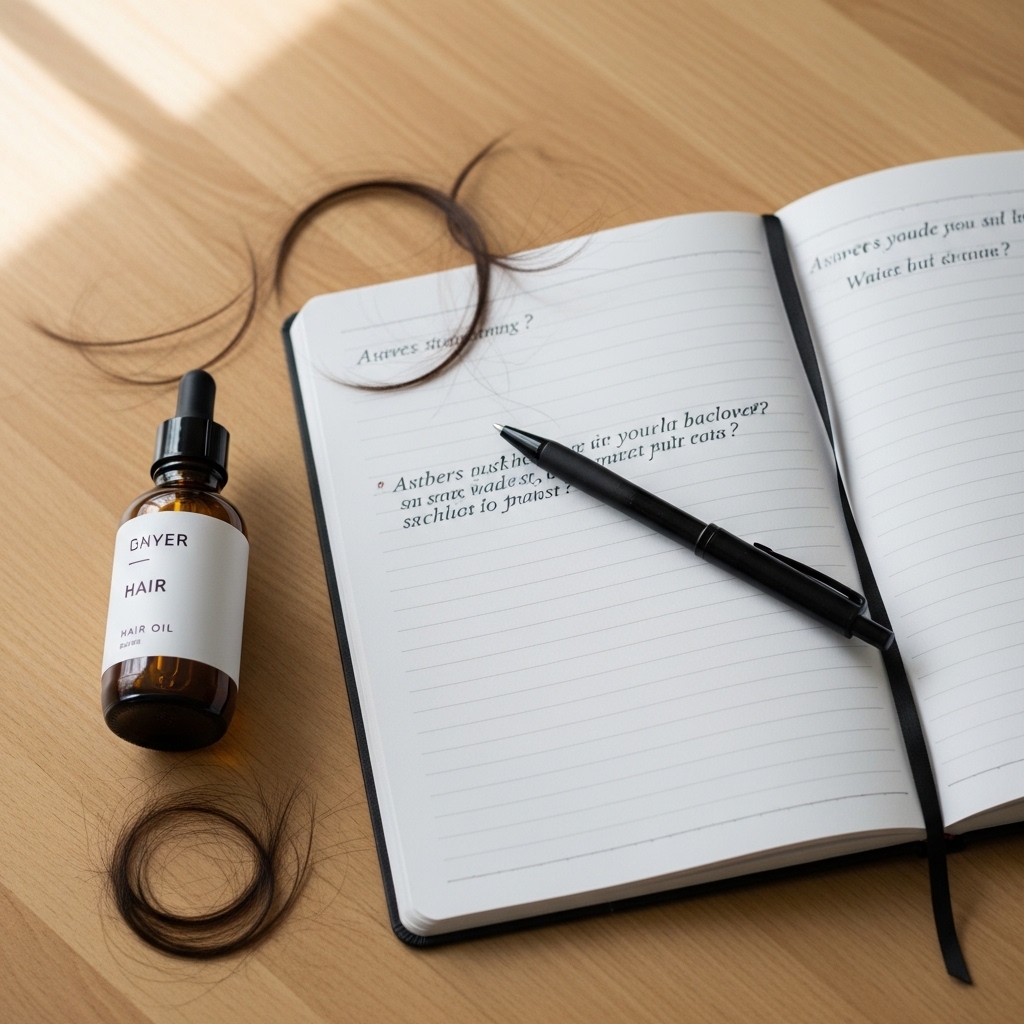
Can I use coconut oil? It’s heavy and can cause buildup for many. I prefer lighter blends.
What if my hair feels greasy? You used too much. Next time, use half.
Can I use it on dry hair? Yes, but use a microscopic amount just on ends to tame flyaways.
The Real Results You Can Expect (Timeline)

Week 1: Immediate shine and less frizz.
Week 2: Hair feels softer, easier to comb.
Week 4+: Noticeably less breakage, stronger-feeling hair, and that consistent “good hair day” shine. It’s a gradual build to the healthiest version of your hair.
Let’s Wrap This Up
[A final, beautiful shot of healthy, shiny hair being tossed slightly, catching the light]
So, that’s it. My no-secrets, totally simple hair oil routine. It’s not about adding another hour to your routine. It’s about 60 seconds that make all the difference.
That “quiet luxury” look isn’t about being perfect. It’s about looking healthy, cared for, and effortlessly put together. And it starts with treating your hair well from the outside in.
I promise, once you find your perfect oil and get this routine down, you’ll never go back. Your hair will thank you, and you’ll get those “What do you use?” compliments all the time.
Save this post to Pinterest so you can come back to these steps anytime! And tell me in the comments—what’s your biggest hair struggle right now? Let’s help each other out.
Xx, Hailey & Team

