
Okay, let’s be real. Sometimes you want to feel like a total romantic, and other days you’re feeling that dark, mysterious vibe. What if you could smash those two moods together into one killer hairstyle? That’s exactly what Romantic Goth Victory Rolls are for.
This isn’t your grandma’s retro ‘do. We’re taking the classic 1940s victory roll—that iconic, rolled-up volume—and giving it a moody, modern twist. Think less pin-up sunny and more vintage vampire glam.
It sounds intricate, but I promise it’s way easier than it looks. With a few tools and this step-by-step guide, you’ll have a head-turning look that blends retro glam with that edgy romantic goth energy we love. Let’s get into it.
What Are Romantic Goth Victory Rolls?
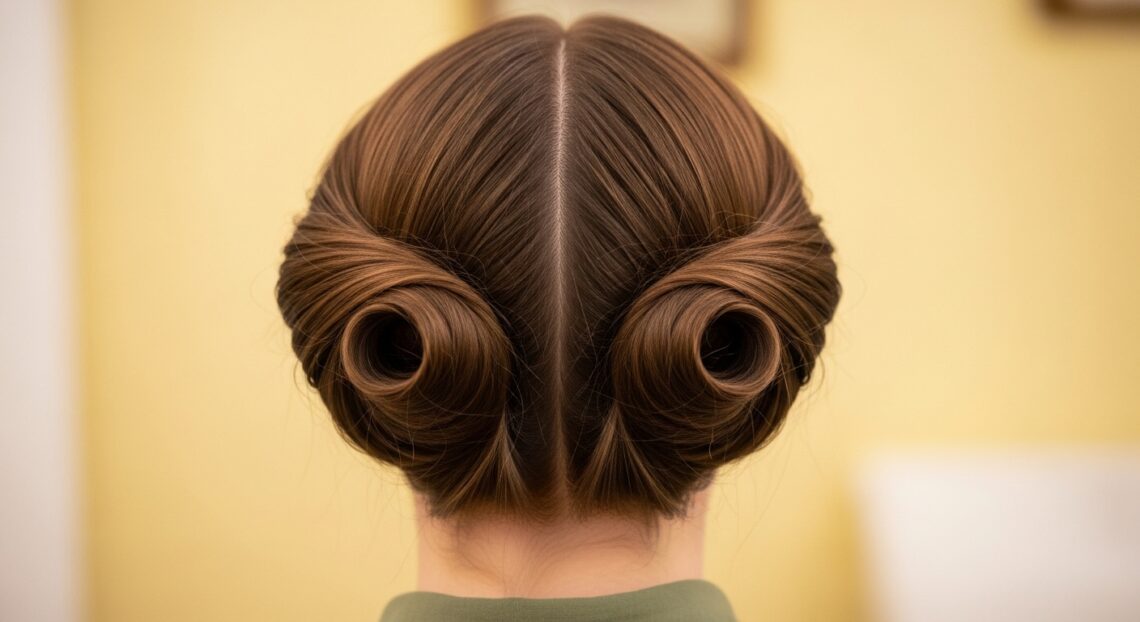
At their core, victory rolls are sections of hair rolled inward and pinned to create a voluminous roll. The “romantic goth” part comes from the styling. We ditch the super-sleek, bright look for something softer, darker, and more textured.
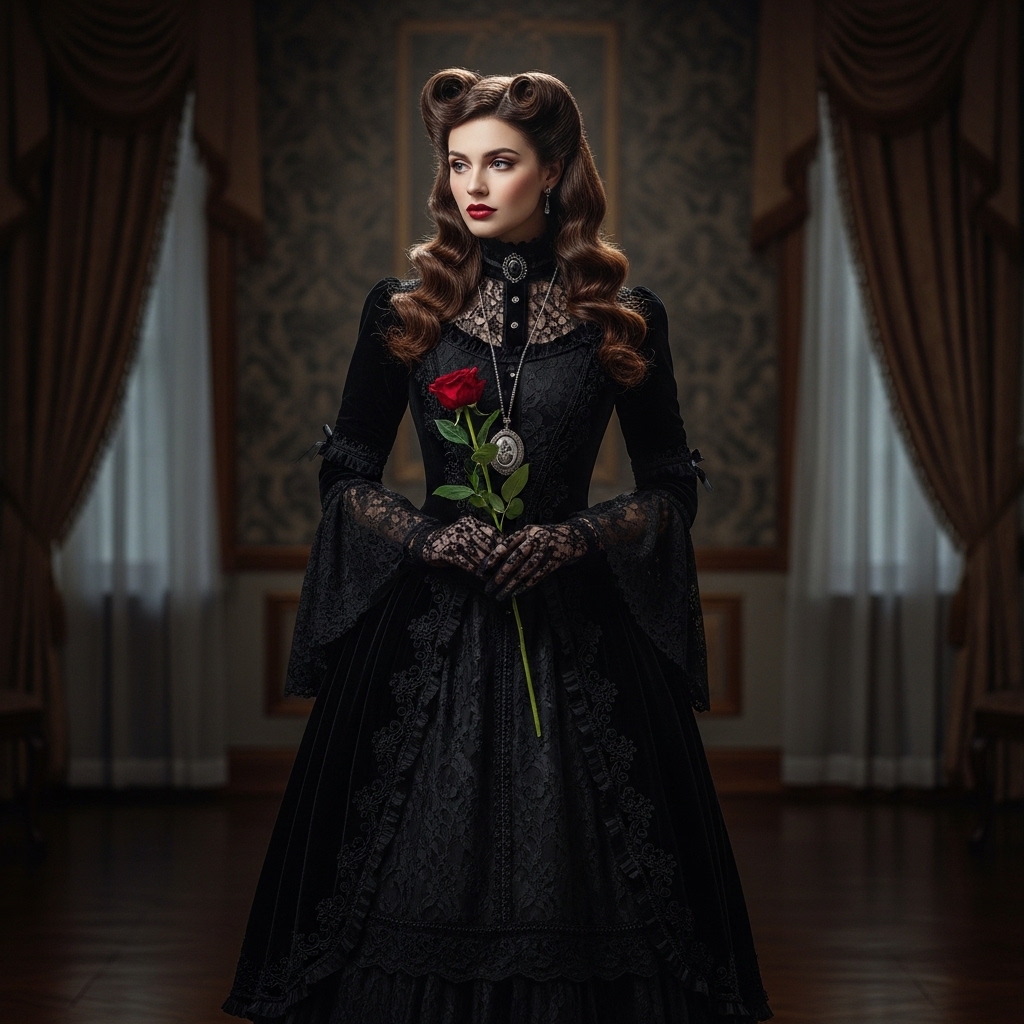
Imagine imperfect waves, maybe a few face-framing pieces left loose, and a deep, rich hair color. It’s a nostalgic shape with a modern, atmospheric feel. It pairs perfectly with dark lipstick and lace, creating a whole vibe.
Why This Look is Having a Major Moment
This style perfectly taps into a few huge 2024 trends. It has the timeless elegance of old money hair—that polished, intentional feel—but with a dramatic, personal twist. It’s also a star in the glitchy glam hair world, where classic beauty gets a subversive, digital-age edge.
It’s for anyone who loves romantic goth hairstyles but wants a structured, retro shape. It’s bold, it’s confident, and it tells a story. Plus, it looks incredible in photos, making it perfect for a night out or a creative shoot.
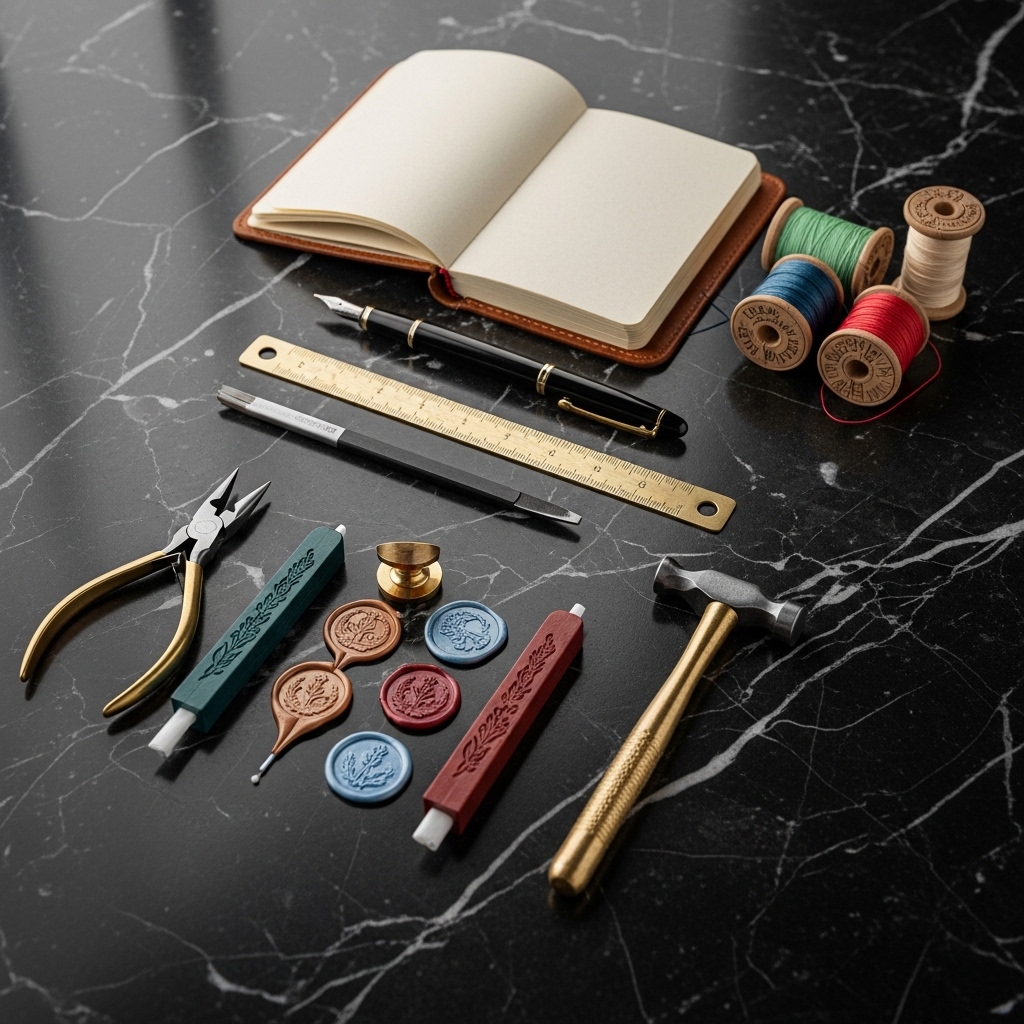
Gathering Your Hair Tool Kit
You don’t need a salon’s worth of stuff. Here’s the simple list to get started. Having the right tools on hand makes the whole process smooth and frustration-free.
- Fine-tooth comb & tail comb: For precise sectioning and teasing.
- Strong-hold hairspray: This is non-negotiable for hold.
- Bobby pins (matte black or dark brown): They’ll blend into your hair seamlessly.
- Volumizing mousse or dry shampoo: For grip and texture at the roots.
- 1-inch curling iron or wand: To create the initial waves.
- Hair clips: To section hair while you work.
The Perfect Hair Prep Routine
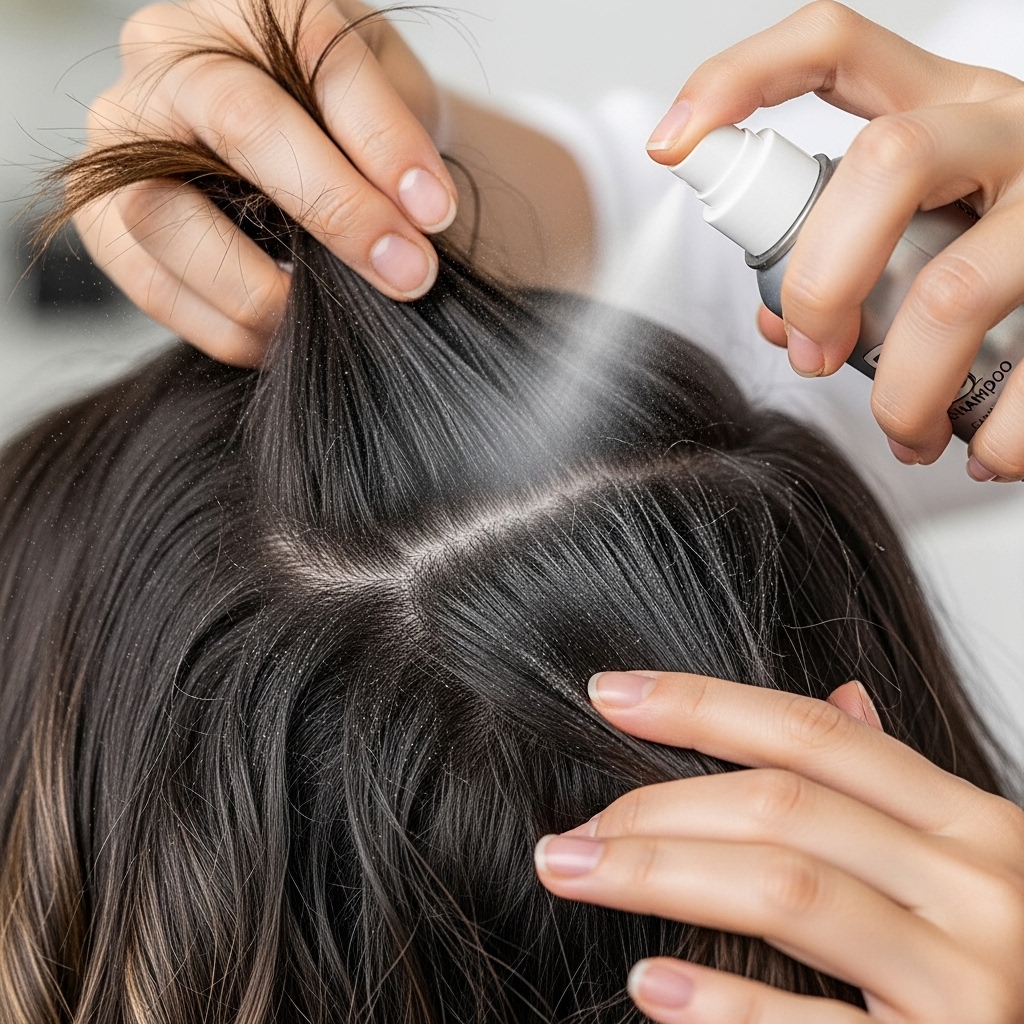
Start with day-old hair. Freshly washed hair can be too slippery. If you must wash it, use a volumizing mousse at the roots and blow-dry for maximum lift. A light spray of dry shampoo at the roots also adds amazing texture and grip.
Your hair should be lightly textured, not silky-smooth. This gives the rolls something to hold onto. If your hair is very fine or straight, a light texturizing spray is your best friend here. Don’t skip this step!
Step 1: Create a Solid Base of Waves
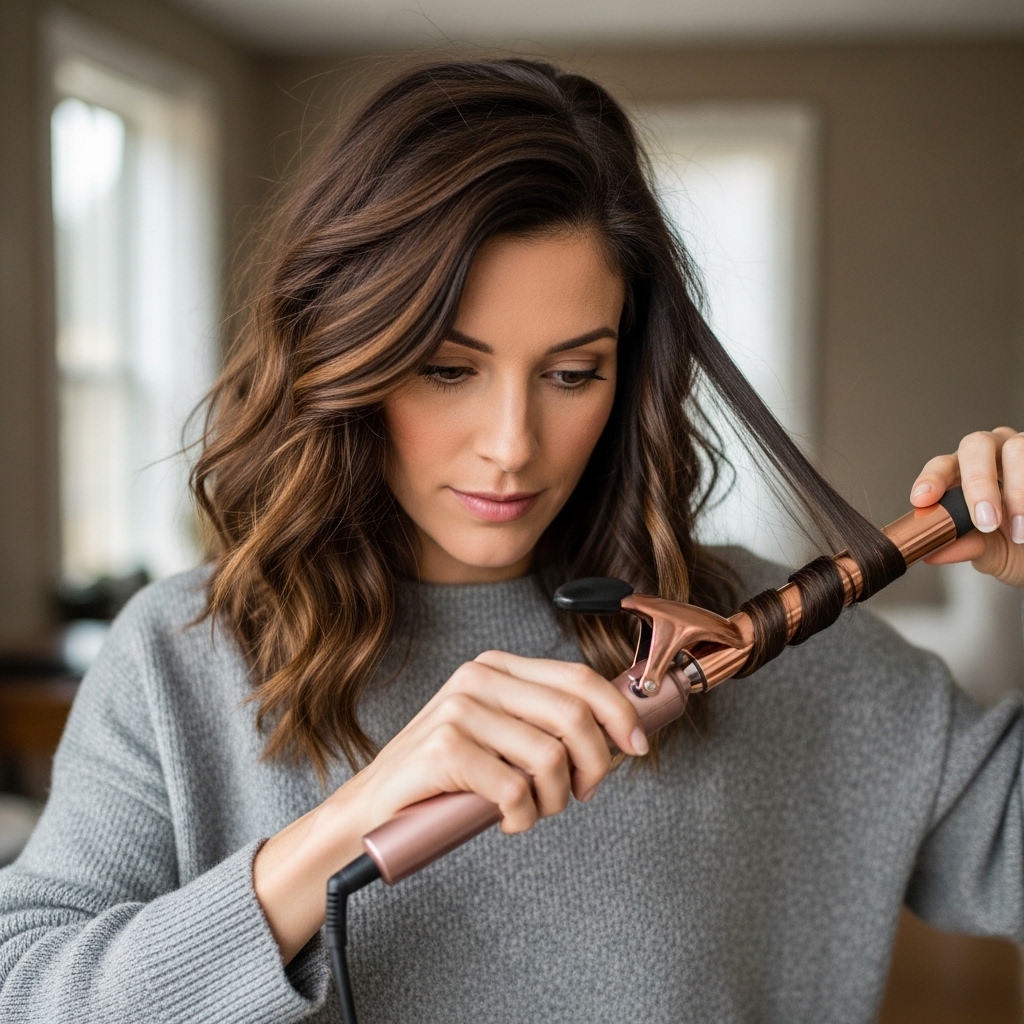
We’re not aiming for perfect curls. Use your curling iron or wand to create loose, undone waves throughout your hair. Alternate the direction of the curls for a more natural, romantic look.
Let the curls cool completely. You can even clip them up while they cool to set the shape. This wave pattern will make the hair more pliable and help the victory rolls look full and soft, not stiff or thin.
Step 2: Sectioning Your Hair Correctly
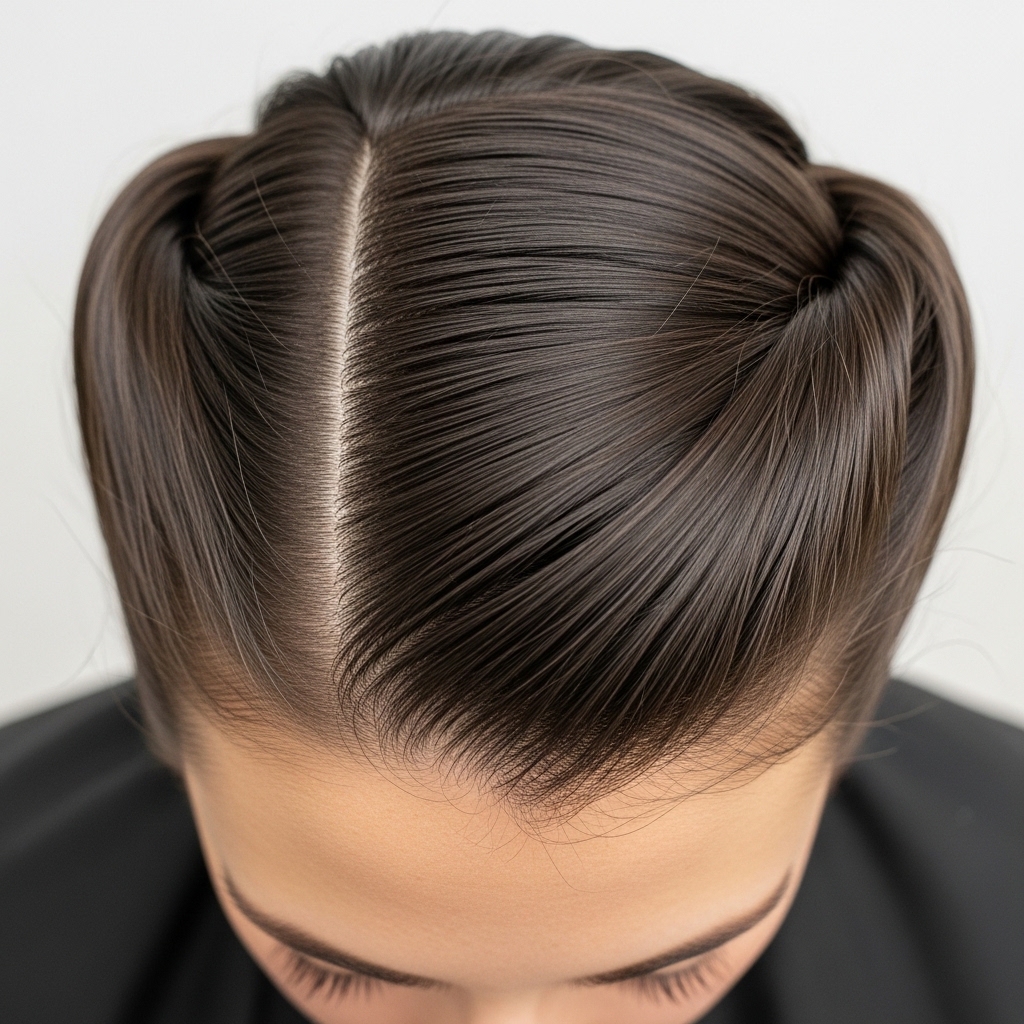
Part your hair as you normally would. For a classic look, a deep side part is gorgeous. Then, decide where you want your rolls. The most common placement is two rolls: one on each side above the temple.
Use your tail comb to create a clean, diagonal parting from the top of your ear up towards your crown. Clip the rest of your hair out of the way. You’ll work on one section at a time for clarity.
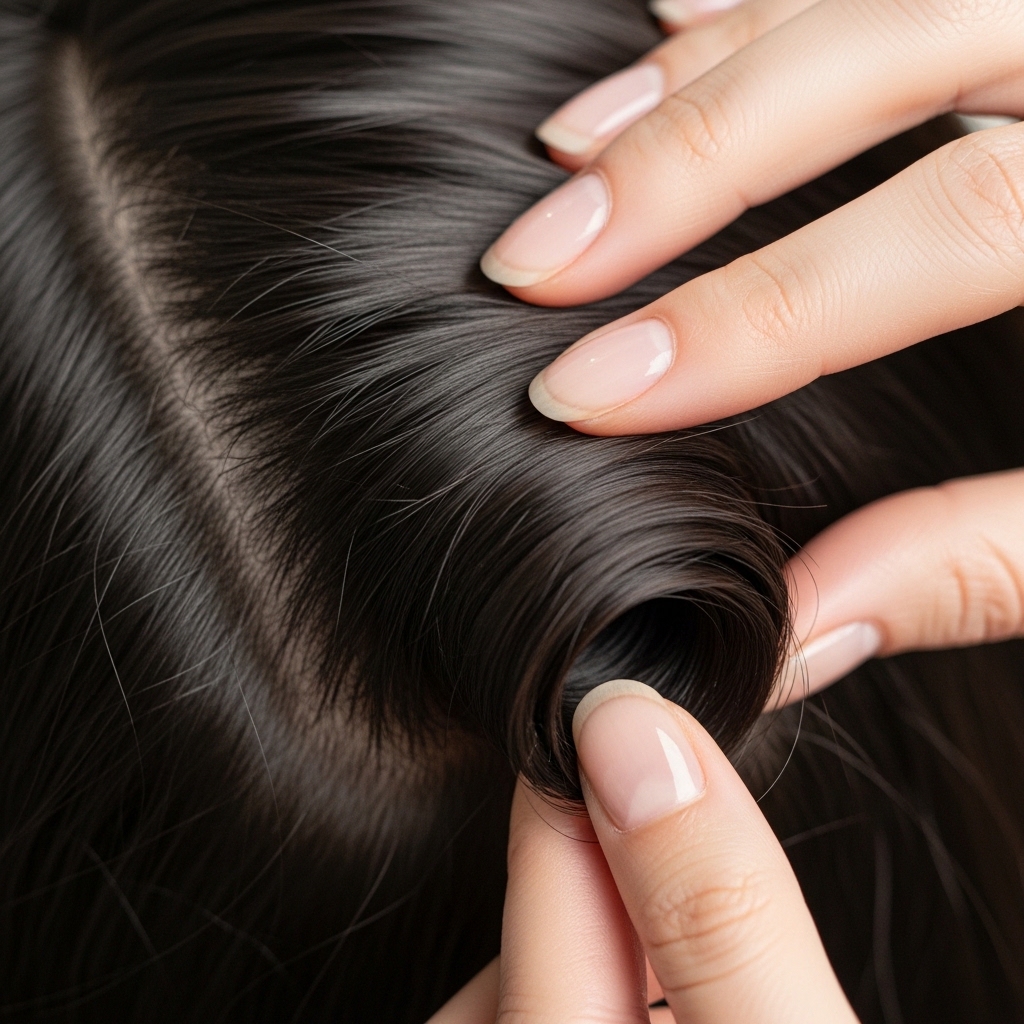
Step 3: Teasing for Maximum Volume
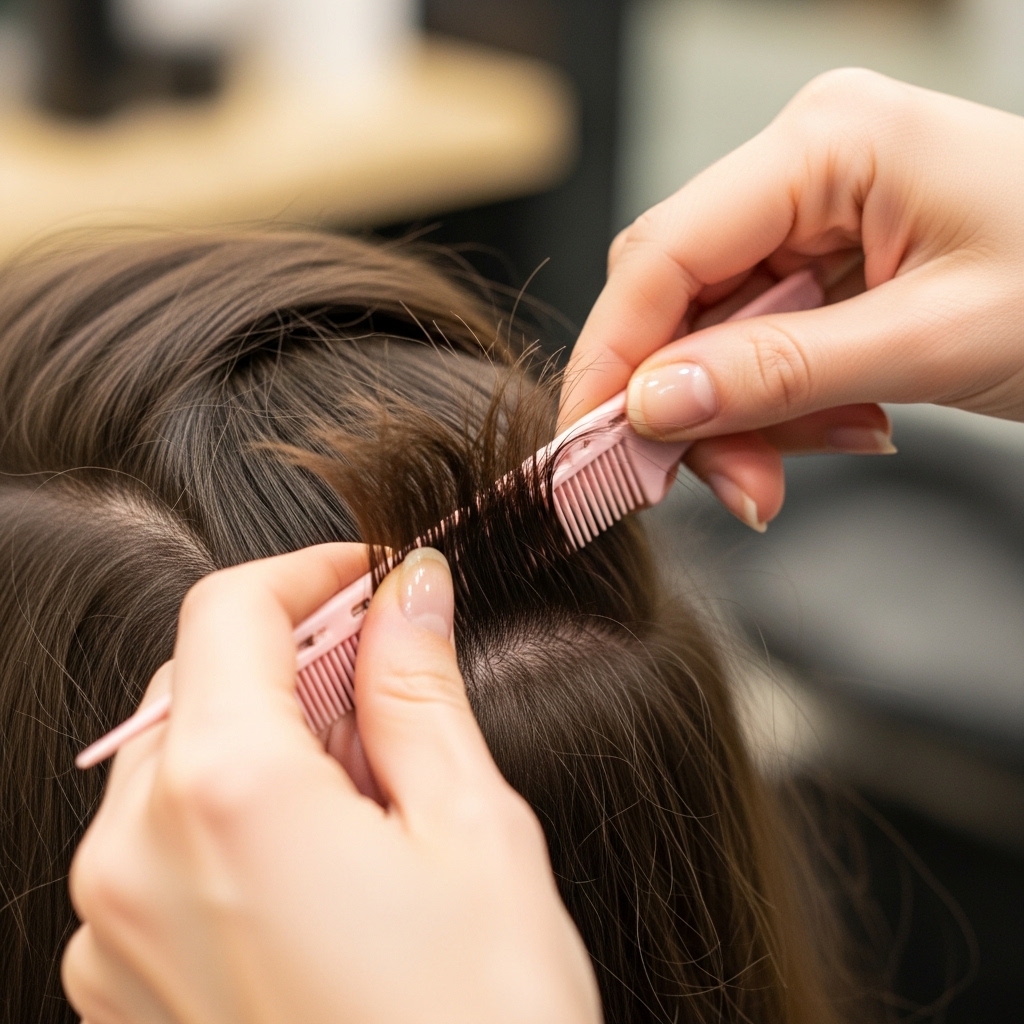
Take your first section. Hold it straight up. Starting midway down the hair shaft, gently backcomb (tease) down towards your scalp with your fine-tooth comb. Do this 2-3 times.
You want to create a padded, voluminous base, not a tangled knot. Be gentle! The goal is hidden volume that the smooth outer layer will glide over. This step is what gives the roll its iconic height and body.
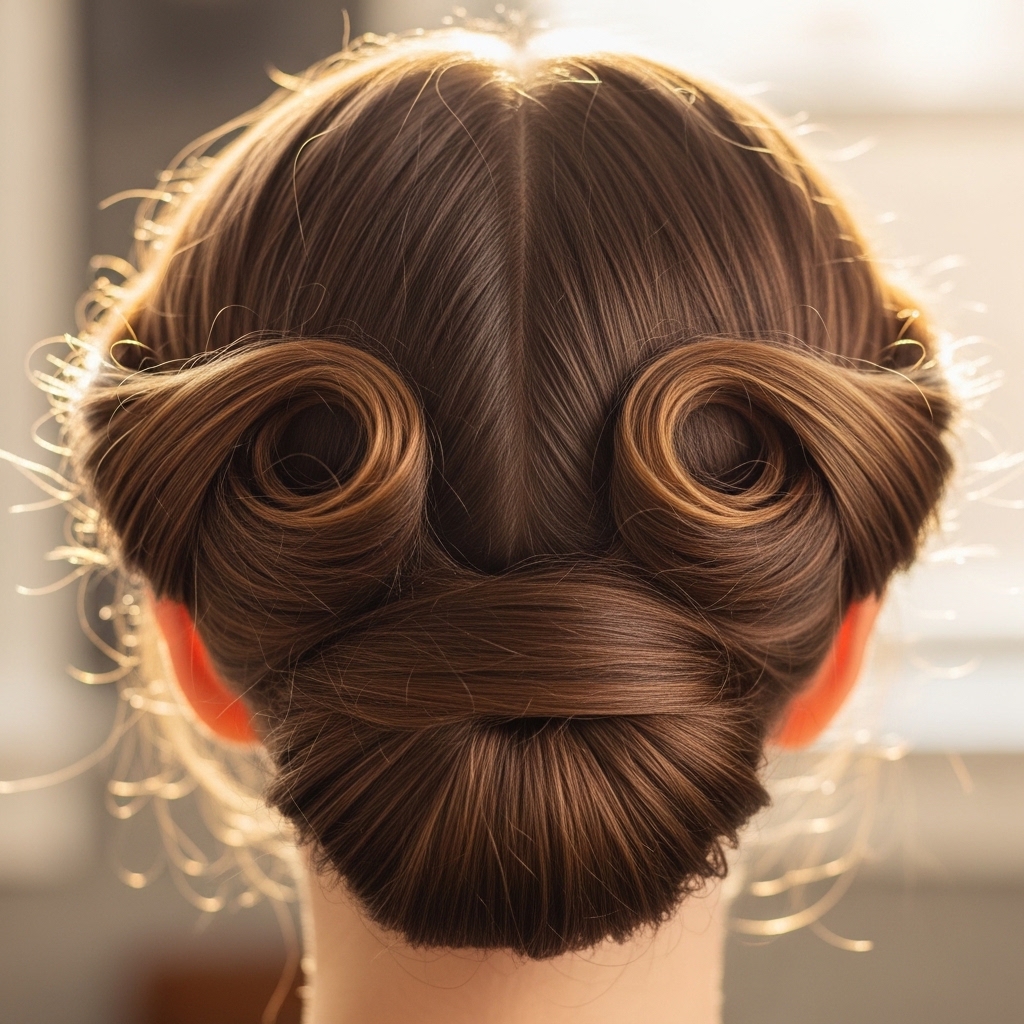
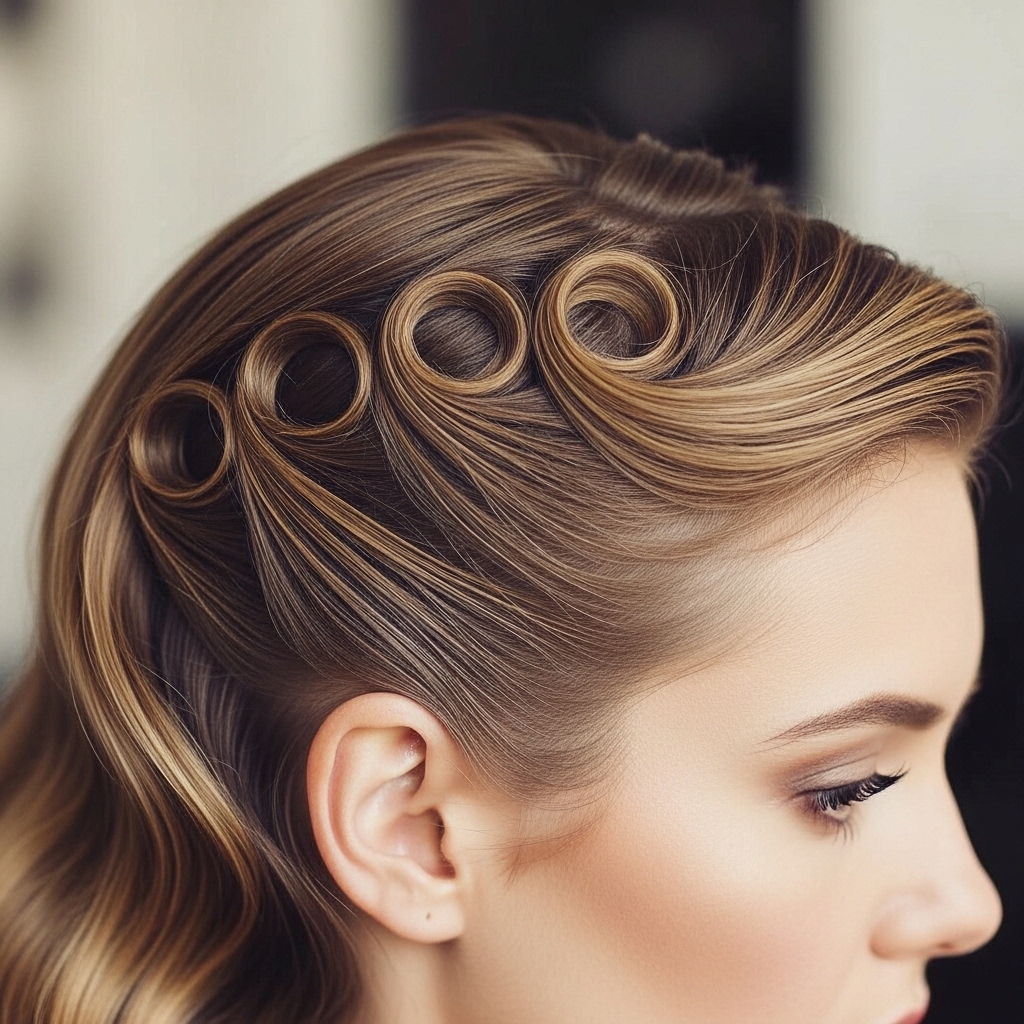
Step 4: The Rolling Technique
This is the magic part. Smooth the top layer of the teased section over your fingers. Now, start rolling the hair inward towards your head, keeping the base wide. Roll it all the way to your scalp.
It should look like a soft, horizontal roll sitting against your head. Don’t worry if it’s not perfect! The romantic goth version is meant to be a little imperfect and soft. Hold it in place with your fingers.
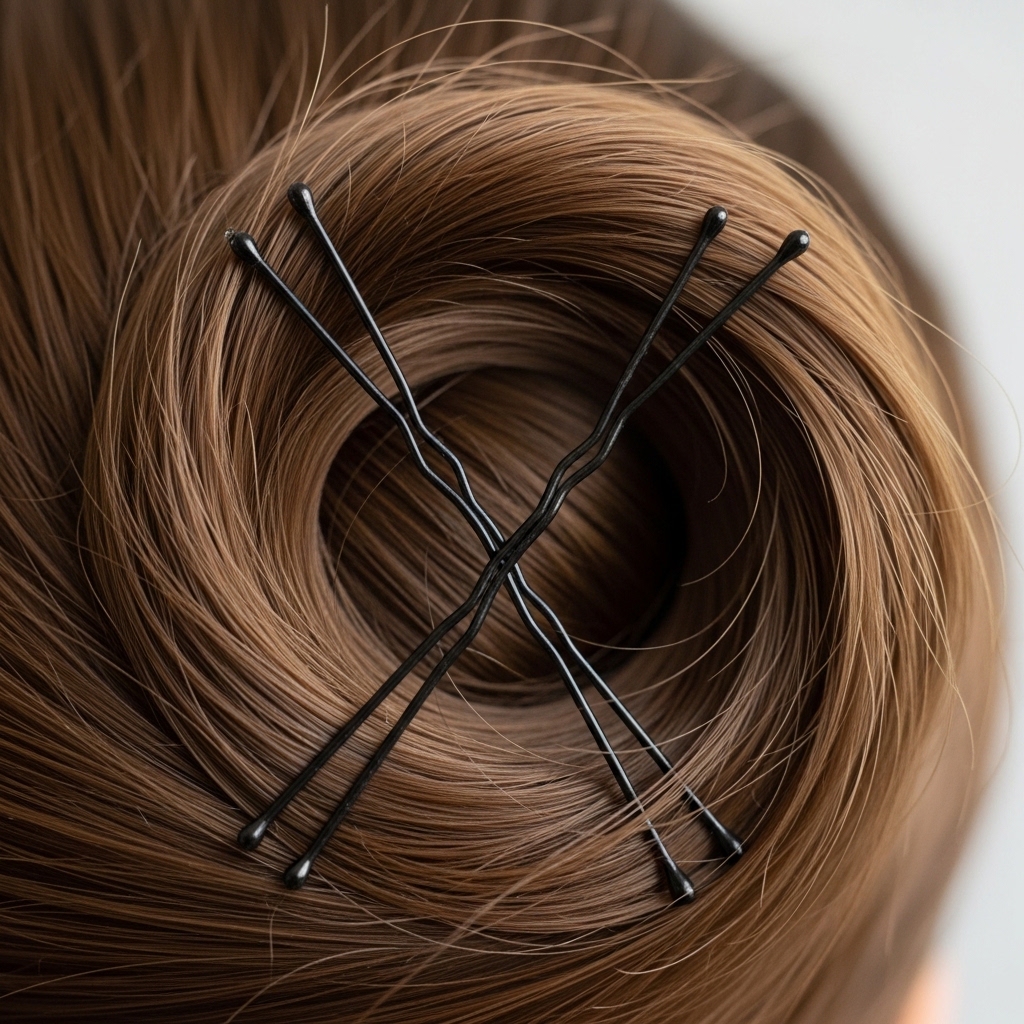
Step 5: Securing It Like a Pro
While holding the roll with one hand, take 3-4 bobby pins with the other. Slide the pins into the base of the roll, going *through* the roll and into the teased hair beneath. Criss-cross them for security.
Poke and adjust until it feels solid. Give the roll a gentle squeeze to mold it. A light mist of hairspray on your hands can help smooth any flyaways on the surface without making it look crunchy.
Step 6: Repeat on the Other Side
Unclip the other section and repeat the process: tease, roll, and pin. Try to make them sisters, not twins. Slight asymmetry adds to the romantic, effortless feel. They don’t need to be exactly the same size or height.
Once both are pinned, step back and look. You can gently pull on the outer edges of the rolls to make them a bit wider or more dramatic. This is your time to shape them to your liking.
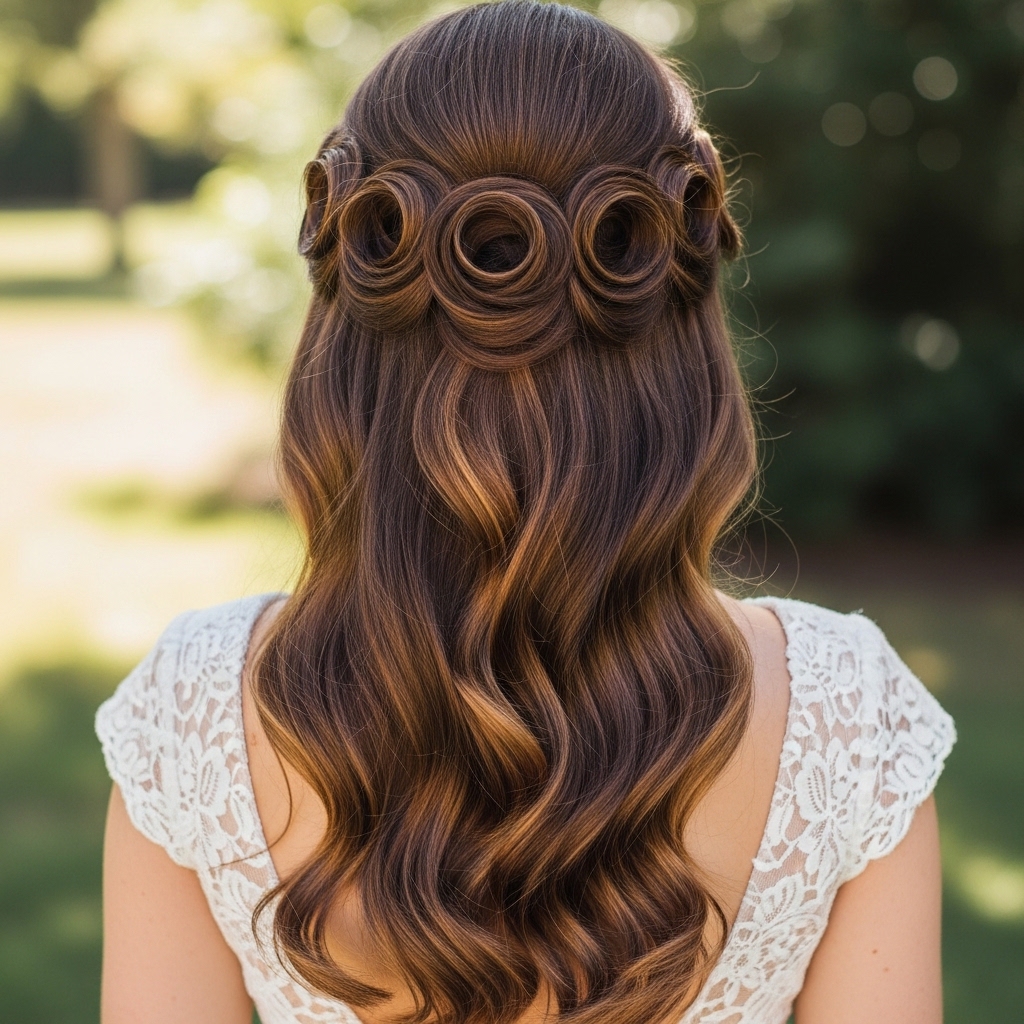
Step 7: Styling the Back & Ends
Now for the rest of your hair! You have options. For a true retro look, sweep the back hair up into a chic bun or ponytail. For a more modern romantic goth look, leave it down in those loose waves.
You can tuck it behind your ears or let it flow. If left down, consider a soft braid on one side, or twist a few small sections back and pin them for a half-up effect that keeps the focus on the rolls.
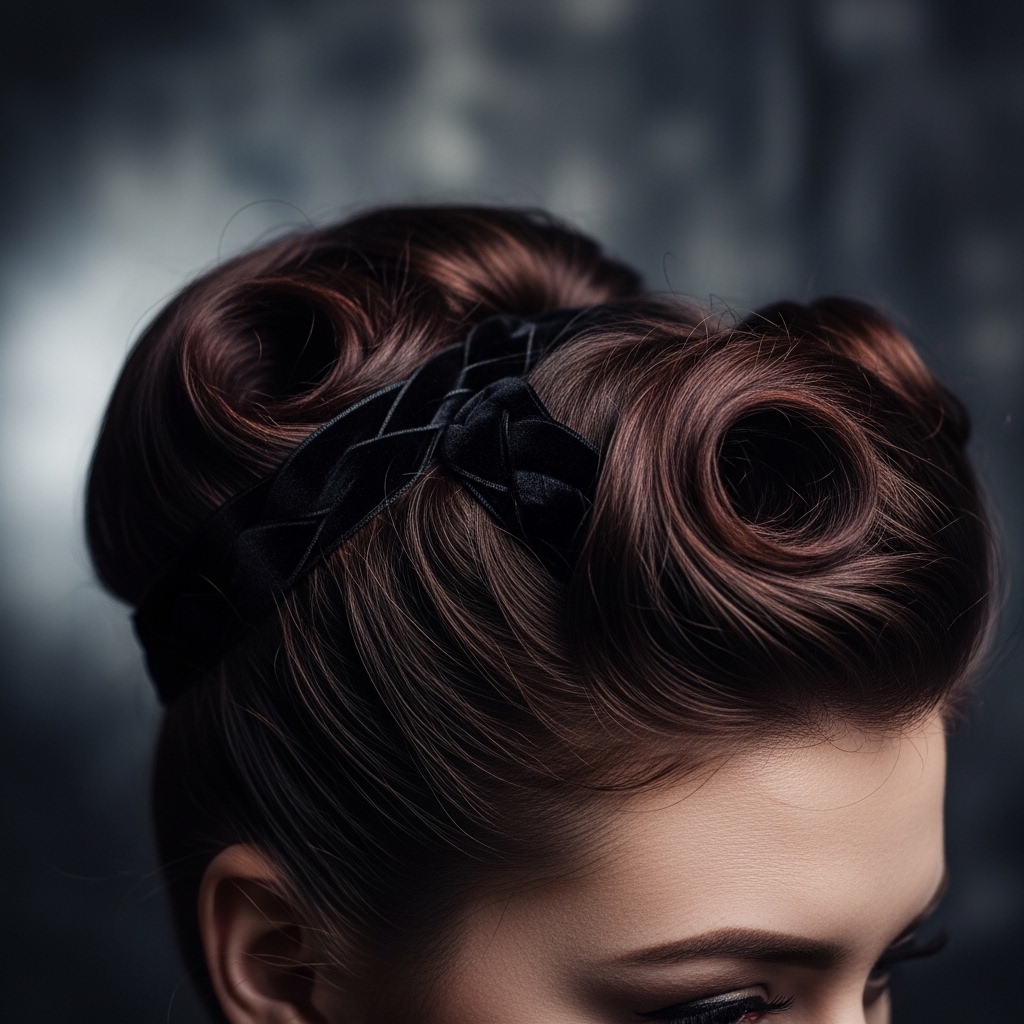
Adding Romantic Goth Embellishments
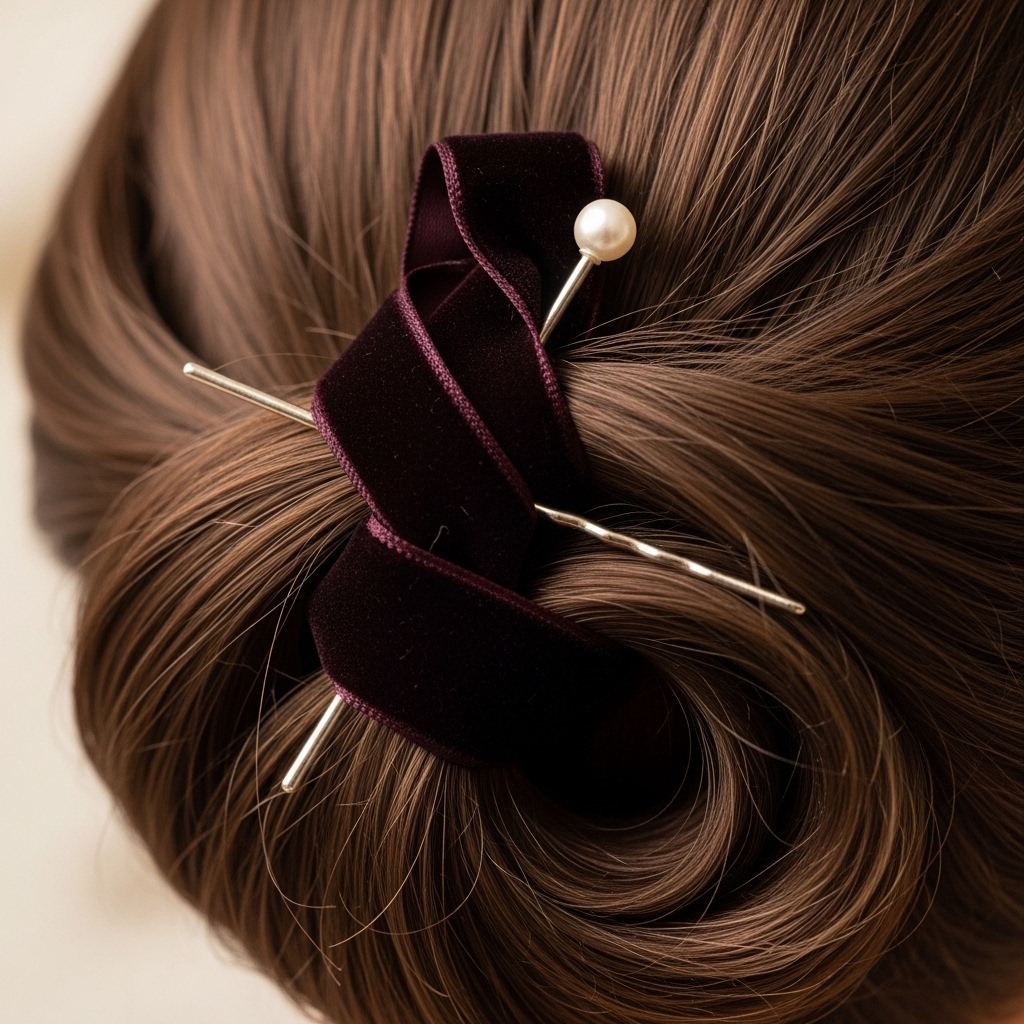
This is where the personality shines. Weave in a few pearl-tipped pins, a delicate black lace ribbon, or a small, ornate hair clip. Think velvet, dried flowers, or even a delicate chain.
Less is often more. One or two carefully chosen pieces can elevate the entire look from “cool hairstyle” to a full aesthetic moment. Place them near the base of a roll or tucked into the waves.
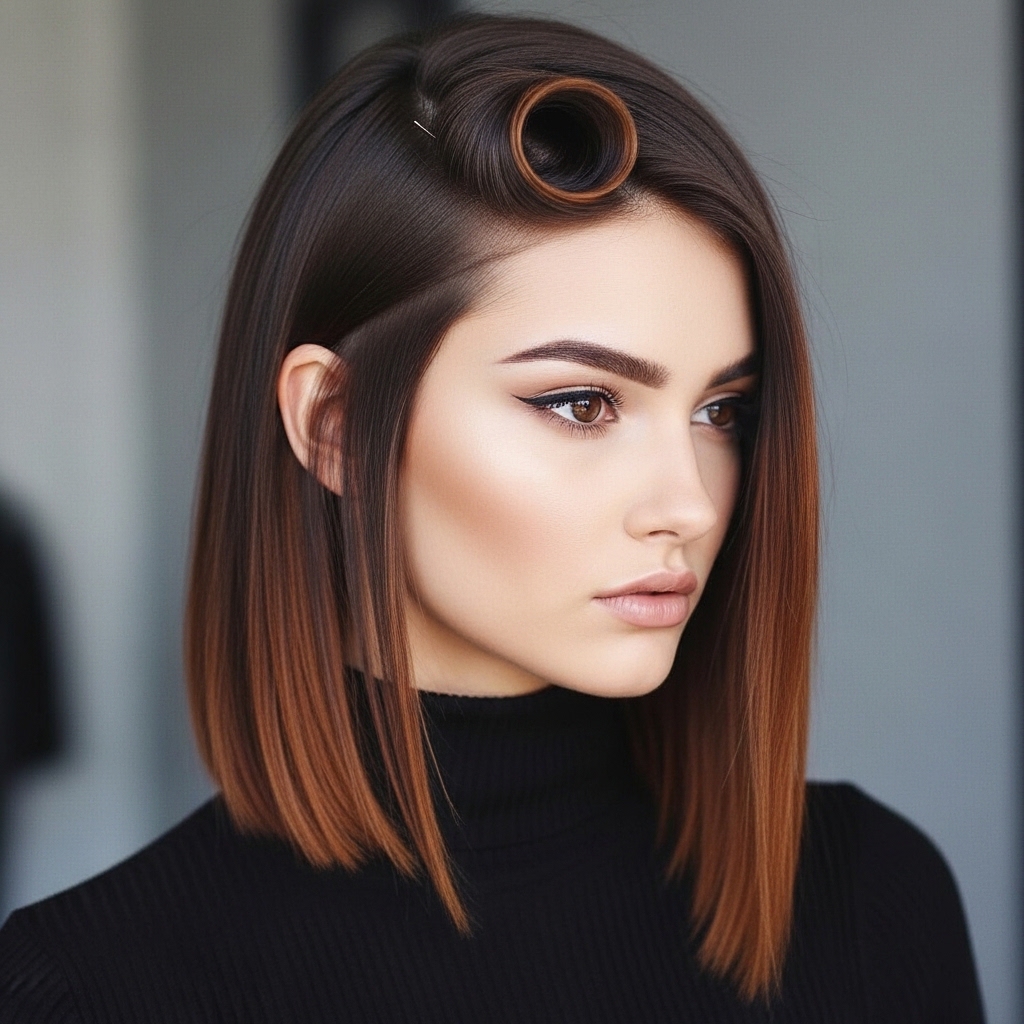
Adapting for Different Hair Lengths
Have a chic asymmetrical lob or a vampire haircut? You can still do this! Create mini victory rolls just above your ears. The shorter length will make them cute and perky, perfect for that edgy bob look.
For those with a hime cut or very long hair, the rolls can be larger and more dramatic. The contrast of the structured rolls with long, blunt-cut hair is absolutely stunning and very on-trend.
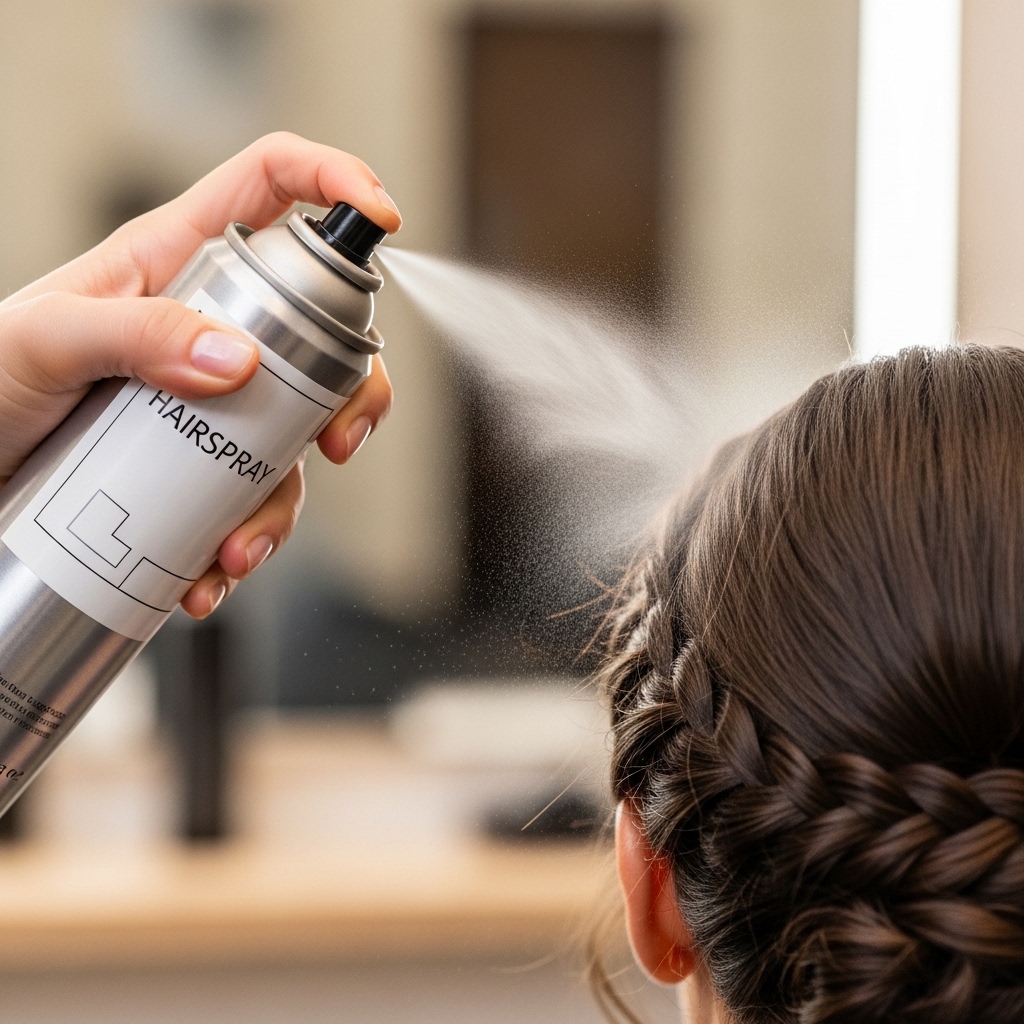
Making it Last All Night Long
Once you’re happy, do a final hold check. Lift your hair and spray *underneath* the rolls at the base. Then, do a light overall mist from a distance. This locks in volume without creating stiffness or flakes.
Carry a few extra bobby pins and a travel hairspray for touch-ups. If a piece falls loose, don’t stress—just repin it. The beauty of this style is its slightly undone nature.
Common Mistakes & How to Fix Them
Rolls are flat: You likely didn’t tease enough at the base. Take it down, backcomb more at the roots, and try again.
Hair is too slippery: Next time, use more texturizing product. For now, lightly hairspray the section before you tease to add grip.
Pins are showing: Use pins that match your hair color and insert them at an angle, sliding them through the hidden, teased hair.
The Romantic Goth Makeup Pairing
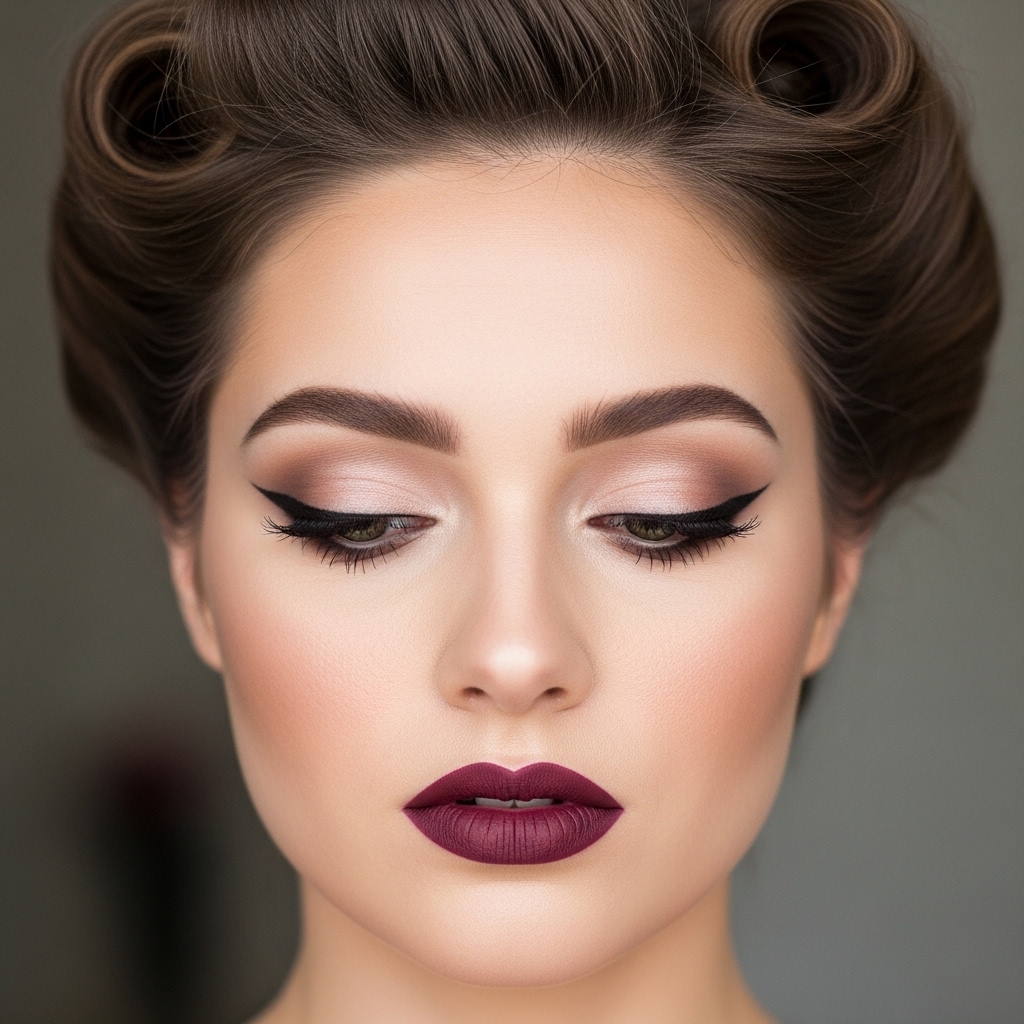
Your makeup should complement, not compete. Go for a flawless, pale base with defined brows. Eyes can be smudgy and smoky, or keep them simple with just bold lashes.
The star is usually the lip: a deep berry, a classic red, or a blackened plum. Blush is applied softly for a romantic flush. The goal is vintage glamour with a darker edge.
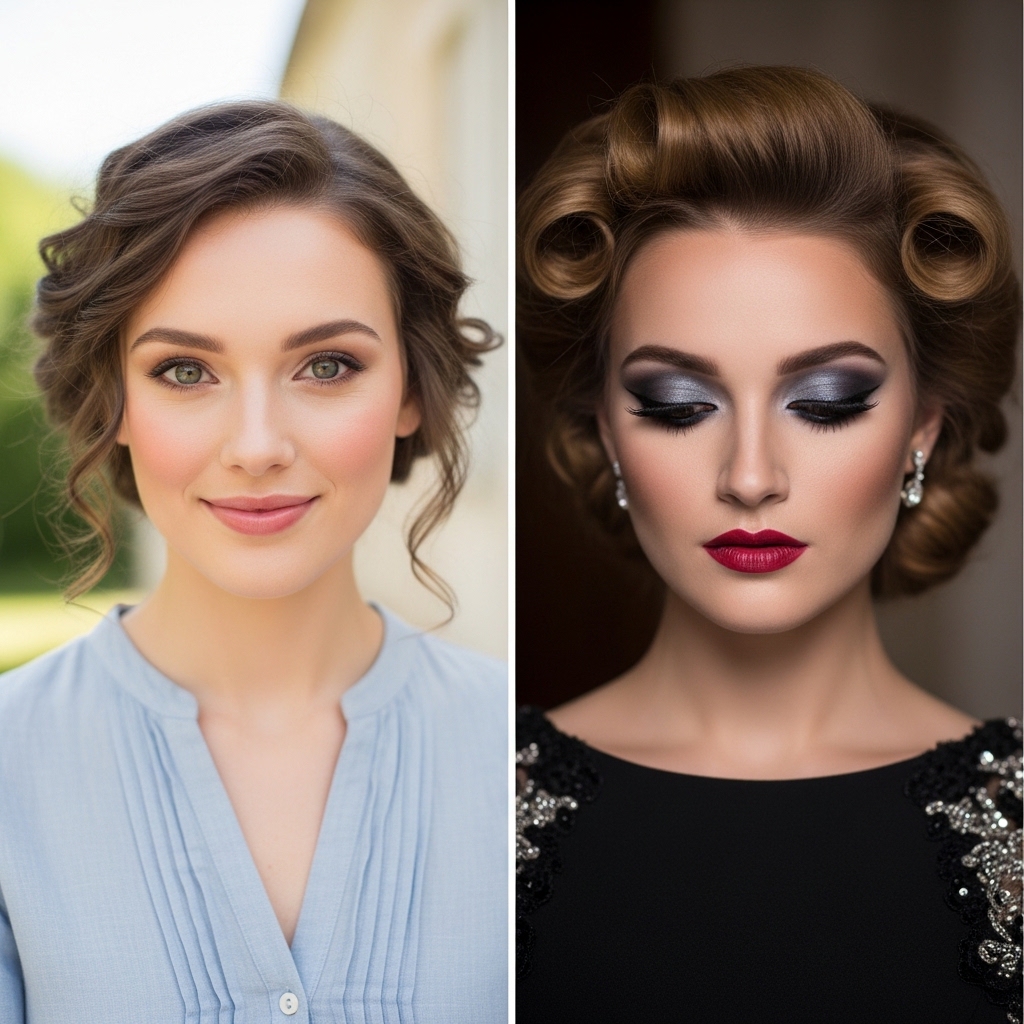
From Day to Night Versatility
This style is surprisingly versatile. For daytime, keep the rolls smaller and looser, with minimal embellishment. It becomes a cool, retro-inspired updo.
For night, amp up the volume, add your dark lipstick and those goth-romantic accessories. It transforms effortlessly. This adaptability makes it a fantastic technique to master.
Inspired Variations to Try
Don’t stop at two rolls! Try a single, dramatic roll on one side. Or create three smaller rolls in a row. You can also incorporate small braids into the rolls for extra texture.
Play with color! If you have highlighted hair, the rolls will showcase the dimension beautifully. This style works with every color, from jet black to platinum.
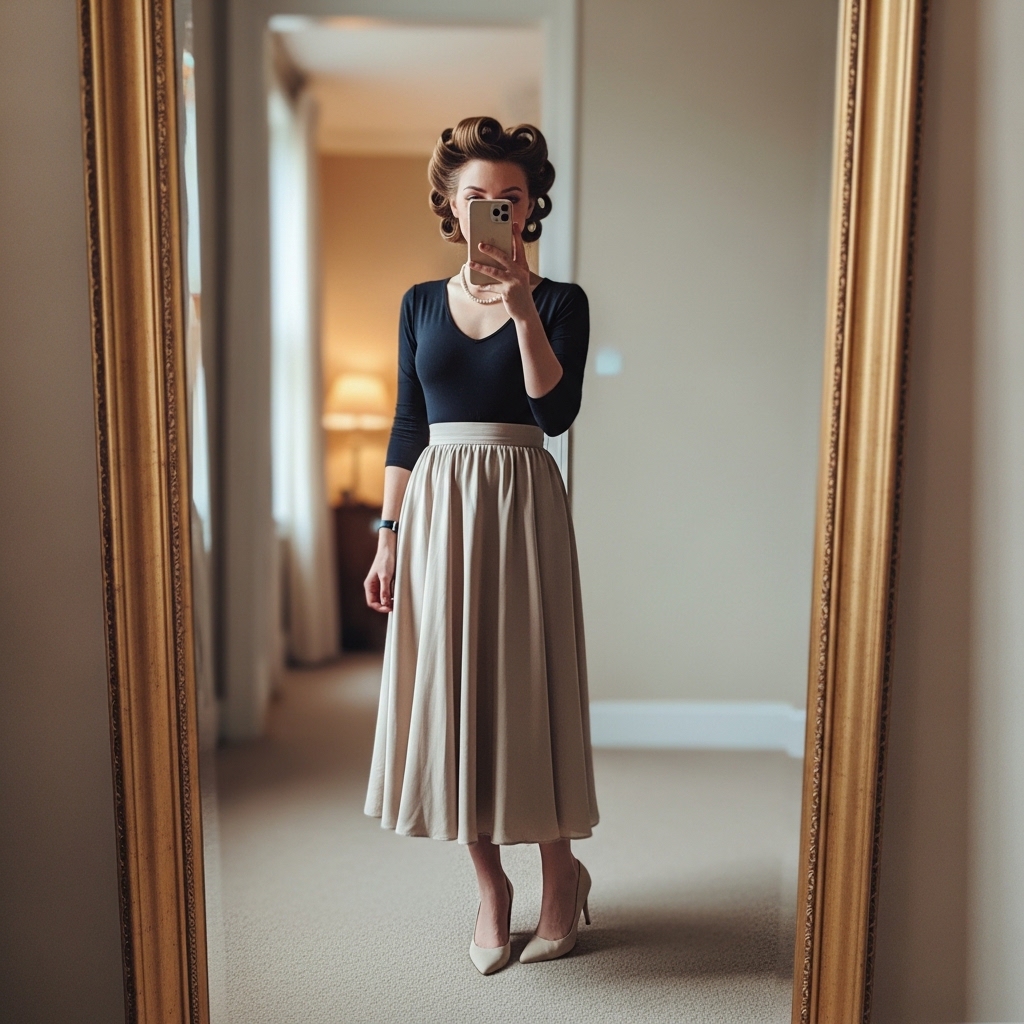
How This Fits Your Personal Style
Whether your vibe is quiet luxury bob most days or full-on romantic goth, this hairstyle is a tool for expression. It adds instant drama and polish. It shows you pay attention to details.
It’s a conversation starter. It makes a simple black dress look editorial. It’s a way to wear your mood and creativity right on top of your head, literally.
Your Quick-Start Cheat Sheet
- Prep with texture (dry shampoo/mousse).
- Create loose, cool waves all over.
- Section hair diagonally above each temple.
- Tease each section at the roots for volume.
- Smooth the top layer and roll inward to scalp.
- Secure with criss-crossed bobby pins at the base.
- Style the back hair (up or down).
- Add dark romantic accessories.
- Lock in with hairspray.
Final Thoughts Before You Start
Your first attempt might not be perfect, and that’s okay! Hair is meant to be played with. Each time you try it, you’ll get faster and better. The “mistakes” often lead to your own unique signature style.
Remember, the romantic goth aesthetic is all about individuality and mood. So, put on some music you love, light a candle, and enjoy the process of creating something beautiful and a little bit dark.
And there you have it! Your complete guide to creating those dreamy, dark, and utterly glamorous Romantic Goth Victory Rolls. This look is such a powerful way to blend vintage charm with your own modern edge.
It’s more than just a hairstyle—it’s a mood. It’s for the days you want to feel powerful, romantic, and uniquely yourself. I hope you feel inspired to grab your pins and give it a try.
Save this post to Pinterest so you can always come back to the steps when you’re ready to create the look! And I’d love to hear from you—which variation are you most excited to try? Let me know in the comments below!

