
Okay, let’s talk about a hairstyle that feels like a secret. It’s not your typical goth look. This is softer, dreamier, and honestly, way more wearable. I’m talking about romantic goth braids with that gorgeous, touchable velvet texture.
Think less spooky and more poetic. It’s a perfect blend of dark academia and that soft “old money hair” vibe, but with a mysterious twist. If you love the idea of “quiet luxury” but want a touch of drama, this is your look.
And the best part? It’s surprisingly easy to get that plush, velvety feel without needing magic. I’ll walk you through everything, from prep to the final hold. This style is a total standout for 2026 hairstyles, but you can start wearing it right now.
What Makes a Braid “Romantic Goth”?
Romantic goth isn’t about being scary. It’s about a feeling. It’s elegant, a little nostalgic, and deeply textured. The color palette is rich—think deep browns, burgundies, or black—but the shape is soft and inviting.
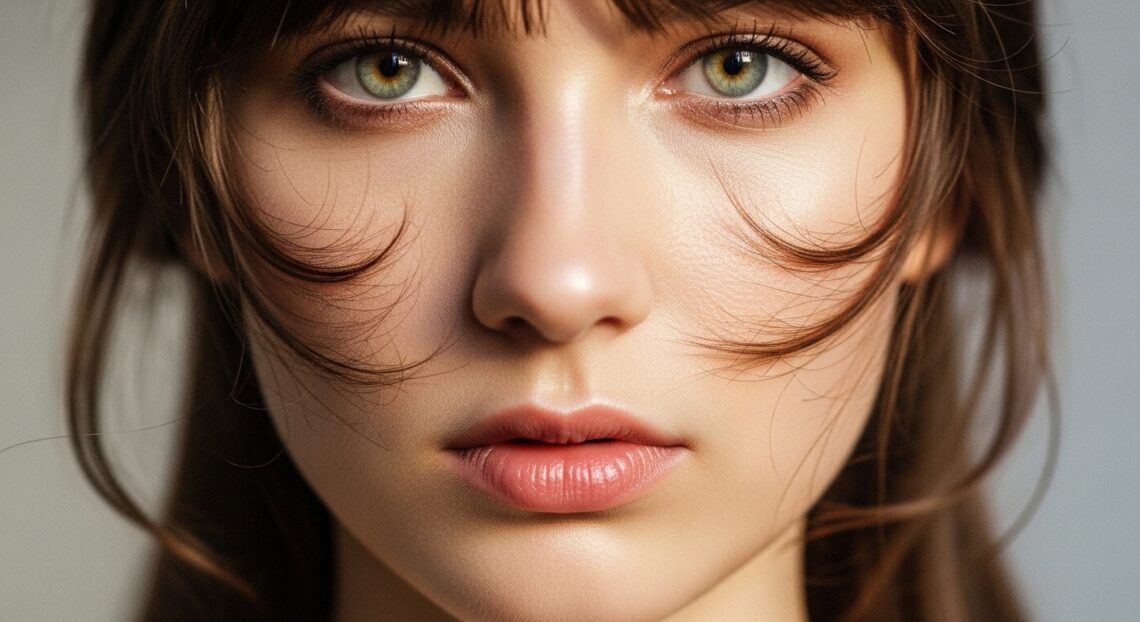
It takes inspiration from “vampire haircut” aesthetics and “glitchy glam hair,” mixing imperfect, wispy pieces with intricate braiding. The goal is hair that looks beautifully undone, like you just stepped out of a classic novel or a misty forest. It’s the opposite of sleek and severe.
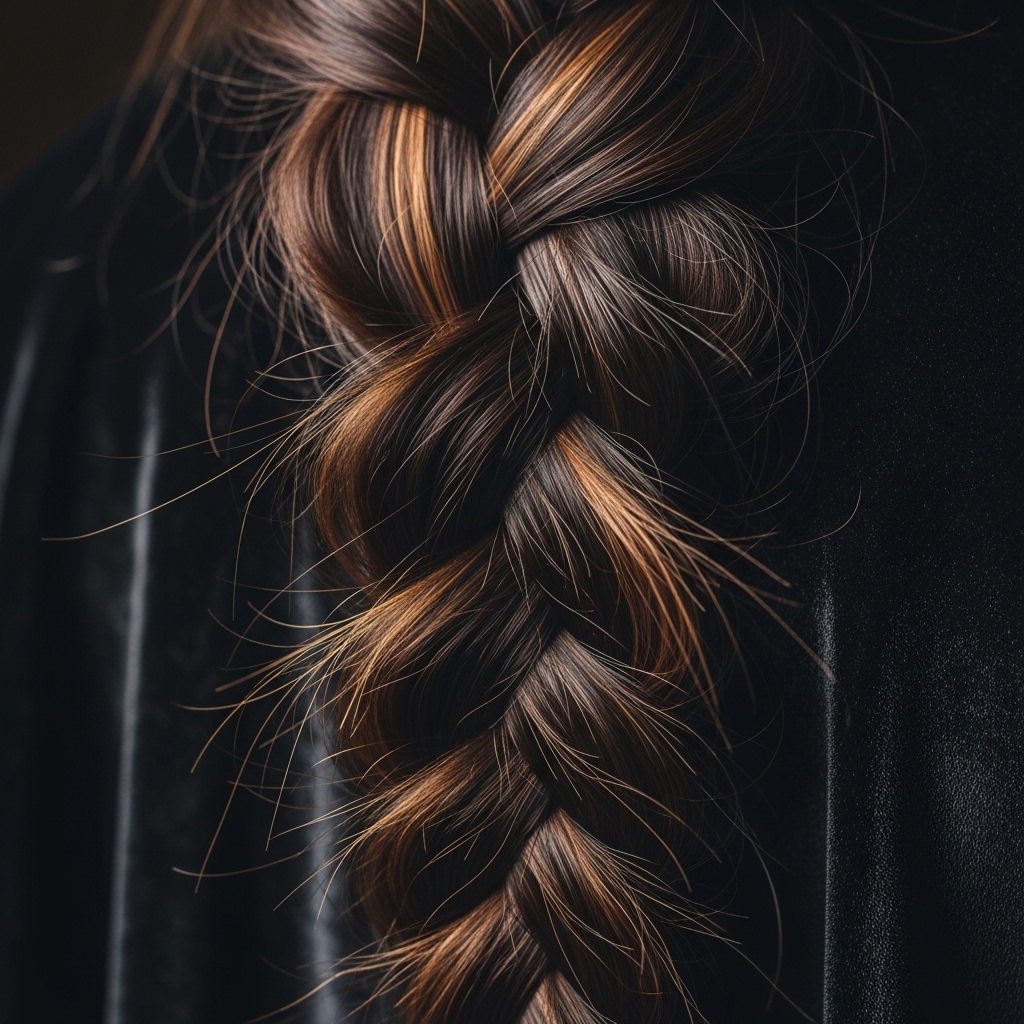
The “velvet” part is key. It means your hair looks and feels plush, matte, and incredibly soft. It has depth and a slight haze, not a shiny gloss. This texture is what turns a regular braid into something special and dreamy.
Why Velvet Texture is Everything Right Now
Shiny hair has its place, but right now, texture is king. That soft, matte finish is the hallmark of so many trending looks, from the “quiet luxury bob” to “old money hair.” It looks expensive, lived-in, and effortlessly cool.
For romantic goth styles, the velvet texture adds to the mysterious, touchable vibe. It catches the light in a diffused way, creating shadows and depth that make your braid look fuller and more artistic. It also helps those delicate, wispy pieces stay in place.
This texture works across all cuts, too. Whether you have a long “hime cut,” an “asymmetrical lob,” or classic long layers, mastering this finish will level up all your romantic goth hairstyles.
Hair Prep: The Non-Negotiable First Step
Perfect braids start before you even pick up a hair tie. You need the right canvas. Always start on day-two or even day-three hair. That natural oil gives you a perfect base for grip and texture.
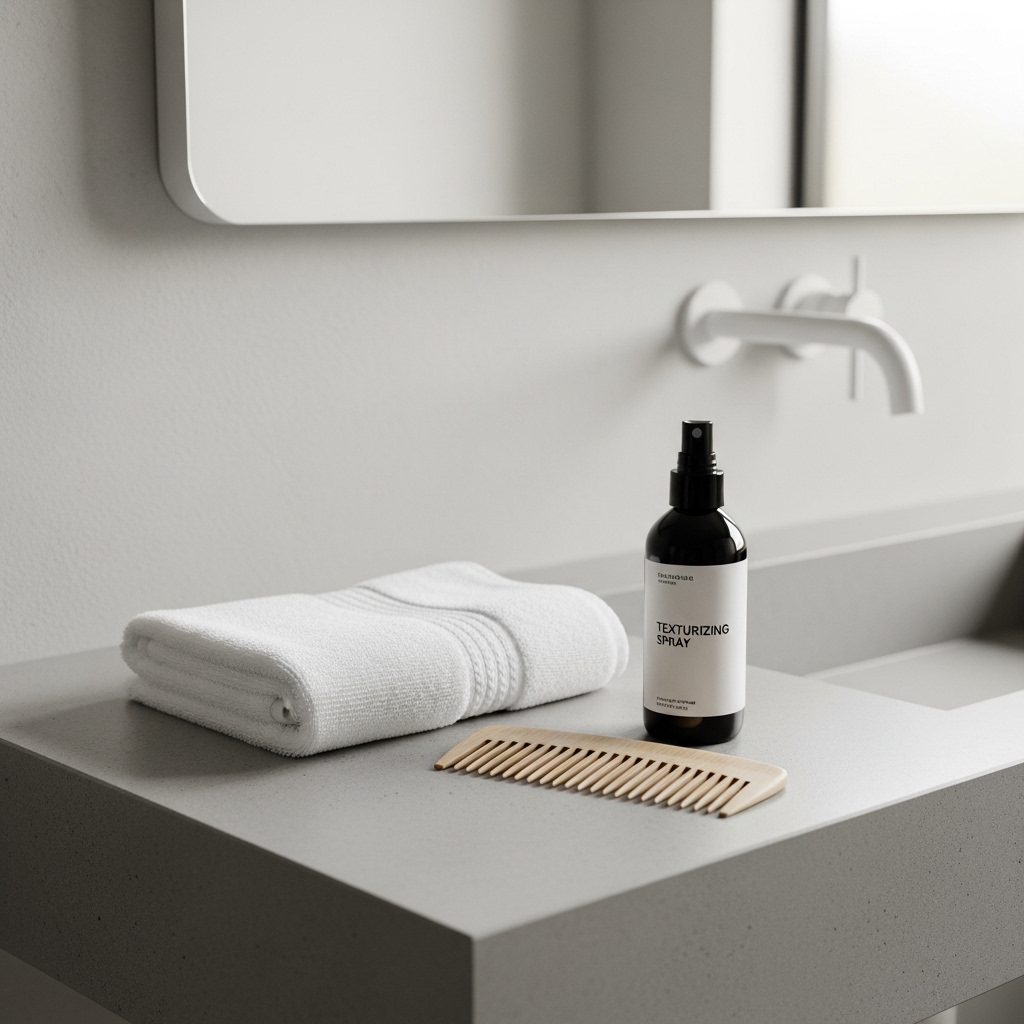
If you just washed your hair, spray a dry shampoo at the roots and a light texturizing spray through the lengths. This creates that essential grit. Brush it through, then gently tousle with your fingers.
The goal is hair that’s not slippery. You want it to have a slight grip so the braid holds its shape and all those beautiful pieces don’t just slide out. This prep sets the stage for the entire look.
Tools You’ll Actually Need (It’s a Short List)

You don’t need much. Seriously. Over-styling is the enemy of this look. Here’s your kit:
- Clear Elastic Bands: For securing ends invisibly.
- Matte Texturizing Powder or Dry Shampoo: This is your velvet magic.
- Boar Bristle Brush: For smoothing sections before braiding, not after.
- Fine Mist Spray Bottle: With water for taming flyaways.
- U-Shaped Bobby Pins: In a color matching your hair for securing.
That’s it. We’re focusing on product texture and technique, not a drawer full of gadgets. Keep it simple.
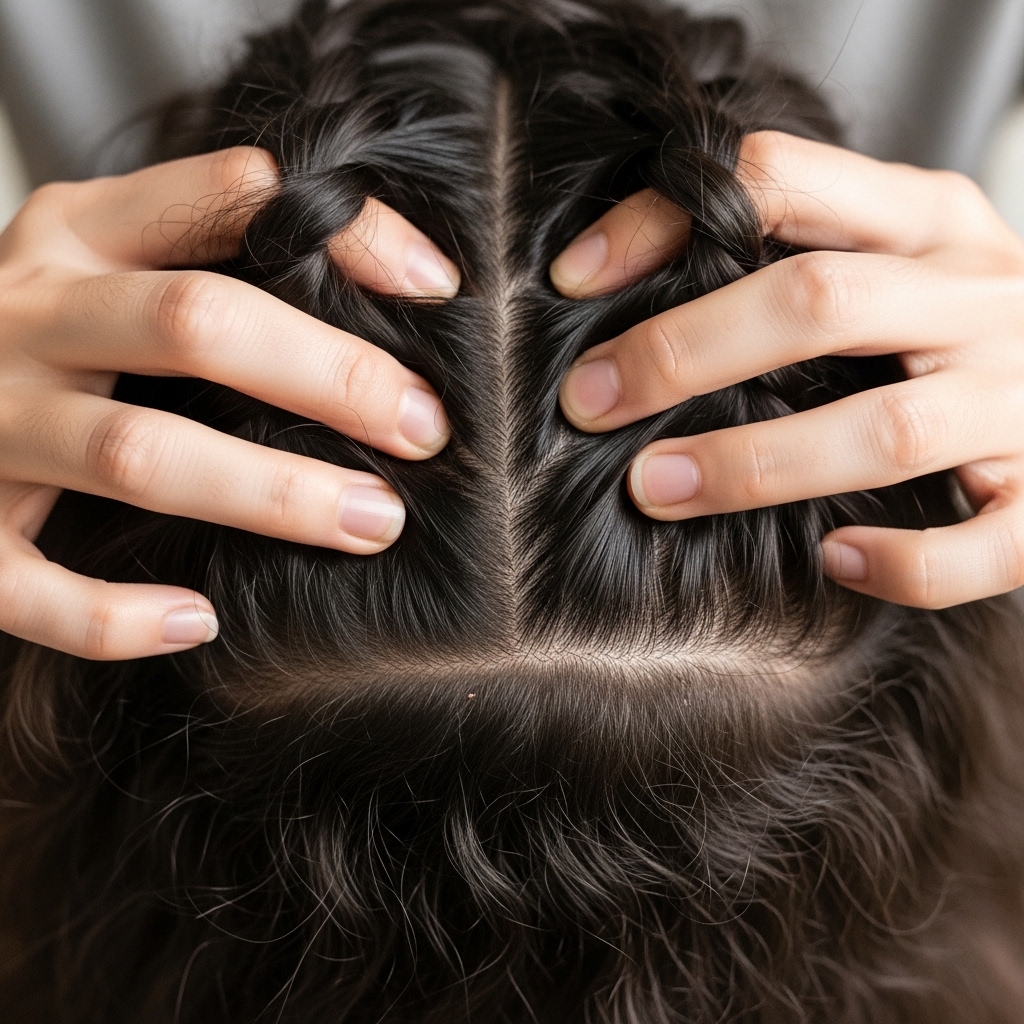
Creating the Base Velvet Texture
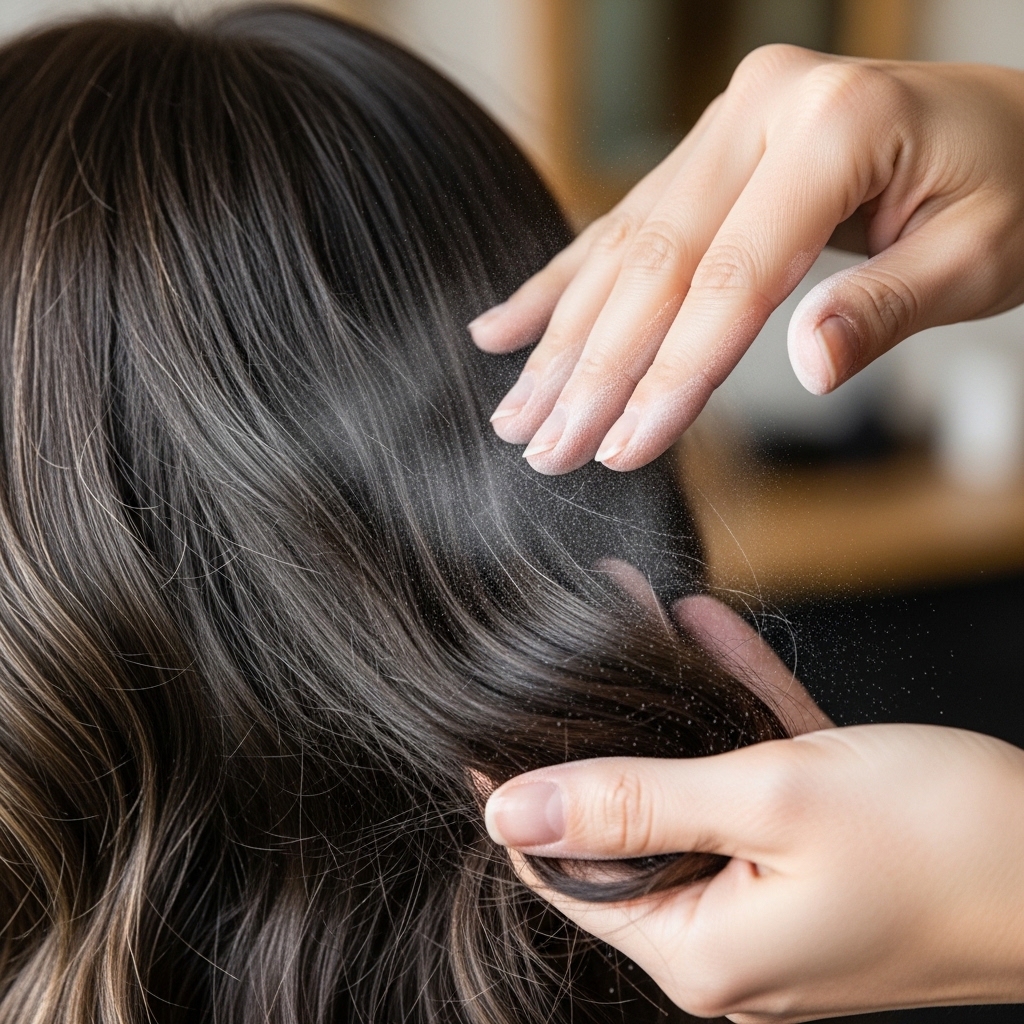
This is the secret step. After prepping your hair, take your matte texturizing powder or a strong-hold dry shampoo. Focus on the mid-lengths to ends—avoid the roots for now to prevent buildup.
Sprinkle a small amount into your palms, rub them together, and then scrunch and rake the product through your hair. You should see the shine disappear instantly, replaced by a soft, plush matte finish.
Run your hands over it. It should feel like velvet fabric—soft but with body and grip. If it feels too dry or sticky, you used too much. Brush it out lightly and start again. Less is more.
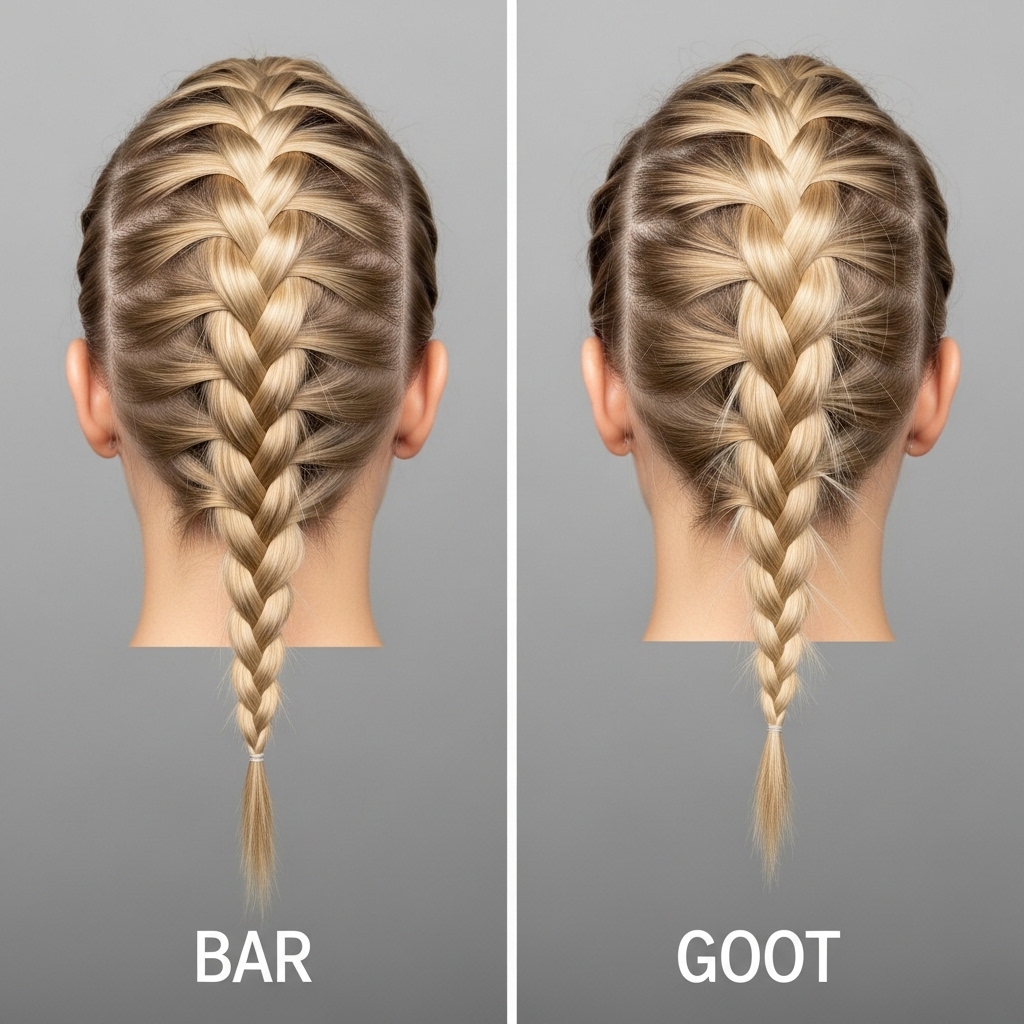
The Classic Romantic Rope Braid
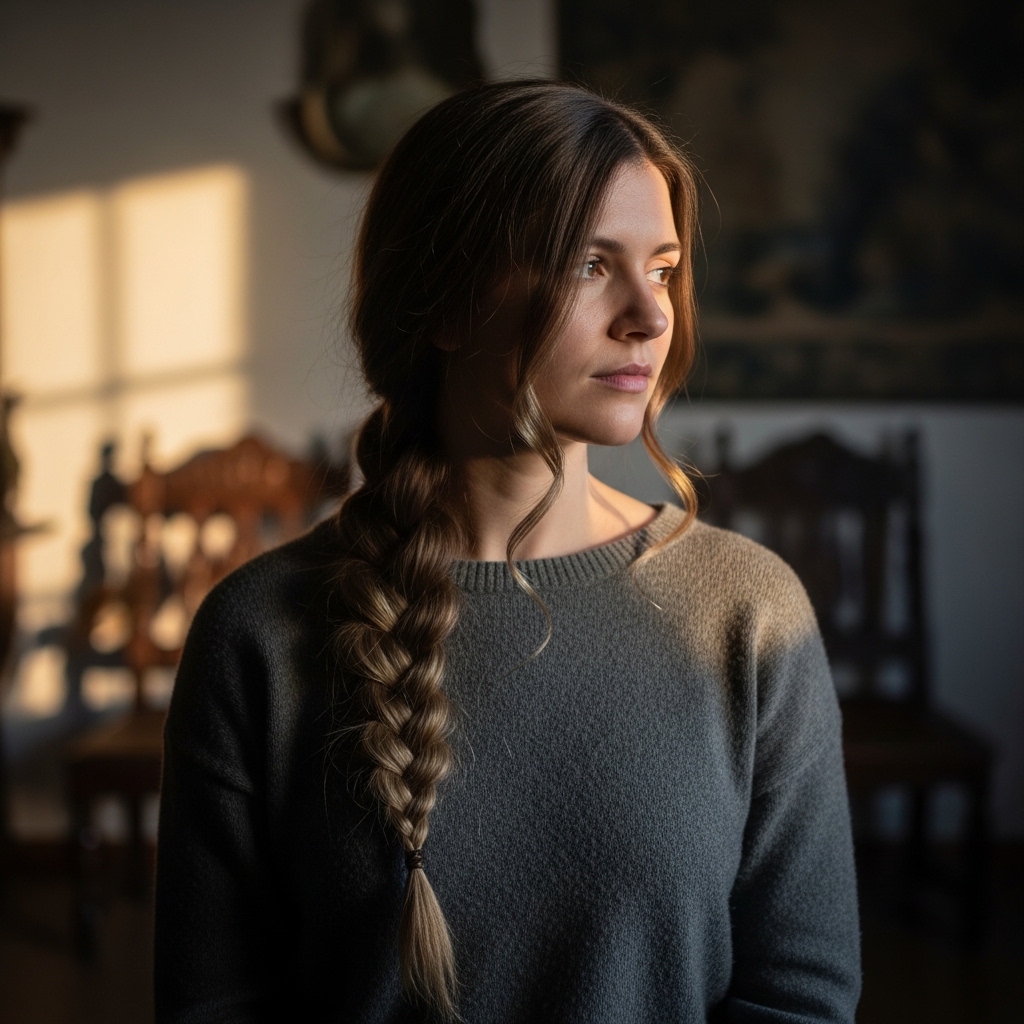
This is the easiest entry point. A rope braid (or twist) looks incredibly elegant and is simpler than a traditional braid. Part your hair deeply to one side for instant drama.
- Divide hair into two equal sections.
- Twist each section tightly clockwise.
- Then, wrap the two twisted sections around each other counter-clockwise.
- Secure at the end with a clear elastic.
Gently pull the braid apart to make it look fuller and softer. The velvet texture will make the twists look defined yet soft, not harsh. This style pairs perfectly with an “asymmetrical lob.”
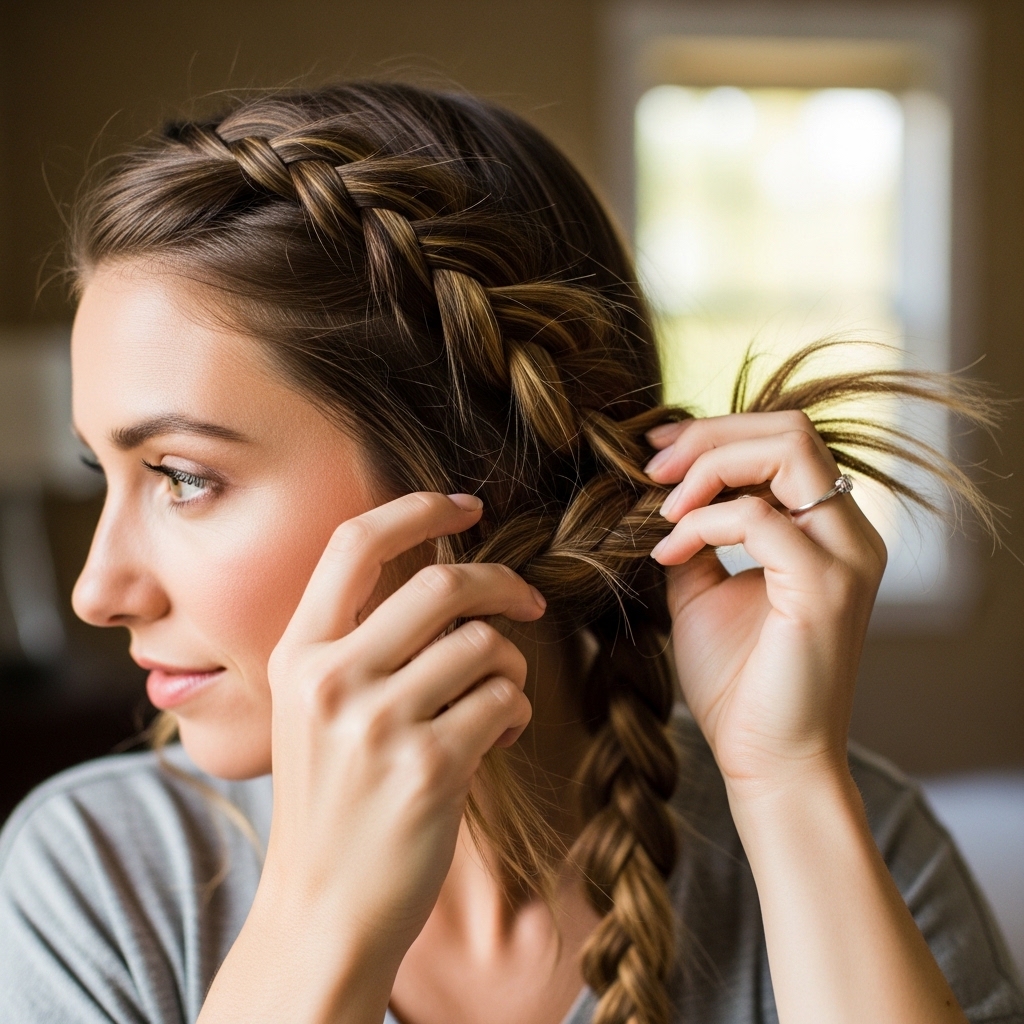
The Wispy Crown Braid Tutorial
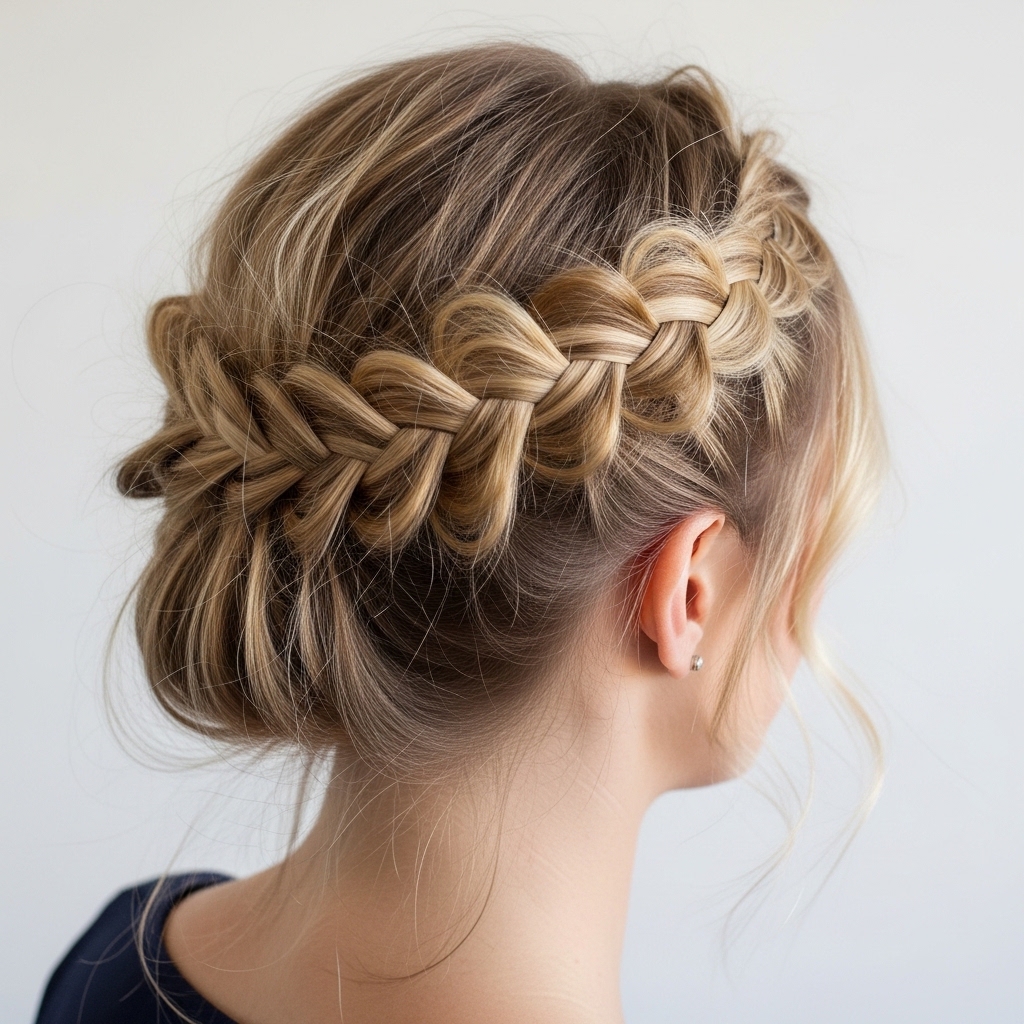
A crown braid feels regal and romantic. Don’t aim for perfection. Start with a deep side part. Take a section from the front and begin a simple Dutch braid (braiding under, not over), following your hairline.
Add in small, uneven sections as you go—this creates the wispy effect. Once you reach behind your ear, switch to a simple three-strand braid and continue all the way around your head.
Pin the end underneath with bobby pins. Now, the magic: gently pull at the edges of the braid to loosen it and pull out dozens of tiny, face-framing pieces. This is the “romantic” part.
Messy Twin Braids for a Cool-Girl Vibe
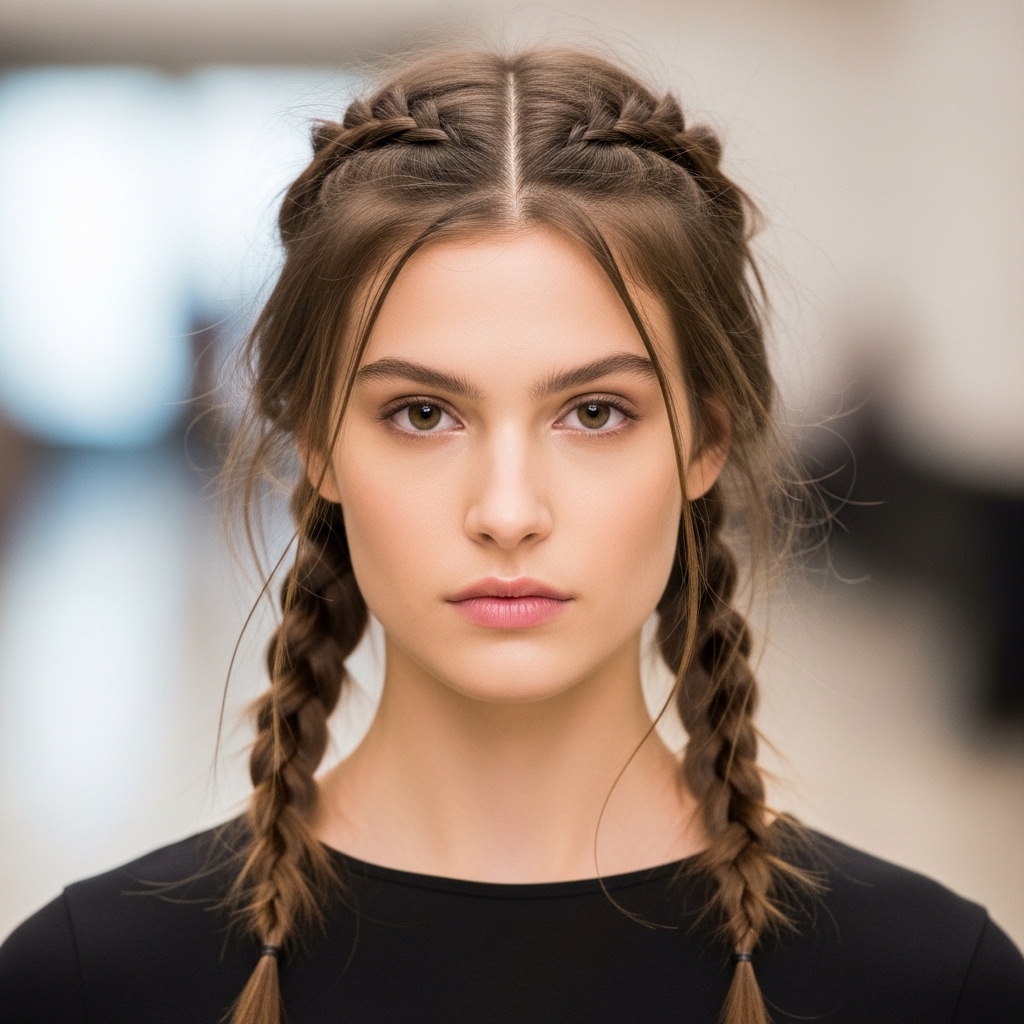
Twin braids aren’t just for the gym. For this look, create a clean center part. Apply your velvet texture product thoroughly. Divide hair into two sides.
Braid each side in a loose, traditional three-strand braid. Don’t braid tightly to the ends; stop when you run out of length and secure. This is key.
Now, gently tug each “bump” of the braid outward to widen and mess it up. Pull out lots of short pieces around your hairline and nape. The goal is “glitchy glam hair”—intentionally imperfect and cool.
Incorporating Ribbons or Velvet Cords
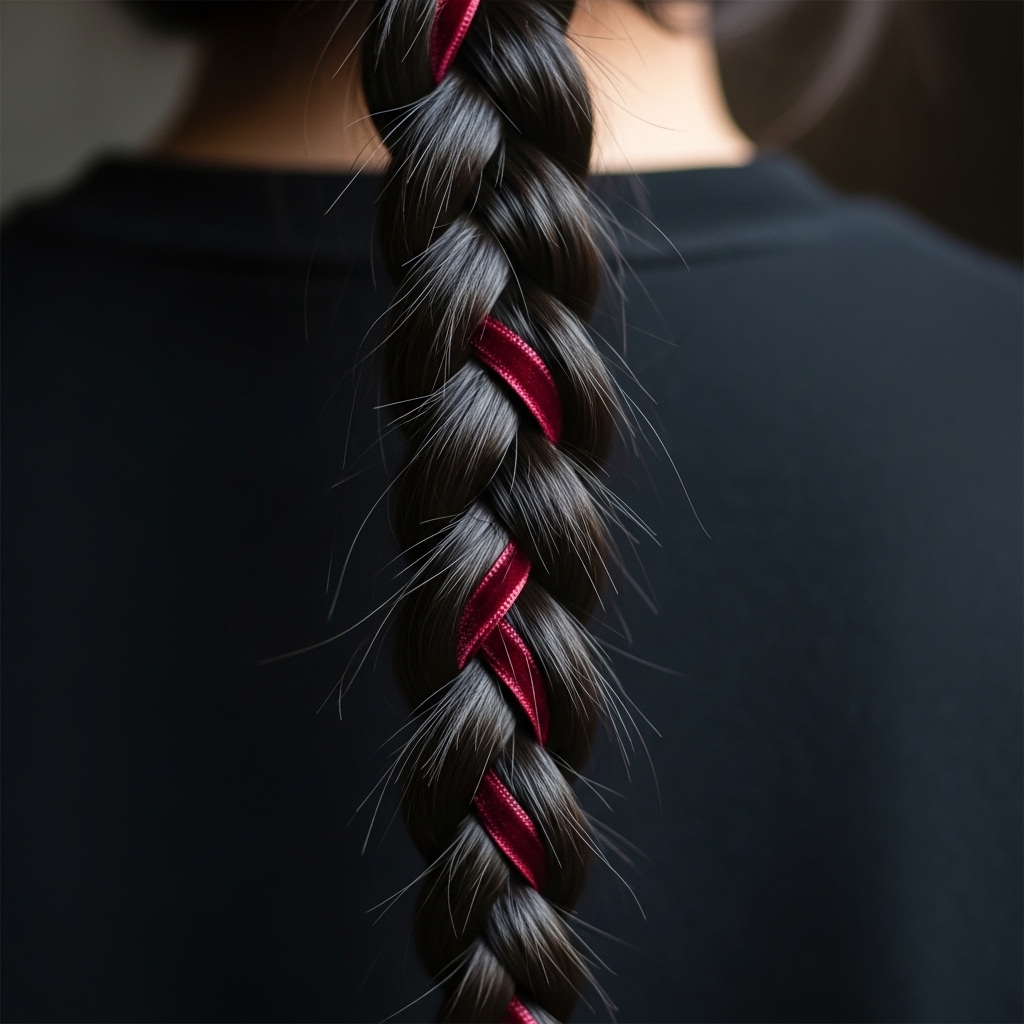
For an extra layer of romance, add a ribbon. Choose a thin velvet cord or satin ribbon in a deep color like blood red, forest green, or black. Cut it about three times the length of your hair.
As you start your braid (any style works), incorporate the ribbon as one of the three strands. Simply braid it in as you go. It will weave in and out beautifully.
At the end, you can tie it into a bow or let the ends flow freely with your hair. This tiny detail screams romantic goth and makes the style look incredibly intentional and artistic.
How to Get Those Perfect Face-Framing Pieces
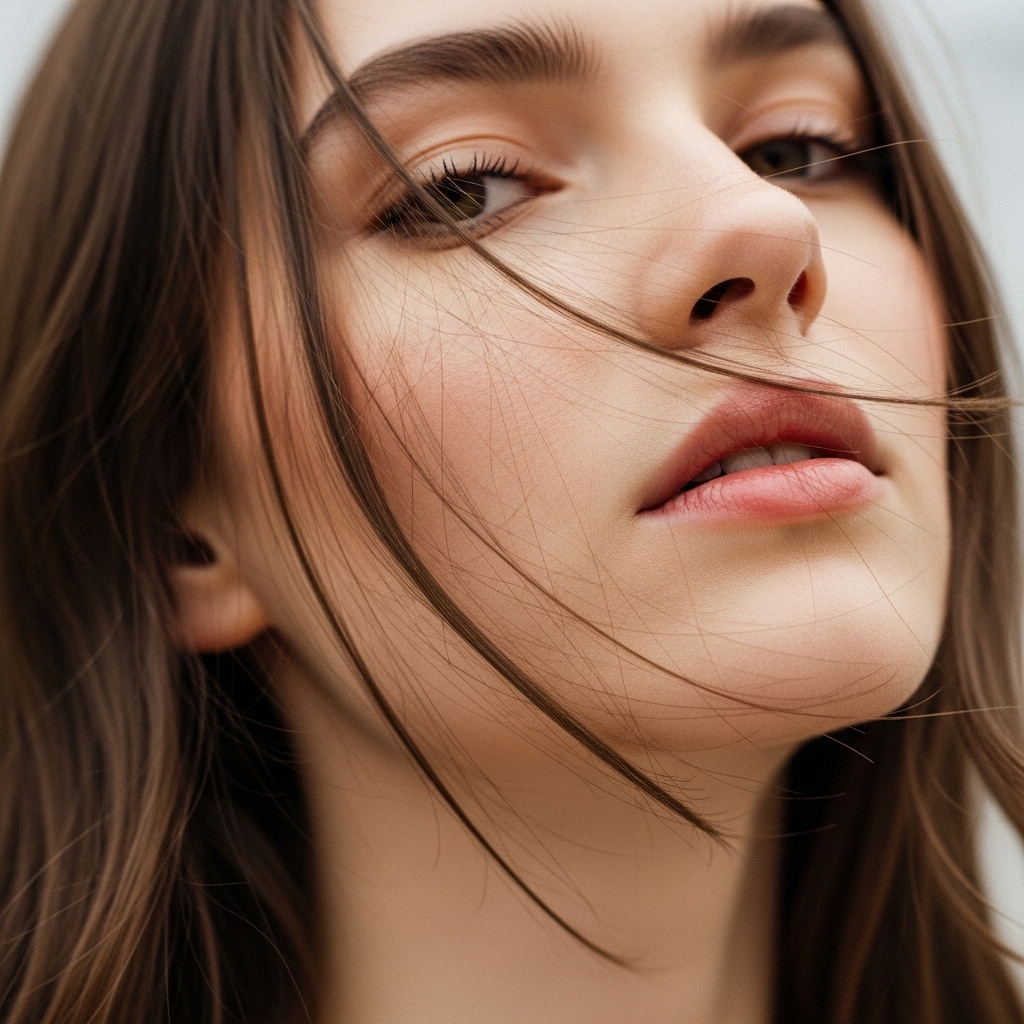
This is what makes the look feel alive and not stiff. After you’ve secured your braid, go in with purpose. Don’t just yank random chunks.
- Use the tip of a bobby pin to gently hook out the tiniest baby hairs around your forehead and temples.
- Pull out a few slightly longer pieces along your cheekbones and jawline.
- For pieces in the braid itself, tug them out horizontally to avoid unraveling the whole thing.
Spritz them lightly with water and twist slightly with your finger to give them a piecey, separated shape. They should look like they naturally escaped.
The Final Touch: Locking in the Texture
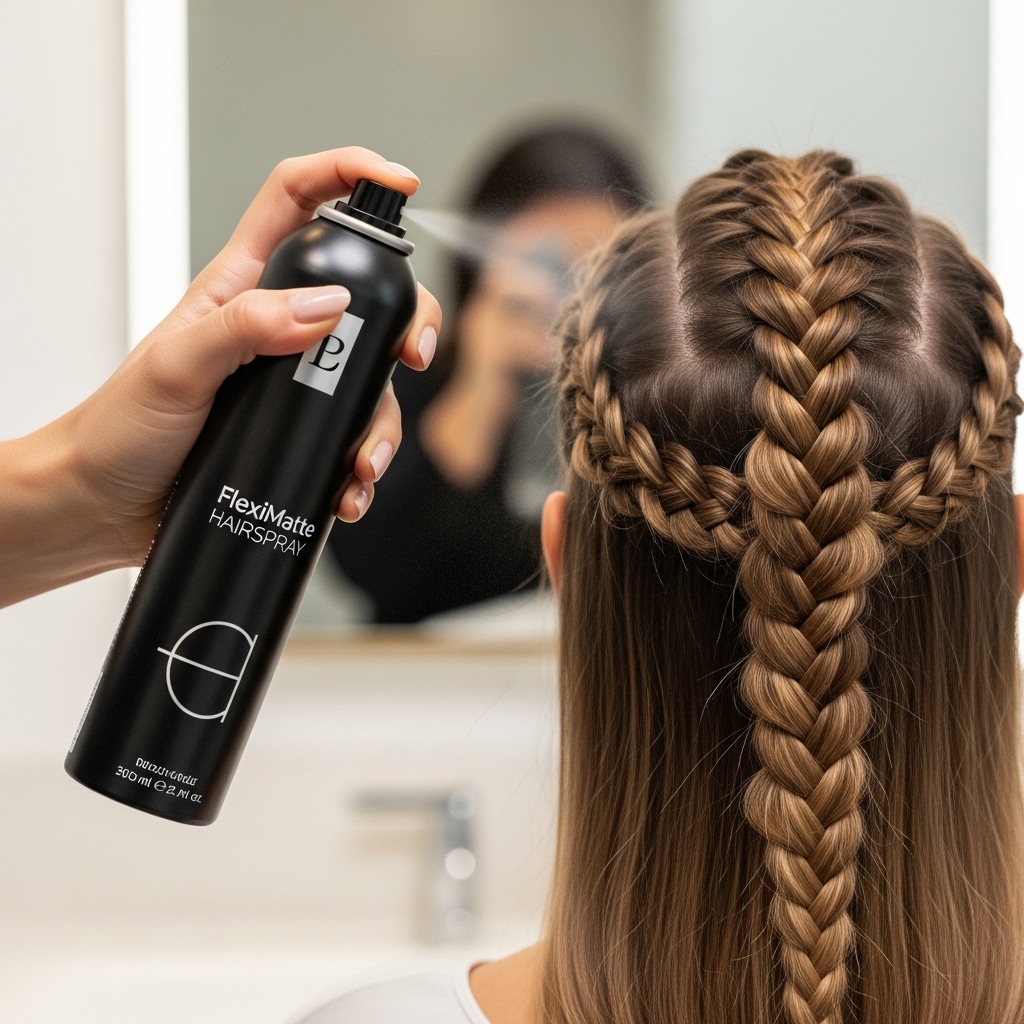
You’ve built this beautiful texture; now let’s keep it. Ditch the super-hold, high-shine hairspray. It will ruin the matte finish.
Opt for a flexible-hold or matte-finish hairspray. Hold the can far away—at least 10-12 inches—and mist over the entire style in a light, sweeping motion.
This will set the wispy pieces and the braid without making it look crispy or wet. Give it a minute to dry. Then, for any pieces that are too wild, use a tiny bit of texturizing powder on your fingertip to pat them into place.
Adapting the Look for Shorter Hair
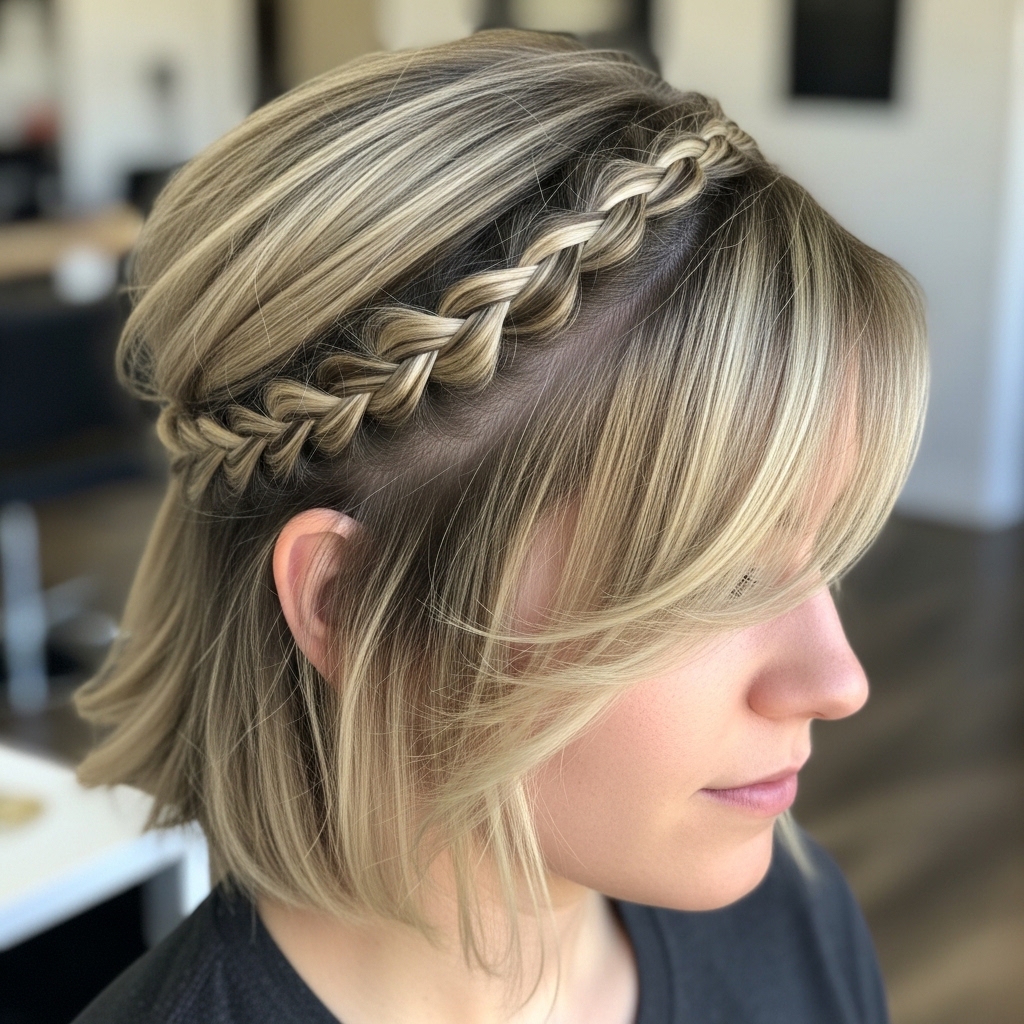
Got a bob or lob? You can still play. The key is mini-braids or twists. On one side of your part, take a small section near your face.
Create a tiny Dutch braid or rope twist, incorporating just a few inches of hair. Secure it behind your ear with a bobby pin. Let the rest of your hair flow freely.
This works amazingly with an asymmetrical lob or a vampire haircut. It adds that touch of dark romance without needing length. Use texture powder all over to unify the look.
Night-Out Upgrade: Adding Accessories
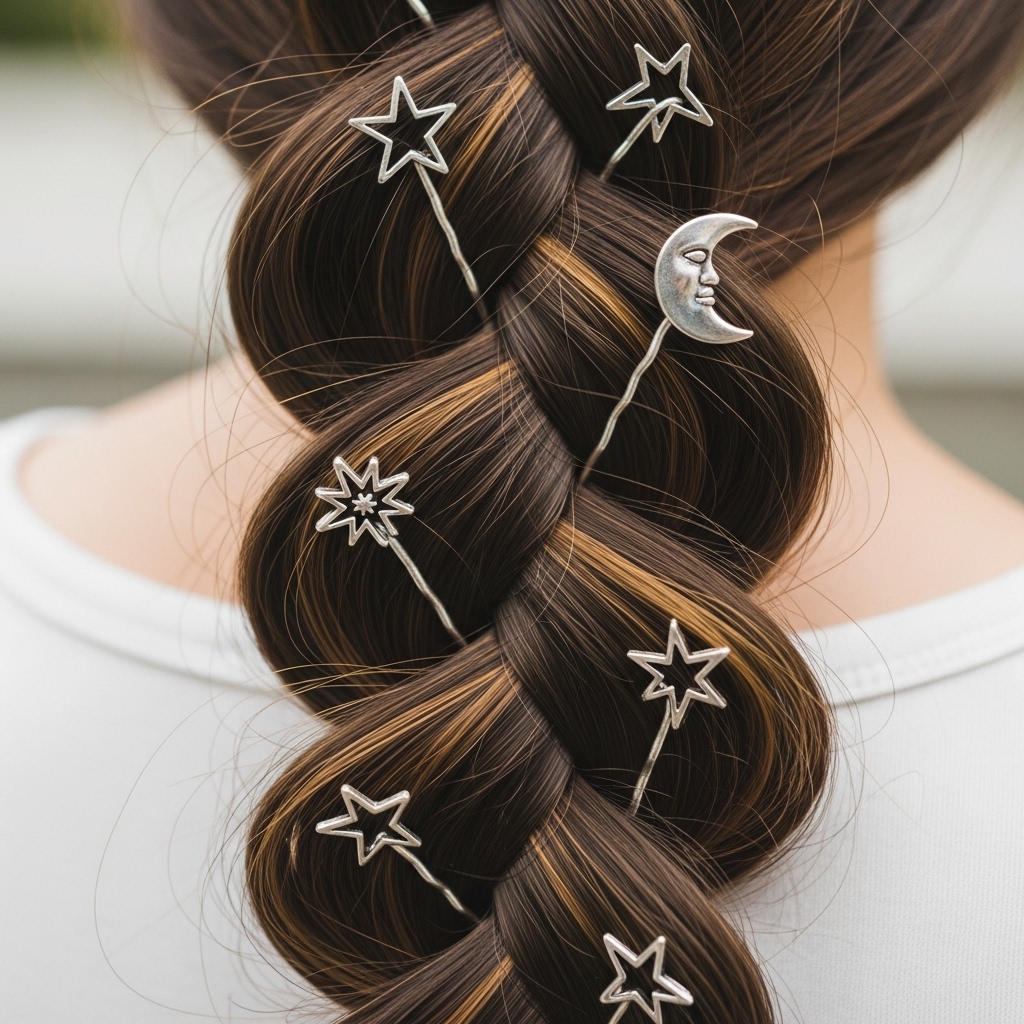
Taking this from day to night is easy. Skip the sparkly clips. Choose accessories that fit the theme: delicate silver celestial pins, a single black pearl hair stick, or a vintage-inspired cameo pin.
Place them strategically. Slide a hair stick through the center of a braid twist. Or, scatter a few tiny pins along the braid like constellations.
Remember, the hair is the star. Accessories should be subtle whispers, not shouts. One or two are plenty to feel special and elevate the entire 2026 hairstyles vibe.
Making Your Braids Last All Day & Night

Longevity is about the prep and the pins. If your braid feels loose at the start, it will fall apart. It should feel snug (but not tight) to your head when you first braid it.
When you use bobby pins, criss-cross them for maximum hold. Pin into the braid and then into your base hair underneath. Use more than you think you need.
Tuck a few clear elastics and pins in your purse. If a section comes loose, don’t re-do the whole braid. Just twist the loose piece and pin it back in strategically. No one will notice.
The Color Dimension Secret
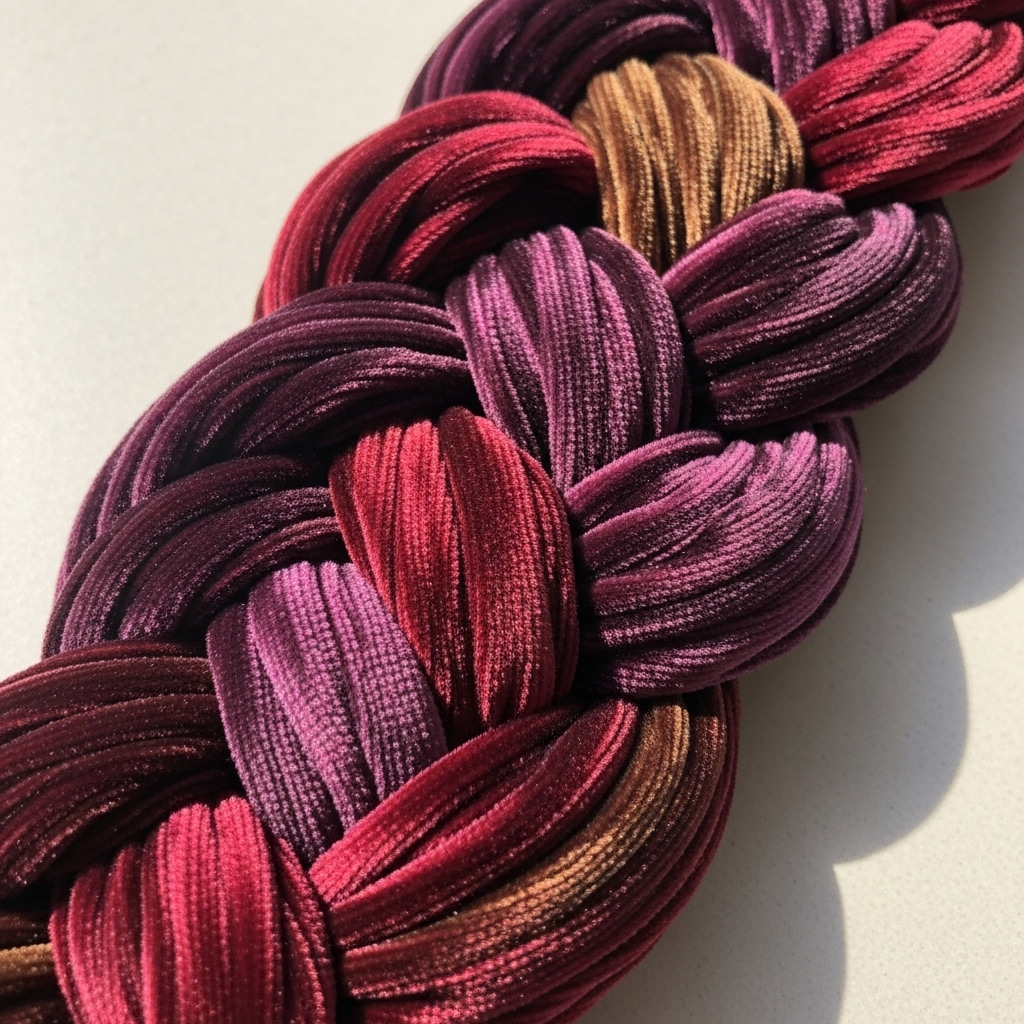
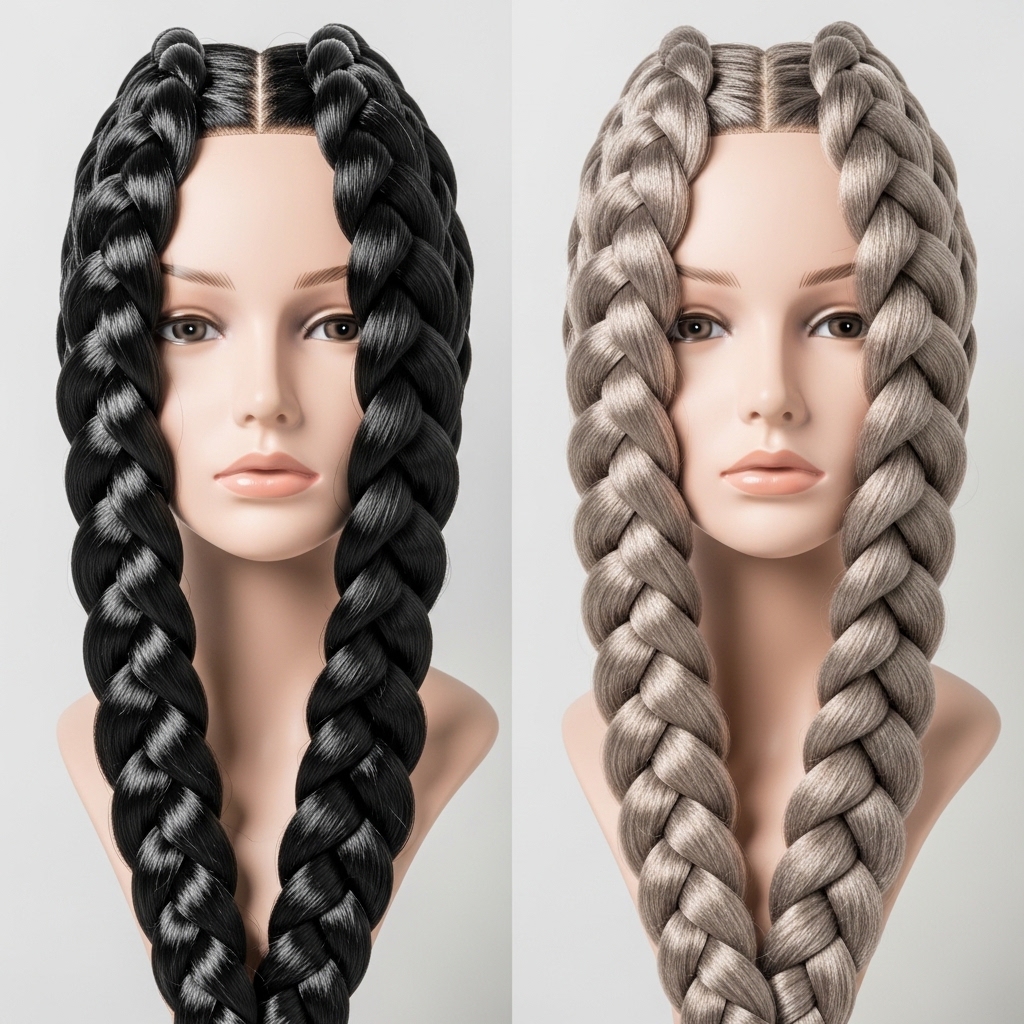
Solid black can sometimes look flat. The velvet texture truly shines on hair with dimension. If you’re coloring your hair, ask for lowlights or highlights in tones close to your base.
Think chocolate brown with caramel whispers, or deep plum with burgundy ribbons. These subtle variations catch the light within the matte texture, creating a mesmerizing, deep effect.
Even on natural hair, a gloss treatment in a rich tone can add this depth. It makes the braid look more expensive and complex, like true old money hair with a gothic soul.
What To Do When Your Braid Feels Too Tight
A romantic braid should never give you a headache. If you braided too tightly, don’t panic. You don’t have to start over.
Gently insert your thumb at the top of the braid, near your part, and push it forward slightly to loosen the tension. Then, use both hands to gently pull the braid apart horizontally, section by section.
This loosens the plait without destroying it. Focus on the areas near your scalp. The goal is relief while keeping the overall shape and those precious wispy pieces intact.
Next-Day Hair: Reviving the Style
You slept in your braid? Perfect! Wake up to amazing waves and a head start. Carefully take the braid out. Shake your fingers through your hair to separate the waves.
Apply a little more texturizing powder at the roots for volume. The waves will have a naturally romantic, undone texture. You can now:
- Leave it down as gorgeous waves.
- Re-braid it into a different, even messier style.
- Pull half up with a velvet scrunchie.
Second-day velvet texture is even better. It’s lived-in and effortless, the ultimate goal.
Common Mistakes and How to Fix Them
Mistake 1: Hair is too clean and slippery. Fix: Always use dry shampoo or texture spray as a base.
Mistake 2: Braiding too tightly and perfectly. Fix: Consciously relax your hands. Loosen every step.
Mistake 3: Not enough wispy pieces. Fix: After securing, go back and pull out three times as many pieces as you think you need.
Mistake 4: Using shiny products. Fix: Stick to matte pastes, powders, and sprays only.
Pairing Your Braids with Makeup
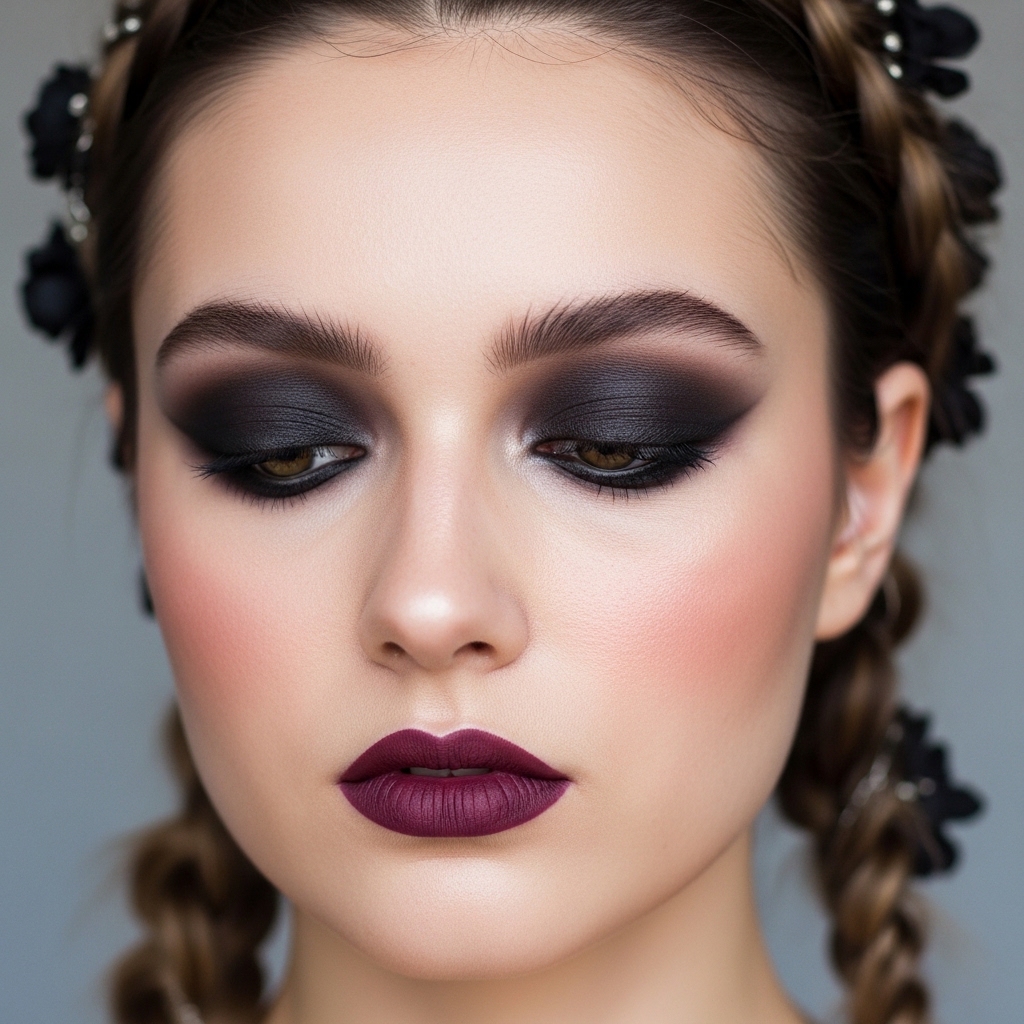
Your makeup should complement, not compete. The hair is a statement, so keep your makeup balanced. A soft smoky eye with smudged liner feels right.
Or, go for a bold, dark lip with very sheer skin. The “vampire haircut” aesthetic loves a deep berry or blackened red lipstick.
Avoid anything too glittery or bright. Think muted tones, matte finishes, and a focus on either the eyes or the lips. Let your romantic goth hairstyles be the other main feature.
Inspiration from “Glitchy Glam” and “Old Money”
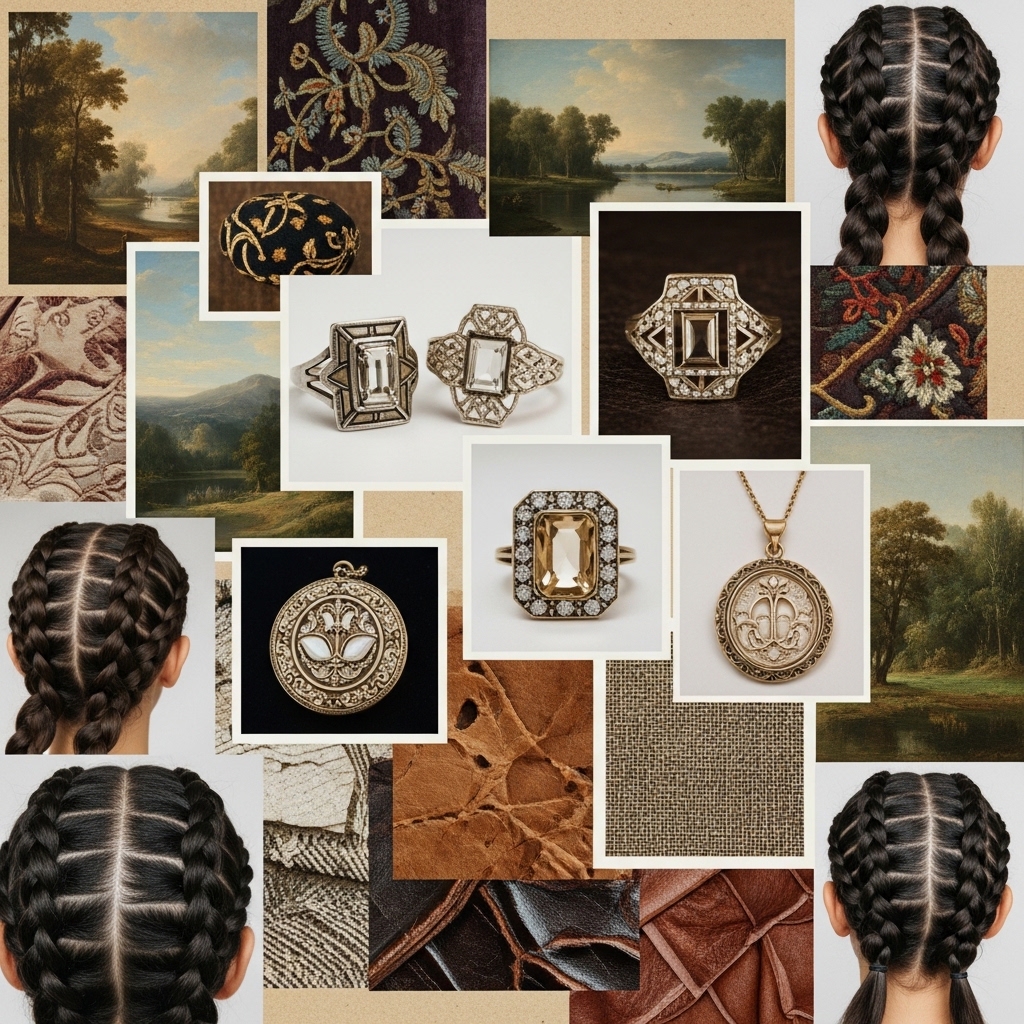
This look lives at a cool intersection. From “glitchy glam hair,” we take the intentional disarray, the broken lines, and the digital-art-meets-reality vibe.
From “old money hair” and “quiet luxury bob” trends, we take the impeccable quality, the matte texture, and the sense of timeless elegance.
Mix them together. It’s a braid that looks both ancient and futuristic, expensive and effortless. Look at pre-Raphaelite paintings and modern runway shows for the same soft, dramatic feeling.
Your Quick-Start Cheat Sheet
Let’s boil it down to the absolute essentials. Follow this

