
Okay, let’s be real. We’ve all seen those gorgeous, intricate crown braids on Pinterest and thought, “I could never.” It looks like you need three hands and a degree in advanced hair weaving. I felt the same way, until I cracked the code on a simpler method.
This easy laced-up version gives you all that romantic, ethereal vibe without the headache. It’s perfect for weddings, date nights, or just feeling put-together on a Tuesday. Think of it as the old money hair of braids—elegant, timeless, and quietly impressive.
Whether your style leans toward romantic goth hairstyles or clean-girl chic, this braid adapts. I’m walking you through every single step, with no fancy terms, just simple instructions. You’ll master it in one try, I promise. Let’s turn that hair day dream into reality.
What You’ll Need to Get Started
Gathering your tools first makes everything smoother. You don’t need much, and you probably have it all at home already. The right setup prevents you from searching for a pin mid-braid with your arms in the air.
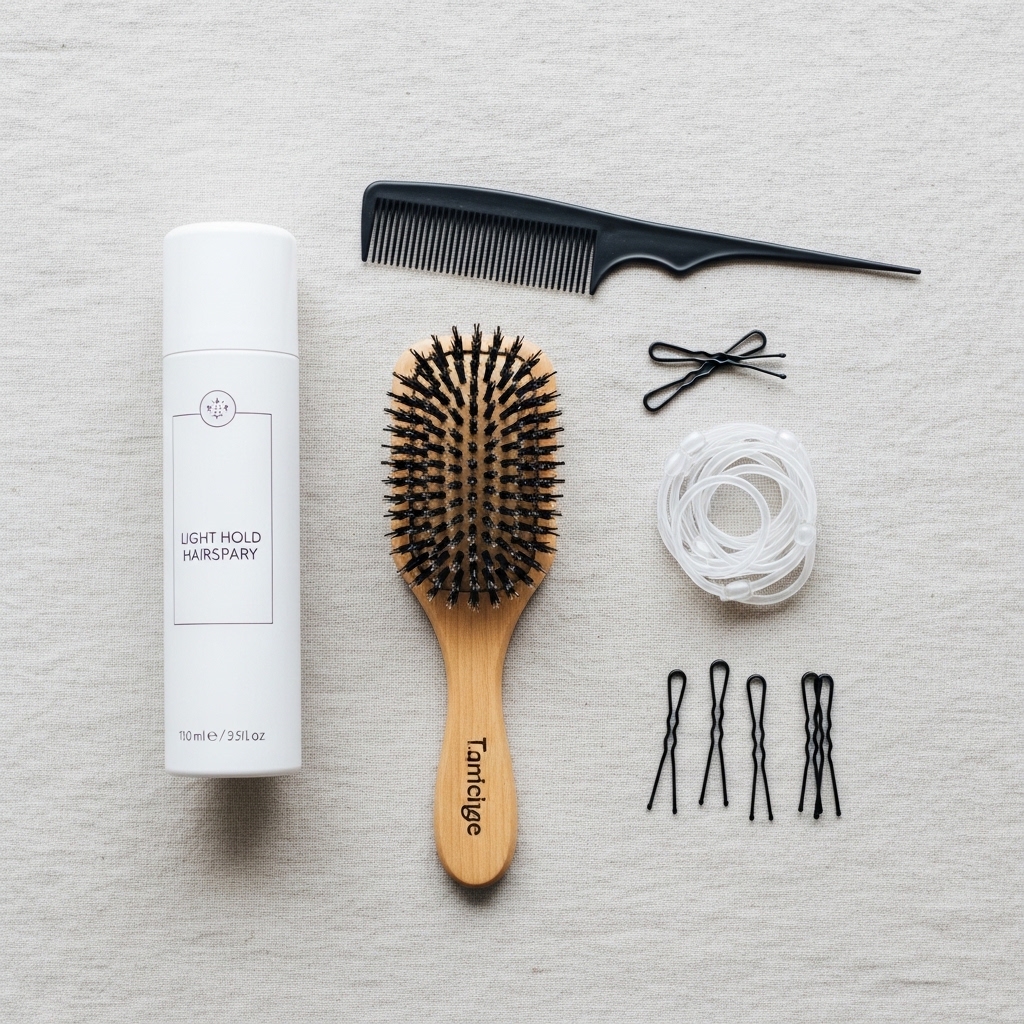
Here’s your simple kit:
- A fine-tooth comb or tail comb for clean parts
- Hairbrush to detangle
- Small, clear hair elastics
- Lots of bobby pins (the ones that match your hair color)
- Light-hold hairspray or texturizing spray
That’s truly it. Texturizing spray is my secret weapon for grip, especially on silky hair. This braid works on all hair lengths past the shoulders, and it’s a stunning alternative to trends like the asymmetrical lob or hime cut when you want something special.
Start With Day-Old Hair for Grip
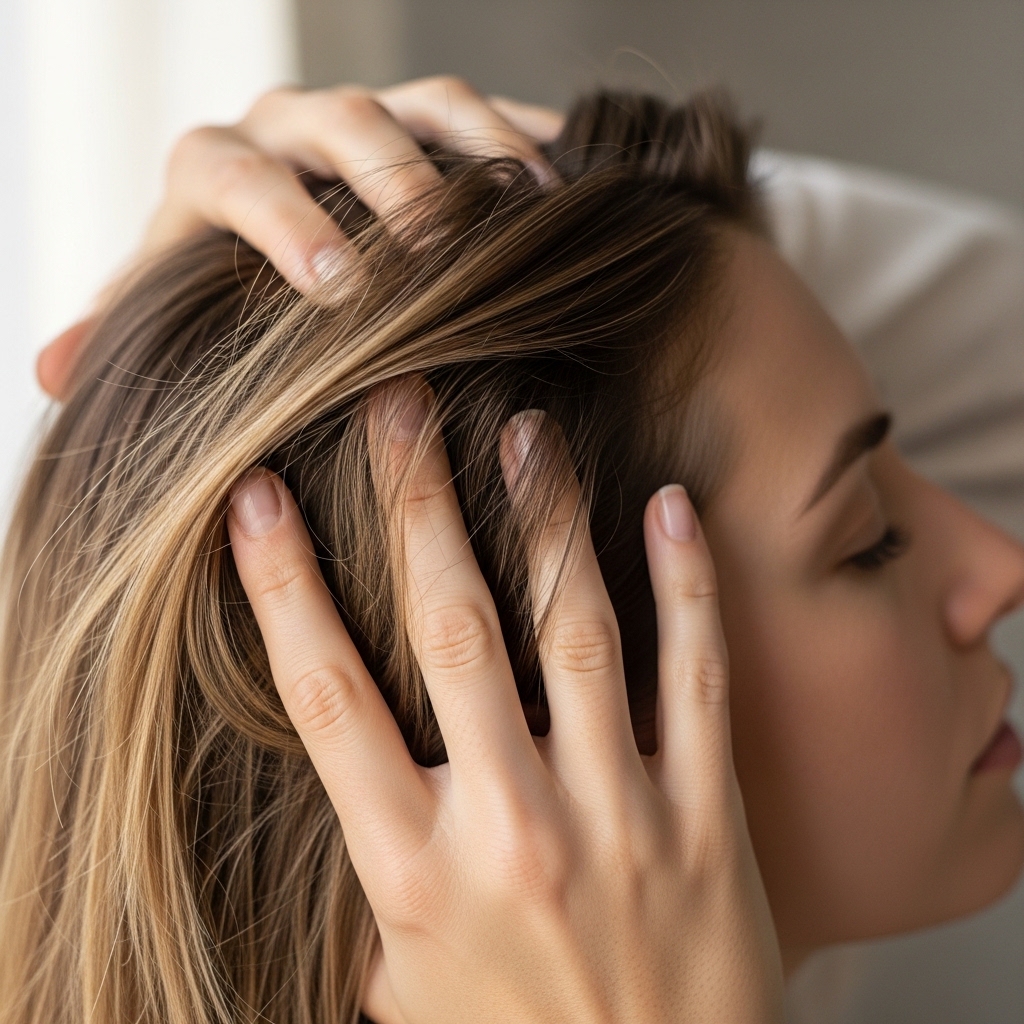
If you have freshly washed, super silky hair, this braid will be a slipping battle. The best base for any great braid is hair that isn’t squeaky clean. Day-old hair has natural oils and texture that help everything hold.
If you just washed your hair, no panic. Spray a dry shampoo or a light texturizing spray at the roots and through the mid-lengths. Work it in with your fingers. This gives your hair that perfect amount of grit and body, making it easier to grip and braid tightly without strands sliding out.
This tip is a game-changer for all braided styles, from this crown to a vampire haircut with braided accents. That lived-in texture is what makes styles look effortless and last all day.
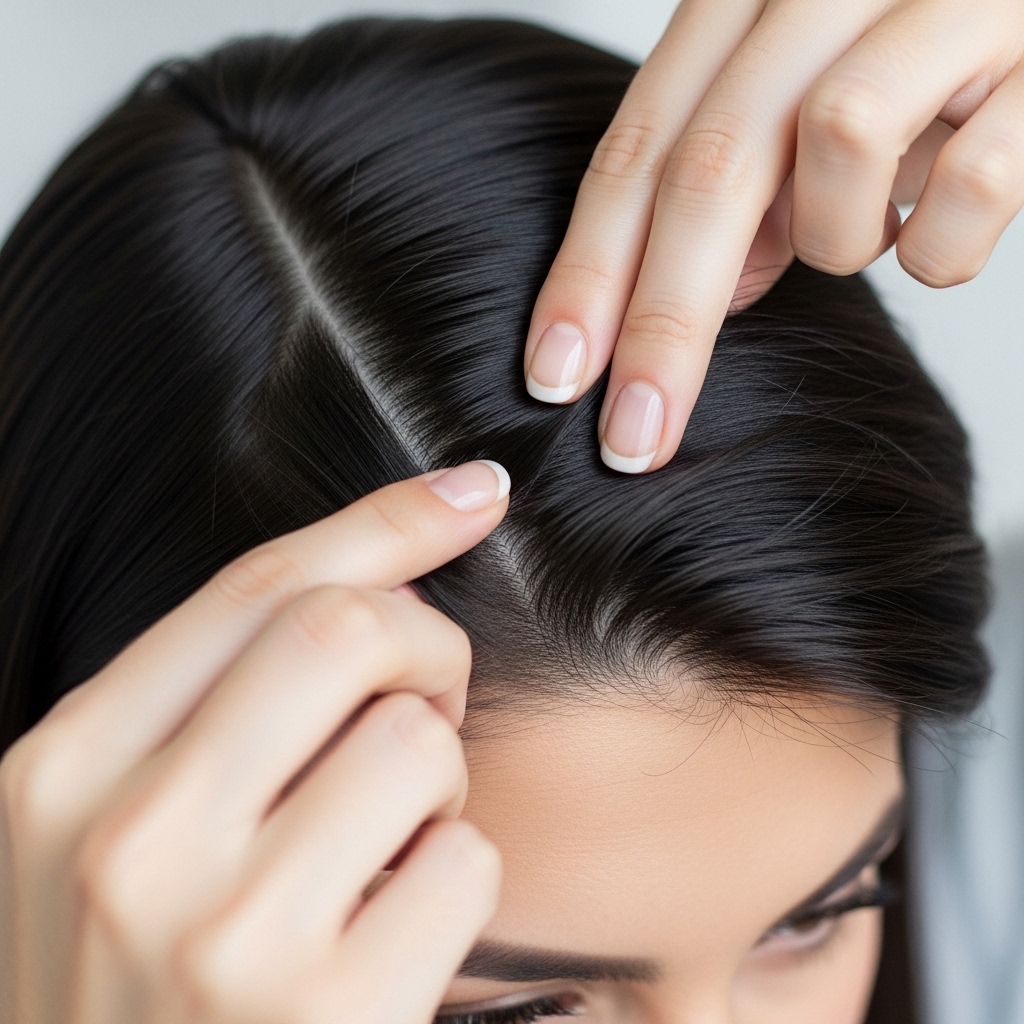
Create a Deep Side Part

We’re beginning with a deep side part. This isn’t just for style—it sets the foundation for the entire look. A deep part creates asymmetry, which makes the braid look more modern and interesting as it wraps around your head.
Use the pointed end of your tail comb for a super clean, precise line. You can do it on your dominant side or your less dominant side; just pick what feels most comfortable. Don’t worry about it being perfectly straight, but make it definite.
This deep part immediately adds a touch of drama and frames your face. It’s a simple trick that elevates the whole style, giving it that editorial feel you see in 2026 hairstyles forecasts, which are all about intentional, statement details.
Section Off Your Front Hair
Now, let’s isolate the hair we’re going to braid first. From your deep side part, use your comb to section out the hair from your hairline back to about where the top of your ear is. Think of it as creating a large, curved front section.
Clip or loosely tie back the rest of your hair so it’s out of the way. We are only working with this front section for now. This chunk will become your first and most visible braid.
Make sure this section is thick enough to be a substantial braid. It should include hair from your temple and the front of your crown. This is the piece that will give you that soft, face-framing effect, much like the front pieces of a quiet luxury bob.
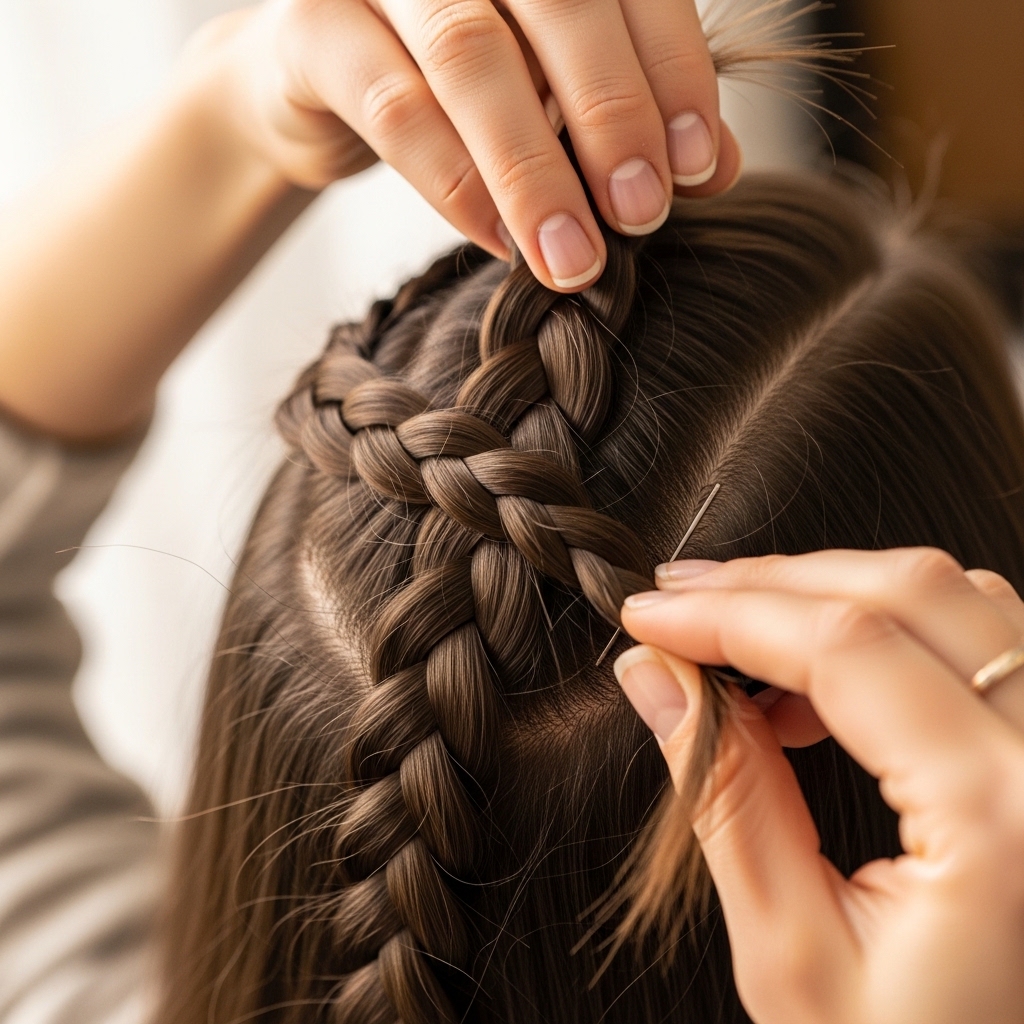
Begin a Simple Three-Strand Braid
Take that front section and divide it into three even strands. You’re just doing a regular three-strand braid here—nothing fancy yet. Start braiding tightly and neatly, keeping it close to your head.
As you braid, add a tiny bit of tension by gently pulling the strands outward. This makes the braid look fuller and more defined. Braid all the way down until you have about two inches of hair left at the ends.
Secure the end with a small, clear elastic. Don’t worry about it being perfect; we’re going to lace it into place later. This braid is your anchor. This classic technique is the foundation for so many looks, from simple to glitchy glam hair with its deconstructed elements.
Braid Down the Opposite Side
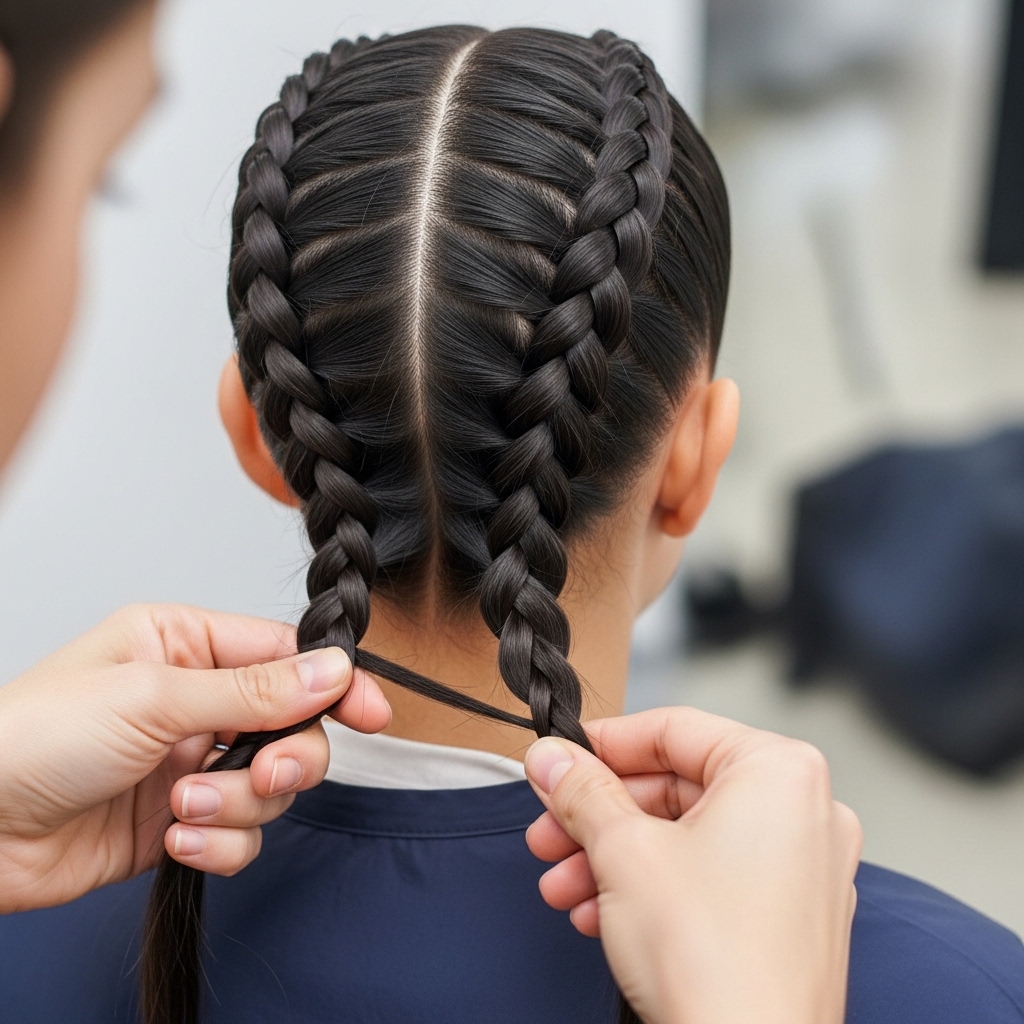
Unclip the rest of your hair. Now, go to the opposite side of your head. Section out a matching piece of hair from your hairline, mirroring the size of your first section. This symmetry is key for the crown effect.
Repeat the exact same process: create a neat three-strand braid, braiding down until you have a few inches left. Secure it with another clear elastic. You should now have two braids hanging down on either side of your head.
These two braids will eventually meet and be pinned at the back. Getting them roughly the same size and tightness will make the final style look balanced and intentional, unlike some deliberately uneven romantic goth hairstyles, this one is about harmonious balance.
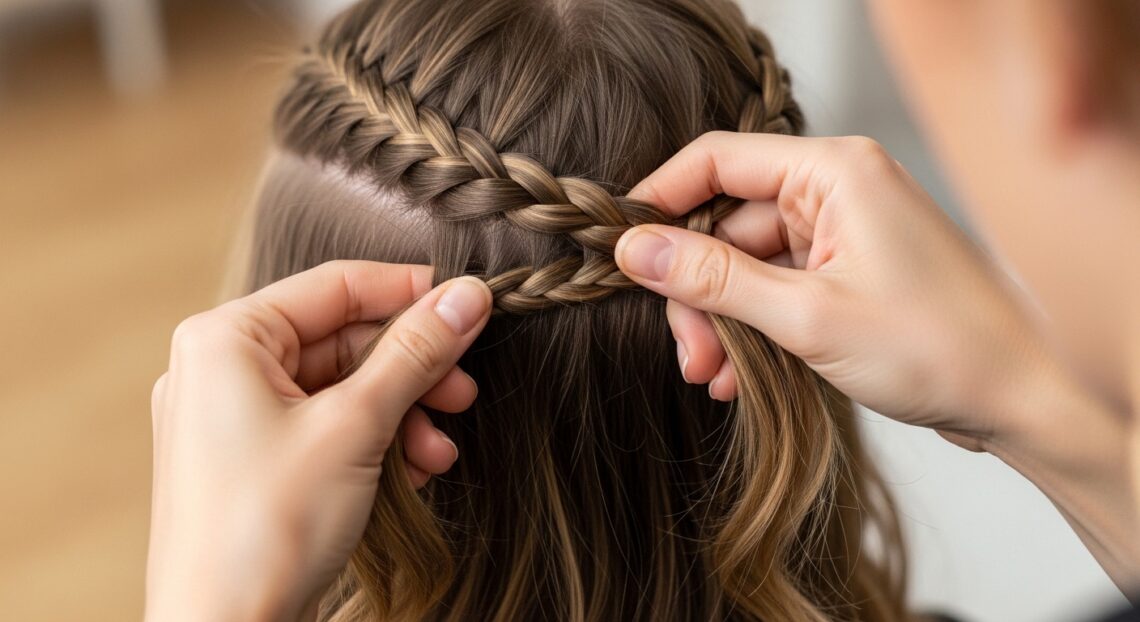
Create the “Lacing” Path
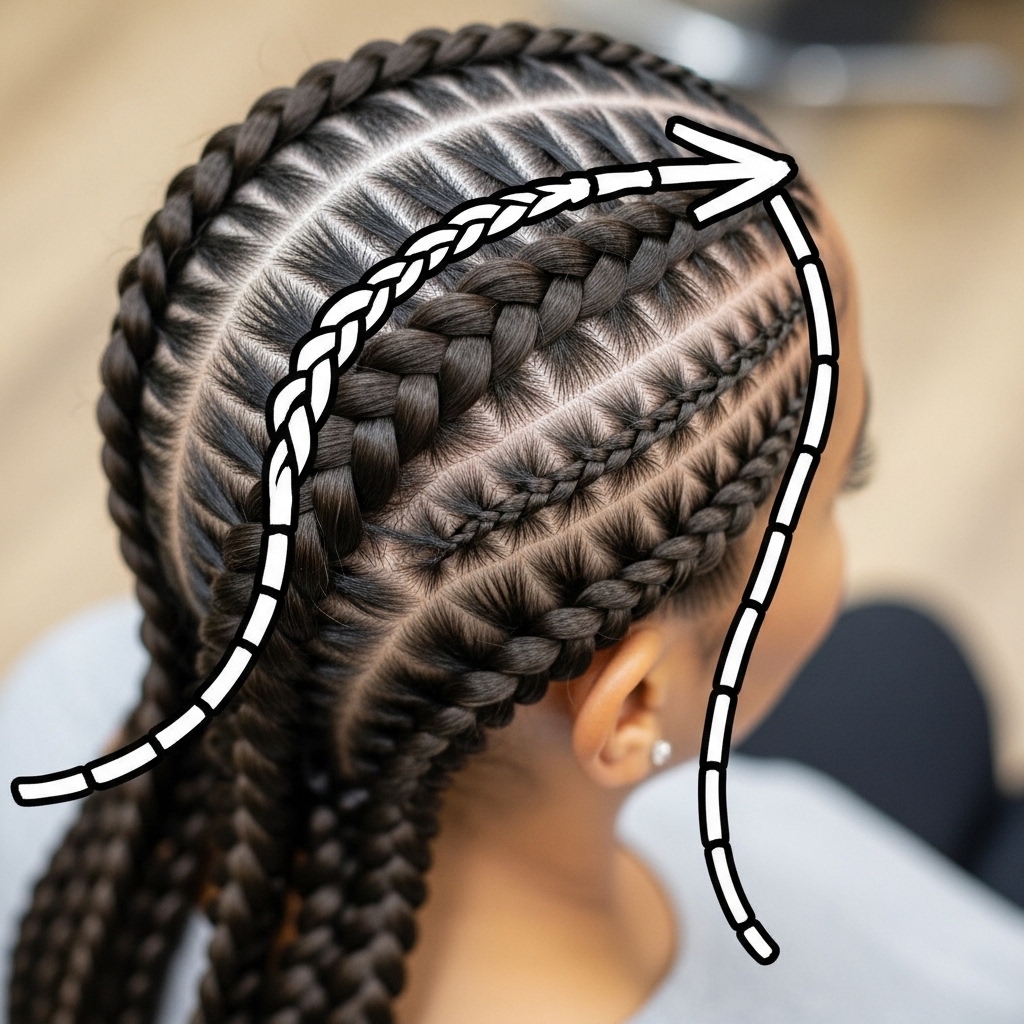
This is where the “laced up” magic happens. Instead of just wrapping the braids around your head, we’re going to cross them over. Take the braid from the side with your deep part (the heavier side).
Think of a path going up and across the crown of your head, heading toward the back of the opposite ear. This is where you’ll pin it. Don’t pin it yet, just hold it there. This crossing creates that beautiful, interwoven crown look that’s much more secure and interesting.
It mimics the effect of a headband without actually wearing one. This technique is what sets this style apart from a basic crown and gives it a modern, runway-ready twist you’ll see in 2026 hairstyles.
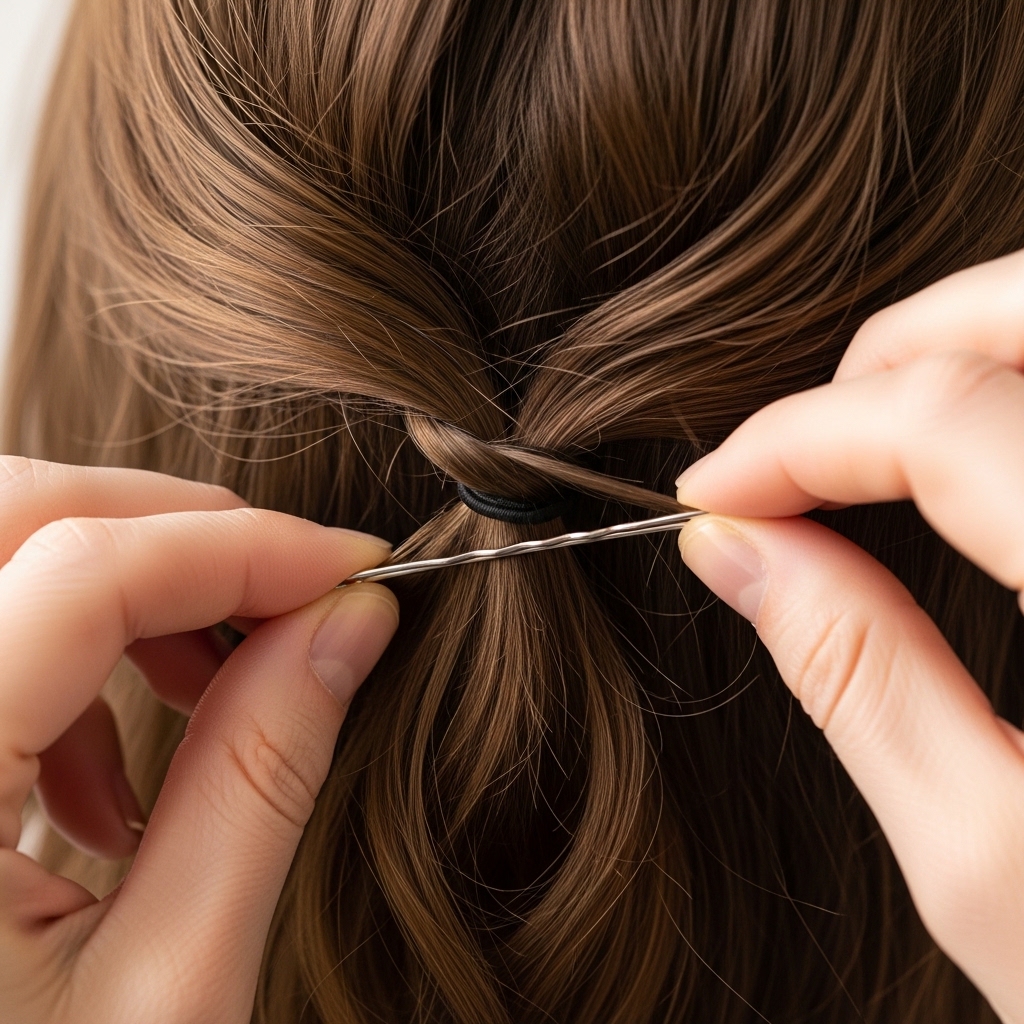
Pin the First Braid Securely
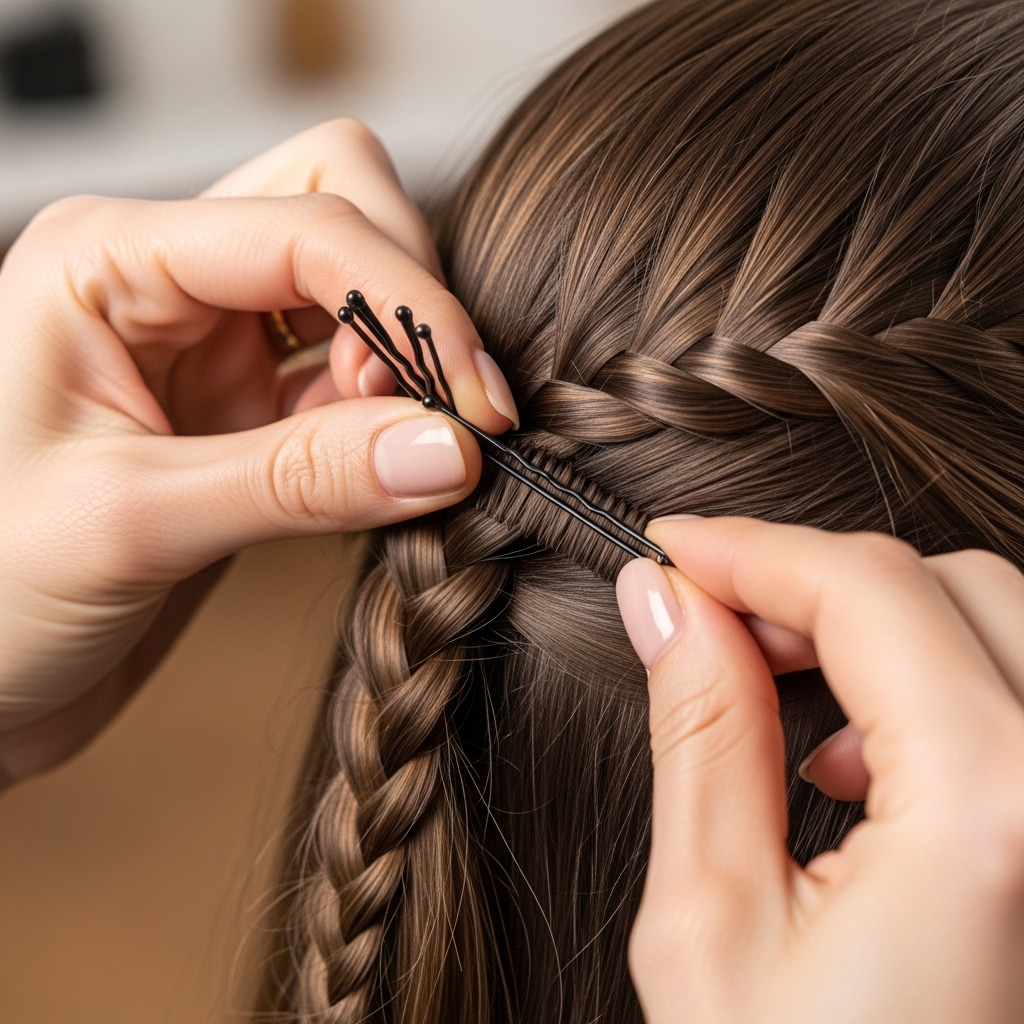
Now, secure that first braid. Place the end of the braid where you’ve planned, at the back of your head near the opposite ear. Use your fingers to fan out the tail of the braid slightly so it lies flat.
Take 3-4 bobby pins. Insert them through the elastic of the braid and then into your hair underneath, criss-crossing them for maximum hold. Really push them in until they feel snug. The goal is to hide the pinned end completely under the top layer of your loose hair.
Give your head a gentle shake. If the braid feels loose, add more pins. Security here is crucial for all-day wear. This hidden pinning is the secret to that “how is that even staying?” look of old money hair—perfectly done without visible effort.
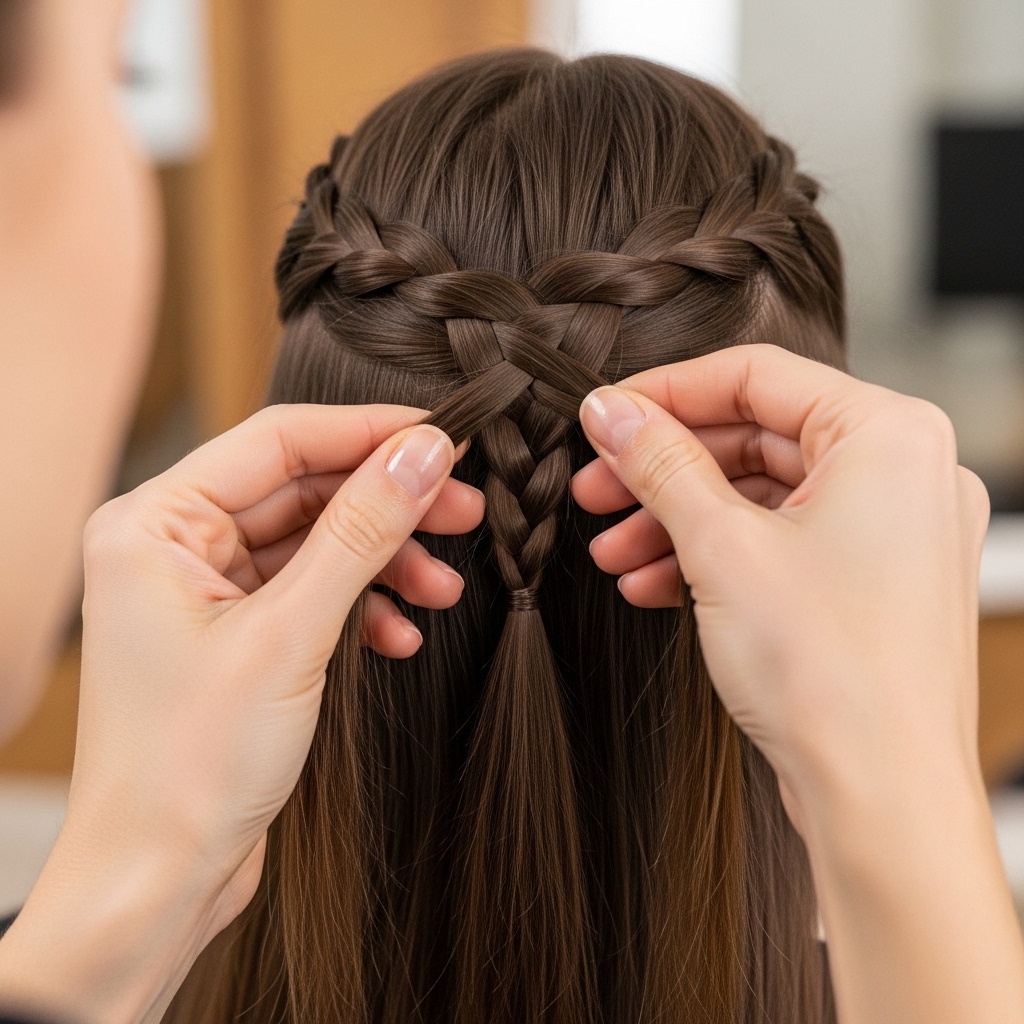
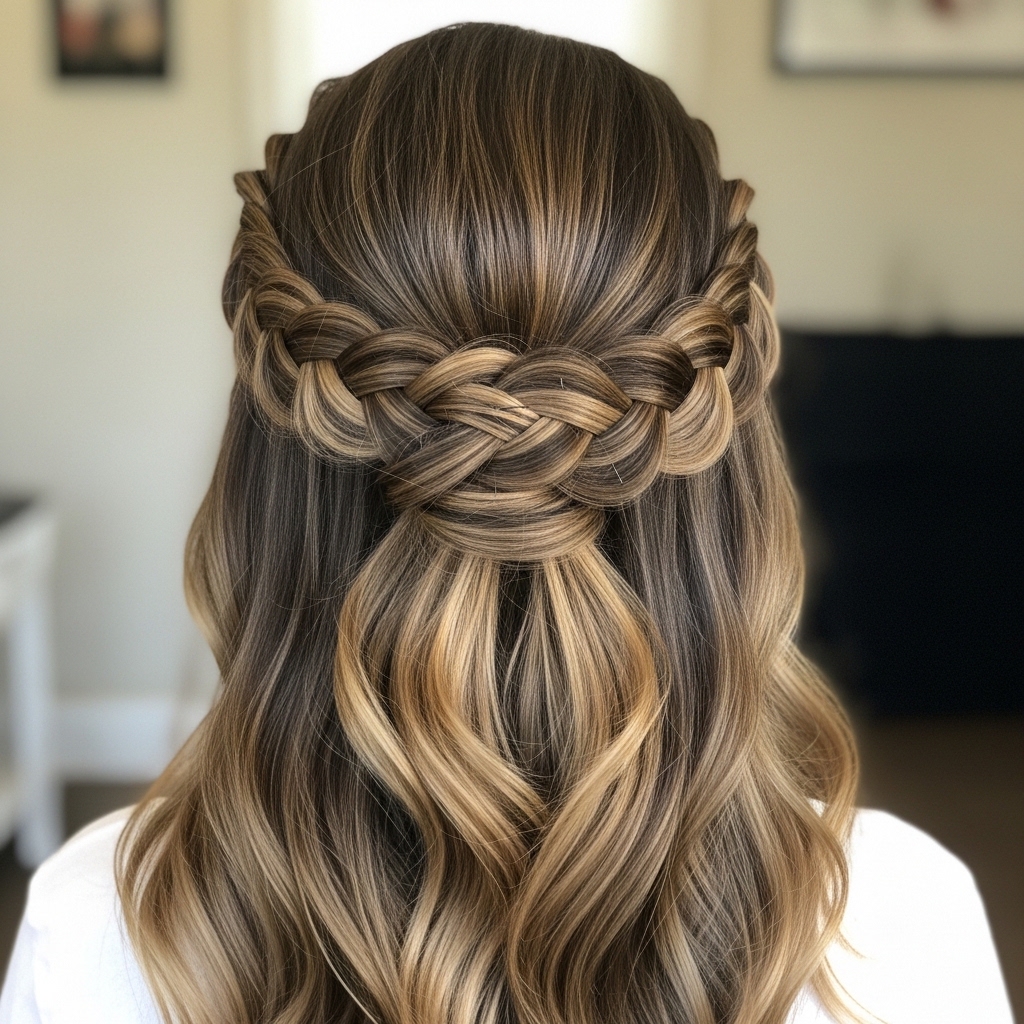
Lace and Cross the Second Braid
Now for the second braid. Take it and bring it up and across the back of your head, following a path that crosses *over* the tail of the first braid you just pinned. This is the “lacing” step that gives the style its name.
You’re essentially creating an “X” shape at the back of your head with the two braid tails. This cross not only looks beautiful but also locks everything into place mechanically, making the whole style sturdier.
Bring the end of this second braid to the area at the back of your head near where the first braid *started*. Hold it there. This symmetrical crossing is what completes the crown illusion, wrapping your head in a halo of braids.
Secure the Second Braid’s End
Just like you did with the first braid, it’s time to pin this one down. Fan out the end of the braid so it lies flat against your head. Find the spot where it naturally wants to sit, covering the area where you’d typically have a ponytail base.
Use another 3-4 bobby pins, driving them through the elastic and into your hair. Criss-cross them again for a strong hold. Make sure you’re also catching a bit of the first braid’s tail if you can, as this links them together for extra security.
Again, the key is to hide all the mechanics. All anyone should see is the beautiful braid wrapping around, not a single pin or elastic. This flawless finish is the hallmark of a quiet luxury bob or any polished look—the details are invisible.
Loosen the Braid for a Softer Look
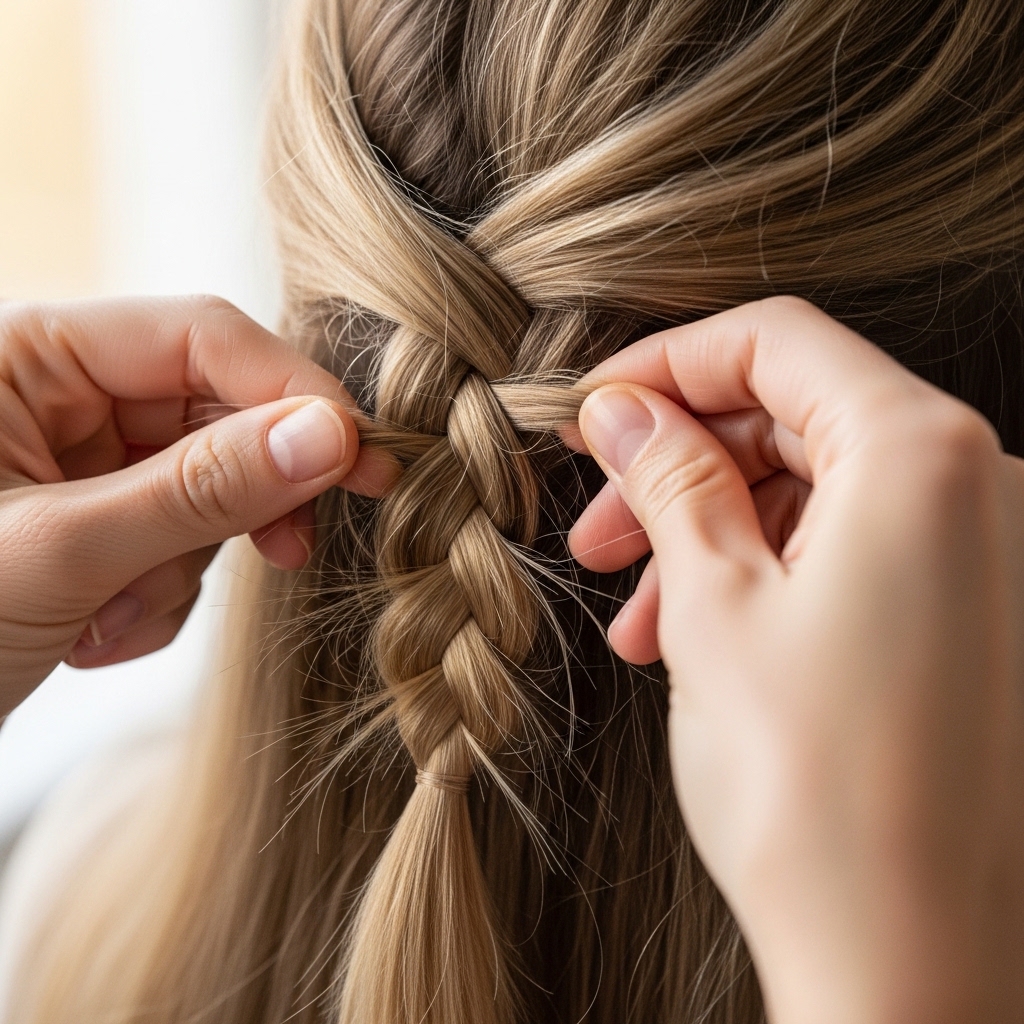
Now that everything is secure, we soften it. A tight, perfect braid can look a bit severe. Gently tug on the outer edges of the braid loops along your crown. Pull little sections outward to pancake the braid and make it look fuller and more romantic.
Start from the top and work your way around. Don’t be shy—you can pull quite a bit to get that soft, undone effect. The braid is pinned, so you won’t ruin it. This step transforms it from “just done” to “effortlessly beautiful.”
This loosening technique is essential for nailing that romantic, soft vibe. It’s the difference between a schoolgirl braid and a red-carpet style. It works for everything from this crown to softening a piece-y vampire haircut.
Adjust Your Face-Framing Pieces
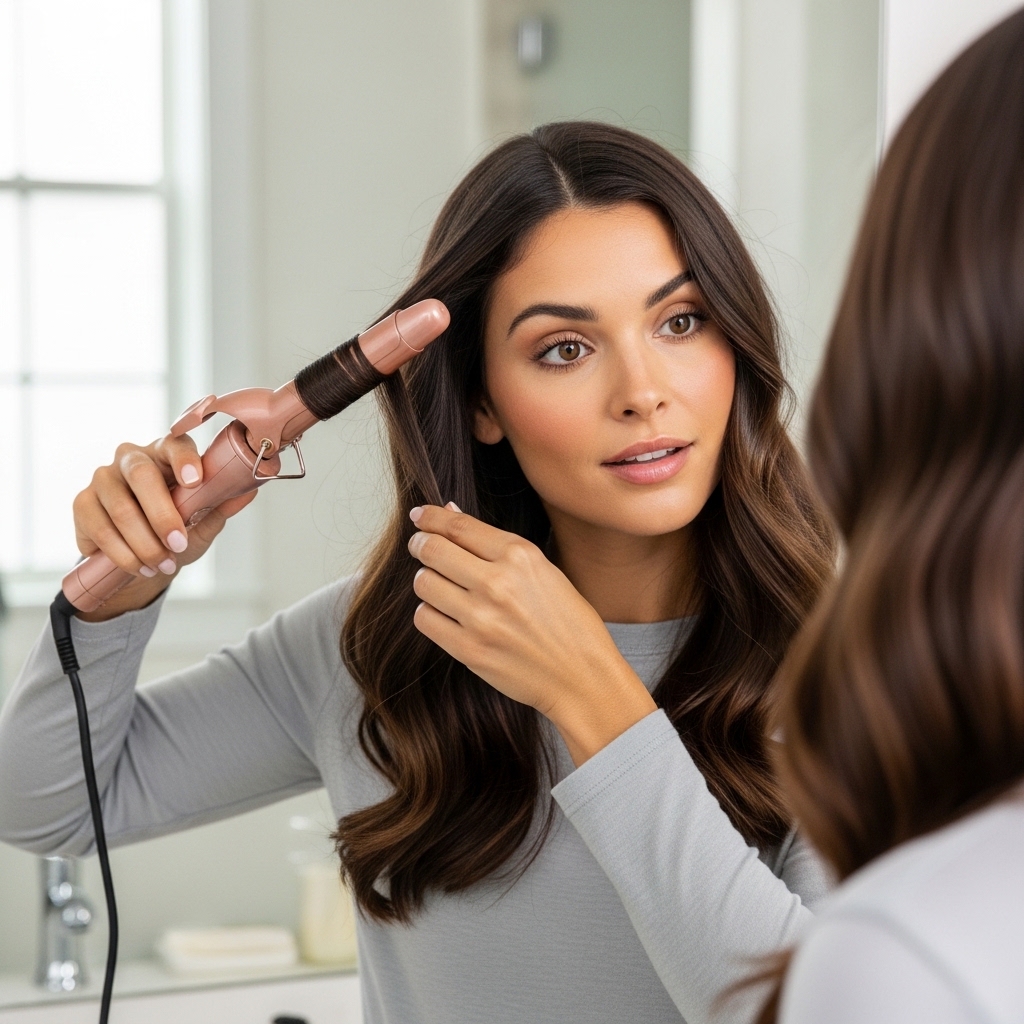
Look at the front around your face. You likely have some shorter pieces or baby hairs that weren’t caught in the braid. Don’t fight them—embrace them. These are your best friends for a soft, face-framing finish.
You can leave them as they are for a natural look, or use a small curling iron or straightener to bend them slightly. Curl them away from your face or just add a little wave. This breaks up any harshness from the deep part and the braid.
These pieces add movement and make the style feel wearable and flattering, not stiff. It’s a trick used in many romantic goth hairstyles and modern looks to keep things soft and feminine.
Check for Security and Comfort
Do the headshake test. Gently shake your head side to side and up and down. Does anything feel loose or wobbly? If so, find the spot and add another pin or two. It’s better to do it now than have a braid slipping out later.
Run your fingers along the braid. Does it feel comfortable, or are there pins poking you? If a pin is sticking out, remove it and re-pin it flat. The style should feel secure but not tight or painful.
This final check ensures you can go about your day or night with zero worries. You want to forget it’s there, knowing it looks perfect. That confidence is the ultimate accessory, whether you’re rocking this or an asymmetrical lob.
Set It With a Light Hold Spray
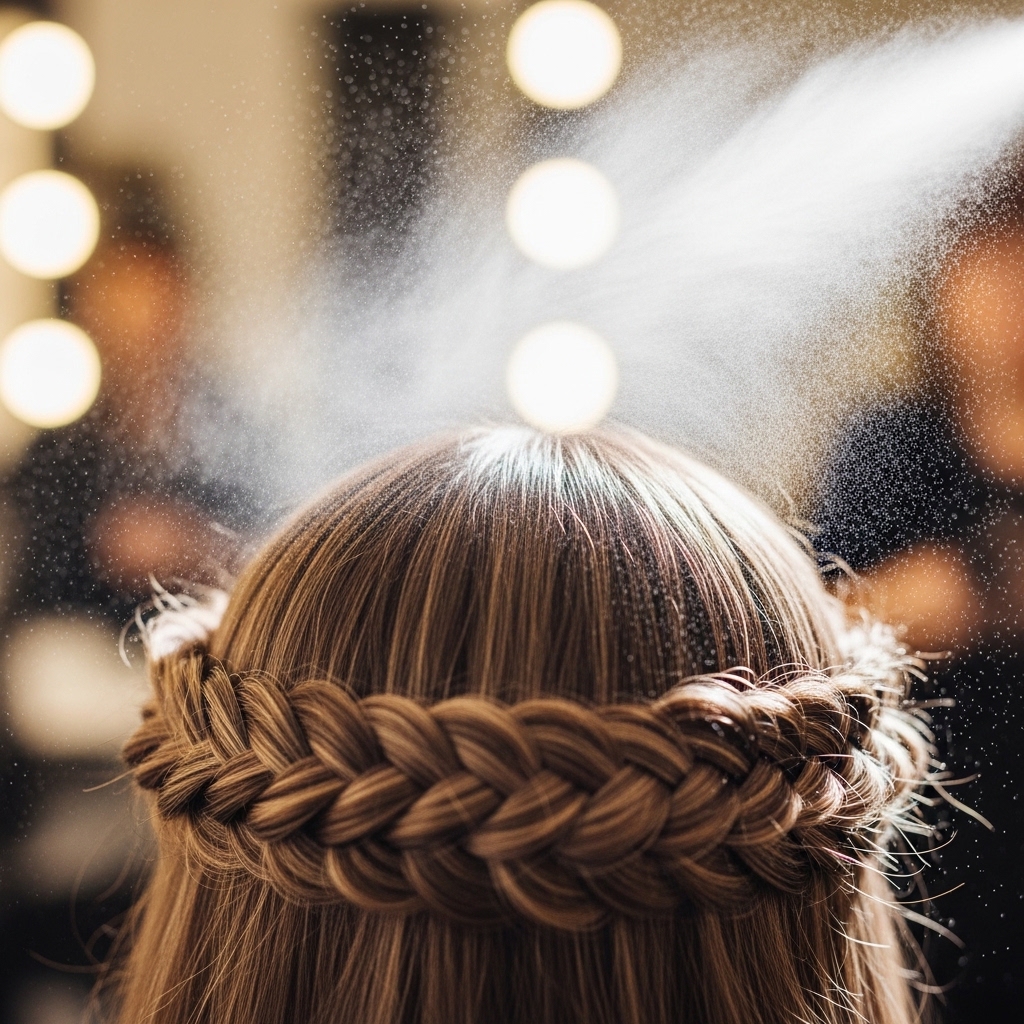
To lock in all your hard work, use a light-hold hairspray. Hold the can about 10 inches away and give a light, overall mist. Focus a little extra on the pinned areas at the back if you have very fine or slippery hair.
Avoid heavy, crunchy sprays. We want the hair to move and feel soft, not be a helmet. The spray is just to tame any flyaways and encourage everything to stay in place for hours.
If you have a lot of flyaways, you can also use a tiny bit of hair serum or even clear brow gel on a toothbrush to smooth them down. This final set gives you that polished, lasting finish seen in all the best 2026 hairstyles predictions.
Style the Rest of Your Hair
What about the hair that’s not braided? You have options. You can leave it down in its natural state—waves or curls look gorgeous flowing below the braided crown. You can also sweep it all into a low, loose bun or ponytail for an even more elegant look.
If your hair is straight, you might want to add some loose waves with an iron for texture and romance. The contrast of the textured braid with smooth hair is also stunning. Play with it and see what you like best.
This versatility makes it work for so many aesthetics. It can be bohemian, classic, or even edge it toward glitchy glam hair if you tease the ends of your loose hair for a deconstructed feel.
Adapt It for Shorter Hair
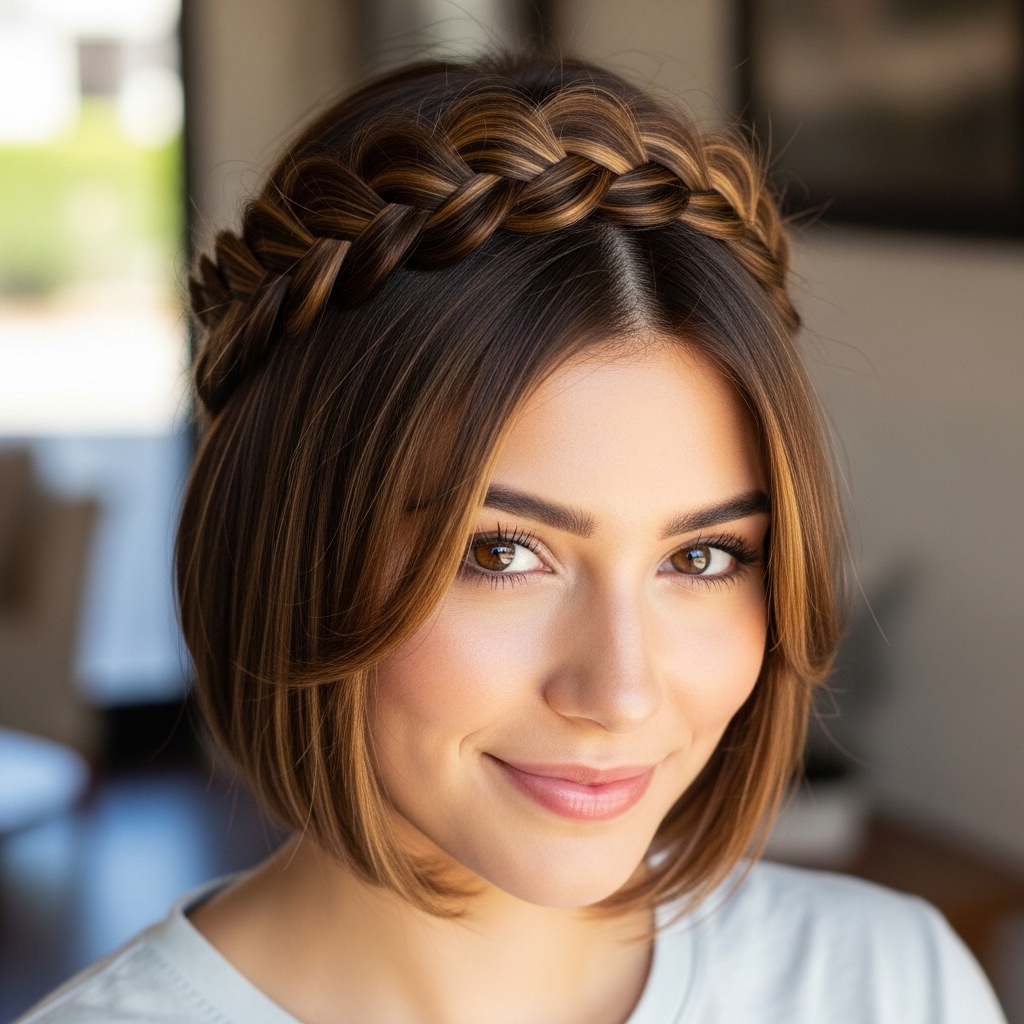
Have a lob or bob? You can still do this! The technique is the same, but your braids will be shorter. You’ll just pin them a bit sooner. The “lacing” might be a smaller “X” at the back, but the effect is just as beautiful.
Use more pins to secure shorter pieces, and don’t be afraid to incorporate all your hair, leaving very little down. It creates a stunning, almost crown-like updo. Texturizing spray is non-negotiable here for grip on shorter layers.
This makes it a fantastic style for those with an asymmetrical lob or hime cut looking to change up their look. It’s a creative way to style shorter hair for a special event.
Make It Glamorous for Evening
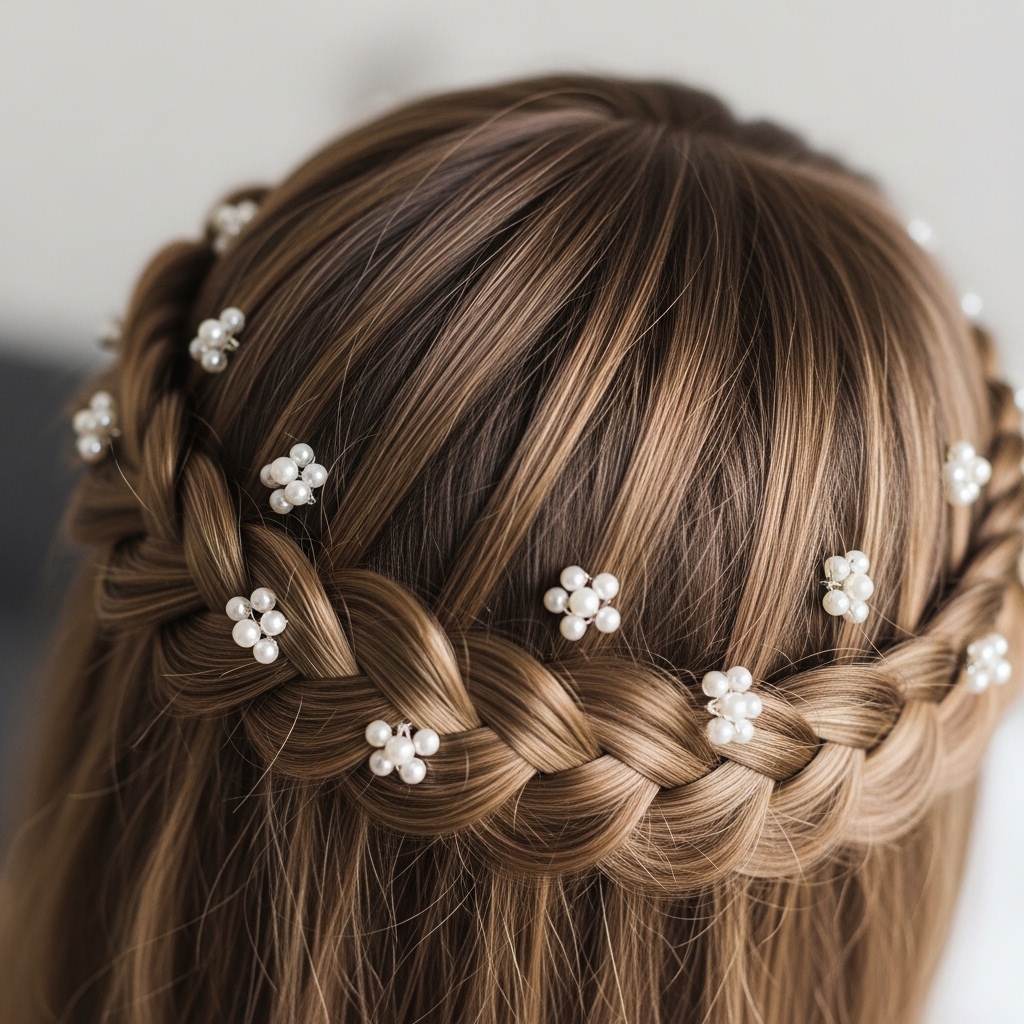
To take this from day to night, add some sparkle. Tuck in a few delicate hair pins, pearls, or even a thin, sparkly headchain underneath the braid. You can also wrap a delicate ribbon along the braid as you’re initially doing it for a fairy-tale touch.
For a romantic goth twist, use dark velvet ribbon or antique-style silver pins. The braid provides the perfect anchor for accessories without looking overdone. Keep the accessories small and scattered for a subtle, luxurious feel.
This instantly elevates the look for a wedding, party, or fancy dinner. It’s that easy transformation that feels special and thoughtful, much like the difference between a basic bob and a quiet luxury bob.
Try a Textured, Messier Version
Don’t want it to look perfect? Go for a textured, messier vibe. Before you start, braid your hair the night before, sleep on it, and take it out in the morning for incredible wave texture. Then, follow the same lacing steps with your already wavy, piece-y braids.
Pull out more pieces around your face and along the braid once it’s pinned. The goal is a “I woke up like this” halo. This version is less old money hair and more cool-girl, effortless texture.
It’s a fantastic vacation or festival style. It looks intentional in its undone-ness and holds up better in humidity or wind than a sleek version. It has that

