
Okay, let’s be real. You see those perfect, slightly undone, impossibly chic lobs everywhere and think, “I could never.” I get it. It feels like a salon-only hairstyle, something that requires a PhD in hair styling to maintain.
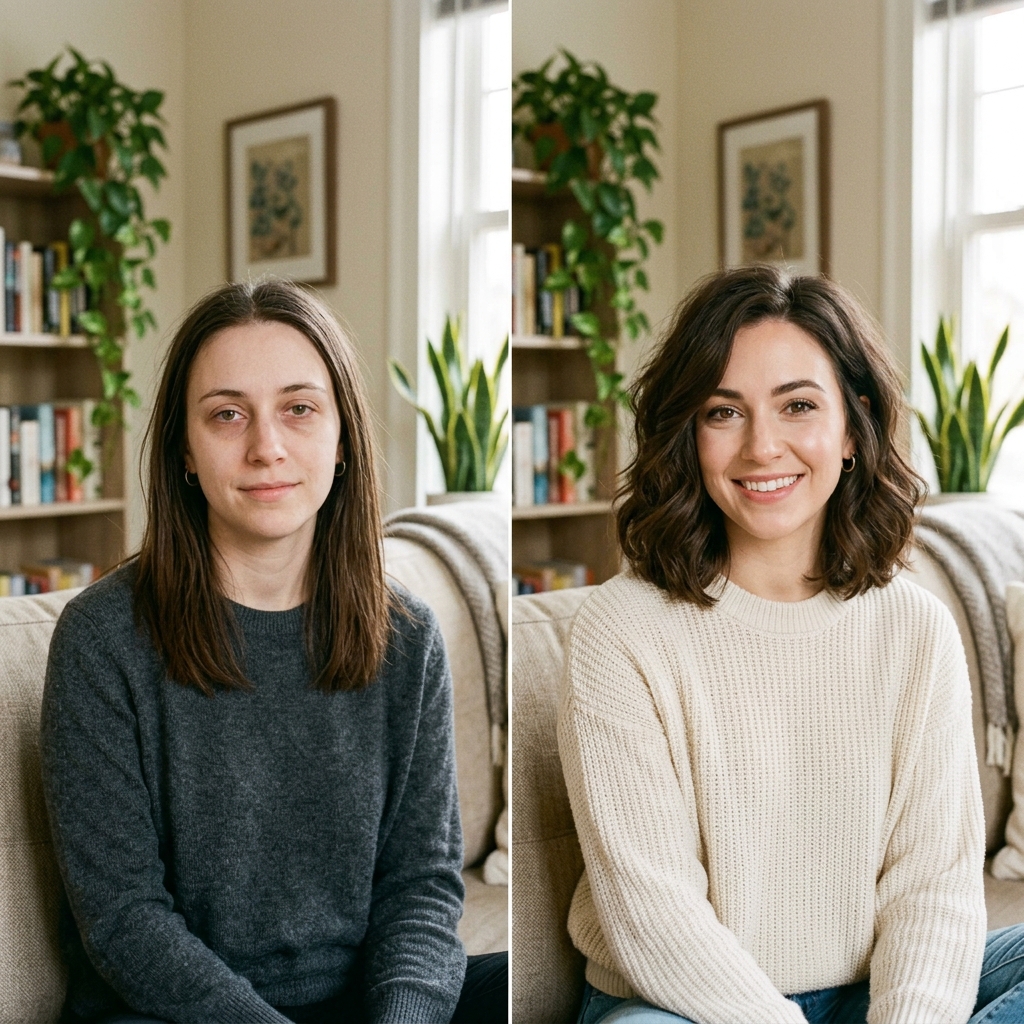
But what if I told you the secret isn’t in a fancy technique, but in a simple shape? The rounded lob is that secret. It’s the beginner-friendly gateway to looking like you have your life together, even on your most chaotic days.
This cut gives you that “I woke up like this” polish without the fuss. It’s the foundation for so many looks, from old money hair to a soft quiet luxury bob. And I’m going to show you exactly how to ask for it and style it in the simplest way possible.
What Is a Rounded Lob, Really?
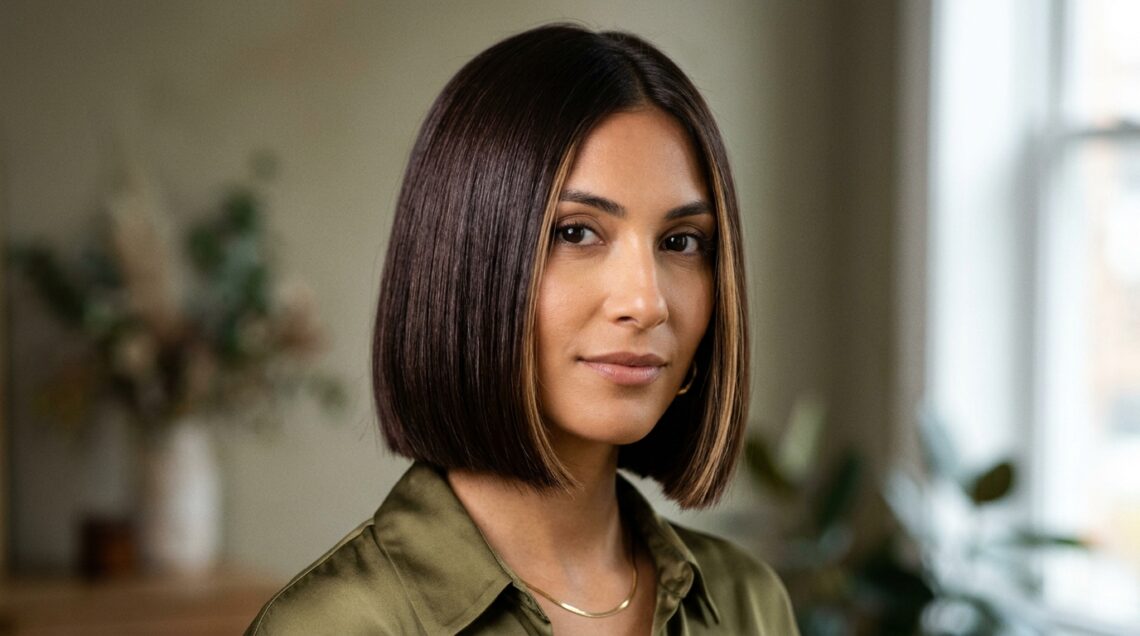
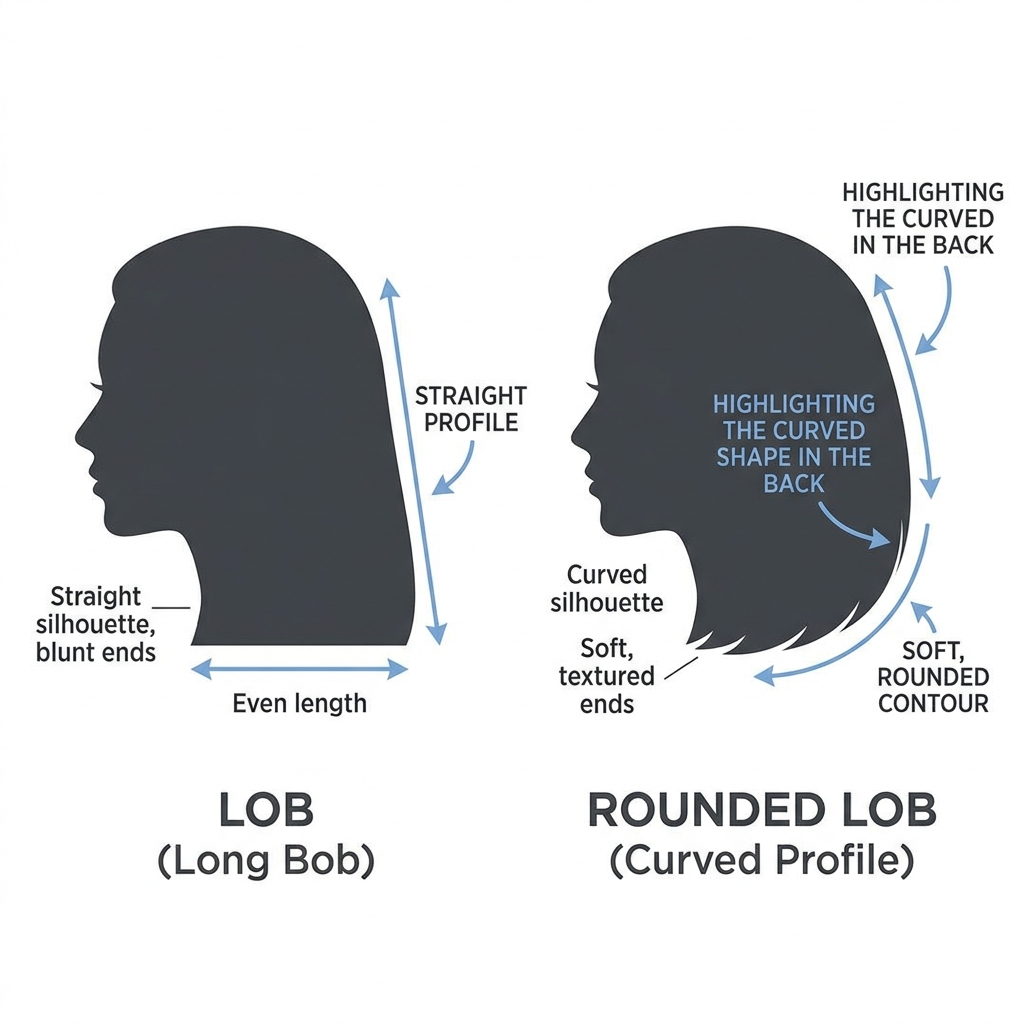
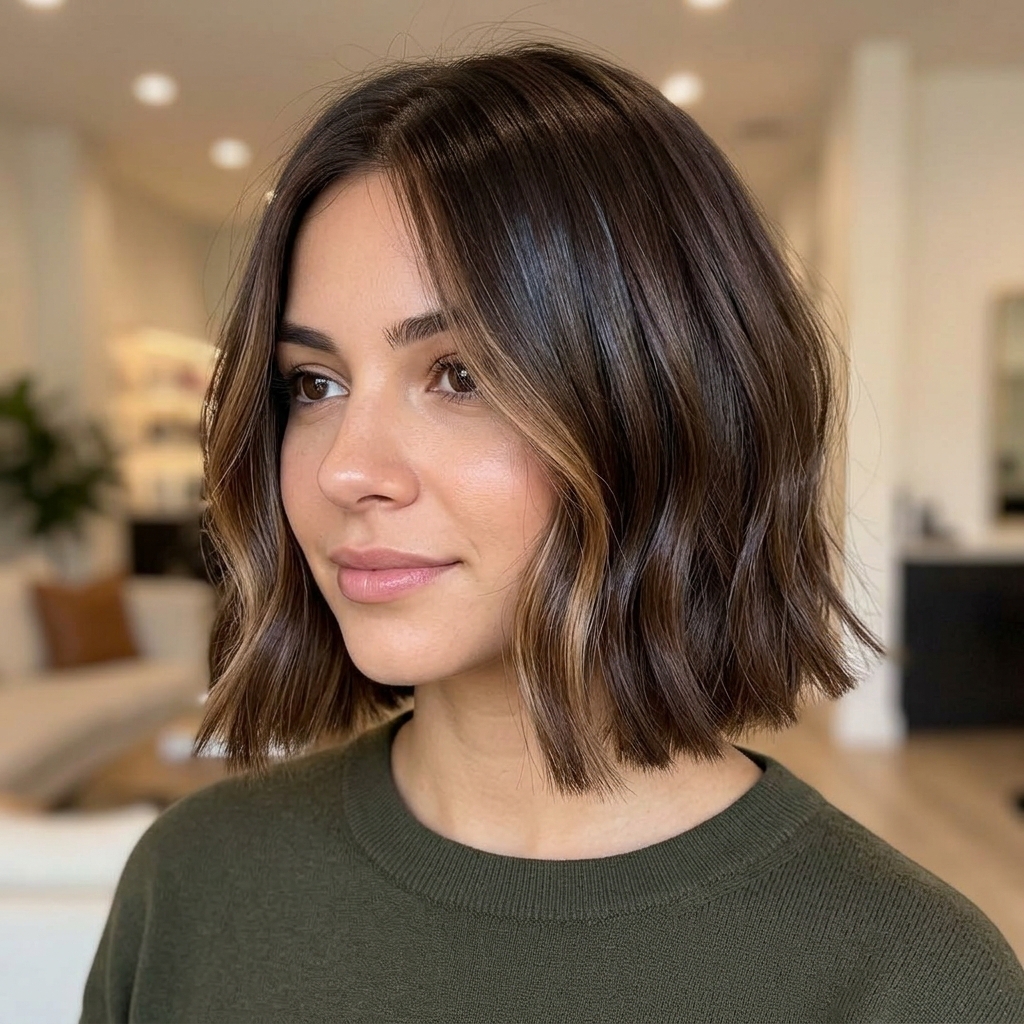
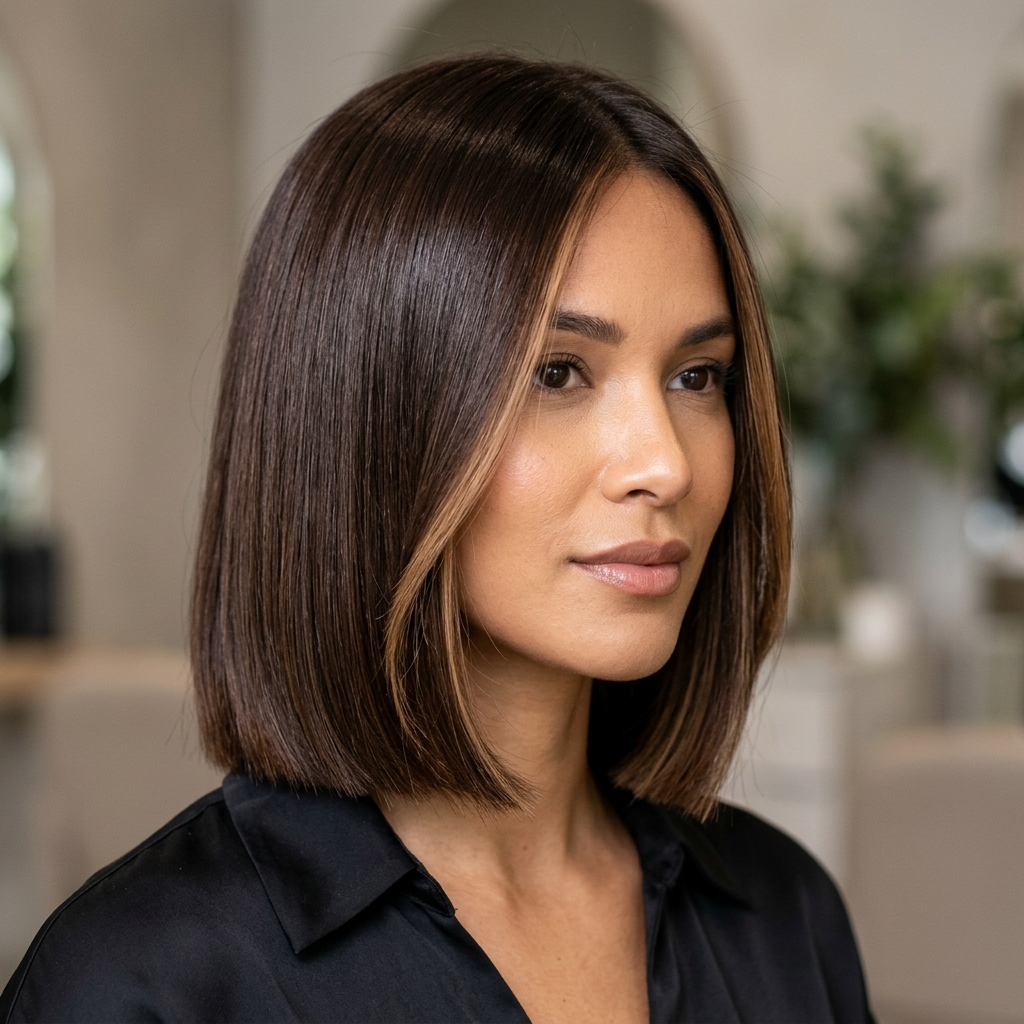
Let’s break it down so you can walk into the salon with confidence. “Lob” is just a fancy word for a long bob, hitting right at your collarbone. The “rounded” part is the magic.
It means the back is cut slightly shorter, creating a gentle, rounded shape that frames your face. It’s not a drastic A-line; it’s soft and built into the cut itself. This structure gives you instant volume and swing, making it look styled even when it’s air-dried.
Why This Cut is a Game-Changer for Beginners
If you’re tired of flat hair or layers that get tangled, this is for you. The rounded shape gives you automatic lift at the roots. It also grows out beautifully, maintaining its shape for months.
You spend less time fighting your hair and more time looking polished. It’s a low-commitment way to try a chic, shorter style without going super short. It works with straight, wavy, and curly textures, which is why it’s a staple for 2026 hairstyles already.
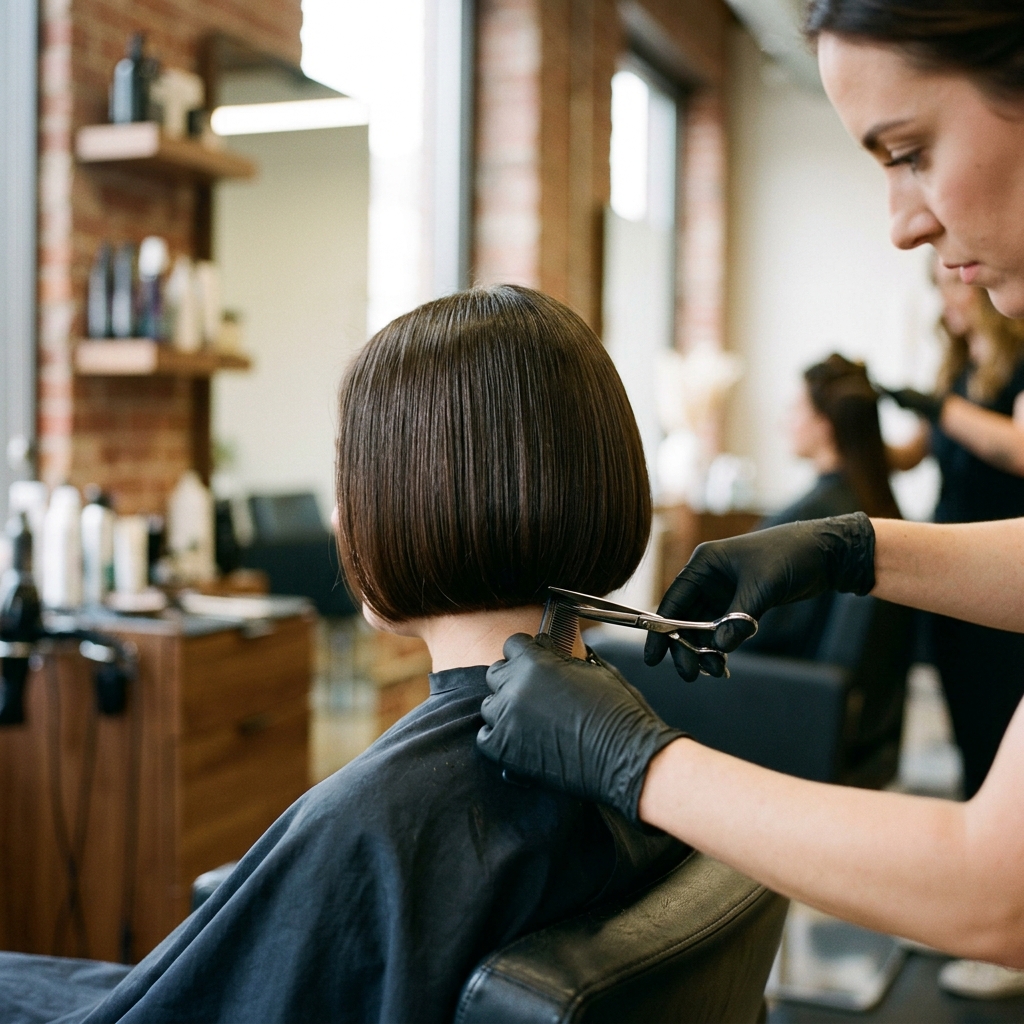
The Exact Way to Ask Your Stylist
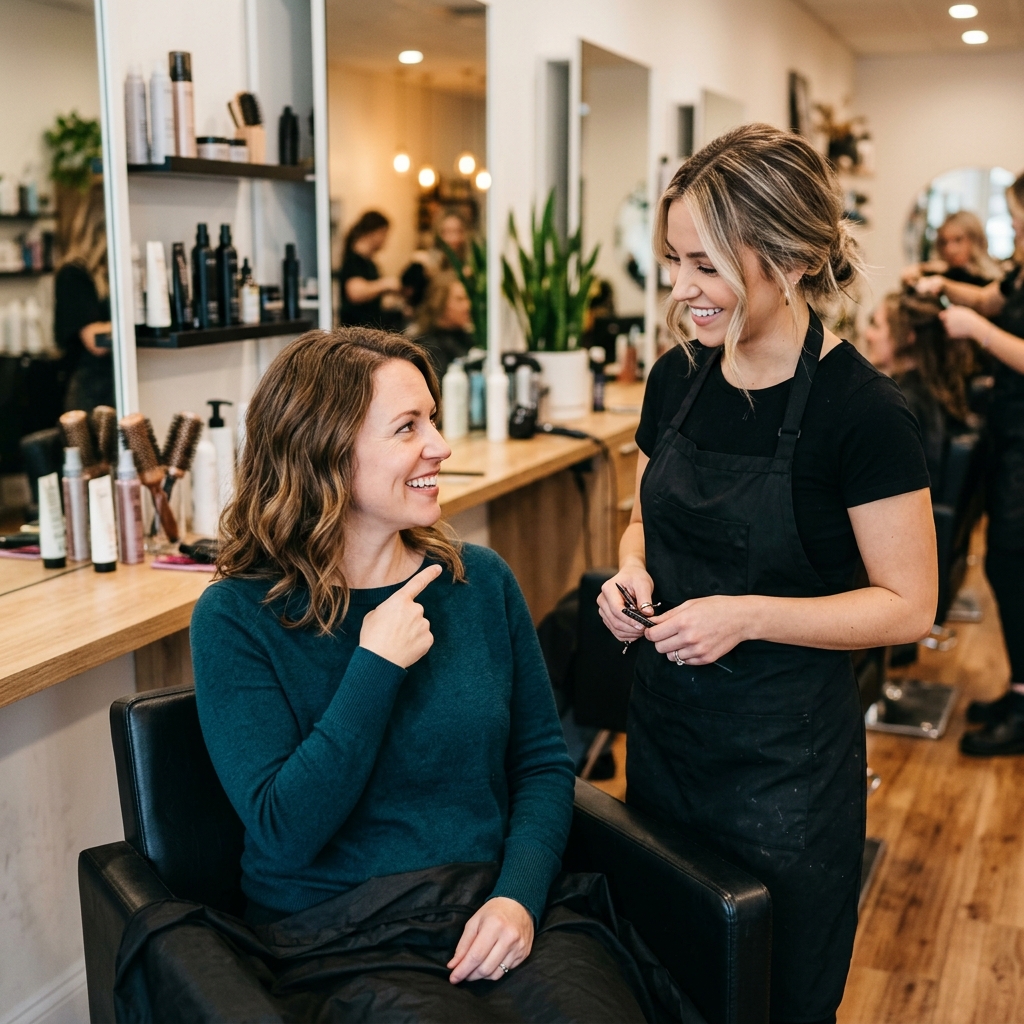
Walking in and saying “I want a lob” can lead to mixed results. You need to be specific. Here’s the exact phrasing I use and recommend to my friends.
- “I’d like a collarbone-length lob.”
- “Please build a rounded shape into the back; shorter in the back, longer towards the front.”
- “I’d like soft, face-framing layers, but keep the overall shape blunt and heavy.”
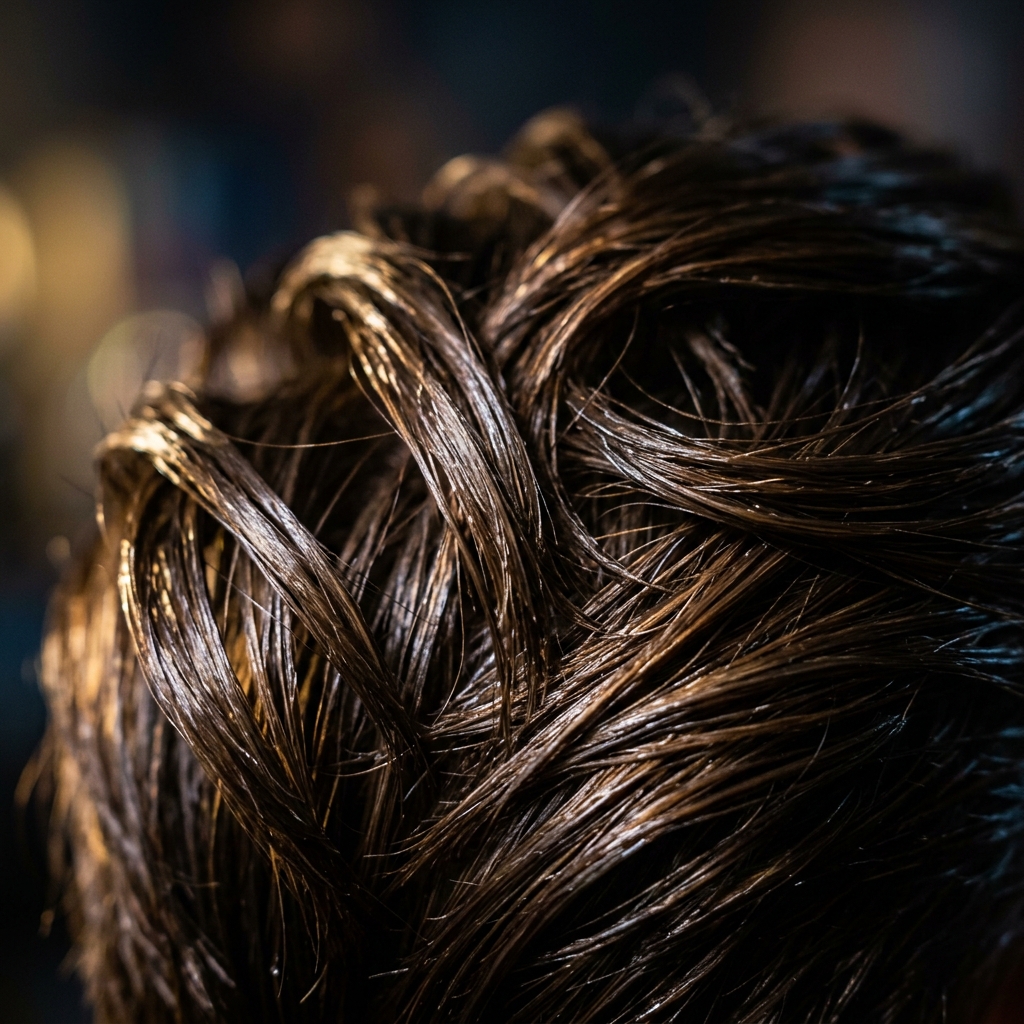
The One Tool You Absolutely Need
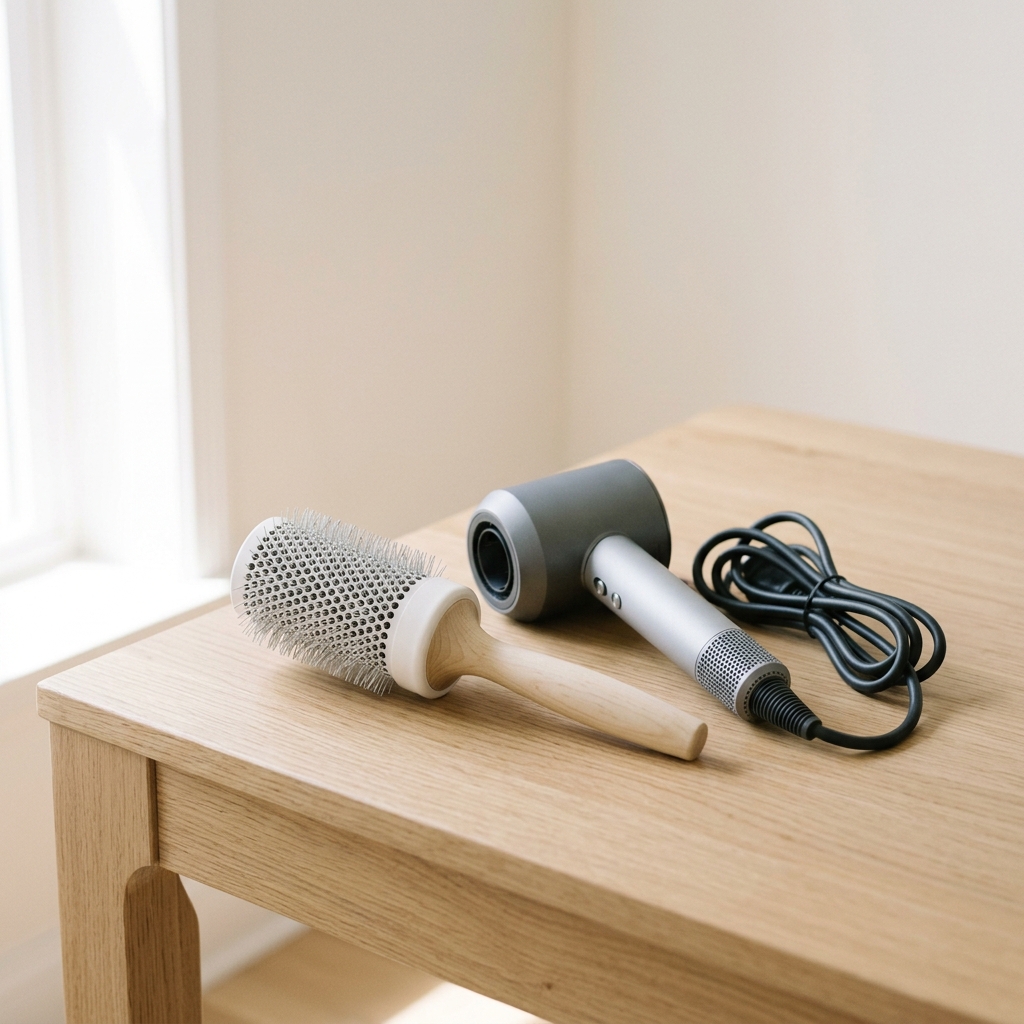
To maintain that rounded shape at home, you need one key tool: a large, round brush. A 2-inch diameter is perfect. This isn’t about creating curls; it’s about guiding the hair into its intended shape as you dry it.
Pair it with a good blow-dryer. The brush helps you lift the roots and curve the ends under slightly, enhancing the cut’s built-in shape. It’s a 5-minute trick that makes all the difference.
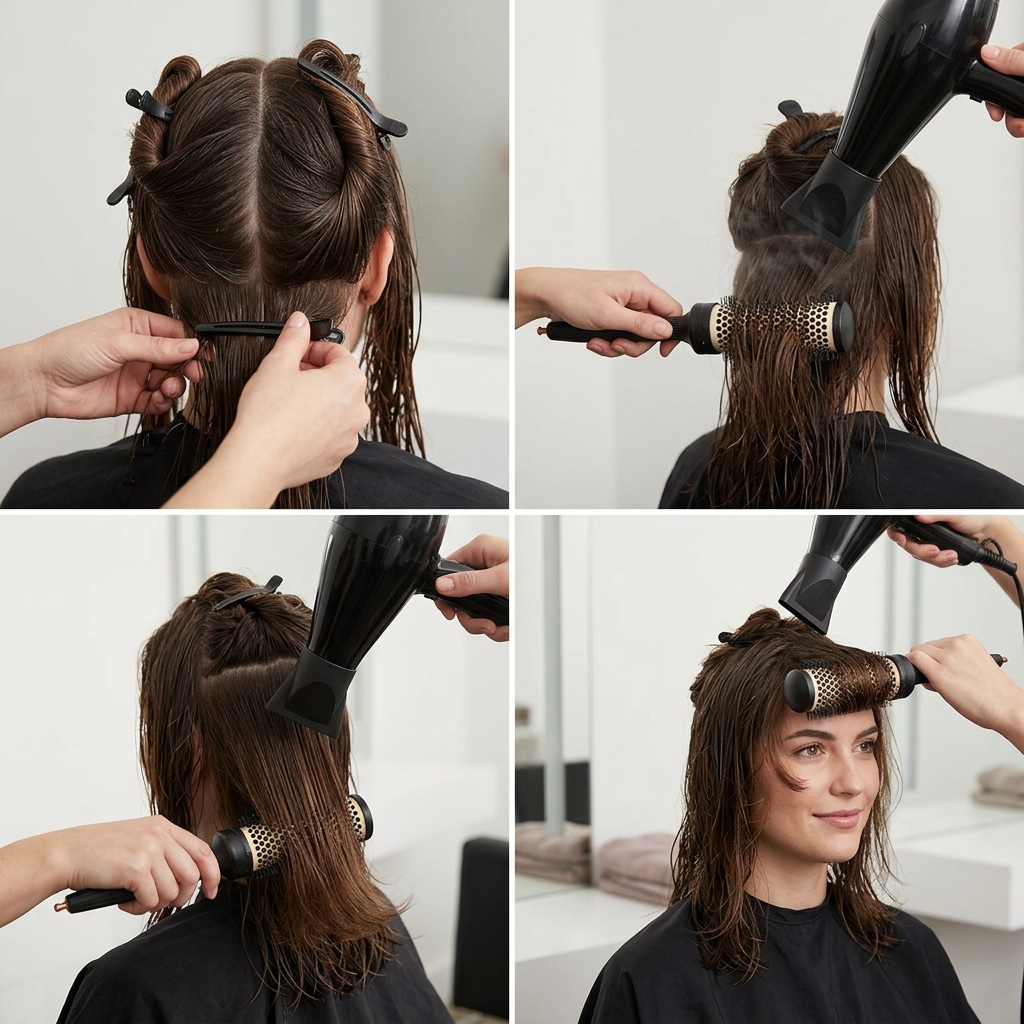
Your 5-Minute Blow-Dry Routine
- Start with damp hair. Apply a heat protectant and a volumizing mousse at the roots.
- Divide hair into top and bottom sections. Clip the top away.
- Using your round brush, dry the bottom section, rolling the brush under to follow the rounded shape.
- Release the top section. For maximum root lift, dry the hair in the opposite direction it falls first, then smooth it.
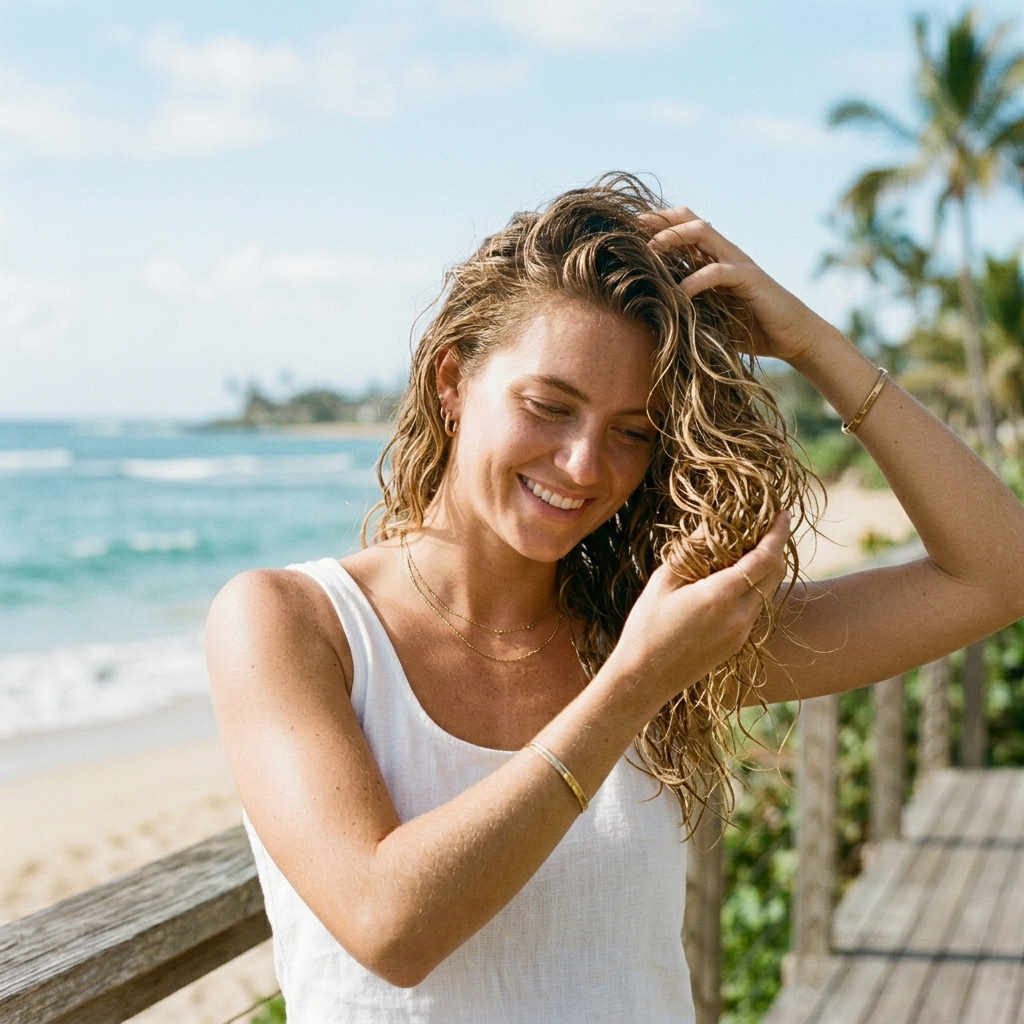
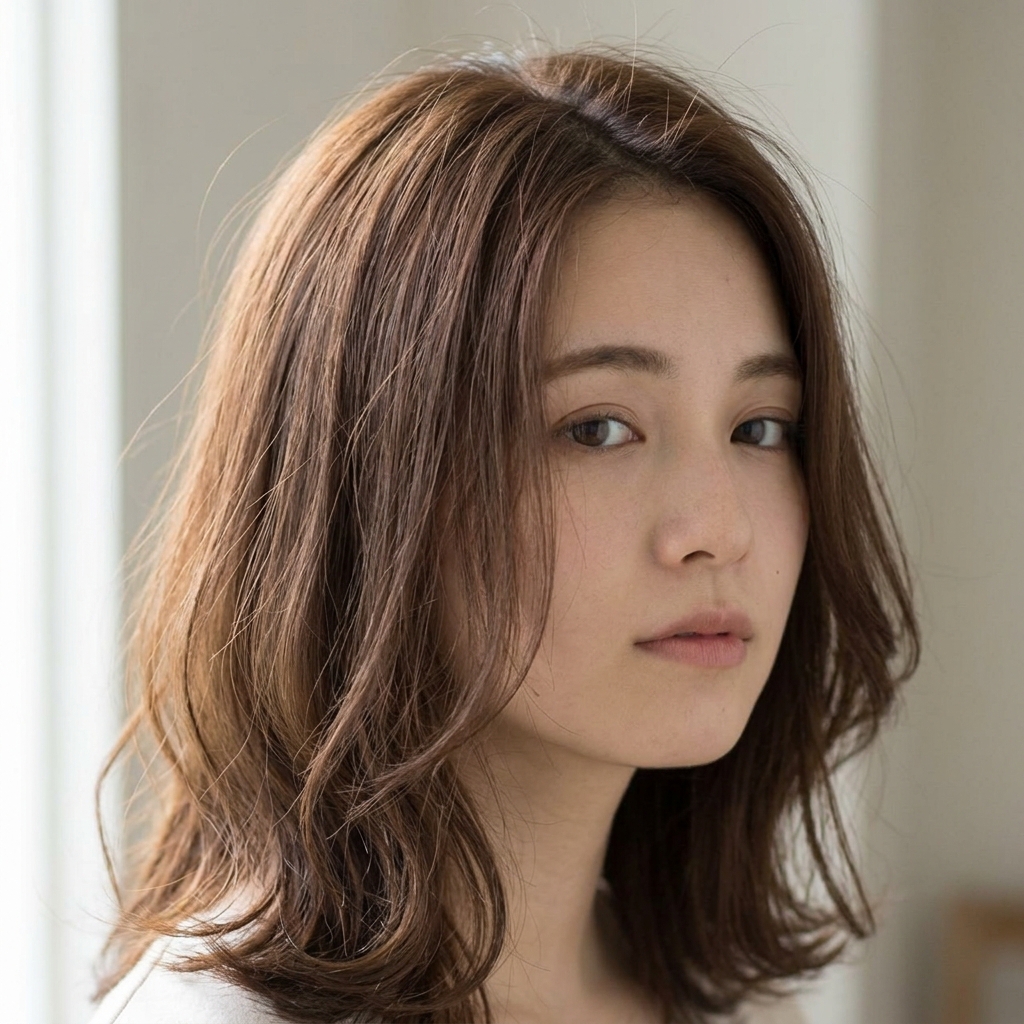
Air-Dry Magic for Wavy Hair
If you have waves, you’re in luck. This cut works beautifully with your natural texture. The goal is definition, not frizz. After washing, scrunch in a curl cream or light gel.
Then, do not touch it! Let it air-dry completely. Once dry, you can gently scrunch out any crunch. The rounded shape will give your waves a chic, piece-y finish that feels very quiet luxury bob.
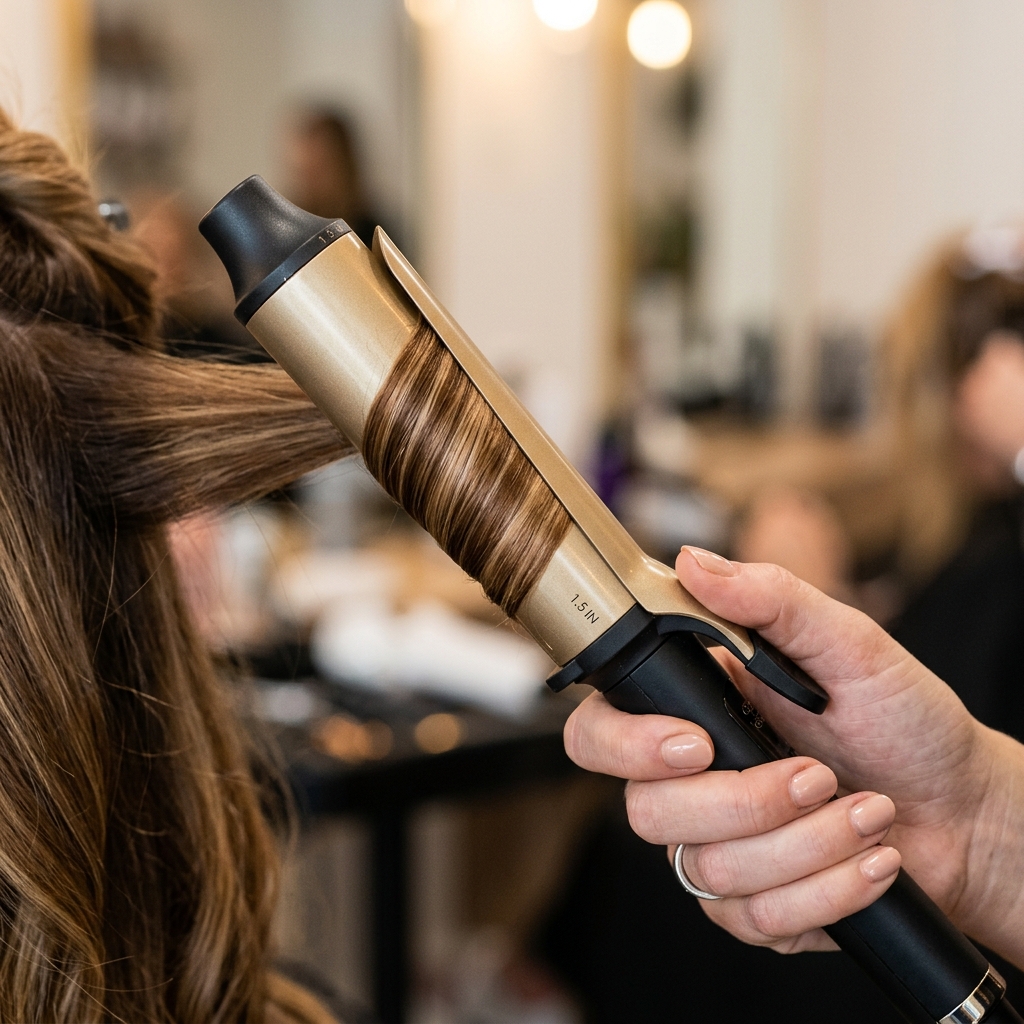
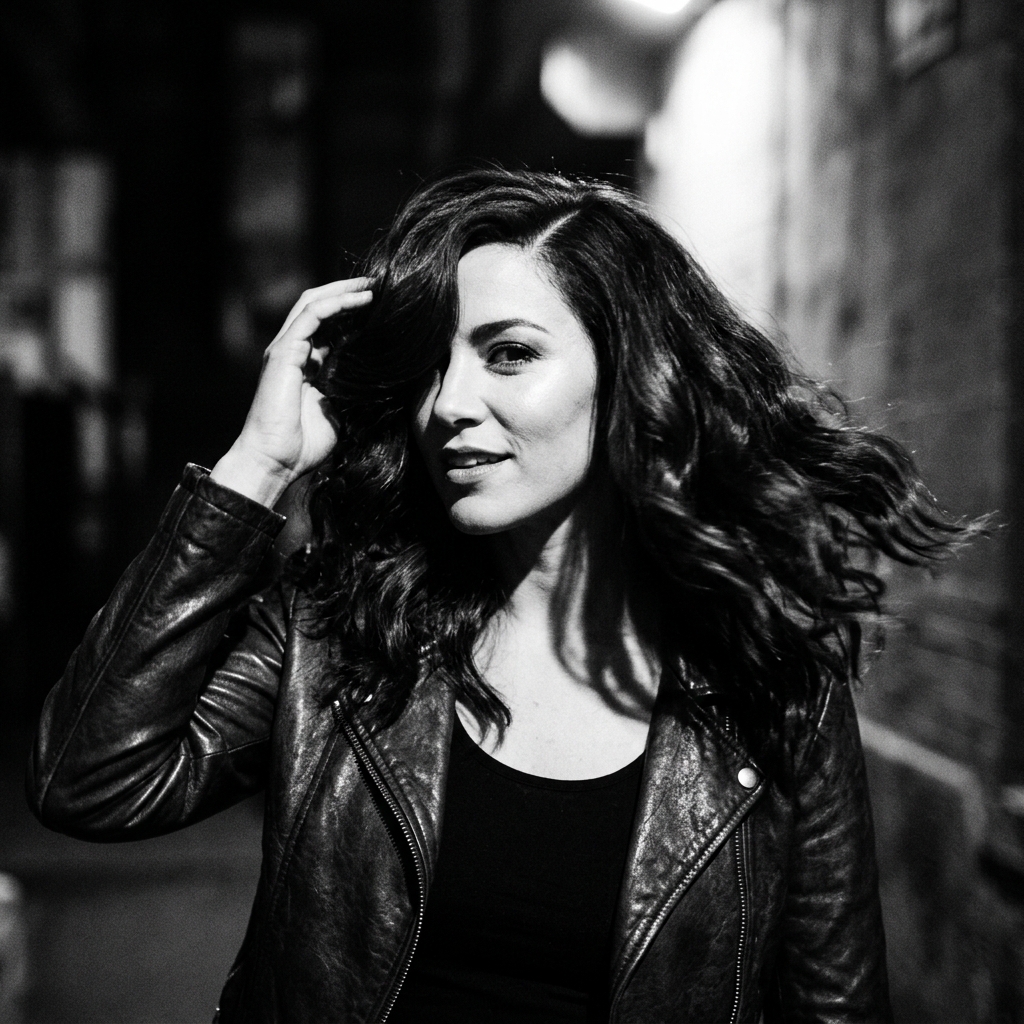
Creating “Old Money” Texture
That coveted old money hair look is about perfected imperfection. It’s smooth but not slick, with subtle bend. Once your hair is dry, wrap random 1-inch sections around a large-barrel curling iron, away from your face.
Don’t curl all your hair! Just 5-6 random pieces. Then, run your fingers through it to break it up. This adds a lived-in, expensive texture without looking overly done.
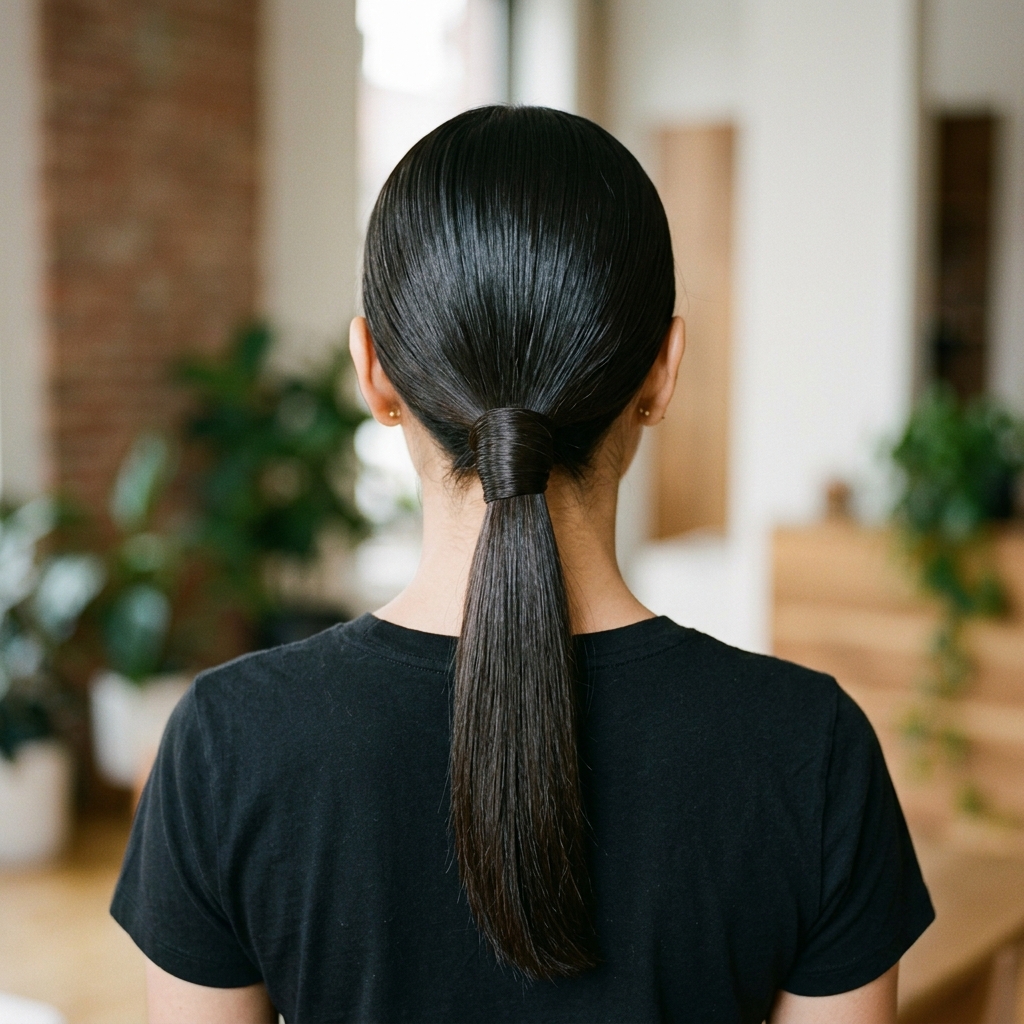
The Sleek, Polished Ponytail Trick
Yes, you can still put this haircut up! The secret to a polished ponytail is in the details. After smoothing your hair into a low ponytail, take a small section from underneath the ponytail.
Wrap it around the elastic to conceal it, and secure it with a bobby pin. Gently pull at the crown for a little lift. This looks chic for meetings or dinners and shows off the beautiful neckline of the cut.
Adding a Side Part for Drama
Switching your part is the easiest way to change your look. A deep side part instantly adds volume and a touch of old-Hollywood glamour to your rounded lob.
Use the end of a comb to create a clean line. Blow-dry the roots on the “heavy” side in the opposite direction for a minute, then flip it back. This creates lasting lift and makes the style feel more dynamic.
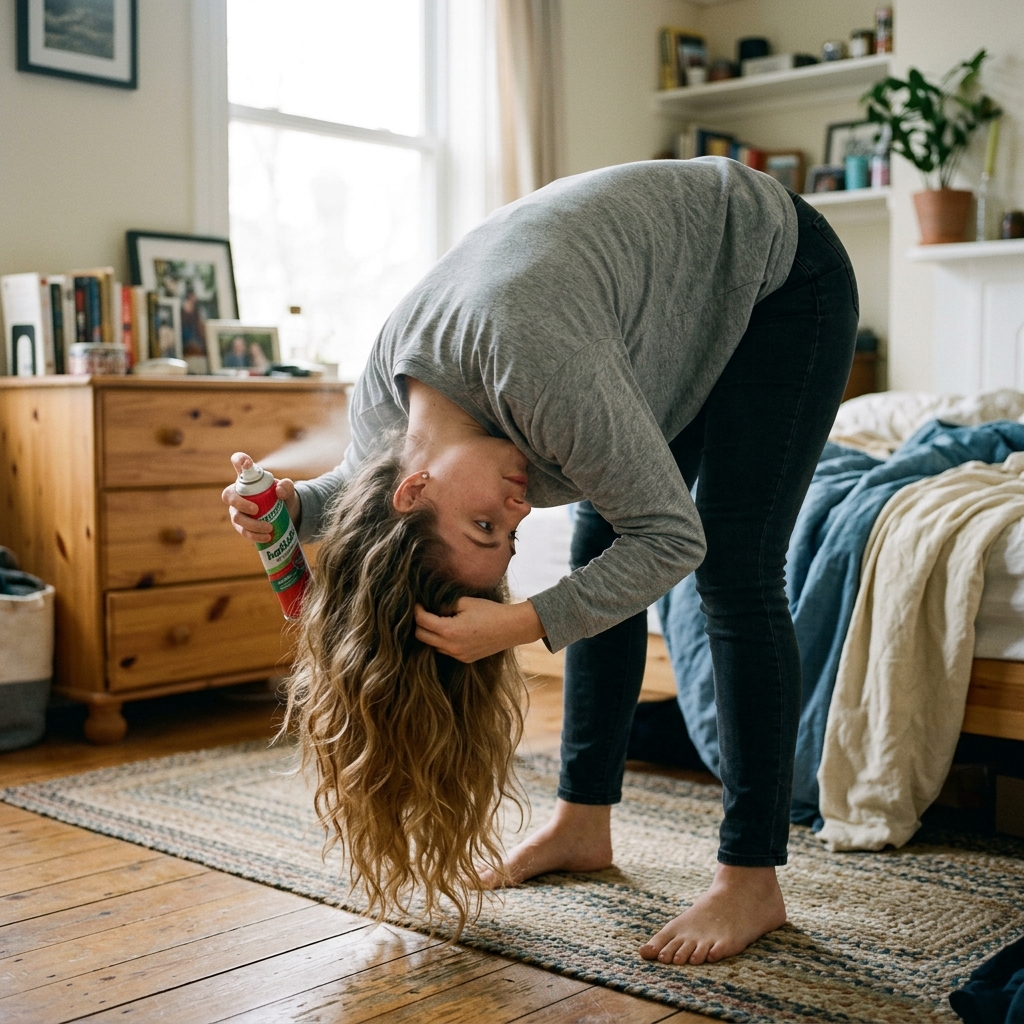
When You Need Volume, Stat
Second-day hair feeling flat? Flip your head upside down and spray a dry shampoo or texturizing spray directly at the roots. Massage it in with your fingertips while your head is still upside down.
Slowly flip back up, and use your fingers to style, not a brush. This refreshes the shape and gives you that piece-y, voluminous texture we all love.
Transitioning to an Asymmetrical Lob
If you get bored, this cut is the perfect base to play with. Ask your stylist to take the front significantly longer on one side for an asymmetrical lob.
This edgier variation has a cool, fashion-forward feel. It’s a subtle way to play with the vampire haircut trend without going full goth. Style it sleek to emphasize the dramatic line.

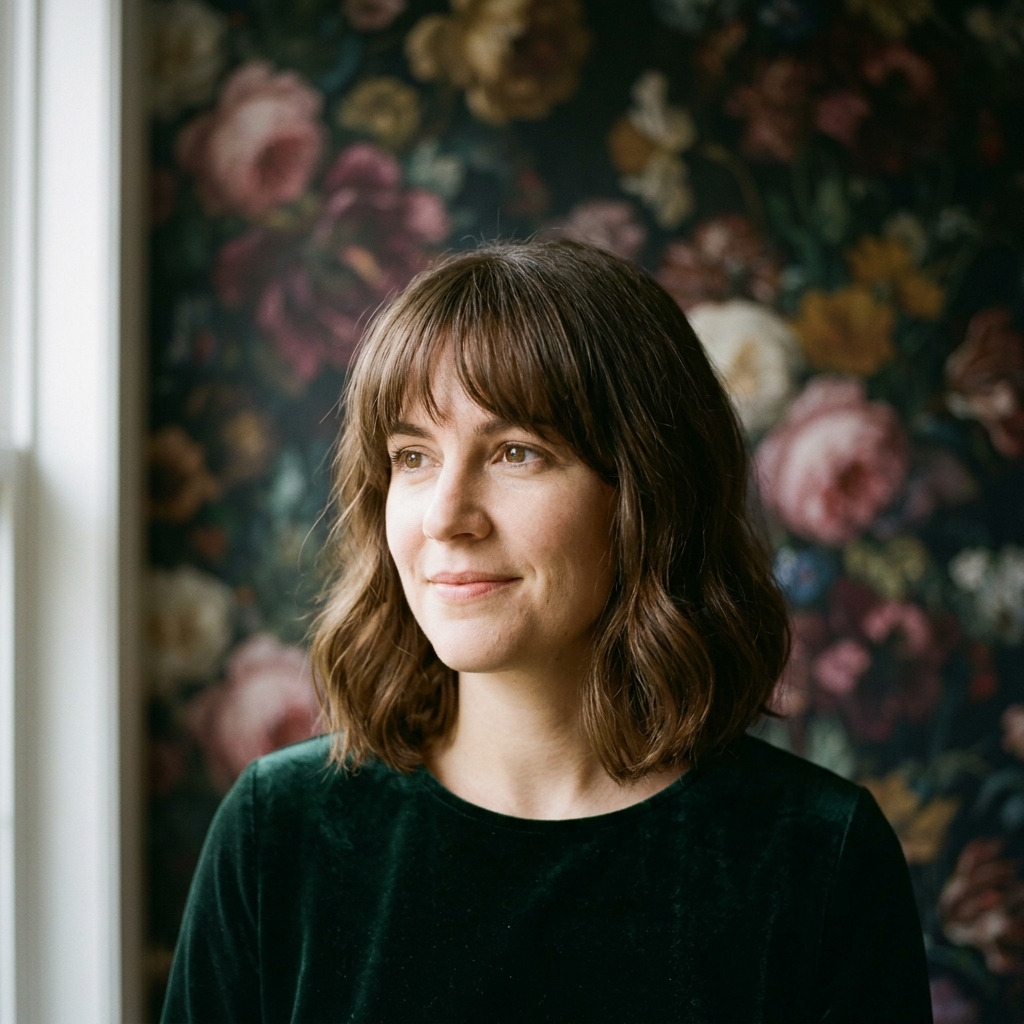
Softening Edges for a Romantic Vibe
Want a softer, more romantic goth hairstyles influence? Ask your stylist to add wispy, shattered bangs or face-framing pieces that are point-cut, not blunt.
Style with a waver iron for a soft, undulating texture. Add a deep side part and a velvet hair clip for a touch of romantic, moody drama that’s still wearable every day.
Experimenting with Glitchy Glam
The glitchy glam hair trend is about intentional, piece-y disarray. To try it, create a center part. Use a strong-hold pomade on your fingertips.
Twist small, random sections of hair, especially around your face, and pinch them to separate the strands. The goal is a “broken” texture that still looks sleek and intentional, perfect for a night out.
Accessorizing is Your Best Friend
A simple lob becomes a statement with the right accessory. A large, classic claw clip looks elegant when you twist your hair up loosely. Thin, delicate headbands give a refined touch.
For a nod to trends like the hime cut, use two small, decorative clips to pin back the front sections on either side. It’s a cute, playful detail that personalizes the cut.

Finding Your Perfect Length
Collarbone is the sweet spot, but you can adjust. If you have a longer neck, you can go slightly shorter. If you’re nervous, start just below the collarbone.
The key is that the ends should hit a narrowing part of your body (collarbone, shoulders) to emphasize the shape. Bring a photo where you like the model’s neck and shoulder shape, not just her hair.

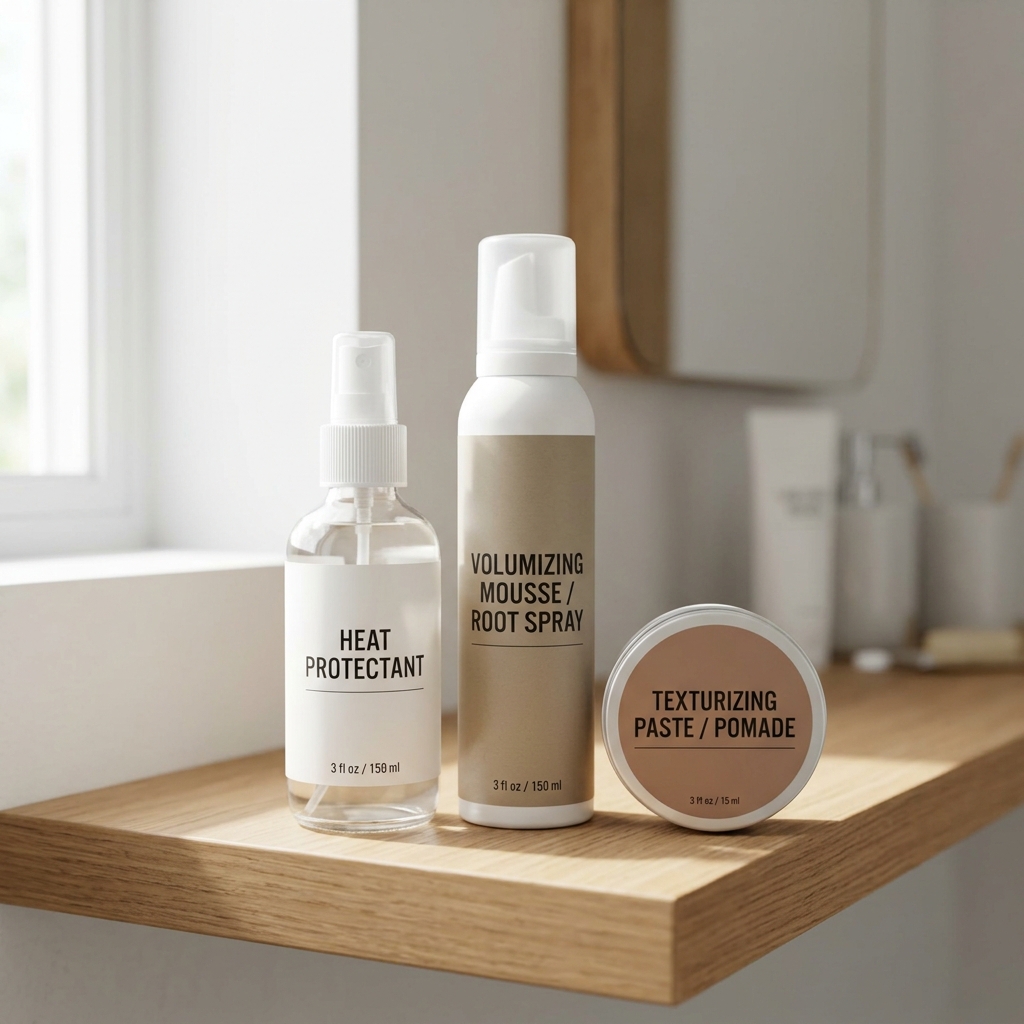
Choosing the Right Products
You don’t need a cabinet full of products. Focus on three: a heat protectant, a volumizing mousse or root spray, and a texturizing paste or pomade.
- Heat Protectant: Non-negotiable for blow-drying.
- Root Lift: Gives the rounded shape its foundation.
- Texture Paste: To define ends and tame flyaways for that polished finish.
How Often You Really Need a Trim
To keep that rounded shape looking crisp, plan for a trim every 8-10 weeks. You might not need much taken off, just a clean-up of the ends and a reinforcement of the shape.
This prevents the back from growing out into a triangle shape and keeps the style looking intentional. It’s maintenance, not a full re-cut, so it’s quick and affordable.
Color Ideas to Enhance the Cut
Color can make the shape pop. Subtubal highlights around the face brighten your features. A solid, glossy all-over color makes the blunt ends look even sharper and more luxurious.
For more edge, consider a shadow root or money-piece highlights. These color techniques add dimension that follows the cut’s rounded lines, making it even more dynamic.
What to Do on Humid Days
Humidity is the enemy of polish, right? Not if you’re prepared. On humid days, opt for a sleeker style. Use a smoothing serum on damp hair before blow-drying with your round brush.
If you’re air-drying, use an anti-frizz cream instead of a gel. Embrace a slightly smoother, flatter look—it will still look chic and intentional, not frizzy and wild.
Night-Out Upgrade in 2 Minutes
Going from day to night is simple. Add shine. Run a tiny drop of hair oil or shine serum just over the surface of your hair, focusing on the ends.
Then, create a deep side part and smooth any wispies with a strong-hold hairspray on a toothbrush. This gives you that red-carpet, glossy finish in no time.
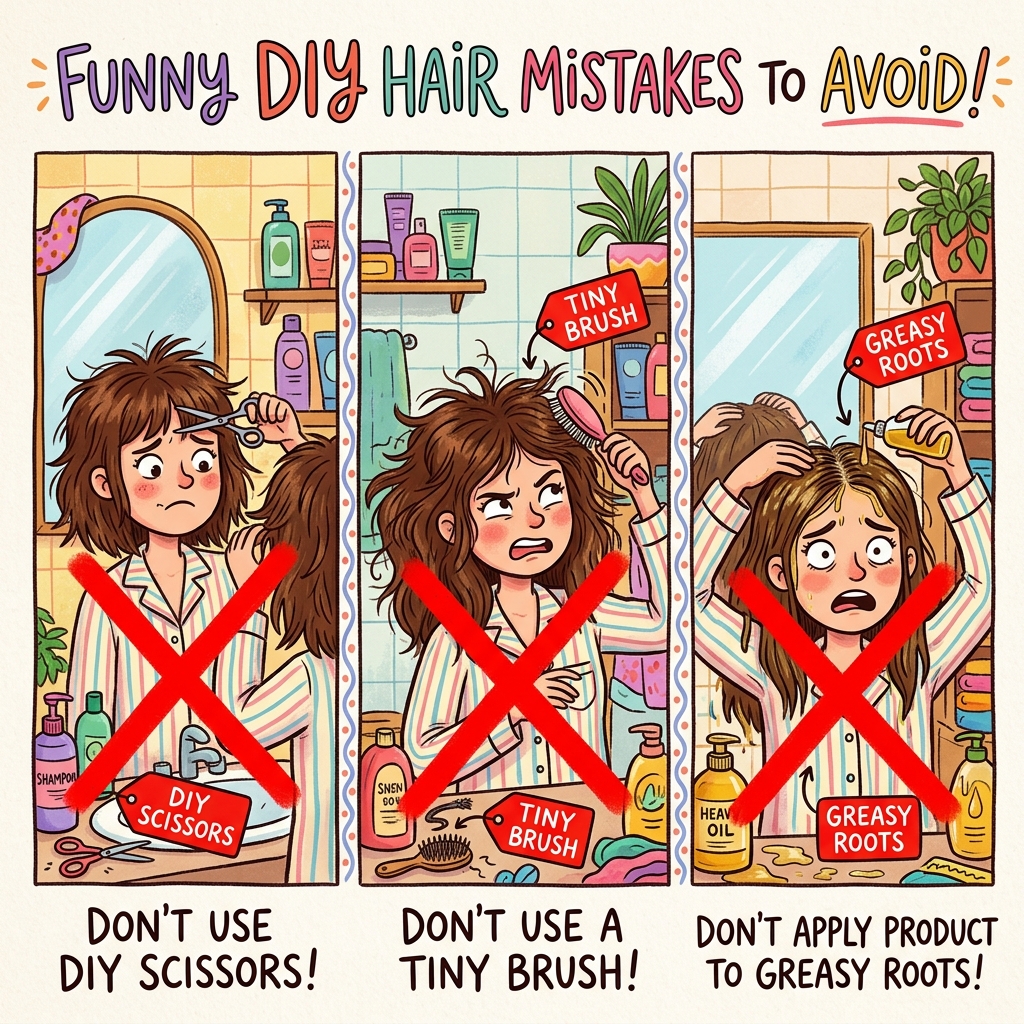
Common Mistakes to Avoid
Even the best cuts can be styled wrong. Avoid over-layering; you want weight for that swing. Don’t use a small round brush; it will create curls, not shape.
Skip heavy, greasy products at the roots—they weigh down the volume. And never cut this yourself! The rounded shape requires professional precision.
Remember Why You Got This Cut
On days you miss your long hair, remember the polish and ease this cut gives you. It’s a style that makes you look put-together with minimal effort.
It grows with you, adapts to trends, and gives you a constant foundation of confidence. That’s the real power of a great haircut—it’s not just hair, it’s a feeling.
And that’s it! The not-so-secret secret to looking polished without the daily struggle. It all comes down to that initial cut and a few simple styling tricks.
This rounded lob is truly a workhorse of a hairstyle. It’s the reliable base that lets you play with everything from sleek old money vibes to edgier, textured looks whenever you’re in the mood for a change.
Save this post to Pinterest to keep this guide handy for your next salon visit! And I’d love to know—are you thinking of taking the lob plunge? Or do you already have one and have a pro tip to share? Tell me everything in the comments below!

