

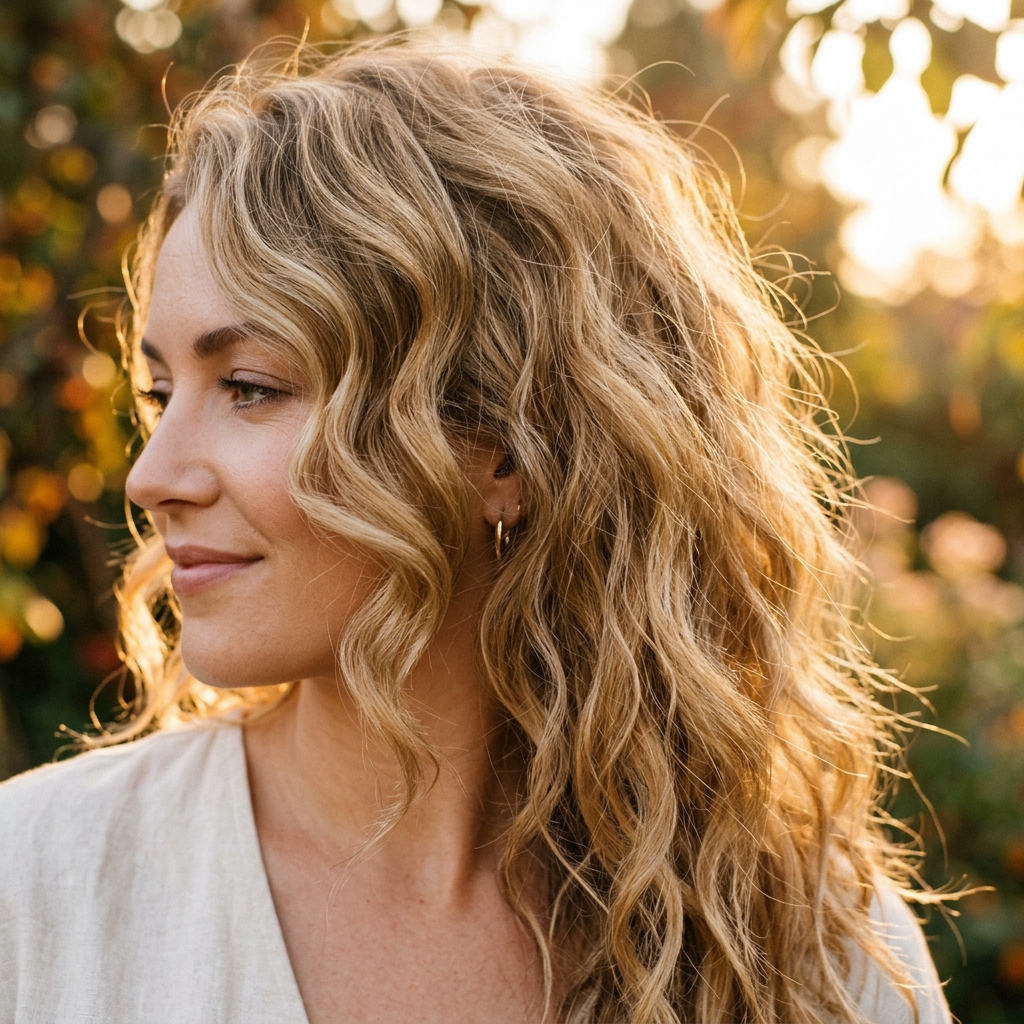
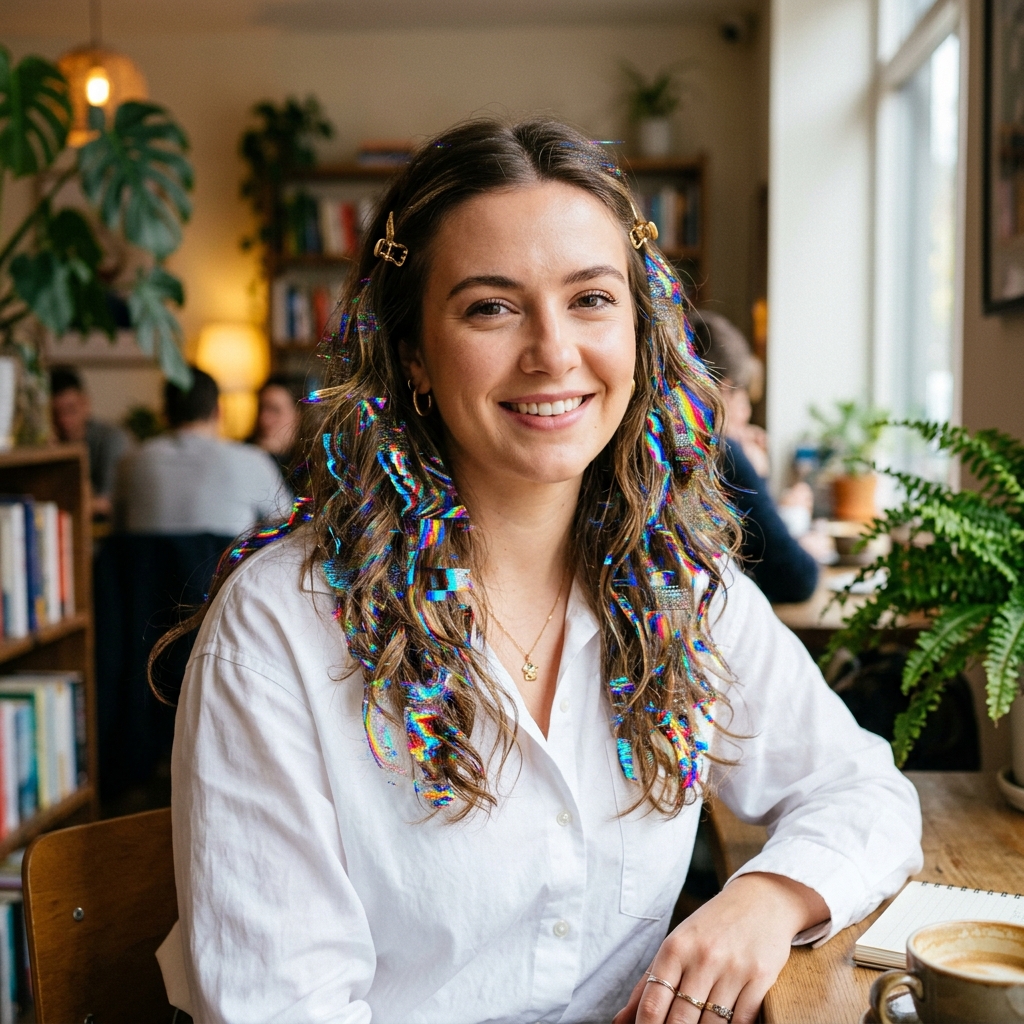
Okay, let’s be real. Sometimes you wake up and your hair is just… doing its own thing. One side has a perfect wave, the other is flat, and the back is a whole different texture. Instead of fighting it, I say we lean in. Welcome to the world of glitchy glam hair.
This isn’t about perfection. It’s about playful, mismatched waves that look cool, intentional, and totally low-maintenance. Think of it as the “quiet luxury” of fun hair—effortless but with a ton of personality.
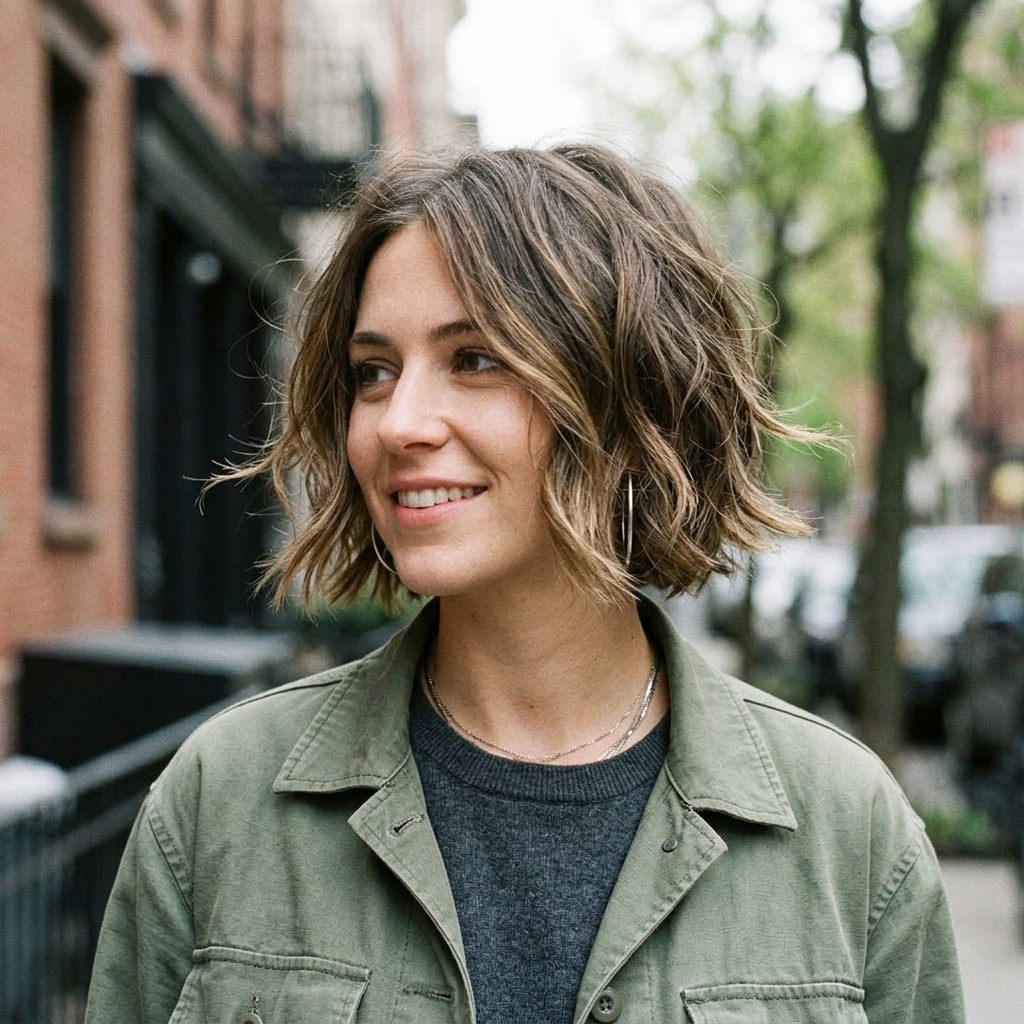
It’s perfect for that “I woke up like this, but make it fashion” vibe we all crave for everyday looks. And the best part? It works on almost any length, from a sharp asymmetrical lob to longer, romantic layers. Let’s get into how to make your hair’s natural rebellion your best accessory.
What Is Glitchy Glam Hair, Anyway?
Glitchy glam is that perfect in-between. It’s not perfectly sleek, and it’s not wildly messy. It’s like your hair got a fun, digital glitch—some waves are tight, some are loose, and the parts don’t quite match. And that’s the whole point!
It takes the effortless vibe of “old money hair” and mixes it with a dash of playful, modern edge. It feels artistic and undone, like a step toward romantic goth hairstyles but kept in the sunlight. It’s one of those 2026 hairstyles that’s popping up now because it’s so wearable.
Why This “Imperfect” Trend Is So Good for Everyday
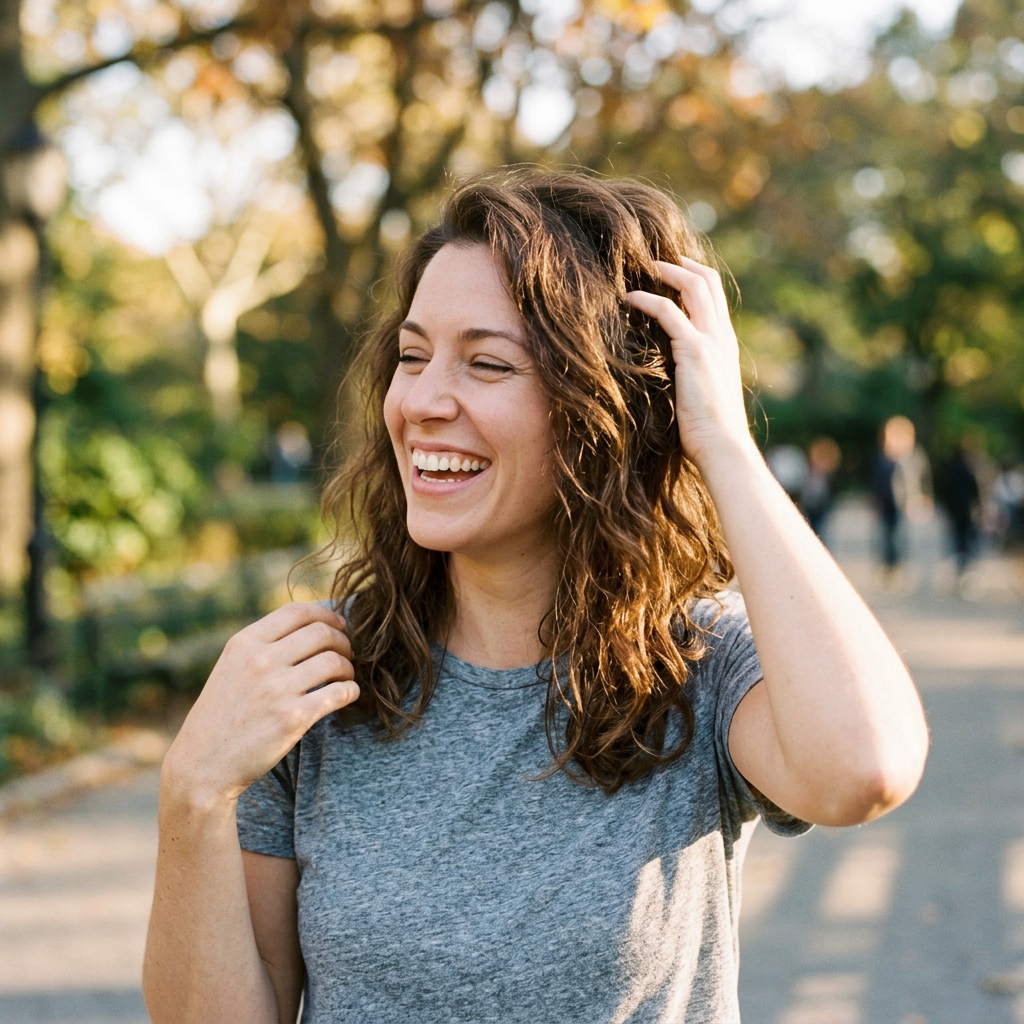
Life is busy. We don’t always have an hour to style our hair. Glitchy glam celebrates that reality. It works with your hair’s natural texture, whether it’s straight, wavy, or curly. The goal is enhancement, not transformation.
This style is incredibly forgiving. Bad hair day? Just call it glitchy glam. It also grows out beautifully, making it a dream between haircuts. It’s the ultimate practical, low-fuss look that still makes you feel put-together and cool.
The Essential Tools You’ll Actually Use
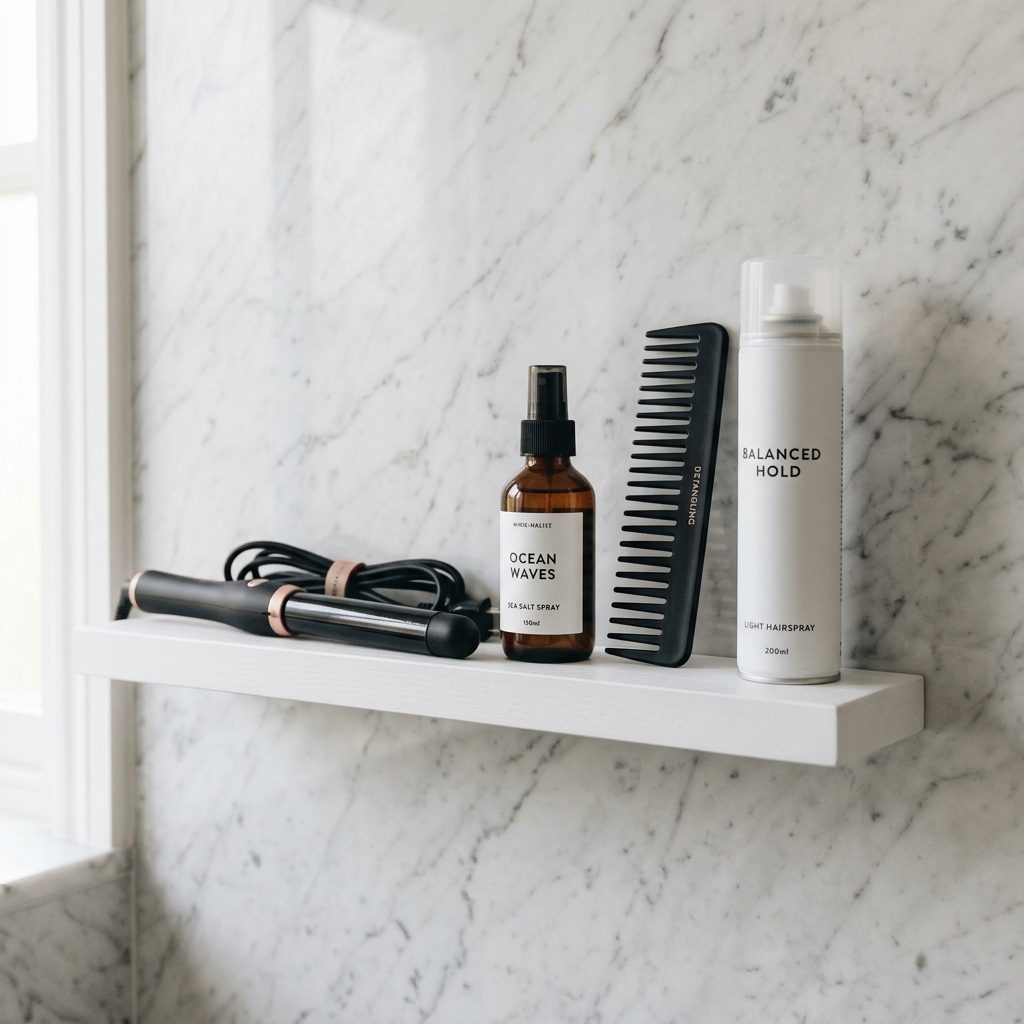
You don’t need a salon full of products. Keep it simple. Here’s my pared-down kit for creating these looks:
- A good texturizing spray or sea salt spray.
- A 1-inch curling wand or iron (clamp-less is best for this).
- A wide-tooth comb or your fingers.
- A light-hold hairspray or flexible hold gel.
That’s really it. The magic is in the technique, not the tools. We’re aiming for piece-y, separated waves, not uniform curls.
Start With the Right Cut: The Foundation
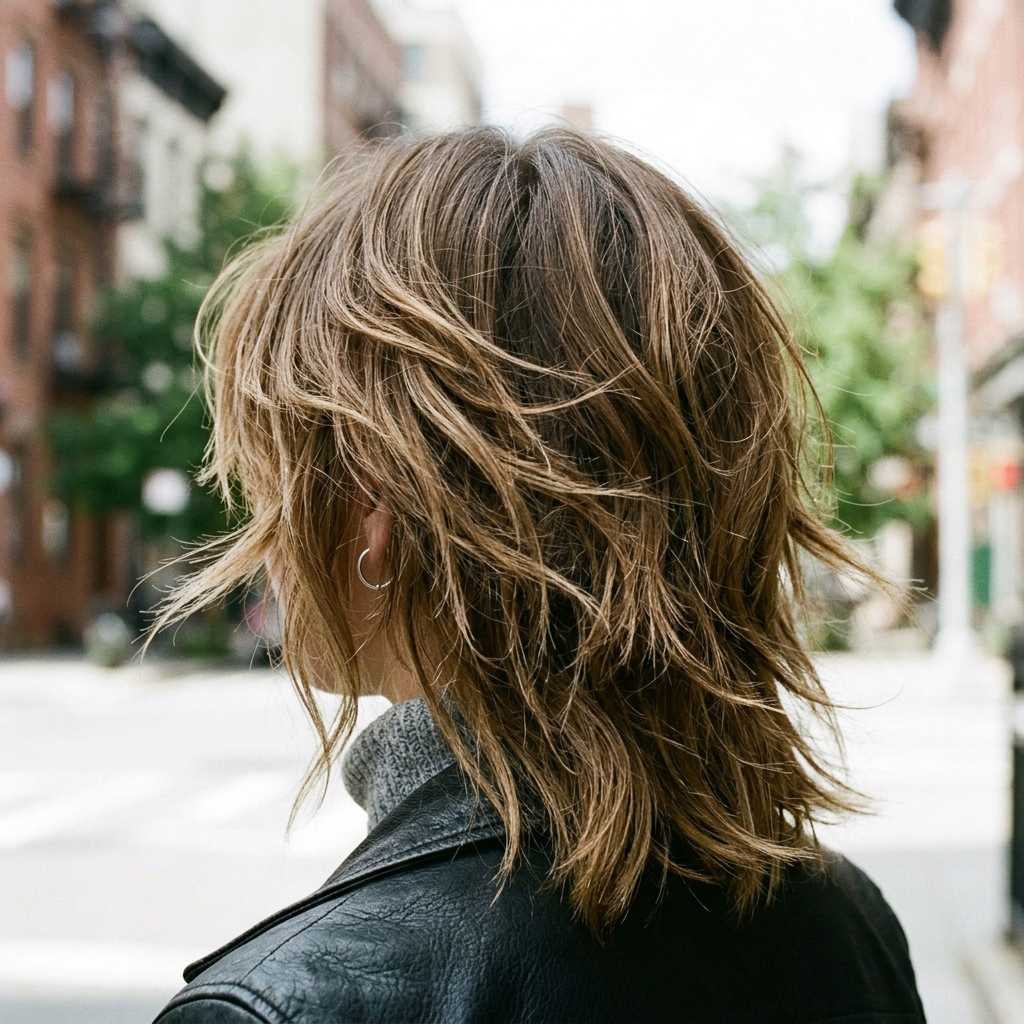
Great styling starts with a great cut. To get this look, ask your stylist for lots of texture and layers. This creates natural movement and helps the waves “break up” in that cool, mismatched way.
This technique works on so many cuts—a soft shag, a textured lob, or even a version of the hime cut. The key is removing weight so your hair can move freely and create those glitchy sections on its own.
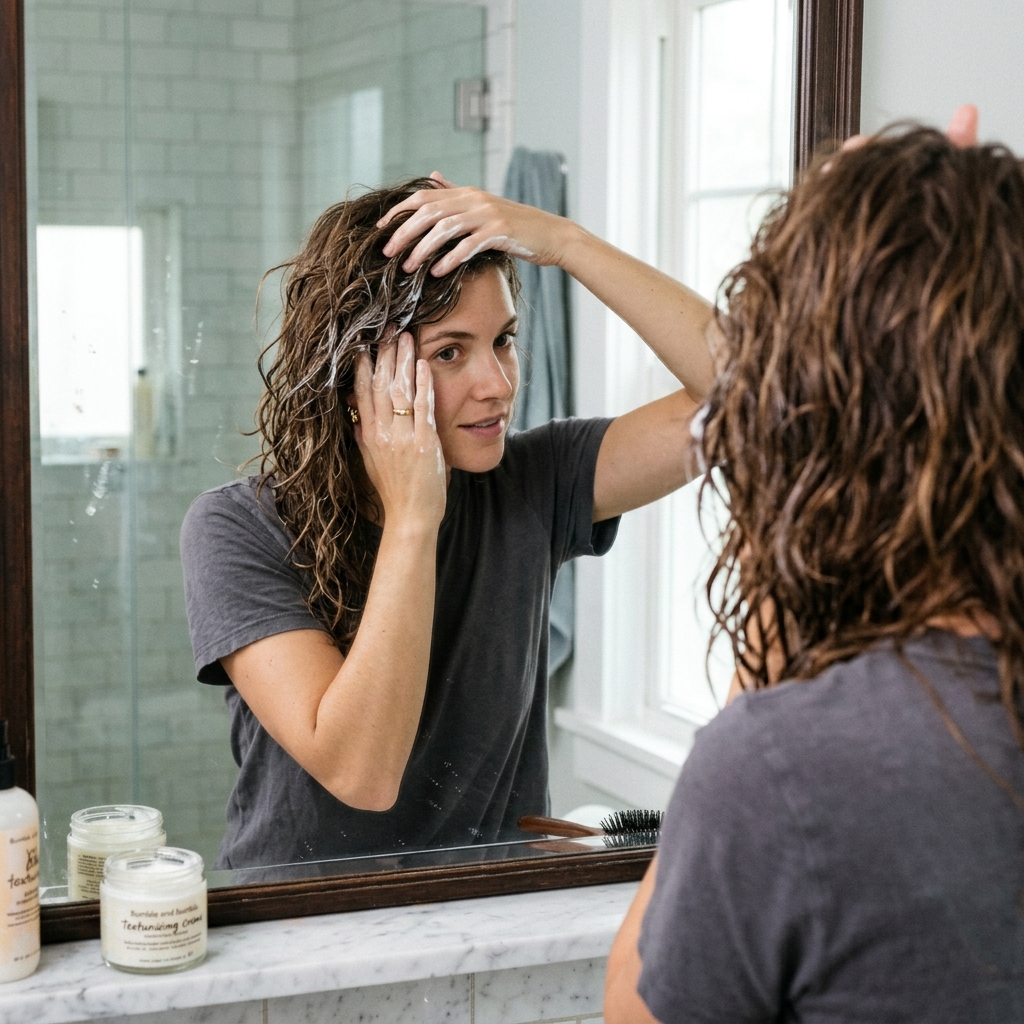
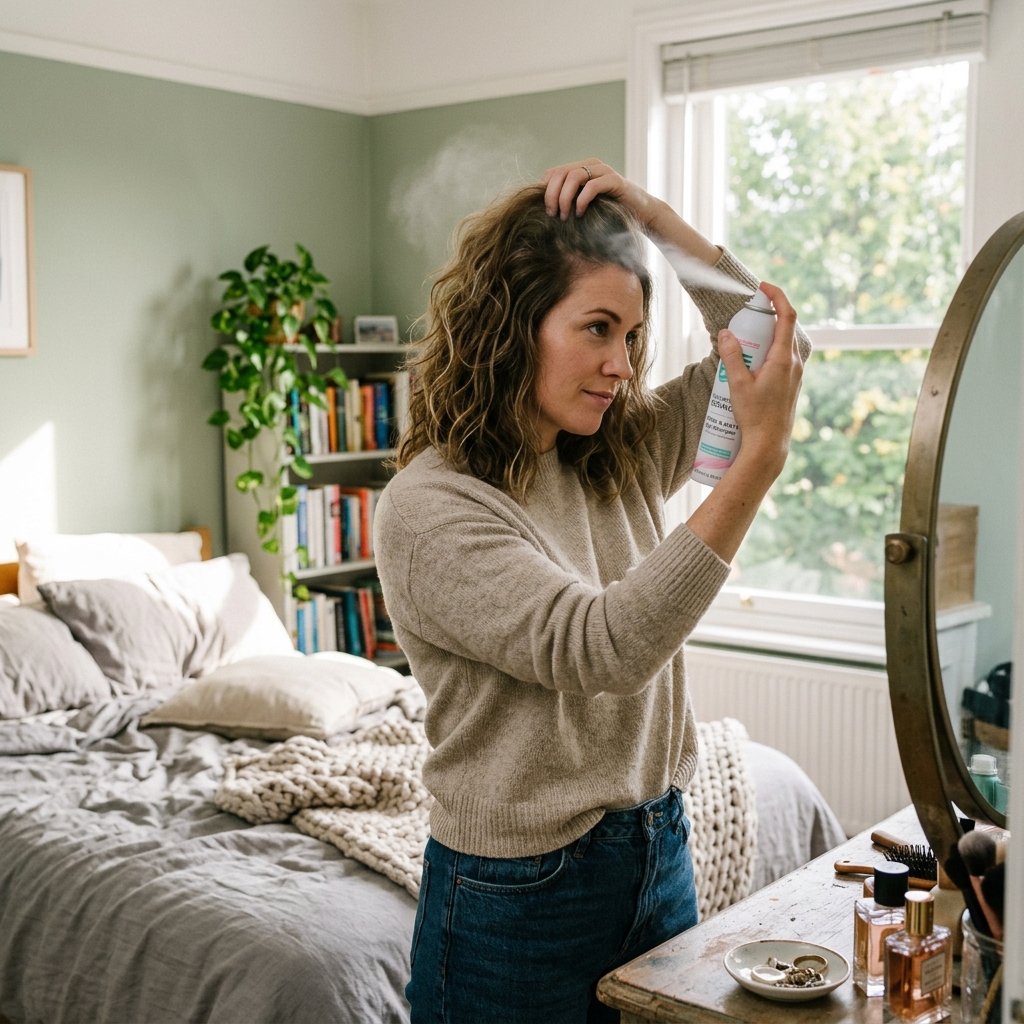
Pre-Styling: How to Prep Your Hair
Always start with damp, towel-dried hair. Apply a heat protectant—this is non-negotiable. Then, I like to rake in a volumizing mousse or a texturizing cream from mid-lengths to ends.
Don’t brush it through too neatly. We want some unevenness. Let your hair air-dry about 80% of the way, or blow-dry with a diffuser on low heat to encourage your natural wave pattern before we even start with the iron.
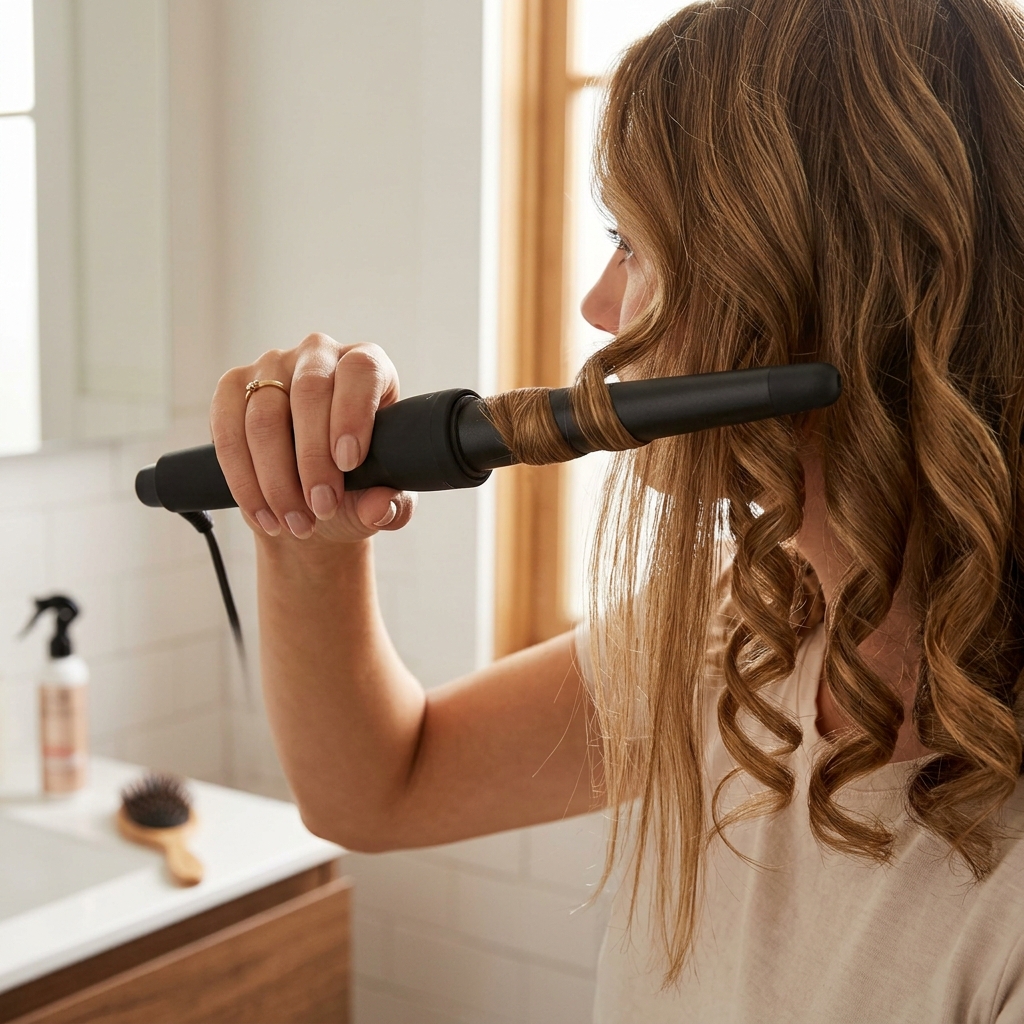
The Core Technique: Creating Mismatched Waves
This is where the magic happens. Section your hair roughly. Take random, uneven sections—some thick, some thin. Wrap them around your curling wand, but change it up:
- Wrap some sections away from your face.
- Wrap some toward your face.
- Hold some for 10 seconds, others for just 5.
- Leave some sections completely untouched.
The inconsistency is what creates the cool, glitchy effect. Let the curls cool completely before touching them.
Breaking Up the Curls for That “Glitch”
Once all your curls are cool, this is the most important step. Do NOT use a brush. Use your fingers or a wide-tooth comb to gently break apart the curls.
Start at the ends and shake the hair loose, separating the clumps into smaller, piece-y waves. Pull a few pieces straight entirely for contrast. The look should be soft and lived-in, not defined or perfect.

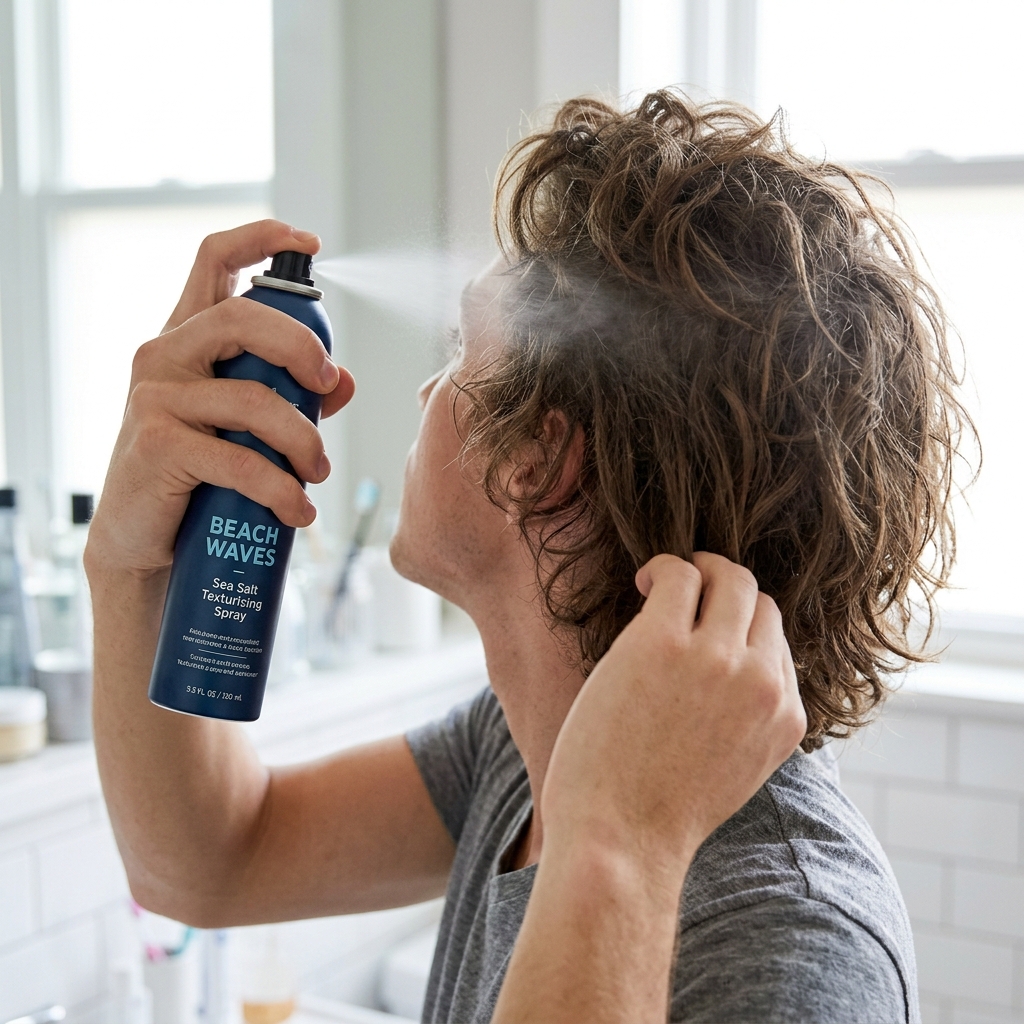
Adding Texture and Hold (The Final Touch)
Flip your head upside down and mist a texturizing or sea salt spray at the roots for lift. Then, lightly spray it over the mid-lengths. Use your hands to scrunch the hair slightly.
If you have a few pieces that won’t behave, use a tiny bit of flexible hold gel on your fingertips to define them. Finish with a very light mist of hairspray from a distance to lock in the mess.
Quick Day 1 Style: The Elevated Everyday
For the first day, let the texture shine. Pull just the front pieces back with two mini claw clips, leaving the rest down. Or, sweep one side behind your ear.
This style pairs perfectly with minimalist makeup and gold jewelry for that quiet luxury bob feel, even if your hair isn’t a bob. It looks like you tried, but not too hard—the ultimate goal.
Day 2 Refresh: Embracing the Volume
Day 2 hair is often better for this look! The waves have relaxed and gotten more mismatched naturally. To refresh, focus on the roots.
Spritz dry shampoo or texturizing spray at the crown and massage it in. Re-twist a few random pieces with your fingers and pin them in place for a minute to redefine. Fluff and go.
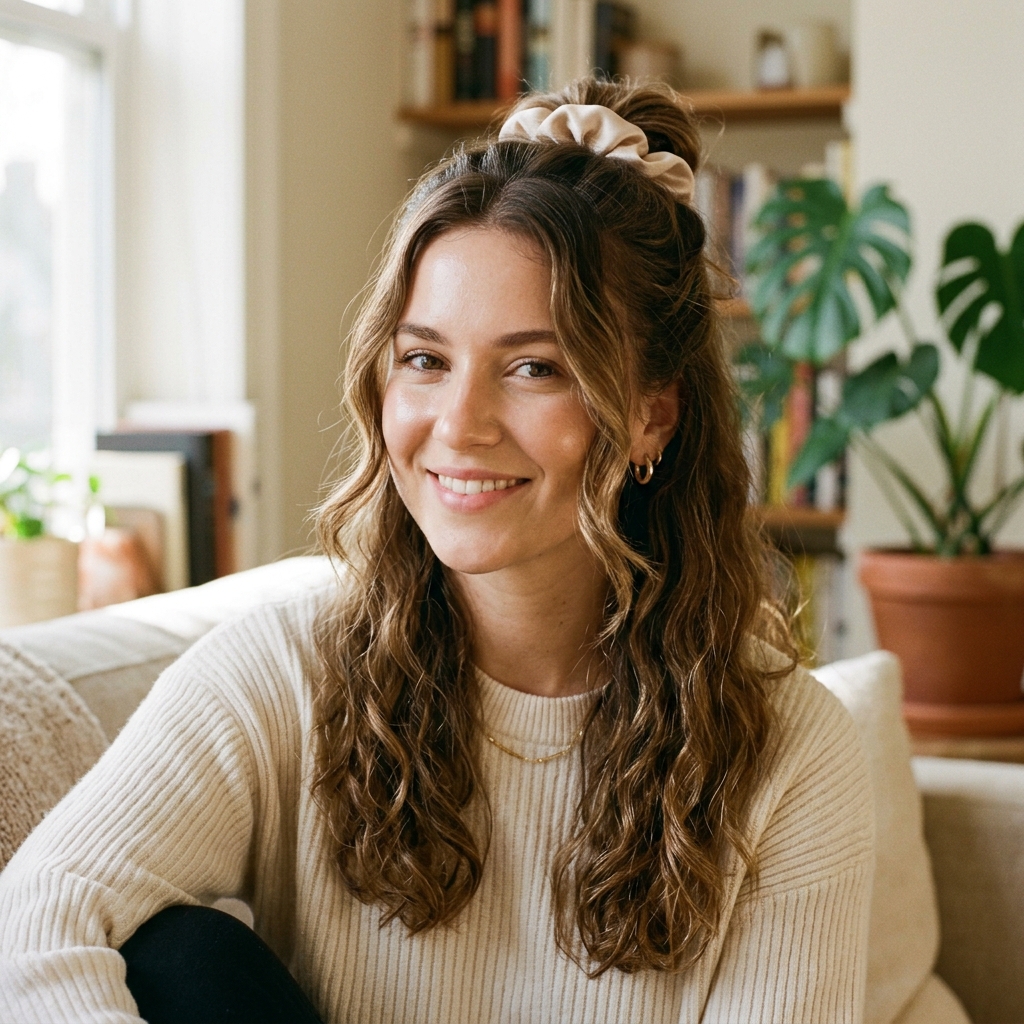
Half-Up, Half-Down Glam
This is my go-to for looking polished in two minutes. Gather the top section of your hair, but keep it messy and loose. Secure it with a scrunchie or a clip at the back of your crown.
Pull out a few face-framing pieces and gently tug on the half-up section to create volume. This style highlights the beautiful texture and keeps hair out of your face.
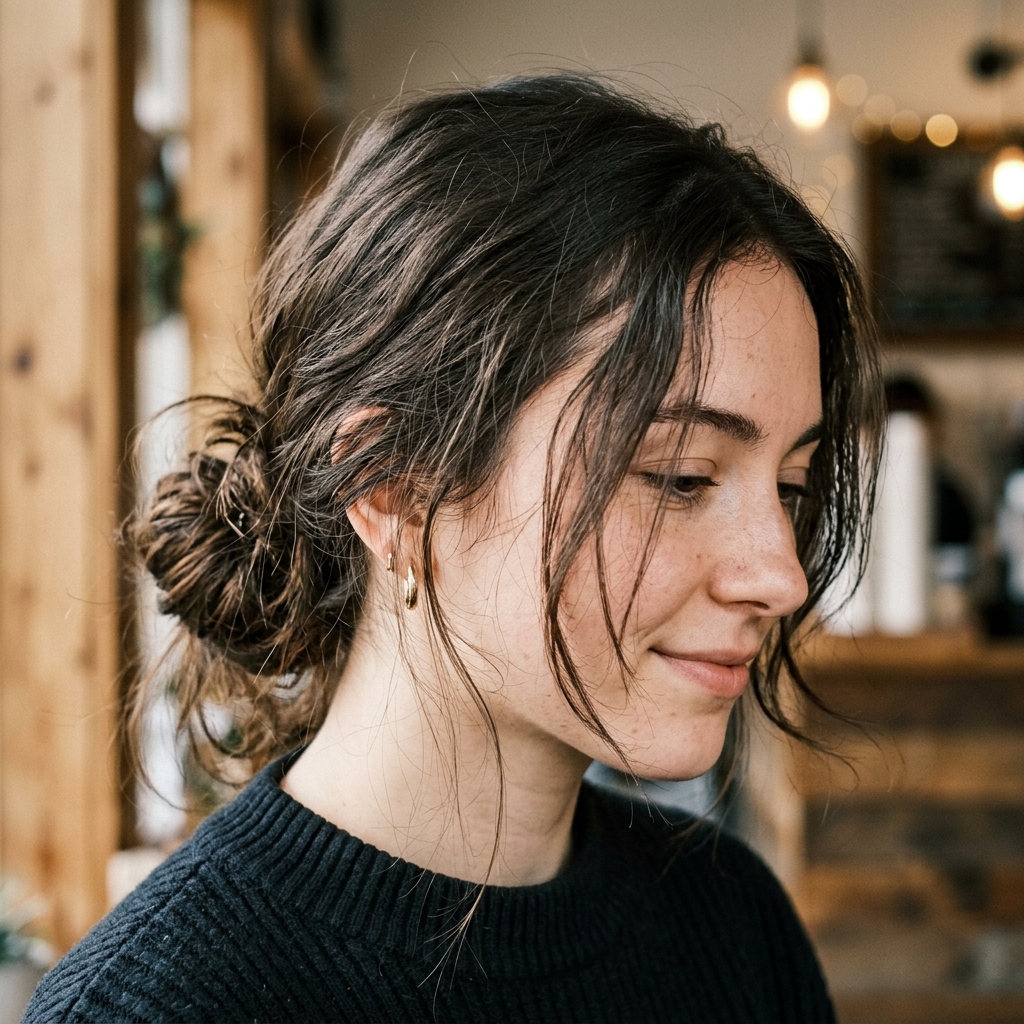
The Low, Messy Bun
Don’t hide your texture! A low bun is perfect for hot days or when you need it off your neck. Twist your hair loosely as if making a ponytail, then wrap it into a bun at your nape.
Leave ends sticking out and pull out plenty of pieces around your face and neck. Secure with a coil hair tie. It should look soft, not slick or tight.
Accessorize With Bandanas & Scarves
Add a pop of color or pattern. Fold a bandana into a headband and tie it at the crown, letting your waves spill out. Or, use a small silk scarf to tie a low ponytail.
This adds a fun, retro touch that complements the undone waves beautifully. It’s a great way to add personality without any more styling.

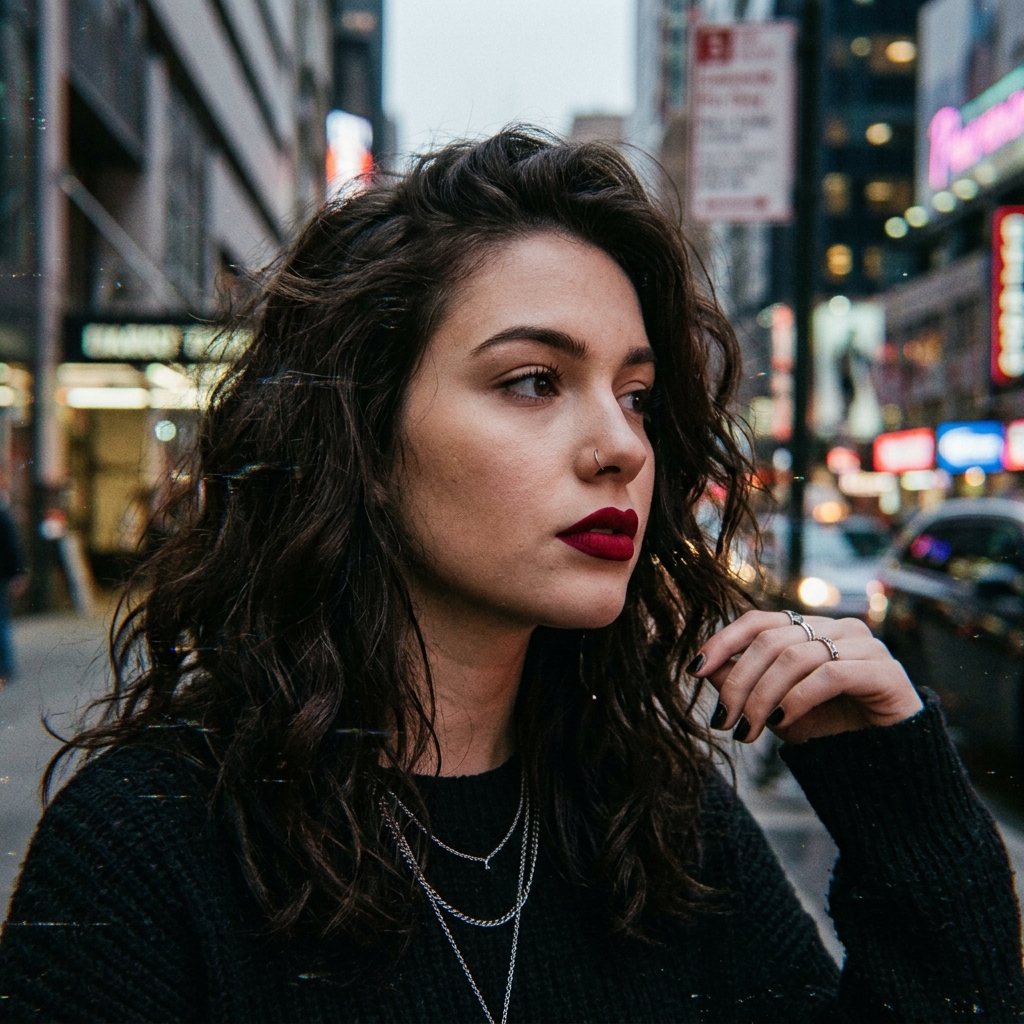
Pairing With Bold Makeup (The Romantic Goth Vibe)
Glitchy glam hair is the perfect balance to a bold lip or smoky eye. Think of it as the hair version of “vampire haircut” energy—softly undone with a darkly romantic edge.
Keep the hair texture soft and touchable to contrast with a sharp winged liner or a deep berry lip. The combination is effortlessly cool and modern.
Adapting the Look for Short Hair
Got a pixie, a short asymmetrical lob, or a bob? This trend is for you too! Use a flat iron or a small wand to create random bends and flick-outs in different directions.
Focus on the ends and pieces around your face. The key is even more separation with your fingers and a strong texturizing paste to keep the piece-y effect all day.
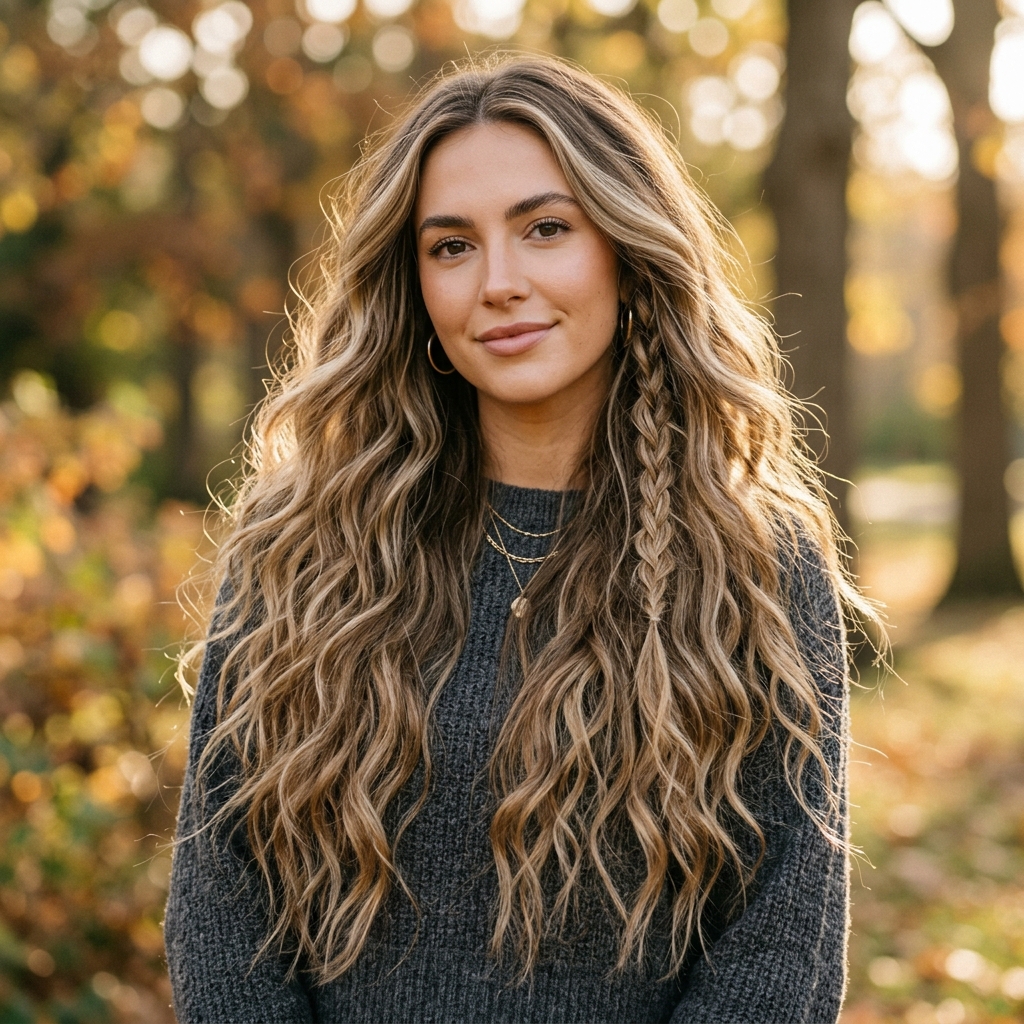
Adapting the Look for Long Hair
On long hair, you want to avoid uniform “mermaid” waves. Create the mismatched curls all over, then once you break them up, consider adding a loose braid or two.
Braid a small section overnight or for an hour, then take it out to add a different, straighter texture to the mix. This increases the “glitch” factor beautifully.
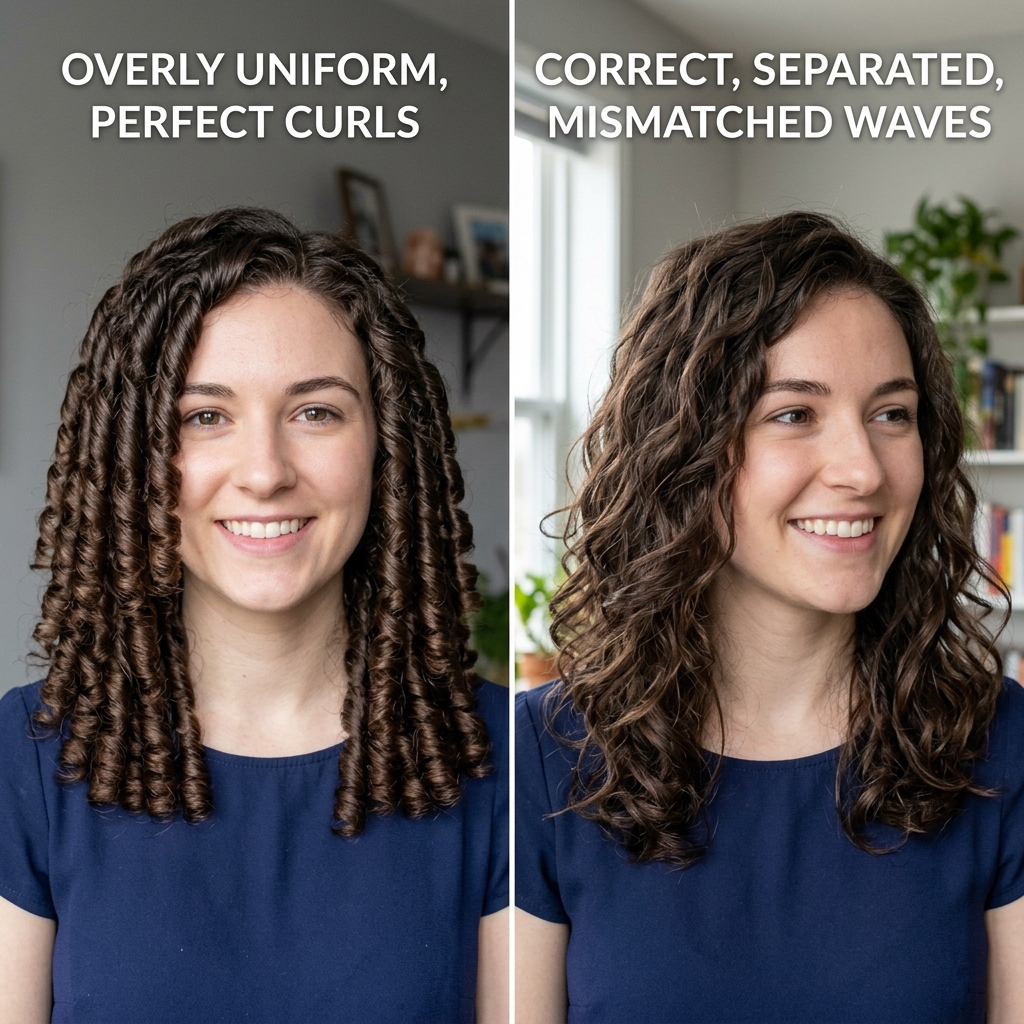
Common Mistakes to Avoid
The biggest mistake is making the waves too uniform. If every curl is the same size and direction, you lose the glitchy effect. Also, avoid over-brushing.
Using a bristle brush will make it look too smooth and dated. And go easy on the product—too much shine serum or hairspray can make it look stiff, not effortless.
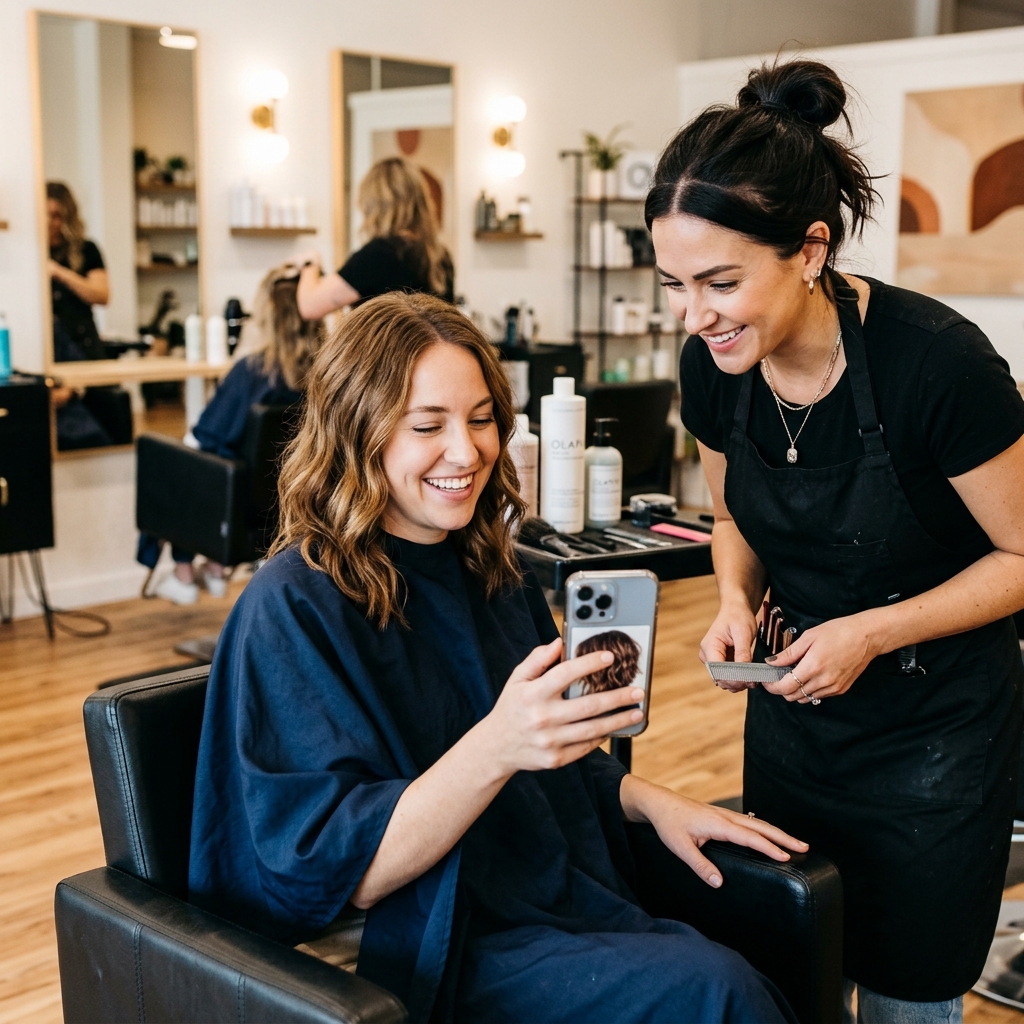
How to Talk to Your Stylist
Bring pictures! Say you want “textured, lived-in layers” and mention “glitchy glam” or “mismatched waves.” Ask for a cut with lots of movement and softness.
Specifically, you can ask them to point-cut the ends (a technique that creates texture) and to layer based on your natural wave pattern. This ensures your hair wants to do this style.
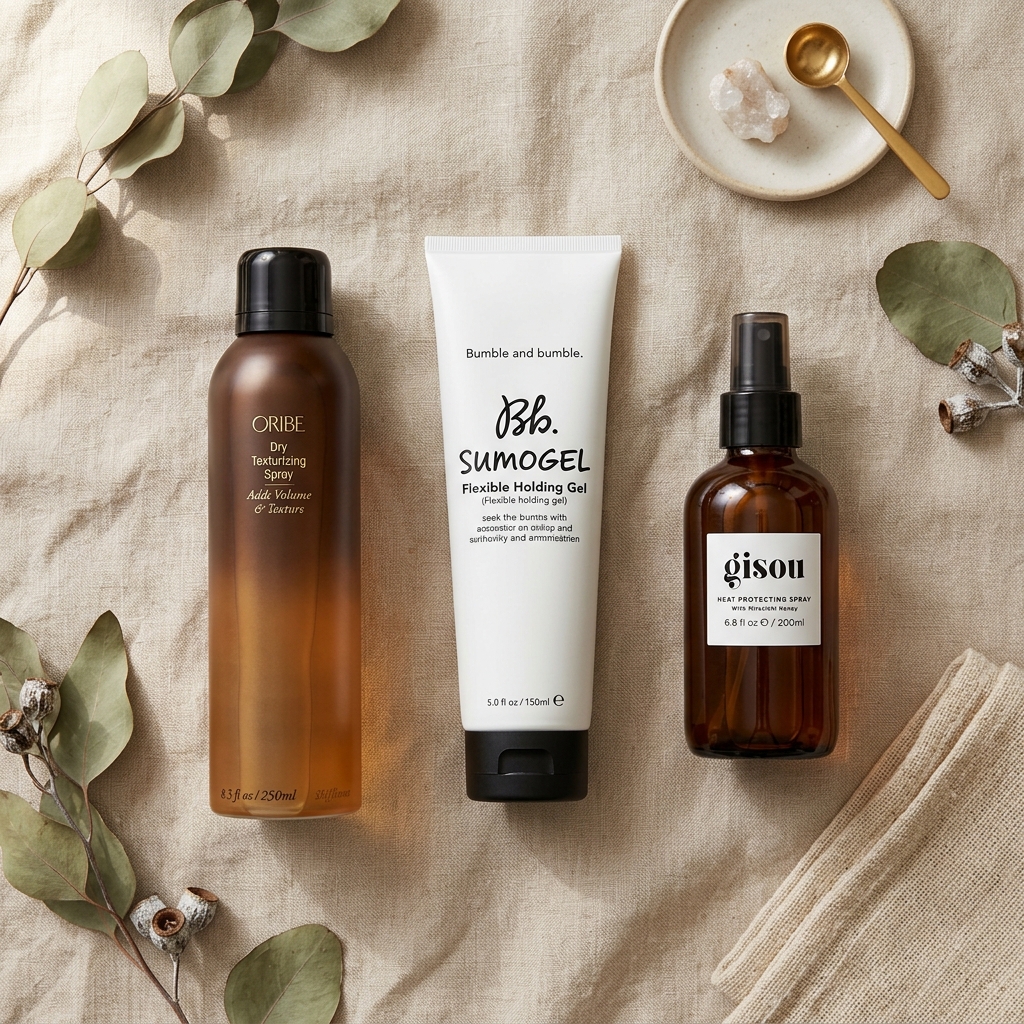
My Favorite Products for This Look
I keep coming back to a few heroes. A dry texture spray like Oribe Dry Texturizing Spray is a splurge that lasts forever. For a drugstore option, Not Your Mother’s Sea Salt Spray is great.
For hold, I love a flexible gel like the Ouai Hair Gel. It gives definition without crunch. And a good heat protectant, like the one from Living Proof, is my always-first step.
Frequently Asked Questions
Can I do this on straight hair? Absolutely! The curling wand is your friend. The mismatched technique works even better because the contrast is more apparent.
Does it damage hair? Always use a heat protectant. This style also doesn’t require super high heat, which helps. Incorporate nourishing hair masks into your weekly routine.
This Is Your Sign to Experiment
Hair is supposed to be fun. This trend is literally about breaking the rules and not being perfect. So give yourself permission to play.
Try it on a weekend first. The more you practice, the faster you’ll get. Before you know it, you’ll have a cool, signature look that takes minutes and gets you compliments all day.
So there you have it—your complete guide to turning hair chaos into cool, intentional style. Remember, the “glitch” is the glam. It’s all about working with what you have and adding a little playful rebellion.
This look is so versatile. It can lean into quiet luxury with the right outfit or tap into romantic goth vibes with a darker lip. It’s a trend that feels fresh, like a peek at 2026 hairstyles, but is totally wearable right this second.
I hope this gives you the confidence to put the curling iron down, break up those curls, and embrace the beautiful mismatch. Your most effortless, cool-girl hair days are ahead.
Save this post to Pinterest to keep these tips handy! Did you try the glitchy glam technique? Tell me your favorite way to wear it in the comments below—I read every one!

