
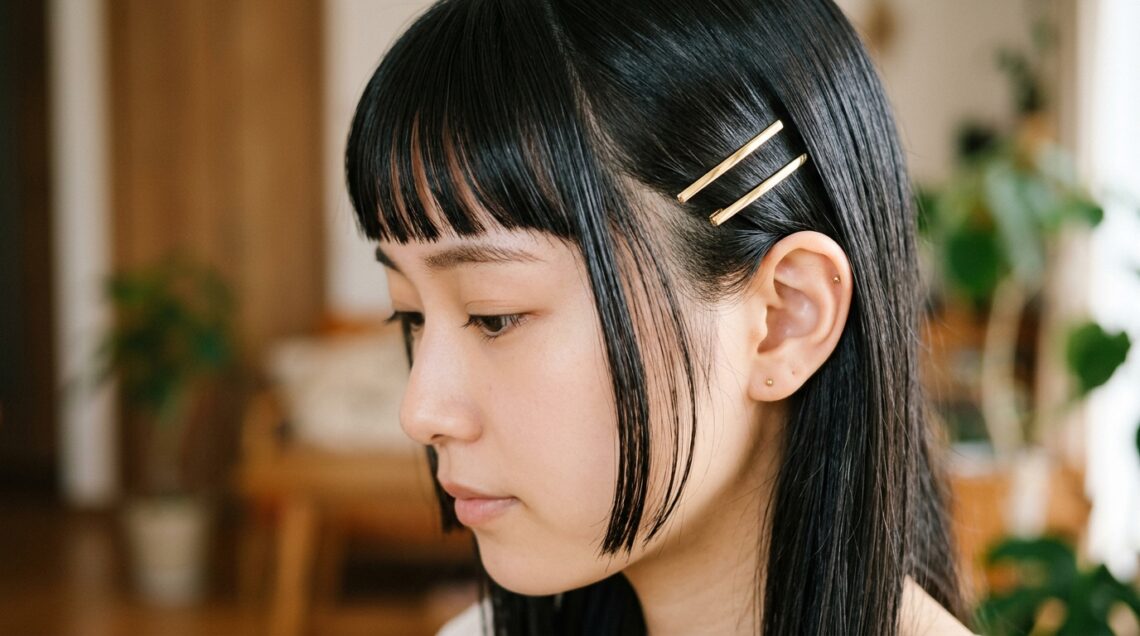
Okay, let’s be real. You’ve been scrolling through endless reels of 2026 hairstyles and that one look keeps stopping you: the hime cut. It’s part princess, part punk, and looks like it walked straight out of a cool anime or a romantic goth mood board. But it also looks… complicated.
I felt the same way. I loved the drama of the sharp, jaw-length sidelocks and the blunt, straight-across back, but I was terrified to ask for it. What if it looked too extreme?
Here’s the secret: you can totally dip your toes in. The gateway drug to the full hime is adding baby bangs. It gives you that playful, edgy touch without the full commitment of the dramatic sidelocks (yet). And I’m going to walk you through exactly how to ask for it and style it, step-by-step.
This isn’t a rigid historical cut; it’s your modern, personalized twist. Think of it as the playful cousin to the quiet luxury bob—less “old money,” more “cool art student.” Ready to give your look a fun refresh? Let’s break it down so you can walk into the salon with total confidence.
What Exactly Is a Hime Cut?
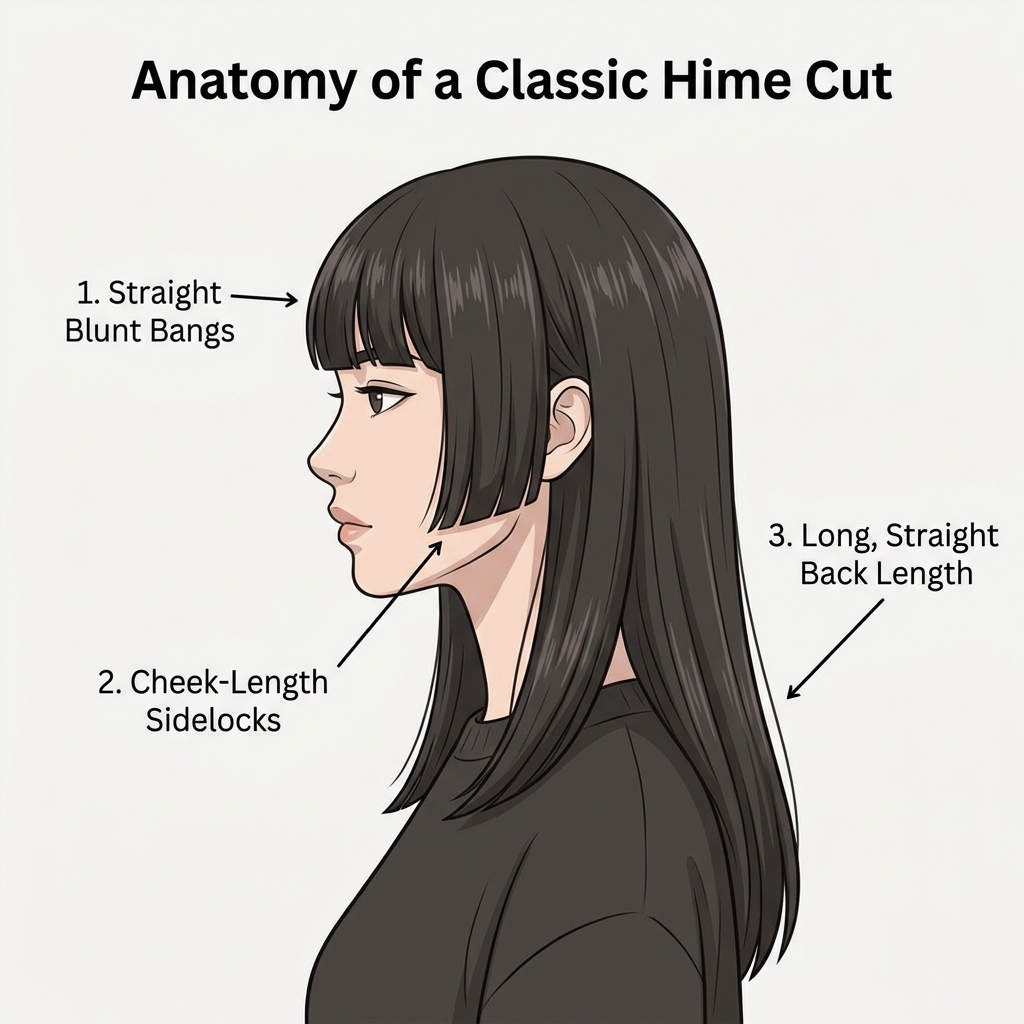
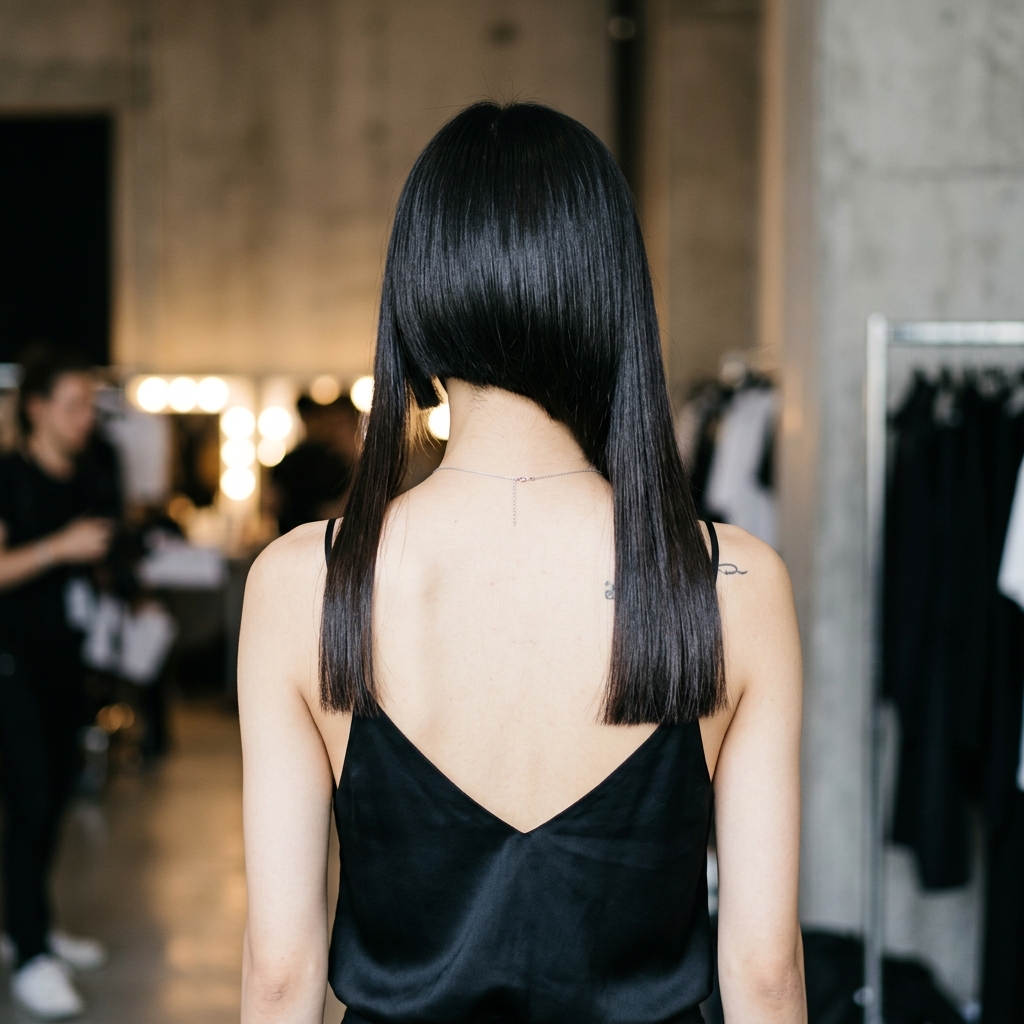
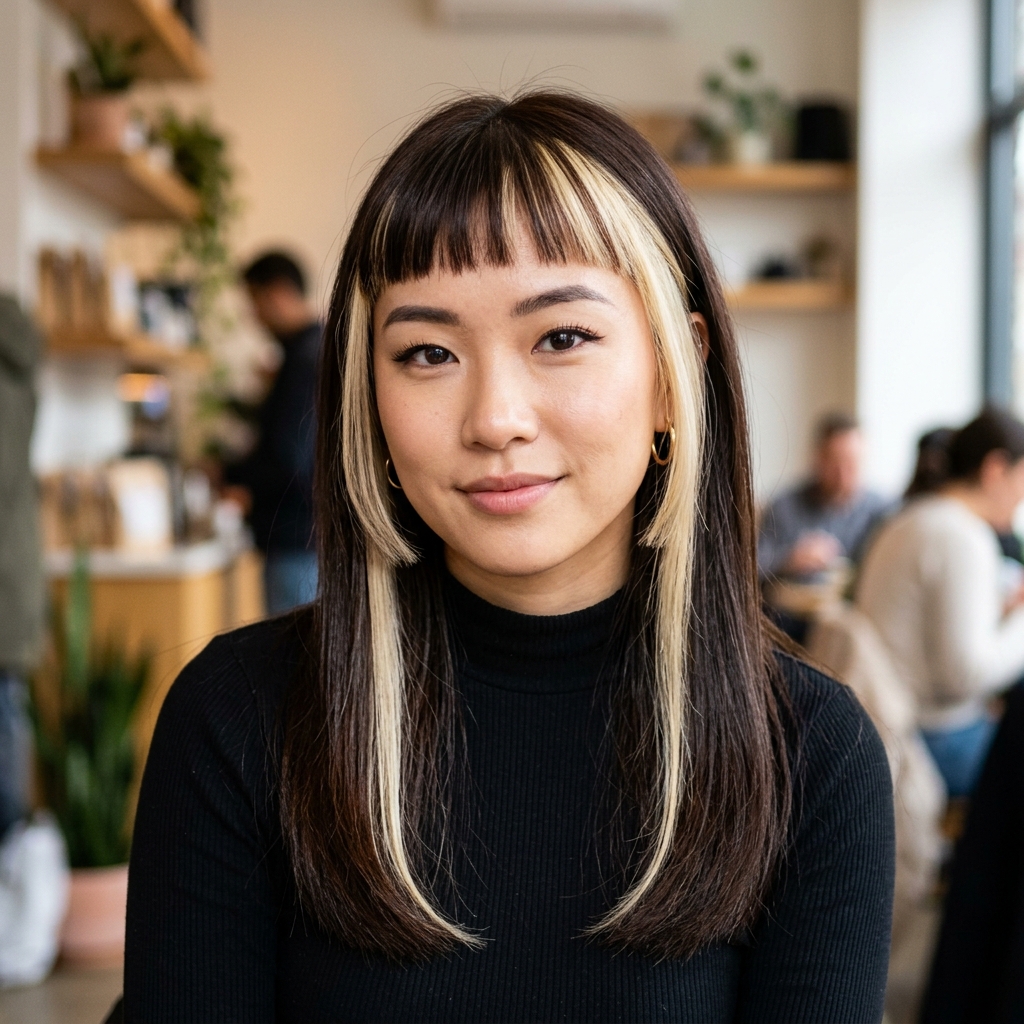
The hime (pronounced “hee-meh”) cut is a traditional Japanese style that’s been totally reborn for the modern era. It’s defined by three key sections: straight-across, heavy bangs; sharp, jaw-length sidelocks (called “mamegami”); and long, straight hair in the back.
It creates a stunning, geometric frame for your face. While the full look is bold, we’re focusing on a beginner-friendly version today. By starting with baby bangs, you get the essence of the style—that bold, graphic fringe—while keeping the rest of your hair more familiar and manageable.
Why Baby Bangs Are the Perfect Start
Jumping straight into full, thick bangs can be a shock. Baby bangs—shorter, wispier, and sitting higher on the forehead—are a much softer entry point. They’re playful, a little retro, and incredibly low-commitment.
They grow out quickly and blend easily if you change your mind. For our hime-inspired look, these bangs give you that immediate “wow” factor and edgy touch without needing to cut the dramatic sidelocks right away. It’s the signature piece that makes the style.

Gathering Your Inspiration Photos
Never walk into a salon with just a word. Hairstylists speak in pictures! Your mission is to create a small mood board. Search for “hime cut baby bangs,” “soft hime cut,” or “modern hime haircut.”
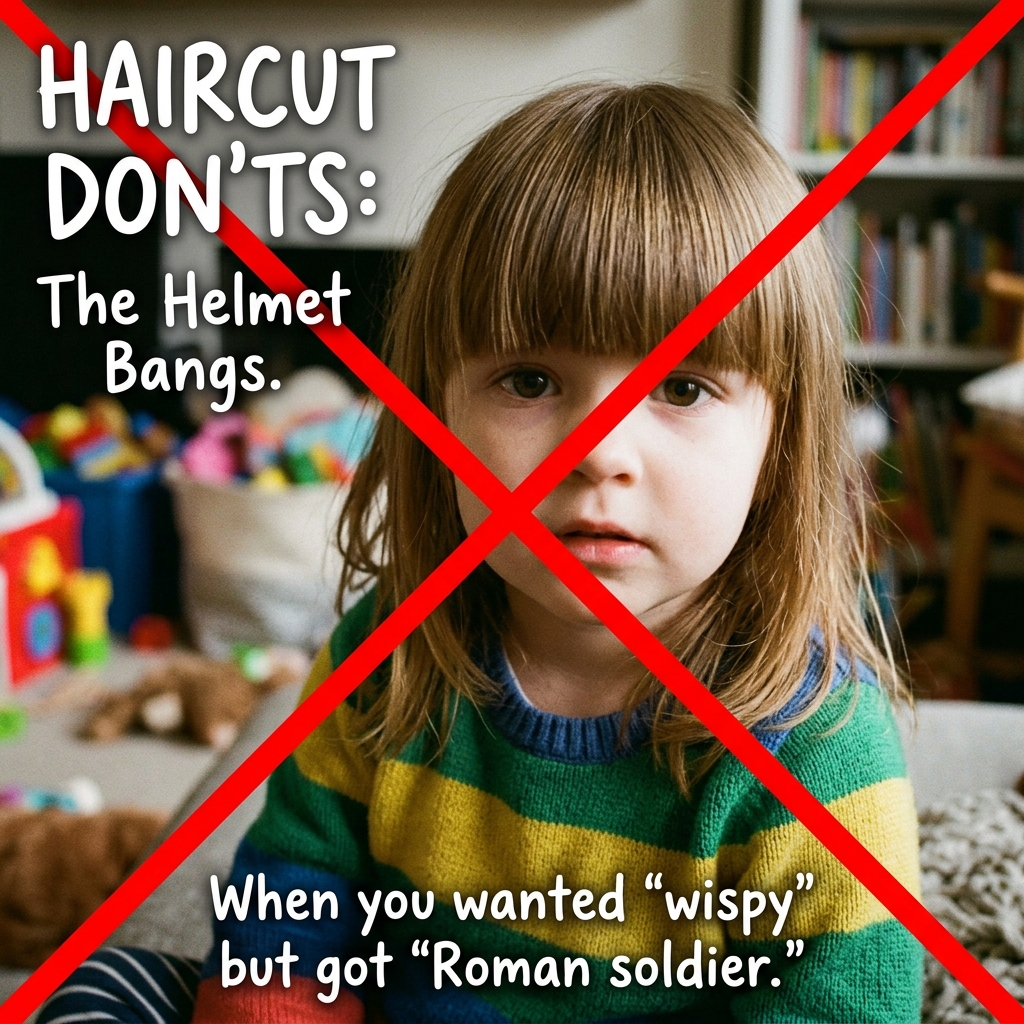
Save 3-5 images that show the vibe you want. Look for people with a similar hair texture to yours. Also, save one or two “NO” photos—shots that are too dramatic or not quite right. This gives your stylist crucial boundaries. It turns a vague idea into a clear plan.
- Find examples with similar hair density (thin vs. thick).
- Look for both straight and wavy interpretations.
- Include a shot of the classic hime for reference.

The Salon Request Script (What to Say)
Nervous about asking? Use this script. It clarifies you want a modern take, not a literal historical cut. Walk in, show your photos, and say: “I’d love a modern, beginner-friendly hime cut influence. I want to start with soft, wispy baby bangs that sit here [point to forehead]. For now, I’d like to keep the length in the back and just add some subtle, face-framing layers—not the super sharp sidelocks yet.”
This tells them you’re informed and want a collaborative approach. A good stylist will then ask questions and tailor it to your face shape and hair. It’s a conversation starter, not a demand.

Face Shape Considerations
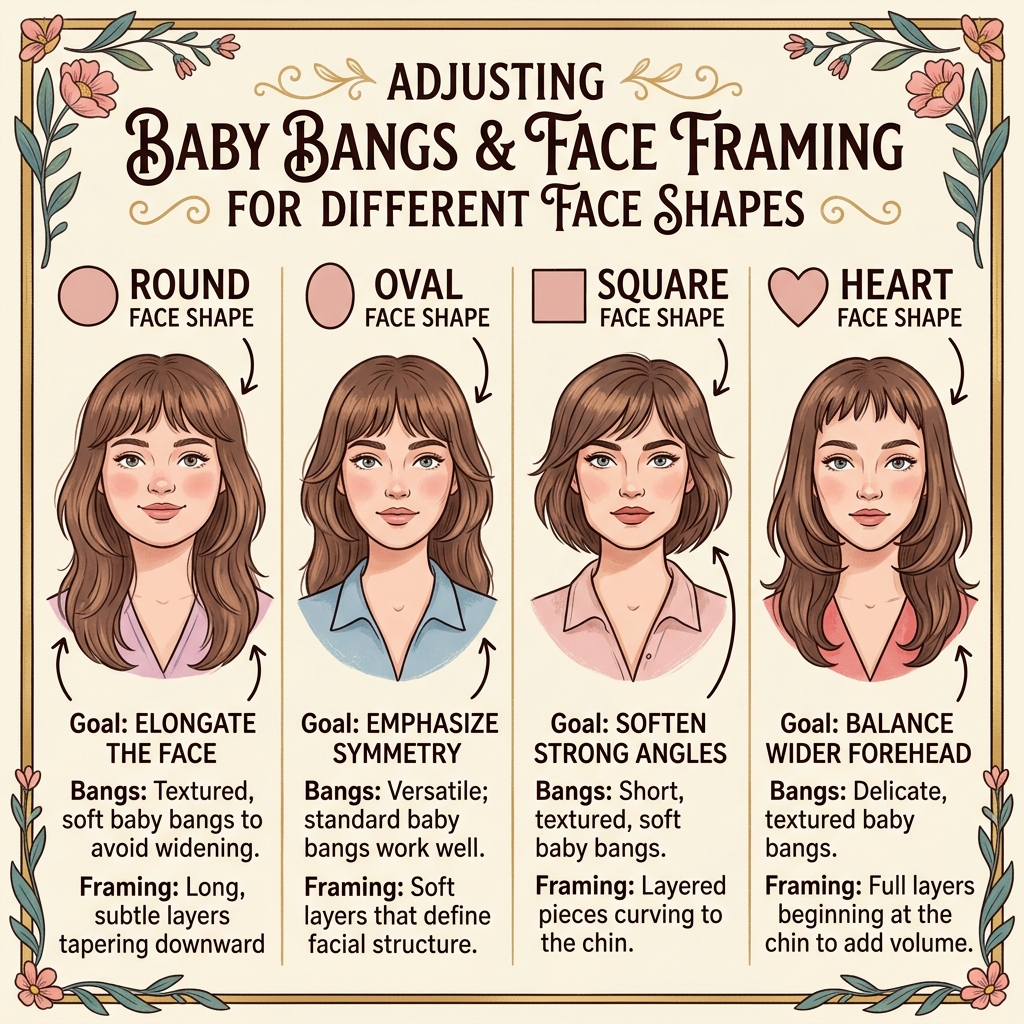
This cut is surprisingly versatile! The magic is in the customization. For round or square faces, ask your stylist to cut the baby bangs slightly wider and angle the face-framing layers to create length. This helps elongate.
For oval or heart-shaped faces, you have more flexibility. A shorter, more pronounced bang can look amazing. The key is communication—your stylist can adjust the width, density, and starting point of the bangs to perfectly suit your features.
- Round/Square: Wider, softer bangs; angled layers.
- Oval/Heart: Can carry more dramatic, centered bangs.
- Long: Keep bangs fuller to add width at the forehead.
Tools You’ll Need for Styling
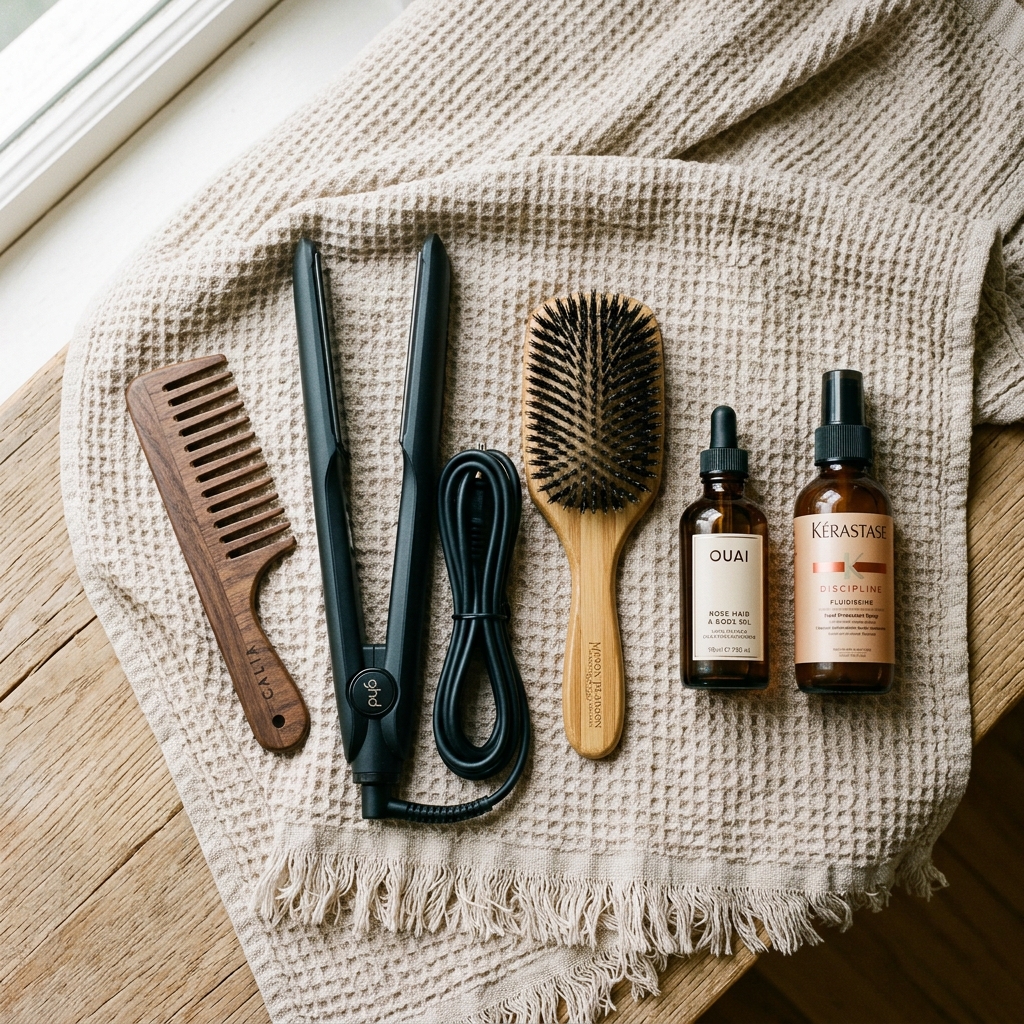
You don’t need a pro kit. The goal is sleek, sharp lines or soft texture. Essentials include a fine-tooth comb for precision, a good heat protectant spray, and a flat iron with rounded edges (for waves or flips if you want).
A small, round boar bristle brush is great for blow-drying bangs straight. Dry shampoo will be your best friend for adding volume at the roots on day two or three. Keep it simple to start.
- Fine-tooth comb
- Heat protectant spray
- 1-inch flat iron
- Small round brush
- Dry shampoo
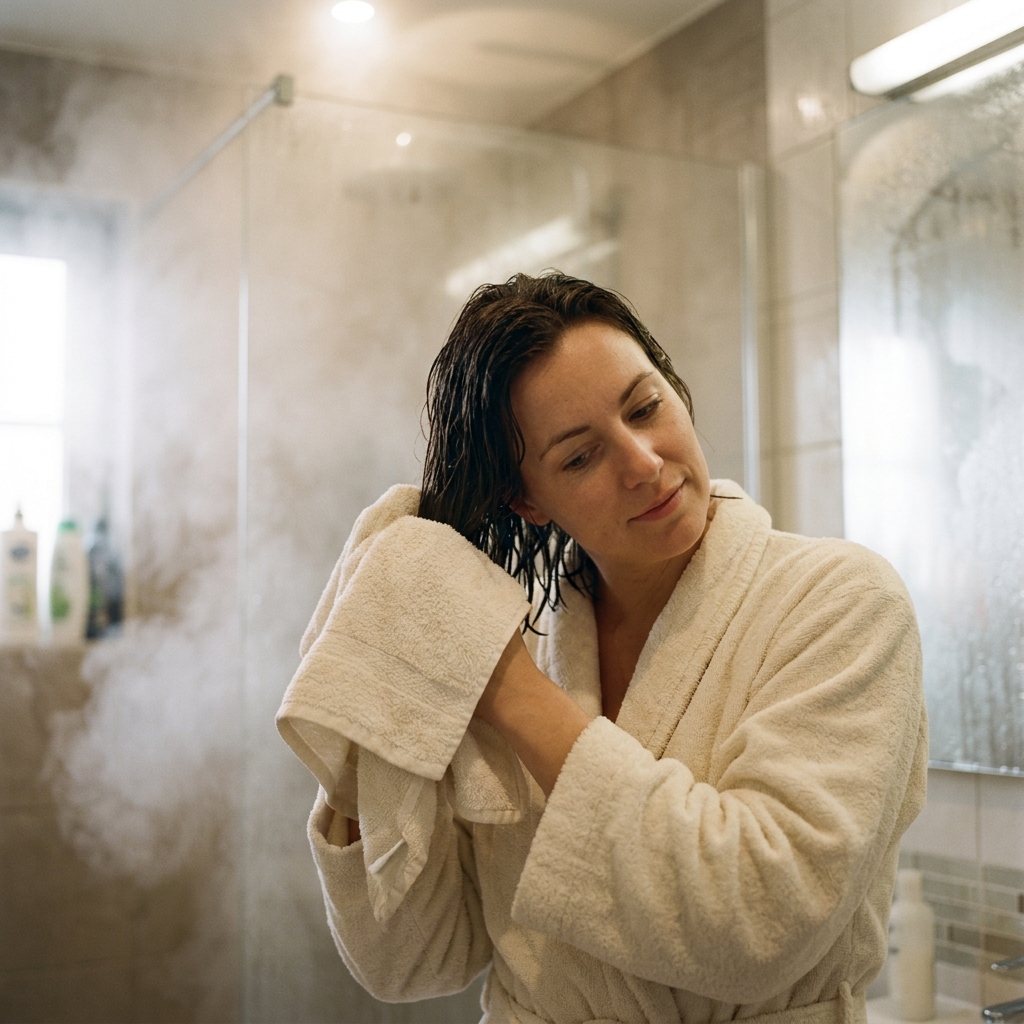
How to Wash and Prep Your Hair
Start with a clean slate. Use your regular shampoo and conditioner, but focus on rinsing all product out completely. Any residue will weigh down your new bangs and make them look greasy fast.
After your shower, gently towel-dry your hair. Don’t rub! Apply a lightweight leave-in conditioner or detangler from mid-lengths to ends. Then, spray a heat protectant all over, focusing on the areas you’ll flat iron—especially those new bangs.
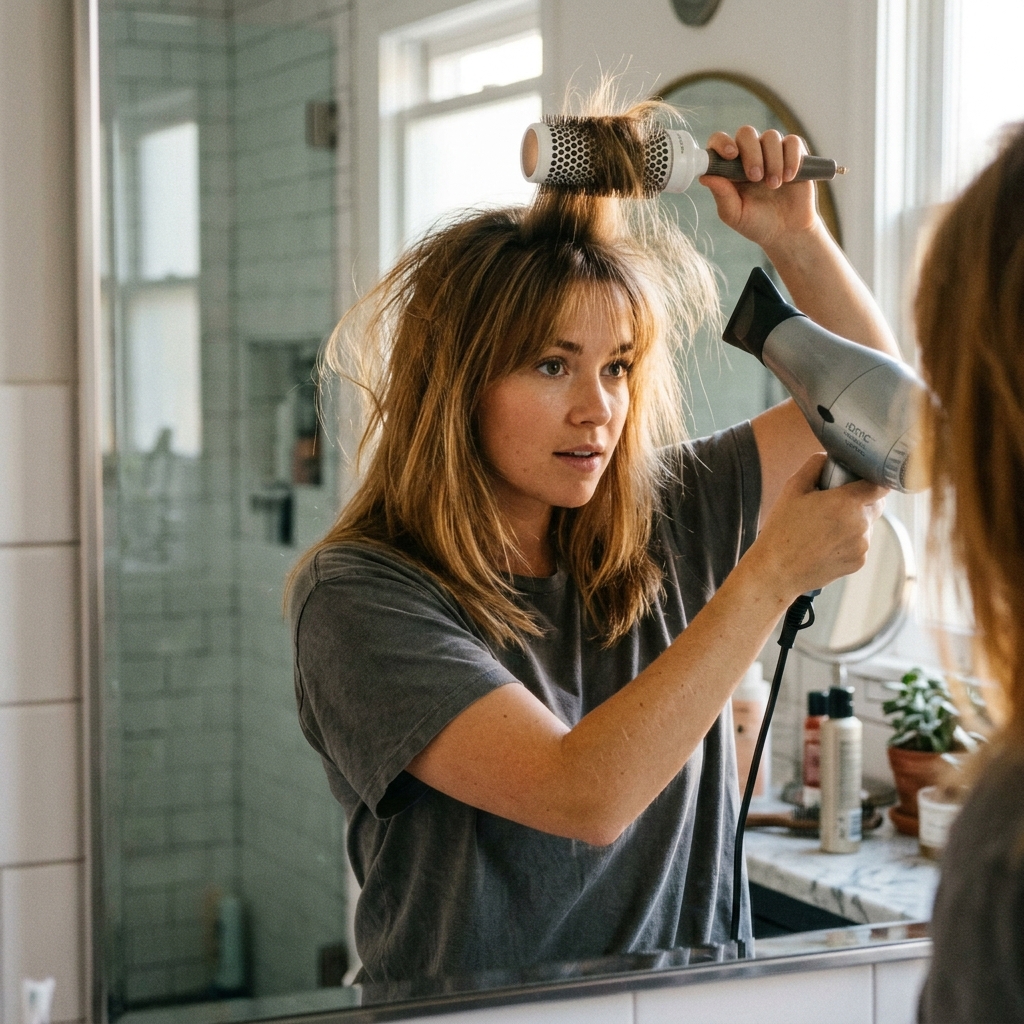
Step-by-Step: Blow-Drying for Volume
Flip your head upside down and blow-dry the roots of your main hair until about 70% dry. This builds volume at the crown, which is key for the hime’s sleek-but-full look. Use your fingers to lift the roots as you dry.
For the bangs and face-framing pieces, use your small round brush. Wrap sections of hair around the brush, pulling it slightly away from your face as you dry on a medium heat setting. This gives a smooth, rounded finish under the bangs.
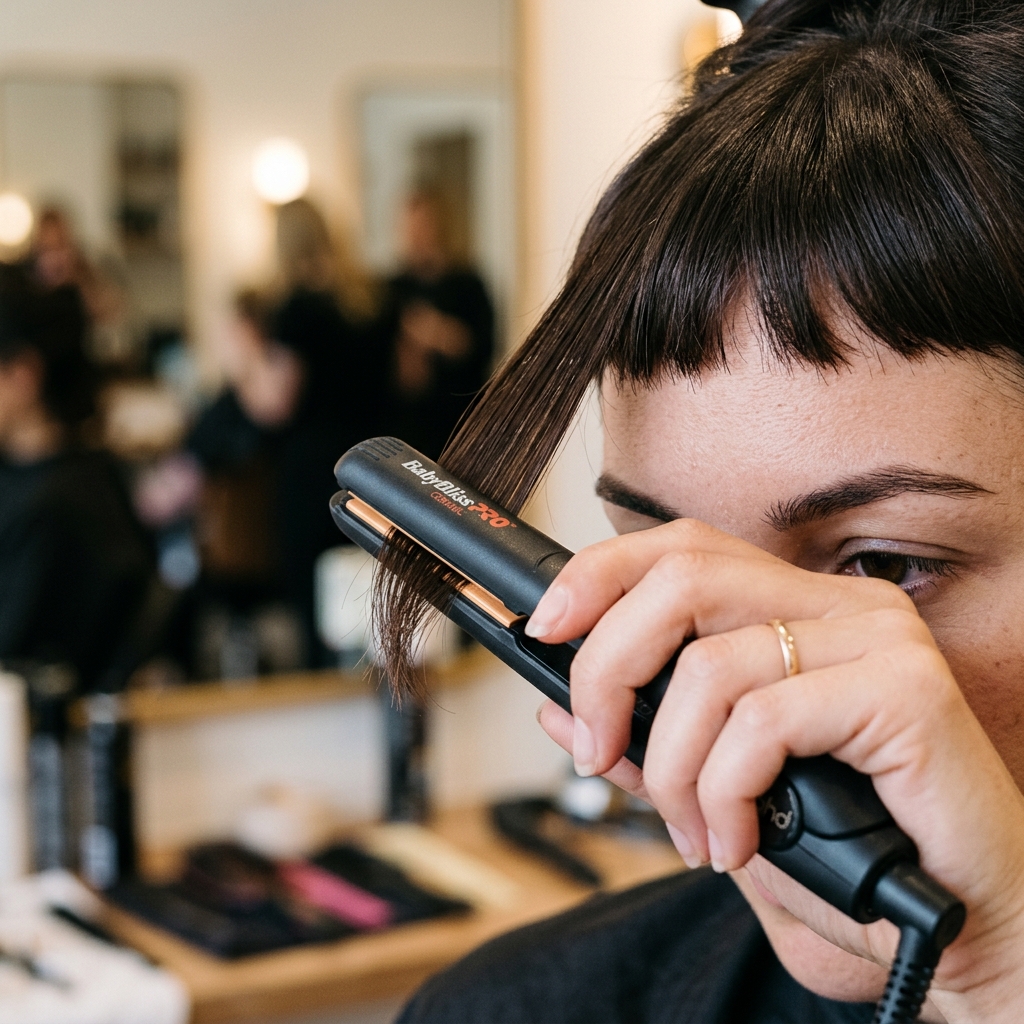
Step-by-Step: Flat Ironing Your Bangs
This is where you get that sharp, clean line. Take a small, horizontal section of your baby bangs. Comb it straight down. Clamp your flat iron at the very root and slowly glide it all the way to the ends, holding the hair taut.
Do this 2-3 times until the section is pin-straight. Repeat for the rest of the bangs, working in small sections. For the face-framing layers, clamp the iron mid-way down the strand and pull it slightly back, away from your face, to create a soft curve.
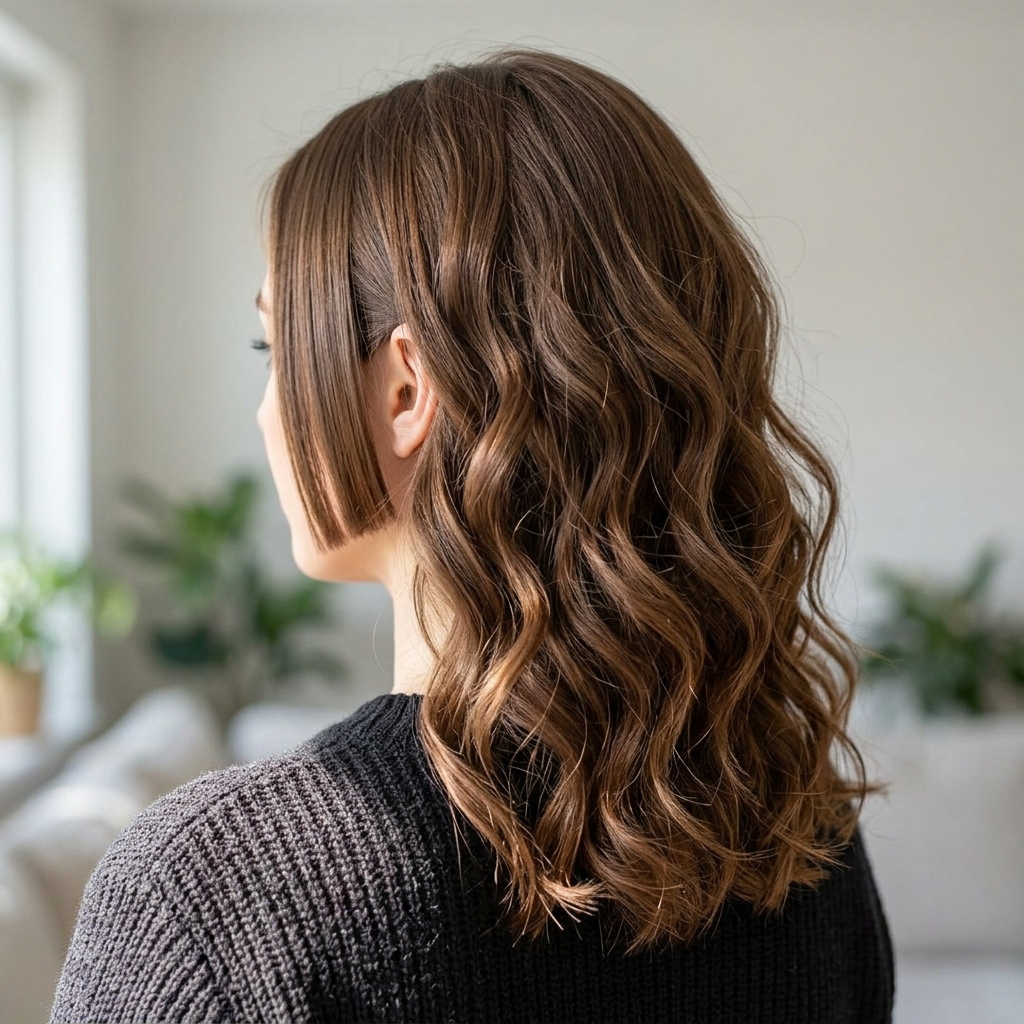
Creating Soft Waves in the Back
If you want to soften the look, add loose waves to the long back section. It creates a beautiful contrast with the graphic front. Take 1-2 inch sections. Clamp your flat iron near the root, twist it away from your face, and glide down slowly.
Hold for a few seconds at the ends before releasing. Don’t make the waves too uniform or tight. The goal is a relaxed, romantic texture—almost like a glitchy glam hair effect, where polished meets undone.
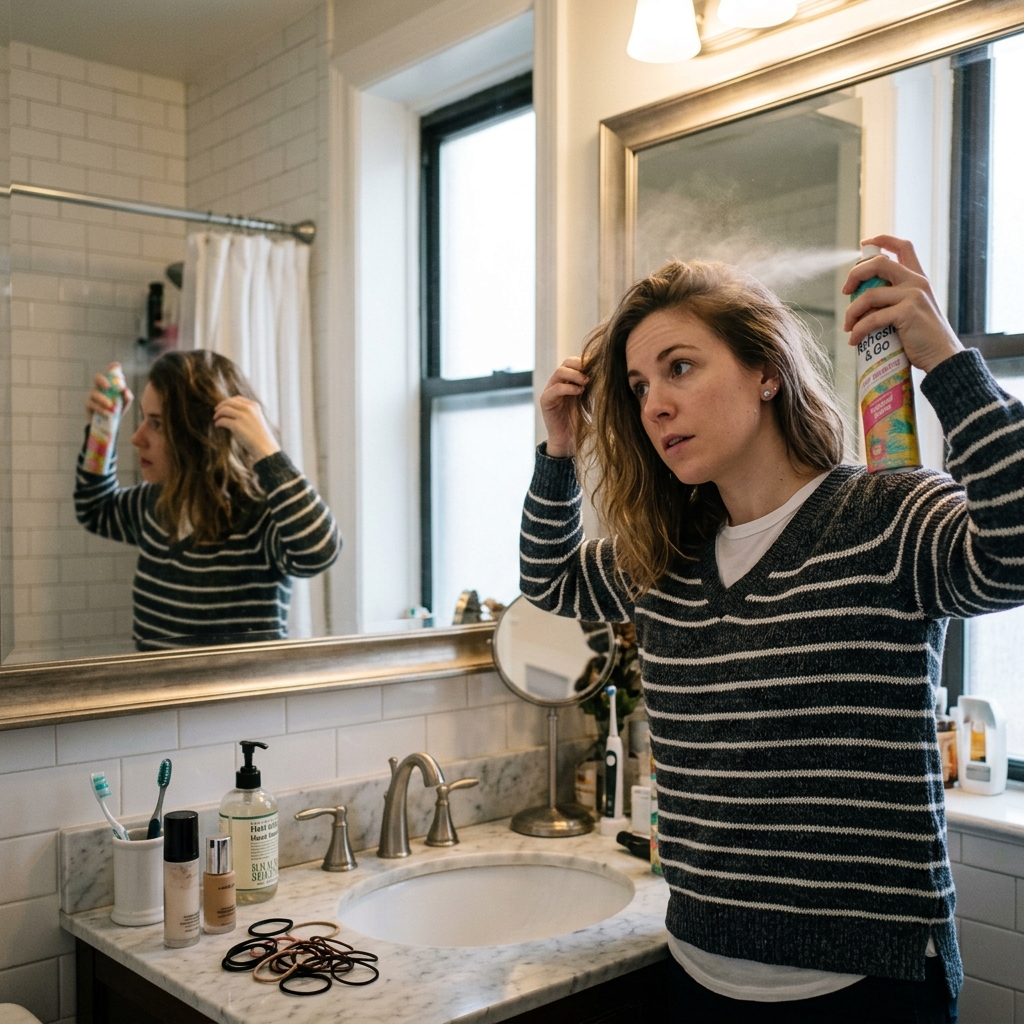
The Quick Morning Refresh Routine
You won’t wash this hair every day. On day two, your routine is five minutes. First, hit the roots of your bangs and crown with dry shampoo. Blast it with cool air from your blow dryer for 30 seconds to absorb oil and add lift.
Then, just quickly run your flat iron over the bangs and any face-framing pieces to tame flyaways. That’s it! The rest of your hair can be left in its natural, slightly textured state.
- Dry shampoo at the roots.
- Cool blow-dry for volume.
- Quick flat iron pass on front sections.
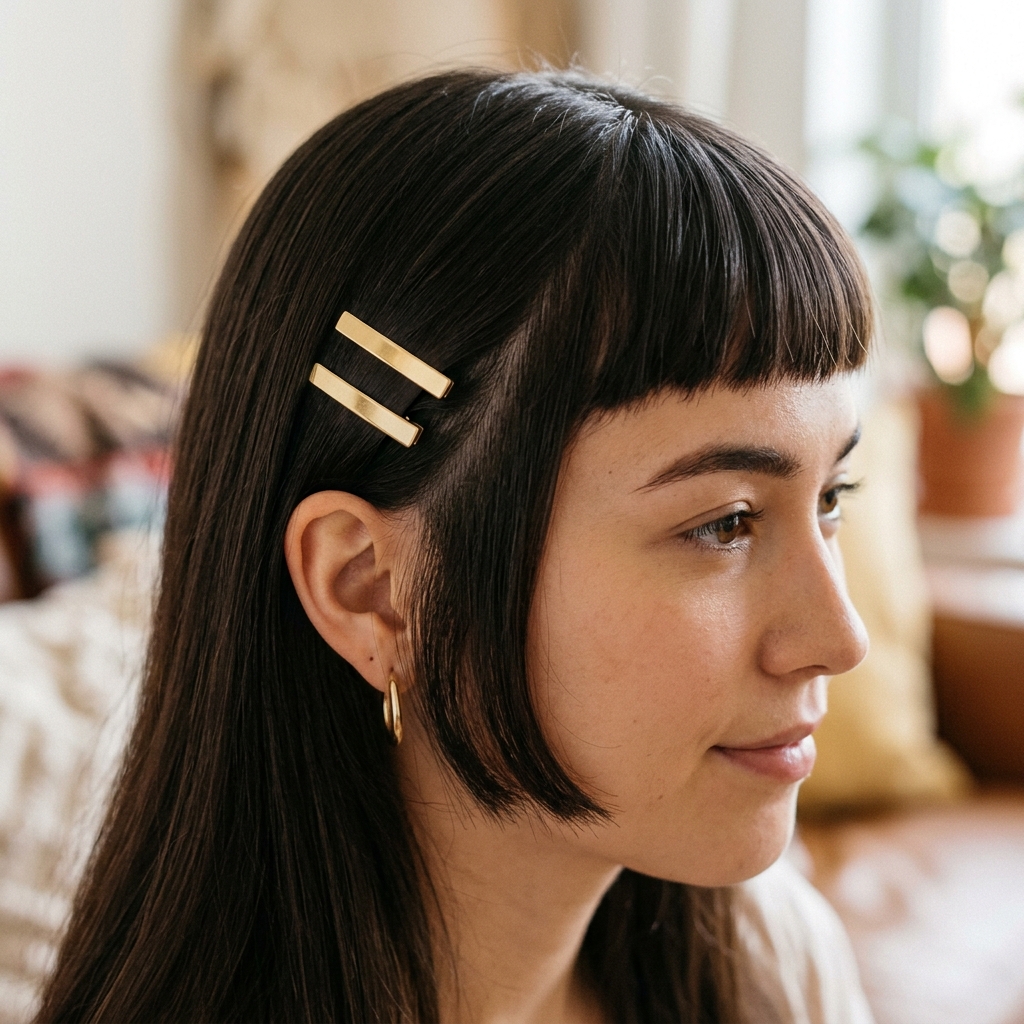
Accessorizing Your New Cut
This cut loves accessories. Small, delicate barrettes pinned back on one side give a sweet, old money hair subtlety. A bold, velvet scrunchie in a low pony lets the bangs pop. For an edgier vibe, try thin, metallic hair clips.
Headbands also look incredible, especially with the bangs peeking out. Play around! This style has a built-in dramatic frame, so accessories naturally look more intentional.
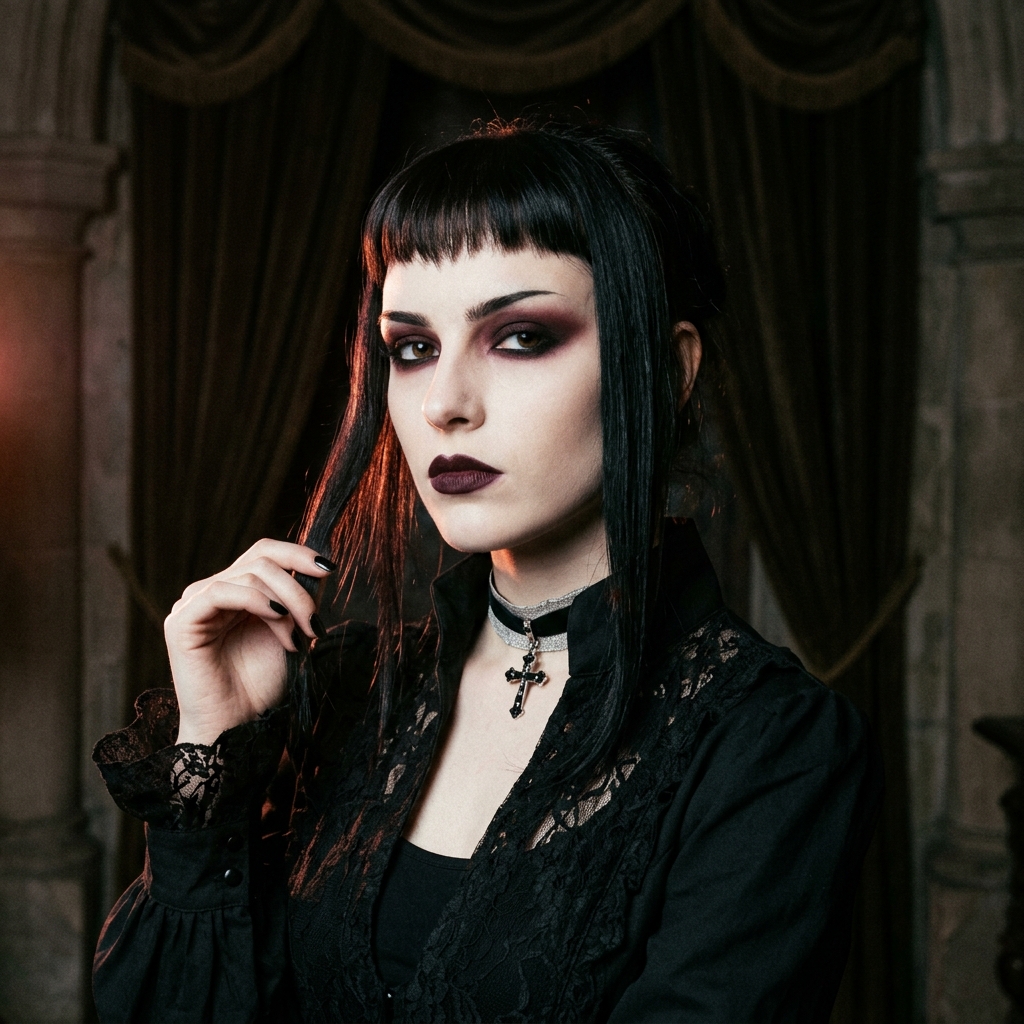
From Hime to a Vampire Haircut Vibe
Feeling bolder? This is the fun part. Once you’re comfortable with the bangs, you can slowly evolve the cut. Ask your stylist to gradually shorten and sharpen the face-framing layers into true, jaw-length sidelocks.
Pair that with a deeper side part and darker hair color, and you’ve effortlessly morphed into that coveted vampire haircut or romantic goth hairstyles trend. It’s a natural progression from your beginner version.
What If You Want an Asymmetrical Lob?
Maybe you love the front but want less length? This style adapts. You can absolutely ask for your hime-inspired front pieces with an asymmetrical lob in the back. The back would be cut to a sharp, angled bob that’s shorter in the back and longer in the front, blending into your sidelocks.
It’s a fierce, modern take that combines two major trends. Just bring a photo of the exact lob shape you want, paired with a hime front. Your stylist will map out the blend.
Common Mistakes to Avoid
The biggest mistake is cutting the bangs too thick or too low. Start higher and wispier than you think. Another error is not using heat protectant—those bangs get ironed often and need protection.
Also, avoid over-washing. Stripping natural oils will make your baby bangs look stringy. Trust the dry shampoo. Finally, don’t skip trims! Bangs need a tidy-up every 3-4 weeks to keep their shape.
- Bangs too thick/low.
- Skipping heat protectant.
- Over-washing.
- Ignoring regular trims.
Heat-Free Styling Options
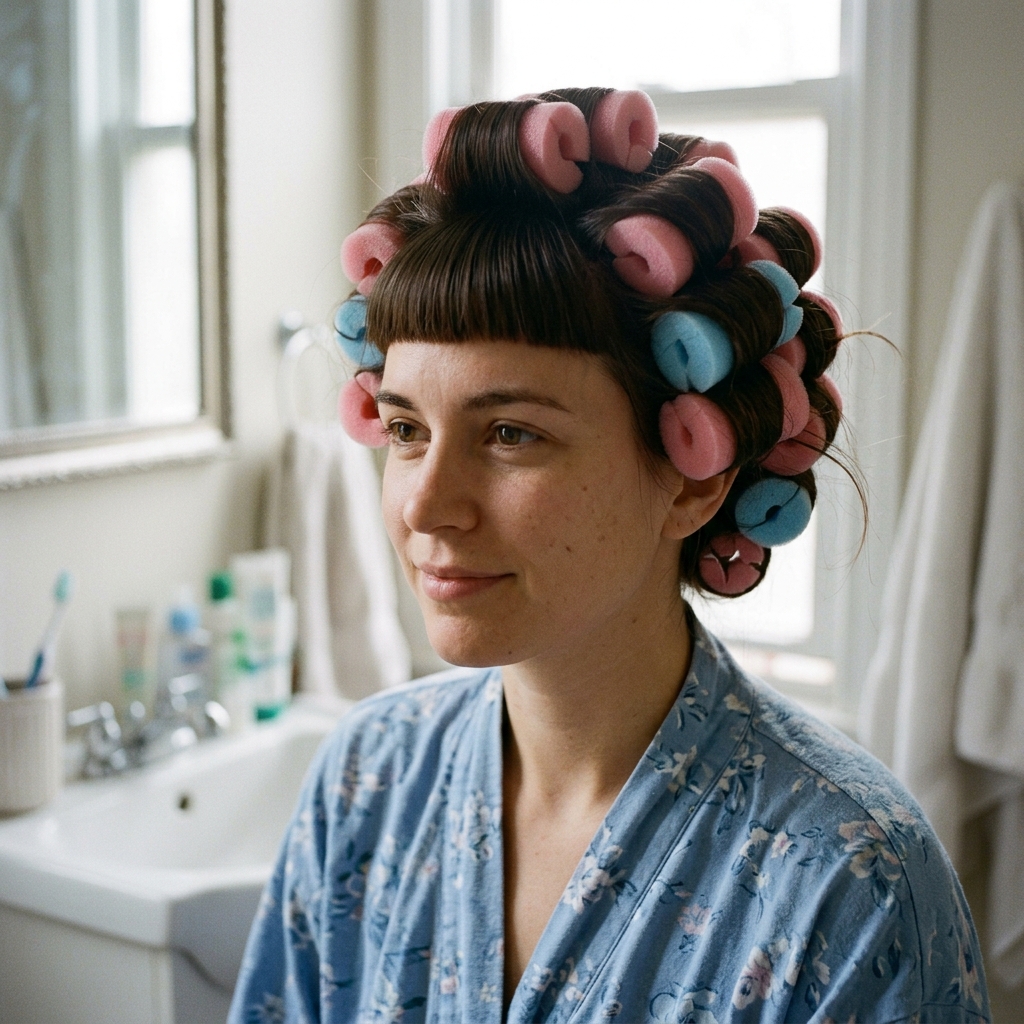
Want to give your hair a break? On clean, damp hair, apply a light mousse. Blow-dry your bangs straight with a brush as usual, but for the rest, let it air dry. Once fully dry, wrap large sections around soft hair rollers for 20 minutes.
When you take them out, you’ll have gentle, heat-free volume and waves. You can also do pin curls overnight for a more vintage-inspired wave pattern that looks amazing with the graphic bangs.
Managing Different Hair Textures
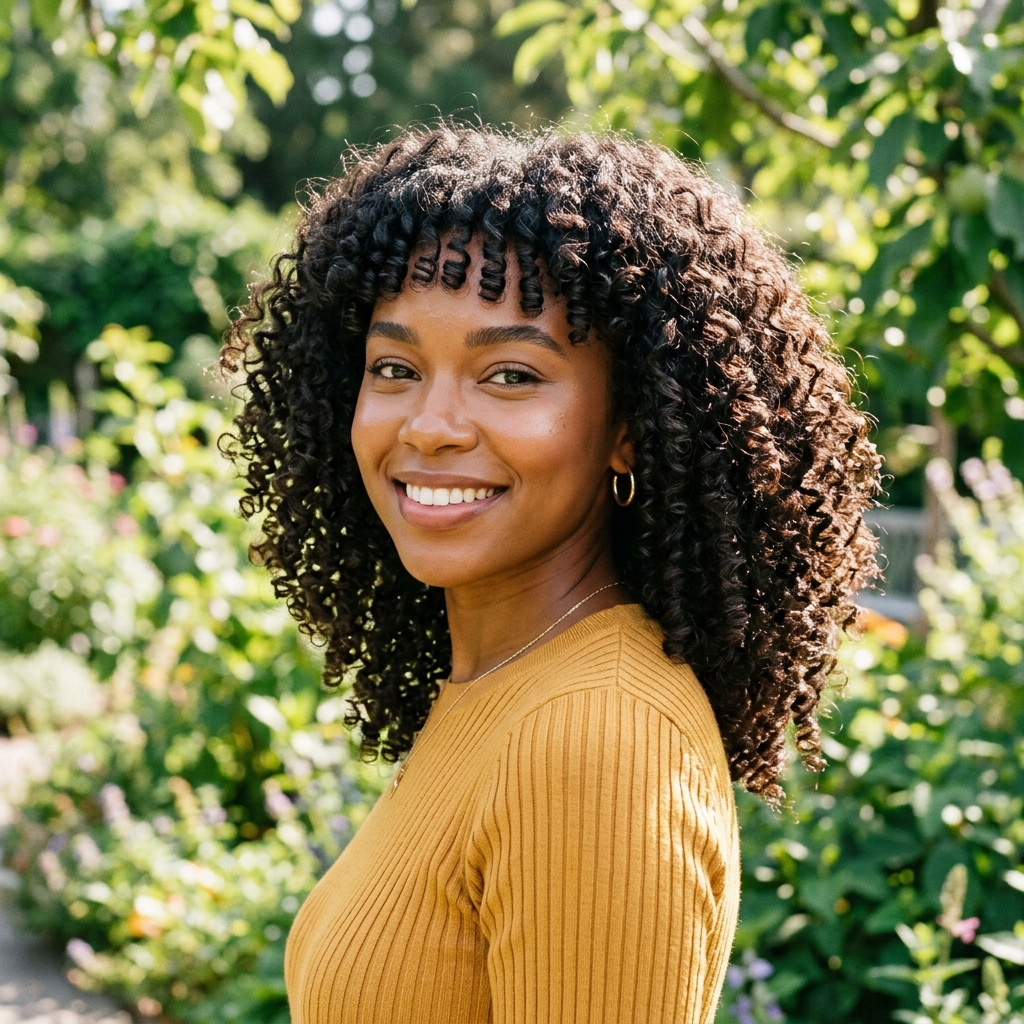
If you have curly hair, you can still rock this! The cut will need to be done on dry hair so your stylist can see your natural curl pattern. The bangs may be cut as curly baby bangs, which are adorable, or you may choose to straighten them for contrast.
For wavy hair, embrace it! Use a curl cream to define your waves in the back. Straighten just the bangs and the very front pieces for that intentional mixed-texture look that’s so trendy.
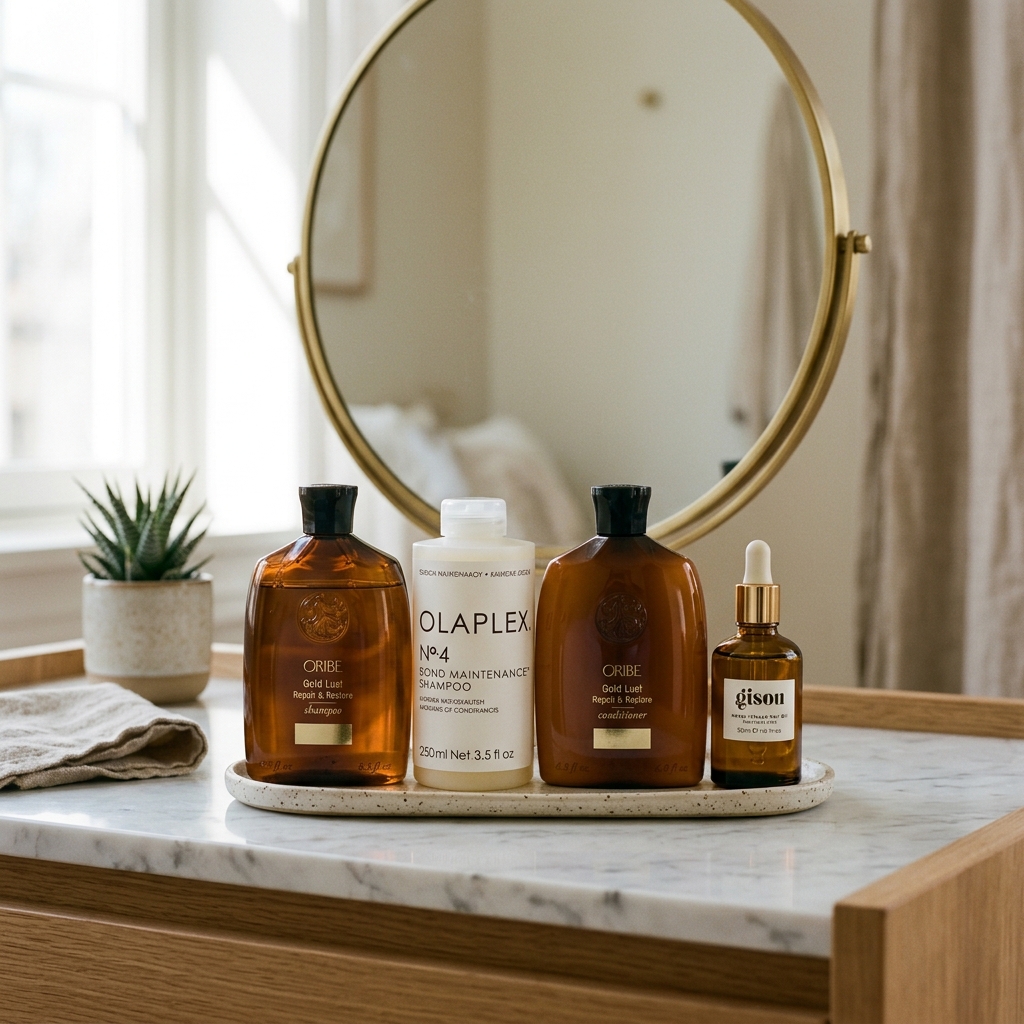
Products I Personally Swear By
I keep my product lineup simple. For heat protection, I love a lightweight spray that doesn’t build up. A texturizing dust or powder is amazing for adding grit and volume at the roots if dry shampoo feels too heavy.
A strong-hold hairspray is key for keeping those baby bangs in place on windy days. I use it just on the fringe area. For shine, a single drop of argan oil smoothed on the ends of the long back section finishes the look.
- Lightweight heat protectant spray
- Texturizing hair powder
- Strong-hold hairspray (for bangs only)
- Argan oil (for ends)
When to Schedule Your First Trim
Mark your calendar for 3-4 weeks after your initial cut. Bangs grow fast and lose their shape quickly. This isn’t a full haircut, just a “bang tidy.” It takes 5-10 minutes and is usually very affordable.
Keeping this appointment is what makes the difference between a cool, intentional style and hair that’s just growing out awkwardly. It maintains that sharp, graphic line that defines the look.
Mixing This Style with Color
Color can take this to the next level. Face-framing highlights or a money-piece brightener make the geometric lines of the cut pop. For a darker, moodier shift, try a shadow root or all-over rich brunette.
If you’re brave, peekaboo color underneath the long back section is stunning—it flashes when you move. Color adds a whole new dimension of personalization to your custom hime.
Your Confidence Is the Best Accessory
Any new cut can feel strange for a few days. Your brain is used to seeing your old hair. Give it a full week of styling it yourself and trying different outfits. You need to get used to the new frame for your face.
Walk with your shoulders back. This cut is a statement—it’s playful, artistic, and cool. Own that energy. Confidence literally changes how you carry yourself, and that makes any hairstyle look a million times better.
And there you have it! Your no-stress guide to testing the waters of the hime cut. Remember, the best 2026 hairstyles are all about personal expression—taking a classic shape and making it work for your life.
This beginner version with baby bangs is your perfect playground. It’s low-commitment but high-impact, letting you play with edge without a major chop. I promise, once you see that graphic fringe framing your eyes, you’ll feel that instant boost of playful energy.
Save this post to Pinterest to keep this tutorial handy for your salon visit! And I’d love to hear from you—are you thinking of trying it? Or do you have another cut you’re dreaming about? Let me know in the comments below!

