
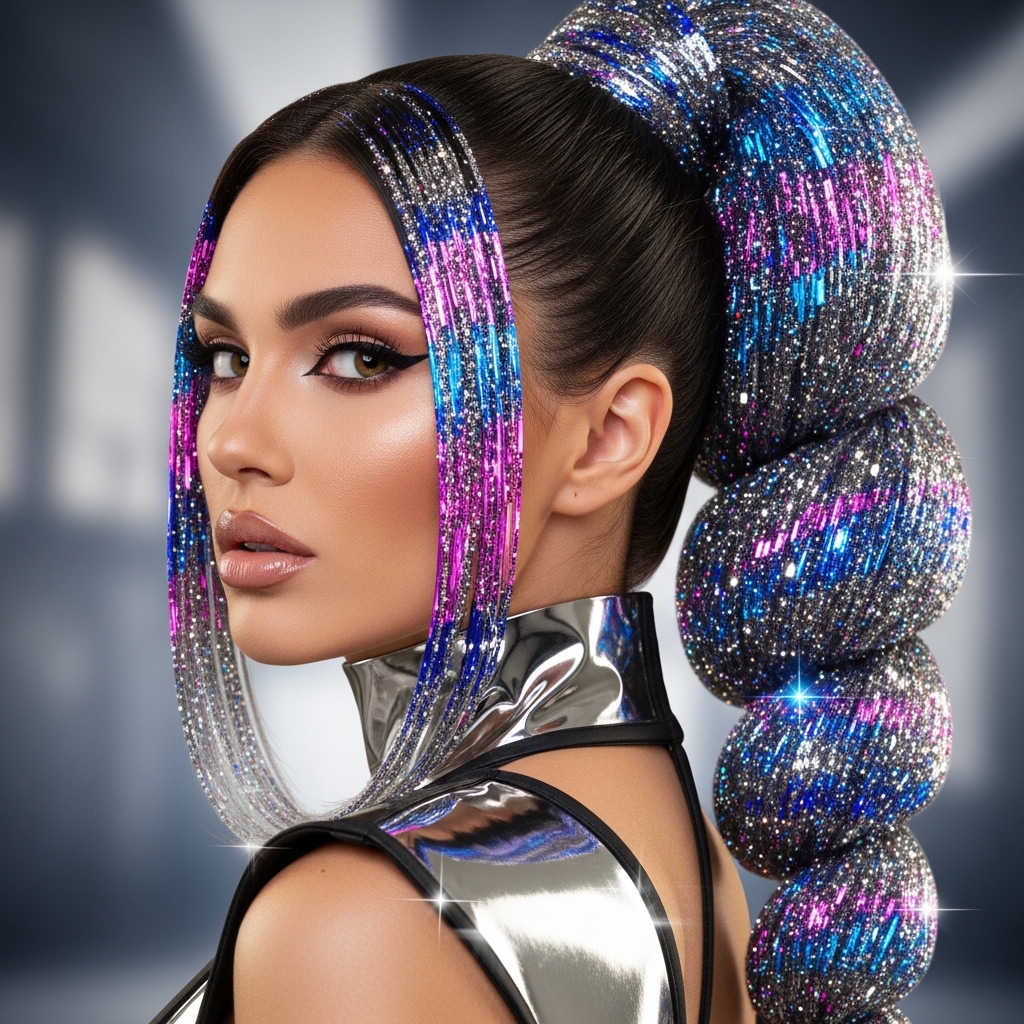
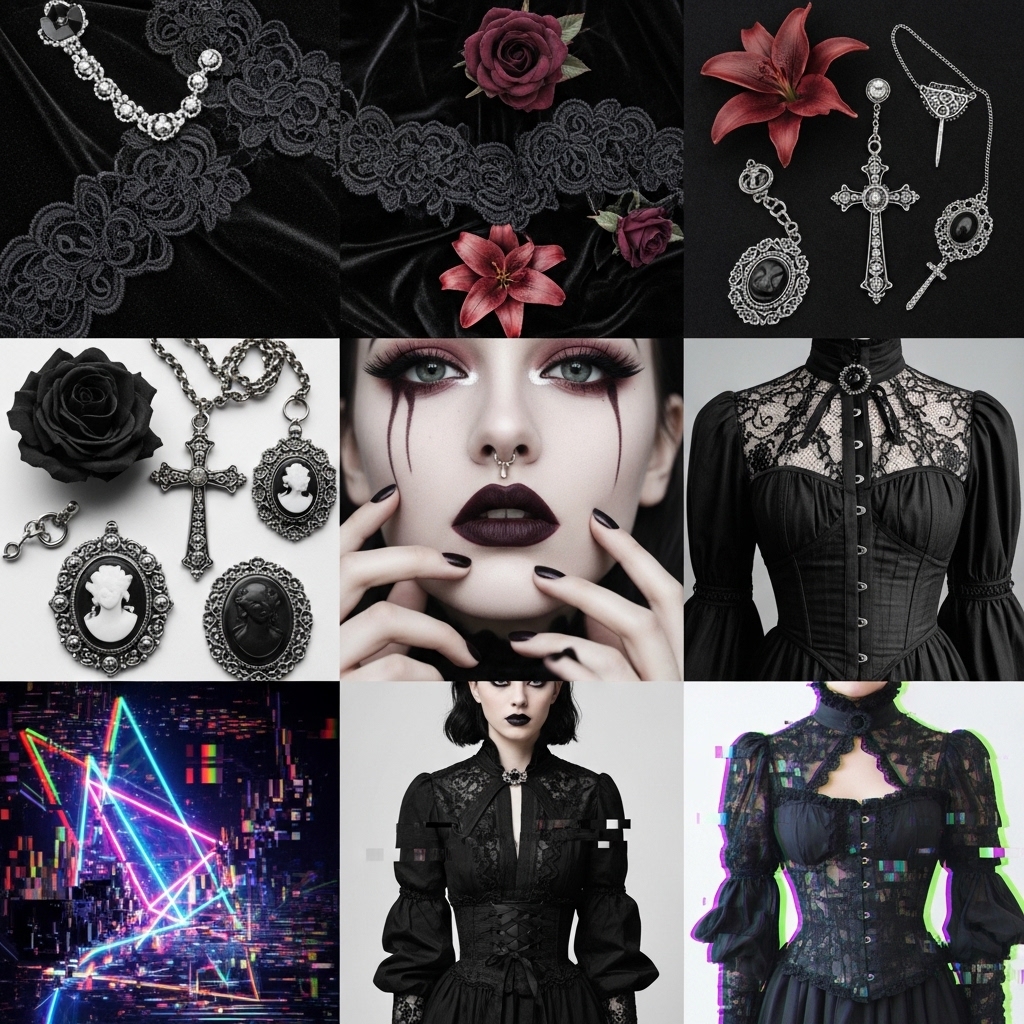
Okay, let’s be real. Sometimes you see a hairstyle on your feed and you just have to try it. It’s giving major main character energy, but it also looks… complicated. That’s exactly how I felt when I first saw the glitchy glam avant garde ponytail. It’s like if 2026 hairstyles arrived early and decided to have a party with romantic goth hairstyles.
It looks intricate, but I promise you, it’s built on simple techniques. We’re not doing salon-level wizardry here. We’re doing smart, achievable steps.
This look is for when you want to turn heads without saying a word. It’s bold, it’s artistic, and it’s surprisingly wearable. Think of it as the edgy cousin of the quiet luxury bob—same polish, but with way more personality.
So, grab your tools. I’m breaking this iconic look down into foolproof sections. You’ll master the base, the texture, and those perfect imperfect details. Let’s get into it.
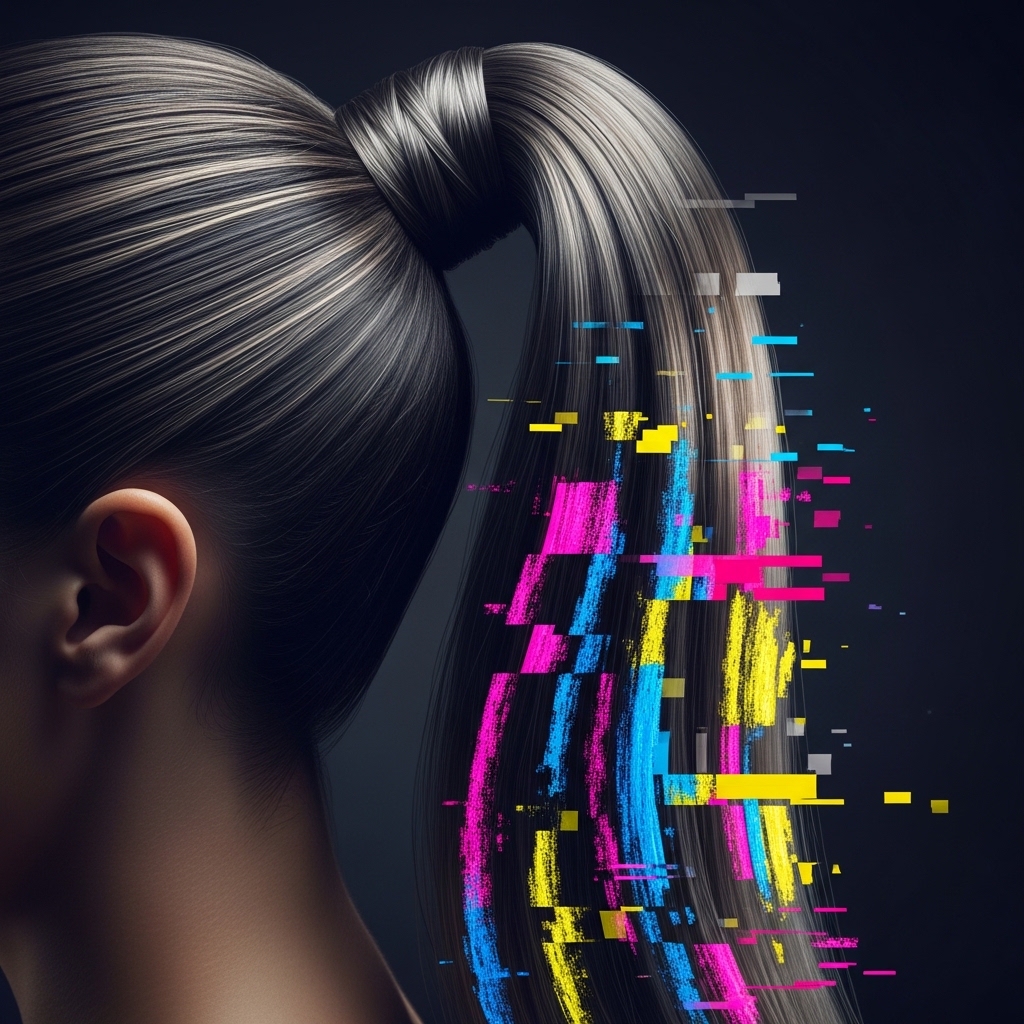
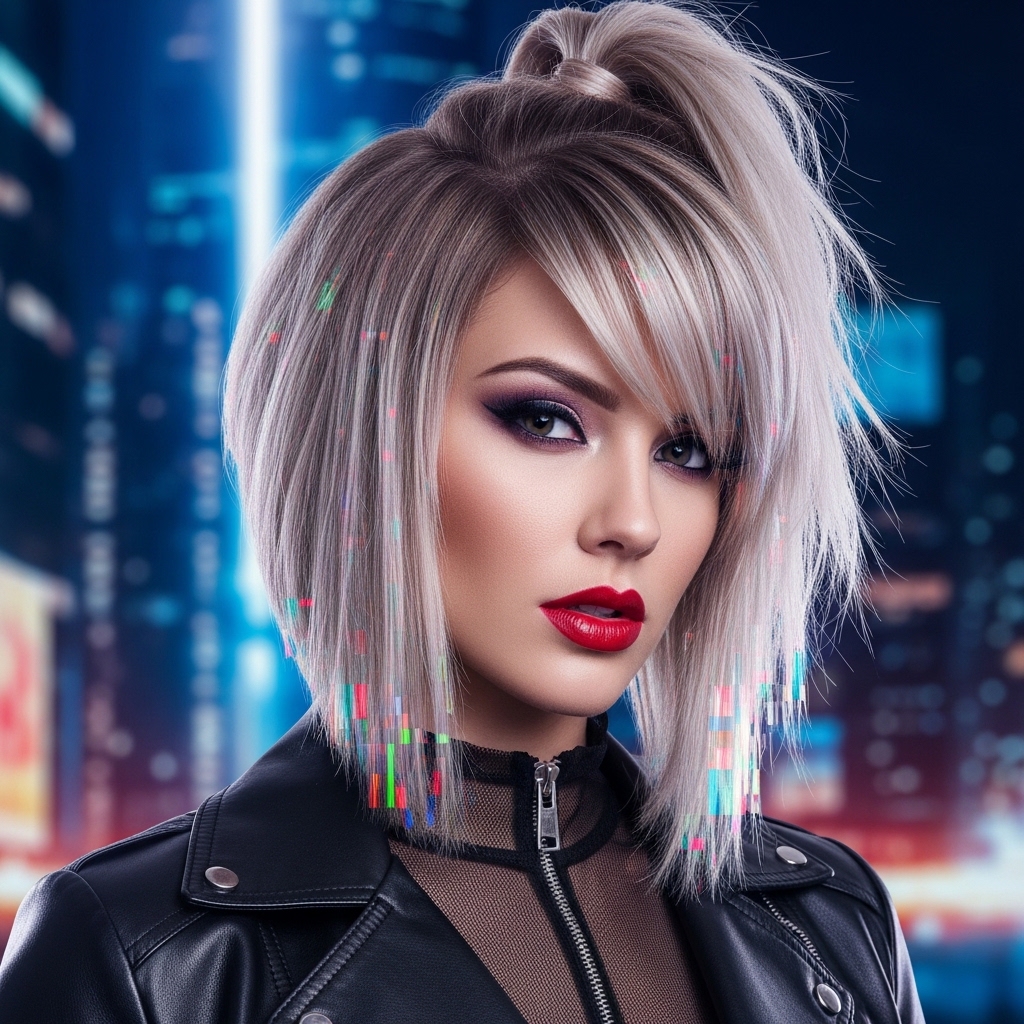
1. What Is Glitchy Glam Hair, Anyway?
Before we dive in, let’s define our vibe. Glitchy glam is all about controlled chaos. It’s sleek, polished hair that’s been intentionally “interrupted” with pieces that are textured, misplaced, or asymmetrical.
It’s not messy. It’s deliberately imperfect. This style takes the clean-girl aesthetic of old money hair and gives it a digital-age twist. Imagine a perfect ponytail that glitched for a second, creating these fascinating, beautiful errors.
It’s a mindset. You’re combining opposites: hard and soft, sleek and fuzzy, perfect and flawed. Once you see it that way, styling becomes way more fun and less intimidating.
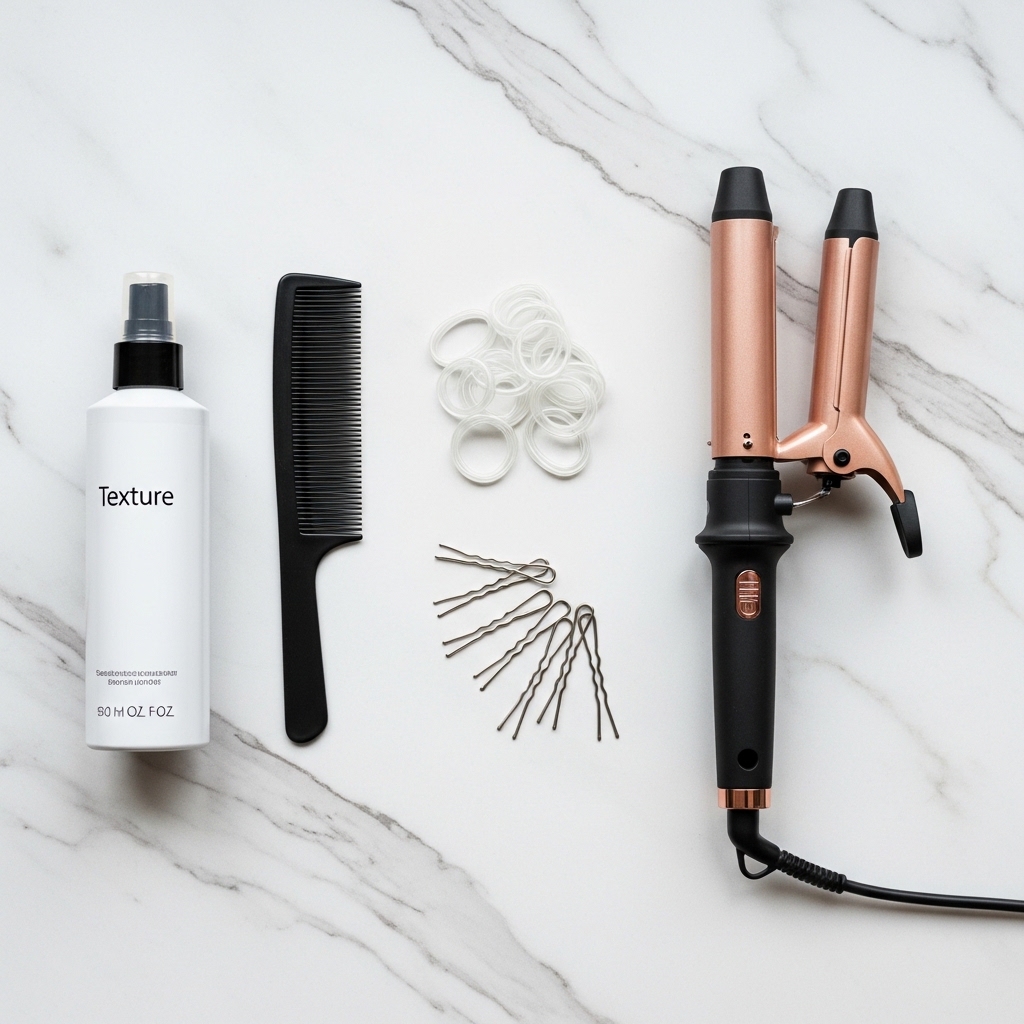
2. The Essential Tools You’ll Need
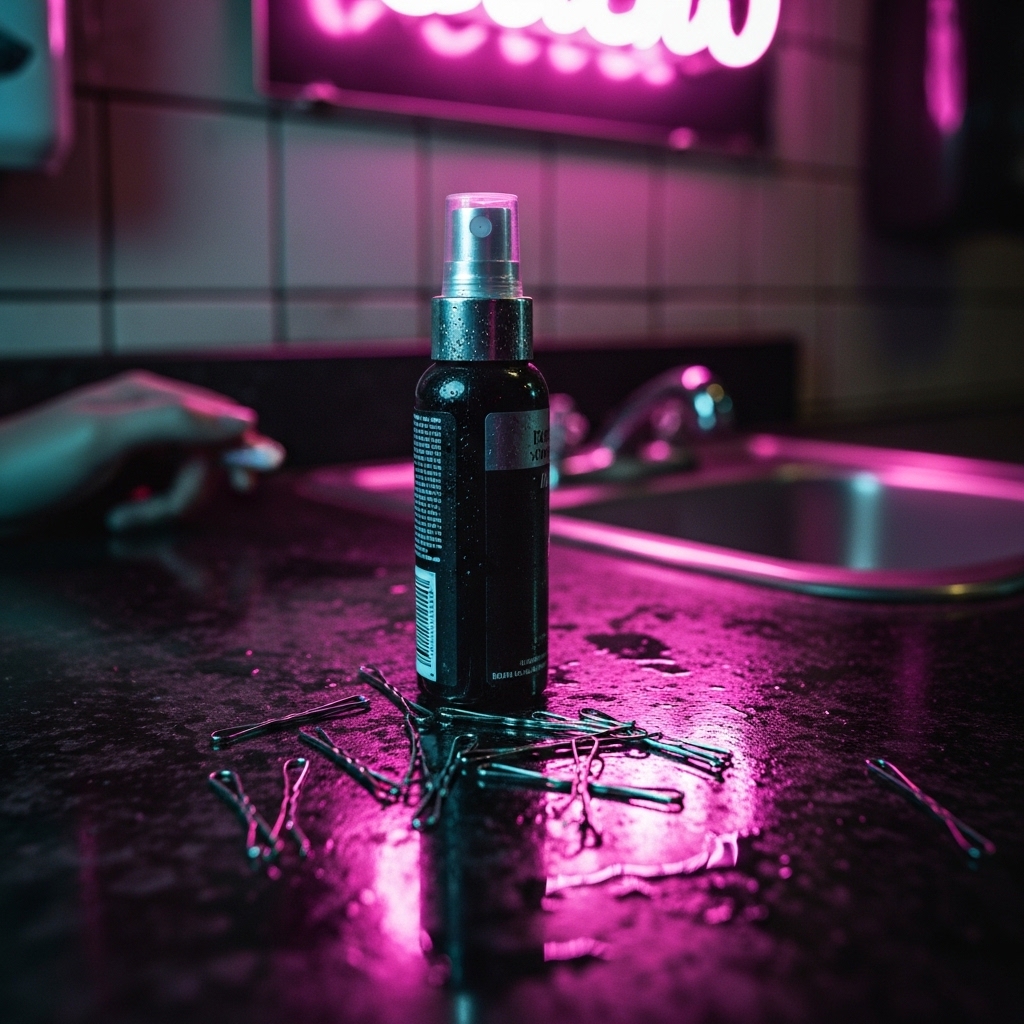
You don’t need a pro kit, but a few key items will make this a breeze. First, a strong-hold hairspray and a texture spray are non-negotiable. You need both hold and separation.
Other must-haves include:
- A fine-tooth comb for ultra-sleek sections
- Clear elastic bands (they disappear)
- A curling iron or wand with a 1-inch barrel
- Hair gel or pomade for flyaways
- Hair pins that match your hair color
That’s really it! With this simple lineup, you can create a high-fashion look right at your bathroom sink.
3. Start With Day-Old Hair
This is my biggest secret for any style with volume and grip. Freshly washed hair is often too soft and slippery. Day-two or even day-three hair has natural oils that give texture spray something to hold onto.
If you must wash, skip the conditioner on the mid-lengths and ends. Or, use a dry shampoo at the roots to build that slight grit. This base is what will allow your ponytail to stay up and your pieces to hold their shape.
Think of it as priming a canvas. You’re creating the perfect foundation so everything you build on top stays put all day (or night).
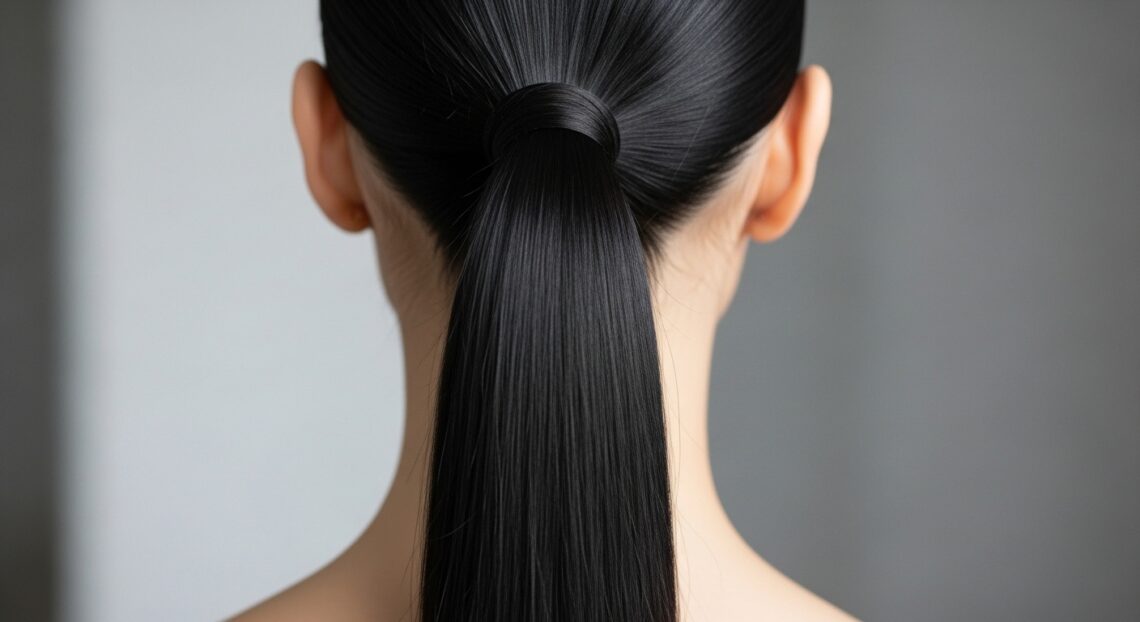
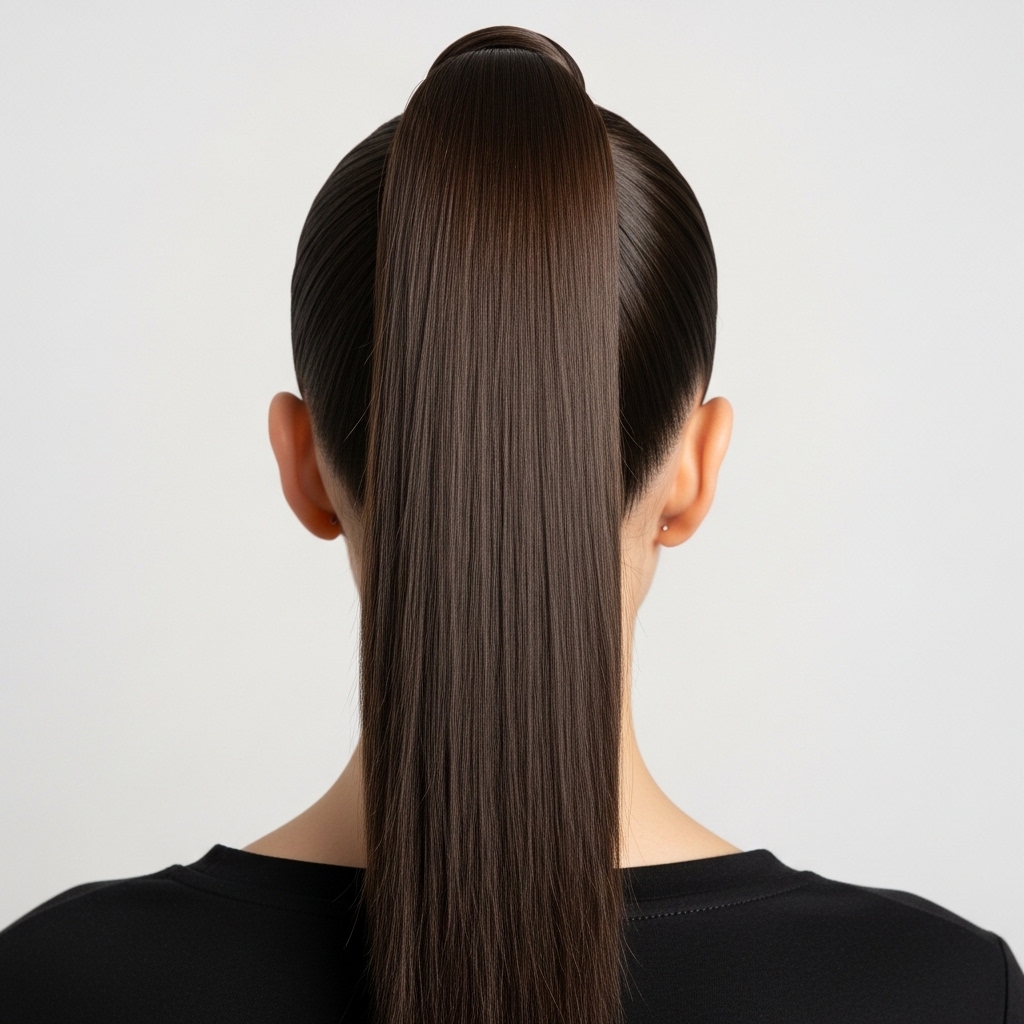
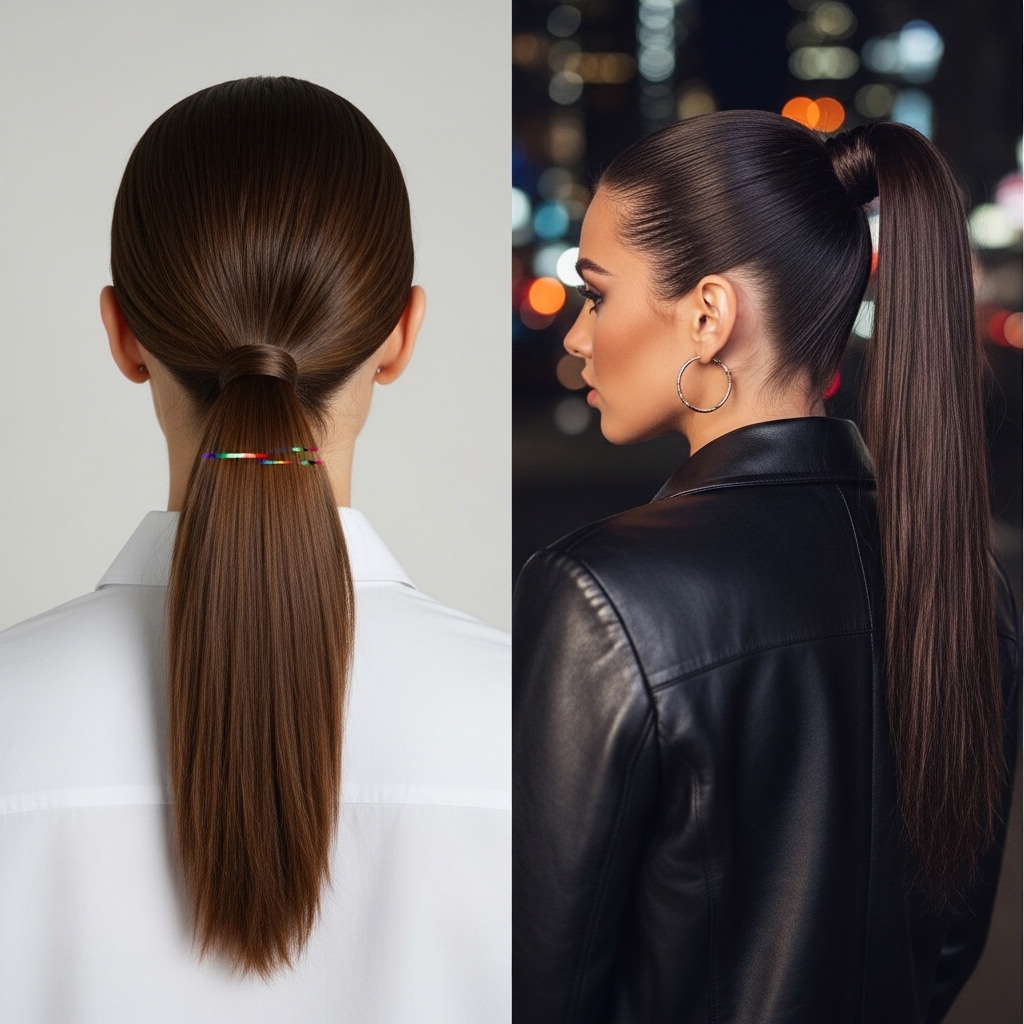
4. Create a Super Sleek Base Ponytail
Now, let’s build the “glam” part. Part your hair as desired—a deep side part adds instant drama. Brush all your hair back into a high, mid, or low ponytail. High gives drama, low feels more romantic goth.
Use that fine-tooth comb and a bit of gel to slick down every single flyaway. Get those sides and the nape of your neck perfectly smooth. This polished base is crucial because the “glitches” will stand out against it.
Secure it with a clear elastic. Pull it tight! This ponytail needs to be the sturdy anchor for everything that comes next.
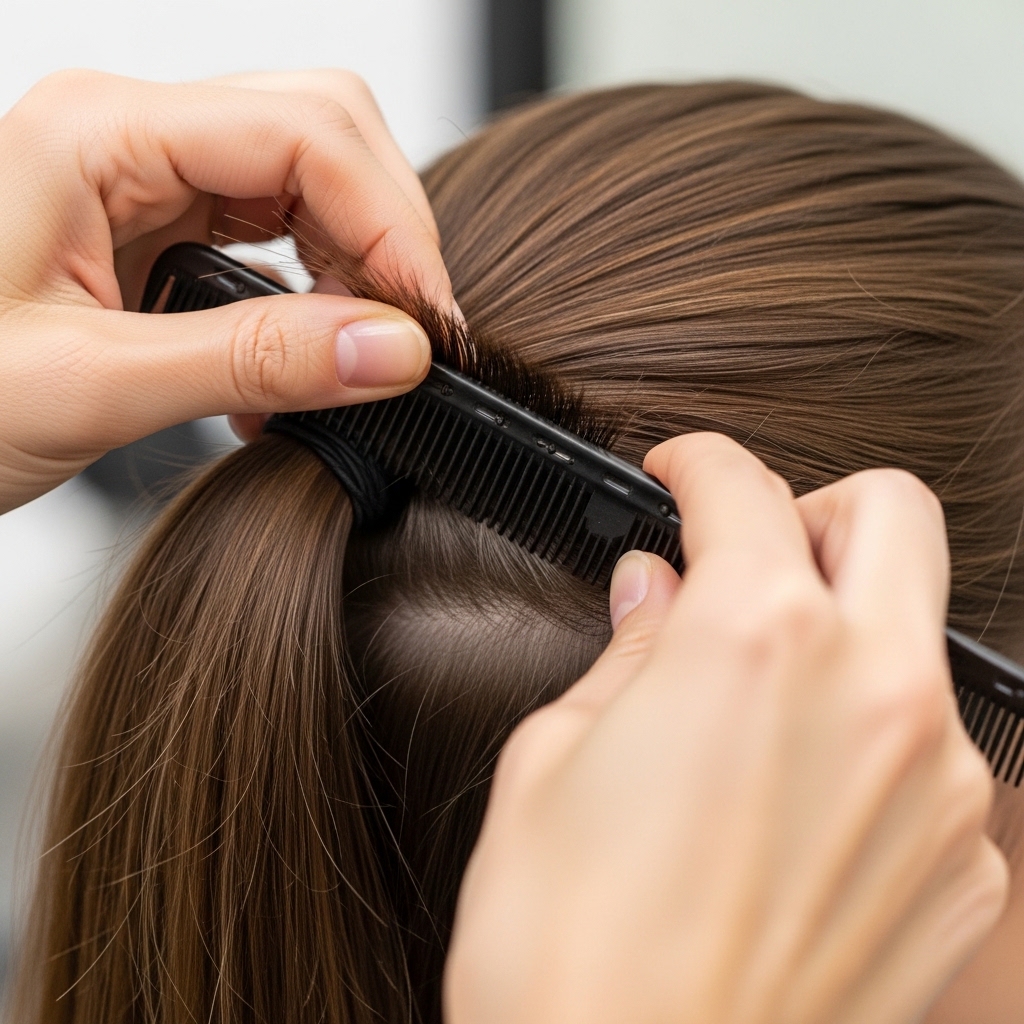
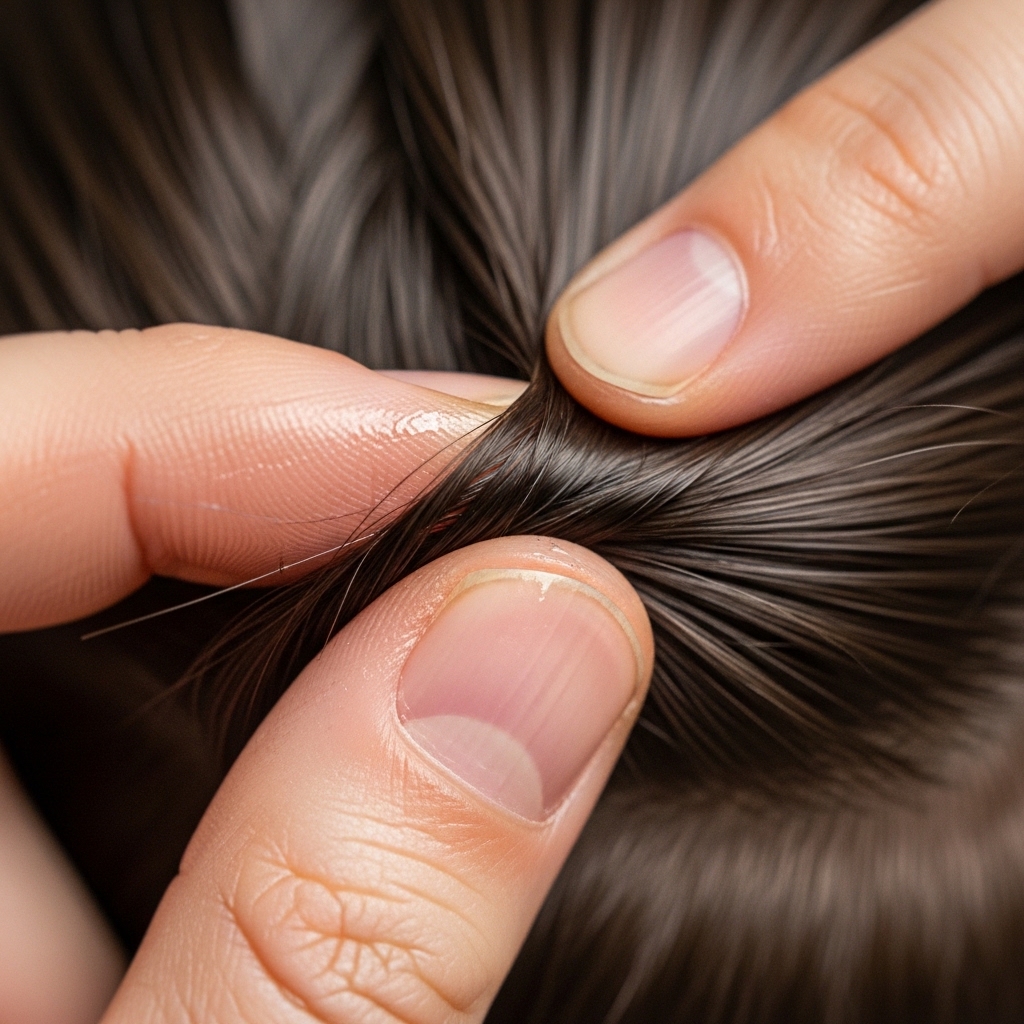
5. The “Glitch” Technique: Strategic Teasing
Here’s where the magic happens. Take a one-inch section from the bottom of your ponytail. Spritz the underside lightly with texture spray.
Backcomb just the root of this section. Don’t tease the whole length—just the area closest to the elastic. This creates a controlled “bump” or break in the sleek silhouette.
Gently pull the section over the teased part to smooth the top layer, creating a hidden volume pocket. This is your first glitch! It disrupts the smooth line in the coolest way.
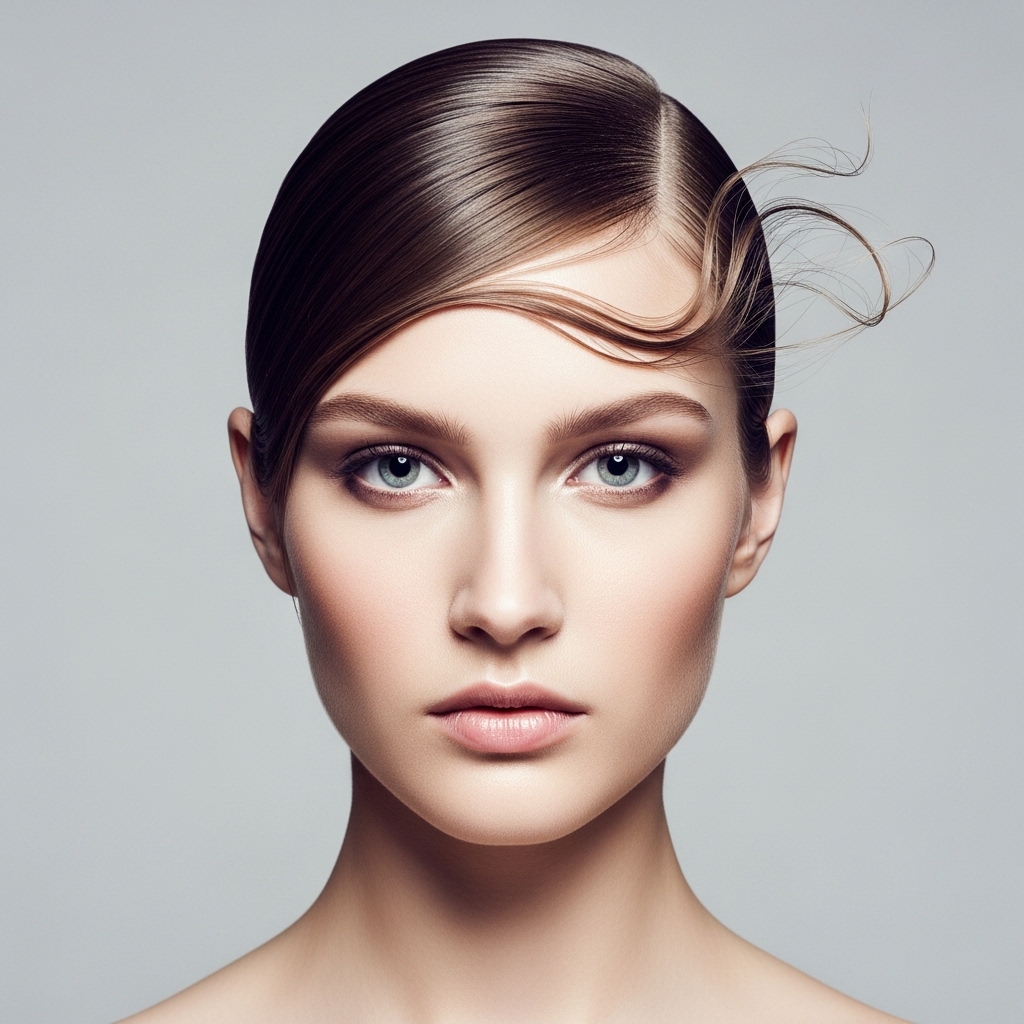
6. Adding Asymmetrical Tendrils
No glitchy glam look is complete without face-framing pieces. Pull out two or three very small strands from around your temples and cheeks. These shouldn’t be big chunks.
Make them asymmetrical—one side can have two pieces, the other just one. It feels deliberate and edgy, like an asymmetrical lob but in ponytail form.
We’ll style these later. For now, just let them hang loose. They’re going to add that soft, undone contrast to your super-sleek base.
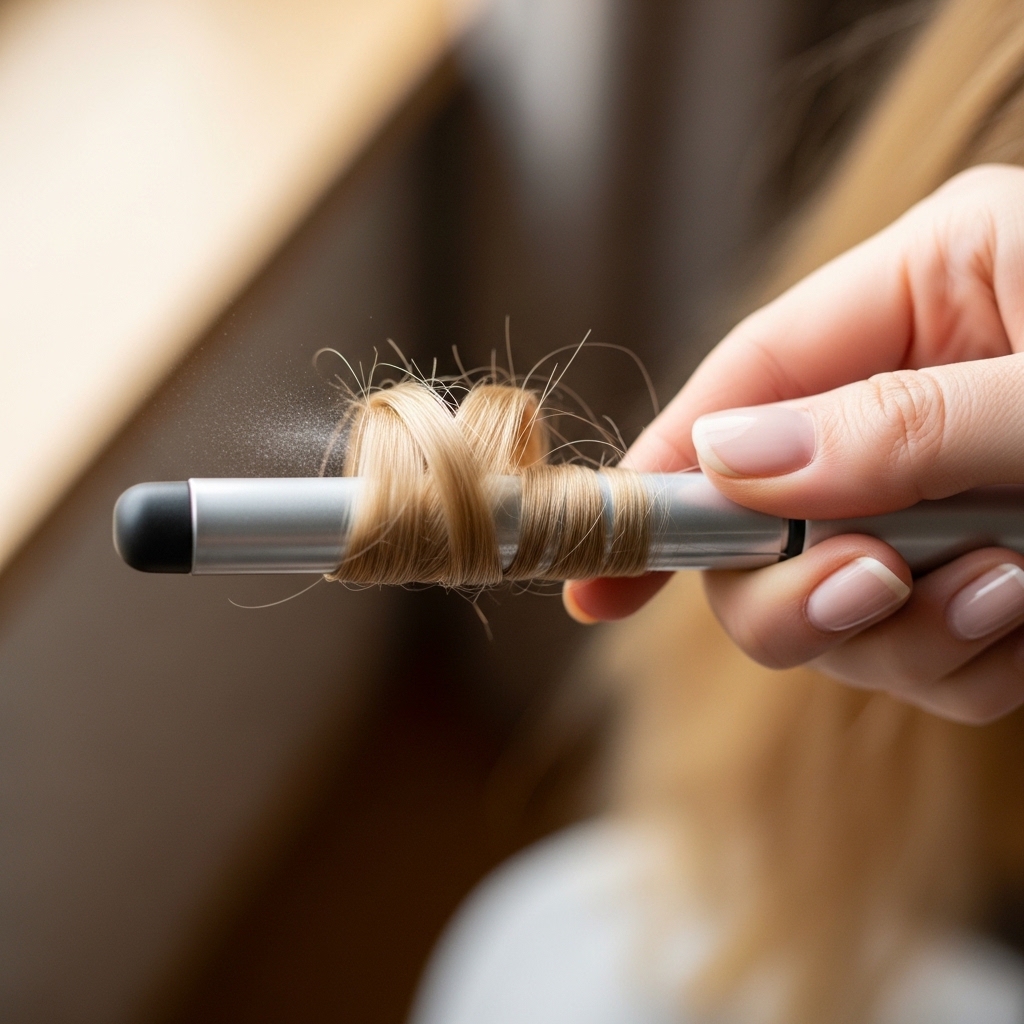
7. How to Create “Broken” Texture
This is key. Take several random, vertical sections from your ponytail. Wrap each one around a curling wand, but don’t clamp it. Just wrap and hold for 5 seconds.
When you release, don’t shake it out. Leave the curl as a defined, almost “crimped” looking ringlet. The goal is varied, piece-y texture, not soft, blended waves.
Alternate the direction you wrap some sections for a more chaotic, digital feel. This broken texture is what makes the style feel avant-garde and not just curly.
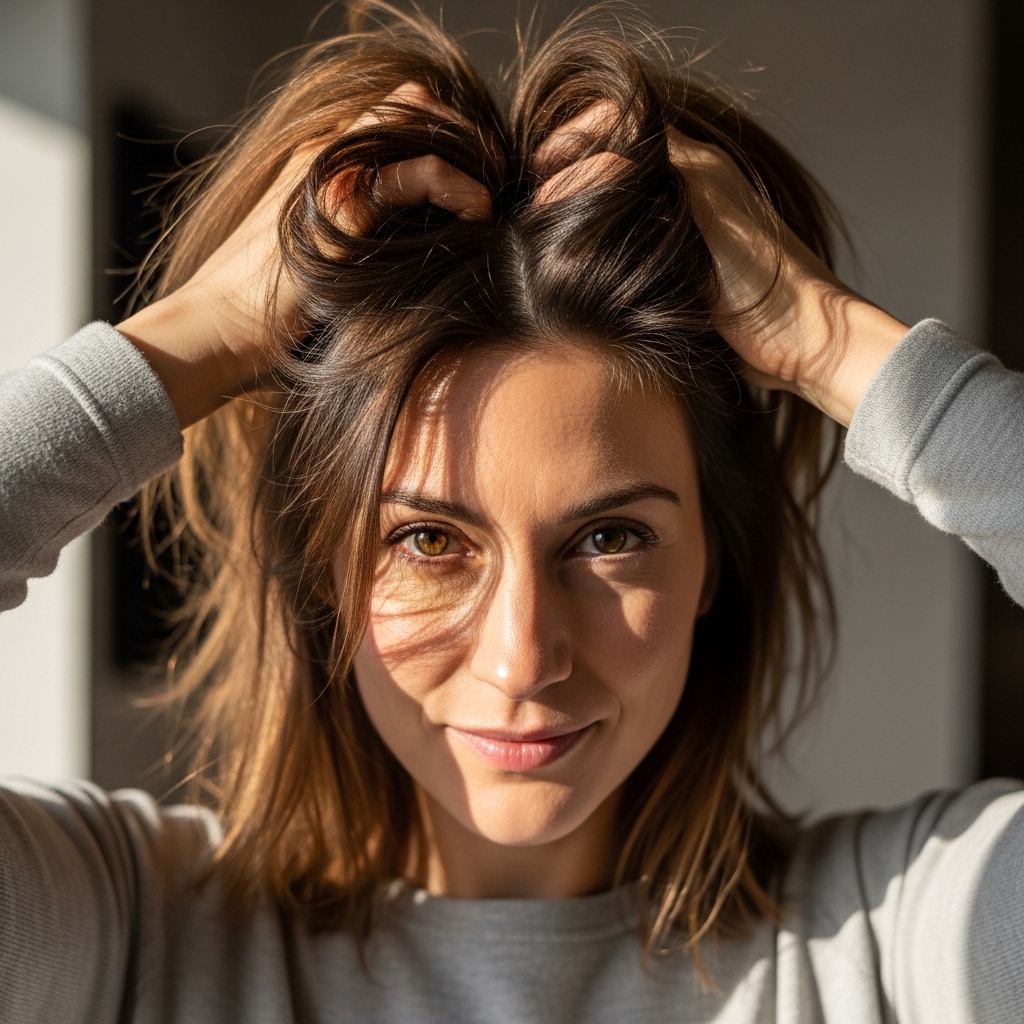
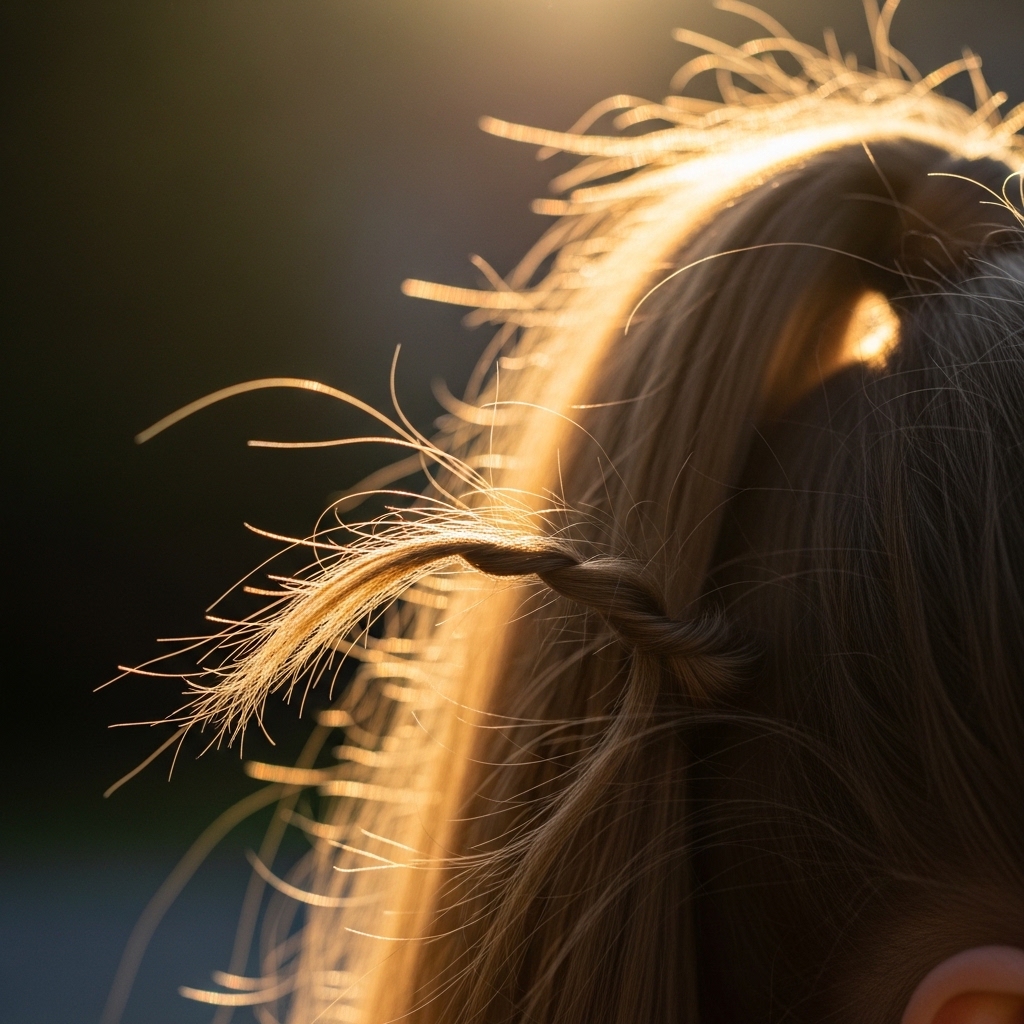
8. The Art of Intentional Flyaways
Now, go in and deliberately pull out a few, tiny micro-flyaways. I’m talking 5-10 individual hairs from the crown and around the ponytail.
Mist them lightly with hairspray on your fingertips and twist them slightly. You’re making them look like they escaped on purpose, not by accident.
This adds a halo of light and a feeling of effortless cool. It’s the opposite of the slicked-back old money hair vibe, and that’s the point.
9. Styling Those Face-Framing Pieces
Go back to your asymmetrical tendrils. Take a small-barrel iron (or use your wand) to curl them away from your face.
Then, gently run your fingernails down the curl to break it up. Add a tiny dab of pomade to your fingertips and gloss over them, defining them as separate, artistic pieces.
They should look soft and romantic, but defined. This touch is very vampire haircut—a little undone, a lot alluring.
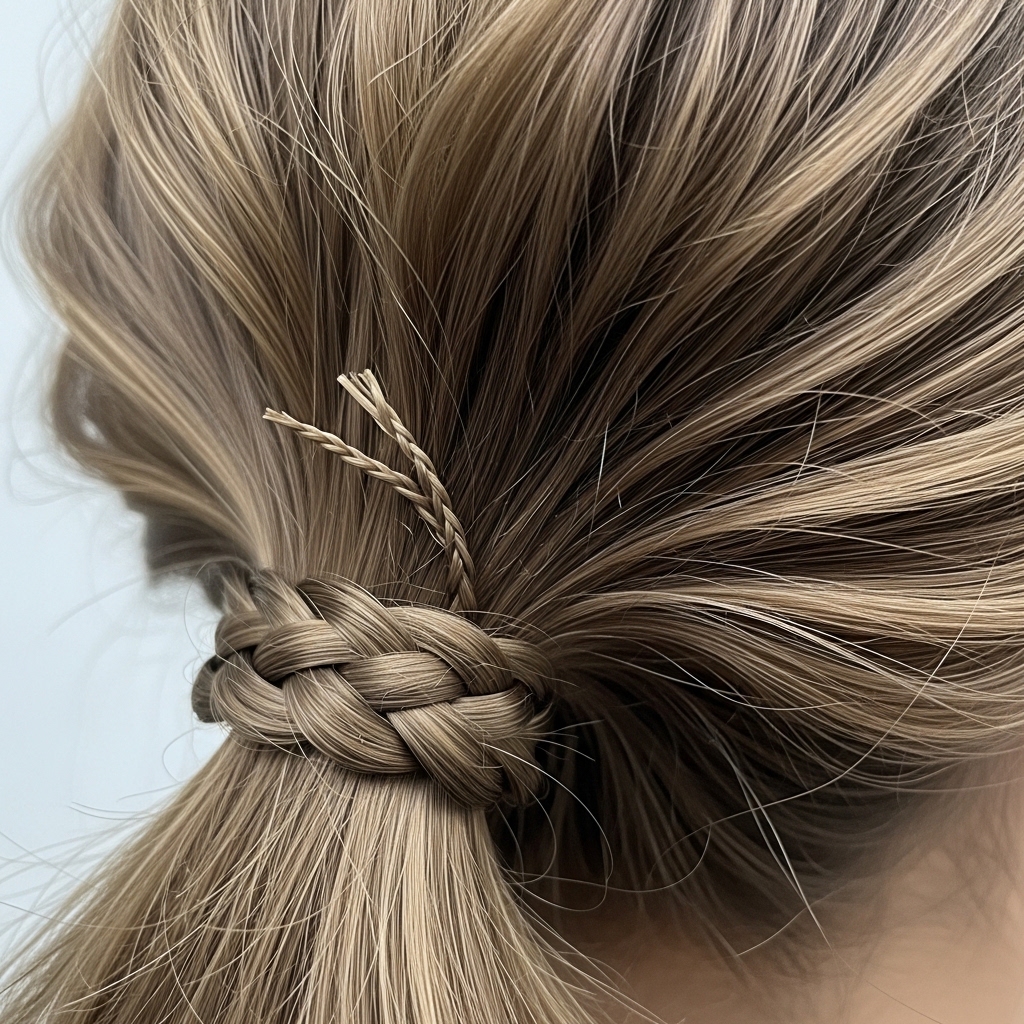
10. Incorporating Braided Elements
For an extra layer, try a micro-braid. Take one of the small sections you curled and create a tiny three-strand braid.
Braid it about halfway down, then secure it with a clear mini-elastic. Let the rest flow loose. Tuck this braid so it peeks out from behind a curled section.
It’s a hidden detail that someone only sees up close. It adds to that intricate, hand-crafted feel of the look.
11. Playing With Hair Jewelry & Accessories
Accessories can elevate this from a style to a statement. Think single, minimalist claw clips pinning one side, or a delicate chain woven into the base of the ponytail.
You could also use a sleek scarf as a hair tie, letting the tails hang down. Avoid anything too cutesy. The accessory should feel like part of the glitch—modern and a bit unexpected.
This is where you can really lean into the glam side of glitchy glam.

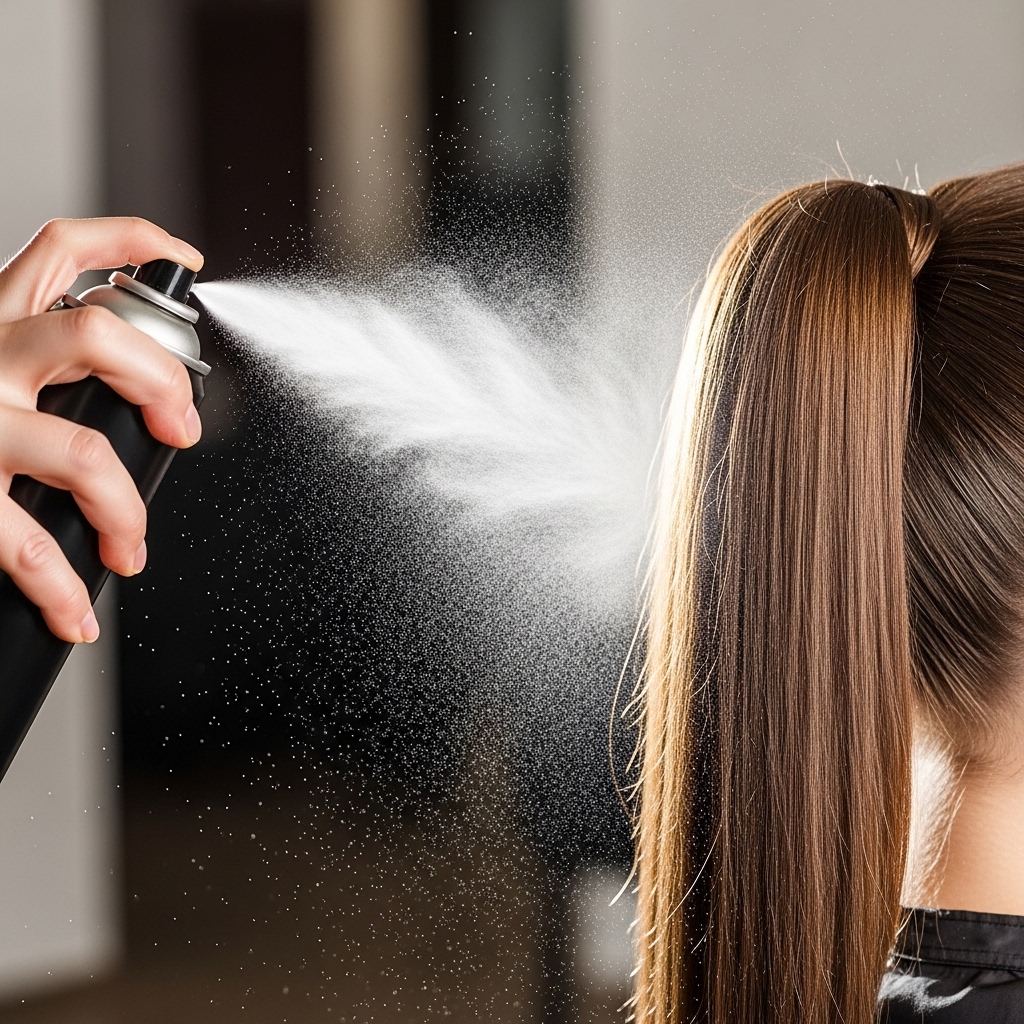
12. The Power of a Good Texture Spray
Let’s talk product again. Once all your elements are in place, hold your texture spray about 10 inches away and mist the entire look lightly.
Focus on the mid-lengths and ends of the textured pieces. This step re-separates any bits that got stuck together and locks in that piece-y, “broken” feel.
Don’t overdo it! You want to enhance the texture, not make it crunchy or wet-looking. A light hold is perfect.
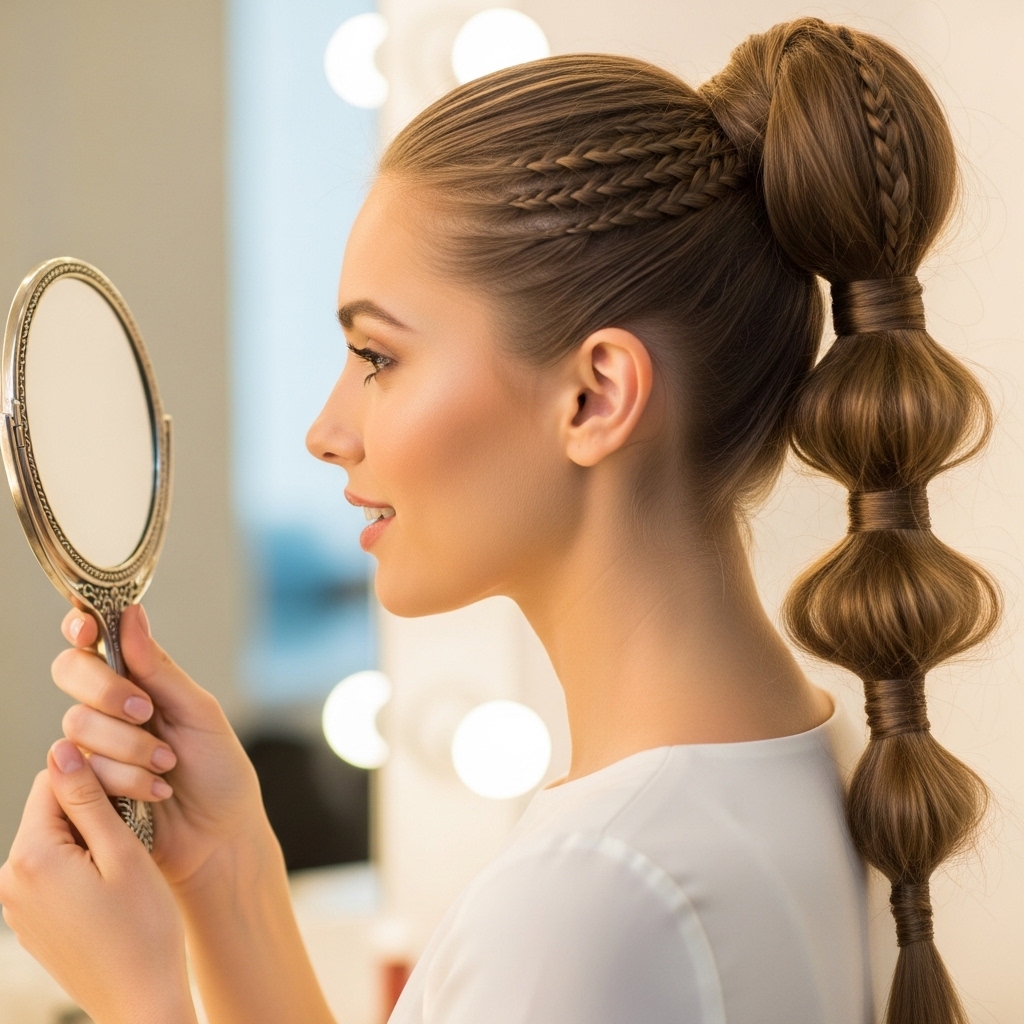
13. Final Check: The 360 View
Before you call it done, check your work from all angles. Use a hand mirror to see the back and sides.
Ask yourself: Is the base still sleek? Are the glitches random and interesting from every view? Are my tendrils placed nicely?
Fix any small slicked-down spots with a touch of gel on a toothbrush, or pull out one more tiny piece for balance. The final edit is what makes it art.
14. How to Make It Last All Night
Longevity is key. After your final texture spray mist, do one more targeted spray. Hit the teased root sections and the base of your ponytail where the elastic is.
Carry a travel-size hairspray and a few pins for emergency repairs. If a tendril falls, just re-twist it with a bit of pomade from your fingertip.
This style actually gets better with a little movement, so don’t stress about keeping it perfectly frozen. The “glitches” are meant to evolve.
15. Day-to-Night Transformation Tips
You built this for a night out, but it can start at the office. For a daytime version, keep the base ponytail and just add one or two subtle glitches—maybe a small teased section and one tendril.
Then, for night, quickly add more broken texture, pull out a few more flyaways, and pop in that hair chain. It’s a five-minute upgrade that completely transforms the vibe from quiet luxury to full glitchy glam.
This adaptability is why I love this style so much.
16. Adapting The Look for Shorter Hair
Got a bob, lob, or even a hime cut? You can still rock this. The principles are the same: create a sleek section and contrast it with texture.
For a short asymmetric lob, you might do a half-up style as your “ponytail.” Use tiny clips to create sleek parts and leave out your choppy ends as built-in glitches.
Use texture spray on your ends to enhance their piece-y-ness. It’s a cooler, more modern take on the classic bob.
17. Common Mistakes to Avoid
First, avoid over-teasing. You’re not going for 80s volume. Small, targeted backcombing is enough. Second, don’t add too many tendrils. Two to four total is plenty.
Third, don’t skip the slicking step. The contrast is what makes it work. Finally, don’t be afraid! The beauty is in the imperfection. If one piece looks odd to you, it probably looks intentional and cool to everyone else.
Trust the process.
18. The Mindset Behind Avant-Garde Beauty
Styling hair like this is as much about attitude as technique. It’s about embracing the unusual and wearing it with confidence.
This look says you’re not afraid to play and break rules. It pairs amazingly with both a minimalist outfit and a full romantic goth ensemble.
Carry yourself like you know you look incredible—because you do. That’s the final, invisible product.
19. How This Fits Into 2026 Hair Trends
This style is a precursor to what we’ll see everywhere: hyper-personalized, mixed-media hair. It blends the sleekness of quiet luxury with the rebellion of subculture styles.
We’re moving away from one-note looks and towards layered, expressive styles like this. It’s a trend that welcomes individuality, which is why I think it’s going to have serious staying power.
You’re not just following a trend; you’re getting ahead of it.
20. Your Turn to Experiment
Now you have the blueprint. The best part about glitchy glam is that it’s a framework, not a rigid formula. Maybe you want to add a colored streak as your glitch. Or use multiple micro-braids.
Your hair is your canvas. Use these techniques as a starting point and then make it yours. The only rule is that there are no rules, only what looks and feels cool to you.
I want you to play, have fun, and see what amazing variations you can create. That’s where the real magic happens.
And that’s it! From a simple ponytail to a full conversation-starting masterpiece. I told you we could break it down into simple, totally doable steps.
The beauty of this look is in its confidence. It’s a reminder that the best styles often come from playing, experimenting, and not being afraid of a little beautiful imperfection. It’s more than a hairstyle; it’s a vibe.
I’d love to see what you create! Did you add your own twist? Which part felt easiest (or trickiest)? Tell me everything in the comments below!
Save this post to Pinterest to keep this guide handy for your next big night out or whenever you need a dose of hair inspiration. Pin your favorite step!

