
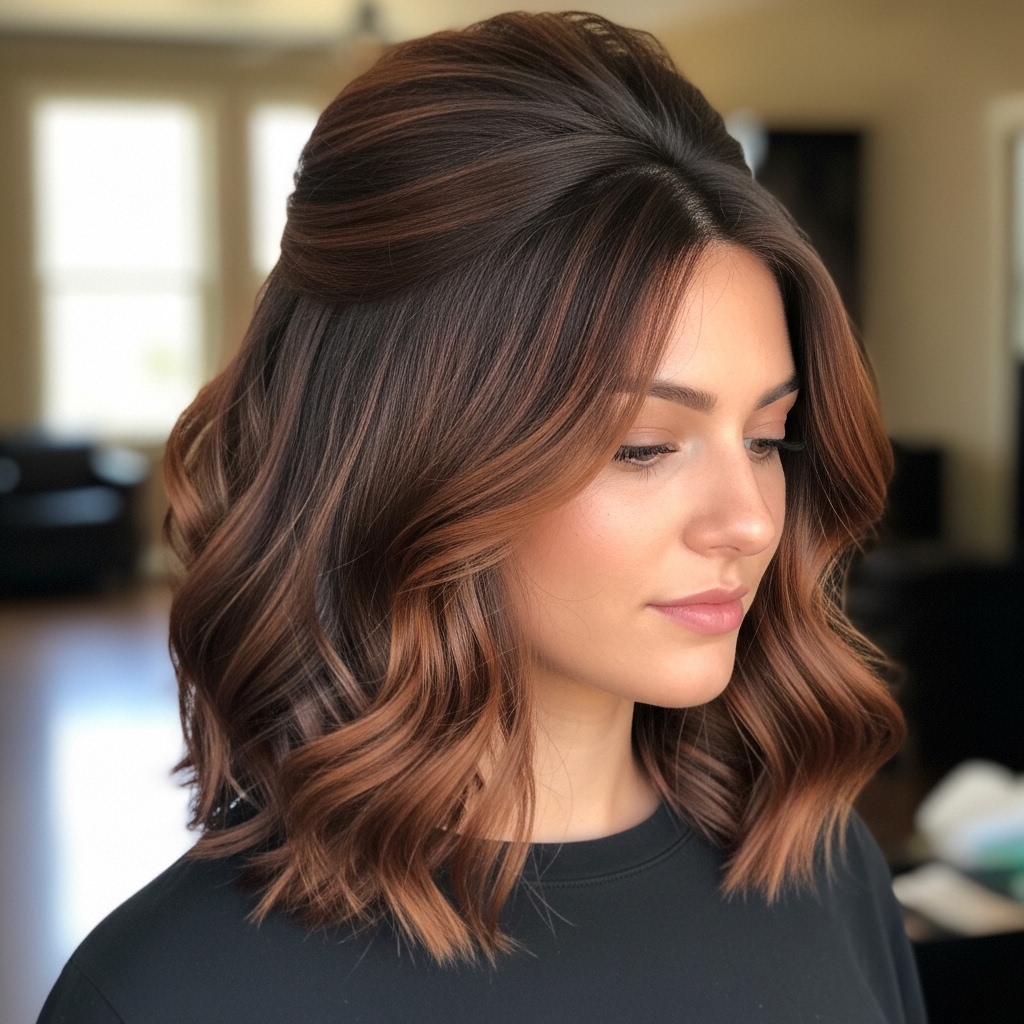
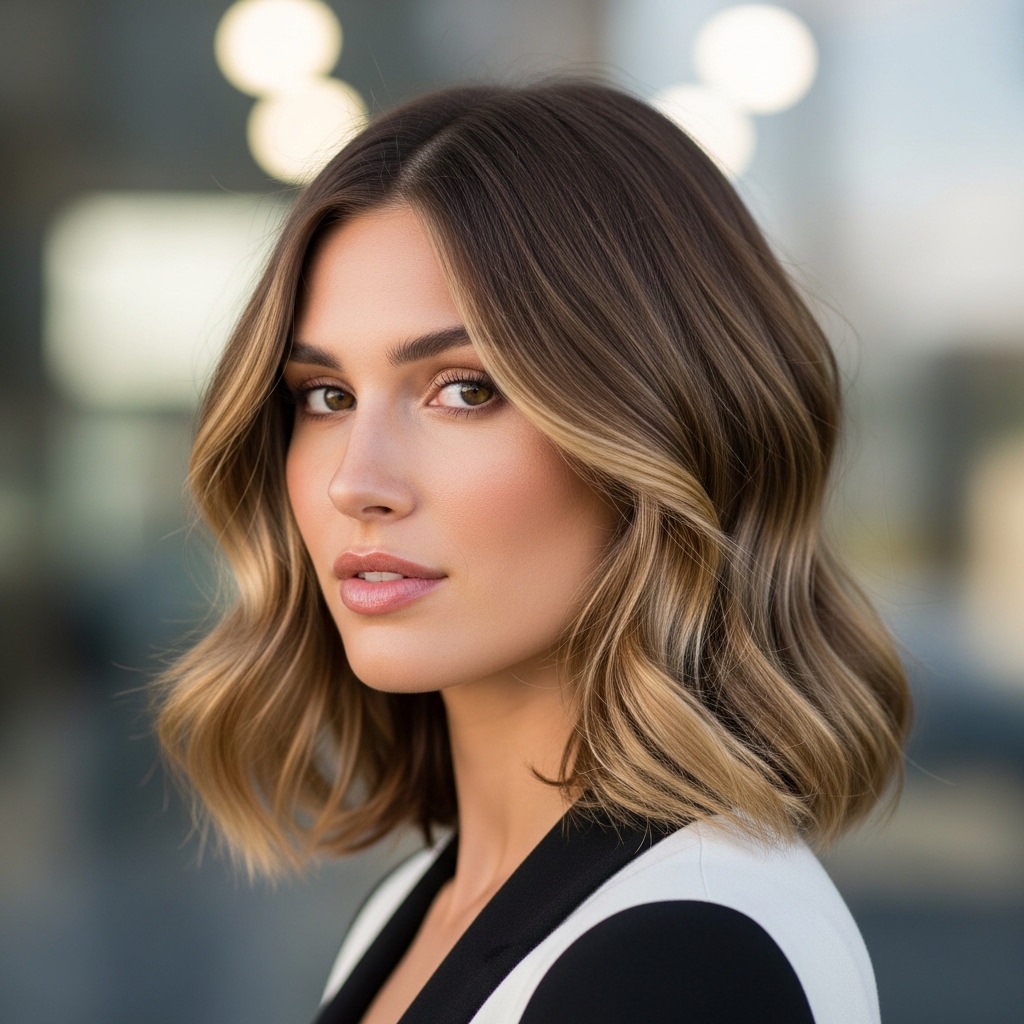
Okay, let’s be real. We’ve all spent way too many mornings wrestling with a curling iron, only to end up with hair that feels fried and a style that falls flat by lunch. What if I told you the chic, lived-in waves of your dreams require zero heat? It’s true, and it’s the secret behind the most requested look on my blog right now: the 21-inch rounded lob.
This length is pure magic. It’s that perfect “just above the shoulders” sweet spot that feels fresh, modern, and incredibly flattering. It gives you the shape of a classic bob with the movement of longer hair. And when you add soft, heatless waves? You get that effortless, “I woke up like this” vibe that’s everywhere for 2026 hairstyles.
This tutorial is for anyone who wants gorgeous, healthy hair without the damage. We’re ditching the hot tools and using a simple, overnight method to create the softest, most romantic waves. Think of it as your shortcut to that quiet luxury bob look everyone is obsessed with. Let’s get into it.
Why the 21-Inch Rounded Lob is EVERYTHING Right Now
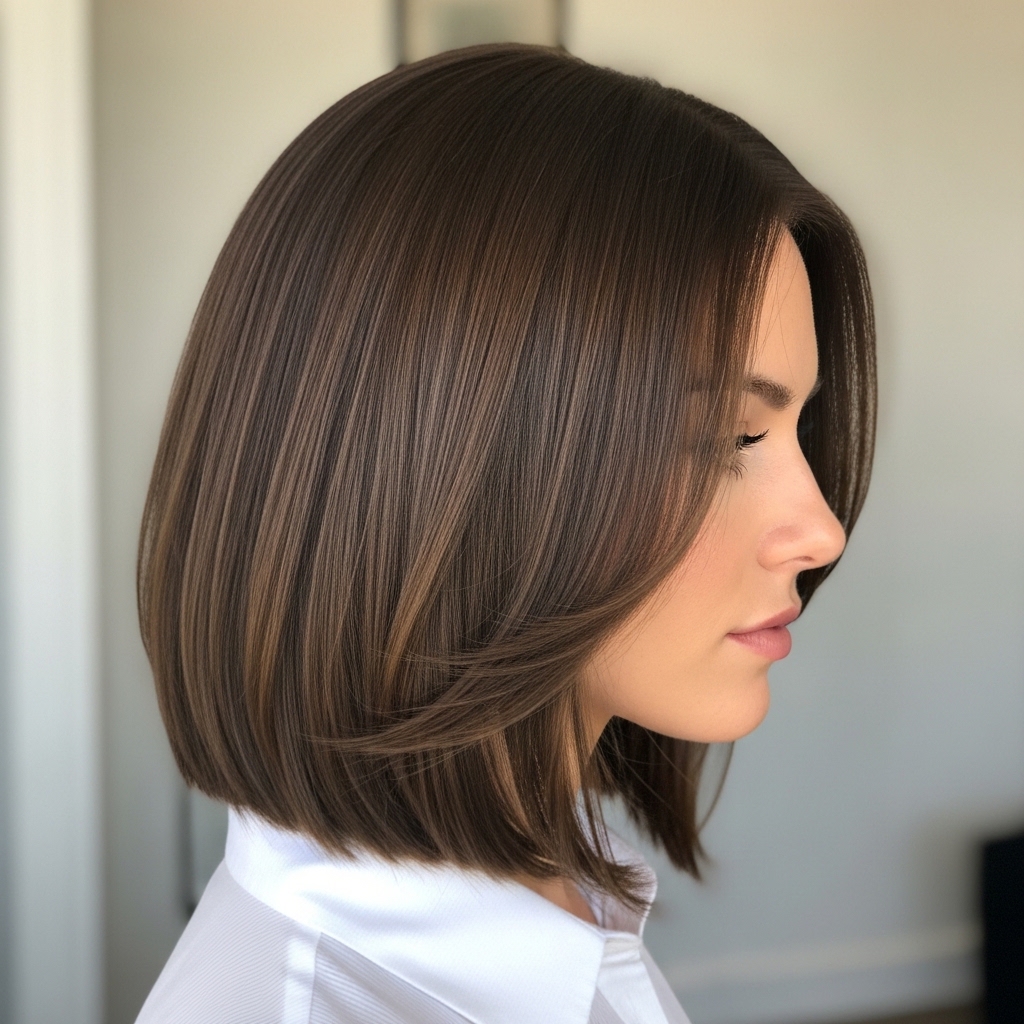
This isn’t just any haircut. The 21-inch length is precise for a reason. It’s long enough to pull into a tiny ponytail on bad days, but short enough to have incredible shape and body. The “rounded” part means the back is subtly shorter, creating a beautiful, inward curve that frames your face.
It’s the ultimate chameleon cut. You can style it sleek for an old money hair aesthetic, or add texture for something more relaxed. It works with almost every hair type and face shape, which is why my clients and readers are begging for it. It’s the foundation for so many trending looks, from the romantic goth hairstyles to clean-girl styles.
What You’ll Need for Heatless Waves
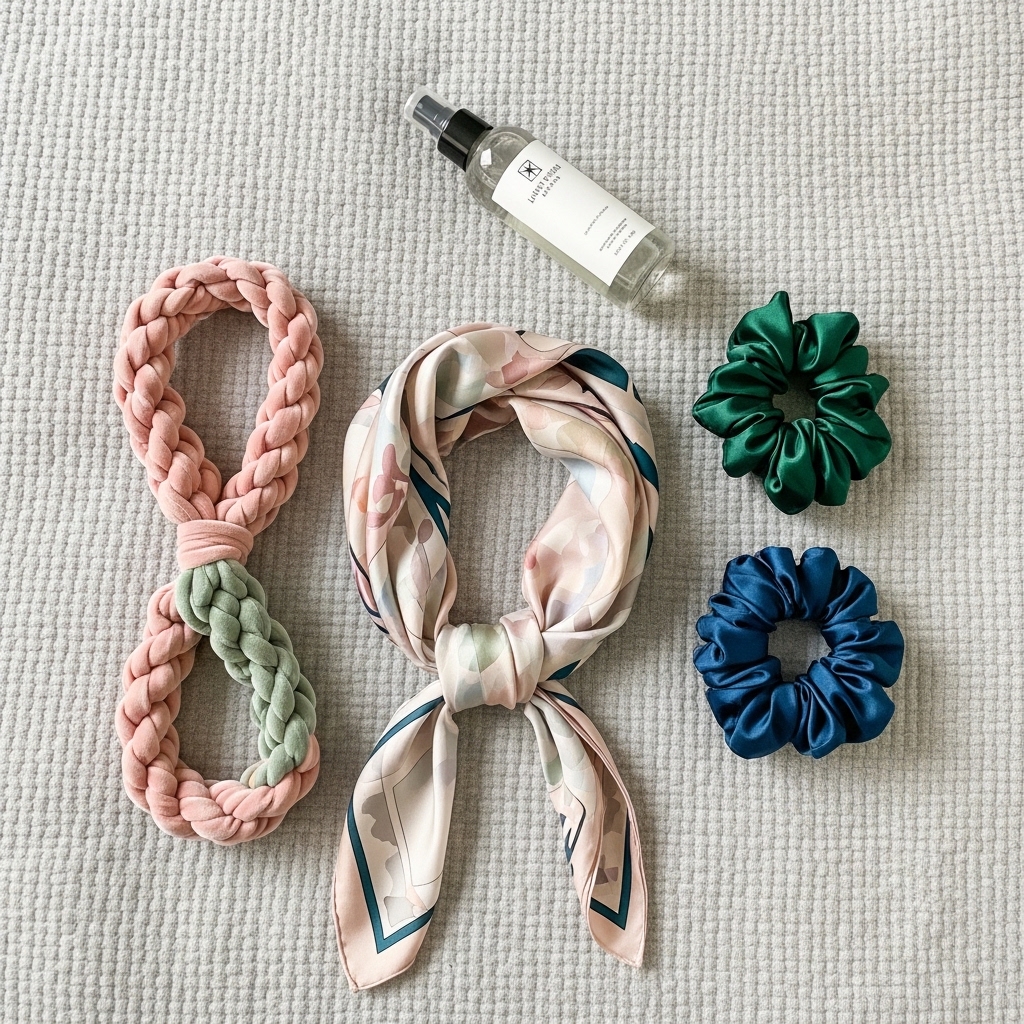
Gathering your tools is step one, and I promise you probably have most of this at home already. The goal is to be gentle on your hair, so we’re using soft, forgiving materials. Here’s your checklist:
- A Silk Scarf or Bonnet: This protects your waves and reduces frizz as you sleep.
- The “Rope”: This is your wave maker. Use a long, soft sock (knotted), a purpose-made heatless wave rod, or even a soft fabric hair rope.
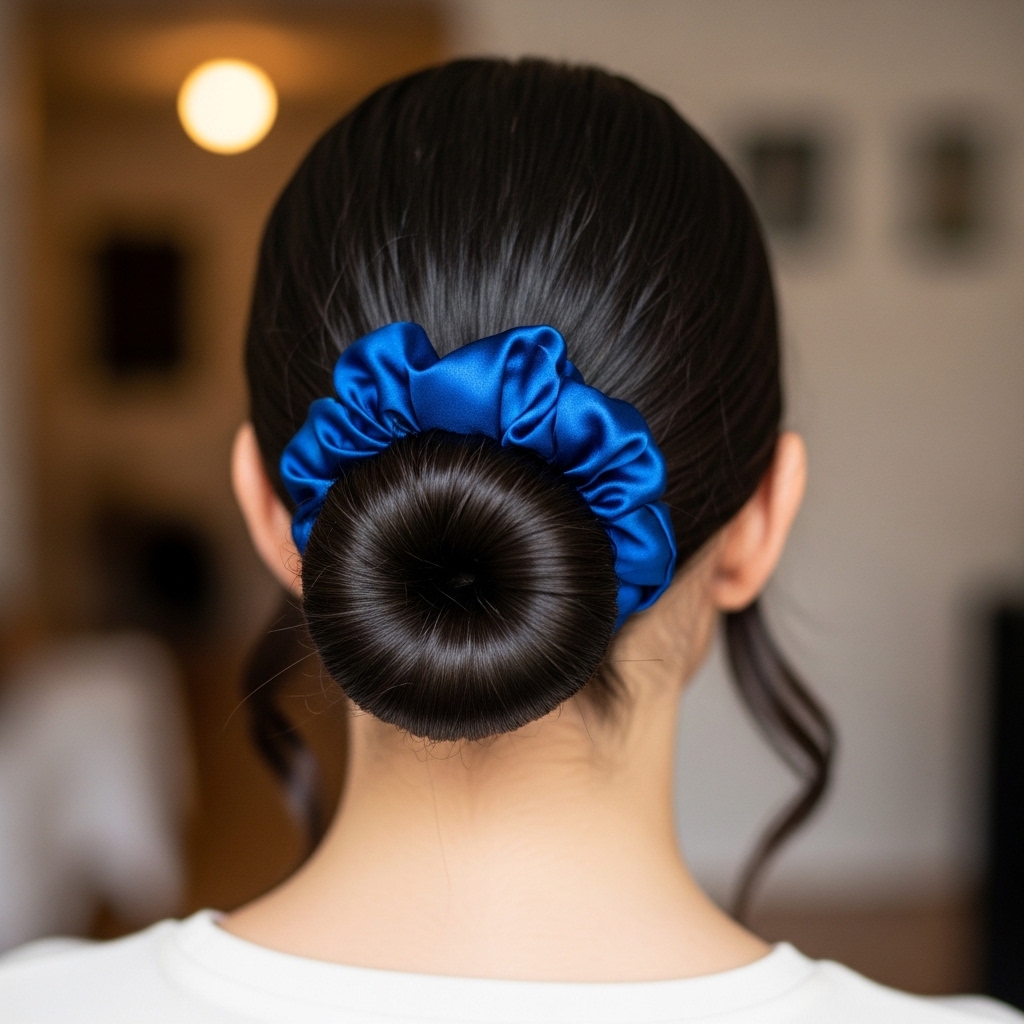
- Silk Scrunchies (2): For securing the ends without creases.
- A Light-Hold Texturizing Spray or Mousse: Just a little to help the style hold.
Step 1: Start with Damp, Not Wet, Hair
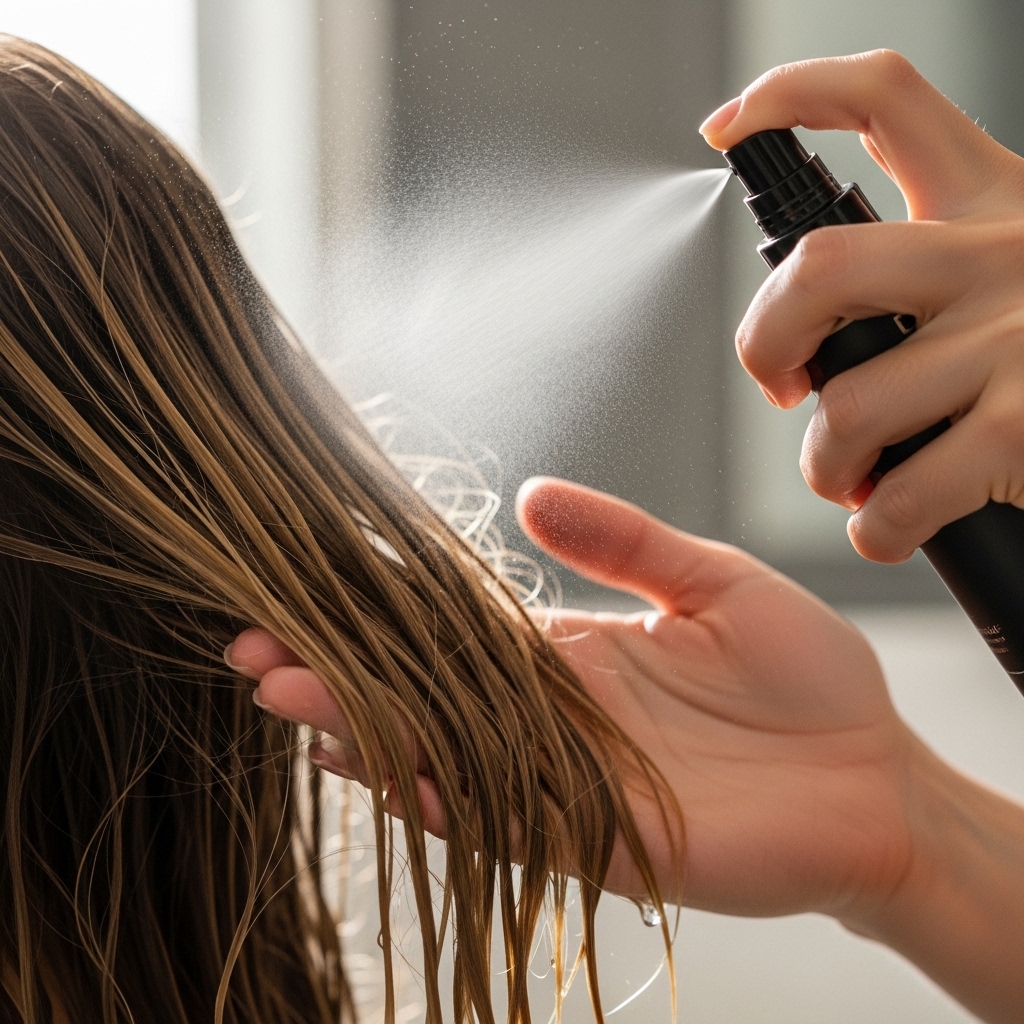
This is the most important tip for perfect heatless waves. Your hair should be about 80% dry. If it’s soaking wet, it won’t dry by morning and you’ll get a weird cast. If it’s bone dry, the waves won’t set properly.
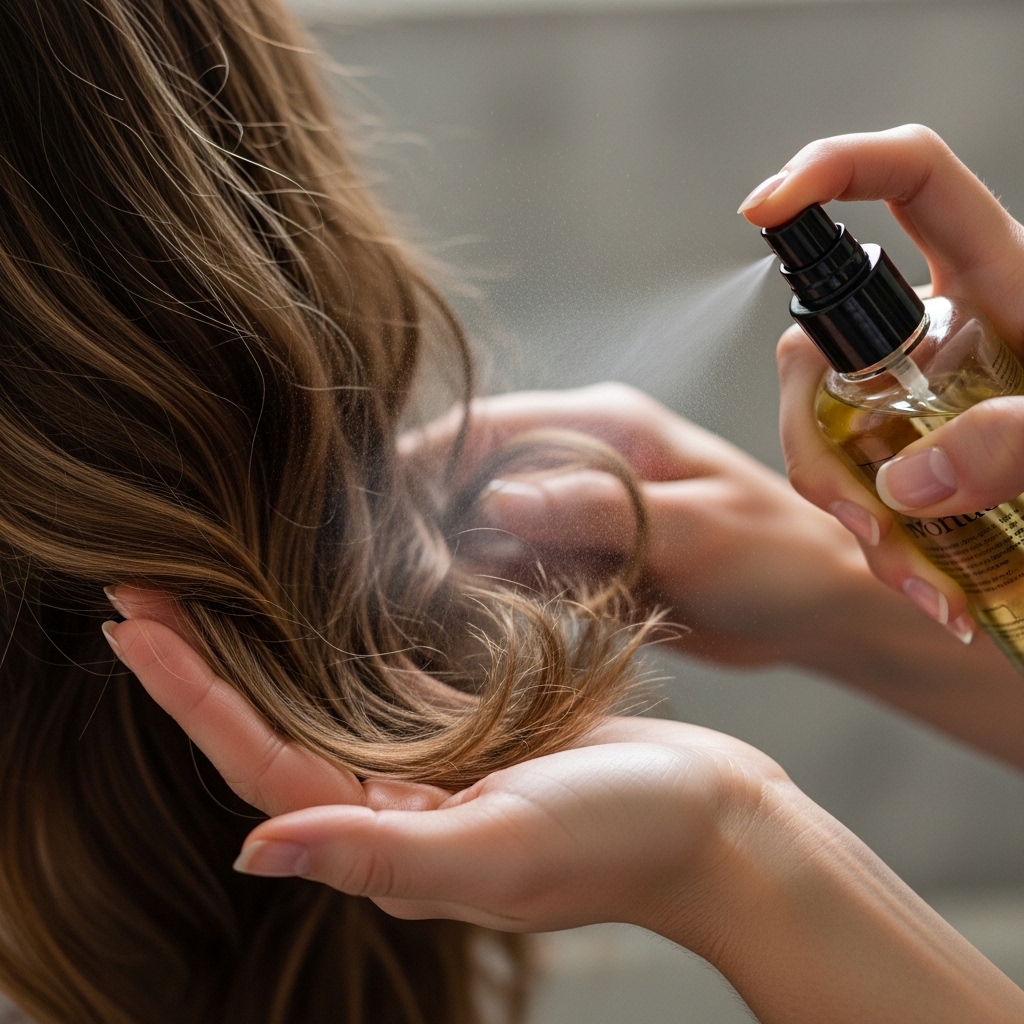
After you shower, gently towel-dry your hair to remove excess water. Then, I like to let it air dry for another 15-20 minutes. While it’s still damp, apply your texturizing product. I spritz a sea salt spray or a light mousse from mid-lengths to ends. This gives the hair something to “grip” and creates a more lived-in texture.
Step 2: Create a Deep Side Part
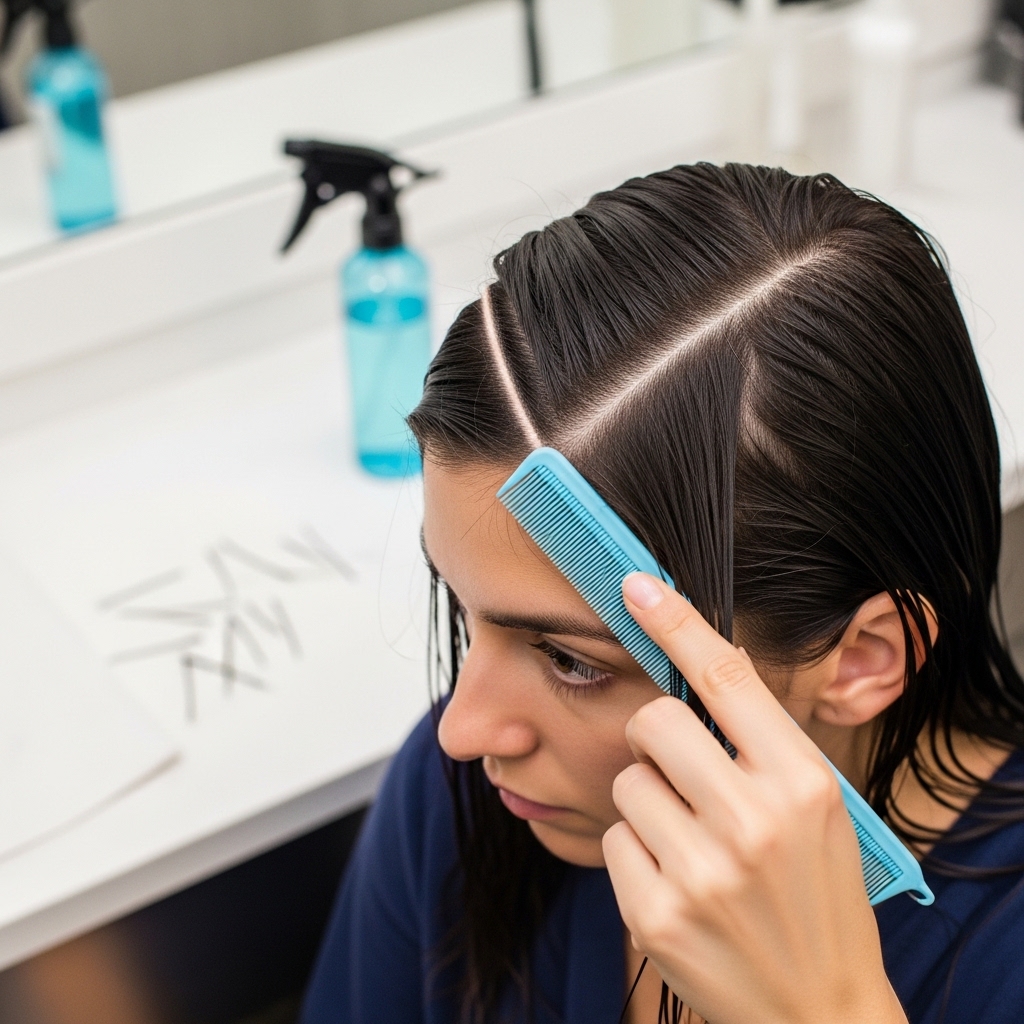
Before you start wrapping, decide on your part. For this look, I highly recommend a deep side part. It instantly adds volume and a touch of classic, almost vintage glamour to the style.
It also helps the waves fall in a more face-framing, romantic way. Use the handle of a comb or your finger to drag the part from the corner of your eyebrow back to the crown of your head. This sets the stage for all the volume and movement.
Step 3: Section Your Hair in Two
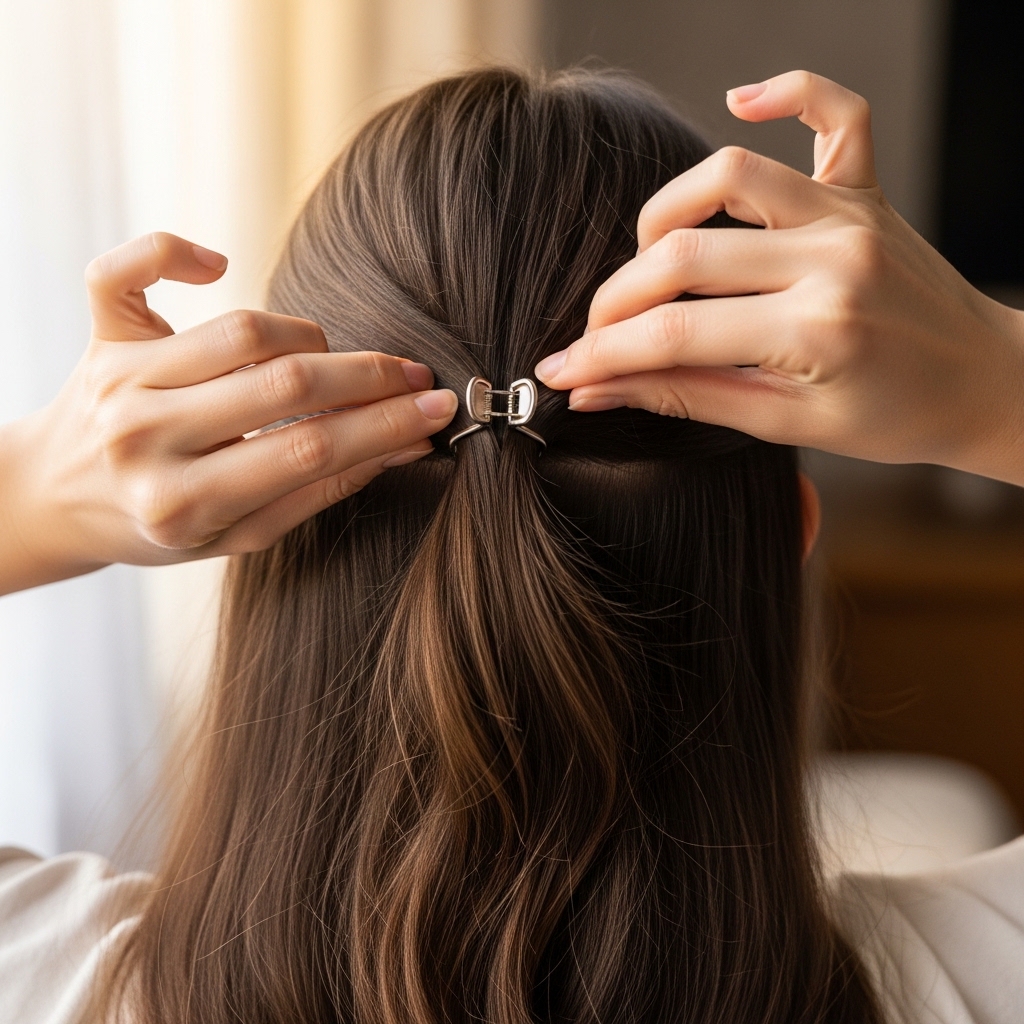
We’re going to work in two sections to make sure every piece gets wrapped neatly. This prevents a tangled mess and ensures uniform waves. Use a clip to separate your hair horizontally, from ear to ear.
Clip the top section up and out of the way. We’ll start with the bottom, under-layer of your hair. This section-by-section method is a game-changer and makes the whole process so much faster and easier.
Step 4: Begin Wrapping the Bottom Section
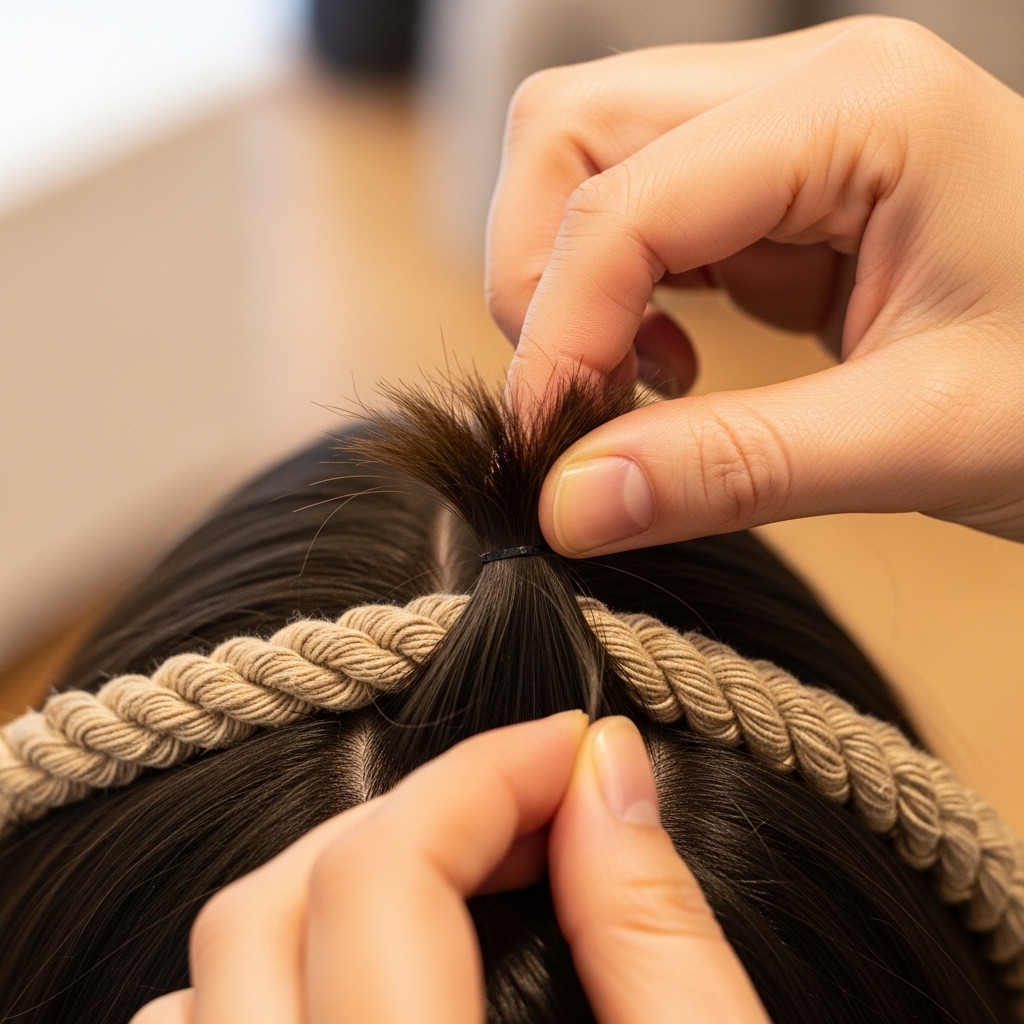
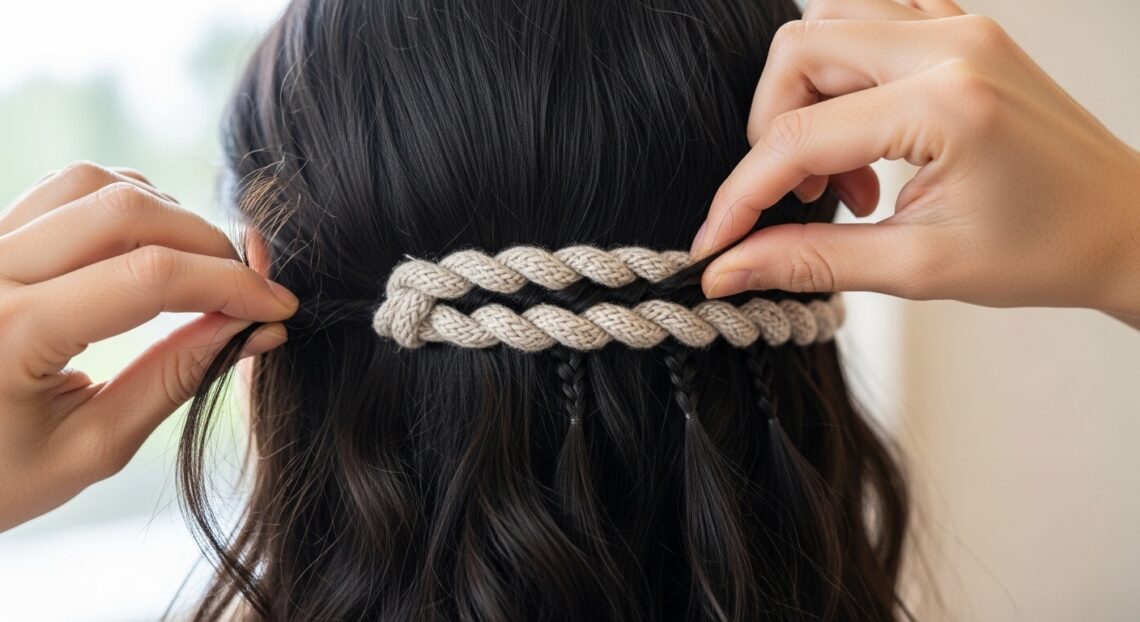
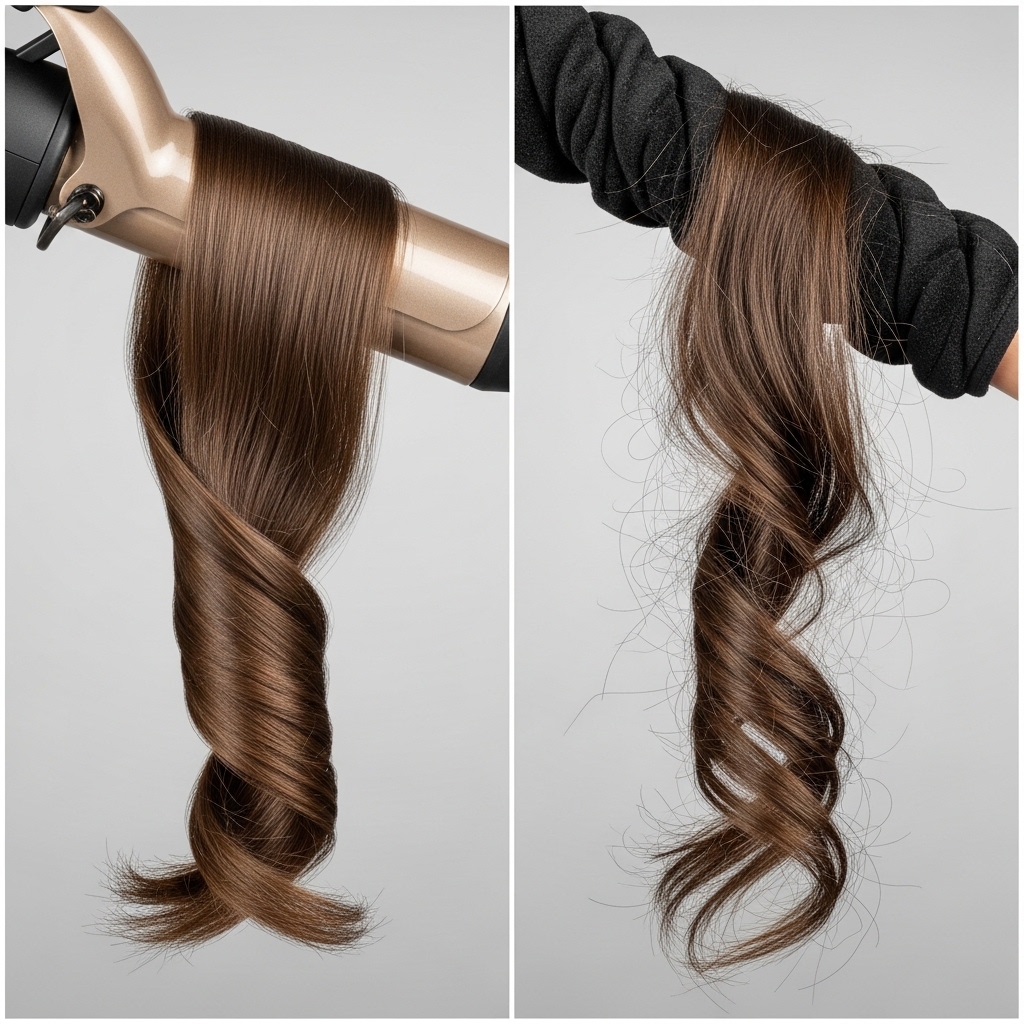
Take your fabric rope or sock and hold it horizontally at the nape of your neck. Now, take a small, horizontal subsection of hair from the bottom layer. Place the ends of that subsection on top of the rope.
You’re going to wrap the hair *and* the rope together, like you’re rolling up a ribbon. Make sure the hair is flat and smooth against the rope as you start. This first wrap is the anchor for the whole style, so take your time to get it neat.
Step 5: The Wrap-and-Roll Technique
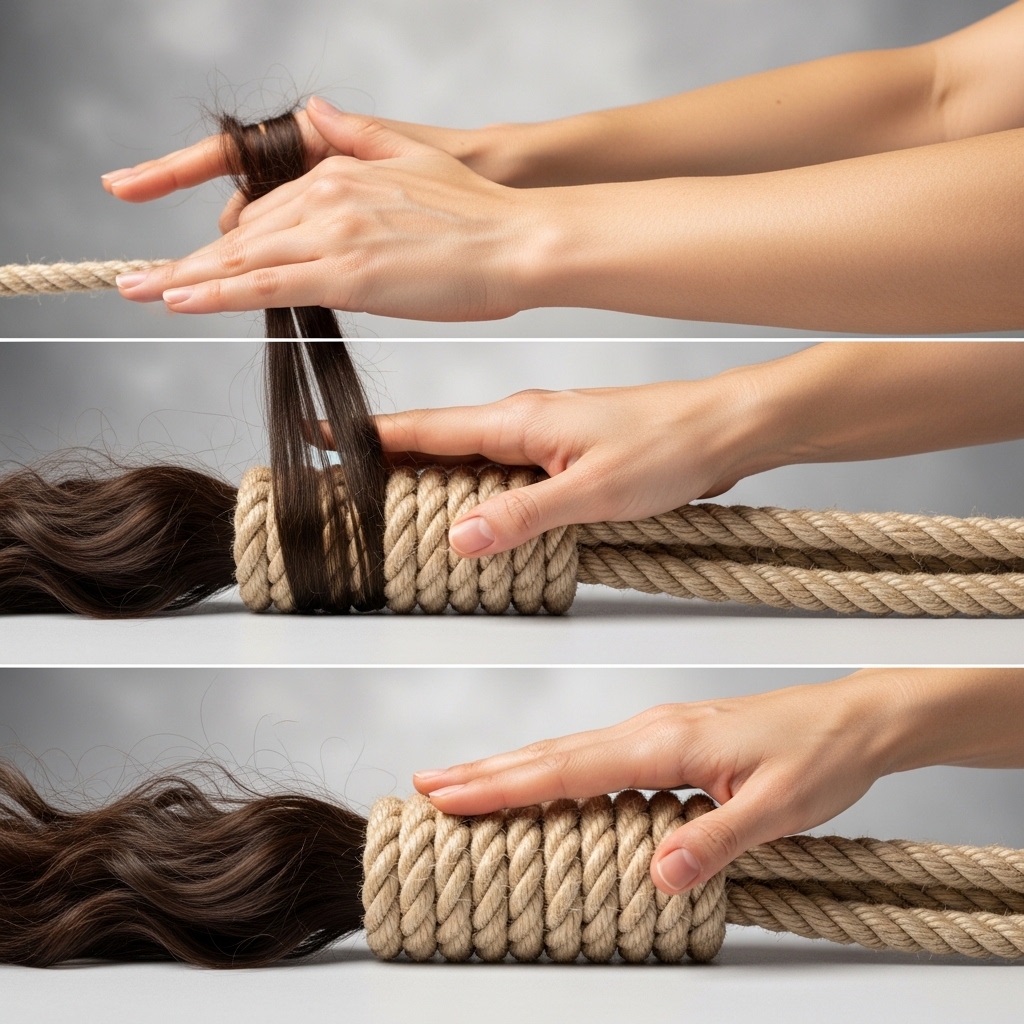
This is the magic move. Once the ends are secured, you’ll simply continue rolling the hair and the rope forward together, toward your forehead. Keep the tension even but gentle—you don’t want to pull or stretch the hair.
As you roll, gently feed in more hair from the bottom section. Imagine you’re wrapping a gift with a very soft ribbon. The goal is to have the hair layered smoothly around the rope all the way up to the roots of that bottom section.
Step 6: Secure the Bottom Roll
Once you’ve rolled all the hair from the bottom section up to the roots near the crown of your head, it’s time to secure it. Bring the two ends of the fabric rope up and tie them together gently at the top of your head.
If you’re using a sock, just tie the ends in a secure knot. The roll should feel comfortable, not tight. You can also use a second silk scrunchie to secure the bundle if it feels more stable. You should now have one horizontal roll sitting at the back of your crown.
Step 7: Release and Wrap the Top Section
Unclip the top section of your hair. Now, repeat the exact same process! Start with a new subsection at the back, place the ends on the rope (or start a new rope if needed), and begin rolling forward.
This roll will sit just above the first one. Make sure you’re catching all the hair, especially the pieces around your face and temples. Rolling this top section is what creates that beautiful, rounded shape and volume at the crown.
Step 8: Secure the Final Look for Sleep
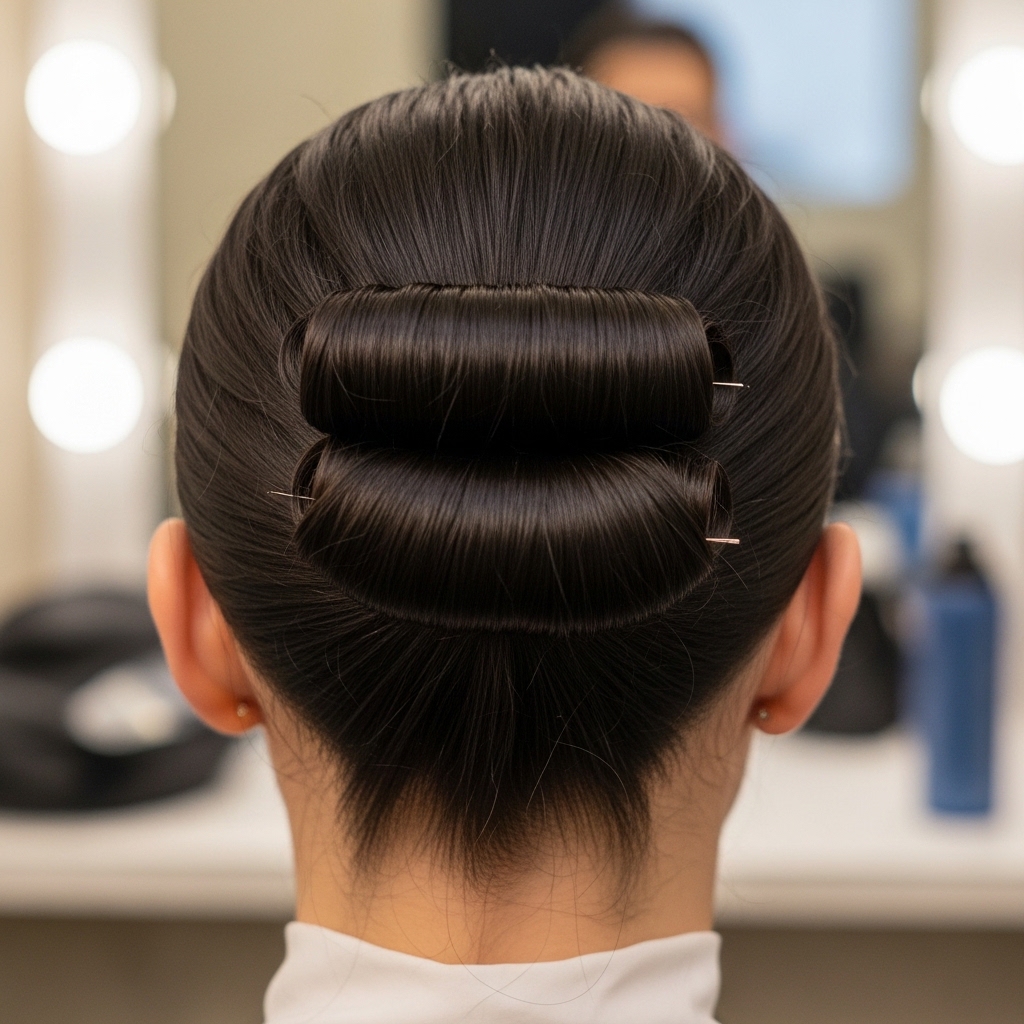
Once the top section is fully rolled and tied at the crown, you’ll have two soft rolls sitting side-by-side on top of your head. It might look a little silly, but trust the process! This is what creates the uniform wave pattern.
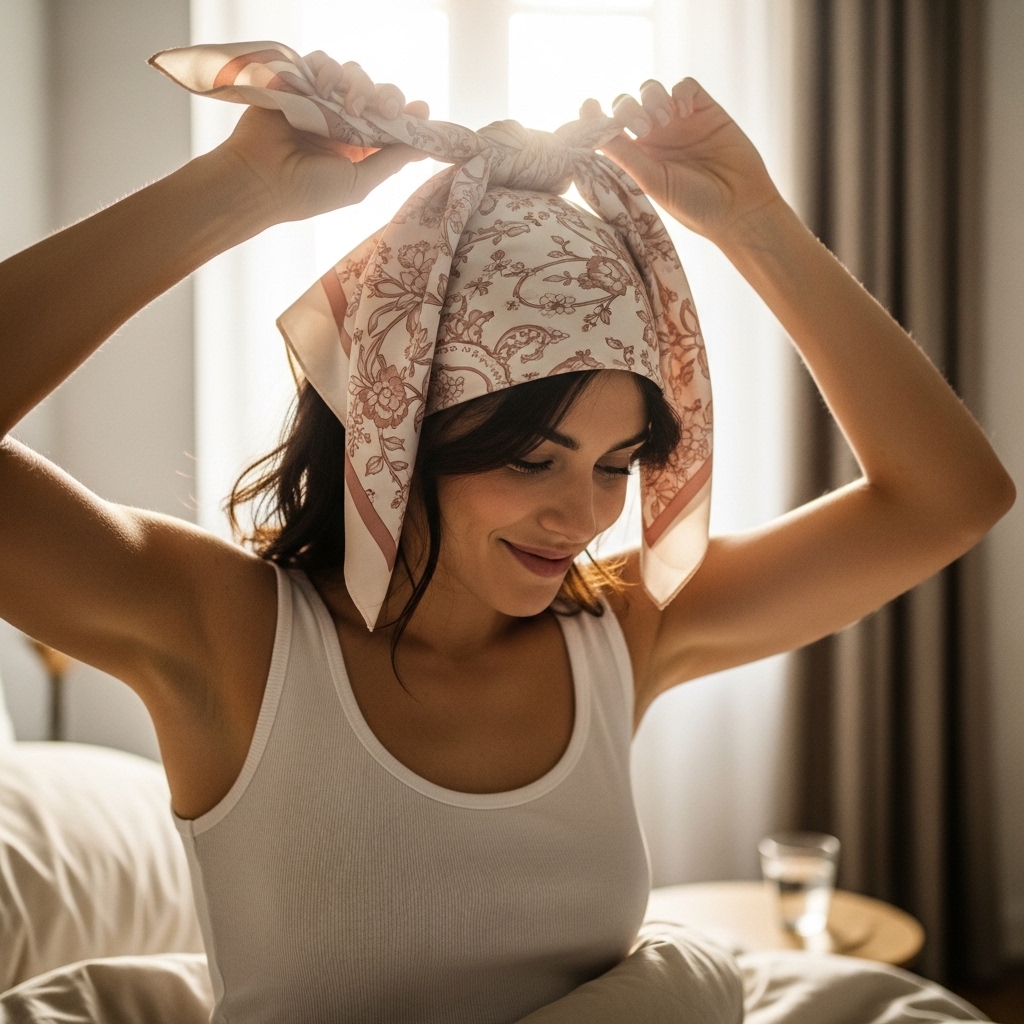
Gently tuck any loose pieces in. Now, take your silk scarf or bonnet and wrap it over the rolls, tying it under your chin or at the nape of your neck. This keeps everything in place and prevents friction while you sleep.
Step 9: The Overnight Set & Morning Reveal
Now, you just sleep! Aim for at least 6-8 hours to let your hair dry completely. The beauty of this method is that you’re not sleeping on awkward curlers—the rolls are surprisingly comfortable at the top of your head.
In the morning, carefully untie the scarf and then unknot the fabric ropes. Let the rolls fall down gently. Don’t pull or rush this part. You’ll see the beautiful, crimped waves as they unravel. This is the best moment!
Step 10: Shake It Out & Break Up the Waves

Once all the hair is down, don’t touch a brush yet! First, flip your head over and gently shake your roots with your fingers. This adds instant volume and breaks up any too-perfect wave patterns.
Then, flip back and use your fingers to loosely run through the lengths. You want to separate the waves into softer, more natural-looking sections. The goal is “effortless,” not “perfect spiral curls.”
Step 11: Apply a Light Finishing Product
To combat any slight frizz and add shine, I use a tiny drop of hair oil or a flexible hold spray. Warm the product between your palms, then gently scrunch it into the ends of your hair.
Avoid the roots here—you want to keep that volume you just created. This step gives you that glitchy glam hair texture, where it looks perfectly imperfect and full of movement.
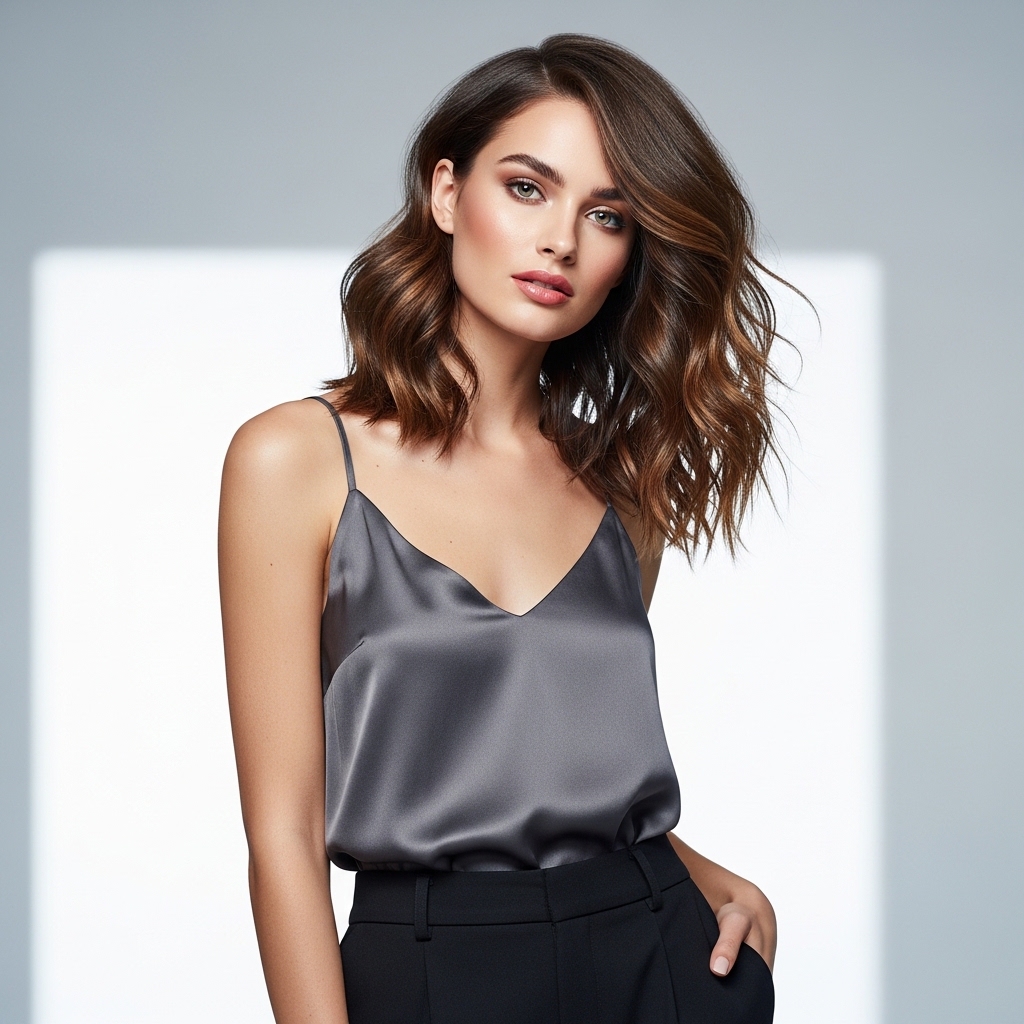
Step 12: How to Style with a Middle Part

Want to switch up the vibe? Use a comb to drag your part to the center. The heatless waves will fall in a gorgeous, symmetrical pattern that feels very now.
A middle part with this lob gives off major quiet luxury energy. It’s sleek, polished, and lets the beautiful shape of the cut and the softness of the waves really shine. It’s a totally different look from the side part, but just as stunning.
Why Heatless is Healthier & Actually Lasts
Heat styling breaks down the hair’s keratin over time, leading to dryness, split ends, and a lack of shine. By going heatless, you’re preserving your hair’s health, which means your haircut looks better for longer.
And the best part? These waves last! Because they’re set as your hair dries naturally, they have incredible staying power. You’ll find they get even softer and more lived-in on day two and three, unlike heat-styled waves that often fall out quickly.
Adapting This for an Asymmetrical Lob
Love the drama of an asymmetrical lob? This method works perfectly for it. The key is to make sure you’re wrapping all the hair evenly, regardless of length.
The waves will add a soft, romantic texture that contrasts beautifully with the sharp, edgy lines of the cut. It’s a fantastic way to add a touch of softness to a bold style, blending trends in a cool way.
Getting the “Vampire Haircut” Texture
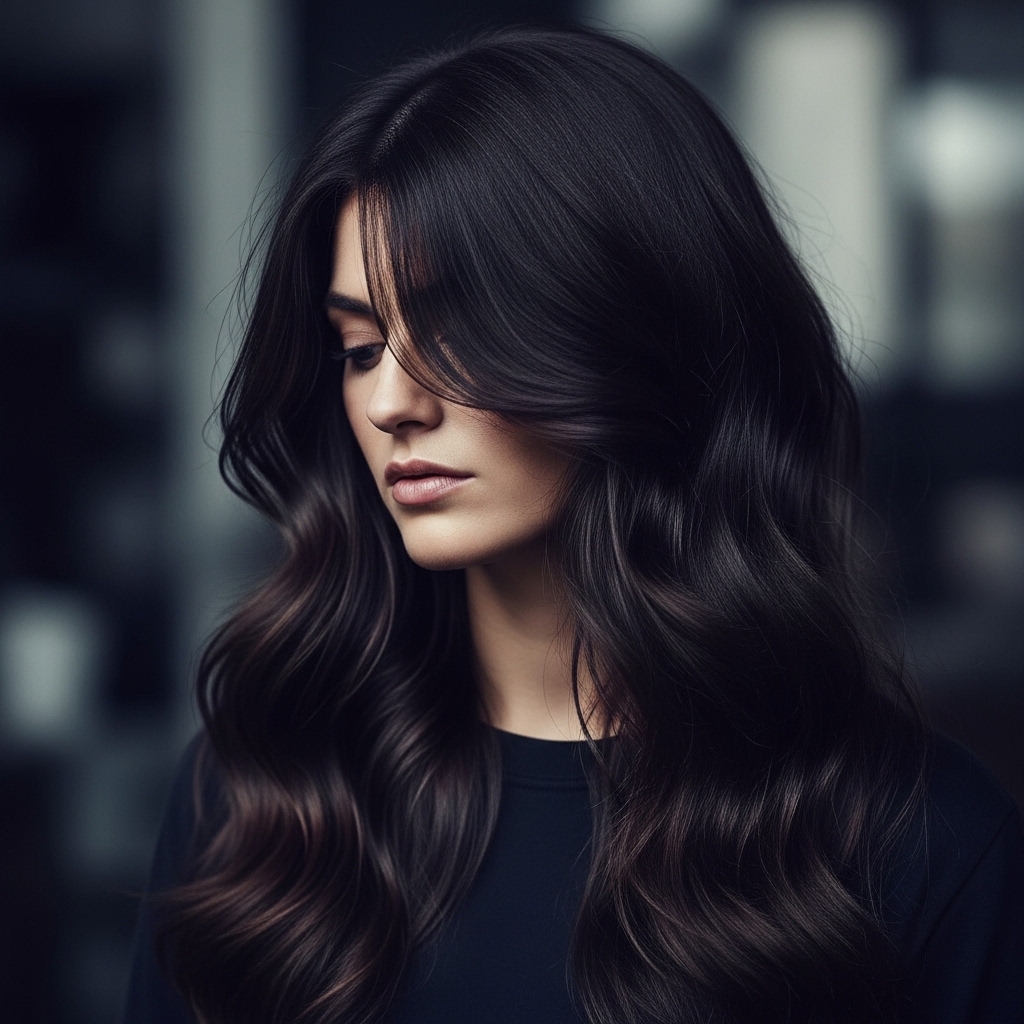
The popular vampire haircut is all about dark color, sharp layers, and romantic texture. Our heatless waves are the ideal way to achieve that soft, poetic texture without any heat damage.
For this look, focus on really breaking up the waves with your fingers for a more undone, piece-y finish. Pair it with a deep side part and you’ve got that perfect romantic goth hairstyles inspiration.
Adding Volume for a “Hime Cut” Feel
While not a full hime cut, this lob can borrow its spirit with tons of volume at the crown. When you shake out your roots in the morning, really focus on lifting there.
You can even use a tiny bit of dry shampoo at the roots for extra grip and fullness. This creates a beautiful, dramatic silhouette that feels both modern and playful.
Day 2 & 3 Refresh Tips
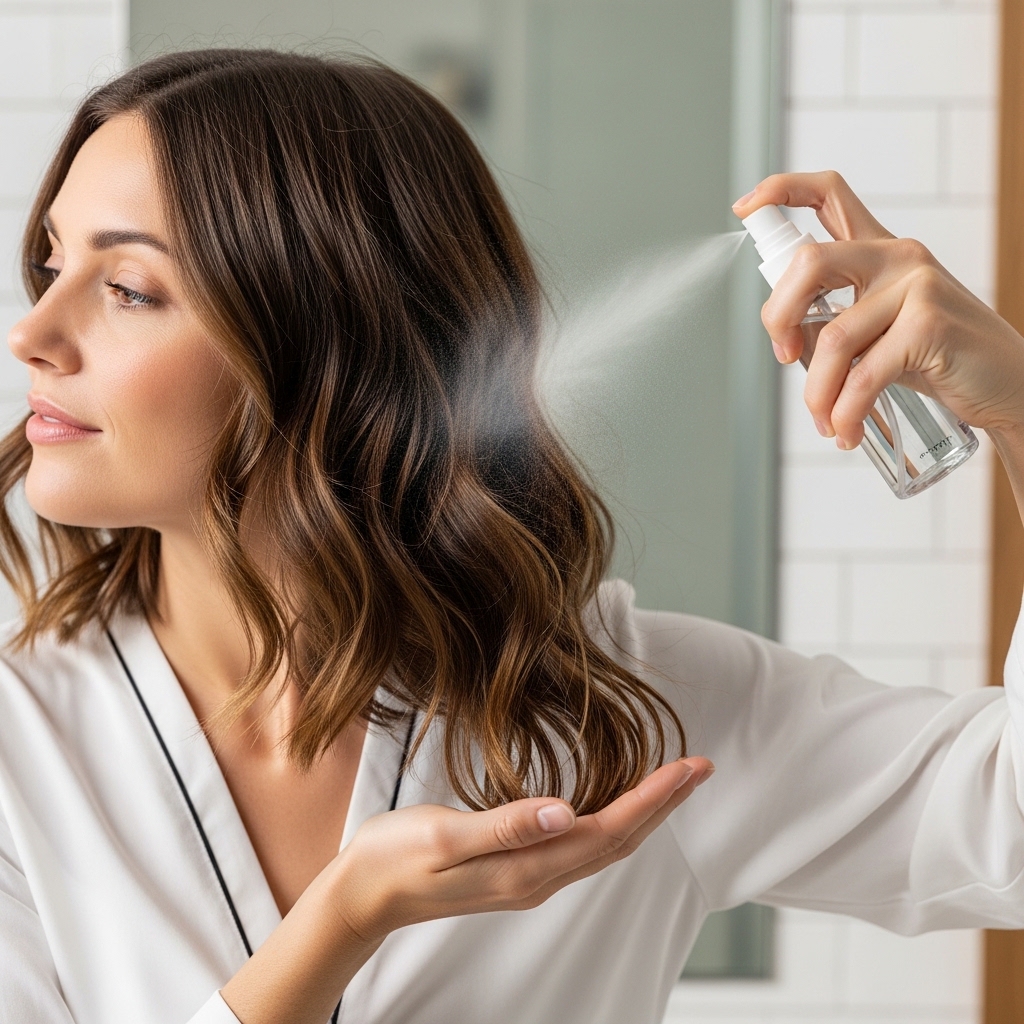
Your heatless waves will get better with age! To refresh them, mix a little water and conditioner in a spray bottle. Lightly mist your hair, focusing on the ends, then scrunch.
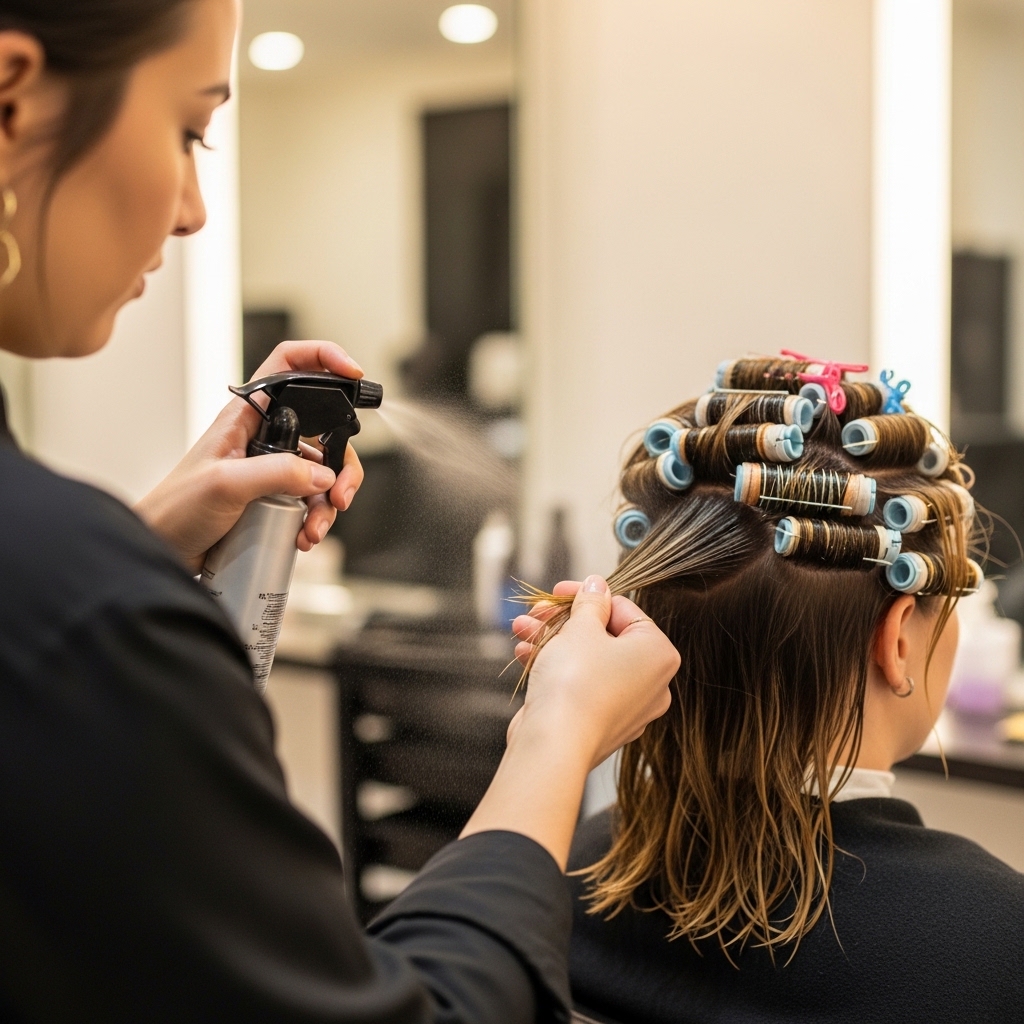
You can also re-wrap a few face-framing pieces around the fabric rope for 30 minutes while you get ready. This revives the pattern without having to redo your whole head.
Common Mistakes & How to Fix Them
The biggest mistake is starting with hair that’s too wet or too dry. If it’s too wet, use your hairdryer on a cool, low setting for a few minutes. If it’s too dry, lightly mist the section with water before wrapping.
Another issue is wrapping too tightly, which can cause dents. The tension should be firm enough to hold, but gentle. If you get a dent, simply mist it and blow-dry on cool while brushing it out.
My Favorite Products for This Style
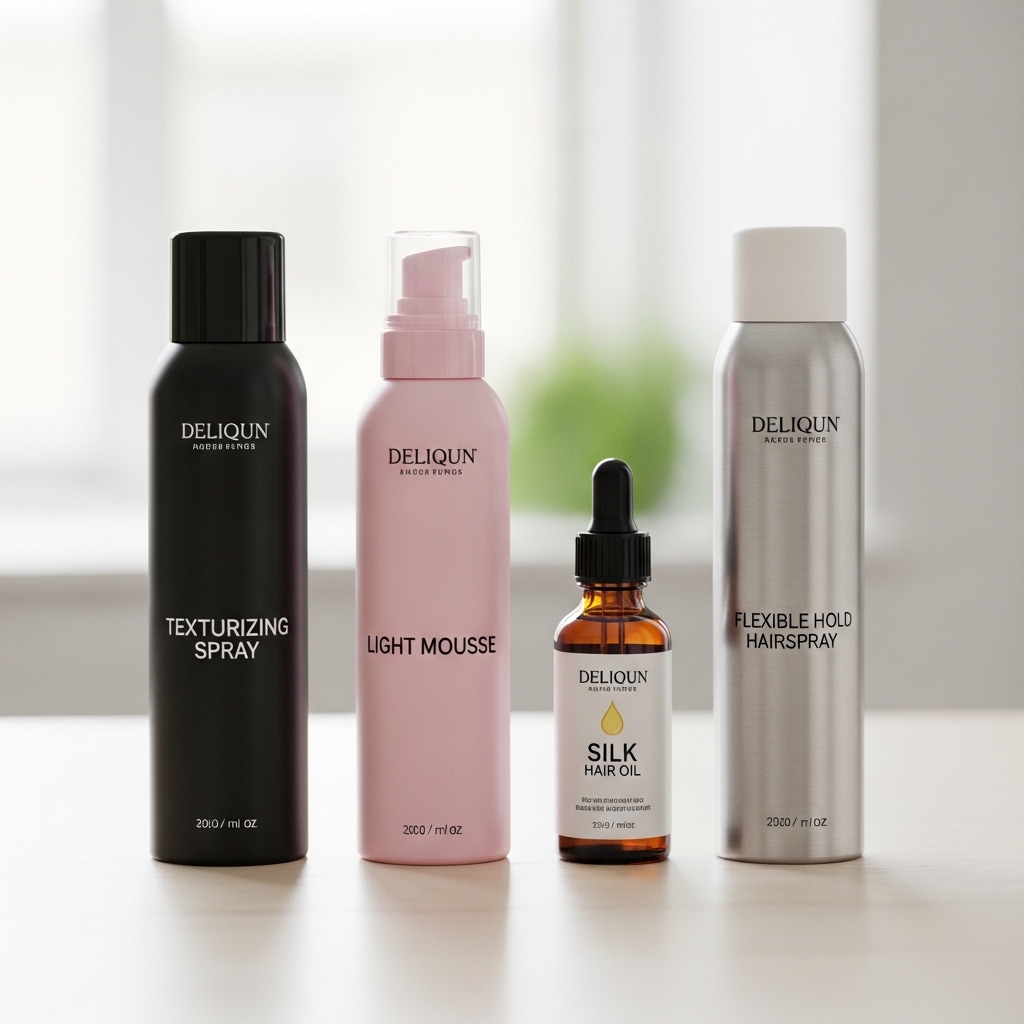
You don’t need much, but the right products help. Here’s what’s always in my rotation for this look:
- Bumble and Bumble Sea Salt Spray: For perfect texture.
- Living Proof Flexible Hold Mousse: Lightweight but effective.
- Olaplex No. 7 Bonding Oil: A tiny drop for insane shine.
- Amika Dry Shampoo: For volume refreshes on day 2.
Why This is a 2026 Hair Trend Already
We’re moving toward hairstyles that prioritize hair health and effortless beauty. This look nails both. It’s low-maintenance, sustainable (no heat!), and creates a texture that looks expensive and lived-in.
It fits right into the quiet luxury bob trend but has the versatility to edge into glitchy glam hair or romantic styles. It’s a timeless technique meeting a modern cut, which is exactly where hair is heading.
Your Questions Answered
Will this work on straight, fine hair? Absolutely! It creates a beautiful, soft bend. Make sure your hair is only slightly damp and use a mousse for extra hold.
What if I have curly hair? This method can help define and stretch your curls gently. Start with hair that’s 90% dry and use a curl cream instead of a sea salt spray.
Can I do this on dry hair? For the best set, damp hair is key. Dry hair won’t hold the wave pattern as long or as smoothly.
Final Look & Confidence Boost
When you finally shake out those waves, you’ll see it. This hairstyle gives you a major confidence boost. It looks like you spent hours, but your secret is that you literally slept on it.
It’s healthy, it’s chic, and it proves that the best beauty routines are often the simplest. You get all the compliments without any of the damage or daily time commitment. That’s a win in my book.
And that’s it, friends! My complete, step-by-step guide to getting the most gorgeous rounded lob with heatless waves. This method has seriously changed my hair game, and I know it can do the same

