
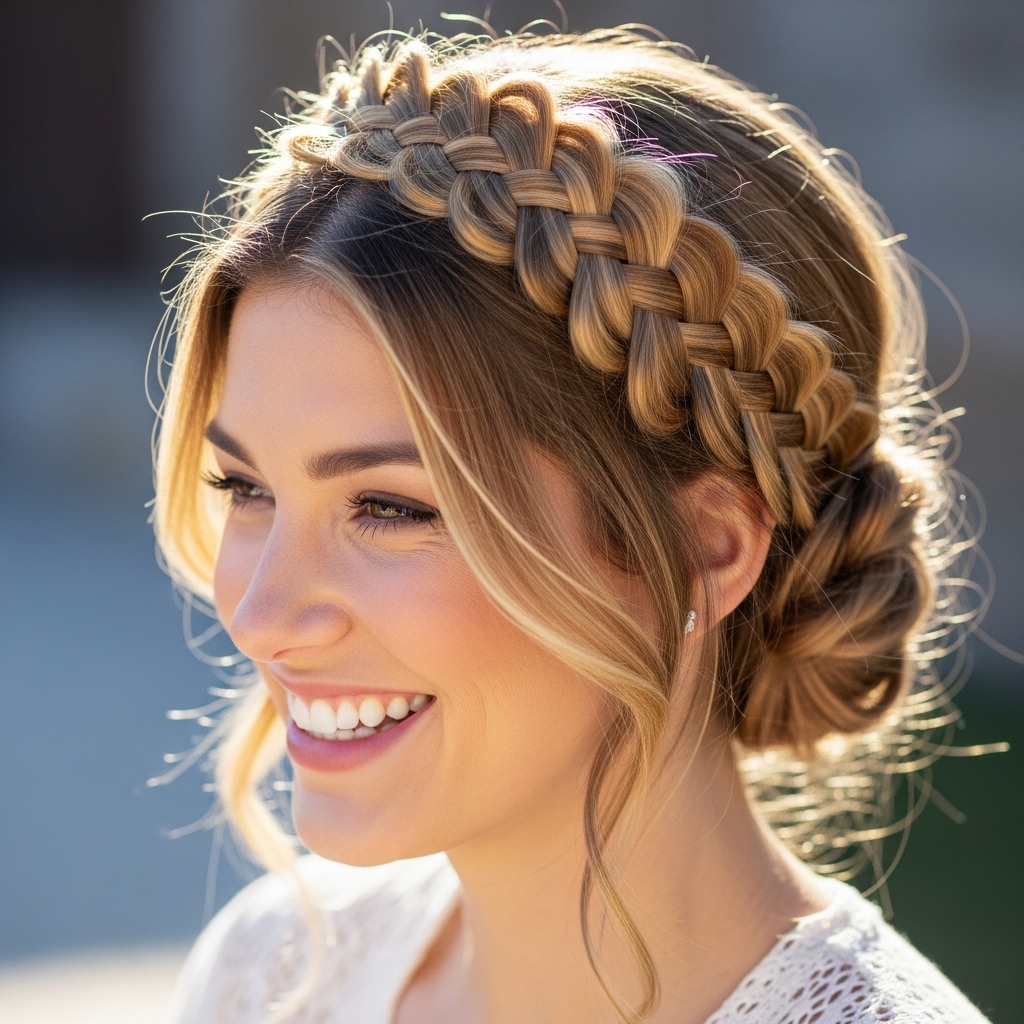
Okay, let’s be real. We’ve all seen those stunning laced-up crown braids on Pinterest and thought, “That’s gorgeous… but there’s no way I can do that on my own hair.” I felt the same way for years. It looked like something you’d need a professional hairstylist and three extra hands for.
But guess what? It’s actually one of the most forgiving and beautiful styles for long hair once you know the simple secrets. It works for everything from a casual coffee run to a formal wedding.
This isn’t about complicated techniques. It’s about a few easy steps that build on basic braiding. I’m going to walk you through the entire process, from prep to finish, with all my favorite tips for making it last all day. You’ll be mastering this romantic, ethereal look in no time.
What Exactly Is a Laced-Up Crown Braid?
Think of it as a halo braid, but with a little more magic. Instead of one continuous braid circling your head, a laced-up style involves two or more braids that are woven or “laced” together across the crown of your head. It creates this beautiful, intricate detail that looks far more complex than it is.
It’s the perfect blend of boho romance and elegant structure. This style has roots in so many aesthetics, from the softness of old money hair to the intricate details you might see in romantic goth hairstyles. It’s incredibly versatile.
Why This Style is Perfect for Long Hair
If you have long hair, you know the struggle of wanting to wear it up in a way that feels special, not just a basic bun or ponytail. This style is your answer. It manages all that length beautifully, turning it into an asset.
The weight of long hair actually helps the style stay secure. It distributes the hair evenly around your head, preventing that heavy, pulling feeling you can get from a single high ponytail. It keeps hair completely off your face and neck, which is a dream in warmer weather.
Essential Tools You’ll Need to Get Started
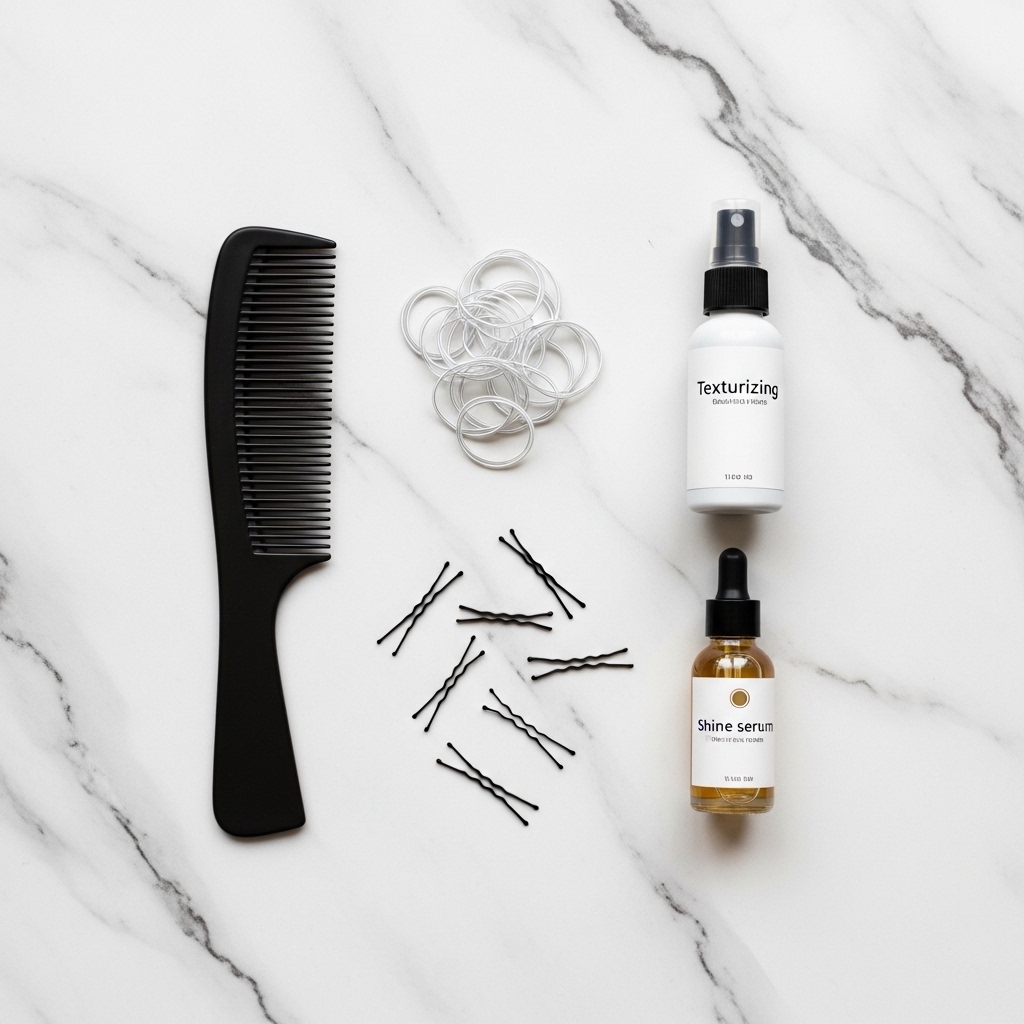
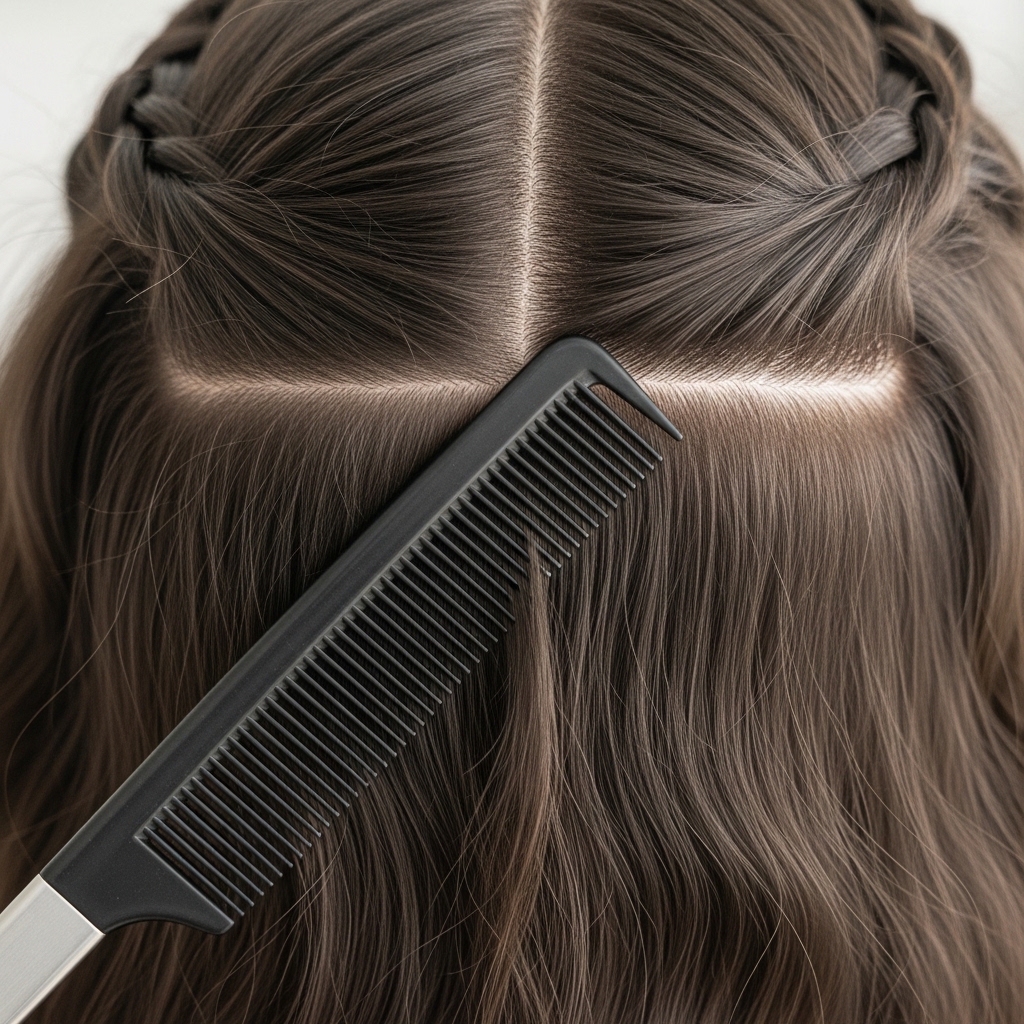
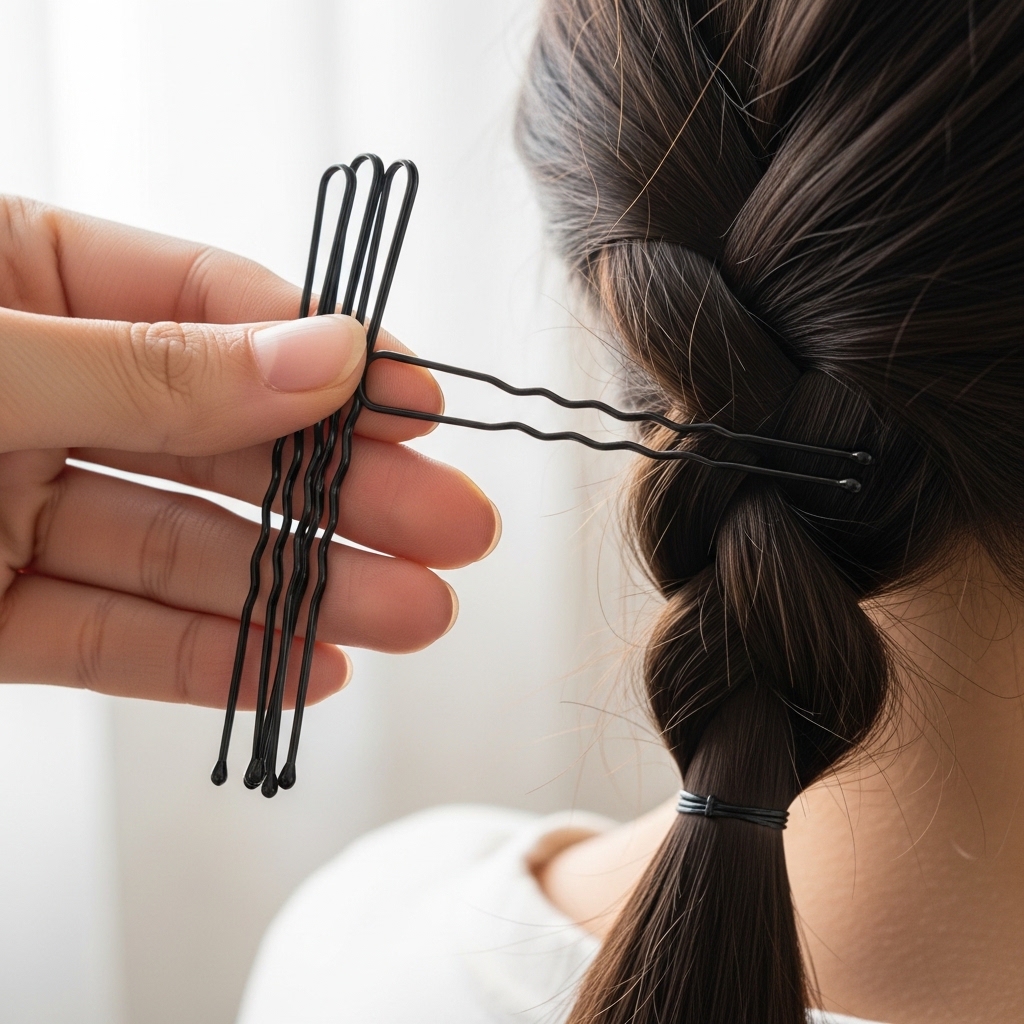
You don’t need a salon full of products. Just a few basics will set you up for success. First, a fine-tooth comb for clean partings. Second, clear elastic bands that match your hair color. Third, a bunch of bobby pins (the strong, matte-finish ones are best).
For product, a light-hold texturizing spray is my hero. It gives your hair a tiny bit of grip so the braid holds better and doesn’t slip. A shine serum can be used on the ends after to tame any flyaways for a polished finish.
The Magic of Day-Old Hair
Here’s the biggest secret: start with hair that hasn’t been washed that morning. Day-old hair has natural oils that provide the perfect amount of texture and grip. Freshly washed hair can be too slippery, making braiding frustrating.
If you must wash your hair, spray in a dry shampoo or texturizer at the roots before you begin. This mimics that second-day texture and gives the braid something to hold onto. Trust me, this one tip changes everything.
Step 1: The Perfect Prep & Parting
Start by brushing your hair thoroughly to remove any tangles. Then, decide on your part. A deep side part adds drama and volume. A clean center part feels more modern and balanced, almost like the sophistication of an asymmetrical lob but in braid form.
Use the tail of your comb to make the part sharp. For a laced crown, you’ll be working with two main sections. Create a part from ear to ear over the crown of your head, separating the top section from the bottom. Clip the bottom section out of the way for now.

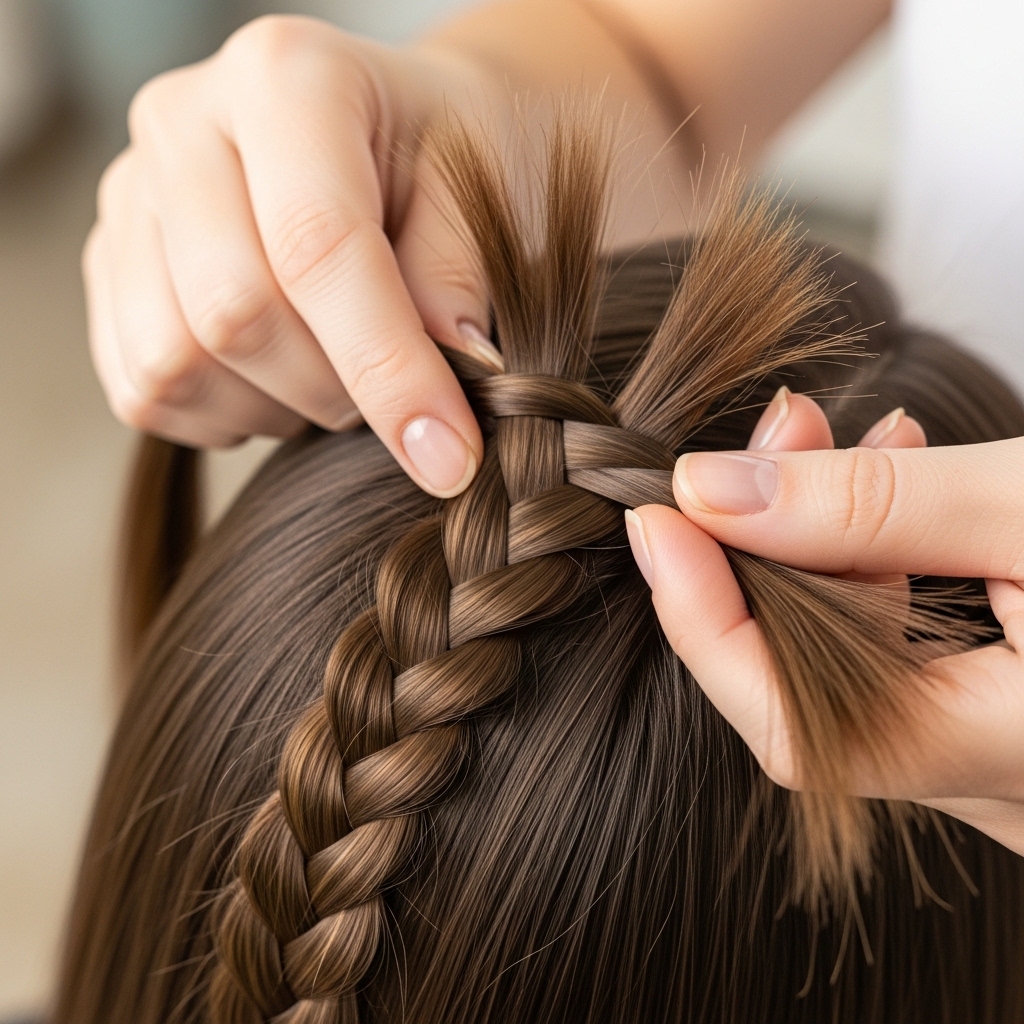
Step 2: Creating Your First Dutch Braid
On one side of your part, take a section of hair at the front, near your hairline. Divide it into three strands. Now, instead of a regular braid going over, you’ll do a Dutch braid, which means crossing the strands under the middle piece.
This technique creates a braid that sits on top of your hair, which is essential for the laced effect. Add in more hair from the front and top of your head with each stitch, braiding back along your hairline towards your ear. Secure the end with a clear elastic.
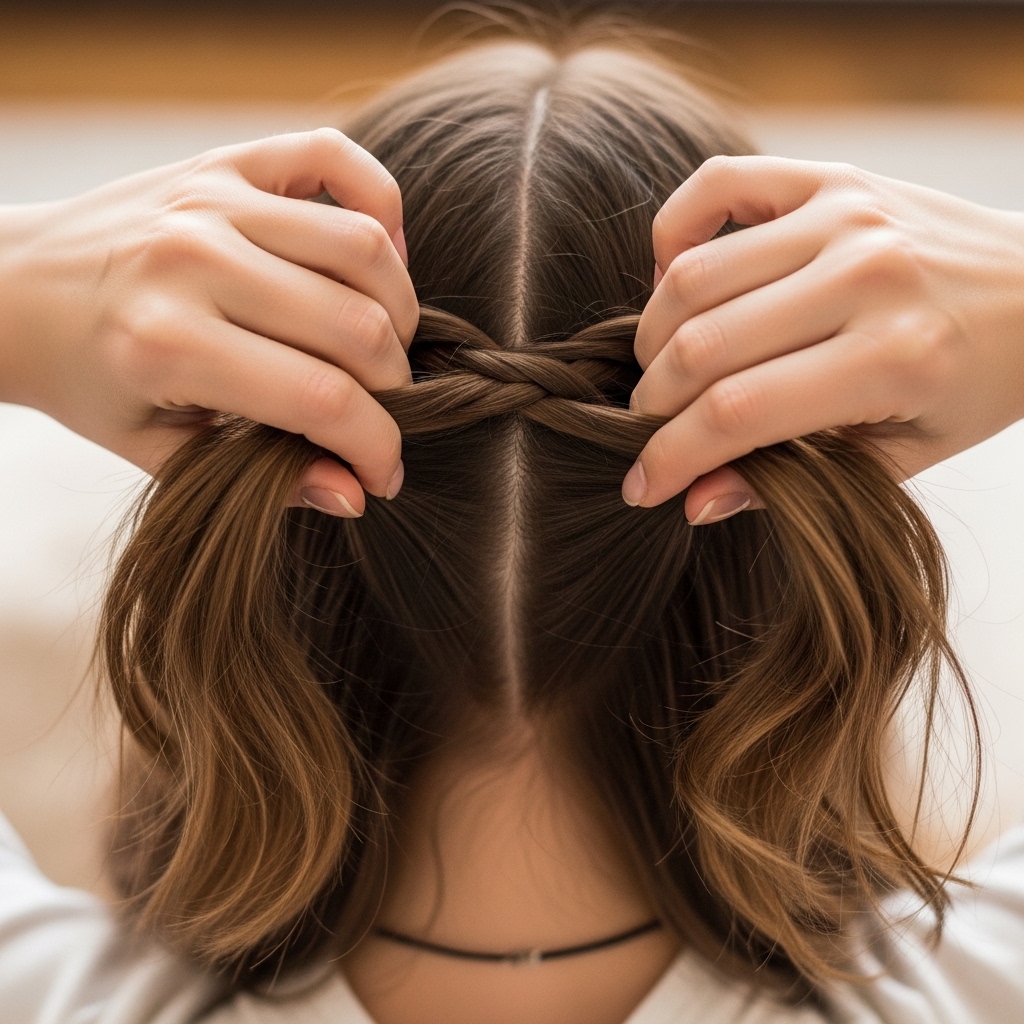
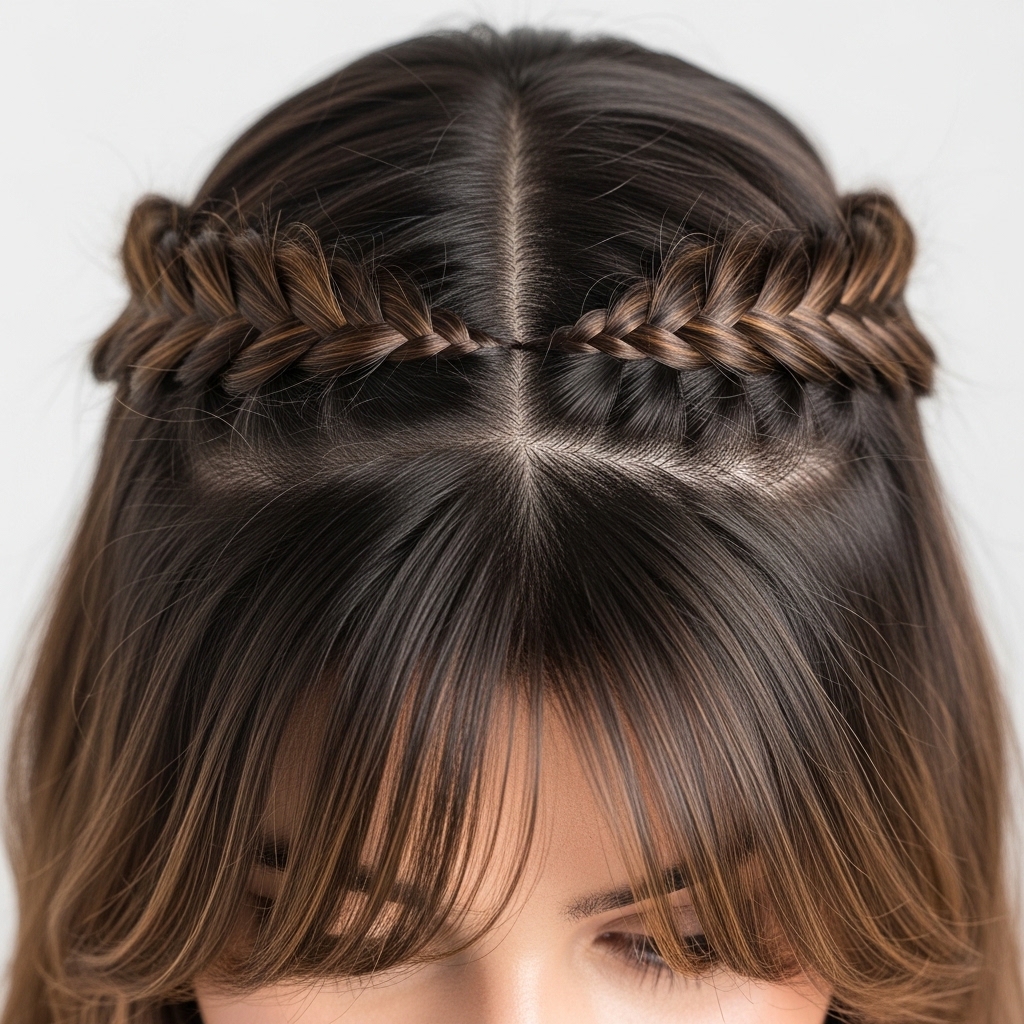
Step 3: Mirroring It on the Other Side
Repeat the exact same Dutch braid process on the opposite side of your head. Try to make them as symmetrical as possible in size and tightness. Don’t worry if they’re not perfect—the lacing will hide any small inconsistencies.
Braid each side back until you reach a point just behind your ear. Secure both braids with elastics. You should now have two Dutch braids running along the sides of your head, with the middle section of hair still loose and clipped back.
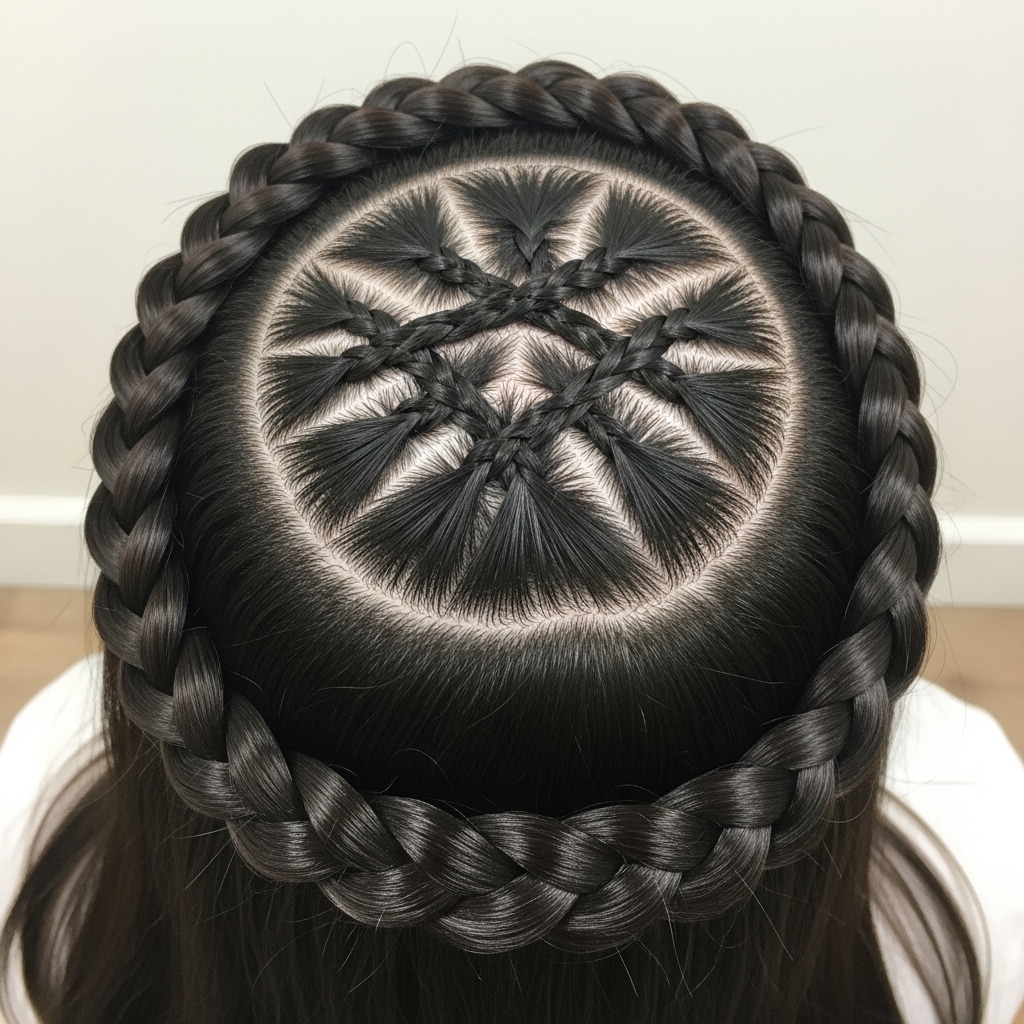
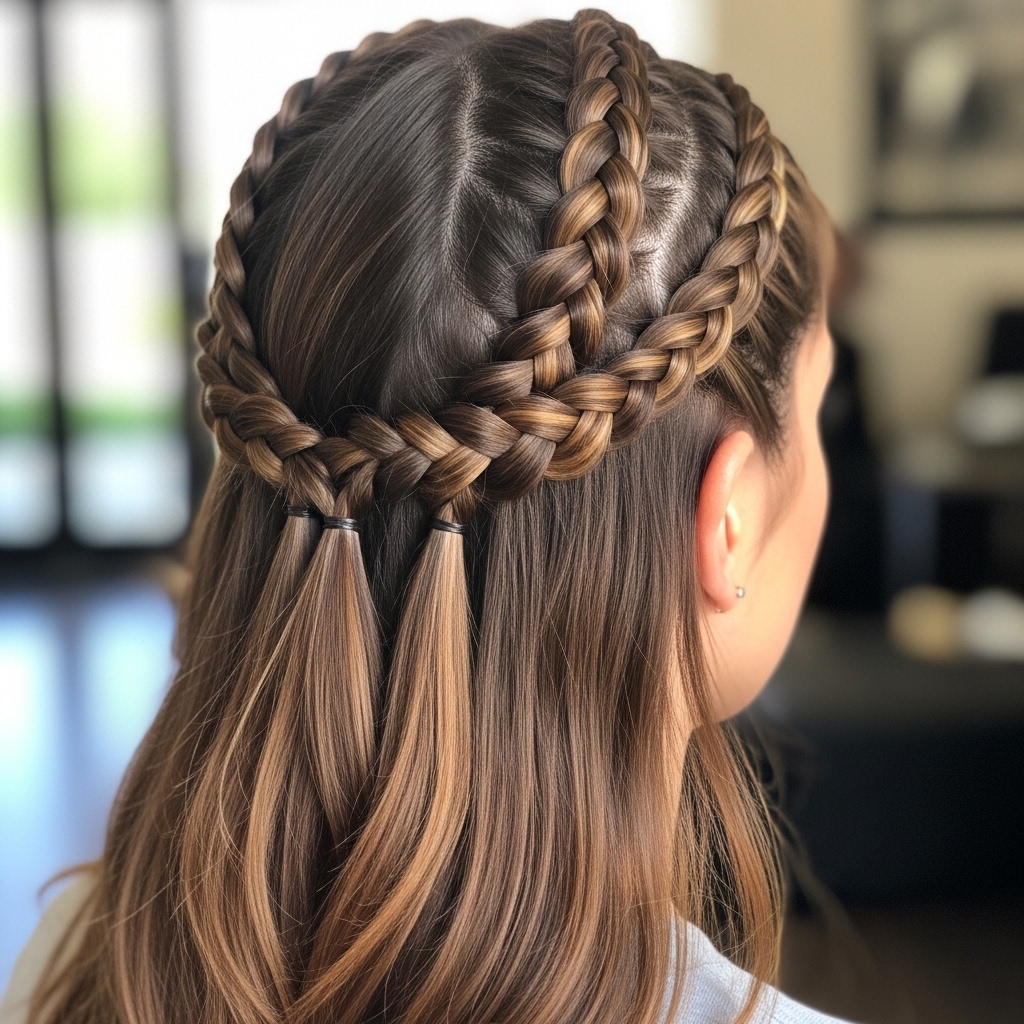
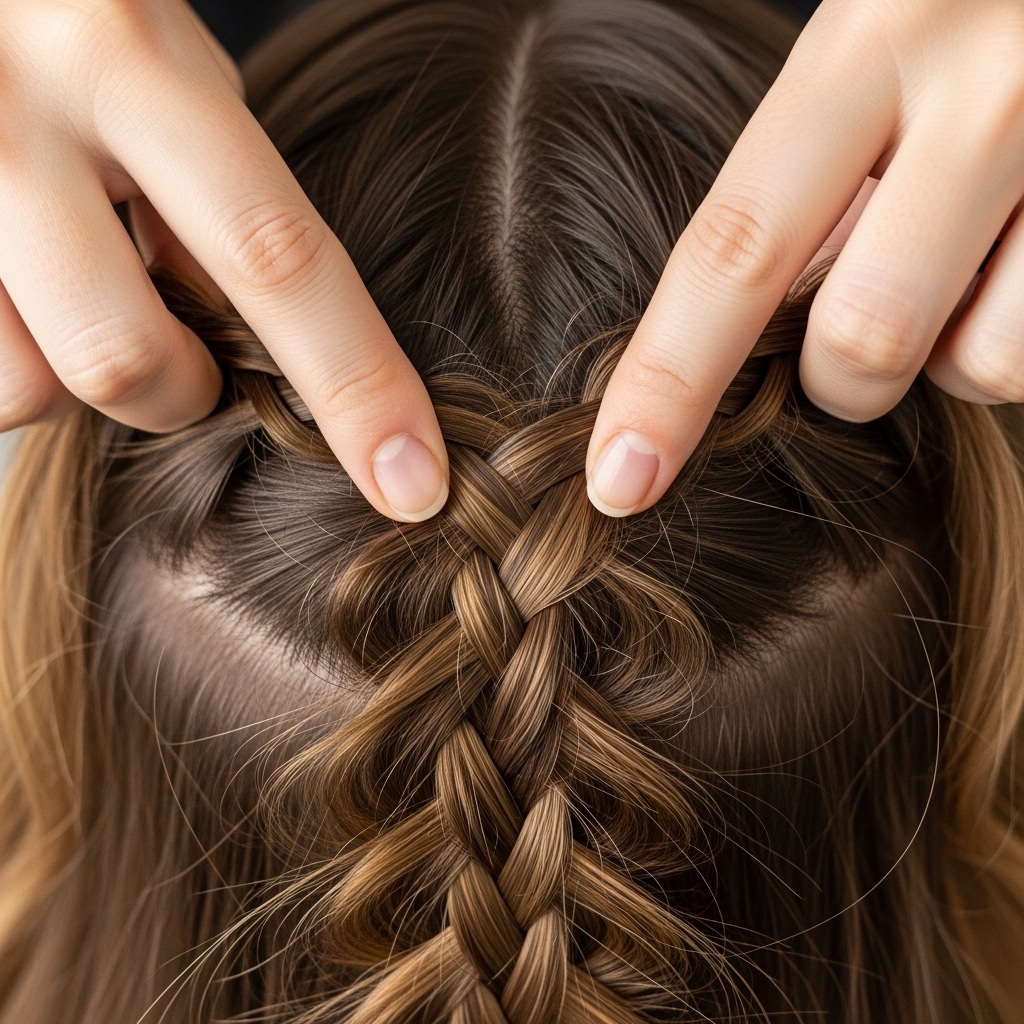
Step 4: The Simple Lacing Technique
Unclip the middle section of hair at the back. Now, take the left braid and bring it across the back of your head to the right side. Pin it securely underneath the right-side hair with several bobby pins. Do the same with the right braid, bringing it across to the left side.
You are essentially crossing the braids at the back of your head. This is the foundational “lacing” move. Don’t pull them too tight; you want a gentle, comfortable arc that sits flat against your head.
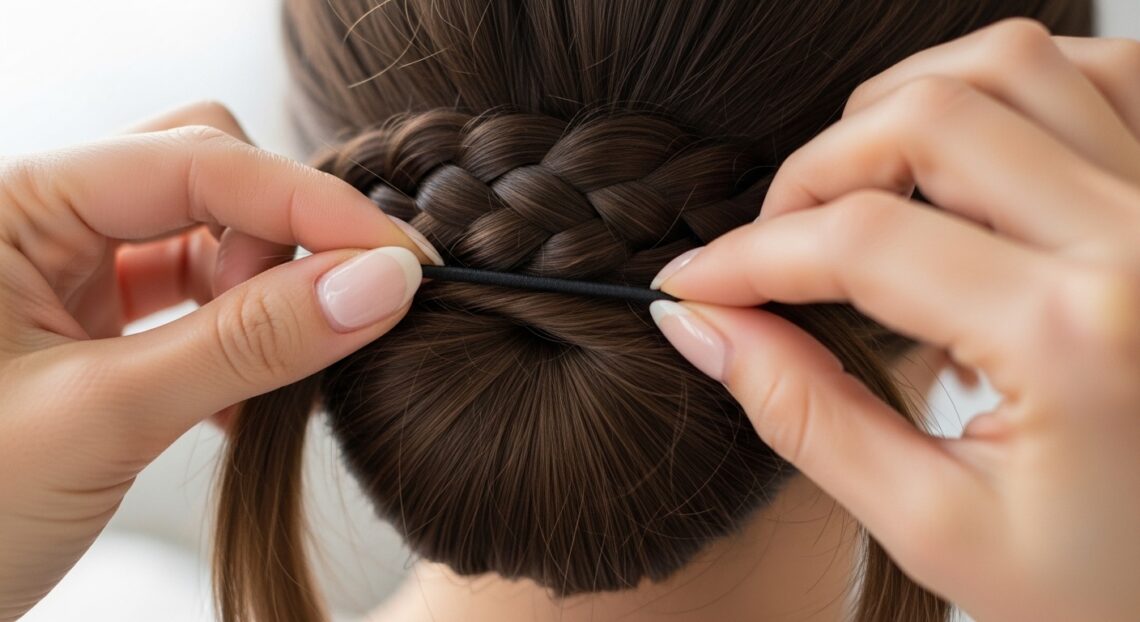
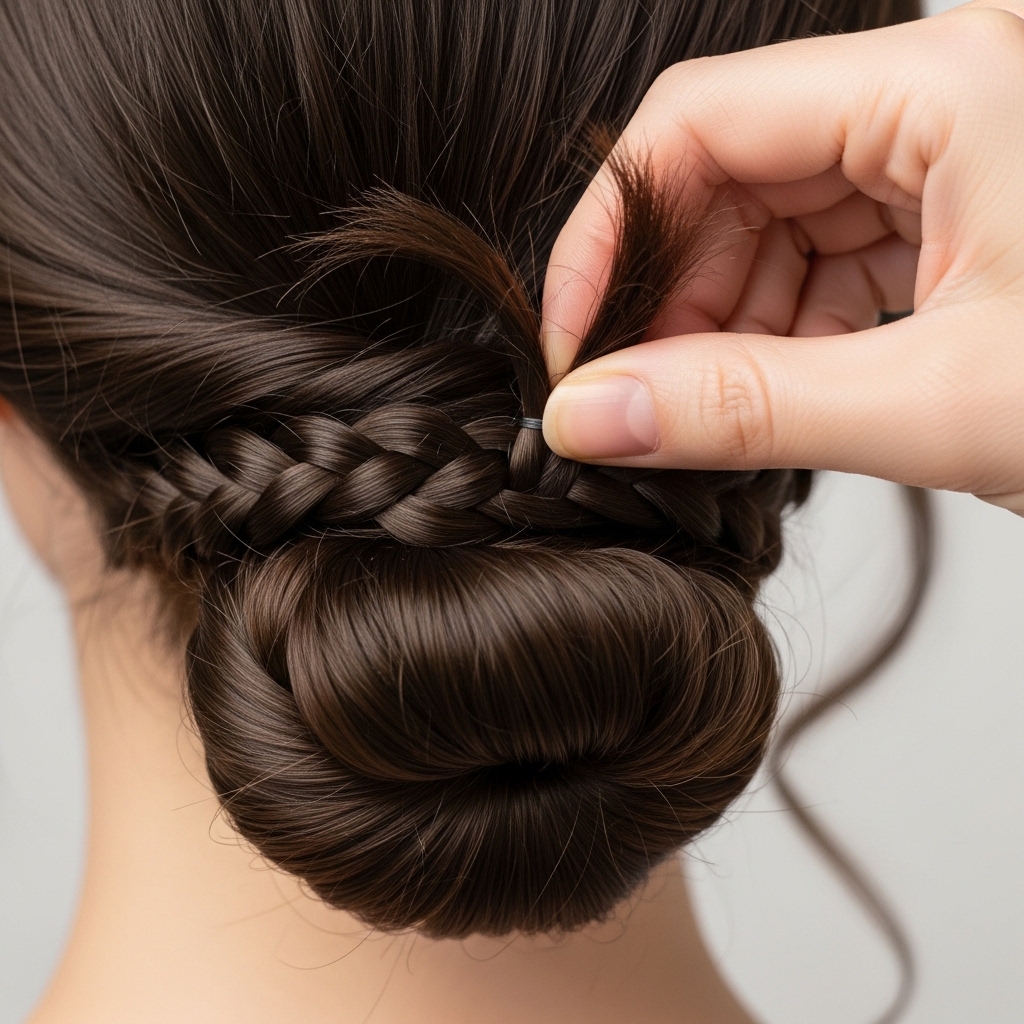
Step 5: Securing & Hiding the Ends
Once the braids are crossed and pinned, you’ll have the loose ends of the braids and all your remaining hair together. Gather everything into a low ponytail or a soft bun at the nape of your neck.
You can wrap the braid ends around the base of the bun to hide the elastics, securing them with more pins. Alternatively, you can leave the ends out and blend them with the rest of your hair for a more undone look.
Pro Tip: The “Pancaking” Method for Volume
If your braids look a little skinny or flat, “pancaking” is your best friend. Gently tug on the outer loops of the Dutch braid to loosen and widen it. Pull horizontally, not vertically, to avoid pulling the braid out.
This creates instant, effortless volume and makes the lace detail stand out more. It gives that romantic, soft look that feels very 2026 hairstyles—less perfect, more lived-in and beautiful.
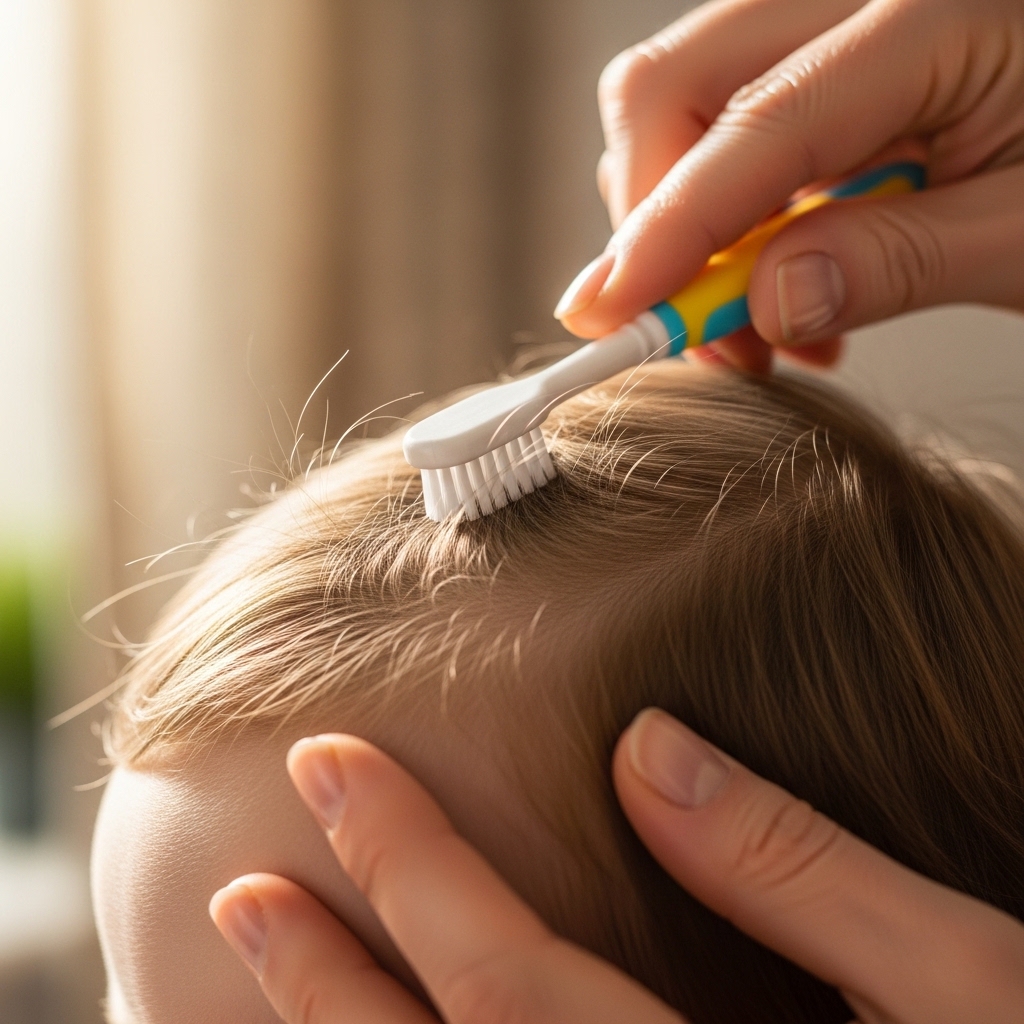
How to Tame Flyaways for a Polished Look
After all that braiding, you’ll likely have some baby hairs and flyaways. Don’t fight them with hairspray first. Take a tiny bit of shine serum or even a clean, soft-bristled toothbrush sprayed with a light-hold hairspray.
Gently brush the flyaways flat against your head or blend them into the braid. This gives a sleek, finished look that still feels soft, not crunchy or overdone. It’s that quiet luxury bob level of polish applied to a braid.
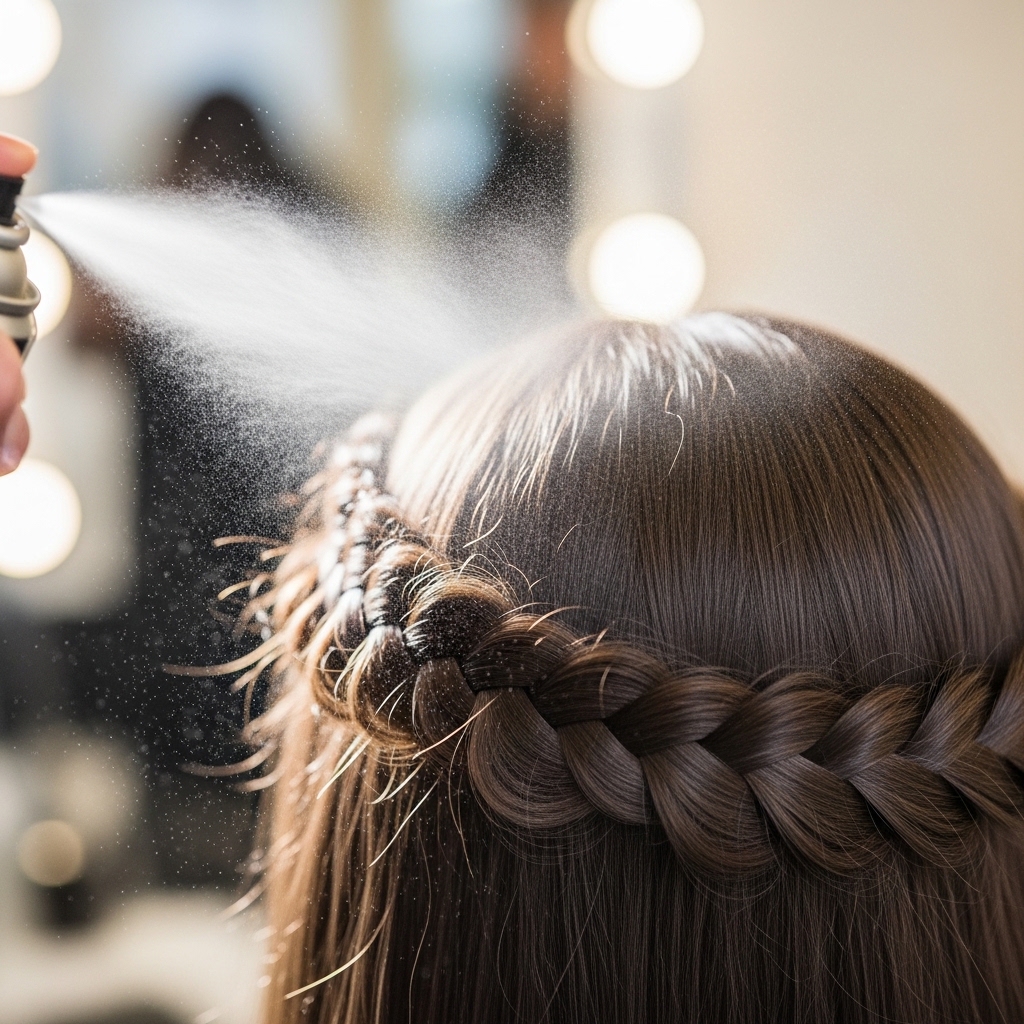
Making It Last: My Favorite Holding Sprays
To make your masterpiece last all day or night, a good final spray is key. I avoid super-strong, crunchy hairsprays. Instead, I opt for a flexible-hold spray. Mist it lightly all over, holding the can about 10 inches away.
Pay extra attention to the crown and the areas where you pinned the braids. Let it dry completely before touching. This kind of spray locks the style while letting the hair still have a bit of movement.
Adapting the Style for Thin or Fine Hair
If you have fine hair, don’t skip this style! Use a texturizing spray or mousse on damp hair before you start braiding. When you pancake, be more gentle. You can also tease the hair slightly at the roots before you begin braiding for extra grip and volume.
Another trick is to use a slightly smaller section for your braids. This makes them appear denser. The lacing technique itself creates the illusion of much more hair than you actually have.
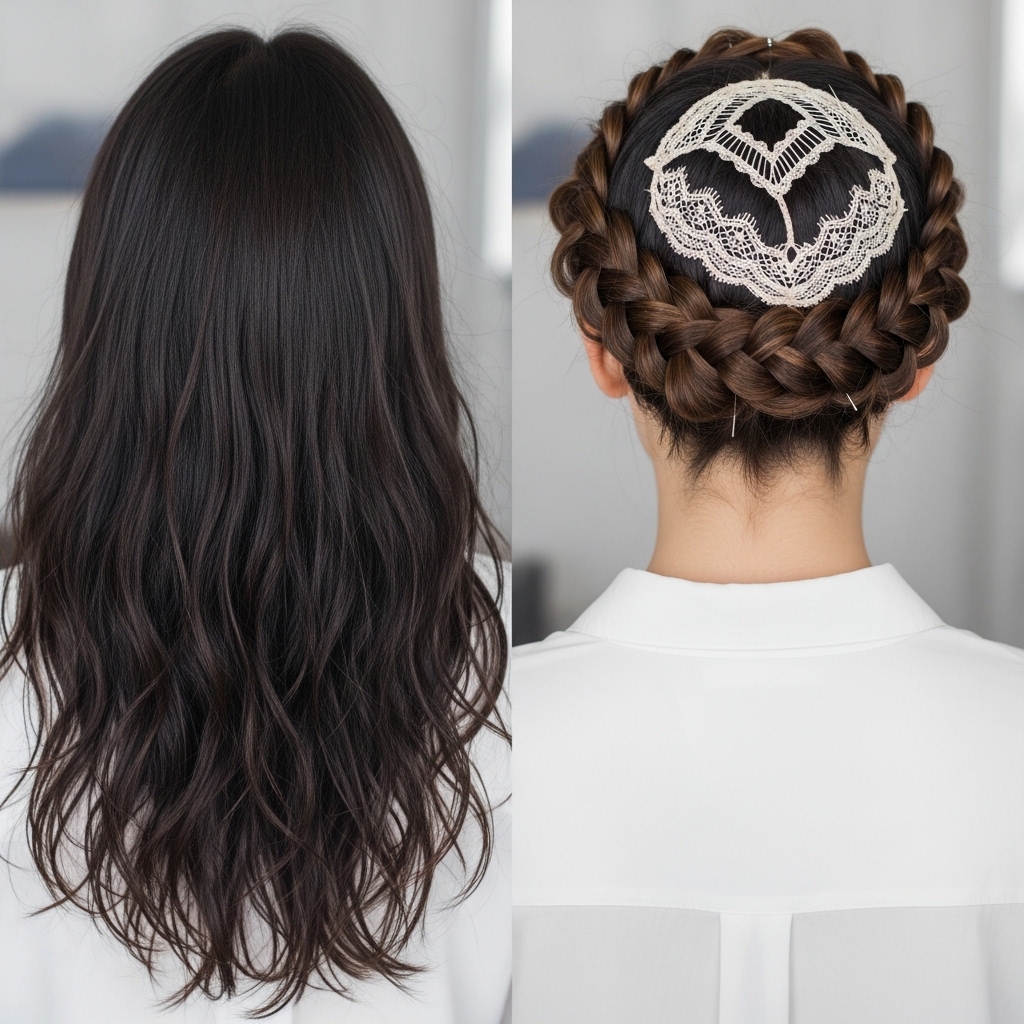
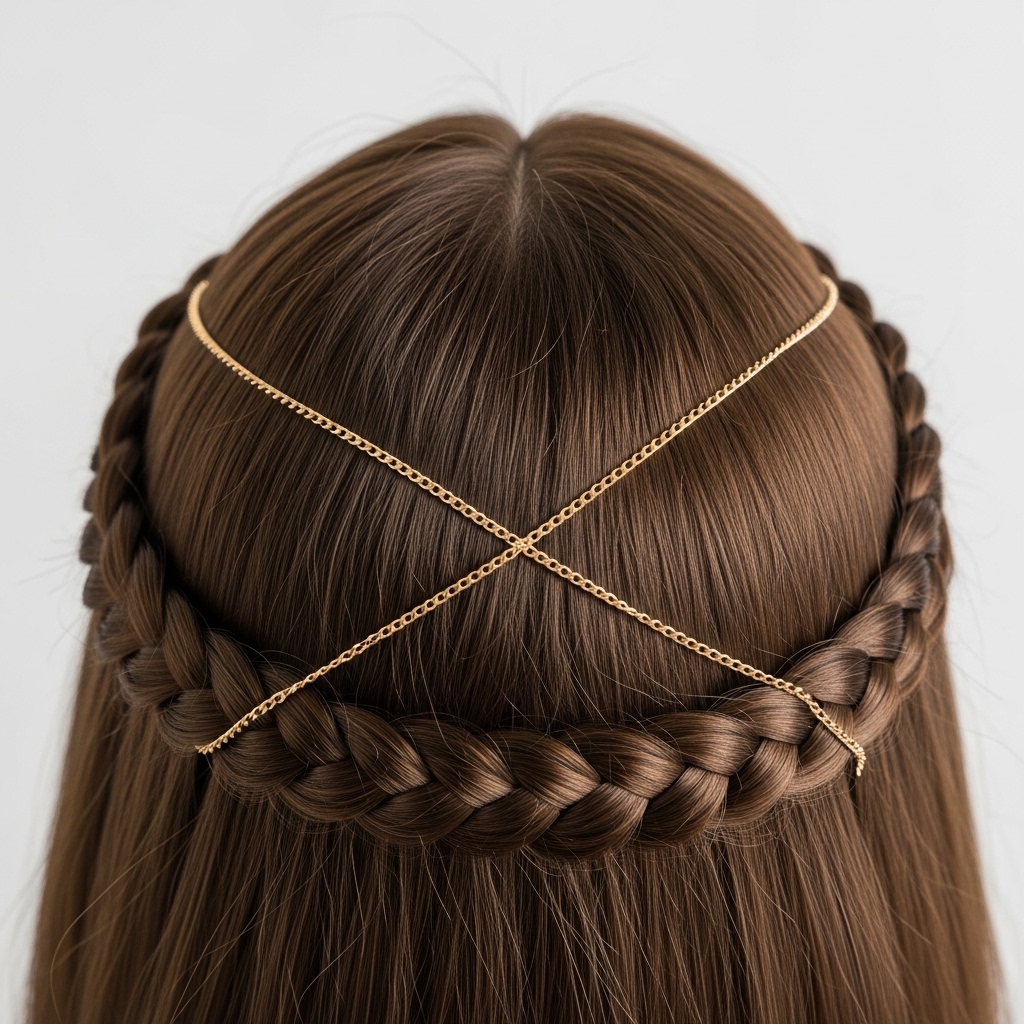
Adding Accessories for Extra Glam
This style is a perfect base for accessories. Weave a delicate pearl chain or a thin, sparkly ribbon through the laced section before you pin it. You can also add small clips or pins where the braids cross at the back.
For a glitchy glam hair moment, add a few face-framing strands and twist in some metallic thread. It’s an easy way to take a daytime braid straight to an evening event.
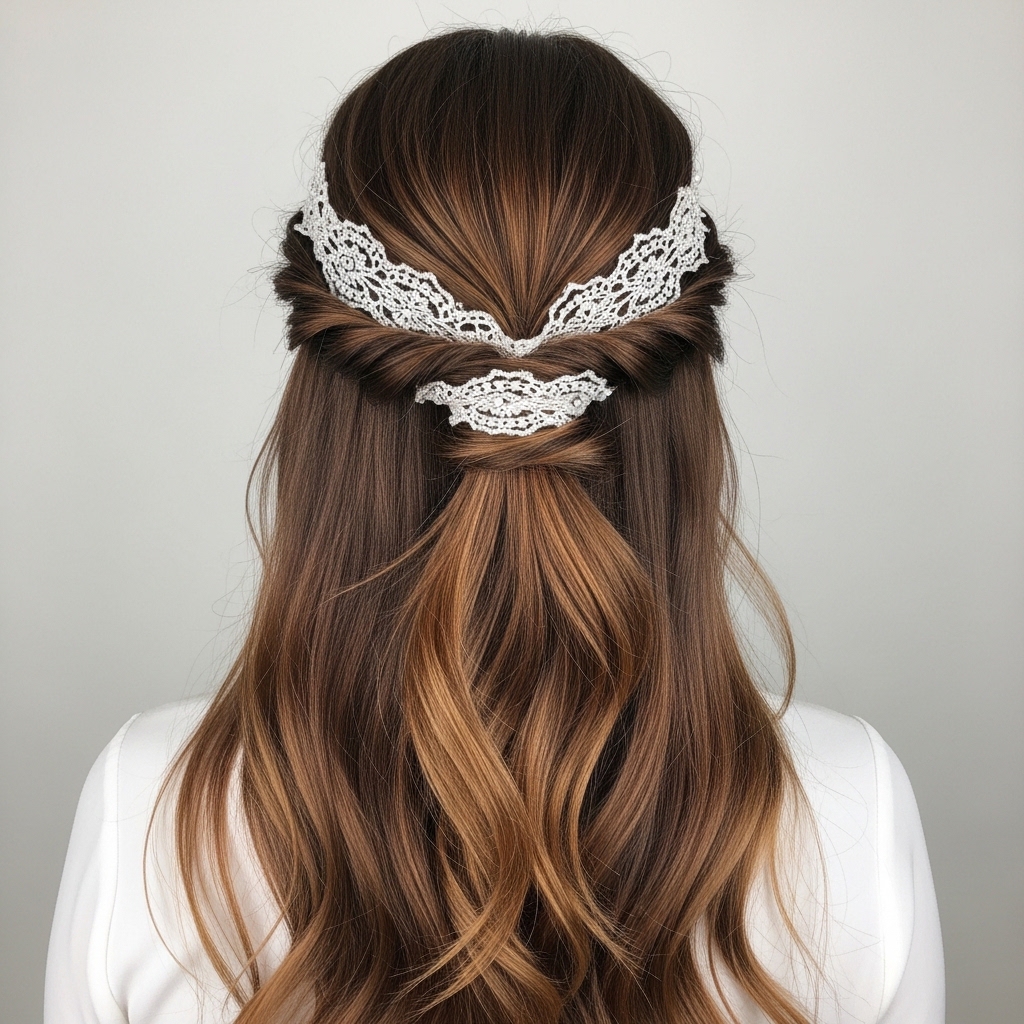
The Half-Up, Laced Crown Variation
Short on time or want a more casual vibe? Try a half-up version. Only braid the very front sections of your hair, creating two shorter Dutch braids. Lace them across the top of your head and pin them, leaving the rest of your hair down.
This gives you all the beautiful detail at the crown while showing off your length. It’s a gorgeous look that pairs perfectly with a vampire haircut or long layers.
Pairing It with Different Hair Cuts
This style works with almost any long cut. With blunt ends, it looks chic and modern. With long layers or a hime cut, the face-framing pieces add a beautiful softness. If you have curtain bangs, let them fall naturally—they’ll complement the braid perfectly.
It’s also a stunning way to style grown-out layers or to grow out a shorter cut like a bob, as it keeps all the hair neatly contained and stylish.
From Day to Night: Quick Transformations
Wore your laced crown all day and need an update for dinner? It’s easy. Gently pull out a few more face-framing pieces for a softer look. Remove the low bun and let the ends of your hair curl loosely.
Add those glittering accessories I mentioned. Or, mist a texturizing spray on the braid itself and pull it apart a bit more for a deliberately undone, romantic look that feels perfect for evening.
Common Mistakes & How to Fix Them
The biggest mistake is braiding too tightly. It causes headaches and looks severe. Braid with a gentle hand. If it’s already tight, carefully pancake to loosen. Another error is using pins that are too short. Use long, sturdy bobby pins to anchor the braids securely.
If your braids are uneven, don’t stress. The crossing detail is very forgiving. You can also pull a few strands loose around your face to break up any harsh lines and add balance.
My Go-To Products for This Style
- Texture Spray: Living Proof Perfect hair Day (PhD) Dry Shampoo for that essential grip.
- Shine & Tame: Olaplex No.7 Bonding Oil for flyaways without weight.
- Flexible Hold: Bumble and Bumble Does It All Hairspray.
- Best Bobby Pins: Goody ColorMatch Matite Finish pins—they truly stay hidden.
Answering Your Top Questions
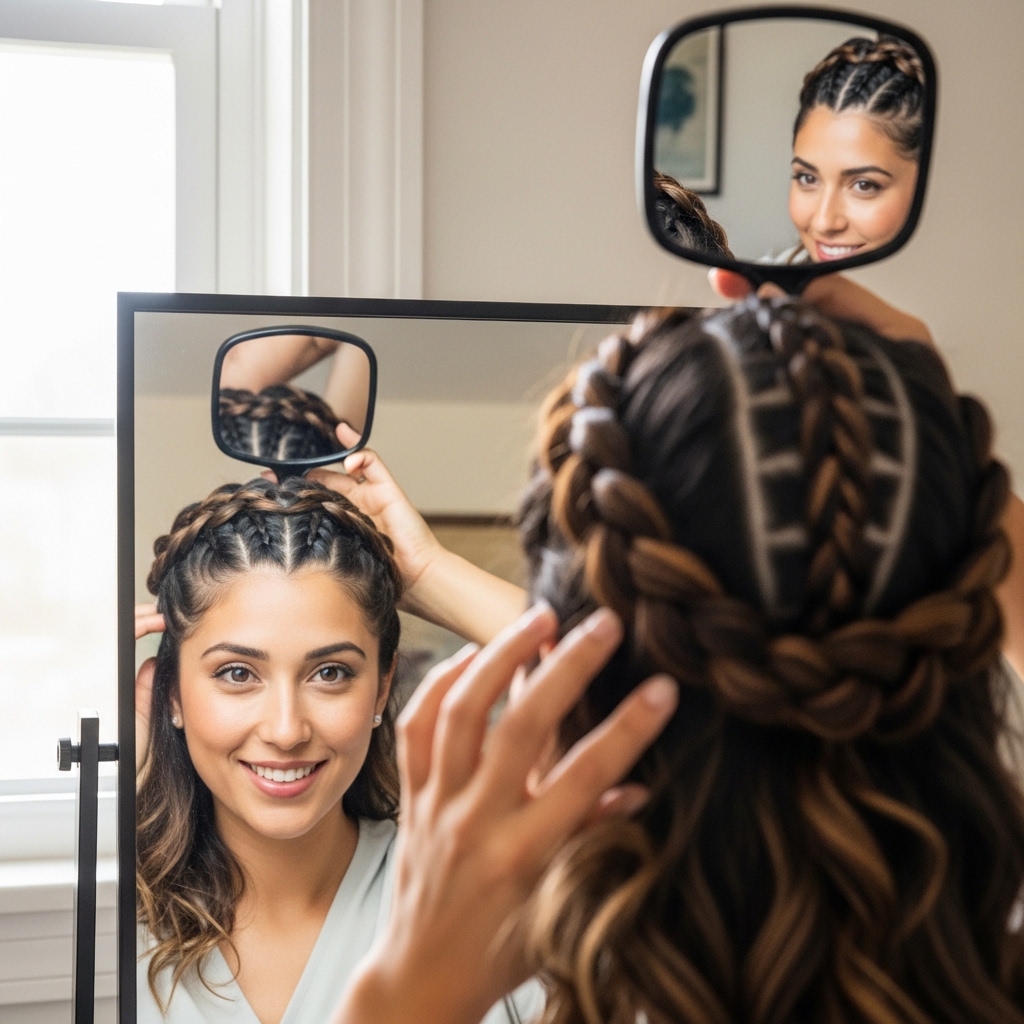
Can I do this on myself? Absolutely! It’s designed to be a DIY. Use two mirrors to check the back. How long does it take? About 10-15 minutes once you’ve practiced a few times. Does it work on curly hair? Yes! It’s gorgeous on defined curls—just braid on slightly stretched or damp hair for manageability.
Will it give me a headache? It shouldn’t if you braid loosely and don’t pin too tightly. The weight is distributed evenly around your head, which actually helps.
Practice Makes Progress, Not Perfection
Your first attempt might not be Pinterest-perfect, and that’s totally okay. The beauty of this style is in its slight imperfection. Each time you try it, you’ll get faster and find little tricks that work for your specific hair type.
Try it on a lazy Sunday afternoon when there’s no pressure. Film yourself with your phone from the back if you need to see what you’re doing. You’ll be surprised how quickly your hands learn the motion.

Final Thoughts From My Vanity
So there you have it—the complete breakdown of one of my all-time favorite hairstyles for long hair. It looks like you spent an hour in the salon, but really, it’s just a clever combination of two simple braids and a cross. It’s the kind of style that makes you feel put-together and special with minimal effort.
I love how it fits into so many aesthetics, from romantic to elegant to edgy, just by changing a few small details. It’s a true testament to how versatile long hair can be.
I hope this guide gives you the confidence to try it. Remember, hair is fun, and it always grows back. So play, experiment, and find your own version of this gorgeous look.
Save this post to Pinterest so you always have the steps handy! Did you try it? I’d love to hear how it went—tell me about your experience or share your own tips in the comments below!
All my love,
Hailey & Team

