
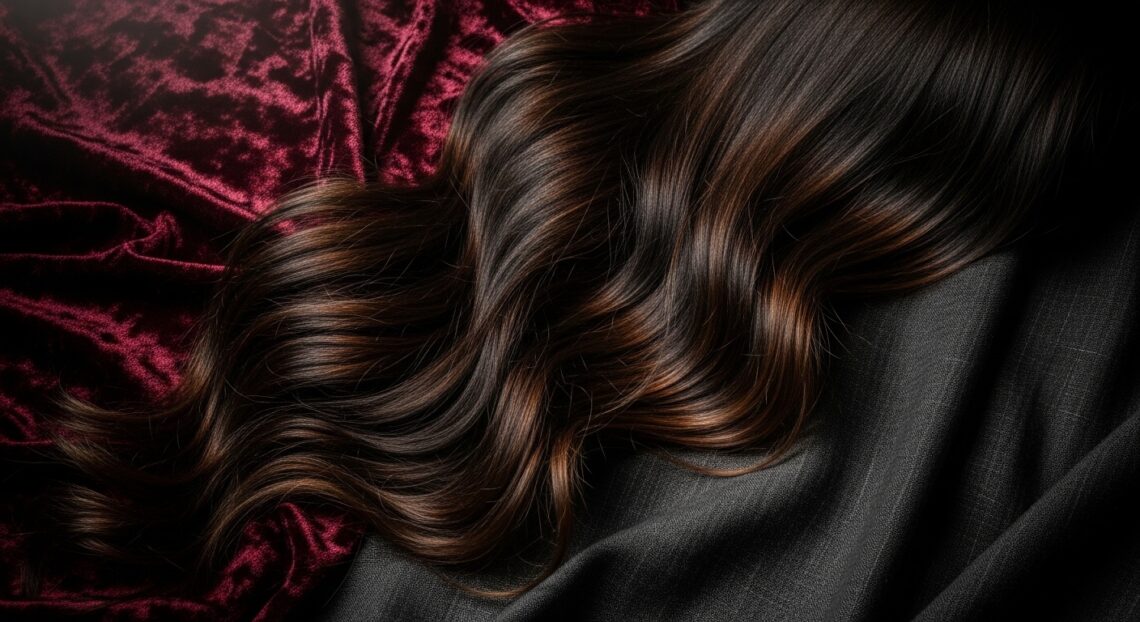
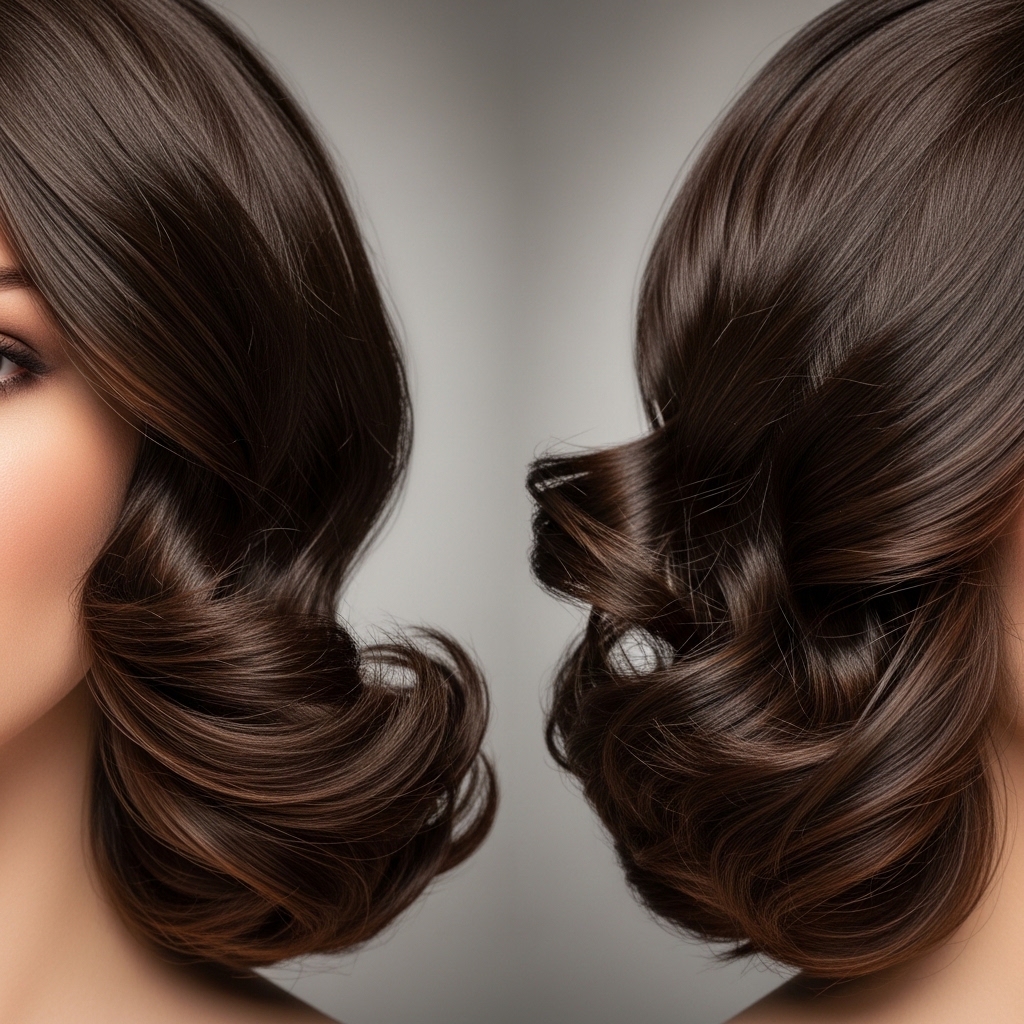
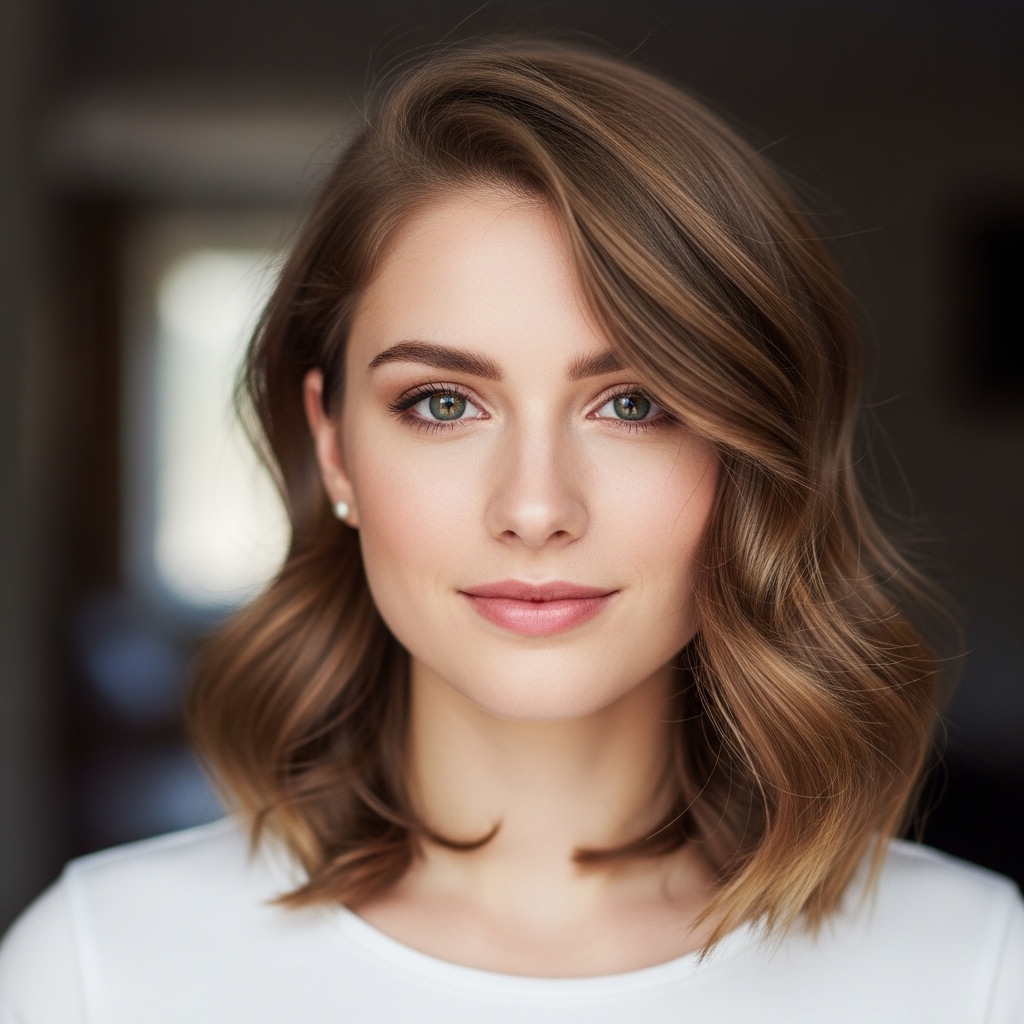
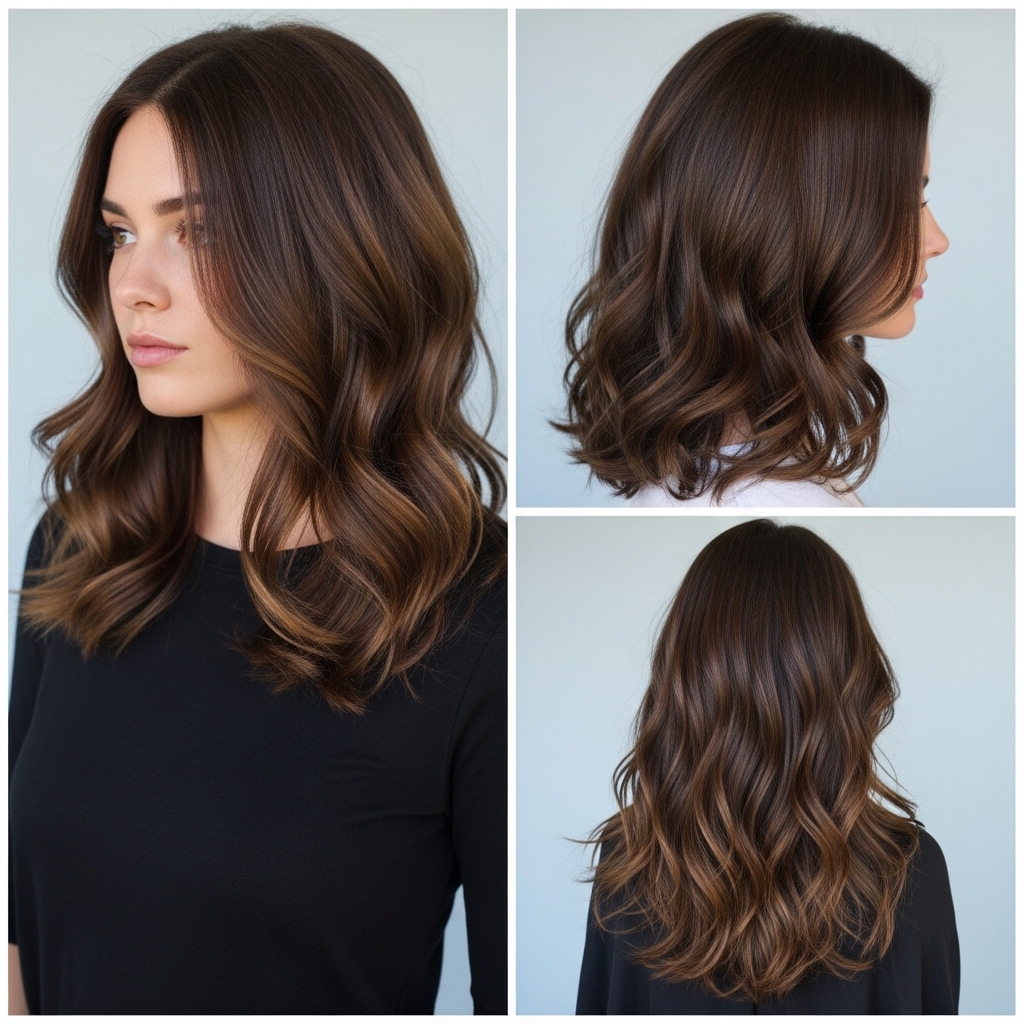
Okay, let’s be real. We’ve all seen that perfect, lived-in, slightly undone wave on our favorite dark romance movie characters or that cool girl on TikTok. It’s not quite messy, but it’s not perfectly polished either. It’s the vampire haircut wave, and it’s the ultimate blend of romantic goth hairstyles and that effortless, old money hair vibe.
If you’ve got a blunt cut, a lob, or even a hime cut, these waves are your new best friend. They add that glitchy glam hair texture we’re all obsessed with. The best part? They’re way easier to create than they look.
I’m breaking down my exact, no-fuss routine. No professional skills needed—just a few tools and about 15 minutes. Let’s get that dreamy, just-awoken-in-a-mysterious-castle look.
What Is The Vampire Haircut Vibe, Anyway?
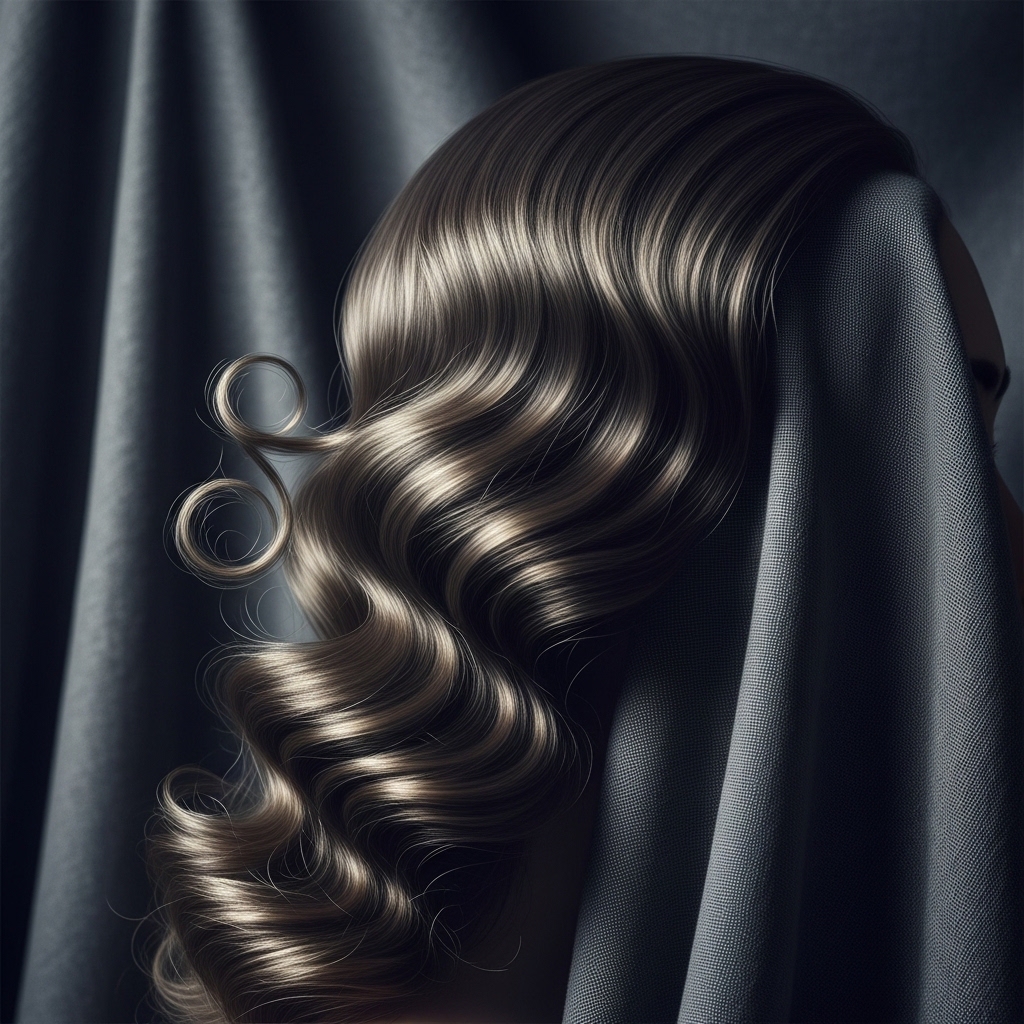
It’s not about literal fangs, I promise. The vampire haircut aesthetic is all about contrast. Think sharp, precise cuts (like a blunt bob or asymmetrical lob) softened with incredibly touchable, romantic texture. It’s dark and light, hard and soft.
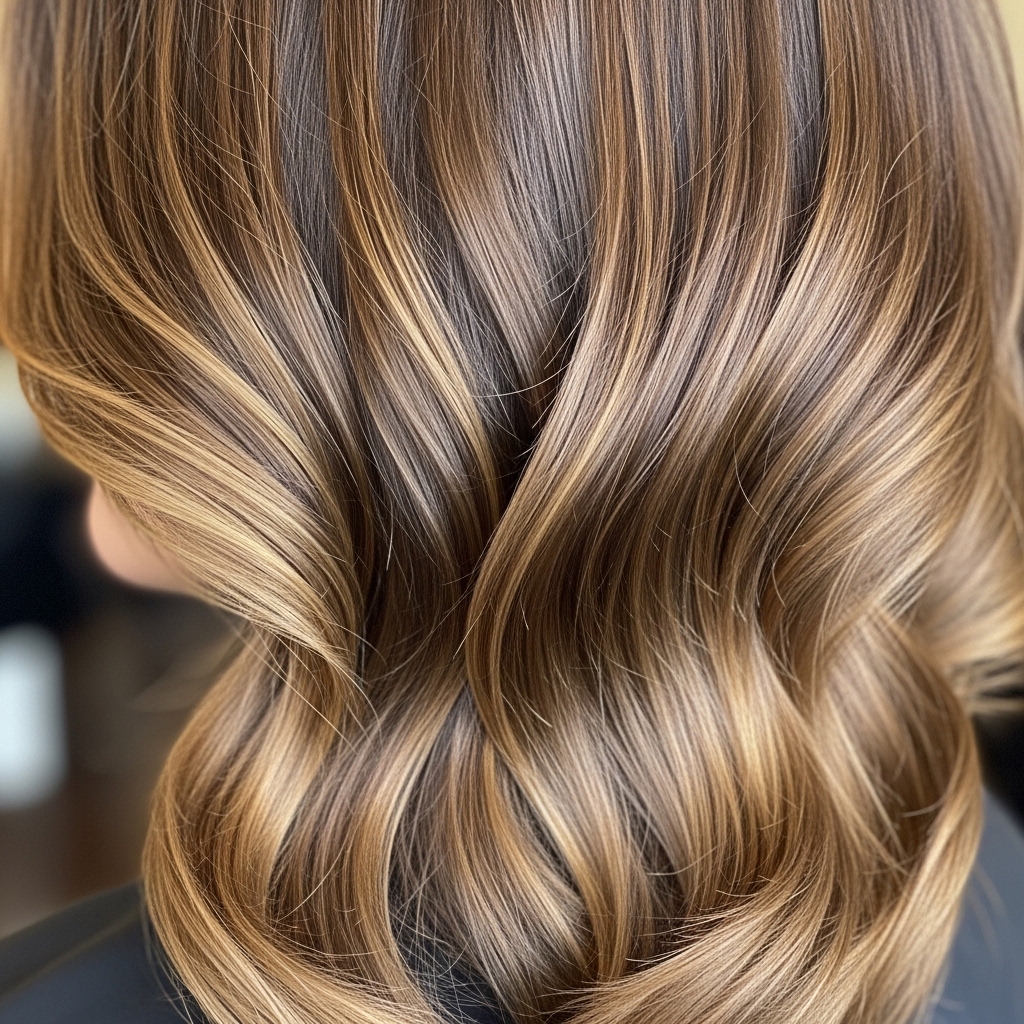
This style sits right at the crossroads of 2026 hairstyles we’re starting to see: quiet luxury bob meets romantic goth hairstyles. The waves are never too uniform or bouncy. They’re piece-y, a bit slept-in, and full of movement. It’s less “salon perfect” and more “eternally cool.”
Gather Your Tools: You Don’t Need Much
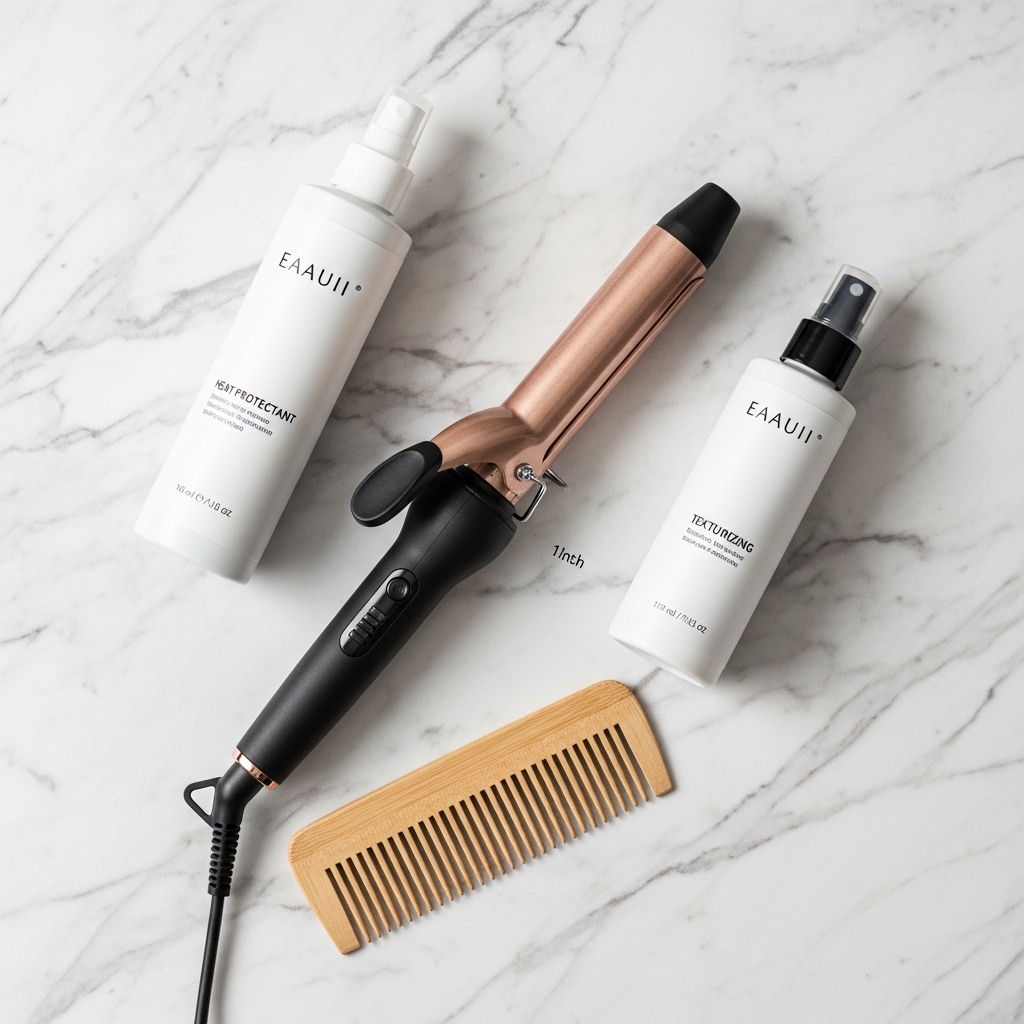
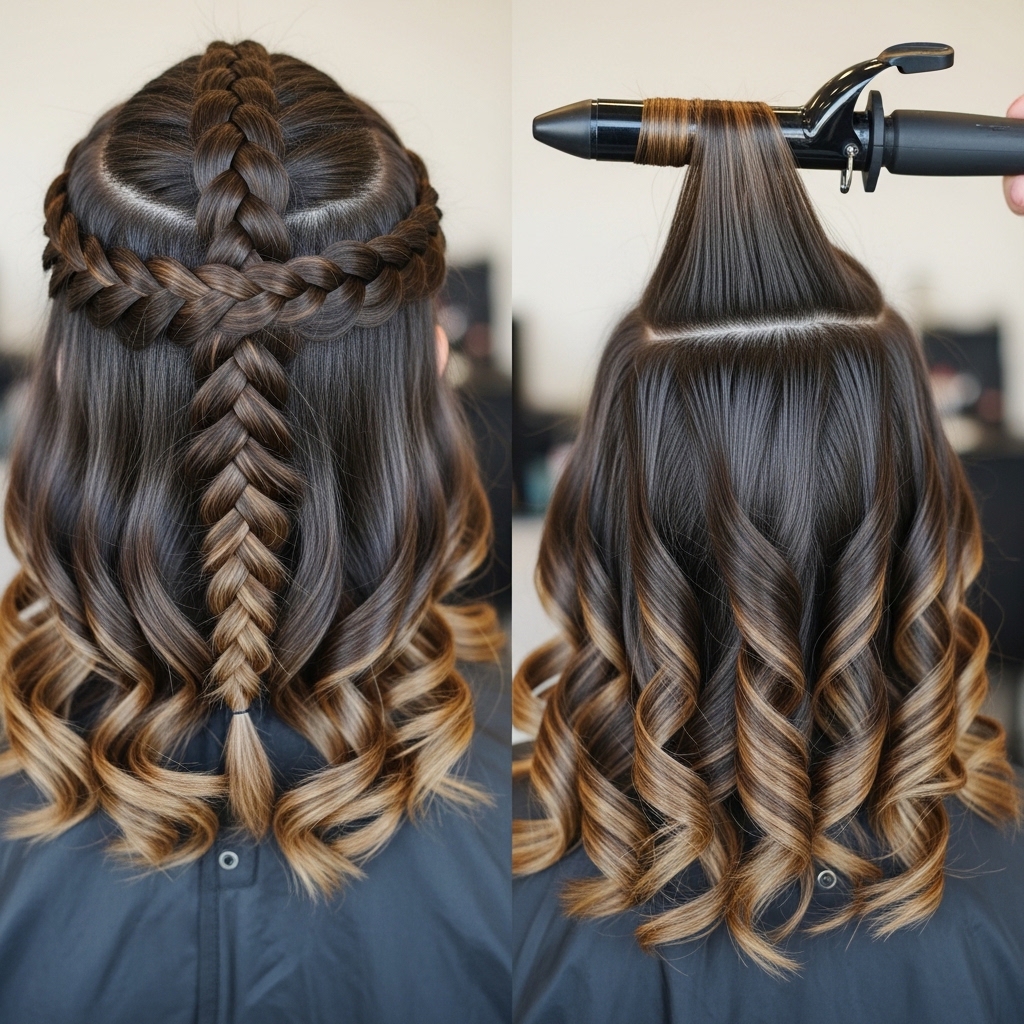
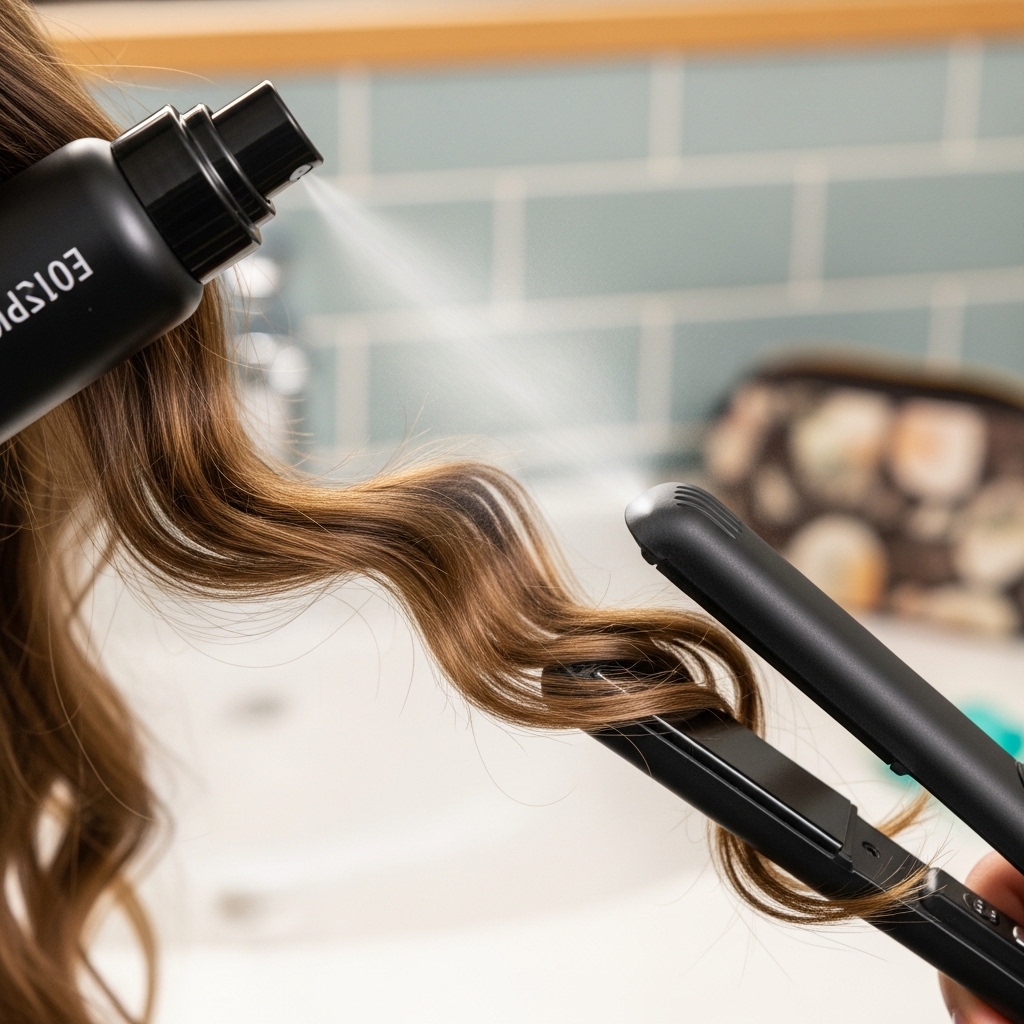
You can absolutely overcomplicate this, but let’s not. We’re keeping it practical. The star is a 1-inch curling iron or wand. A clamp helps, but a wand works great too. Barrel size is key—anything bigger loses the romantic texture.
Beyond that, you just need three products: a heat protectant (non-negotiable), a light-hold texturizing spray, and a shine serum or oil for the ends. That’s it. We’re not aiming for helmet hair, just beautiful, touchable waves.
Start With Day-Old Hair (Seriously)
This is the secret sauce. Freshly washed hair is often too silky and clean to hold this style well. Day-two or even day-three hair has natural oils and texture that give the waves something to grip onto, helping them last longer and look more lived-in.
If you must start with clean hair, spray a bit of dry shampoo or texturizing spray at the roots and mid-lengths before you begin. This creates that slight grit and volume we need. Trust me, it makes all the difference for achieving that glitchy glam hair finish.
Apply Heat Protectant, Every Single Time
I know, I know. It’s a step we all want to skip. But protecting your hair is what keeps it looking healthy and shiny, which is the true foundation of any luxury look, even an old money hair aesthetic. Damaged hair won’t wave or shine the same way.
Spray it evenly from mid-lengths to ends, and don’t forget the sections that frame your face. Let it sit for a minute to dry slightly. This creates a barrier so your styling tool smooths the hair without frying it. Healthy hair is always in style.
Section Your Hair Smartly
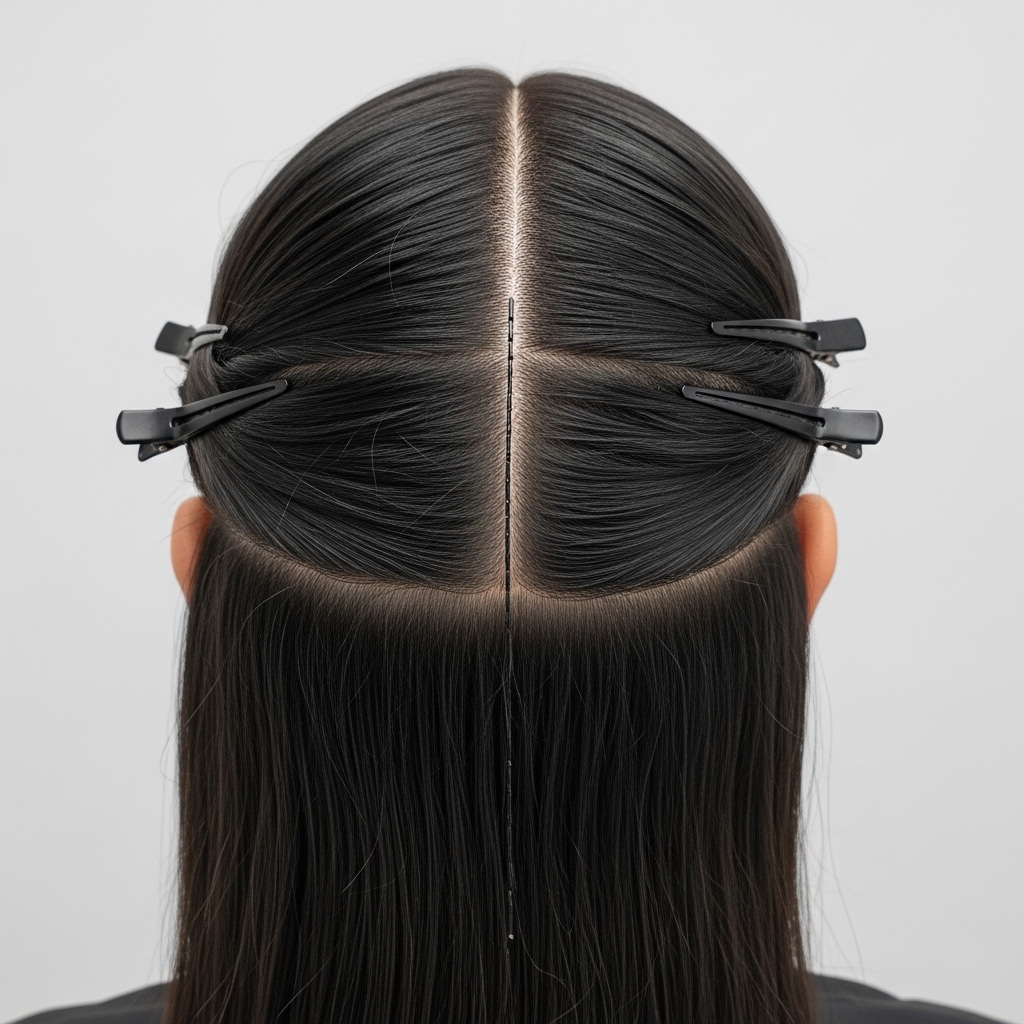
Don’t just grab random pieces. For smooth sailing, divide your hair into four manageable sections. First, part your hair down the middle. Then, clip the top half of each side up and out of the way.
You’ll work with the bottom sections first. This keeps you organized and ensures you don’t miss any layers, especially if you have an asymmetrical lob or a cut with lots of movement. It seems basic, but it’s the key to a uniform, polished result without the frustration.
Start Curling From The Bottom Back
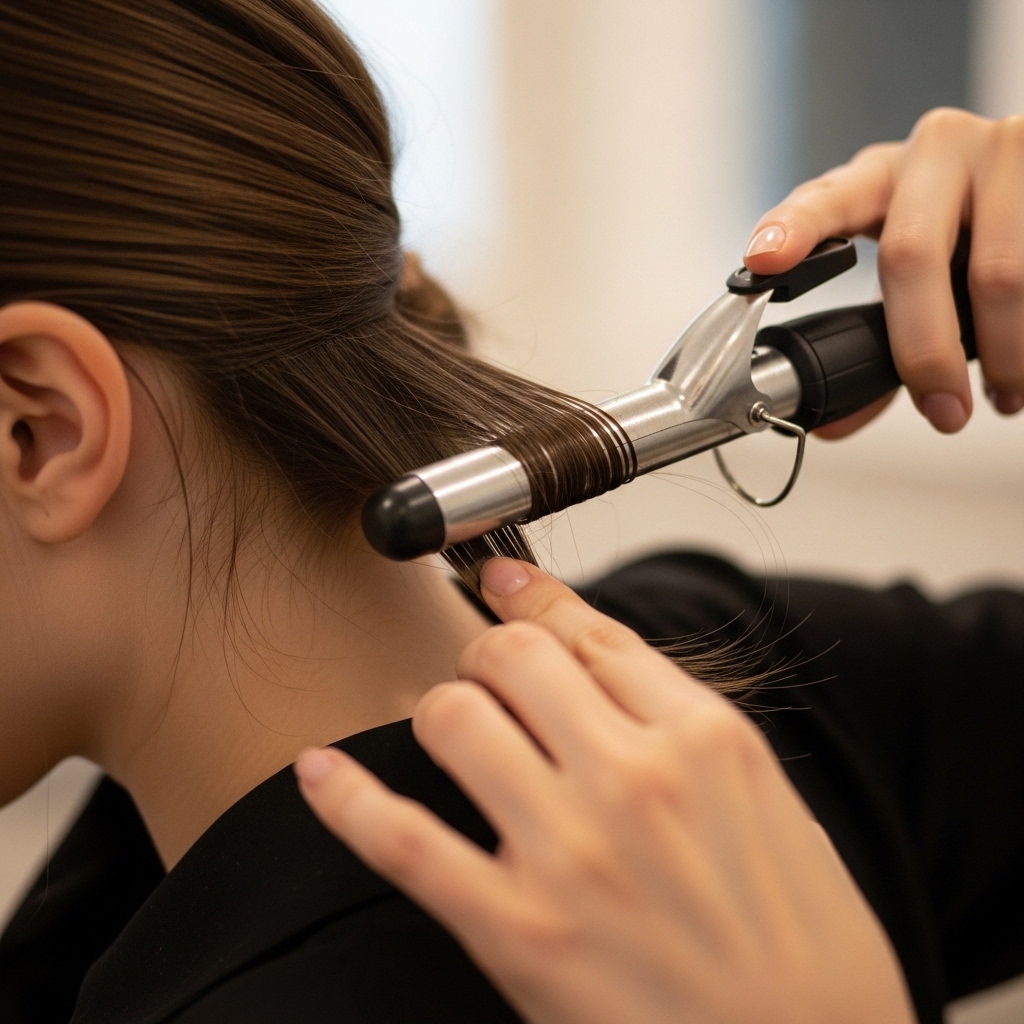
Begin with the lowest section at the back of your head. Take a small section of hair—no wider than the barrel of your iron. This is crucial. Small sections create defined, lasting waves, while big sections fall flat quickly.
Clamp the iron near the roots but not all the way at your scalp. Wrap the hair around the barrel, away from your face, and hold for only 5-7 seconds. We’re not going for tight curls, just a soft bend. Release gently and let the curl fall. Don’t touch it yet!
The Wrap-And-Release Technique
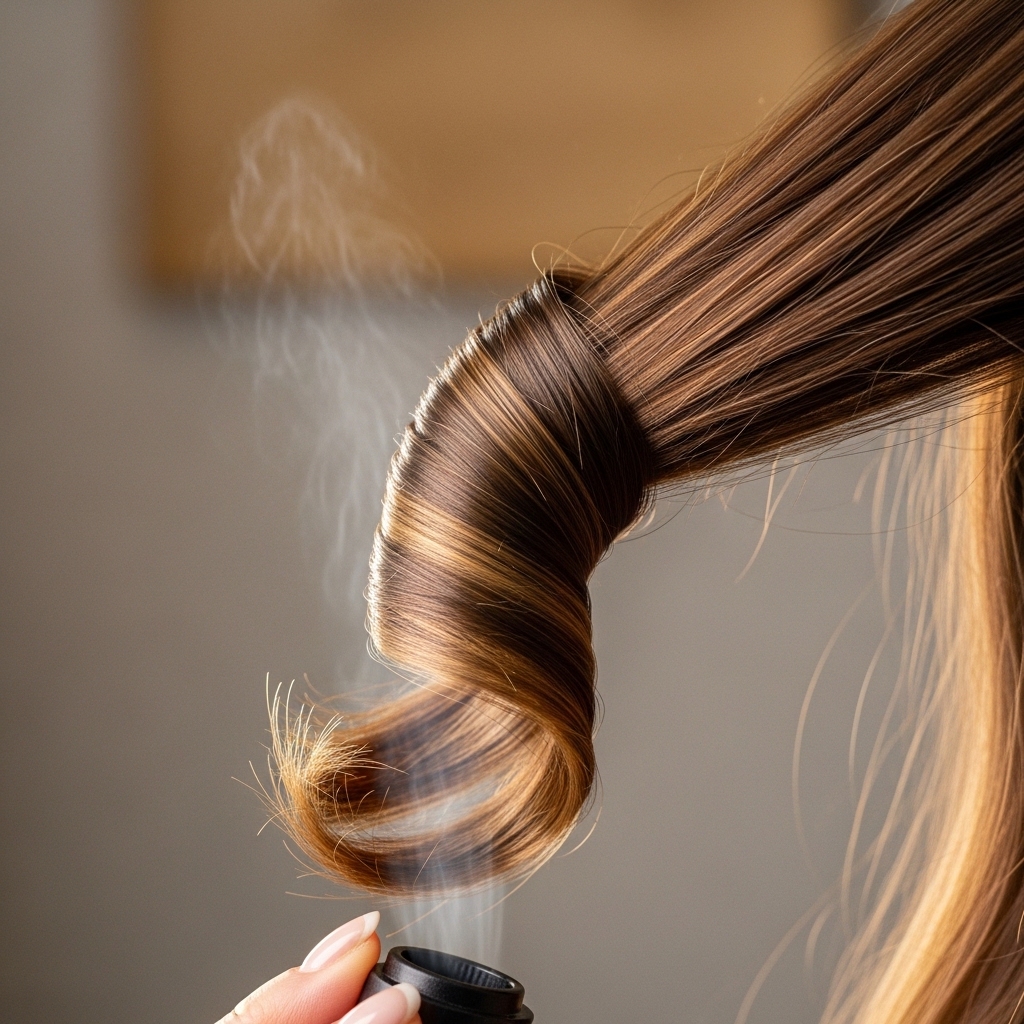
This isn’t about winding the hair tightly around the barrel. For a softer wave, try this: clamp the mid-section of your hair piece, then gently wrap the ends around the barrel once or twice. Hold for a few seconds, then release.
Alternatively, for a wand, simply wrap the hair around it, hold, and slide the wand out. The goal is to avoid a uniform spiral curl pattern. We want bends and waves, which is what gives the vampire haircut its romantic, undone character.
Alternate Your Curling Directions
To avoid dated, “pageant” hair, don’t curl every section in the same direction. This is a pro tip for instant volume and that effortless feel. As you move around your head, alternate between wrapping pieces away from your face and toward your face.
I like to curl the front sections framing my face away from it, as it’s more flattering. For the sections behind my ears, I’ll mix it up. This creates a natural interplay of waves that looks like you were born with it, the heart of the quiet luxury bob vibe.
Leave The Ends Out
For a truly modern look, don’t curl the very last inch of your ends. When you wrap the hair around the barrel, let those tips peek out and stay straight. This little trick prevents your style from looking too done or retro.
It adds a piece-y, slightly edgy finish that works perfectly with romantic goth hairstyles and glitchy glam hair trends. It makes the waves look more intentional and less like you tried too hard. It’s all about strategic imperfection.
Work Your Way Up Through The Sections
Once the bottom layer is done, unclip the top sections. Let them down and style them the same way: small sections, alternating directions, leaving ends out. Pay special attention to the pieces that frame your face—these are your statement waves.
If you have a fringe or hime cut bangs, we’ll style those separately at the end. The key is to work methodically so you get consistent results all over your head. This ensures your asymmetrical lob or bob has waves that blend beautifully from every angle.
Cool Completely Before You Touch

This is the hardest part—patience! Let all of your curls cool down completely before you even think about running your fingers through them. When the hair is hot, the style is still moldable and will fall flat if disturbed.
I use this time to do my makeup or pick out an outfit. Letting the curls set as they cool is what gives them longevity and that soft, wave-like shape instead of a frizzy curl. It’s a non-negotiable step for hold.
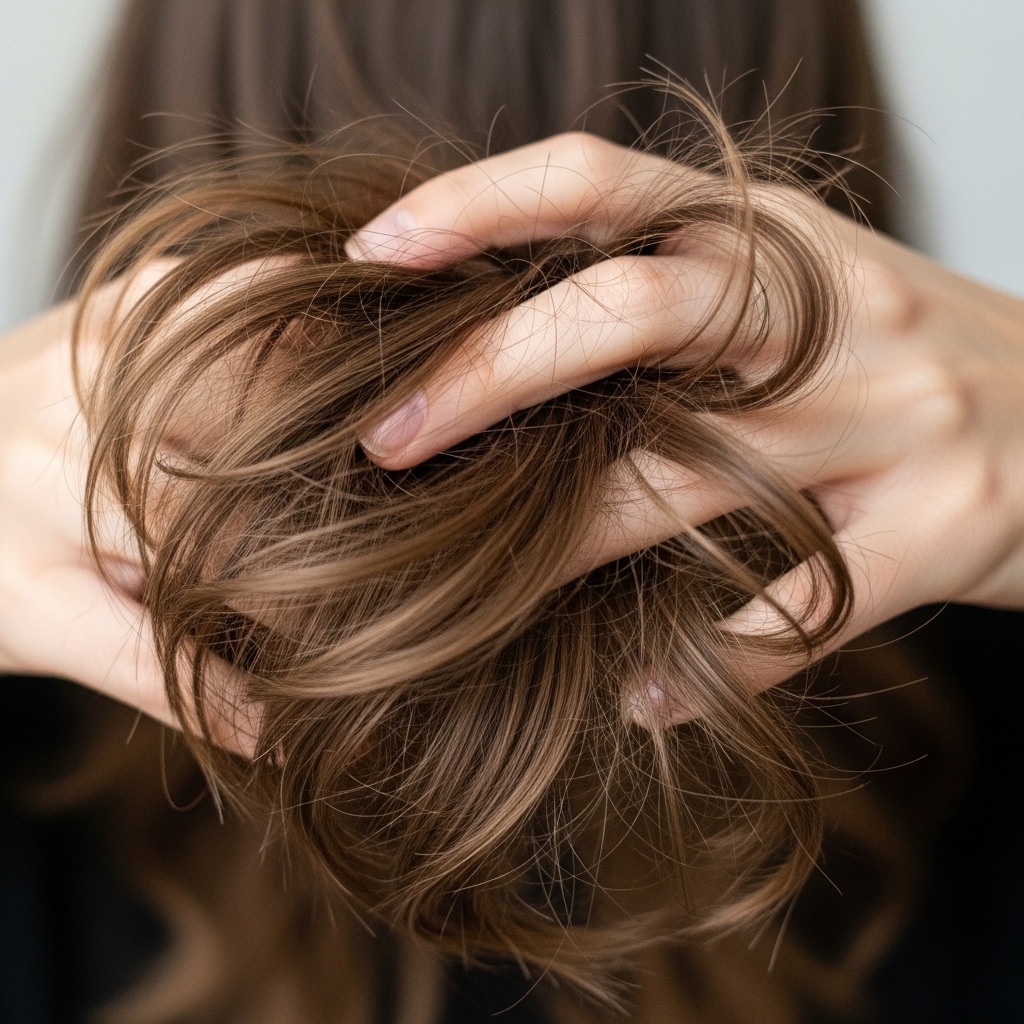
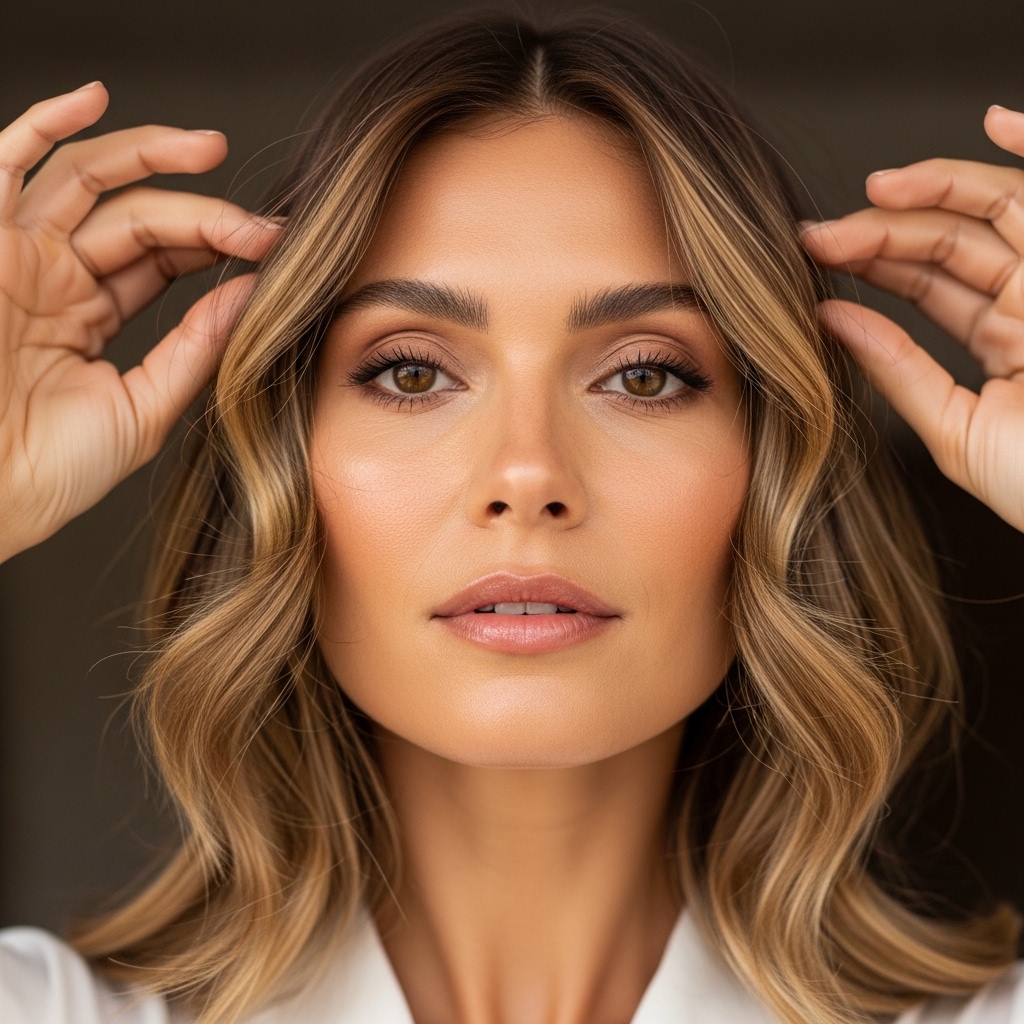
Break The Curls Apart With Your Fingers
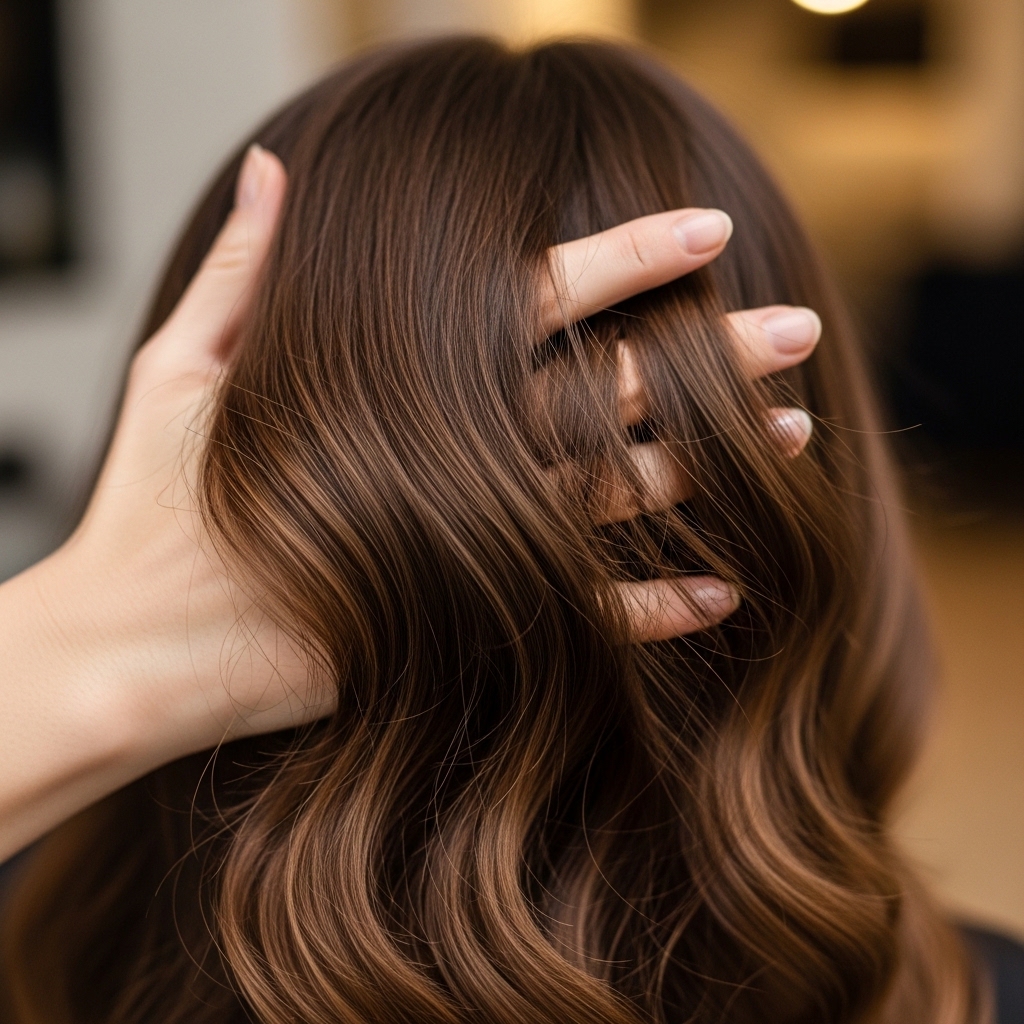
Now for the fun part. Once the hair is totally cool, flip your head over. Gently use your fingers to break up the curls. Don’t use a brush—it will make the style too fluffy and uniform. We want separation and texture.
Start at the nape of your neck and work upward, softly shaking the roots and separating any clumped-together curls. You’re transforming defined curls into soft, touchable waves. This is where the magic happens and the vampire haircut vibe comes to life.
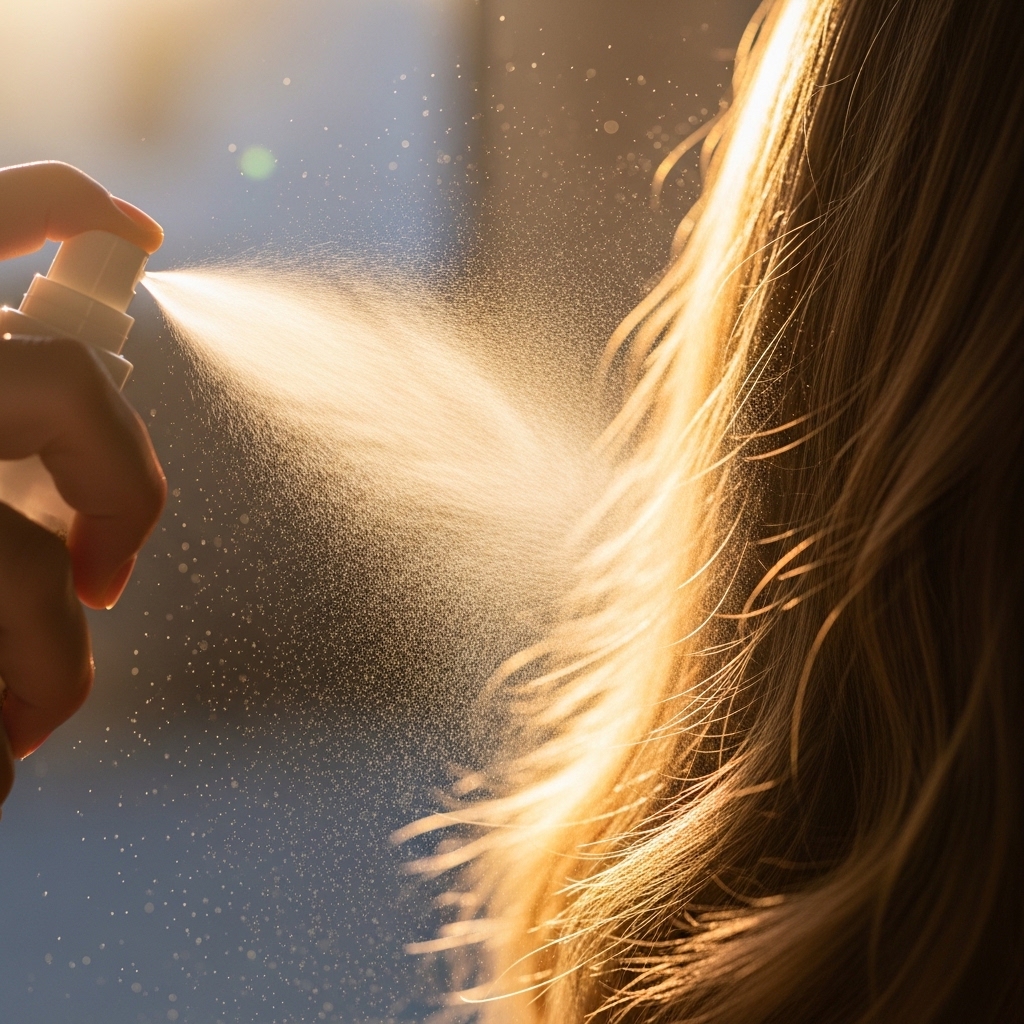
Add A Light Texturizing Spray
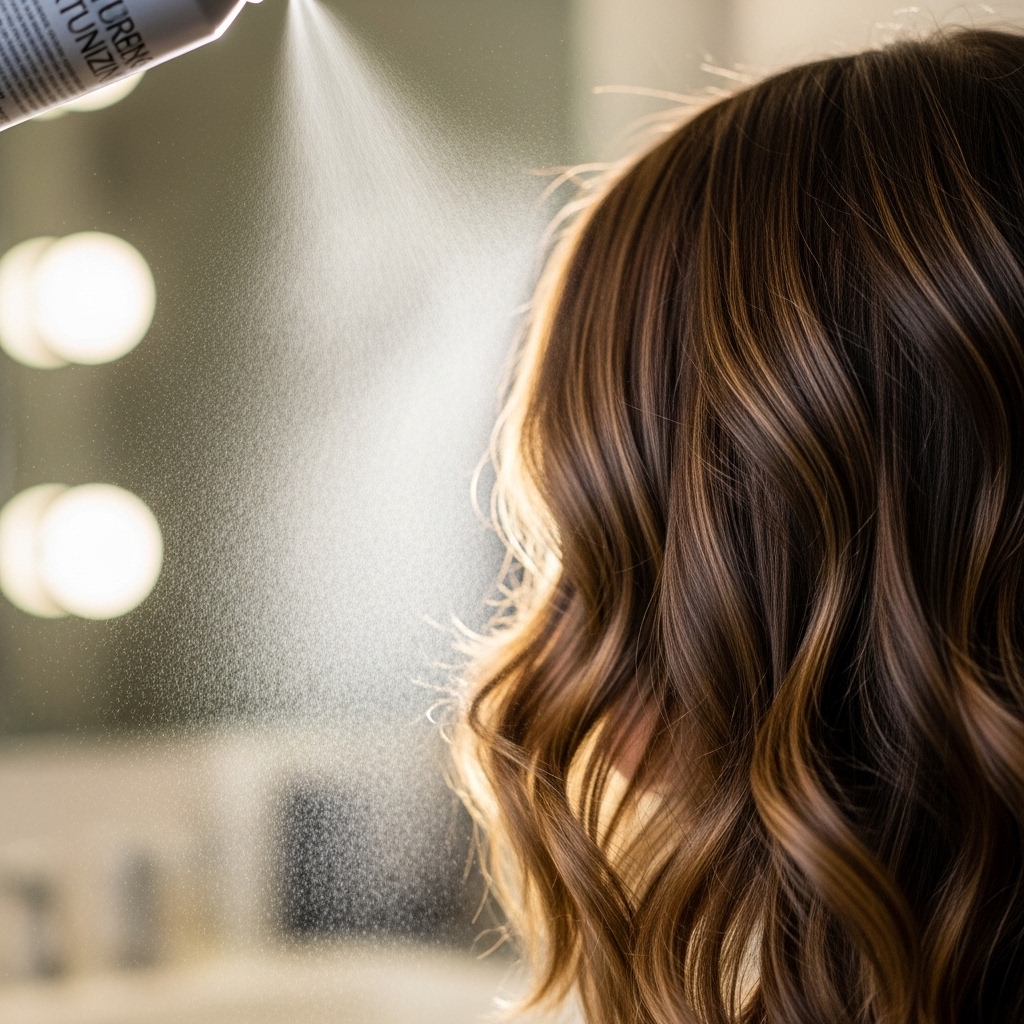
To lock in the piece-y look and add that essential “lived-in” feel, hold a texturizing spray about 10 inches from your head and mist it lightly over your mid-lengths and ends. Avoid the roots to prevent heaviness.
This spray isn’t for hold so much as for texture. It gives each wave a bit of separation and a subtle grit, which is a hallmark of 2026 hairstyles that prioritize texture over shine. It helps the style last and look intentionally undone.
Focus On The Face-Framing Pieces
Those waves right by your cheeks and jawline are your best accessory. Take a moment to shape them. If you have an asymmetrical lob, you might have one longer piece—make sure its wave is perfect.
Gently twist them or separate them a bit more to ensure they fall in a flattering, soft way. These pieces define the entire look and give you that romantic, slightly mysterious feel that’s key to romantic goth hairstyles.
Handle Your Bangs Or Fringe
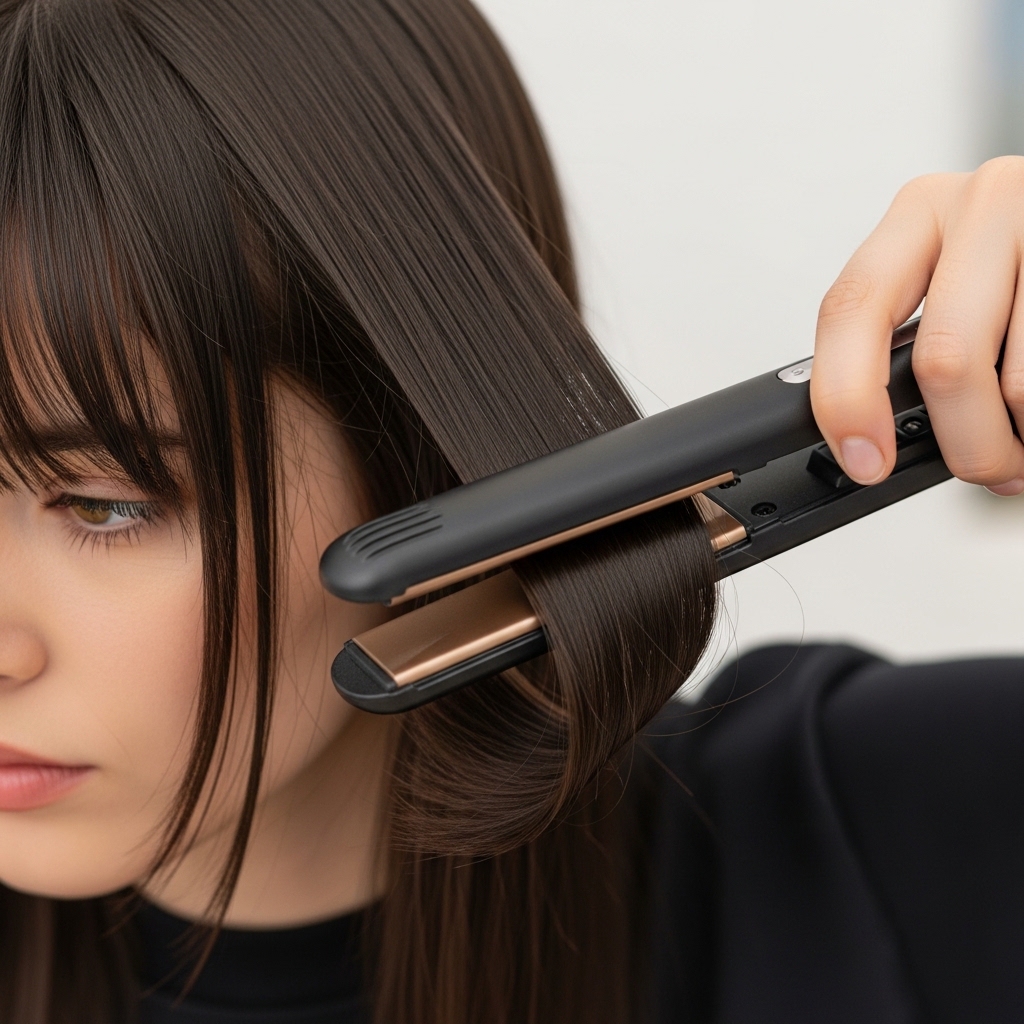
If you have bangs, a hime cut, or a fringe, style them last. For curtain bangs, use a flat iron to create a soft, outward bend away from your face. For a blunt fringe, just smooth it with a flat iron, maybe turning the ends under slightly.
The goal is to integrate them with the waves, not fight against them. They should look like part of the whole style, not a separate, stiff element. Keep them soft and movable.
Apply A Shine Serum To The Ends
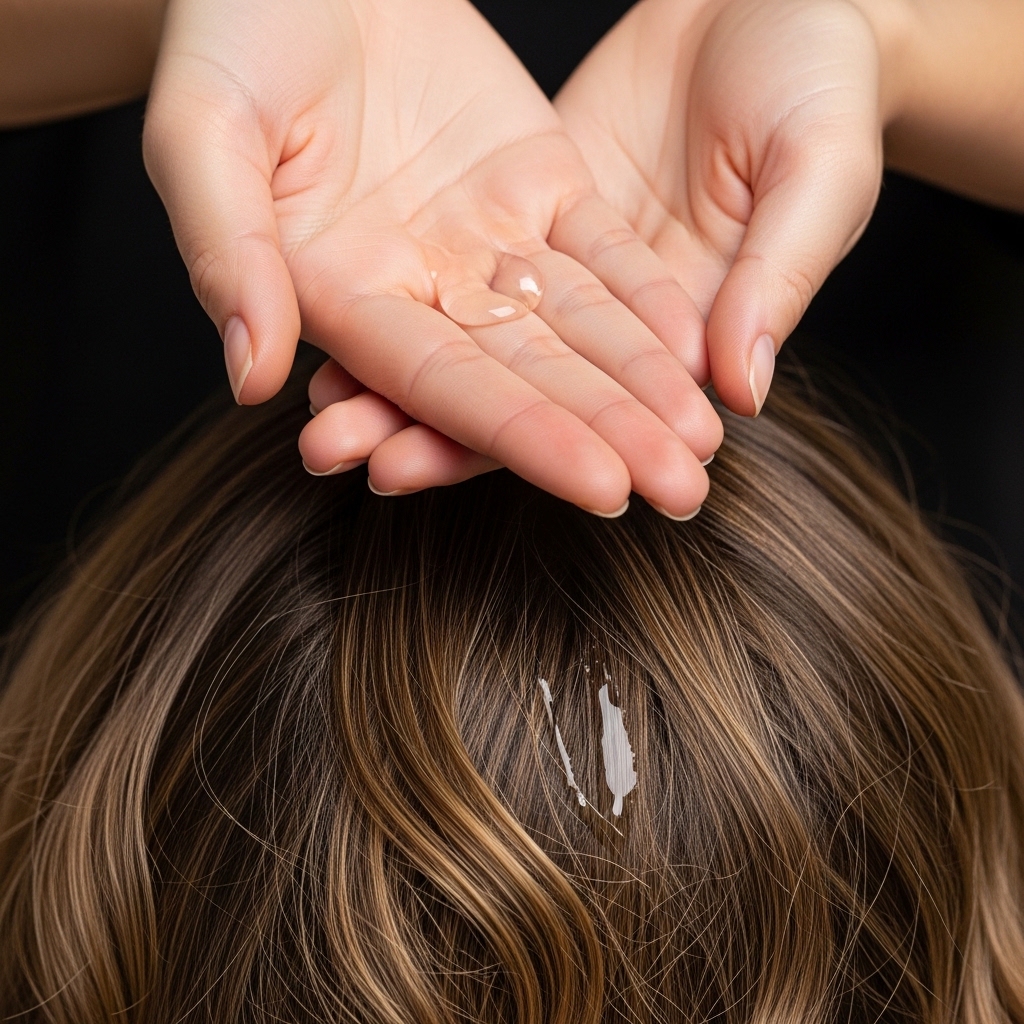
Now, to elevate the look from “cool” to “quiet luxury,” add a drop of shine serum or oil. Rub it between your palms and then lightly, lightly smooth it over the ends of your hair only. Avoid the roots and mid-lengths.
This gives the hair a healthy, expensive-looking finish and tames any flyaways. It makes the waves look polished and intentional, not dry or frizzy. This step is what bridges the gap between romantic goth and old money hair.
Check The Back & Adjust
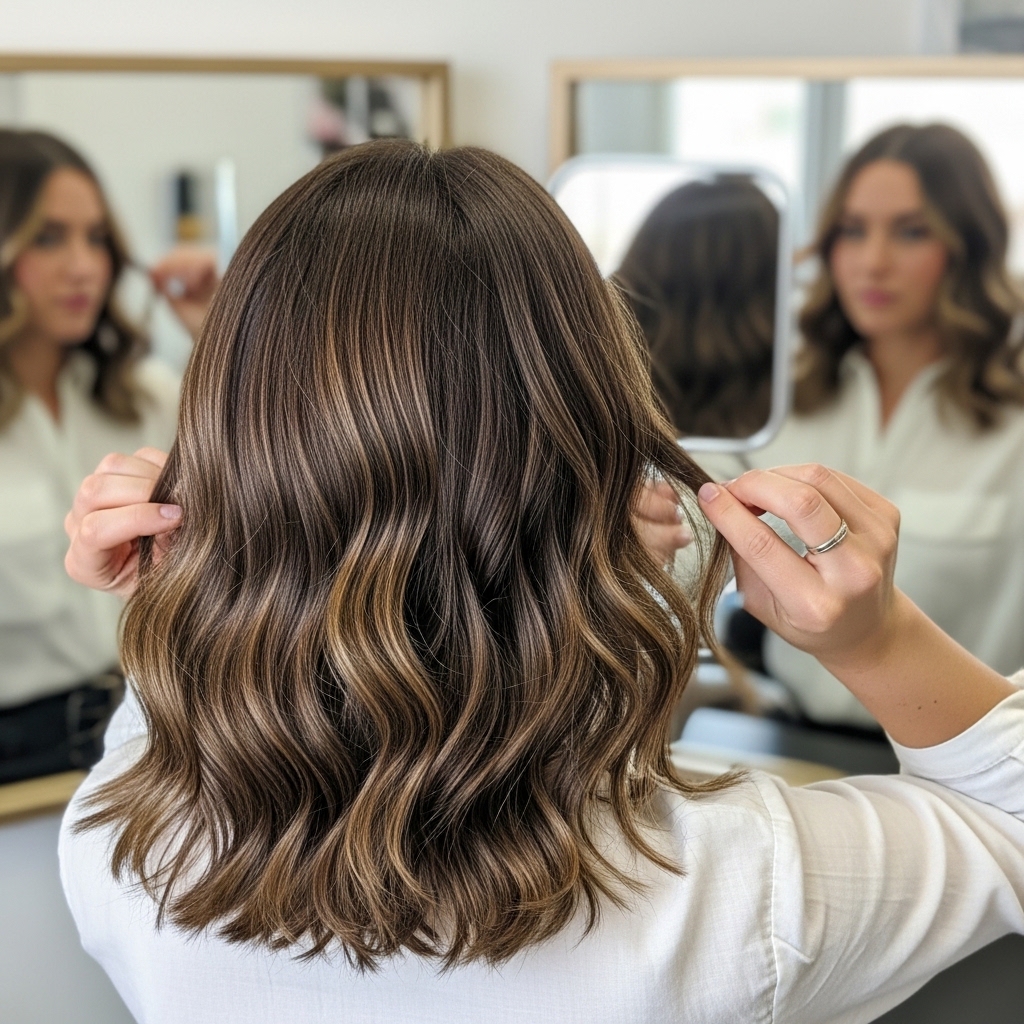
Use two mirrors or your phone camera to check the back of your head. It’s easy to miss a spot! Look for any sections that might have fallen flat or look too clumped together.
If you see a flat spot, don’t re-curl the whole section. Just take that one piece, re-wrap it on the iron for a few seconds, let it cool, and break it up again. This is about fine-tuning for a flawless 360-degree view.
Set It And Forget It
Once you’re happy, stop touching it! The more you fuss, the more you’ll lose the effortless texture. This style is designed to look better as the day goes on, becoming more piece-y and natural.
If you’re heading out into humidity or want extra hold, a single, light mist of flexible-hold hairspray from a distance is okay. But really, try to let it be. The beauty is in its movement and slight imperfection.
How To Make It Last Overnight
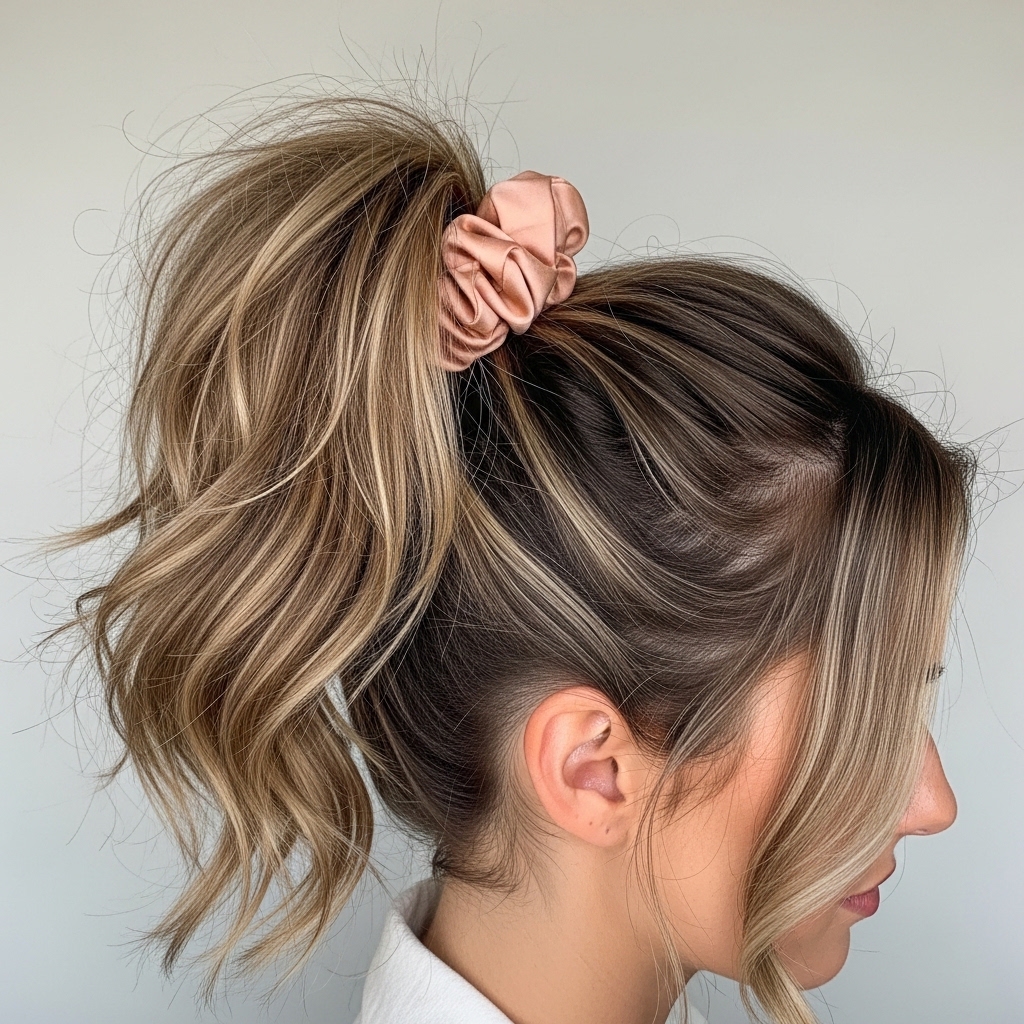
Want second-day vampire waves? They’re even better. Before bed, gather your hair into a very loose, high ponytail or pineapple on the very top of your head. Use a silk scrunchie to prevent creases.
In the morning, take it down, flip your head over, shake out the roots, and refresh with a tiny bit of texturizing spray on the mid-lengths. The waves will be softer, more lived-in, and honestly, even more perfect for that glitchy glam hair aesthetic.
Quick Refresh For Day Two
If some waves have fallen, don’t panic. You don’t need to redo everything. Spritz a bit of water or a conditioning spray on the flat sections. Then, use your curling iron or a flat iron to re-bend just those pieces.
Follow with a touch of texturizing spray to blend the new wave with the old. This spot-treatment method saves so much time and keeps your hair healthier than a full re-style.
Adapting The Waves For Different Cuts
This technique works on almost any length. For a short quiet luxury bob, focus the waves more on the ends. For long hair, start curling a few inches down from the roots to avoid overwhelming volume.
For an asymmetrical lob, make sure the wave on the longer side is a bit more pronounced. The principle is the same: small sections, alternate directions, break them up. It’s universally flattering.
Your Final Vampire Haircut Checklist
Let’s keep it simple. Before you start, run through this list: Start with day-old or textured hair. Always use heat protectant. Use a 1-inch iron. Take small sections. Alternate curling directions. Let curls cool completely before touching.
Break curls apart with fingers, not a brush. Finish with a light texturizing spray. That’s it! Follow these steps, and you’ll have that dreamy, romantic wave every single time, no matter what your cut is.
And just like that, you’ve got it. That soft, romantic, I-woke-up-like-this wave that looks perfectly imperfect. It’s the kind of style that gets you compliments and questions of “How did you do that?”—and now you have the answers.
The real beauty of this method is that it becomes second nature. After a few tries, you’ll be able to whip up these vampire haircut waves in your sleep. They work for a coffee run, a date night, or when you just want to feel that extra bit of cool, dark romance in your day.
Remember, the goal isn’t perfection. It’s texture, movement, and a little bit of mystery. Have fun with it, tweak it to suit your own hair, and make it yours.
Save this post to Pinterest so you always have the steps handy! Did you try it? Tell me in the comments—what’s your favorite trick for getting that effortless wave?

