

Okay, let’s be real. We’ve all seen that stunning, storybook-princess hairstyle taking over our feeds and thought, “That is gorgeous, but there is no way I can do that at home.” I’m talking about the hime cut. It looks intricate, right? Like you need a professional stylist and a magic wand.
Well, I’m here to tell you that’s not true. This iconic look—part of that romantic goth and vampire haircut revival—is actually one of the most straightforward styles to create yourself. It’s all about clean, sharp lines.
I’ve broken down the entire process into the simplest steps possible. No salon appointment needed, just your usual tools and about 30 minutes. This tutorial is for perfectly straight hair, and I promise, by the end, you’ll have that dramatic, beautiful hime cut that’s totally on-trend for 2026 hairstyles. Let’s turn your bathroom into your own private salon.
What Exactly Is a Hime Cut?
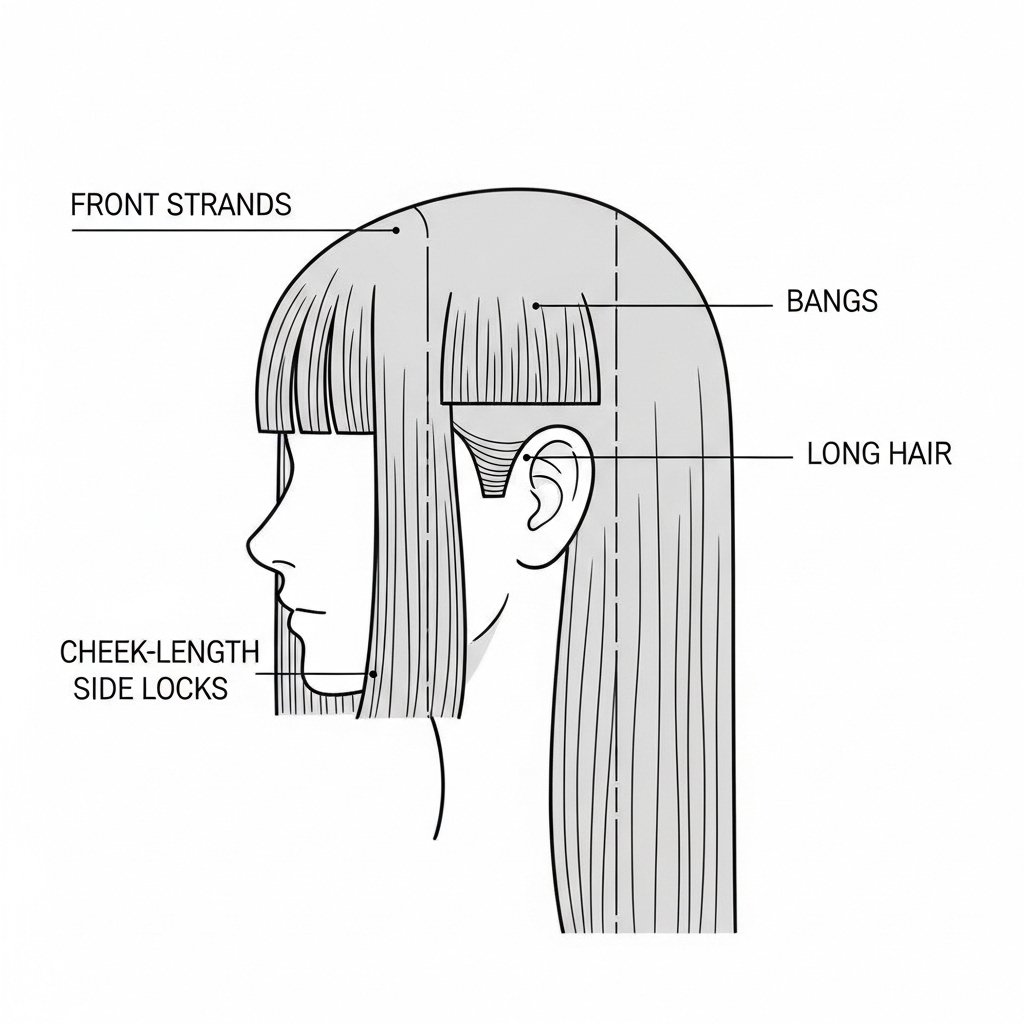
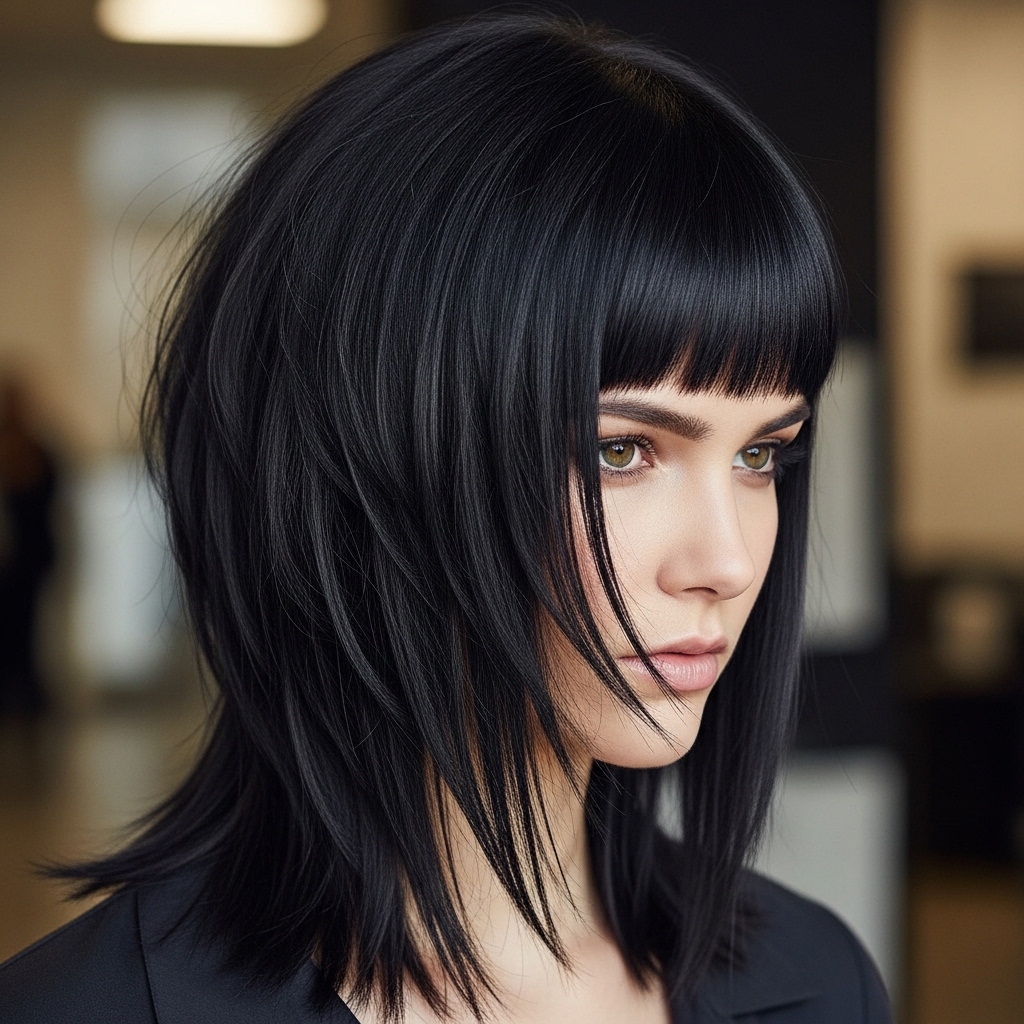
The hime cut, which means “princess cut” in Japanese, is a historically-inspired style that’s having a major moment. It’s defined by its very specific structure: straight, blunt-cut front strands (like thick bangs that continue down to your jaw or chest) paired with the rest of your hair worn long.
It creates a stunning frame for your face. While it feels ultra-modern now, especially within the glitchy glam hair and quiet luxury bob trends, its roots are ancient. It’s that perfect mix of edgy and elegant, which is why it fits so well with both old money hair aesthetics and more alternative styles.
Why the Hime Cut is Perfect for Straight Hair
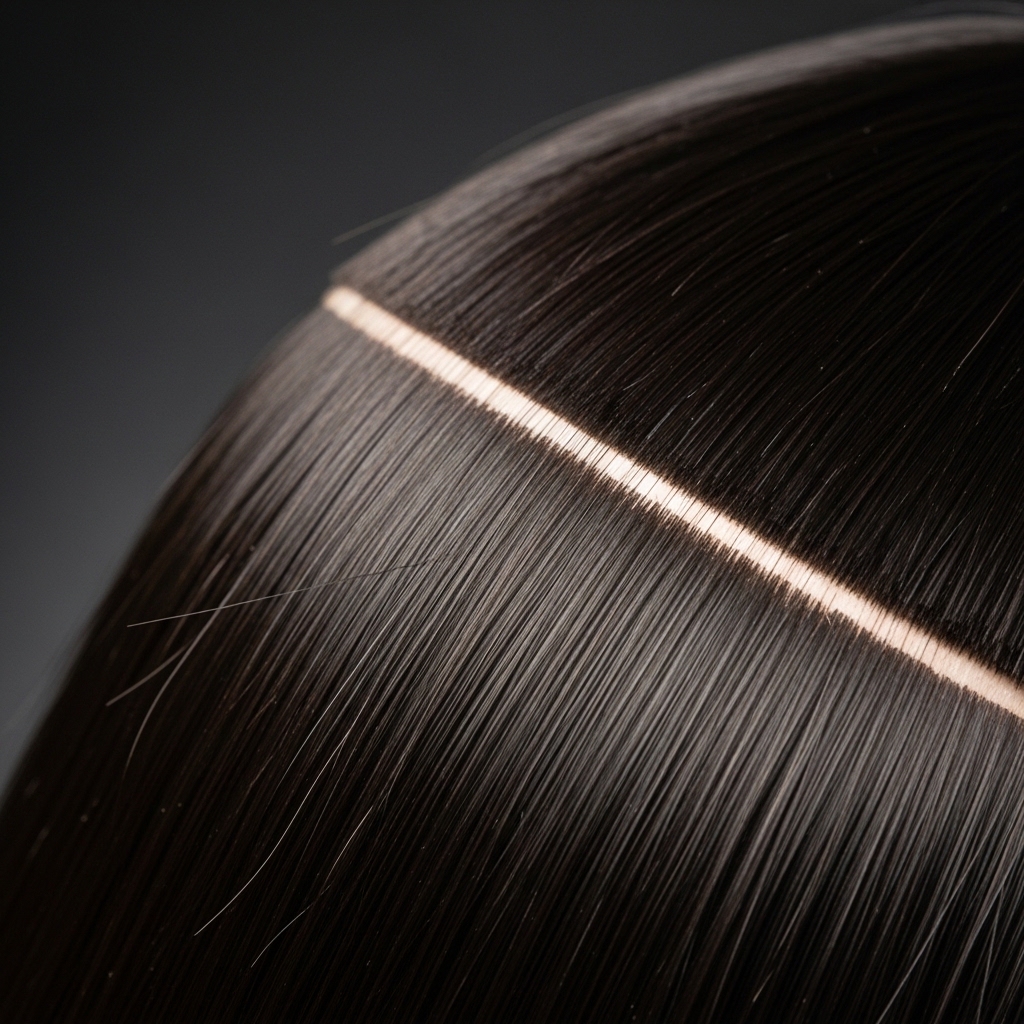
If you have naturally straight hair, you are already starting with the ideal canvas. This cut relies on razor-sharp, clean lines to make its impact. You won’t be fighting with curls or waves to get that sleek, dramatic look.
It means less styling time for you and a result that looks incredibly polished. The contrast between the sharp front pieces and the flowing back hair is what makes it so captivating. It’s a style that celebrates the natural texture of straight hair, turning it into a statement.
Tools You’ll Need From Your Stash
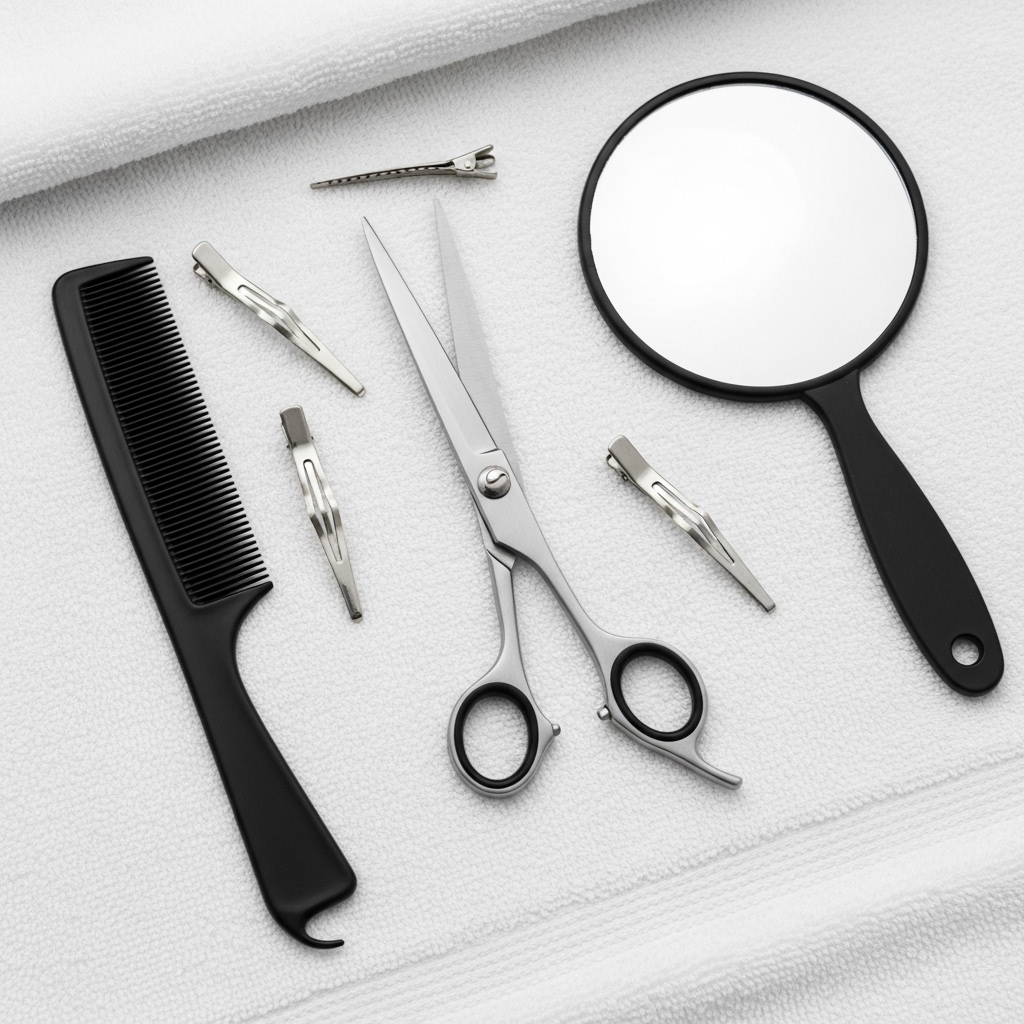
Before we start, let’s gather everything. You likely have most of this already. You’ll need a fine-tooth comb, several hair clips or ties to section your hair, a pair of sharp hairdressing scissors (please, not your kitchen scissors!), and a handheld mirror.
Having a second mirror or a way to see the back of your head is super helpful. That’s it! No fancy gadgets. The key is the sharp scissors—they give you that clean, professional-looking blunt cut without fraying the ends.
Step 1: Start with Clean, Dry Hair
This is non-negotiable. You must cut your hair when it is completely clean, dry, and styled straight. Wet hair stretches, and when it dries, it shrinks up—you’ll end up cutting way more than you intended.
Blow-dry your hair smooth and straight. This gives you the truest sense of the final length and weight. Think of it like a carpenter measuring wood; you need to see the final material before you make the cut.

Step 2: Find Your “Hime Section”
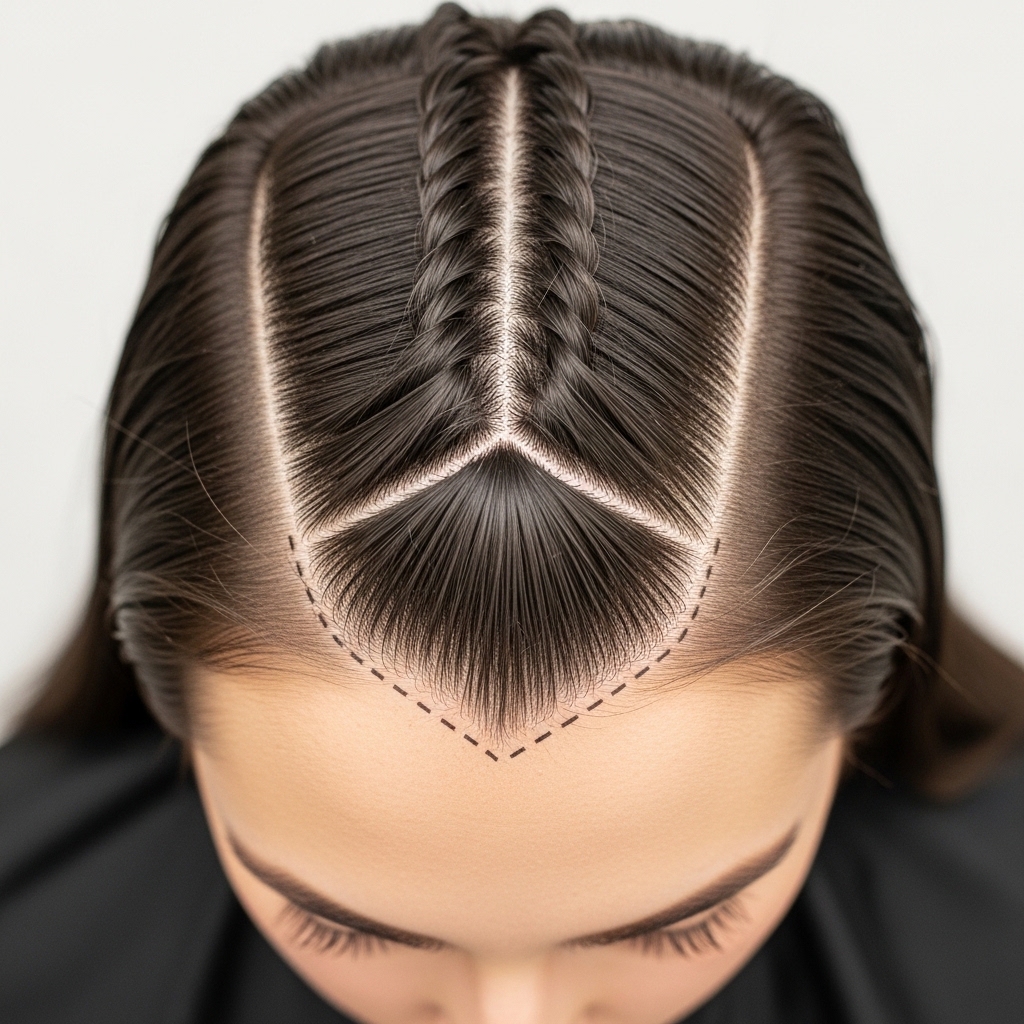
This is the most important step. Create a triangular section at the front of your hair. Part your hair down the middle. Then, from the crown of your head, create a triangle point that goes down to about the middle of your eyebrows.
- The width of the triangle at your forehead should be just wider than the outer corners of your eyes.
- This front triangle is your “hime” section. Clip the rest of your massive amount of hair back and out of the way.
Step 3: Secure and Separate the Back
Take all the hair that is NOT in your front triangle and pull it into a low, secure ponytail or bun at the nape of your neck. Make sure it’s tight and smooth.
This prevents you from accidentally cutting your long back hair. We are only working on the front triangle section right now. Double-check that no stray pieces from the back have slipped into your front section.
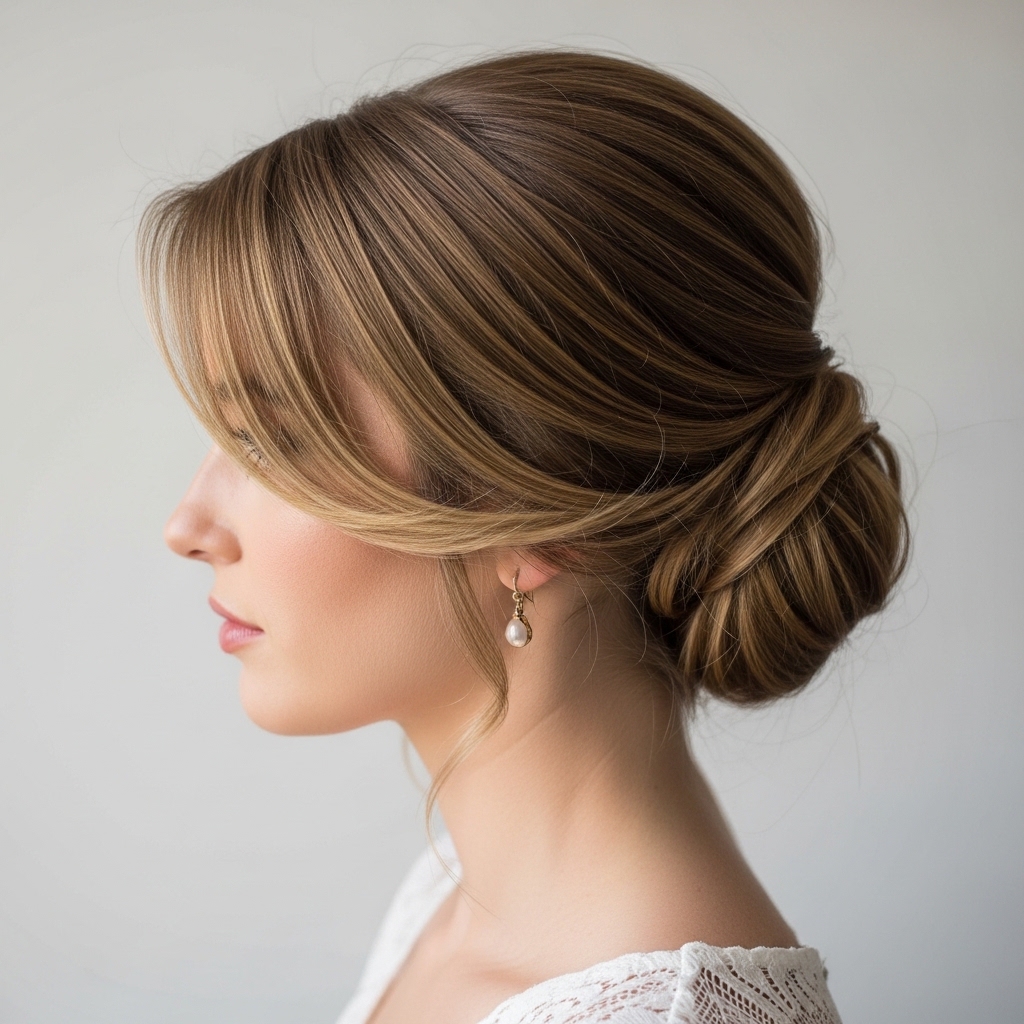
Step 4: Split the Front Triangle in Two
Now, take that front triangle and split it neatly down your center part. You should now have two separate, equal sections of hair framing your face—one on the left and one on the right.
Clip one side away for now. We will work on one side at a time to ensure they are perfectly even. This makes the cutting process much less overwhelming.
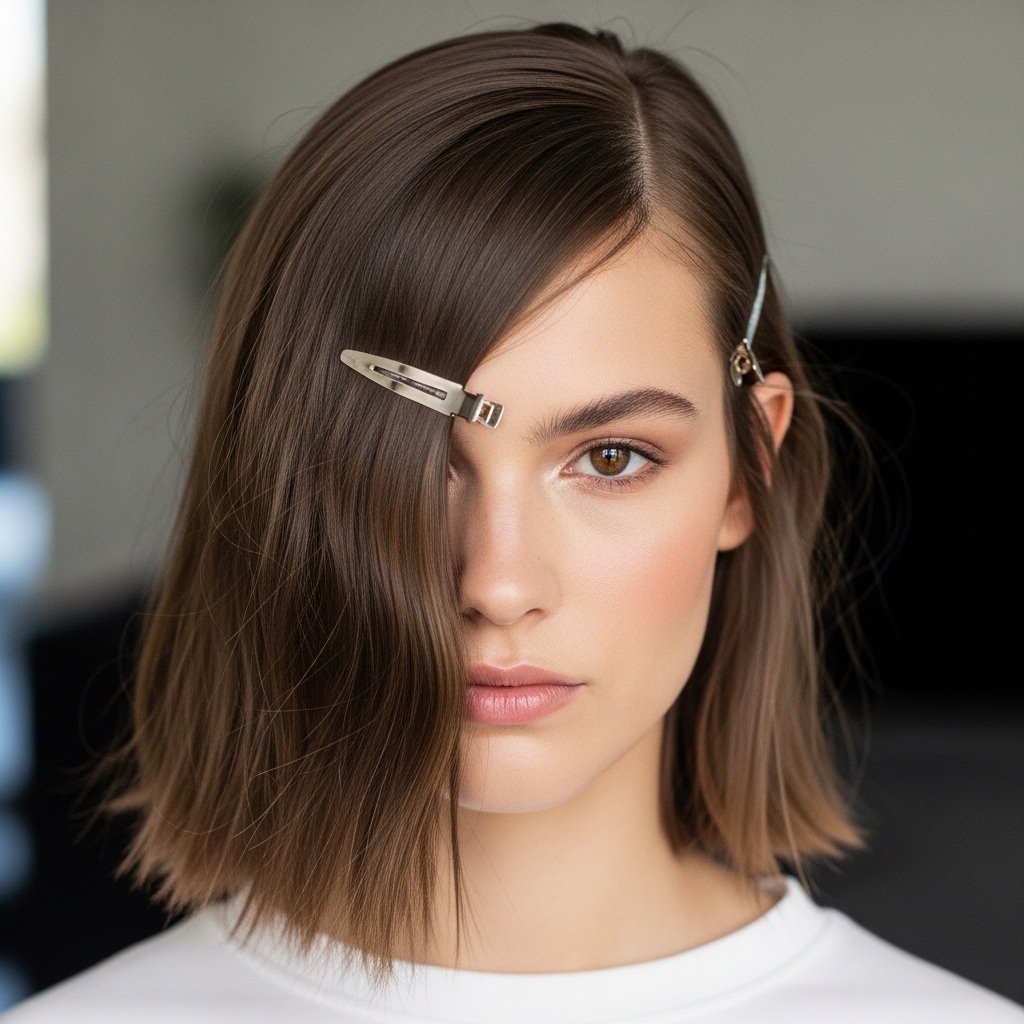
Step 5: Choose Your Desired Length
How dramatic do you want to go? The classic hime cut has these front strands falling between the chin and the chest. For a more modern, asymmetrical lob feel, you might go shorter.
Hold the first section straight down along your face. Use your chin, jawline, or collarbone as a guide. Remember, you can always cut more off later, but you can’t add it back!

Step 6: Make the First Cut (Don’t Panic!)
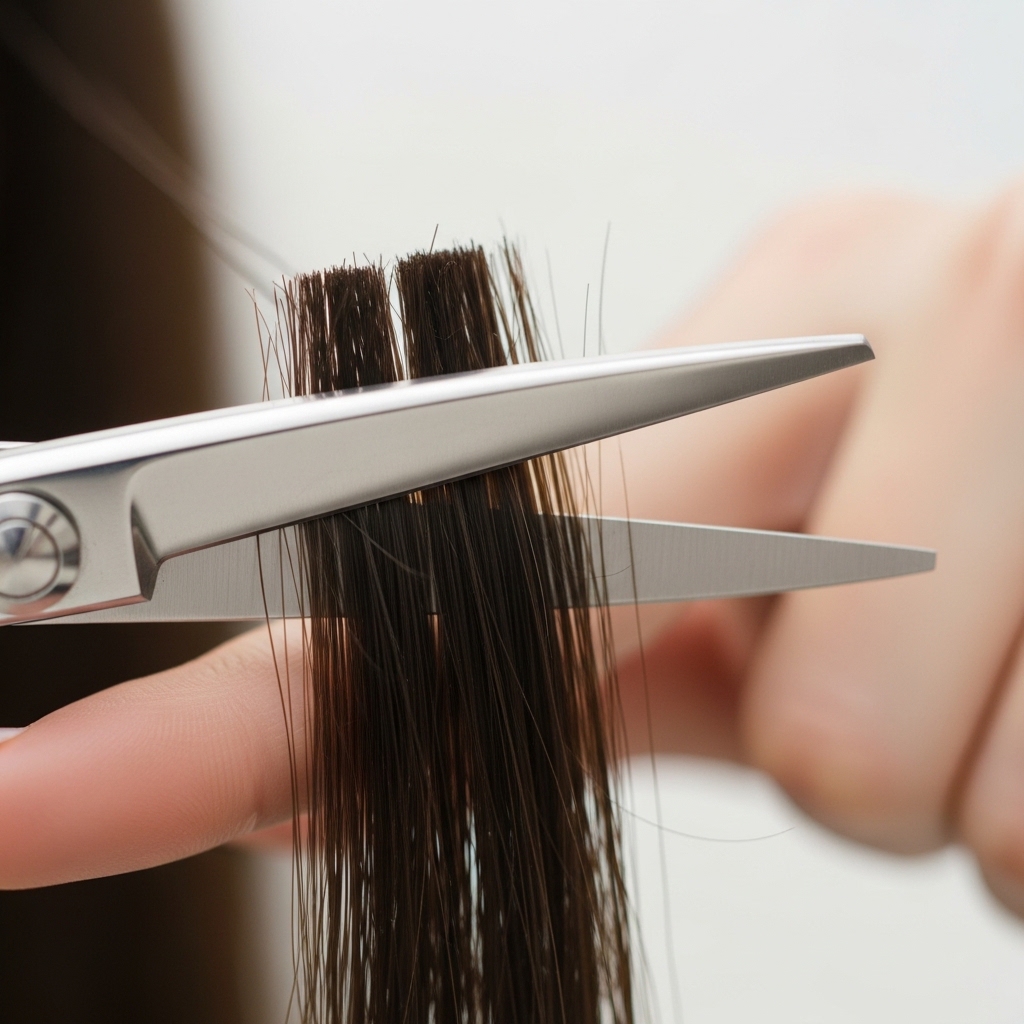
Take a deep breath. Hold the first section taut between your fingers, pulling it straight down. Position your fingers at your chosen length point.
With your sharp scissors, cut straight across in one confident motion, just below your fingers. You want a completely blunt, horizontal cut. No sawing! One smooth clip.
Step 7: Match the Second Side
Unclip the other front section. Now, you must match it exactly to the first side you cut. Don’t just guess. Pull the cut section forward as a reference guide.
Hold the new section next to it, and cut to the same length. Check from the front in the mirror to ensure they look even when your face is relaxed.
Step 8: Check for Balance and Symmetry
Let both front sections hang free. Look straight into the mirror. Do they look even? Tilt your chin down and look up into the mirror—this angle helps spot any differences.
If one side is slightly longer, make tiny, hair-by-hair trims to adjust. The goal is perfect symmetry, as that’s what makes the style look intentional and chic.

Step 9: Style Your New Hime Bangs
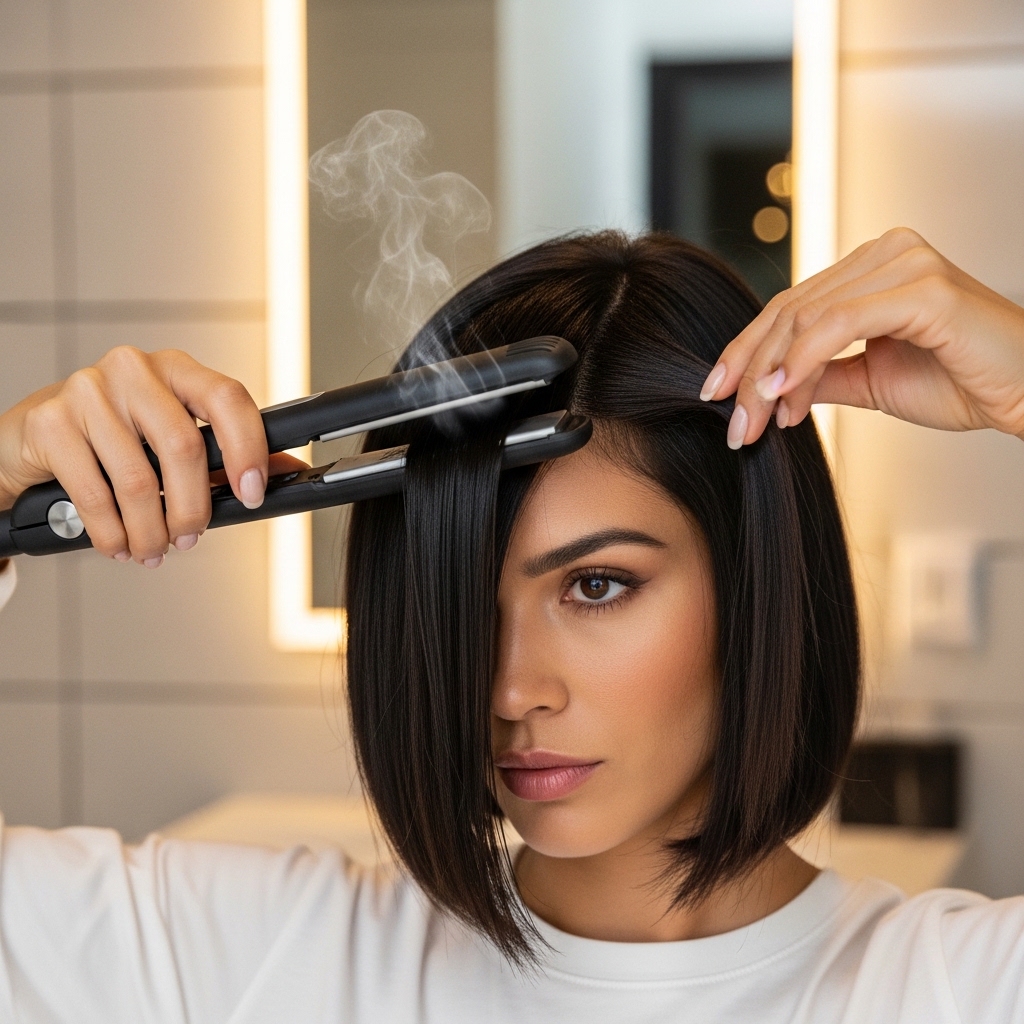
Your dramatic front pieces are done! You can style them straight down for that classic look, or blend them slightly with the rest of your hair. Use a flat iron on a low heat setting for an extra-sleek finish.
This is where the personality comes in. Wear them perfectly straight for a quiet luxury bob vibe, or add a slight outward flick for a different twist.
Step 10: Release the Back Hair
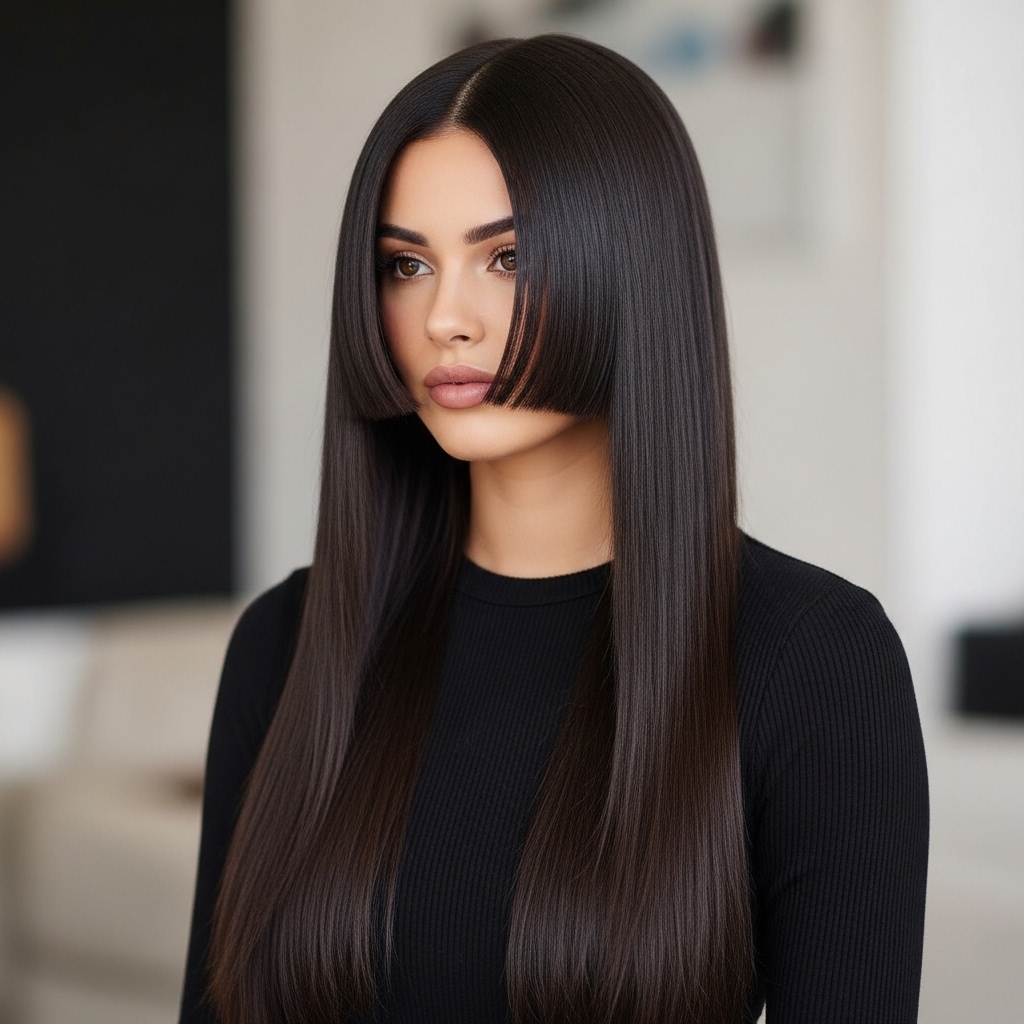
Once your front is perfect, you can unclip or untie the back section. Let it all fall down. You’ll immediately see the beautiful contrast between the short, blunt front and the long, flowing back.
This is the “wow” moment. The style is technically complete! The rest of the steps are about refining and styling the whole look together.
How to Blend for a Softer Look
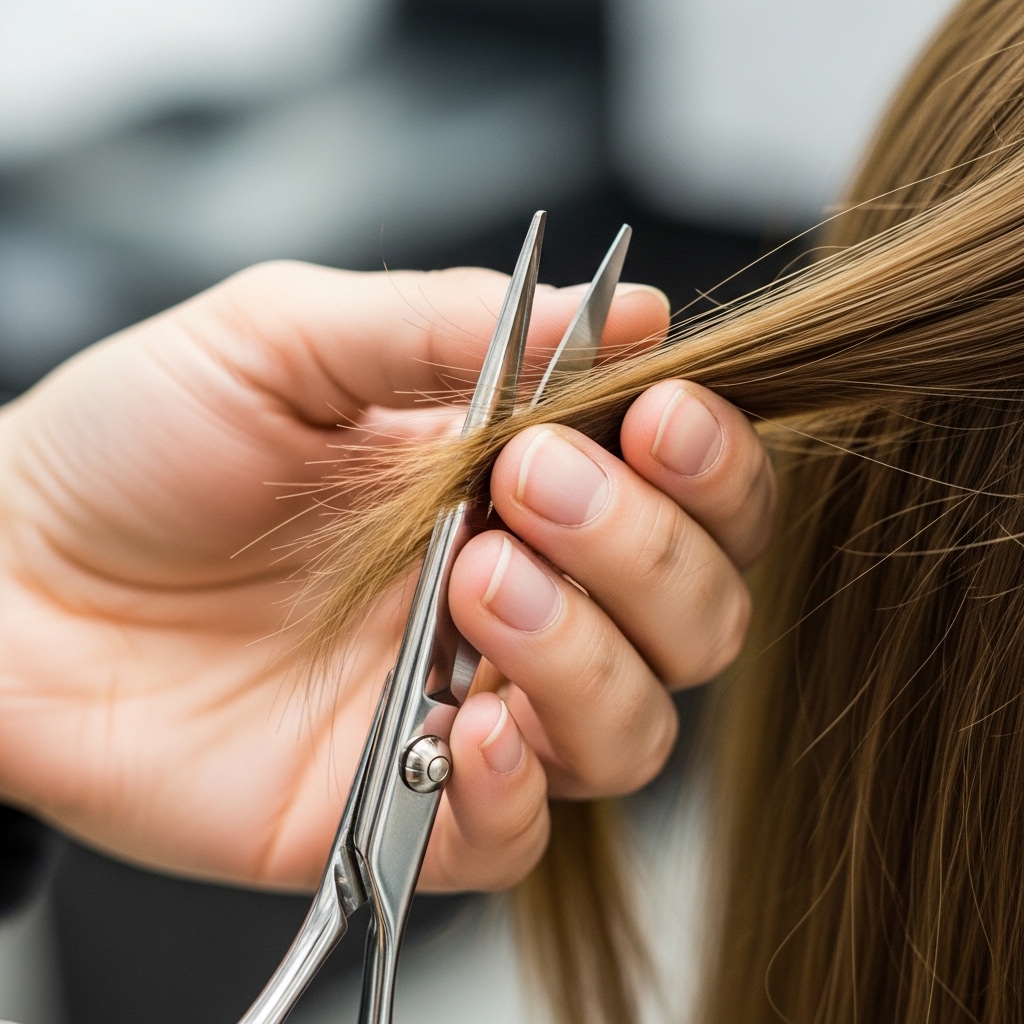
If the blunt line feels too severe for you, you can soften it. Take small, vertical sections from the very ends of your new hime pieces and point-cut (snip vertically into the ends).
This creates a slightly feathered, less harsh line. Be very conservative—you’re softening, not shortening. This technique helps it blend more seamlessly into your longer hair.
Styling for Maximum “Wow” Factor
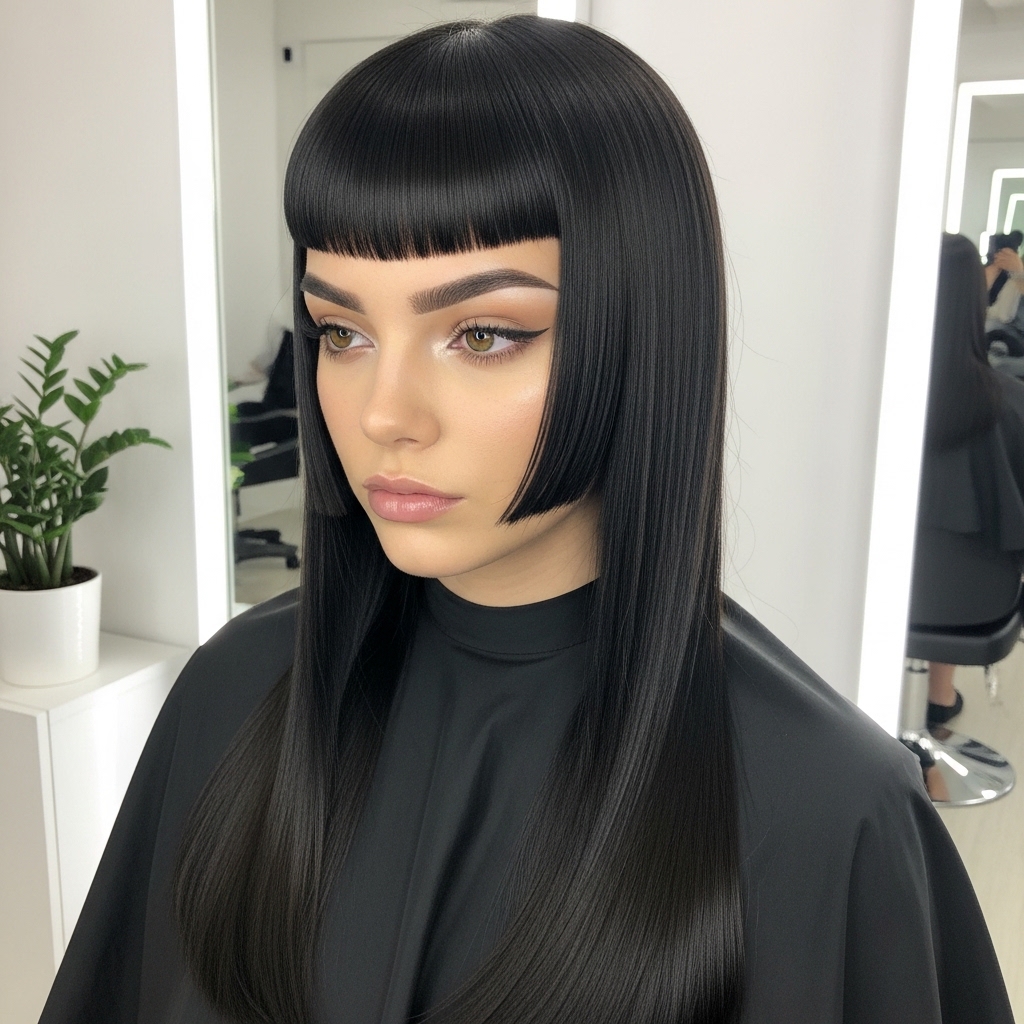
For the full effect, style all your hair pin-straight. A shine serum or a light hair oil on the ends will make the blunt cuts look even sharper and more luxurious.
This high-contrast, ultra-sleek look is pure glitchy glam—it’s polished but makes a rebellious statement. It feels expensive and editorial, like an old money hair style with a dark twist.
Quick Everyday Hime Cut Hairstyles
You don’t have to wear it fully down every day. Try a half-up style: gather just the long back hair into a half-up ponytail, letting the hime pieces frame your face.
Or, tuck the front pieces behind your ears for a more subtle look. You can also braid the long back section while leaving the front out for a romantic, ethereal vibe that plays into romantic goth hairstyles.
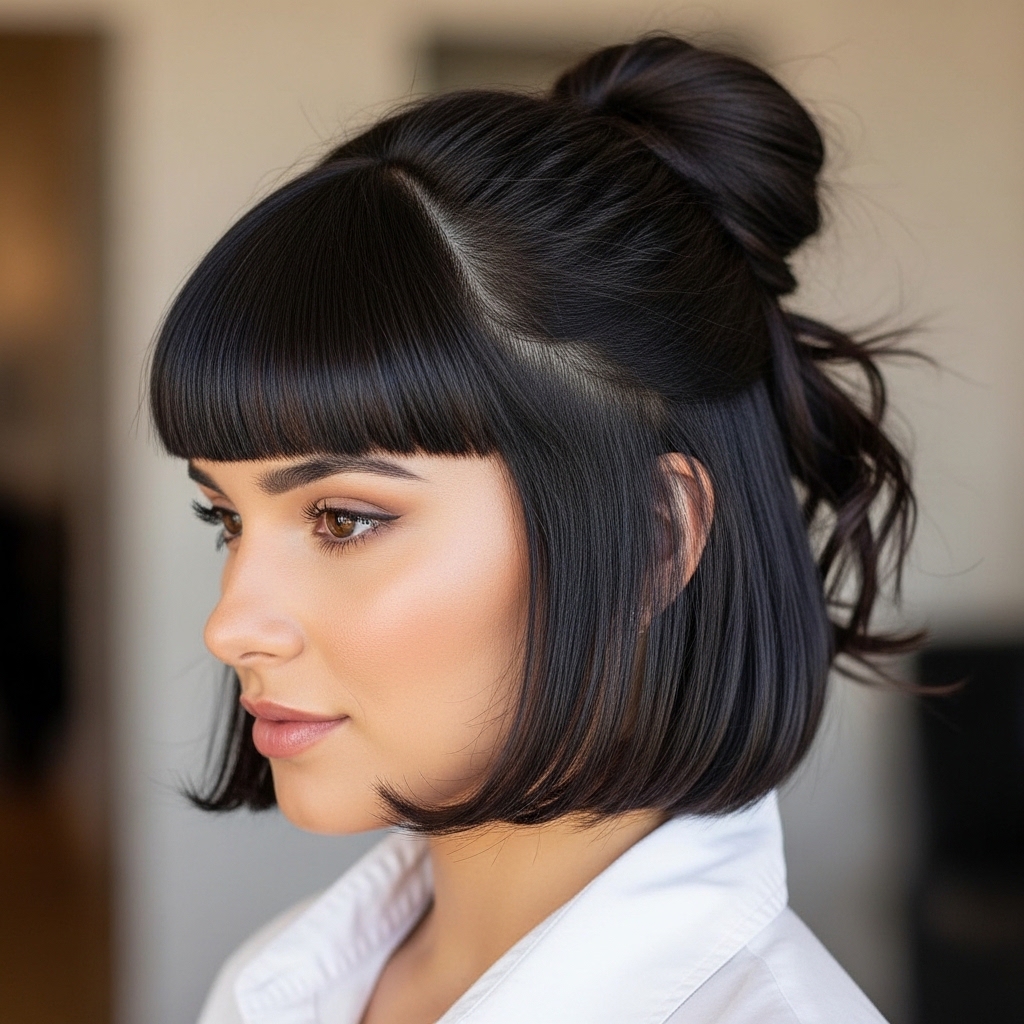
Common Mistakes to Avoid
The biggest mistake is cutting wet hair. Another is making the front triangle too wide—it should frame the face, not encompass it. Don’t use dull scissors, as they will crush the hair and give you a frayed, uneven line.
Finally, don’t rush the matching step. Taking the time to get both sides perfectly even is what makes the cut look professional and not like a DIY hack.
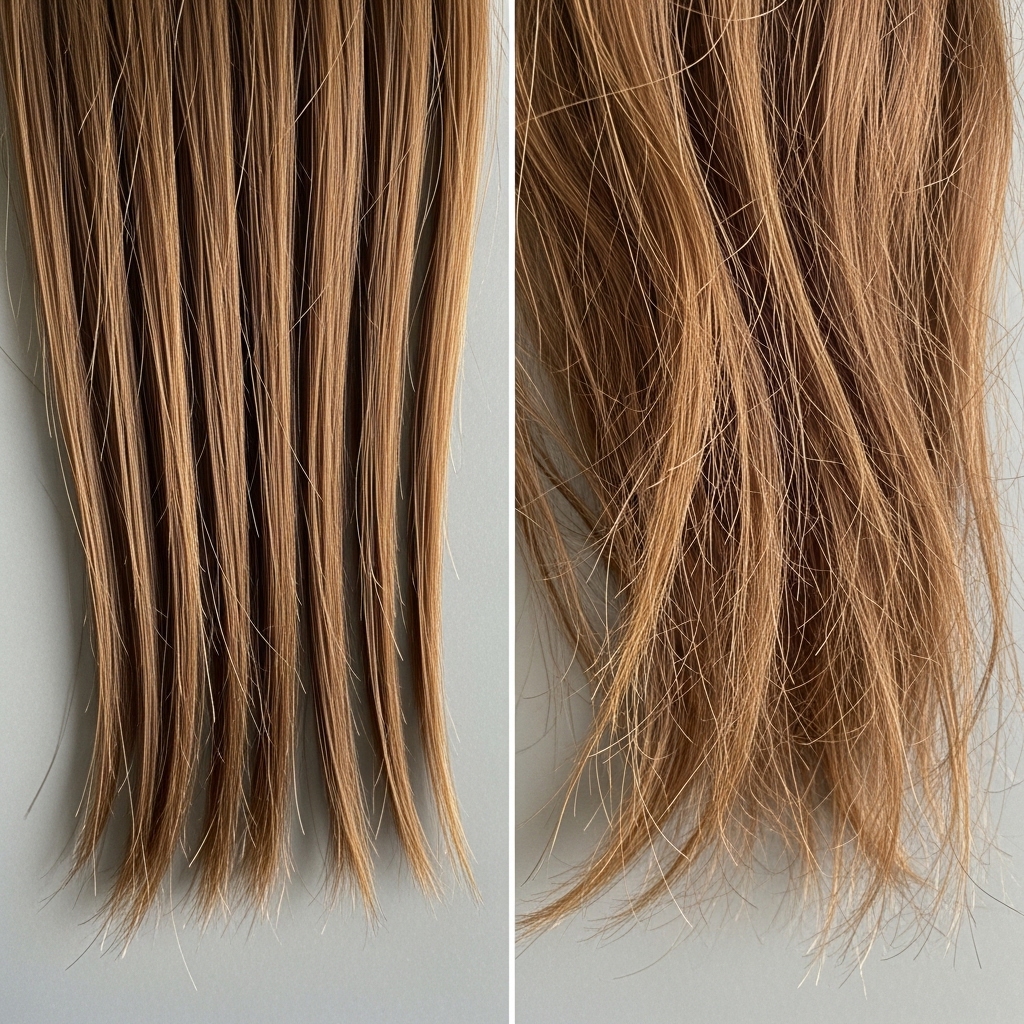
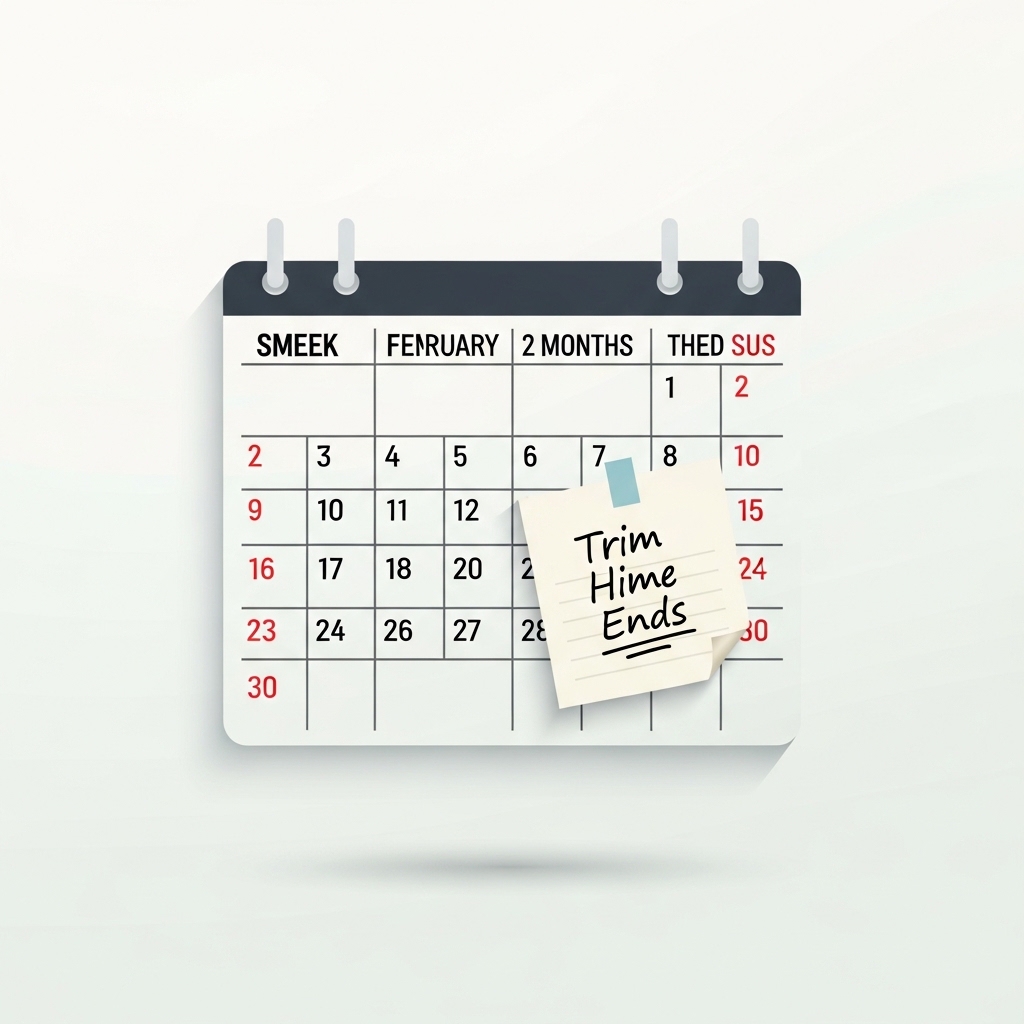
Hime Cut Maintenance Tips
Because the lines are so blunt, you’ll notice when it needs a trim. Plan to refresh the ends of your front pieces every 6-8 weeks to keep them looking sharp.
You can easily do this yourself by following the matching steps again. Use a good heat protectant when styling to keep the ends healthy and prevent split ends from ruining your clean line.
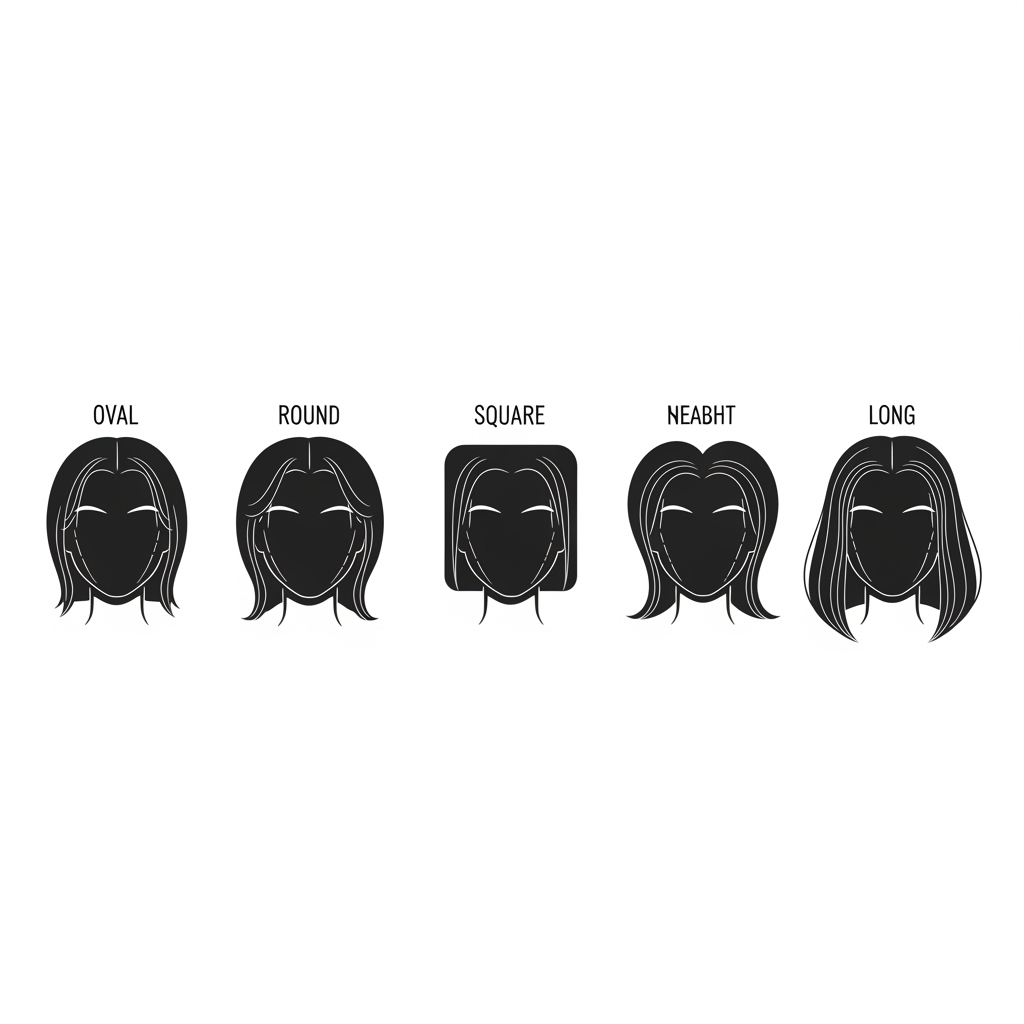
Is the Hime Cut Right for Your Face Shape?
This cut is surprisingly versatile! It beautifully highlights cheekbones and jawlines. For rounder faces, aim for the front pieces to end just below the chin to create length.
For oval or heart-shaped faces, you have the most flexibility. If you have a very long face, keeping the front pieces a bit longer (chest-length) can help balance proportions.
Pairing Your Cut with Makeup Looks
This haircut is a makeup artist’s dream frame. Go bold with a classic red lip for a stunning, vintage-inspired contrast. Or, lean into the vampire haircut aesthetic with pale skin and dark, smoky eyes.
For a more minimalist, quiet luxury approach, focus on flawless skin and groomed brows. The hair does the talking, so your makeup can either complement or contrast it dramatically.

Hime Cut Variations to Try Next
Once you’ve mastered the classic, have fun! Try an asymmetrical lob version where one front piece is slightly longer than the other. Add curtain bangs behind the hime pieces for more layered texture.
Or, experiment with color—think dark roots with lighter ends on just the front pieces for a truly glitchy glam hair moment. The structure of the cut makes it perfect for creative experiments.
Your Questions, Answered
Can I do this on layered hair? Yes, but the result will be less blunt. You may need to cut slightly more to get a clean line.
What if I mess up? Go slowly. If you cut too short, style them as face-framing layers until they grow.
Is this just a trend? While huge for 2026 hairstyles, its historical roots mean it has a timeless, iconic feel that transcends fleeting trends.
You Did It! Final Thoughts
Look at you! You just gave yourself one of the most on-trend, dramatic haircuts of the season, all by yourself. I told you it was easier than it looked. The hime cut is such a powerful way to change your look without losing length in the back.
It’s a style that feels both ancient and utterly fresh, fitting into so many aesthetics from romantic goth to quiet luxury. I hope you feel incredibly empowered and stylish.
Honestly, I’m so proud of you for taking the plunge. DIY haircuts can be intimidating, but breaking them down step-by-step takes all the fear away. You now have a salon-fresh, statement look that probably cost you nothing but a little time and courage.
The best part about mastering a cut like this? You own the skill forever. You can keep it sharp, adjust it, or grow it out on your own terms. It’s your hair, your rules.
Save this post to Pinterest to keep this guide handy for your next trim! And I’d love to hear how it went—drop a comment below and tell me about your hime cut experience. Did you go super dramatic or keep it soft? Spill everything!

