
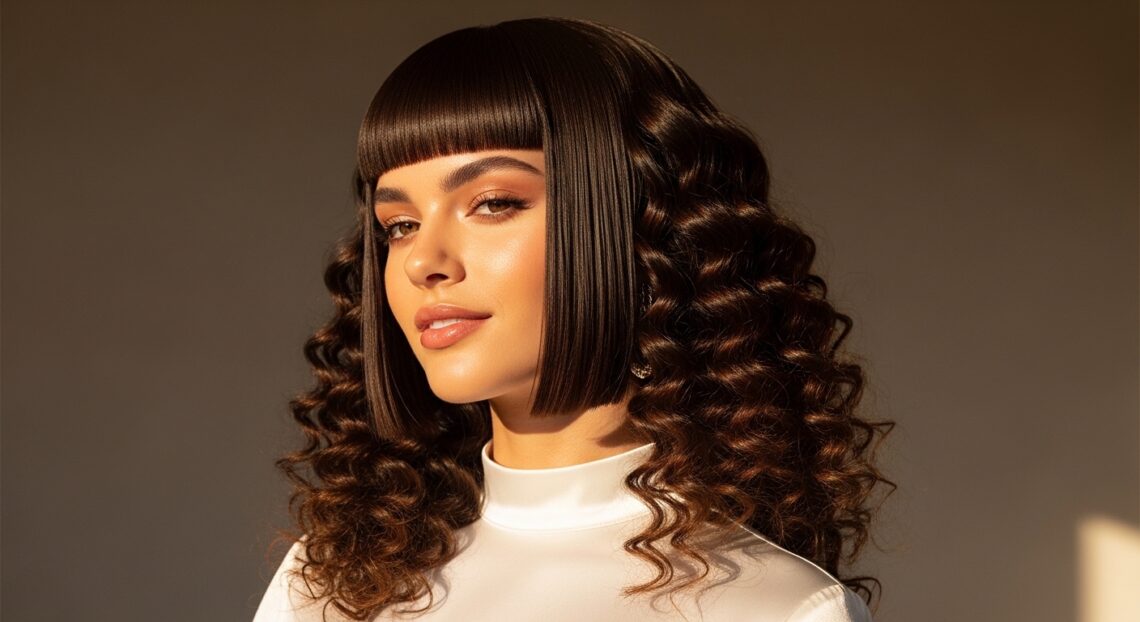
Okay, let’s be real. Sometimes you want a hairstyle that feels a little bit dark romantic, a little bit undone, and a whole lot of cool. That’s where romantic goth finger coils come in. They’re the perfect middle ground between a polished curl and that “I just woke up like this” texture we all chase.
Think of it as the edgy, textured cousin to the sleek quiet luxury bob. It’s less about perfection and more about personality. If you’ve been eyeing those 2026 hairstyles that are all about unique texture, you’re in the right place.
This isn’t a complicated salon treatment. It’s a simple, do-it-yourself technique that works on almost any hair length, from a sharp asymmetrical lob</strong to longer layers. I’m going to walk you through it, step-by-step, with zero fuss.
By the end of this, you’ll have that soft, glitchy glam hair texture that looks intentional and effortlessly cool. Let’s get into it.
What Are Romantic Goth Finger Coils?
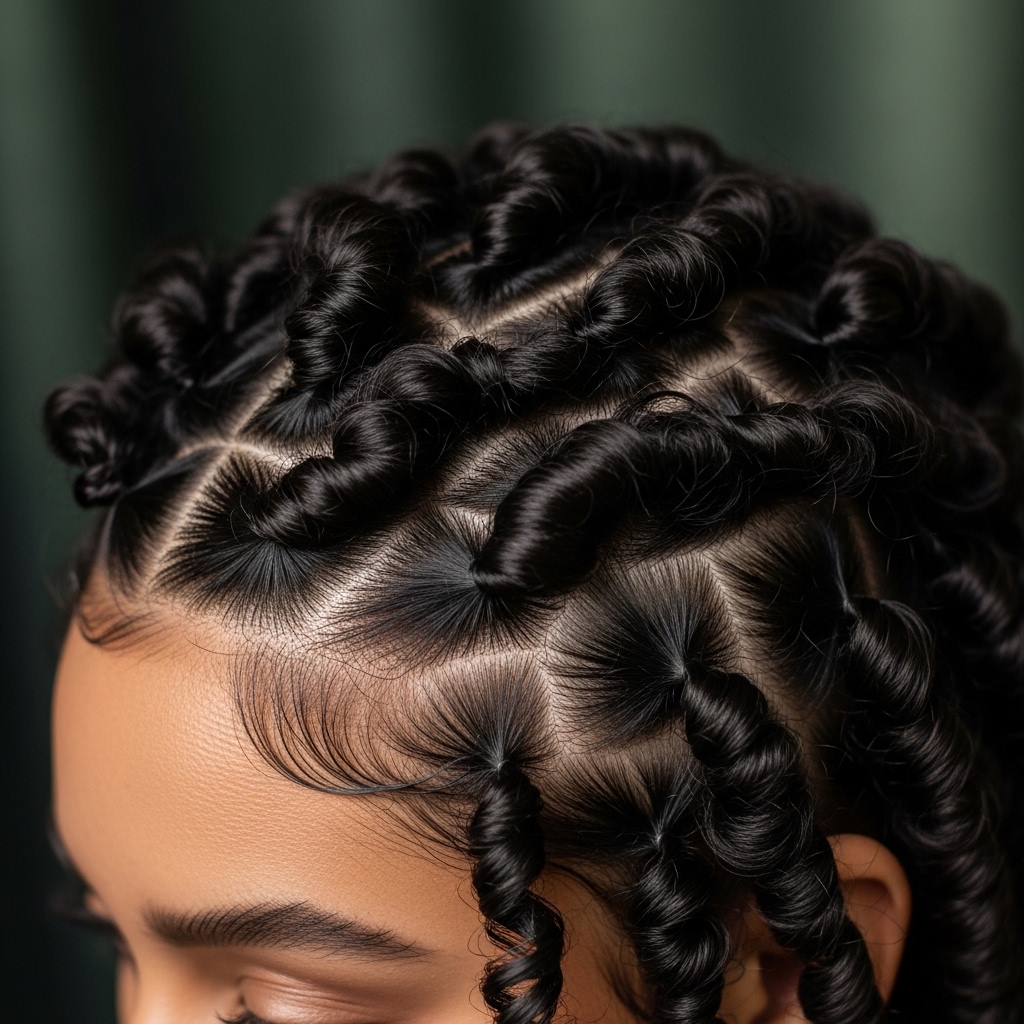
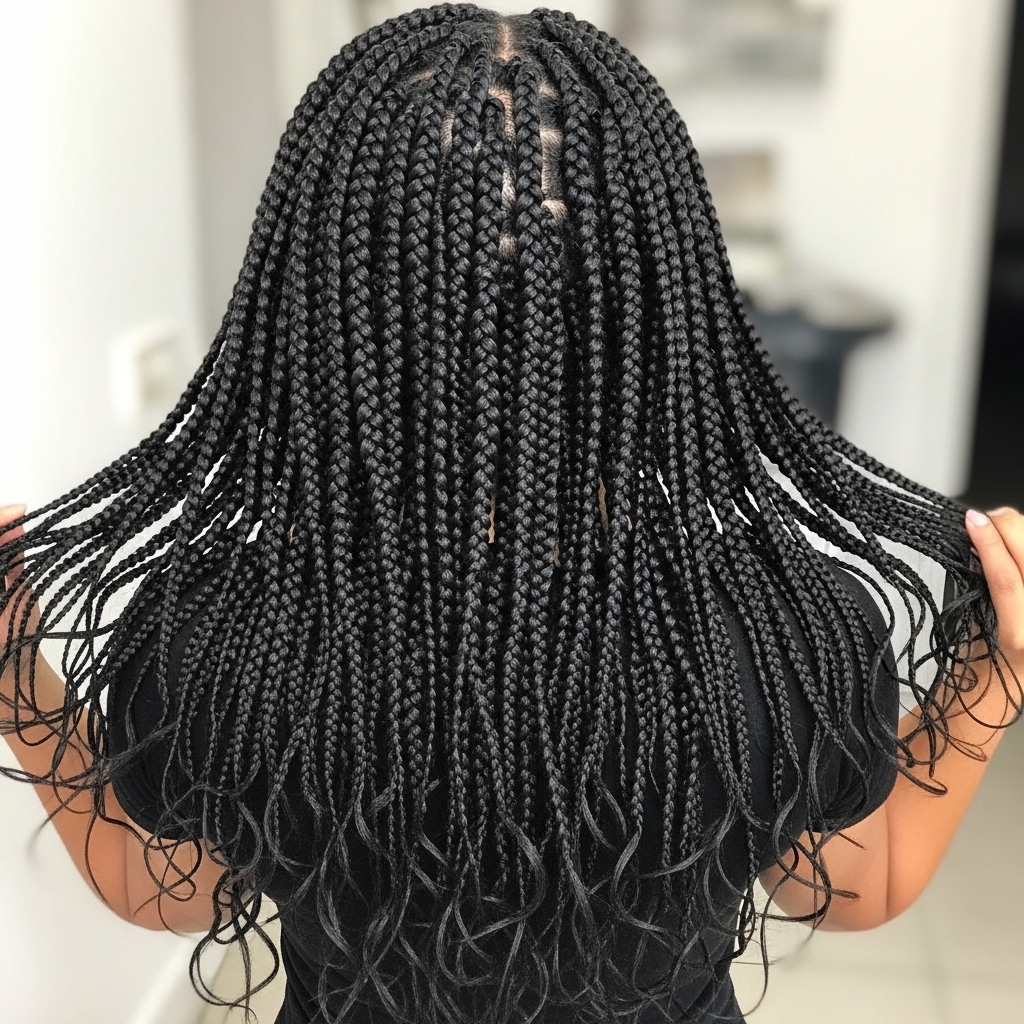
Romantic goth finger coils are small, defined spiral curls created by twisting small sections of hair around your finger. The “romantic goth” part comes from the vibe—soft, darkly romantic, and intentionally imperfect.
Unlike tight, springy coils, these are meant to be looser, with a bit of separation and frizz for that lived-in feel. It’s a texture that pairs beautifully with the drama of a vampire haircut or the softness of a hime cut fringe.
Why This Style is Having a Moment
We’re moving away from overly sleek styles and into an era of embracing natural texture and personality. This look fits right into that shift. It’s a hands-on, artistic style that feels personal.
It also complements so many of the big trends. Imagine this texture on a blunt old money hair cut—it instantly adds an edge. It’s that perfect mix of elegant and rebellious that defines romantic goth hairstyles right now.
Hair Type & Length: Who Can Rock It?
The best part? This technique is incredibly versatile. It works on straight hair that needs help holding a wave, wavy hair that wants more definition, and curly hair that wants a more uniform coil pattern.
- Short Hair: Perfect for adding volume and texture to bobs and lobs.
- Medium to Long Hair: Creates beautiful, cascading spiral curls.
- The key is your hair’s ability to hold a shape, which is where our product section comes in.

Gathering Your Tools & Products
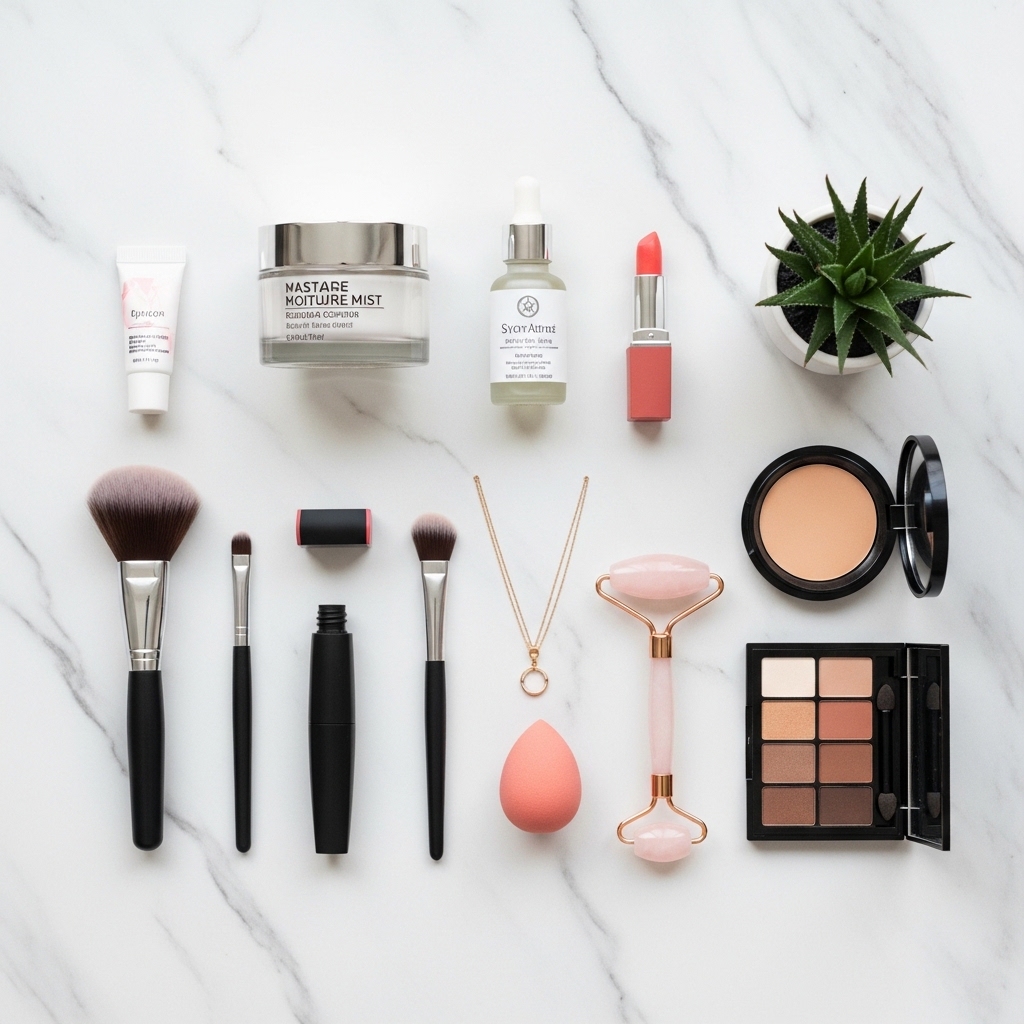
You don’t need much! Here’s your simple toolkit:
- Wide-tooth comb for detangling.
- Leave-in conditioner or a light curl cream.
- A strong-hold gel or mousse. This is non-negotiable for hold.
- A defining gel or jelly for shine and separation.
- Clips to section your hair.
- Hair oil or serum for the final step.
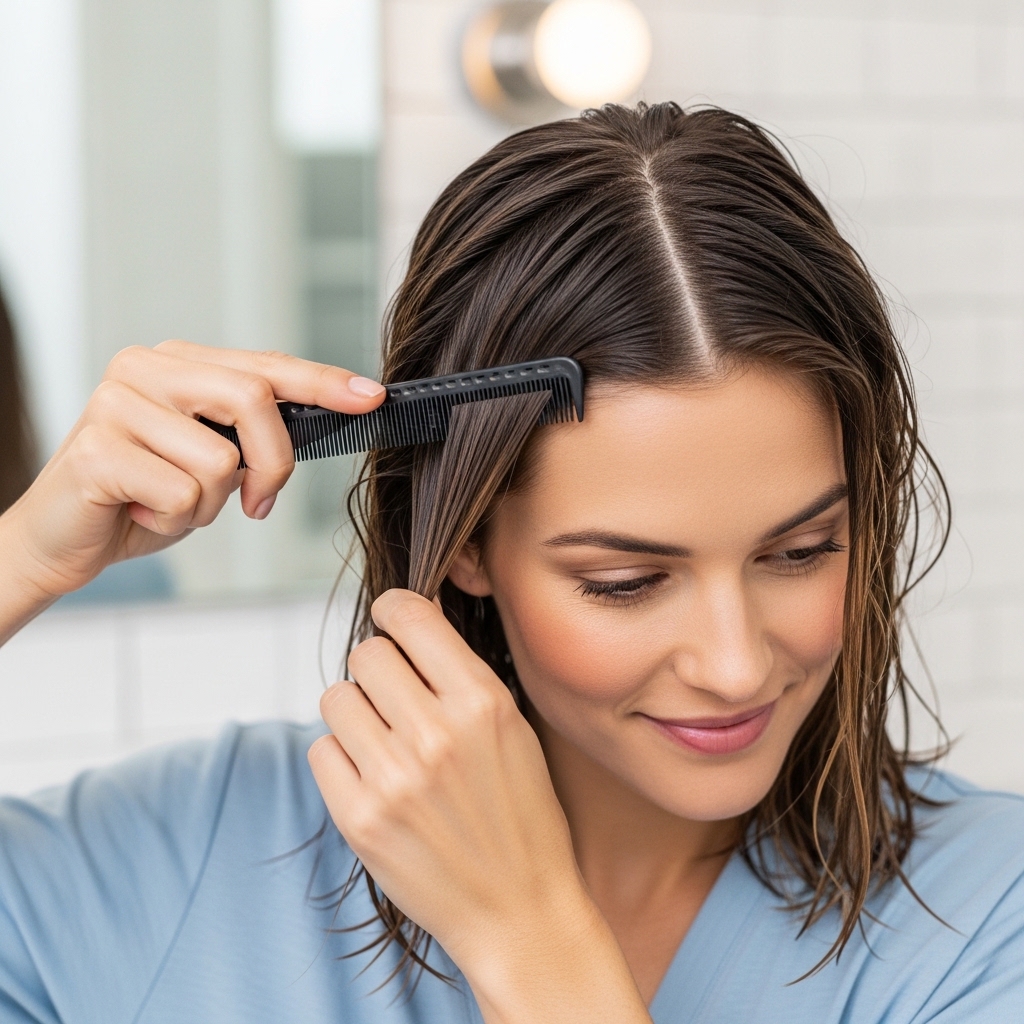
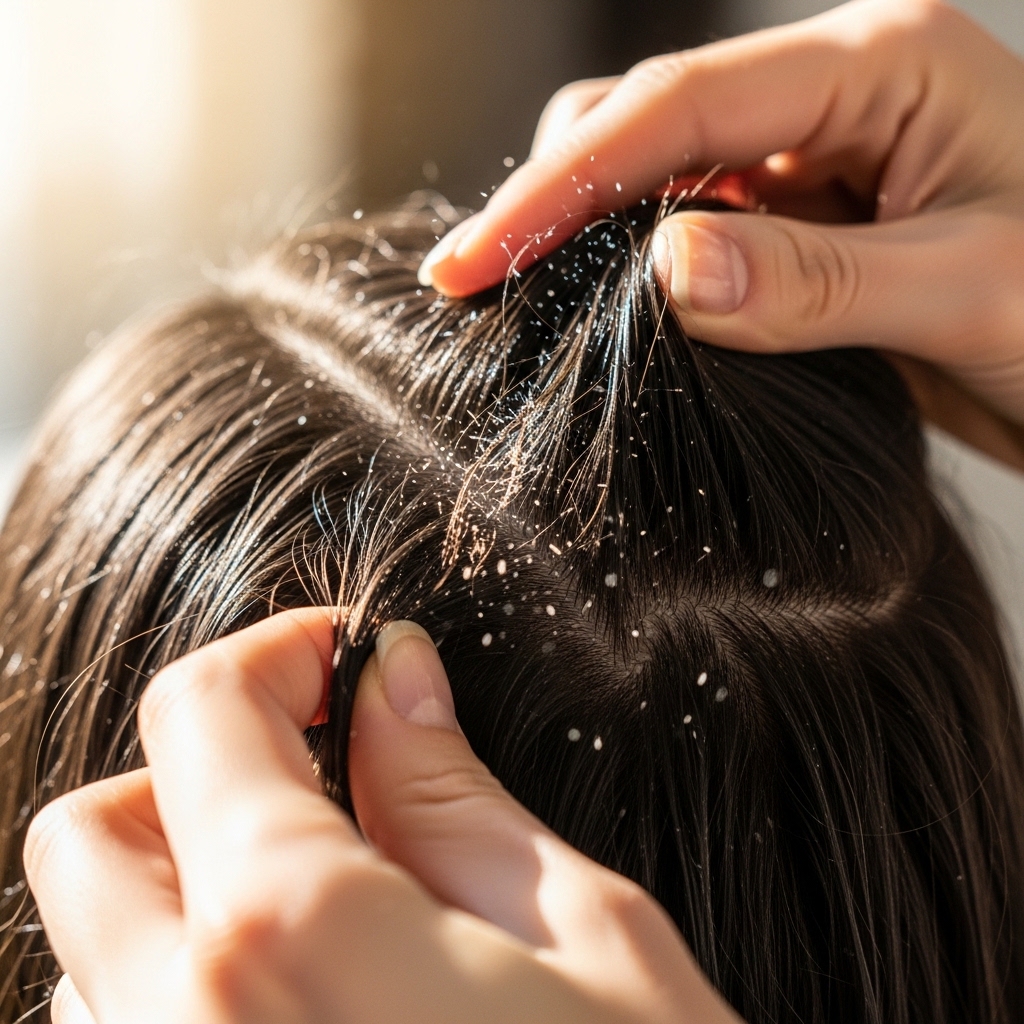
Step 1: Start with Damp, Clean Hair
Always begin with hair that is freshly washed and damp, not soaking wet or dry. Towel-dry your hair gently so it’s about 70-80% dry.
This is the ideal canvas for product application. If your hair is too wet, the product dilutes. Too dry, and it won’t distribute evenly or set properly.
Step 2: Apply Your Base Products
This is your hydration and hold foundation. Take a quarter-sized amount of leave-in conditioner and rake it through your hair from roots to ends.
Follow with your strong-hold gel or mousse. Be generous! You need this hold to set the coils. Work it through every section to ensure even coverage.

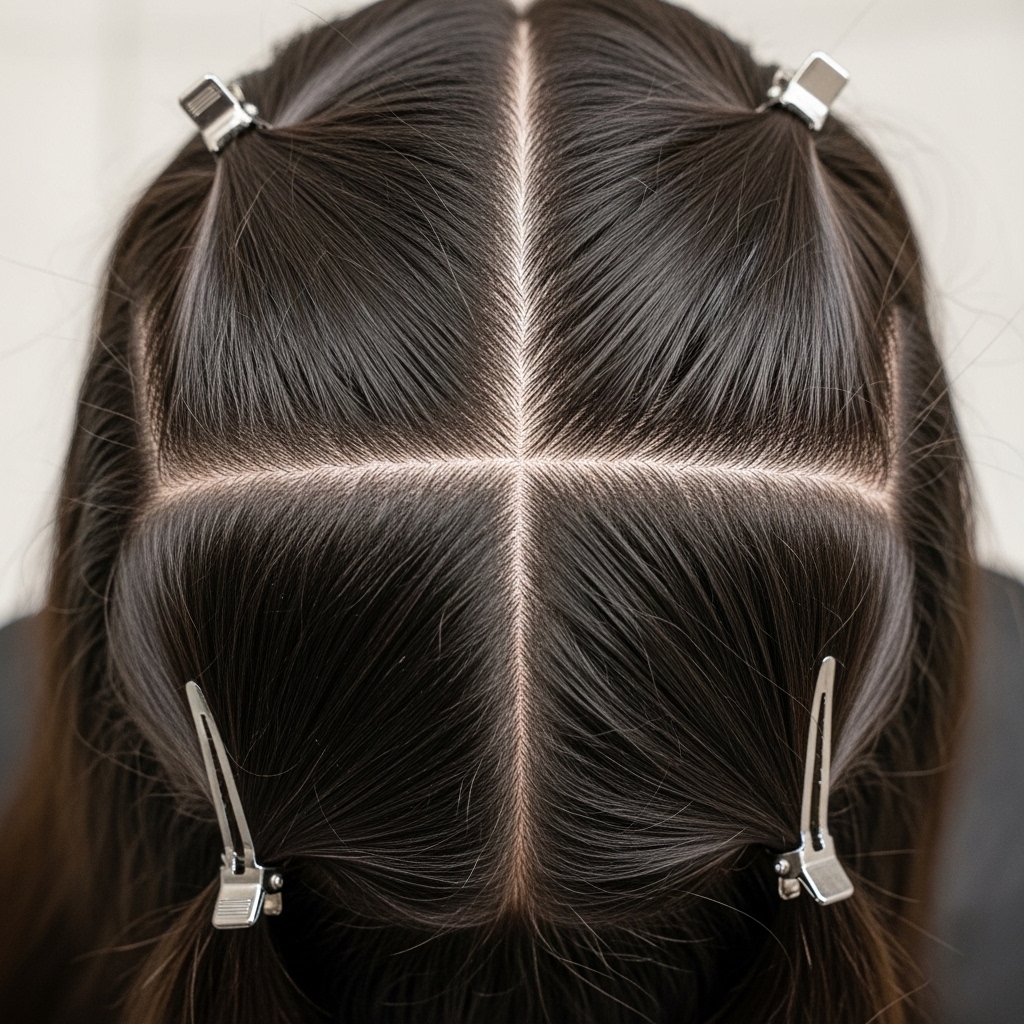
Step 3: Section Your Hair Strategically
Use your clips to divide your hair into four main sections: two in the front and two in the back. This makes the process manageable and ensures you don’t miss spots.
Start with the bottom back sections first. They’re the hardest to reach, so it’s best to do them while you have the most energy and patience.
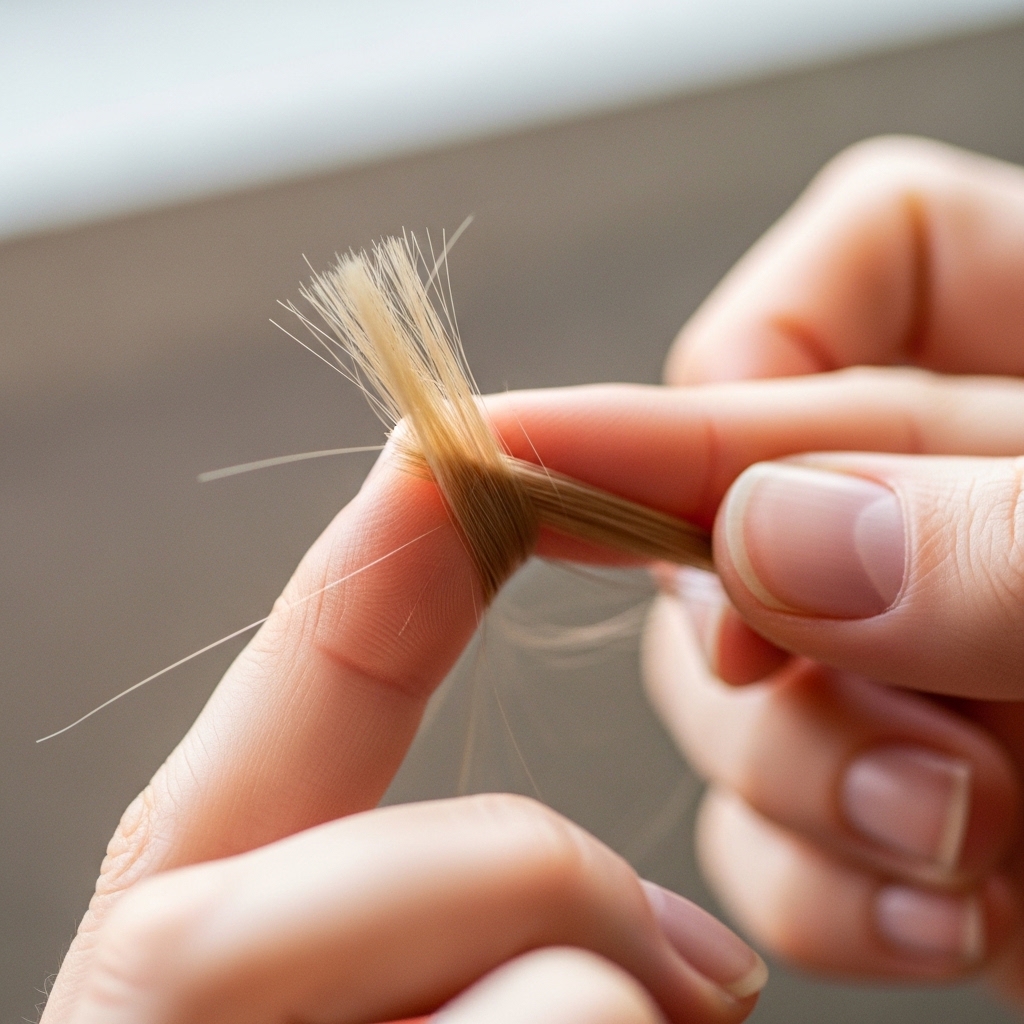
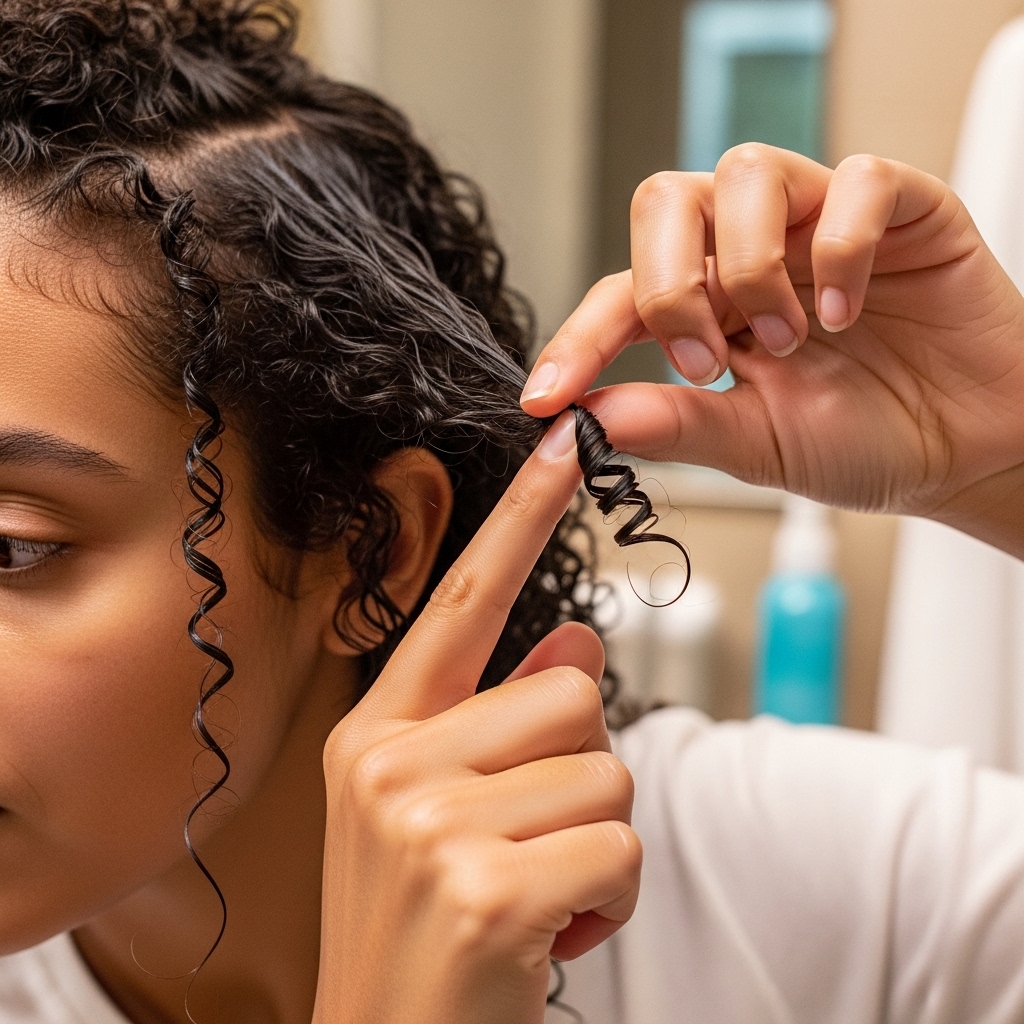
Step 4: The Finger Coiling Motion
Take a small subsection of hair, about the width of a pencil. Place your index finger at the root of that section.
- Wrap the hair around your finger, moving from the root down to the end.
- Keep the tension even but not too tight.
- Once coiled, gently slide your finger out, keeping the spiral intact.
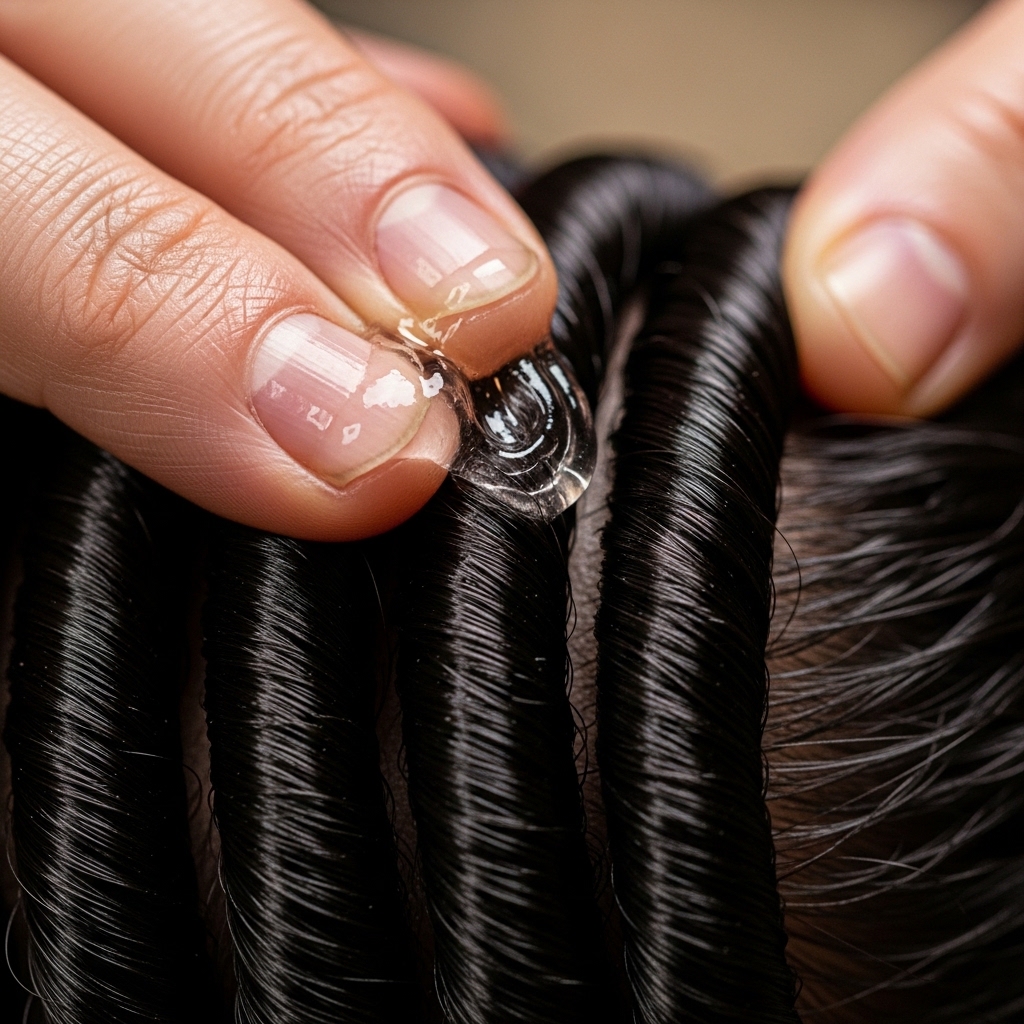
Step 5: Setting the Coil with Gel
After you coil a section, take a tiny amount of your defining gel or jelly on your fingertips. Gently glaze it over the formed coil.
This “locks in” the shape, adds shine, and reduces frizz. It’s the secret to those defined, glitchy glam hair pieces that still look soft.
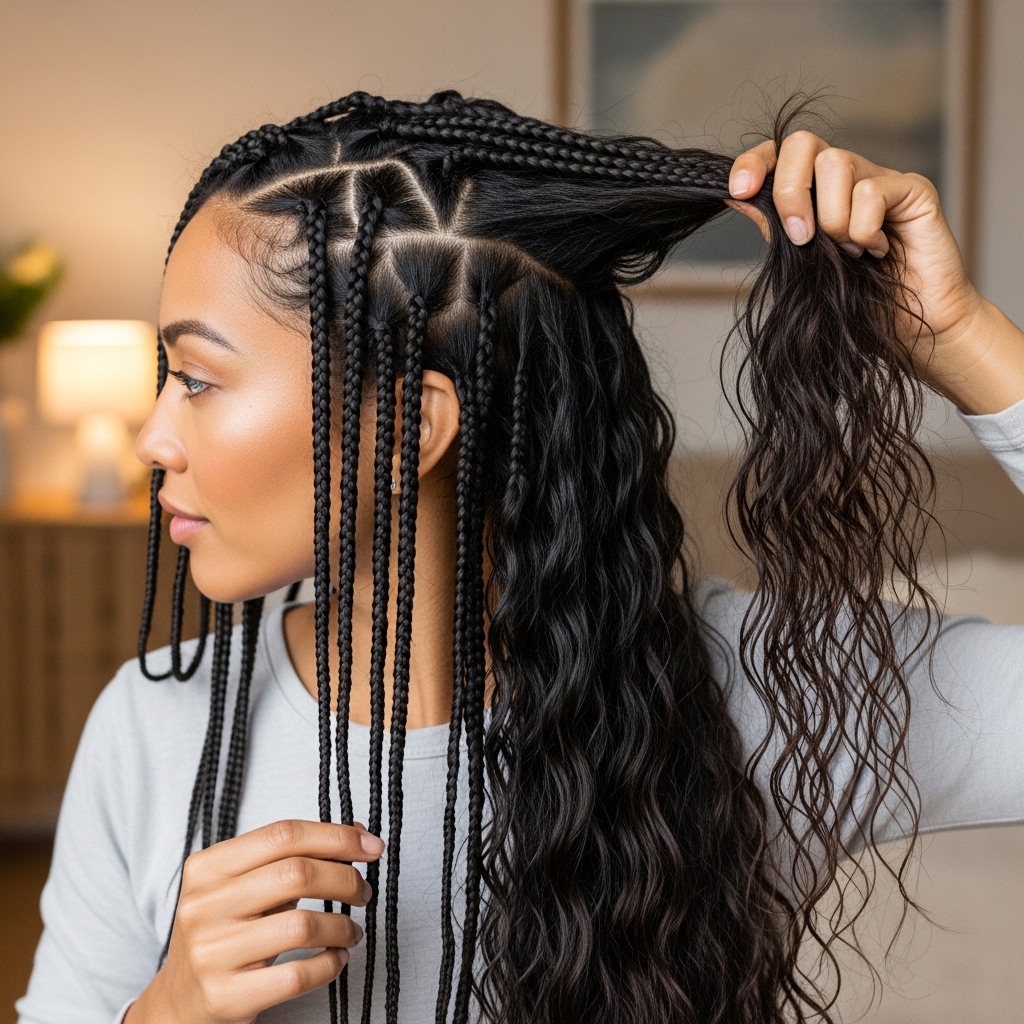
Step 6: Working Through All Sections
Continue taking small subsections and repeating the coil-and-glaze process. Consistency in section size is key for a uniform look, but don’t stress about perfection.
Unclip each main section as you work your way up. Be patient—this is the meditative part. Put on a good show and just get into the rhythm.
Step 7: Drying Completely (The Key Step!)
This is crucial. You must let your hair dry 100% completely with the coils untouched. Air-drying is an option, but it takes forever.
I use a hooded dryer or a diffuser on low heat and low speed. Gently place the coils in the diffuser bowl without disturbing them until they’re bone dry.

Step 8: The “Scrunch Out the Crunch” Moment
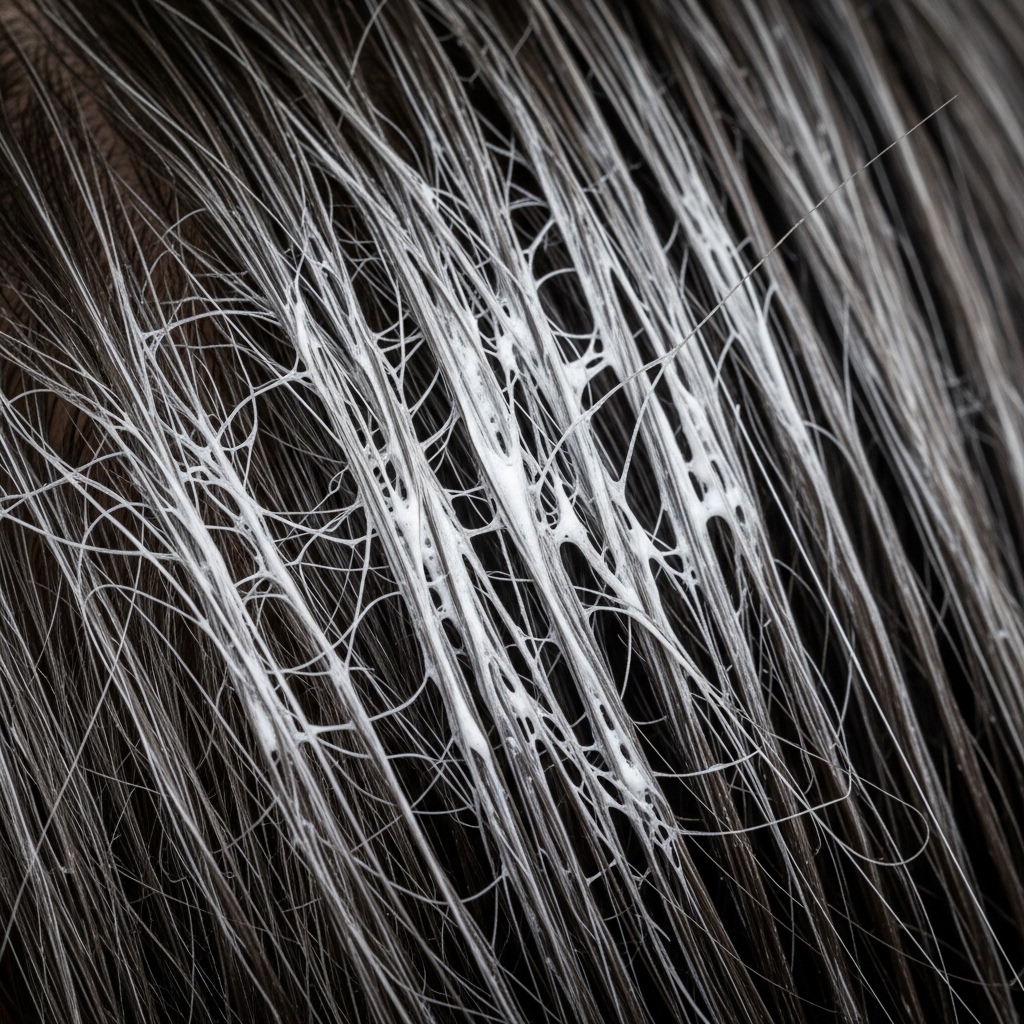
Once your hair is completely dry, it will feel hard and crispy from the gel. This is a good sign! Now, take a few drops of hair oil in your palms.
Gently scrunch your hair upwards, breaking that gel cast. You’ll feel the crunch disappear and be left with soft, bouncy, defined coils.
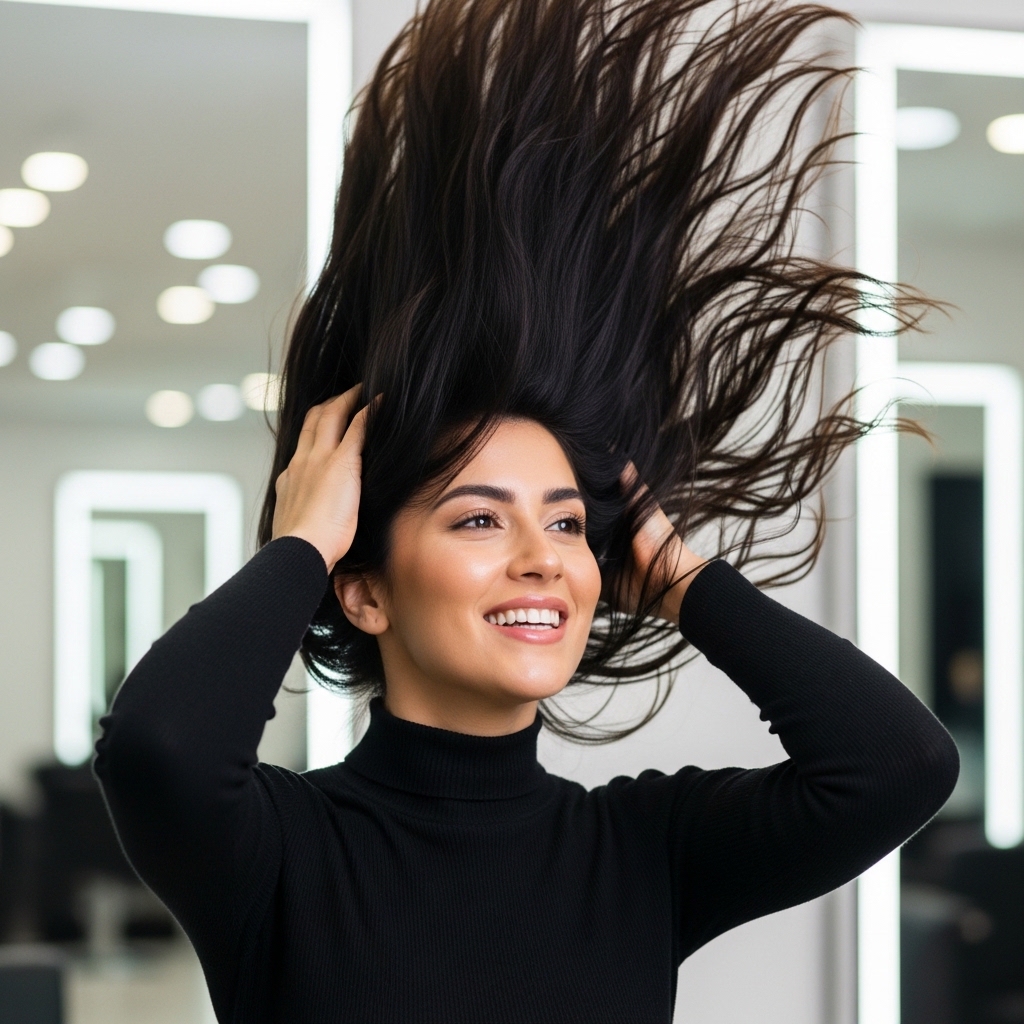
Step 9: Fluffing & Styling for Volume
After scrunching, flip your head over and gently fluff the roots with your fingertips for volume. You can also use a wide-tooth pick to carefully separate a few coils for that undone look.
The goal is volume at the root and soft, separated spirals through the ends. Don’t overdo it—just a gentle fluff.
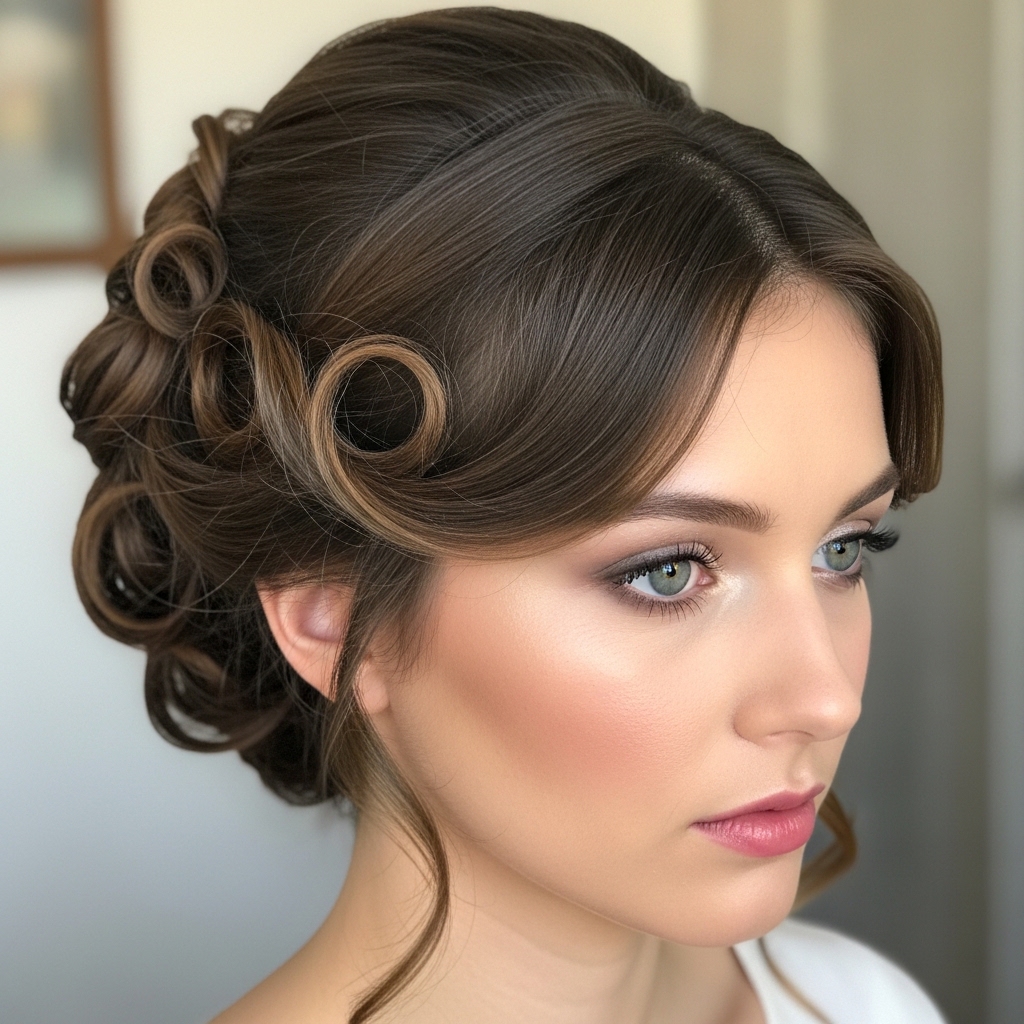
Step 10: Adding Final Romantic Touches
This is where the “romantic” part shines. Gently pull a few face-framing pieces loose. Let a wisp or two escape near your temples.
You can also use a tiny bit of oil on just the very ends to add a touch of separation and a soft, lived-in finish.
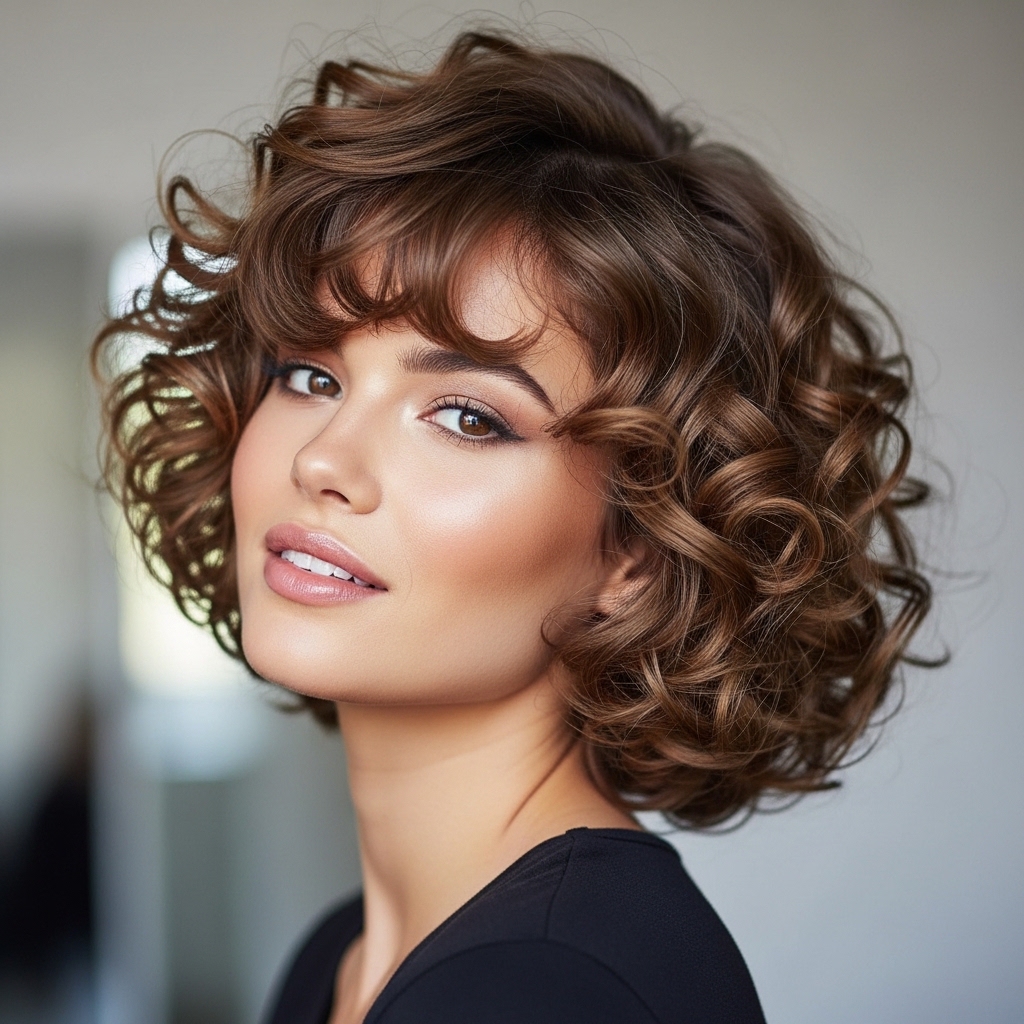
Styling for Short Hair & Bobs
If you have a bob or asymmetrical lob, finger coils will give you incredible volume and texture. Focus on creating smaller, tighter coils at the roots to lift the hair.
This technique can transform a simple quiet luxury bob into something much more interesting and personal, perfect for that old money hair with a twist vibe.
Styling for Medium & Long Hair
On longer hair, you have more options. You can do larger sections for bigger, dramatic spirals, or keep them small for a denser curl pattern.
Try coiling just the bottom half of your hair for a subtle texture effect, or go all-out for a head full of romantic, cascading curls.
How to Make Your Coils Last for Days
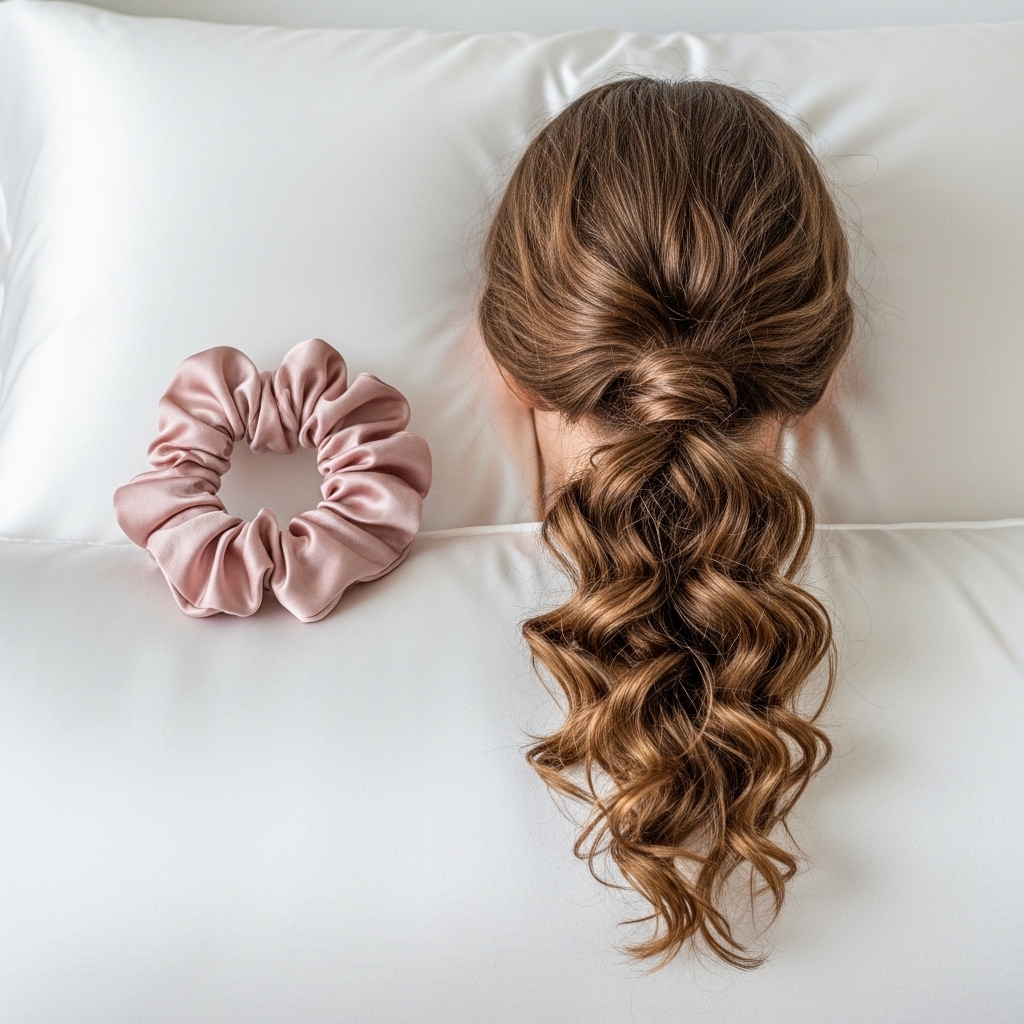
Sleep on a satin or silk pillowcase. Before bed, gather your hair into a loose “pineapple” ponytail on top of your head using a satin scrunchie.
In the morning, simply take it down, flip your head over, and shake out the roots. Refresh with a light spritz of water and a touch of oil on the ends.
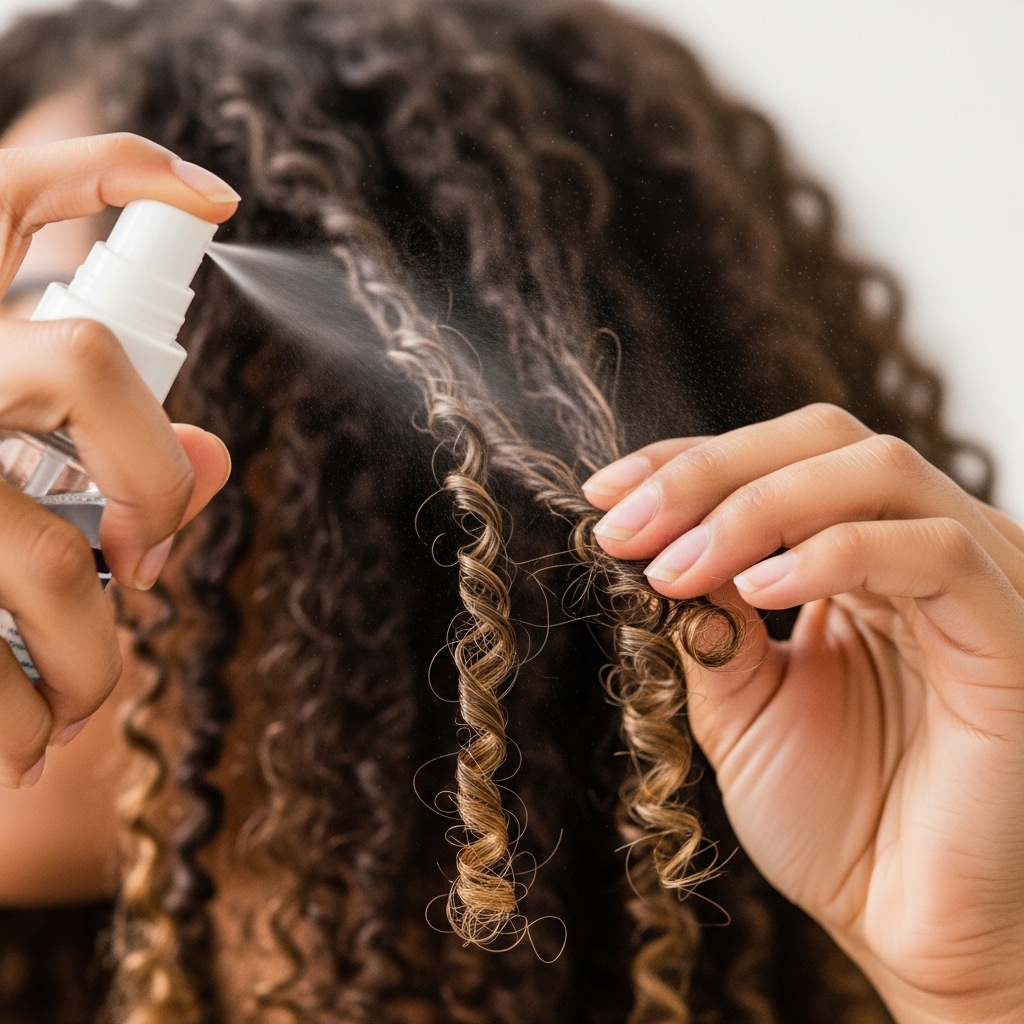
Quick Refresh Routine for Day 2 & 3
Don’t re-wet your entire head! Mix a bit of leave-in conditioner with water in a spray bottle. Lightly mist your hair, focusing on any frizzy areas.
Then, take a few random sections and re-coil them around your finger. Let them air dry or diffuse. This spot-fixes any droopy coils without starting over.
Common Mistakes to Avoid
- Using too much product on one section, which leads to flaking.
- Not drying completely before scrunching, which causes frizz.
- Taking sections that are too large, resulting in loose waves instead of defined coils.
- Rushing the process. Give yourself time the first few tries.
Adapting the Look for Straight Hair
If your hair is very straight and slippery, prepping is everything. Use a strong-hold mousse as your base and consider a light texturizing spray before you start coiling.
The coils may relax faster, so the strong-hold gel is your best friend. You might get a beautiful, soft wave instead of a tight coil, and that’s a win!
Adapting the Look for Curly Hair
If you already have curls, this technique is amazing for defining and elongating your curl pattern. Use the coils to train stubborn sections or to blend different curl patterns together.
You may need less gel than someone with straight hair. Focus on the defining jelly to enhance your natural pattern without too much crunch.
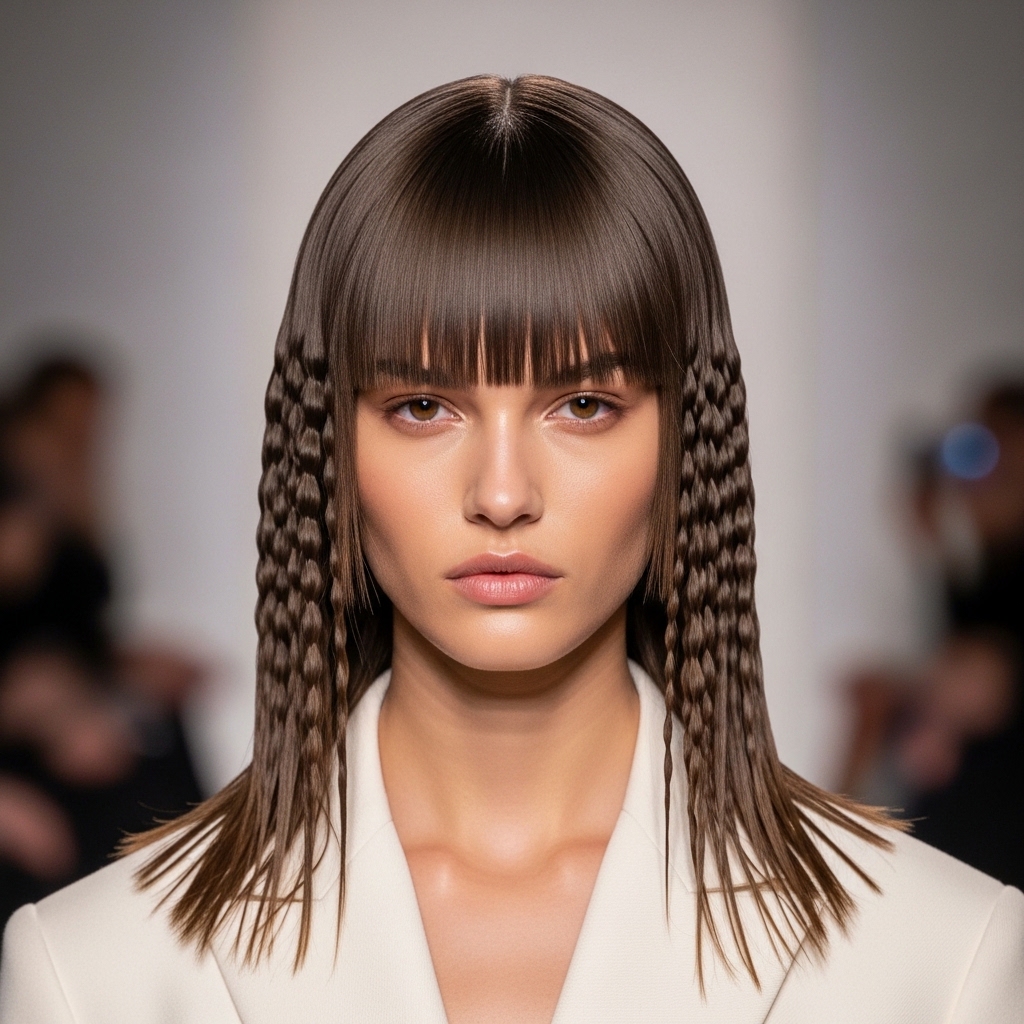
Pairing with Other 2026 Trends
This texture is so mixable. Imagine it with the blunt fringe of a hime cut—so striking. Or, add these coils to a shaggy vampire haircut for ultimate texture.
It’s the perfect way to add an edge to any classic cut. It proves that 2026 hairstyles are all about customizing your look.
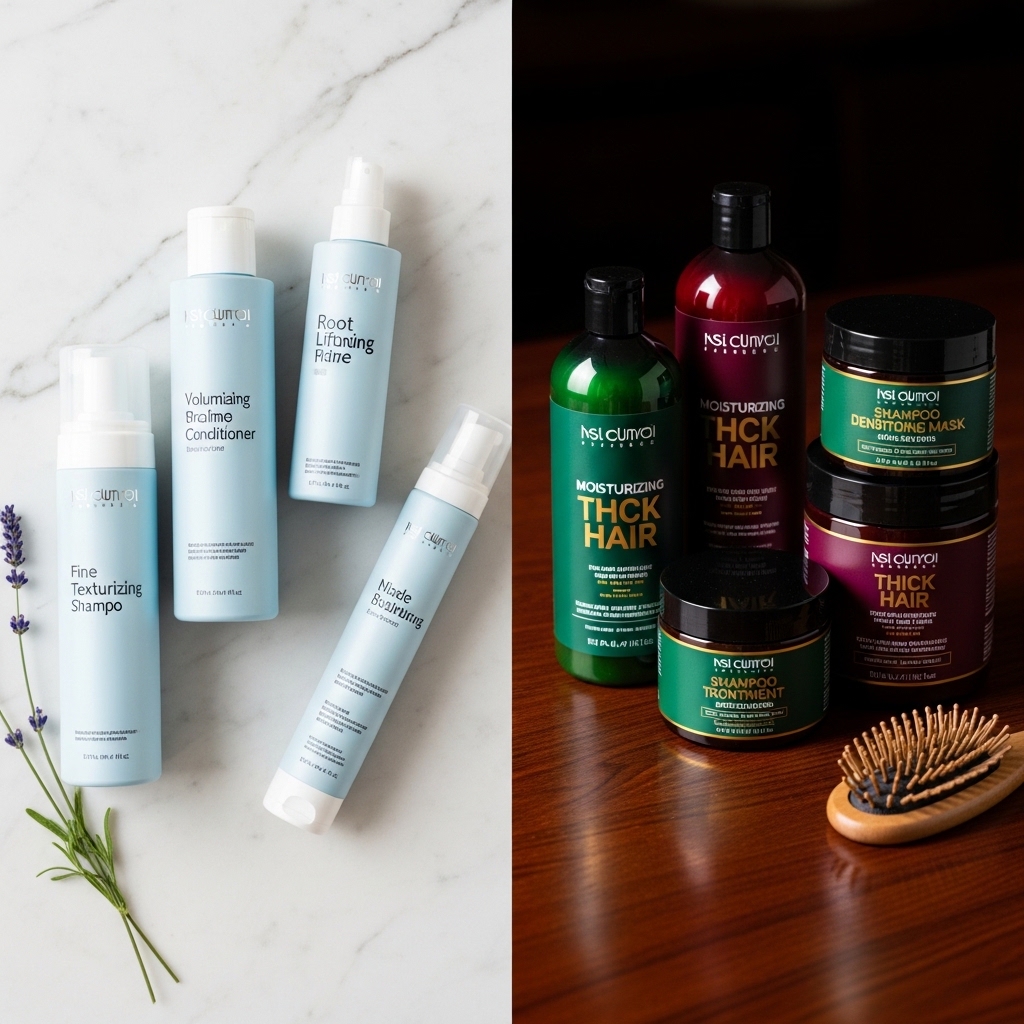
My Favorite Product Combinations
For fine hair: A light curl cream + a strong-hold mousse + a light defining jelly.
For thick/coarse hair: A rich leave-in + a maximum-hold gel + a nourishing oil for scrunching.
Drugstore or high-end works—just focus on the hold + hydration formula.
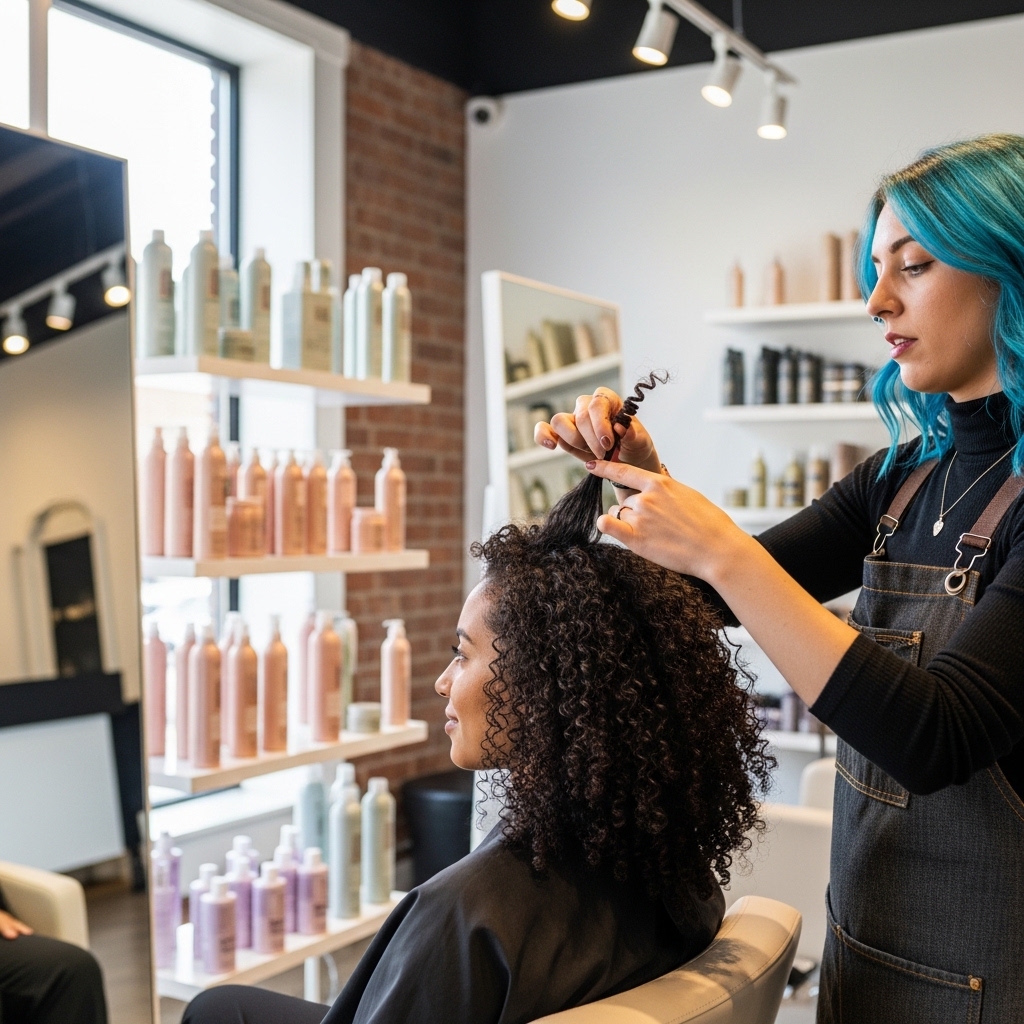
When to See a Professional
If you’re getting a major cut, like an asymmetrical lob or a sharp vampire haircut, ask your stylist to show you this technique on your new shape.
They can tailor the coil size and product recommendations to your specific cut and density. It’s a great way to learn directly on your hair.
Your Questions, Answered
How long does it take? The first time, budget 60-90 minutes. With practice, you’ll get faster.
Can I do it on dry hair? For defined coils, start damp. For a frizzier, looser texture, you can try on dry hair with a styling cream.
Will it damage my hair? No, it’s a styling technique, not a chemical process. Just be gentle when scrunching out the gel.
And that’s it! The full breakdown to getting those soft, romantic, textured coils at home. It might feel a bit fiddly the first time, but I promise it gets easier and faster. The key is in the drying—don’t rush that part.
This look is all about embracing a little imperfection and a lot of personality. It’s a style that says you tried, but not too hard, which is honestly the best vibe. Whether you’re pairing it with a sleek quiet luxury bob or letting it run wild on longer hair, it’s a total game-changer for your texture routine.
I’d love to see how yours turns out! Did you give it a try? What was the trickiest part for you? Let me know in the comments below. And if you found this guide helpful, save this post to Pinterest so you can come back to it anytime you need a texture refresh. Happy coiling!

