
Okay, let’s be real. Sometimes you want a hairstyle that feels like a whole mood. You’re not going for full-on spooky, but something softer, more poetic. That’s where romantic goth comes in. It’s all about dark romance, soft texture, and a touch of vintage drama.
And if you have short hair, you might think intricate styles are off the table. I’m here to tell you they’re absolutely not. Today, we’re taking one of the chicest vintage looks—finger waves—and giving it a dark, romantic twist.
It’s perfect for adding a statement touch to your asymmetrical lob or quiet luxury bob. This look is a gorgeous blend of old money hair elegance and alternative edge. Let’s get into it.
What Are Romantic Goth Finger Waves?
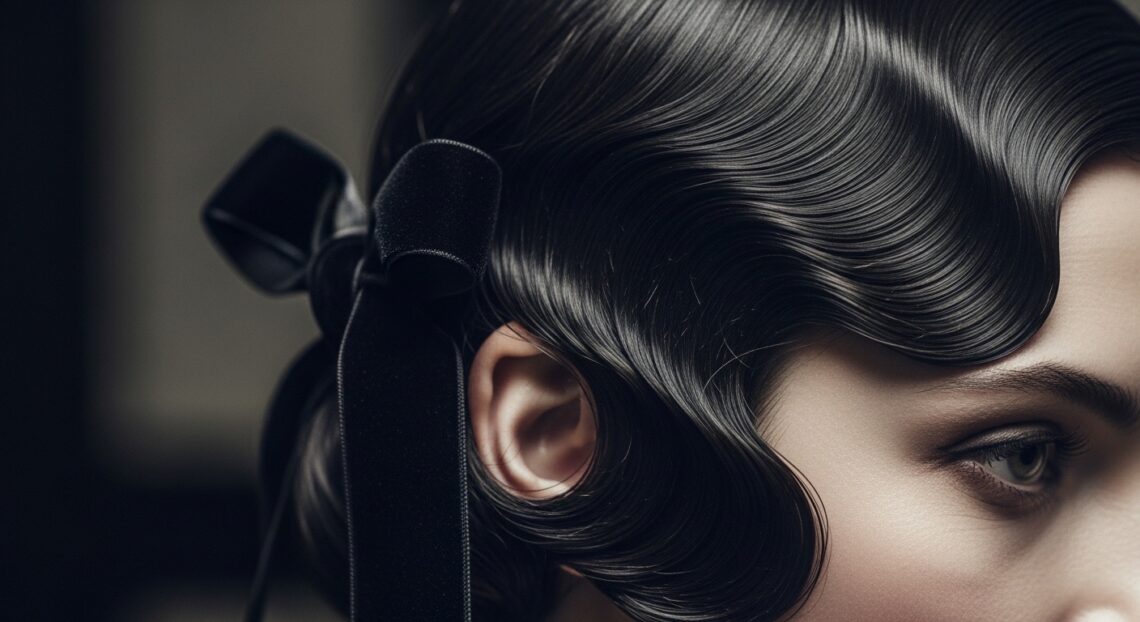
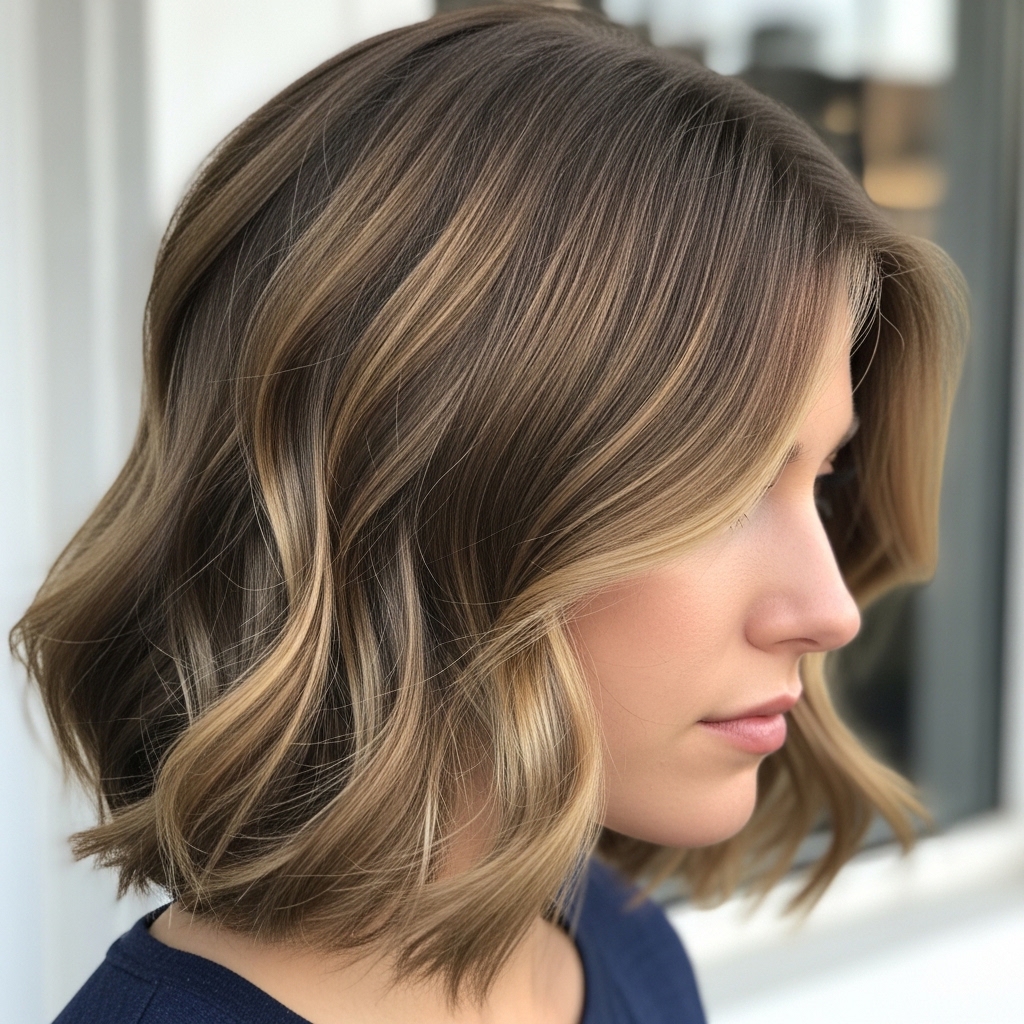
Think of this as the lovechild of a 1920s screen siren and a modern vampire romance novel. Traditional finger waves are sleek and polished. Our romantic goth version is softer, with more texture and movement.
We’re aiming for “undone” perfection. The waves are defined but not stiff, with a lived-in, slightly glitchy glam hair feel. It’s that intentional imperfection that makes it so cool and wearable, even for everyday 2026 hairstyles trends.
Why This Style Works on Short Hair
Short hair is actually the perfect canvas for this look. Every wave and curve is right there, front and center. You don’t have to worry about the weight of long hair pulling the waves out.
Whether you have a sharp vampire haircut, a blunt bob, or a textured pixie, this technique adds incredible dimension. It turns a simple cut into a head-turning style that celebrates the beauty of short hair.
Tools You’ll Need to Get Started
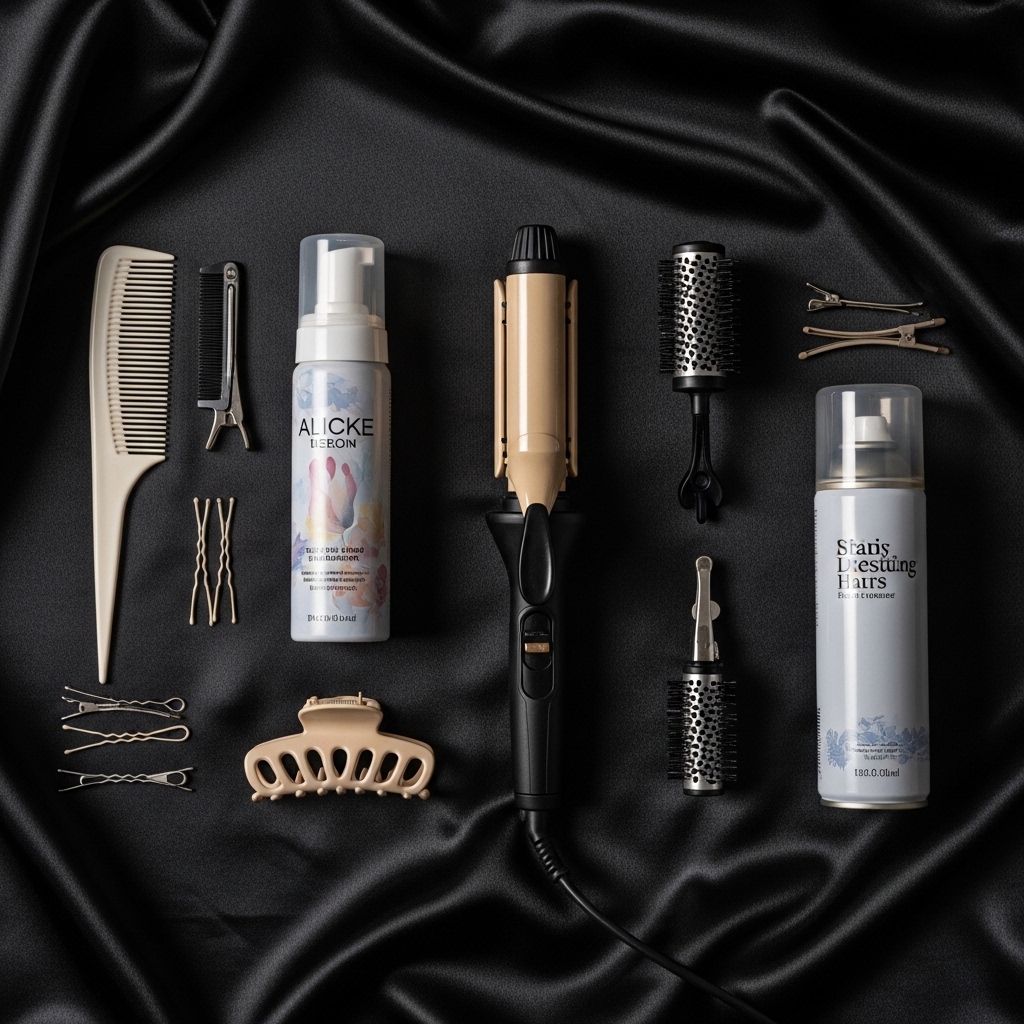
You don’t need a salon full of equipment. Here’s the simple toolkit that works every time:
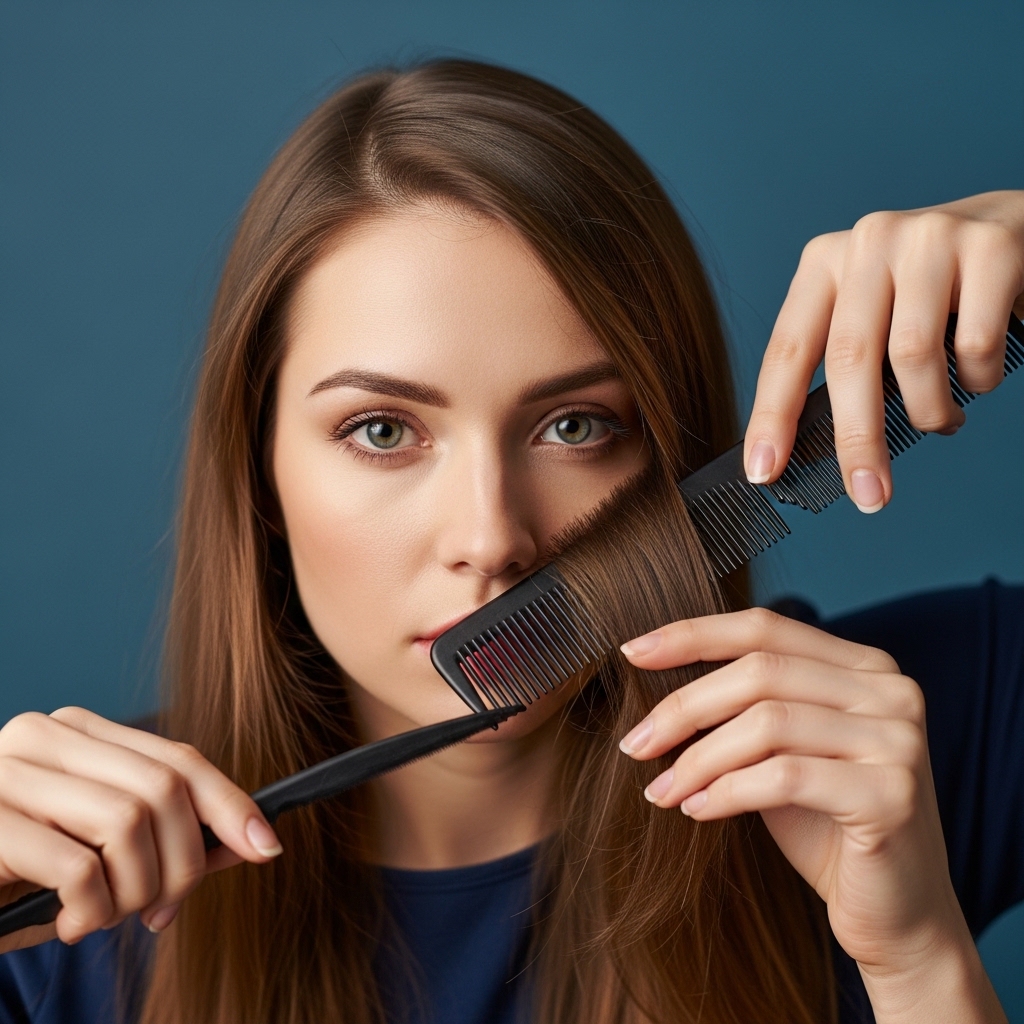
- A fine-tooth comb (this is non-negotiable for clean parts).
- A strong-hold styling mousse or gel. I prefer a mousse for a less crunchy finish.
- A small, 1/2-inch barrel curling iron or a waving iron.
- Sectioning clips to keep things organized.
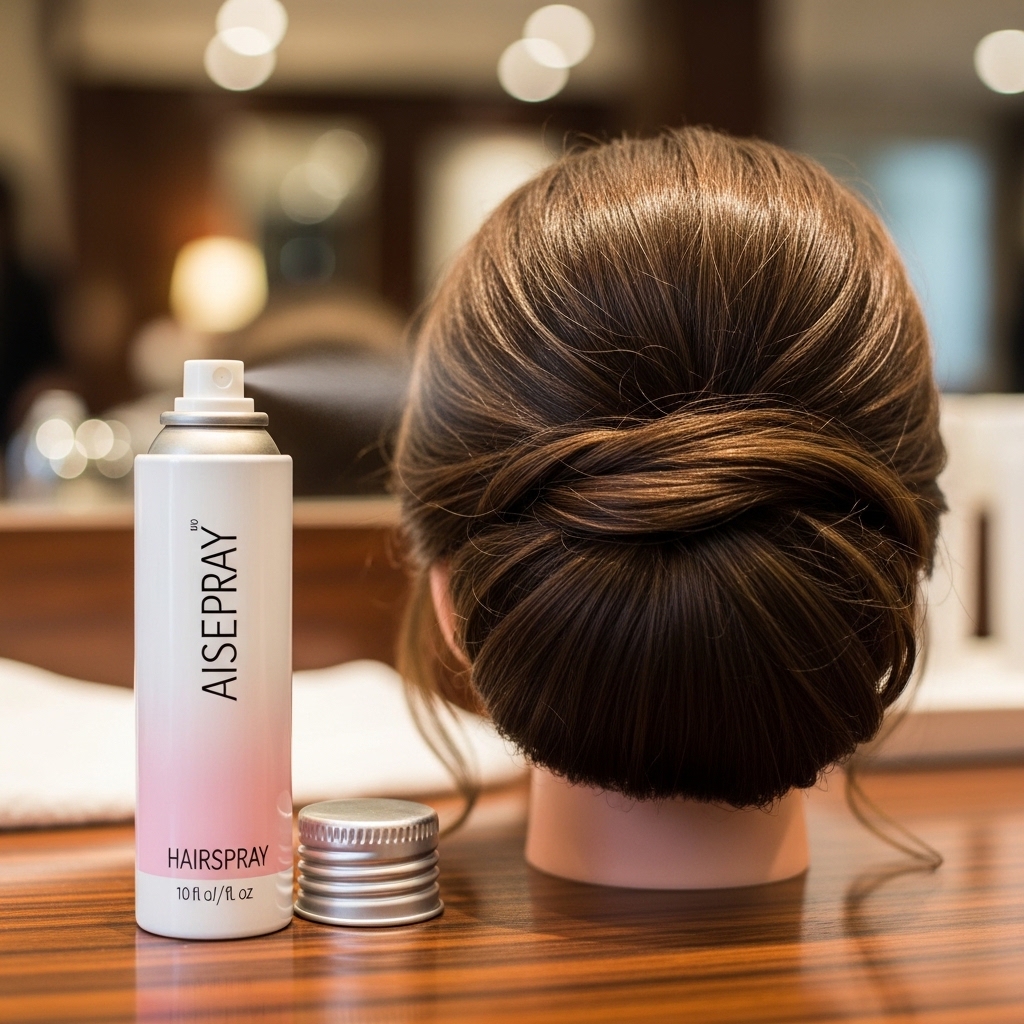
- A strong-hold hairspray for the final lock.
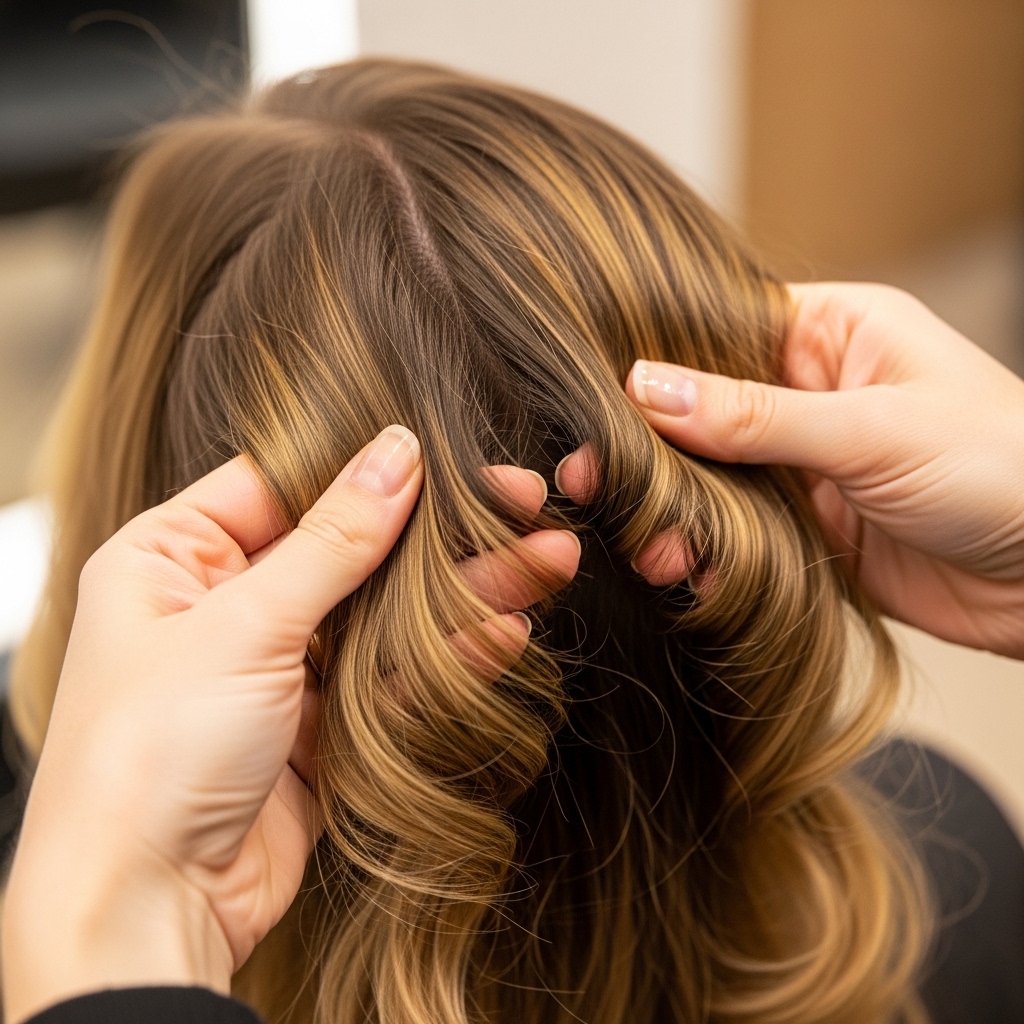
Start With Day-Old Hair for Grip
This is my biggest secret for any textured style. Freshly washed hair can be too slippery. Day-old hair has just enough natural oil to help the product grip and the waves hold their shape.
If you must wash your hair, use a volumizing shampoo and skip the conditioner on the mid-lengths and ends. You want that slight texture as your foundation for the perfect romantic goth hairstyles.
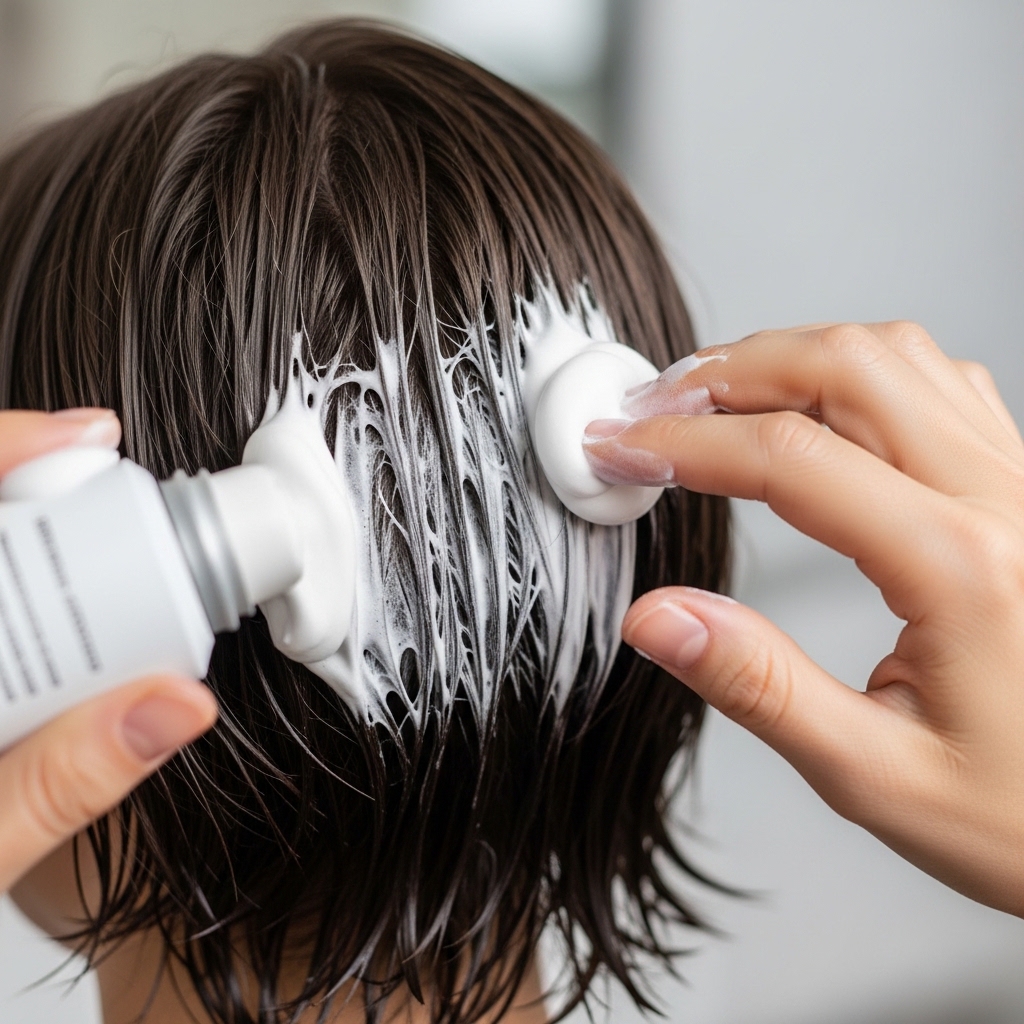
Apply Your Styling Product Evenly
Work with damp, towel-dried hair. Take a golf-ball sized amount of mousse and emulsify it between your palms. Scrunchie it into your hair from roots to ends.
Be thorough! You want every section coated. This product is what will set the wave pattern and provide memory. For a super defined look, a strong-hold gel applied with the comb works wonders too.
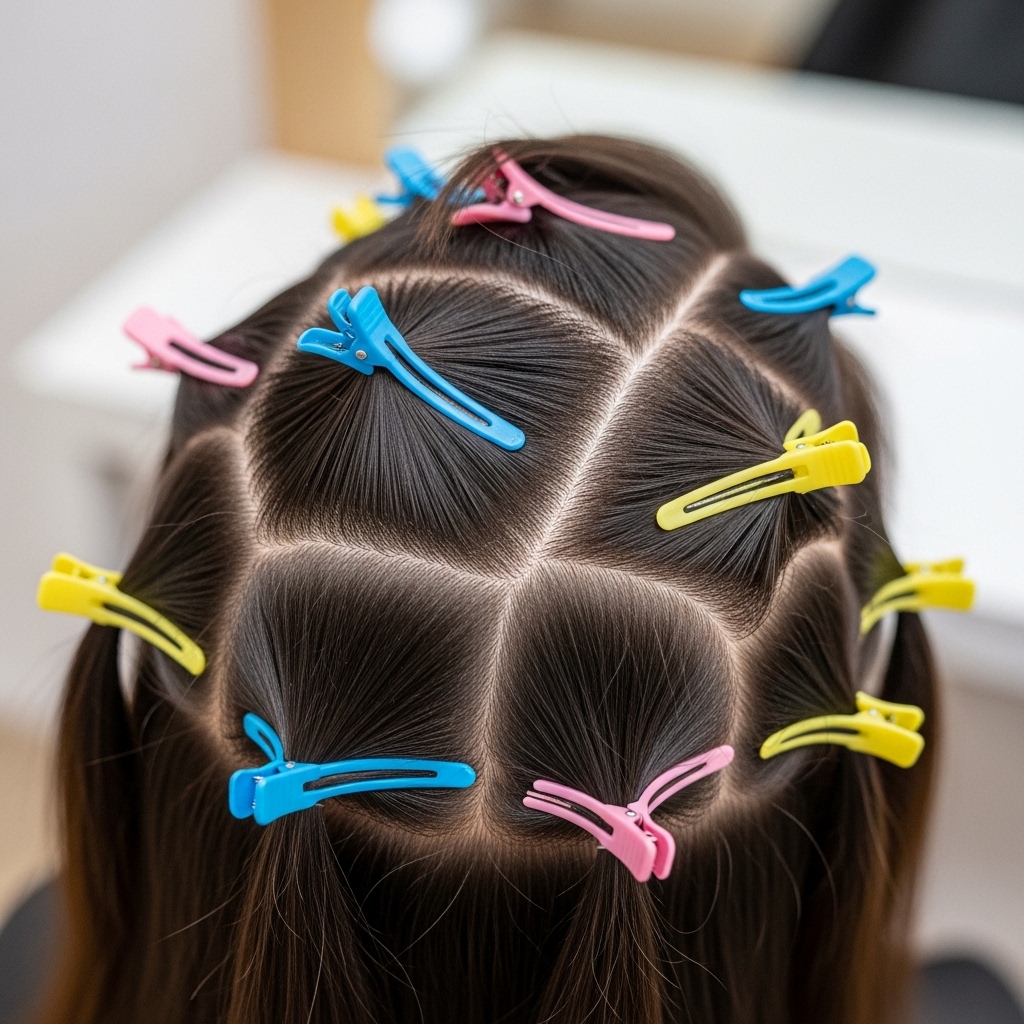
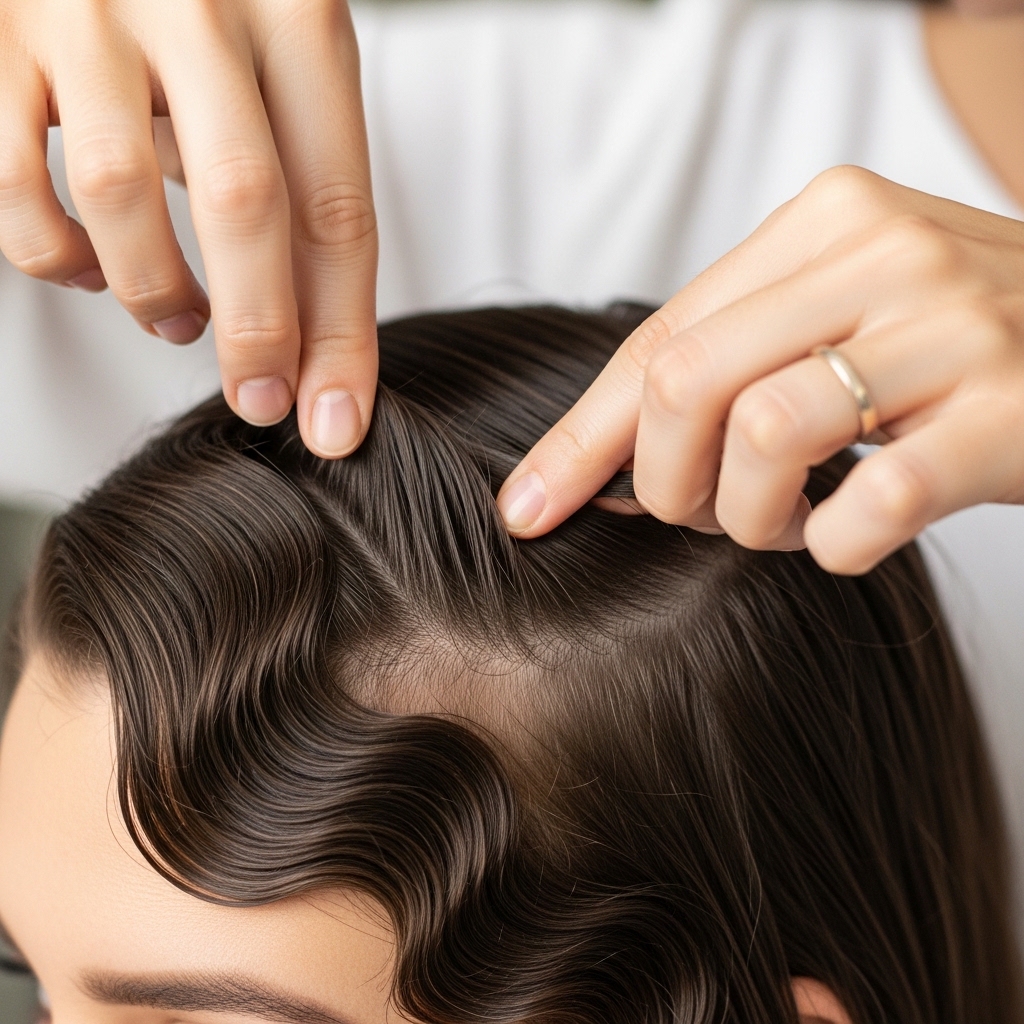
Section Your Hair Properly
This step keeps you from getting overwhelmed. Use the tail of your comb to create a clean part. Then, clip the top half of your hair up and out of the way.
We’ll start at the nape of the neck and work upwards. Working in small, horizontal sections is key. Each section should be about the width of two fingers for the most control.
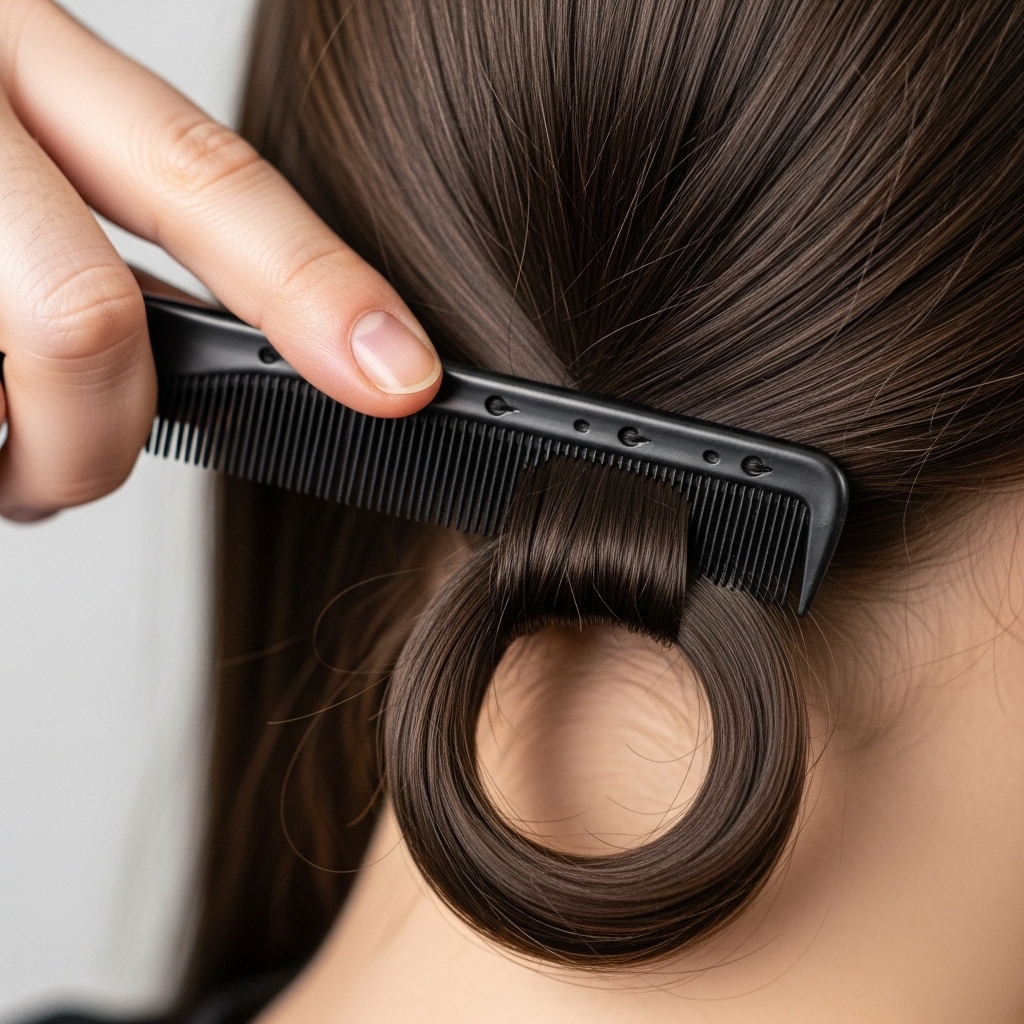
Comb and Create Your First “C” Shape
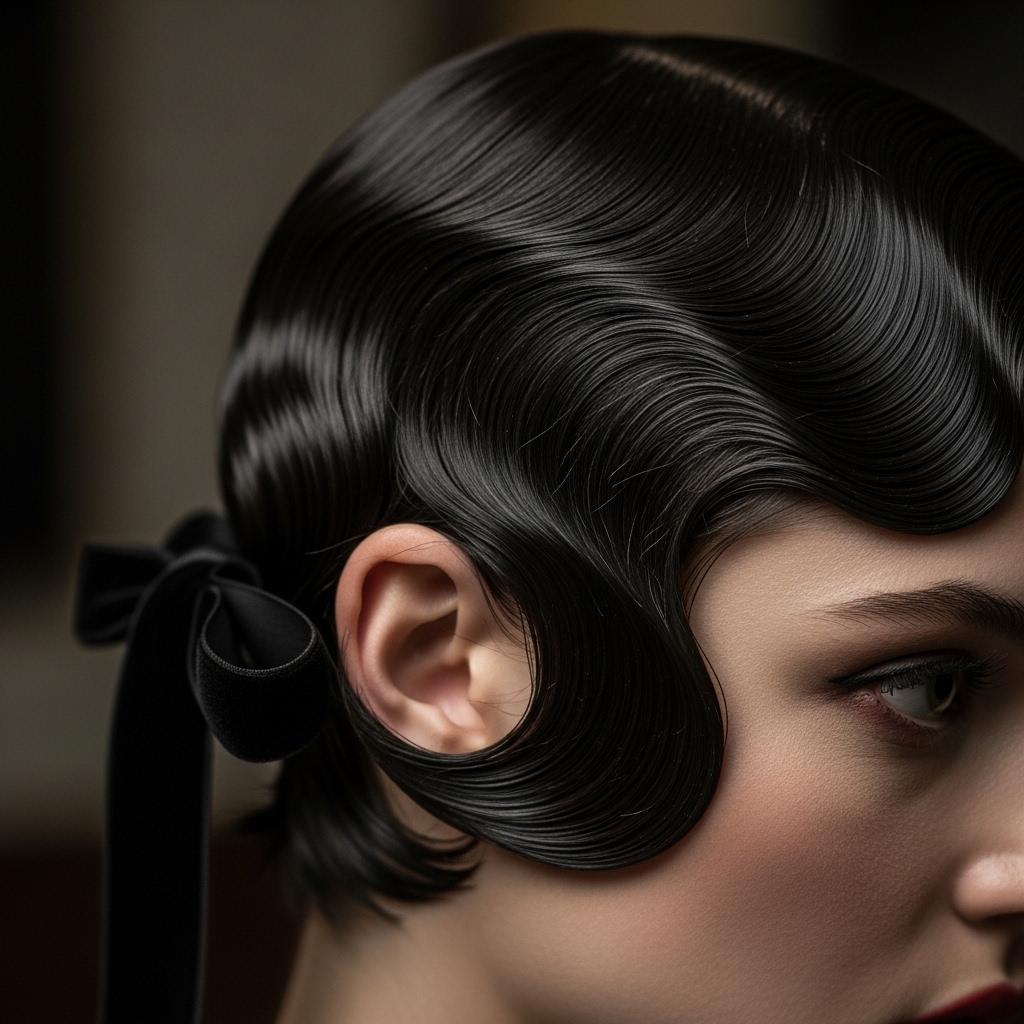
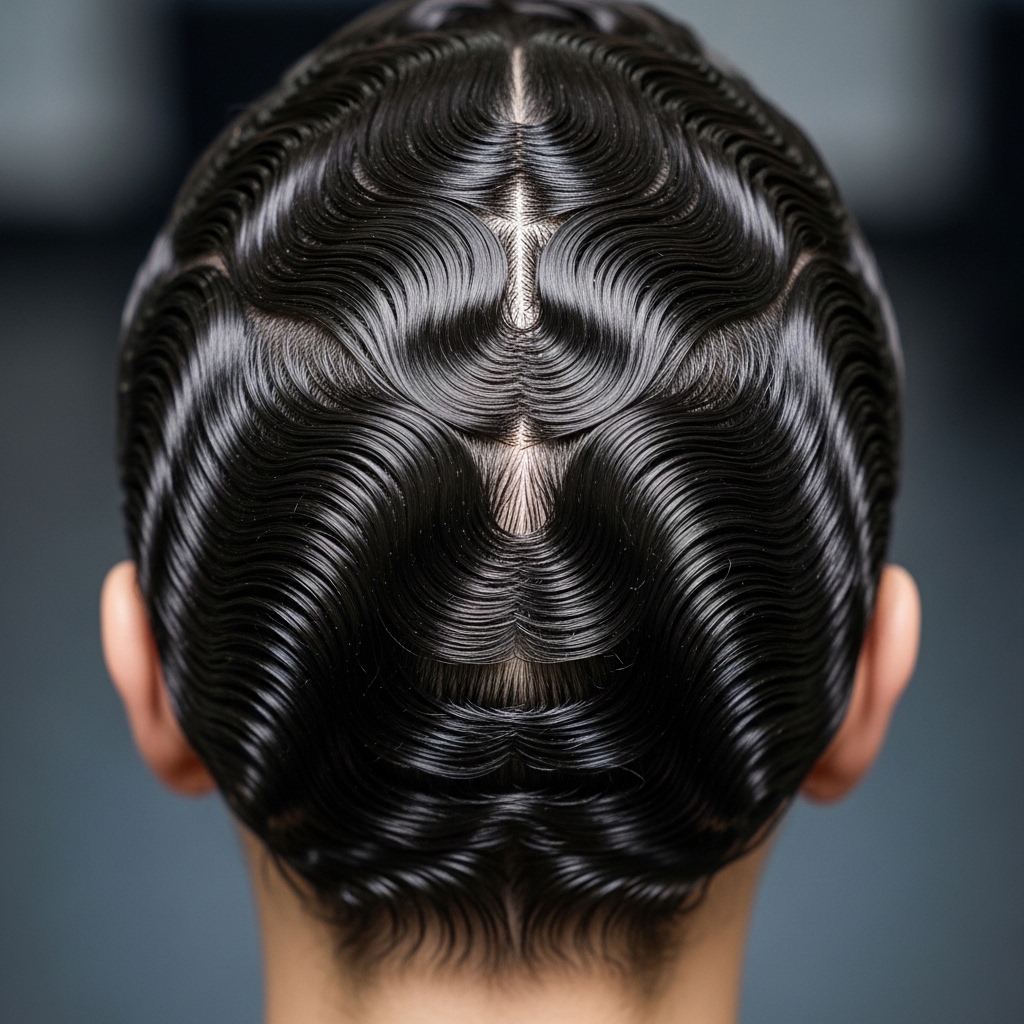
Take your first small section at the nape. Comb it smooth. Now, with the comb, push the hair into a backward “C” shape against your scalp. Hold it there with your finger.
This is the forming of your first wave crest. The goal is to create an “S” wave pattern across your head. This first “C” is the top curve of that “S”.
Pinch and Hold the Wave
While holding that “C” shape with the comb, use the fingers of your other hand to pinch the wave crest firmly. You’re essentially creating a ridge.
Hold this pinch for 10-15 seconds to let the product start to set. This manual shaping is what gives you that authentic, vintage wave look without heat yet.

Move to the Next Section and Reverse
Directly above the first “C”, take your next section of hair. This time, you’ll reverse the direction. Comb the hair forward into a “C” shape towards your face.
Pinch and hold again. You’ve just created the trough of your wave. See the “S” pattern forming? This back-and-forth motion is the entire technique.
Working Up the Back of Your Head
Continue this process, alternating directions, until you finish the entire back section. Work in neat, horizontal rows. Keep your sections small for the most defined waves.
If your hair is very short at the nape, don’t stress. Just focus on creating the pattern where you have the most length. The texture will still look incredible.
Unclip and Style the Top Sections
Once the back is done, unclip the top half of your hair. Divide it down the middle from your forehead to the crown. We’ll style each side separately, framing your face.
This is where you can get creative. For a hime cut inspired look, you might focus the waves around the face-framing pieces. It adds a beautiful, structured softness.

Creating Face-Framing Waves
On one side, take a face-framing section. Comb it smoothly. For a flattering look, create the first “C” shape pushing the hair away from your face.
Pinch and hold. On the next section up, reverse it towards your face. This creates a beautiful, wavy frame that highlights your features with a dark romantic vibe.
Blend the Sides into the Back
As you move from the front towards the crown, make sure your wave pattern blends seamlessly into the waves you created in the back. Follow the same alternating rhythm.
The goal is for the waves to look like one continuous, flowing pattern around your entire head, even on a short asymmetrical lob.
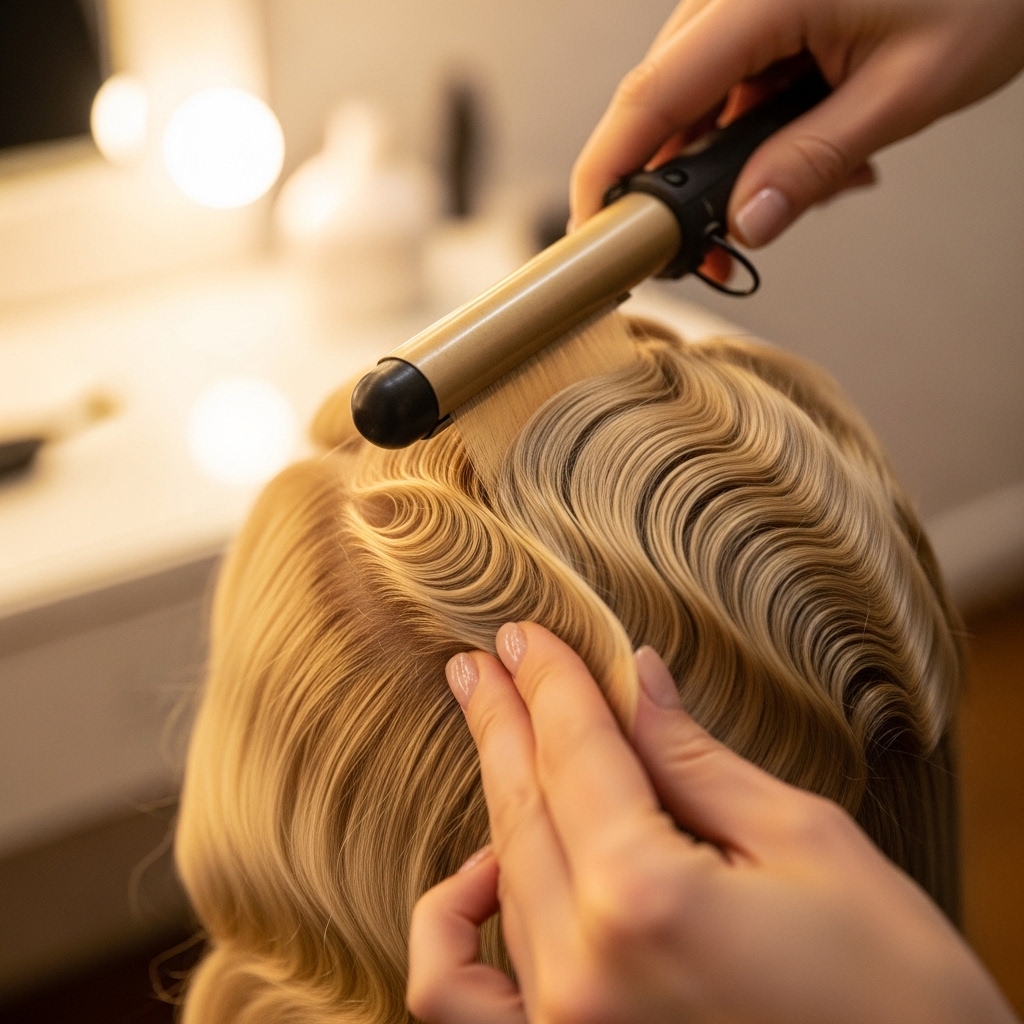
Using Heat to Set the Waves
Once all your waves are finger-set, it’s time to lock them in. Take your small-barrel curling iron. Gently clamp and run it over each wave crest without twisting.
You’re just using the heat to “bake” the shape you created with your fingers. This gives lasting power and a slight shine, elevating it to glitchy glam hair status.
Breaking the Crunch for Softness
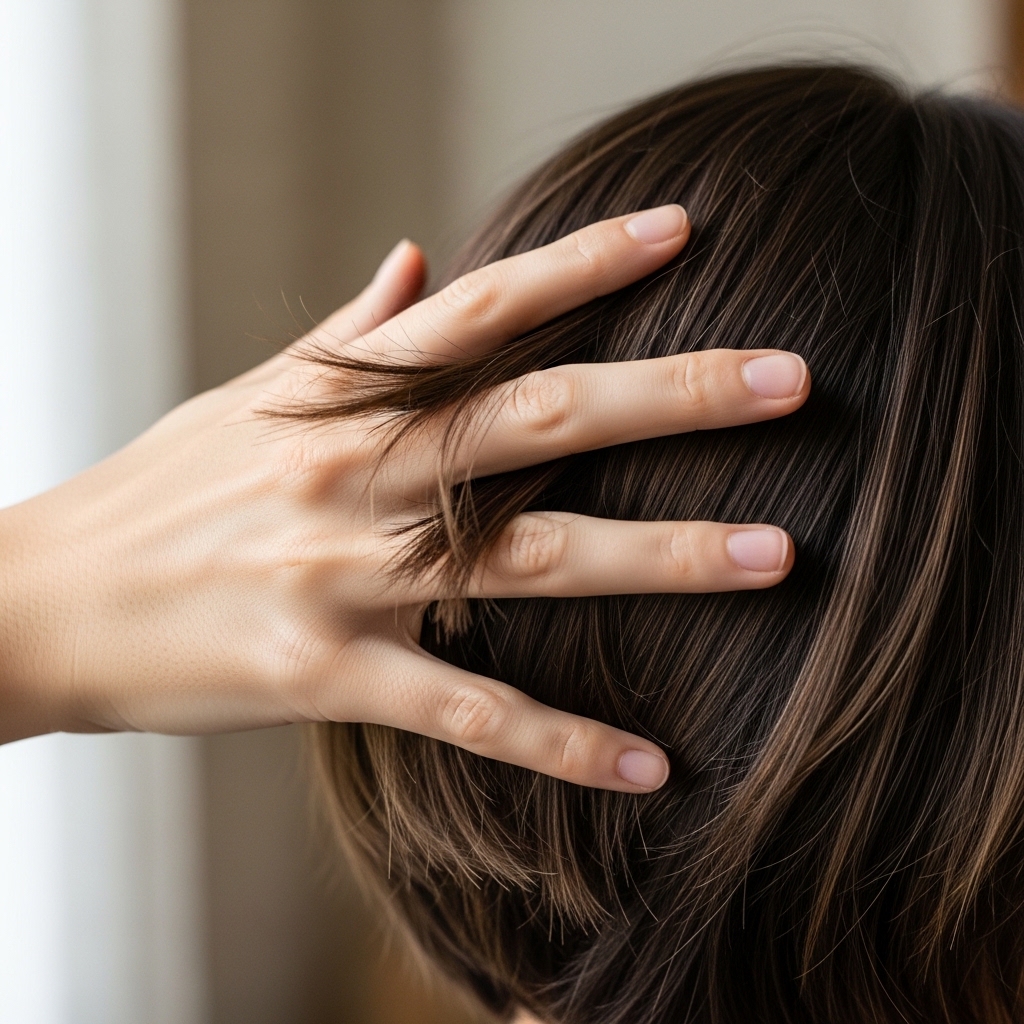
After the hair is completely cool, it might feel a bit stiff. This is good! It means it will hold. Now, gently scrunch your hair with your hands.
Break up the cast from the mousse or gel. You want the waves to feel soft and touchable, not helmet-like. This is what creates that romantic, undone texture.
Applying Finishing Hairspray
Hold a can of strong-hold hairspray about 10 inches away from your head. Give it a few light, misty sprays all over. Focus on the wave peaks.
This final step locks in all your hard work without making the hair look wet or sticky. It ensures your romantic goth waves last all day or night.

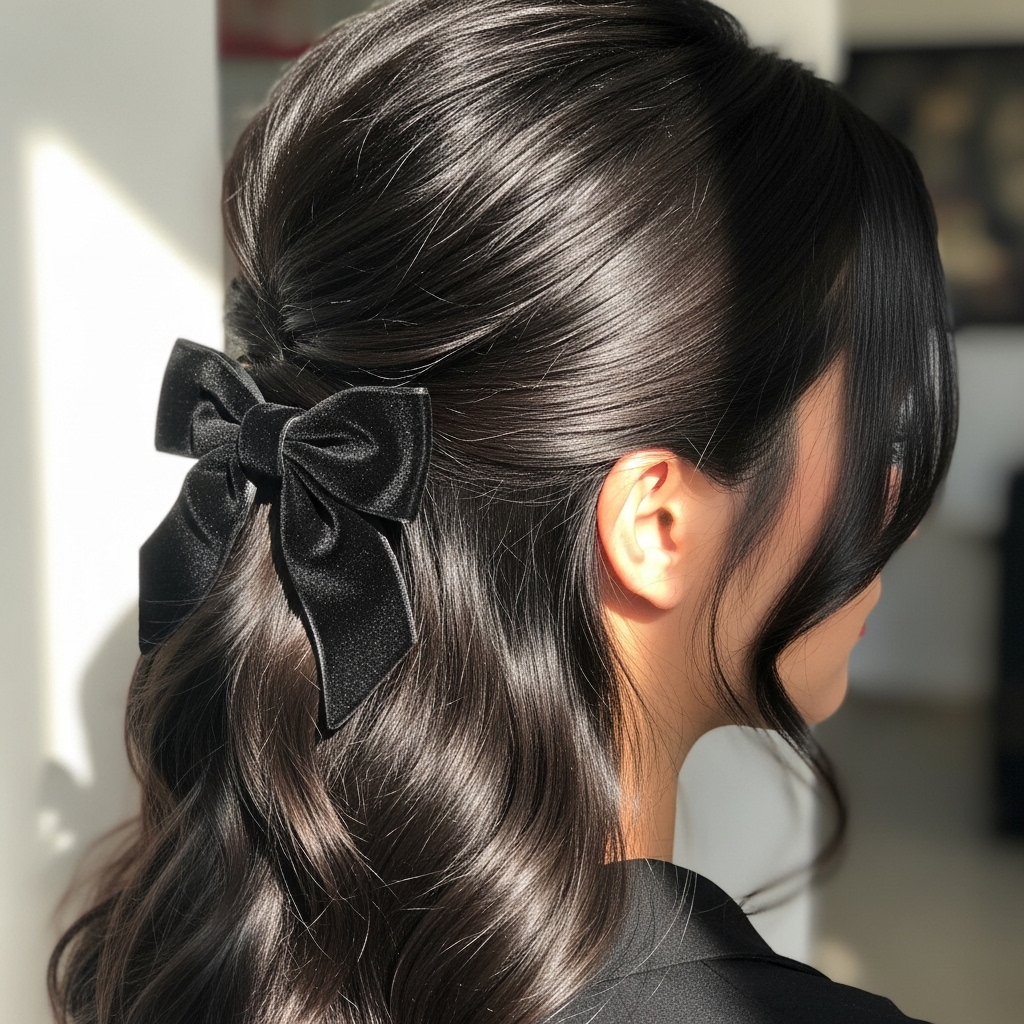
Adding Romantic Goth Accessories
Now for the fun part. This style begs for accessories. Think small black velvet bows, a delicate lace headband, or minimalist silver clips.
Tuck a bow behind your ear or place a single clip at the peak of a wave. It’s that extra touch that screams dark romance and quiet luxury bob elegance.
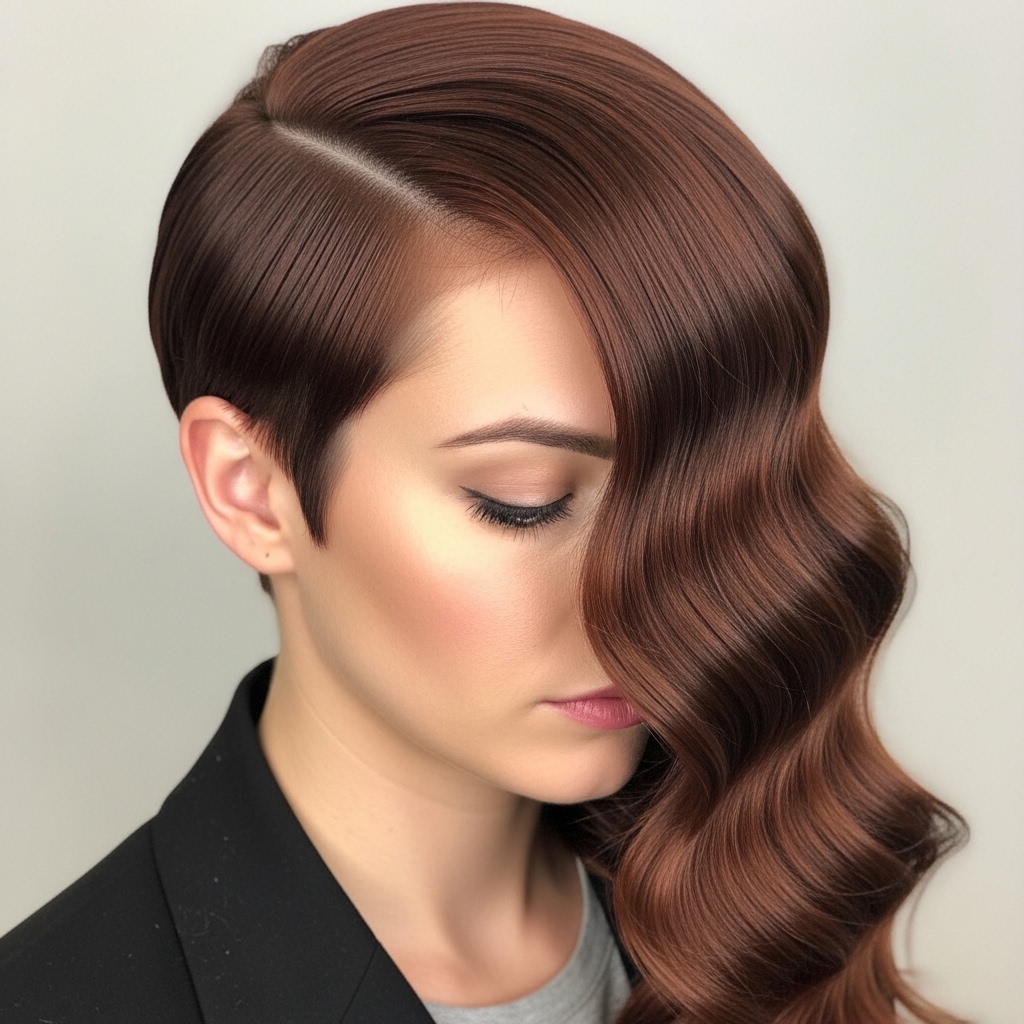
Adapting for an Asymmetrical Cut
If you have an asymmetrical lob, play into it! Emphasize the waves more on the longer side. You can even let a few waves fall over your eye on the shorter side for a dramatic peek-a-boo effect.
The contrast between the sharp cut and soft waves is absolutely stunning. It’s a modern take that feels very now for 2026 hairstyles.
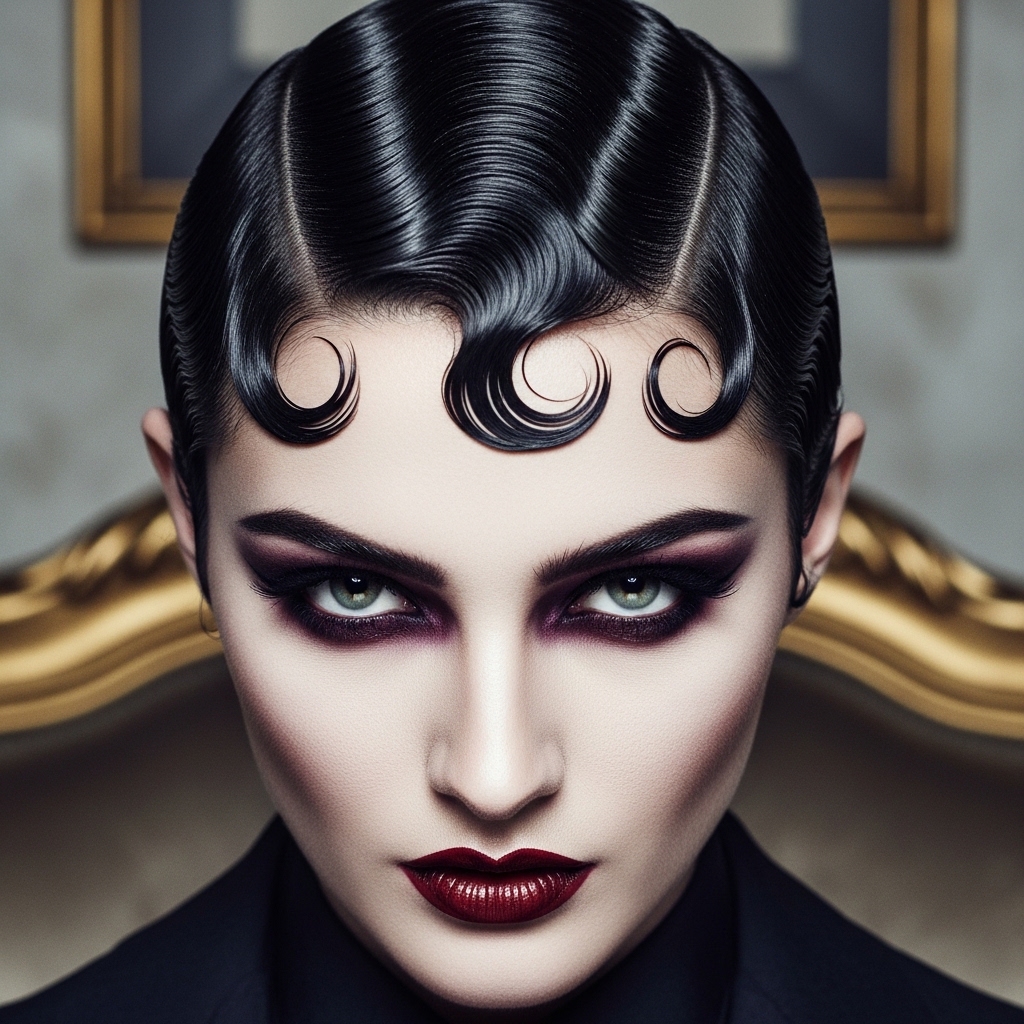
Night-Out Vampire Haircut Version
For a true vampire haircut moment, go for deeper, more dramatic waves. Use a gel for extreme definition and skip the scrunching step for a sleeker, wetter look.
Pair it with deep, dark lipstick. This version is all about high-drama glamour and makes the most of sharp, short cuts.
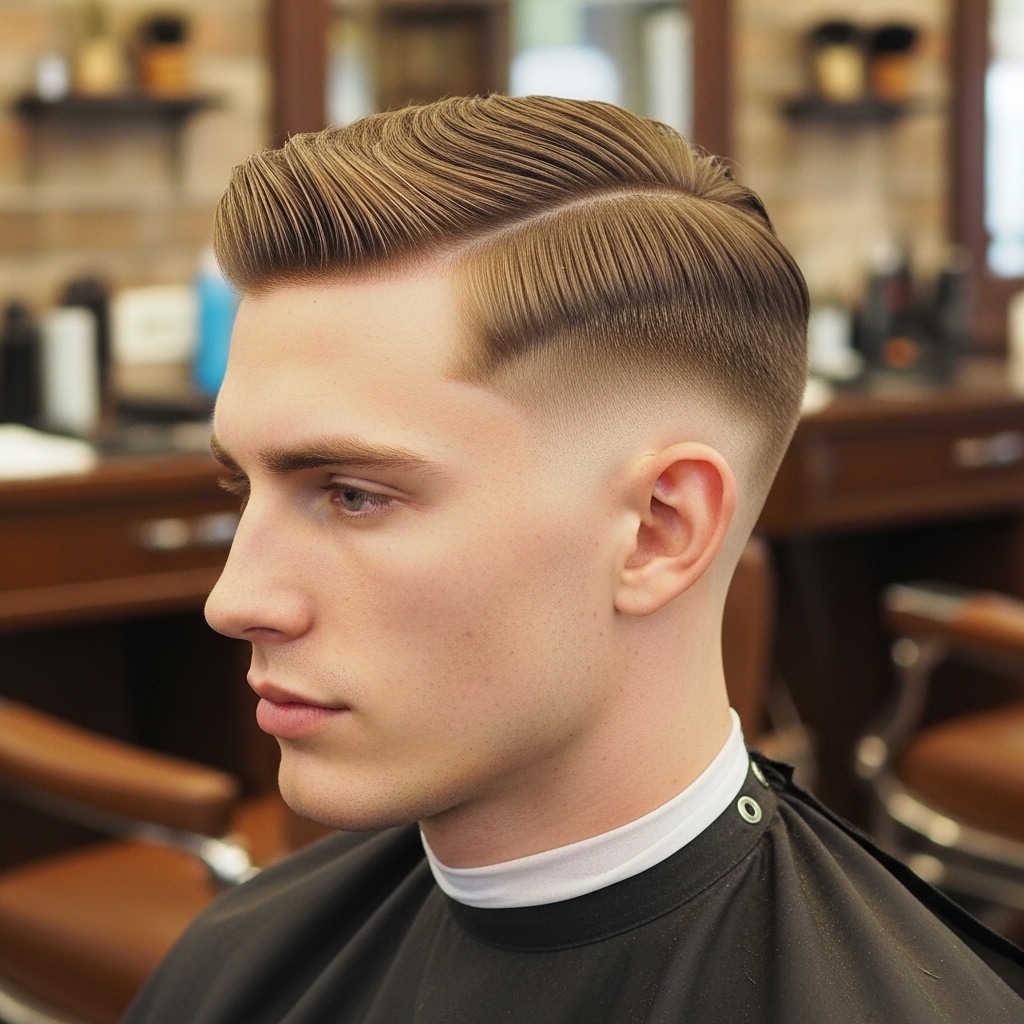
Daytime “Old Money Hair” Version
Want this to feel more old money hair? Keep the waves super soft and subtle. Use less product and focus on a looser wave pattern.
Finish with a shine spray instead of hairspray. It gives that “effortlessly chic” vibe, like you were born with perfectly wavy, expensive-looking hair.
Troubleshooting Common Problems
Waves not holding? Your hair might be too clean or the product wasn’t strong enough. Next time, start with day-two hair and don’t be shy with the mousse.
Pattern looking messy? Sections were too big. Go smaller next time. The beauty of short hair is you can wash it and try again in 30 minutes. Practice makes perfect.
How to Make Your Waves Last All Night
To ensure longevity, that final hairspray step is crucial. Carry a travel-sized can with you for a quick refresh if needed.
If your waves start to fall, you can gently re-pinch the crests and hold for a few seconds. The product memory will often reactivate, especially with textured hair.
Final Look and Confidence Boost
Look in the mirror. You’ve just transformed your short hair into a work of art. This style is a conversation starter. It shows you pay attention to details and aren’t afraid to play with beauty.
That confidence is the best accessory you can wear. Rock your romantic goth waves with pride, whether you’re running errands or out for a fancy dinner.
And there you have it—your guide to achieving those soft, dramatic, romantic goth waves on short hair. It might seem detailed, but once you get the rhythm of the “C” shapes, it becomes second nature. This look proves that short hair is endlessly versatile and packed with personality.
Remember, the best part about styles like this is making them your own. Don’t be afraid to play with the tightness of the waves, the placement, or the accessories. It’s your dark romantic era, and your hair should tell that story.
If you loved this step-by-step guide, do me a huge favor and Save this post to Pinterest so you can always find it later! And tell me in the comments—what’s your go-to hairstyle when you want to feel a little extra? I read every one!
XOXO, Hailey & Team

