
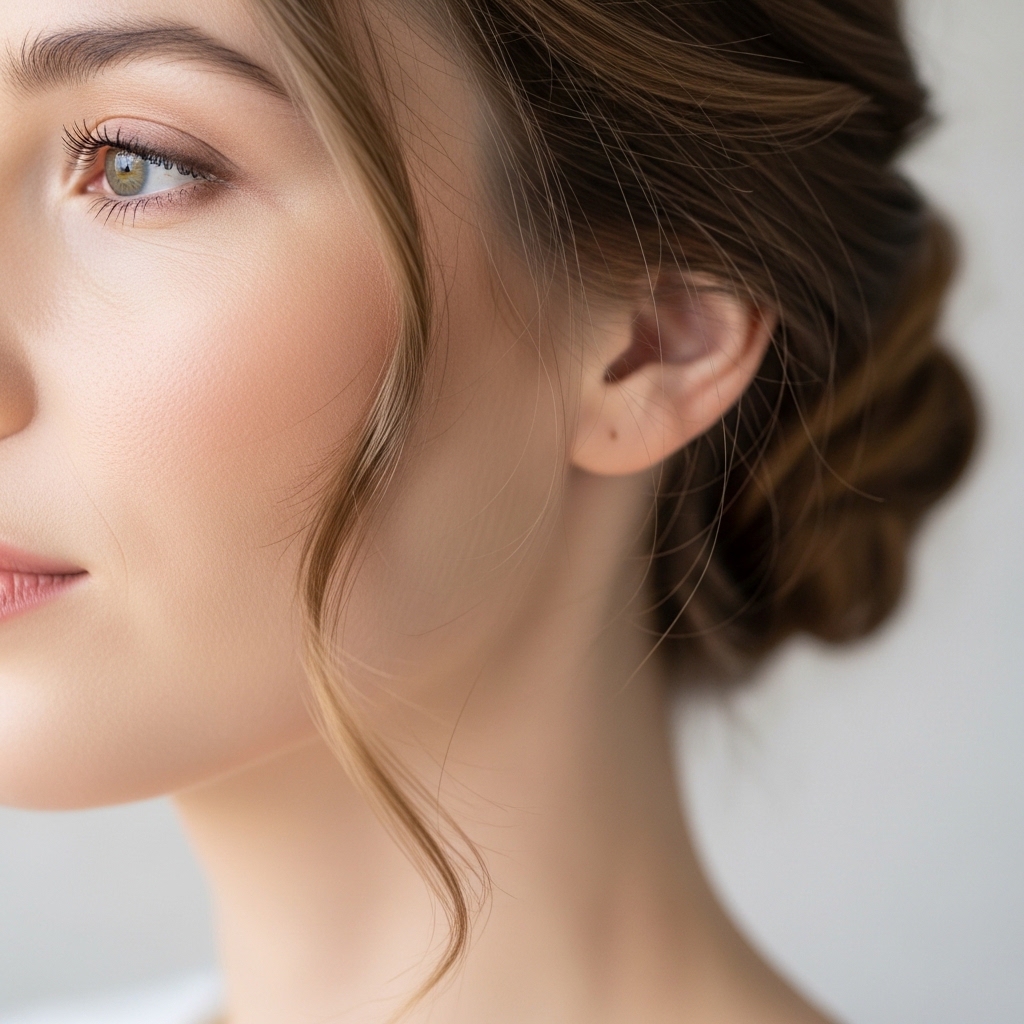
Okay, let’s talk about that hair. You know the look I mean. It’s the effortlessly chic low bun you see on women who look like they have their entire lives—and their trust funds—perfectly in order. It whispers “quiet luxury” without saying a word.
I used to think this style took a team of professionals and an hour of time. I was so wrong. The secret is that it’s meant to look a little undone, a little lived-in. That’s what makes it so good.
Today, I’m breaking down the exact, simple steps to get the perfect old money hair low bun. We’re talking minutes, not hours. It’s the ultimate “I woke up like this” style for when you have a big meeting, a fancy brunch, or just want to feel put together while running errands.
What Is “Old Money Hair” Anyway?
It’s less about your actual bank account and more about a vibe. Think timeless, not trendy. It’s hair that looks healthy, cared for, and elegantly simple. It’s the opposite of glitchy glam hair or over-styled looks.
This aesthetic is all about subtle polish. While romantic goth hairstyles or a dramatic vampire haircut make a bold statement, old money hair is about quiet confidence. It’s a low bun, a soft wave, a sleek bob—styles that last all day and never look like you tried too hard.
Why the Low Bun Is a Forever Style
This isn’t a trend that’s going anywhere. While 2026 hairstyles might bring new twists, the foundation of a beautiful low bun will always be in style. It’s practical, it’s graceful, and it works for almost every hair type and face shape.
It keeps hair off your neck, looks professional but soft, and is the perfect base for accessories. Whether you’re rocking an asymmetrical lob or long layers, this bun works. It’s the hairstyle equivalent of a perfect white t-shirt.

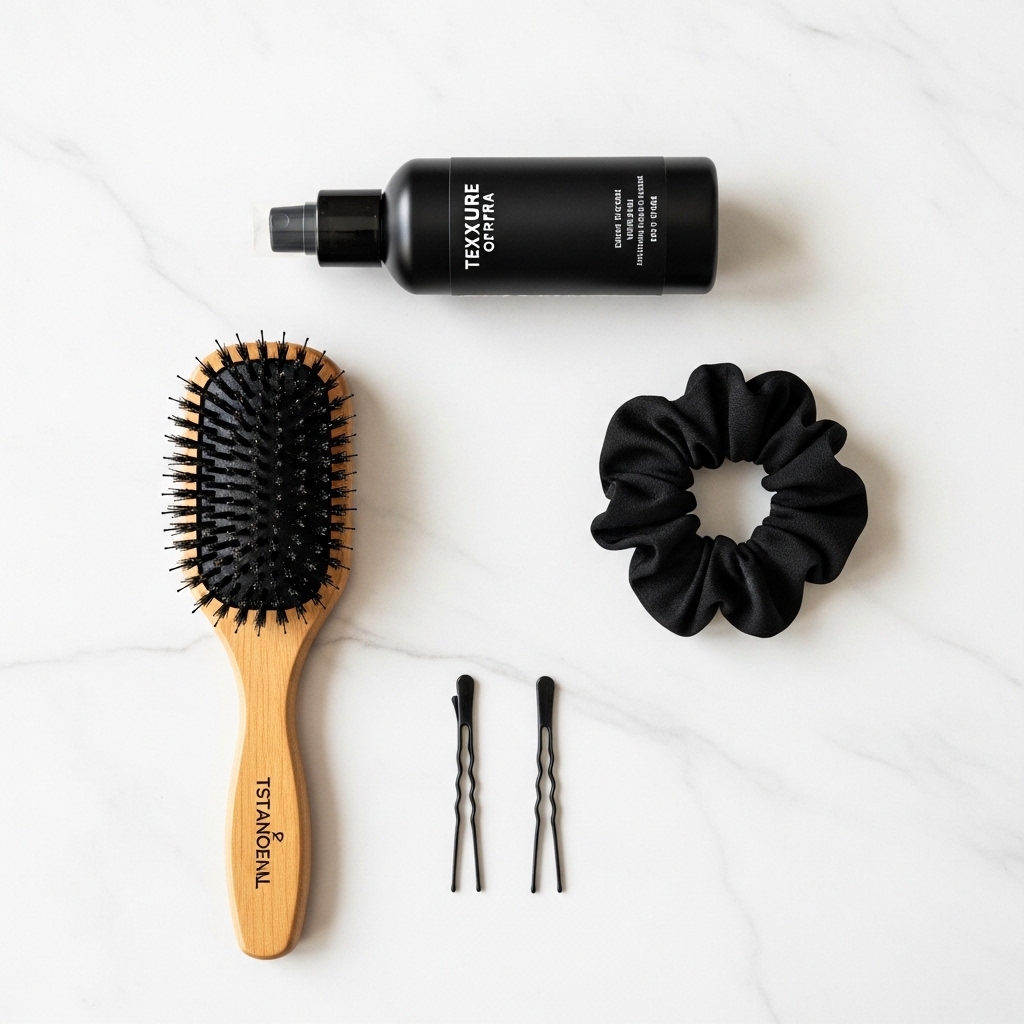
Gather Your Tools (You Don’t Need Much)
You won’t need a salon’s worth of products. In fact, less is more here. The goal is texture and hold, not stiffness or crunch.
- A fine-tooth comb or brush
- A single hair elastic (matte, not shiny!)
- 2-3 small, clear elastic bands (optional, for grip)
- Light-hold texture spray or a bit of mousse
- A few bobby pins that match your hair color
- A tiny bit of hair oil or serum for flyaways
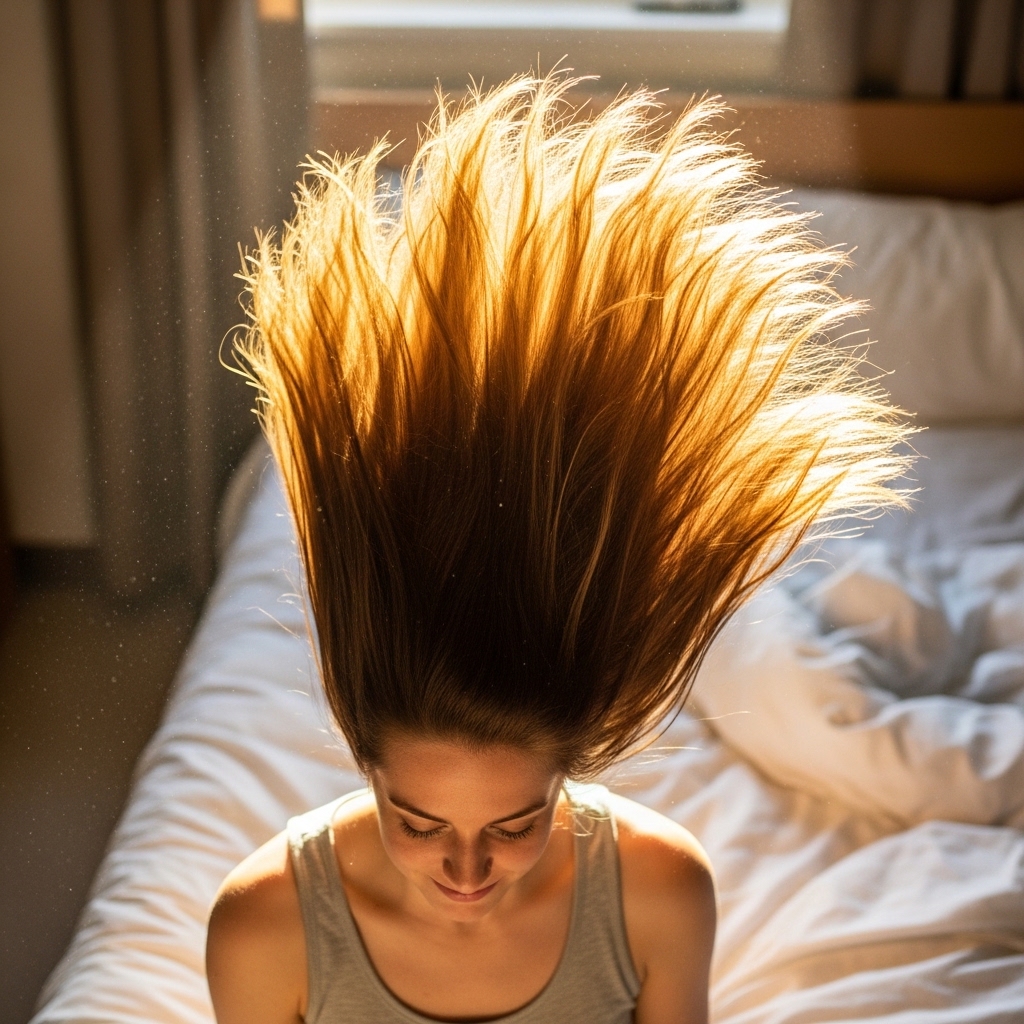
Start With Day-Old Hair (Seriously)
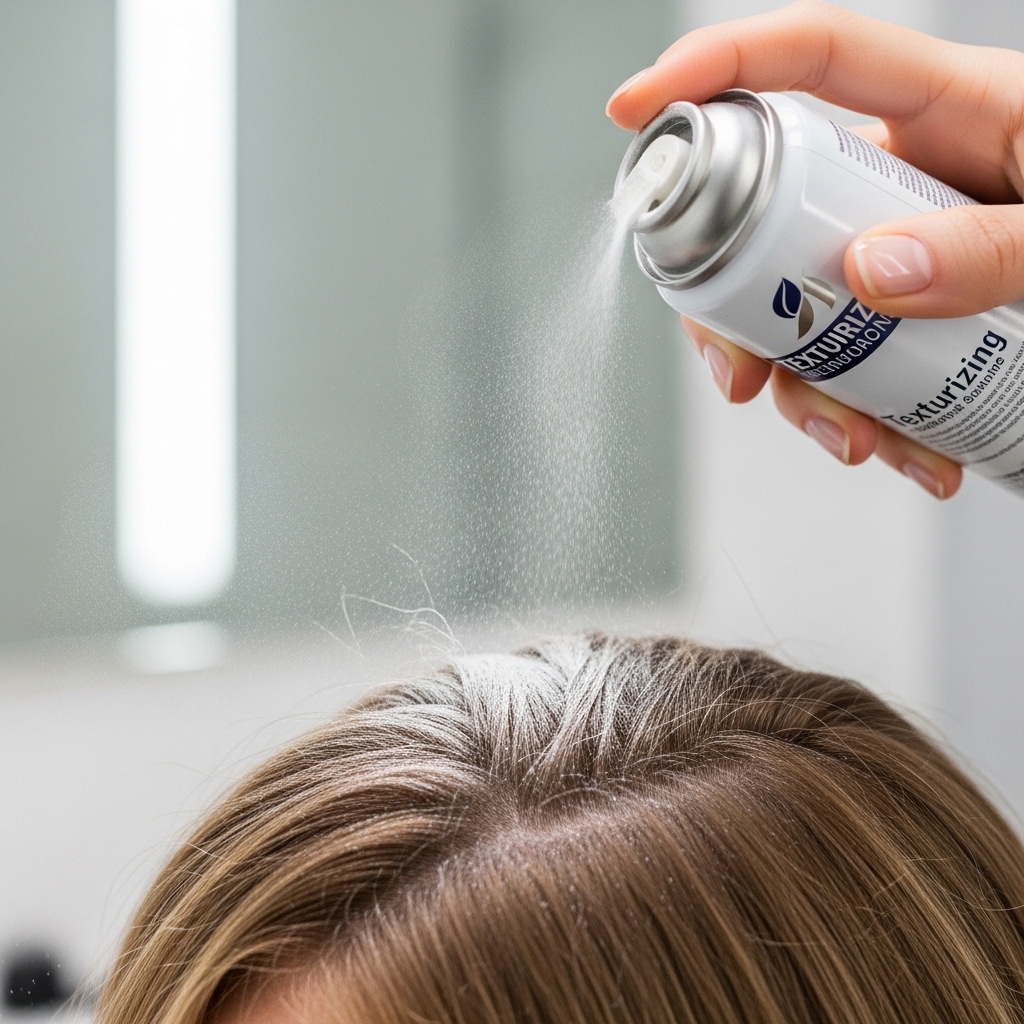
This is the number one tip. Freshly washed, slippery hair will not hold this bun. The best base is hair that’s one or even two days old. It has natural texture and grip.
If you must style on clean hair, spray a texturizing spray at the roots and through the mid-lengths. Give it a minute to dry. That grit is what will help your bun stay put and look full, not flat.
Create Soft Volume at the Crown
Before you even pick up the hair tie, add a little lift. Flip your head over and gently brush your hair from the nape of your neck forward over your head. Don’t aggressively tease it.
Just gather it loosely at the crown for a moment, then flip back up. Use your fingers to gently place the hair back, leaving just a hint of volume at the roots. We’re going for soft, not sky-high.
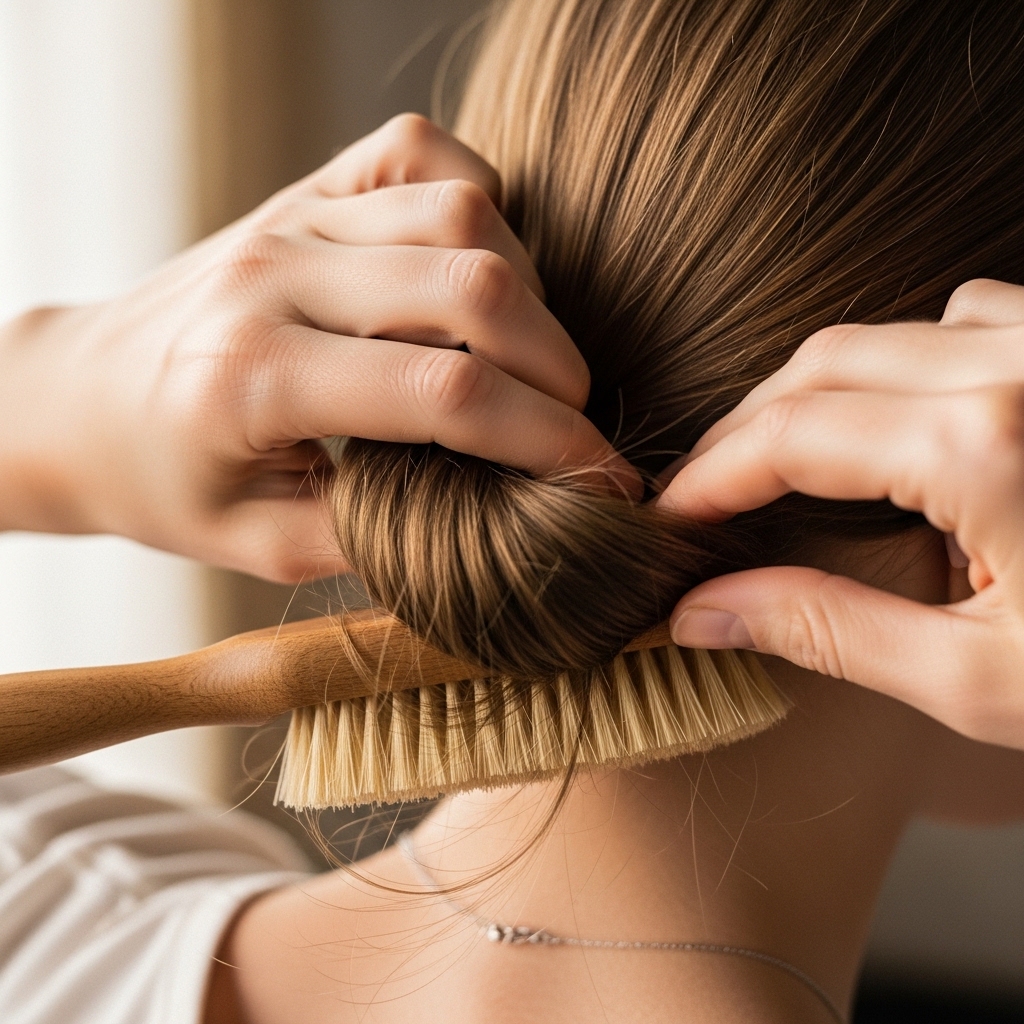
Brush It, But Not Too Perfectly
Use your brush or comb to gather your hair at the nape of your neck. Aim for where your head meets your neck. But here’s the key: don’t make it super slick.
Leave a few face-framing pieces loose if you like. And after you brush it through once, gently pull a few tiny pieces loose around your hairline. Perfection is the enemy of this style.
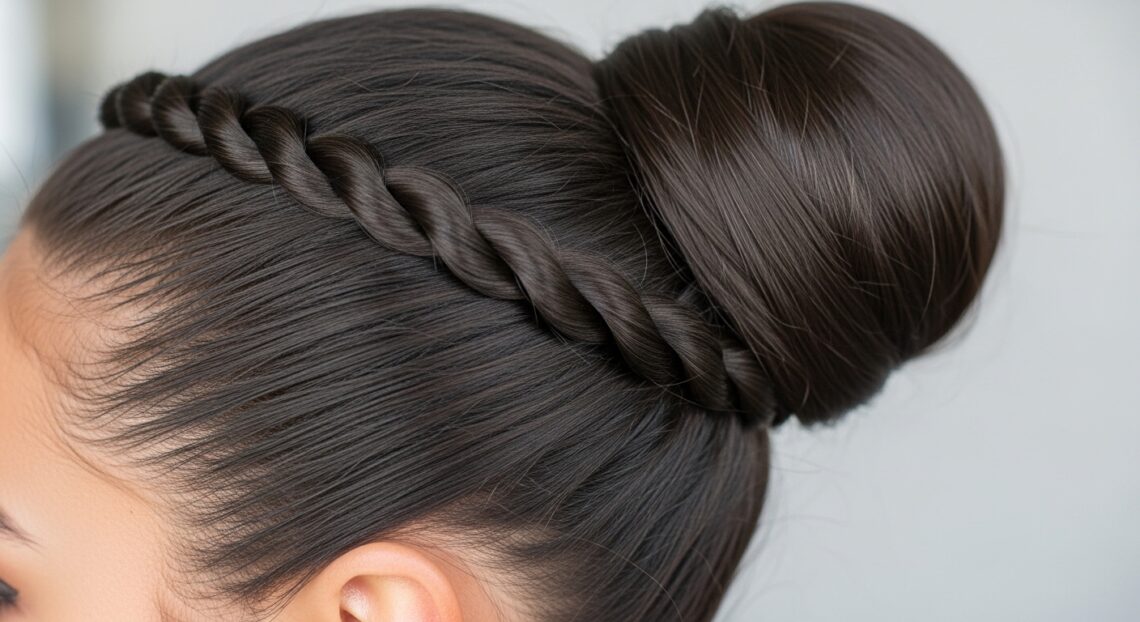
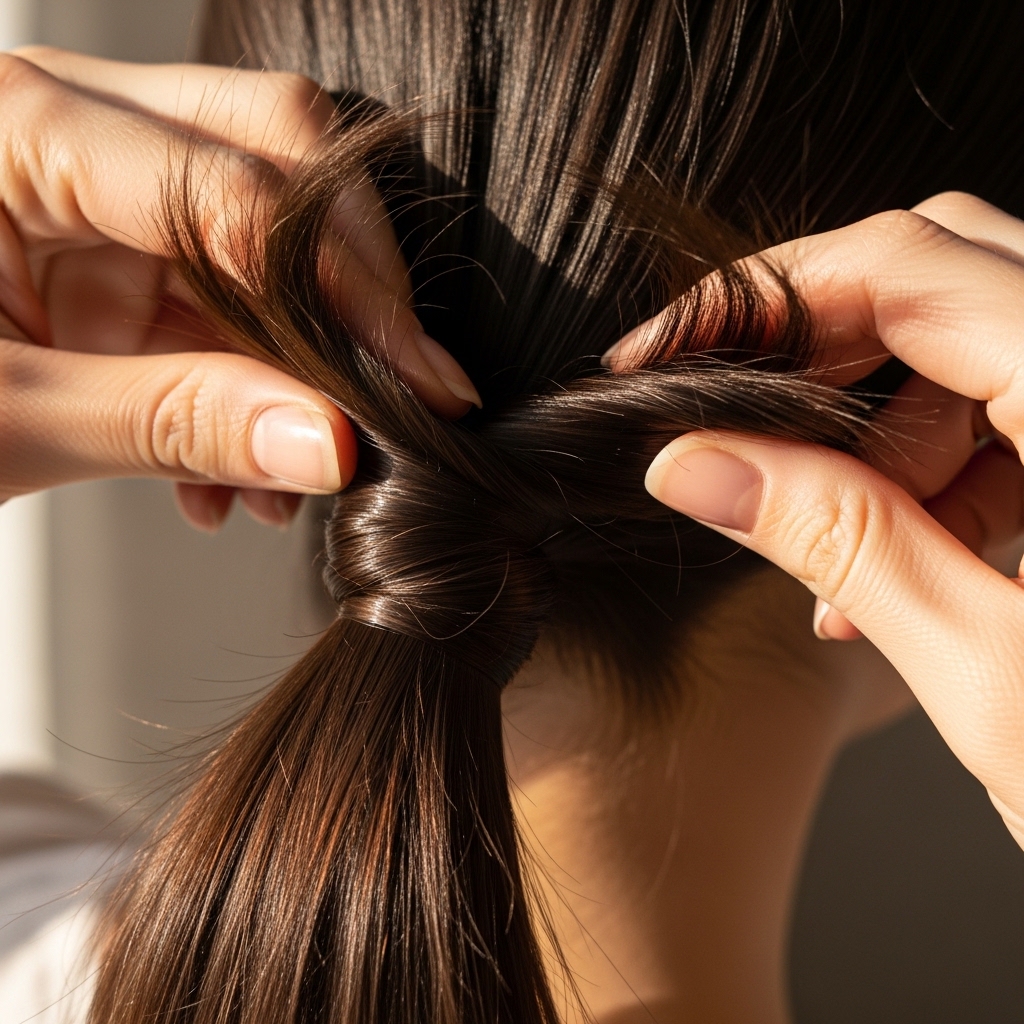
The Initial Ponytail Twist
Secure your hair with the matte elastic at the nape of your neck. Make it snug, but not tight enough to pull your eyes. Now, here’s the move: twist the ponytail firmly in one direction.
Twist it until it starts to coil on itself. The tighter you twist, the neater the final bun will be. A looser twist gives a more bohemian, undone feel. Choose your adventure.
Wrap the Twist Into a Coil
Now, wrap the twisted ponytail around its base. Don’t just wrap it loosely; follow the direction of your twist as you coil it. This keeps it smooth and contained.
As you wrap, try to keep the coil flat against your head, not sticking out. This creates that classic, polished low profile. Hold the end of the twist once it’s all wrapped up.

Secure With Pins, Not Just the Tie
This is the step that ensures it lasts. While holding the end of the coil, use bobby pins to secure the bun. Slide the pins in through the bun and into the base of your hair, going in the opposite direction of the pin’s opening for maximum grip.
Use 3-4 pins, placing them where the bun feels loose. Don’t just pin the surface; anchor it deeply to the hair underneath. You should feel secure.

The Essential “Pull” Technique
Once pinned, the magic happens. Gently pull at the sides of the bun with your fingertips. Loosen small sections to create a softer, fuller shape. It shouldn’t look like a tight ball.
Also, gently pull a little hair at the crown to amplify that soft volume we created earlier. This “pulling” is what transforms it from a gym bun to an old money bun.

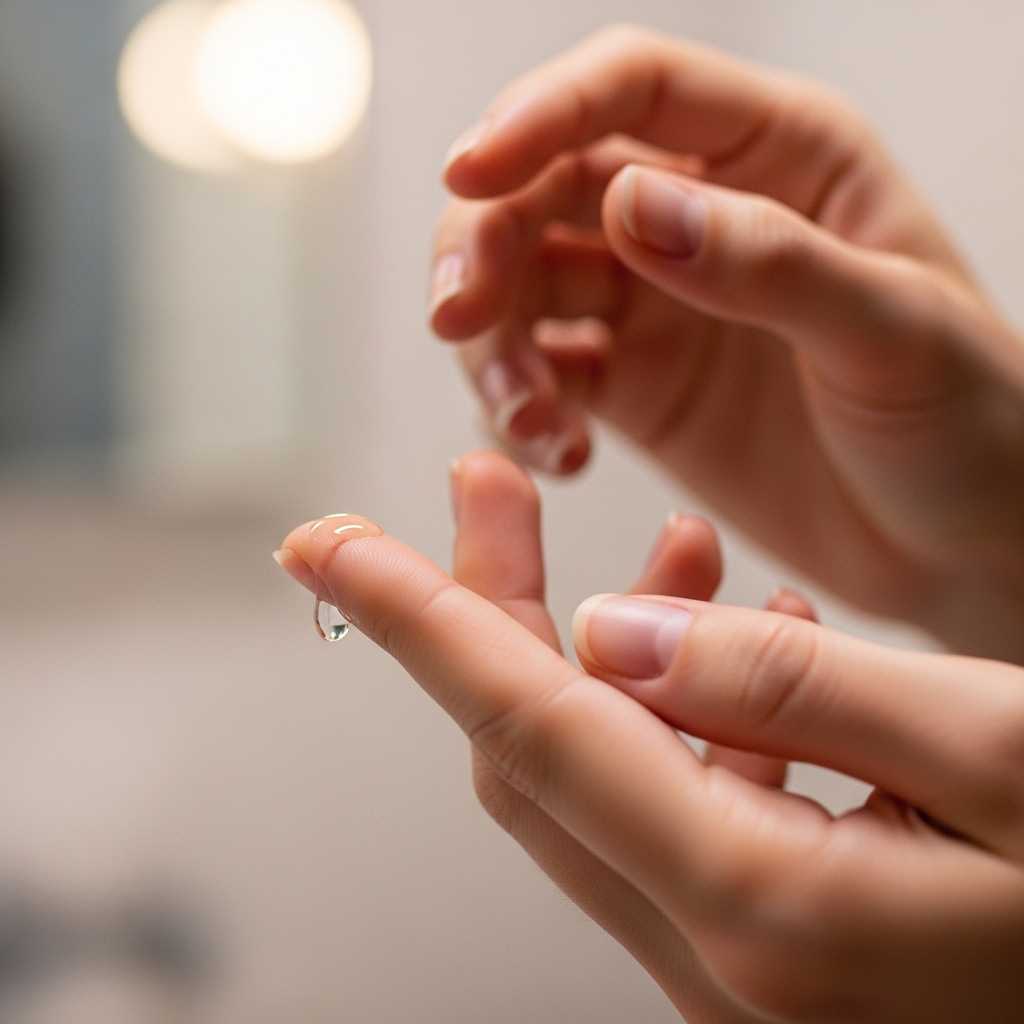
Tame Flyaways With Care
Now, assess the flyaways. We don’t want to eliminate them all—a few are charming. But for any wild ones, take a tiny drop of hair serum or oil on your fingertips.
Lightly smooth it over the surface of the bun and along your hairline. Avoid using a stiff-hold hairspray here. We’re aiming for a soft, natural sheen, not a helmet.
Leave Those Face-Framing Pieces
This is non-negotiable. Leave out, or even pull out, a few pieces around your face. Shorter layers, baby hairs, or pieces you deliberately pull loose soften the entire look.
You can leave them straight, or use a small curling iron to give them a very soft bend. This frame makes the style feel effortless and flattering.
For Slippery or Fine Hair
If your hair just won’t hold, prep is everything. Use a mousse on damp hair before blow-drying. Before styling, a light dusting of texturizing powder at the roots adds serious grip.
You can also make a smaller initial ponytail with a clear elastic, then wrap the rest of your hair around it to create a faux-bun with more stability. It’s a clever cheat!
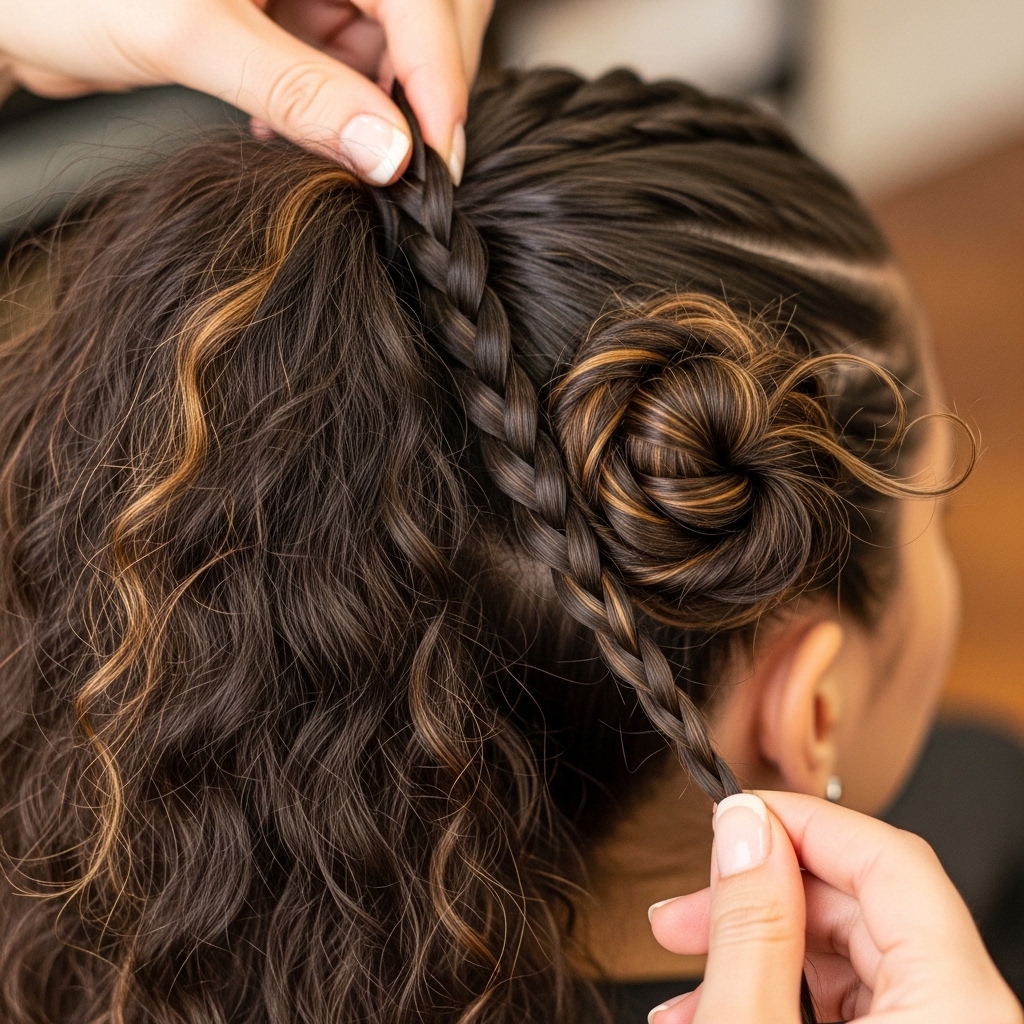
For Thick or Curly Hair
Your texture is a gift for this style! To avoid a bun that’s too heavy or bulky, consider braiding the ponytail once before twisting and coiling it. This creates a stunning, intricate look and manages volume.
Make sure to use strong-hold pins. A light-hold gel smoothed over the surface before pinning can also help control any frizz and define your curls within the bun.
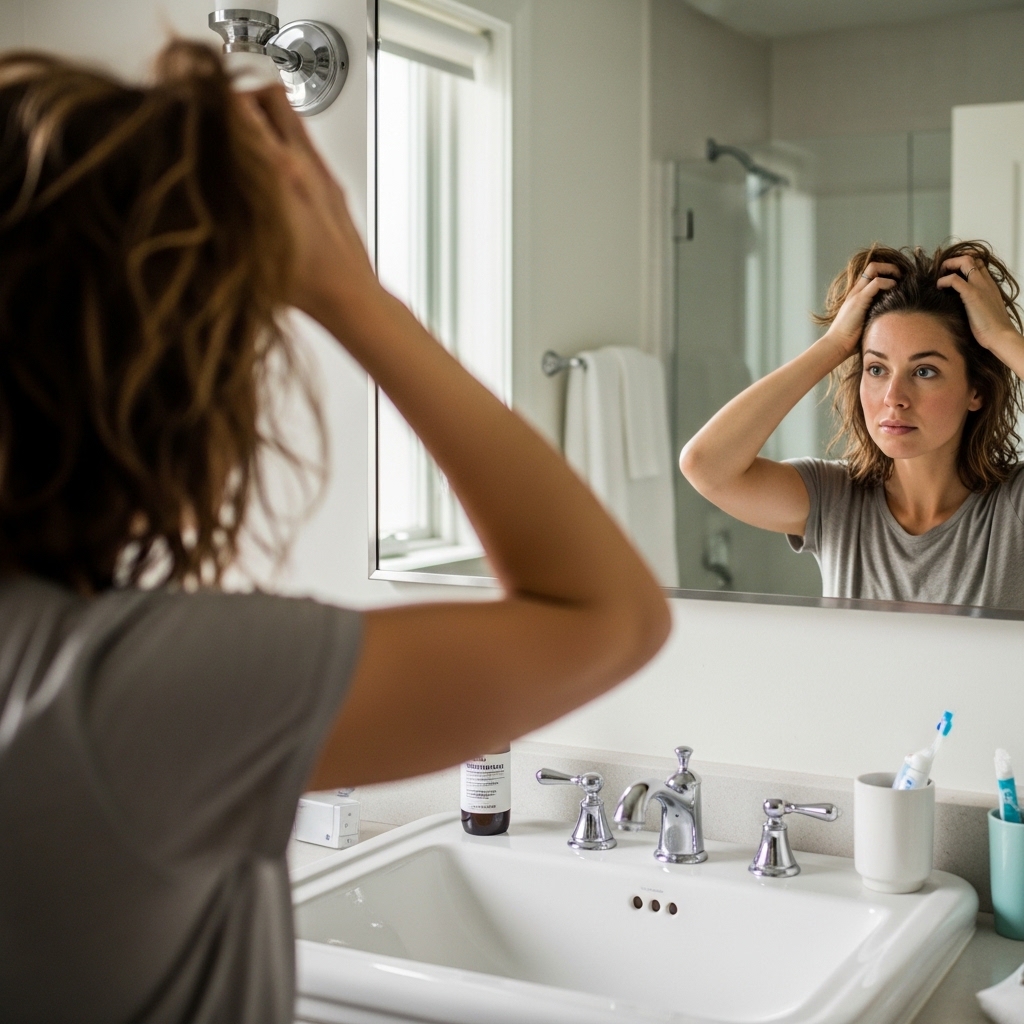
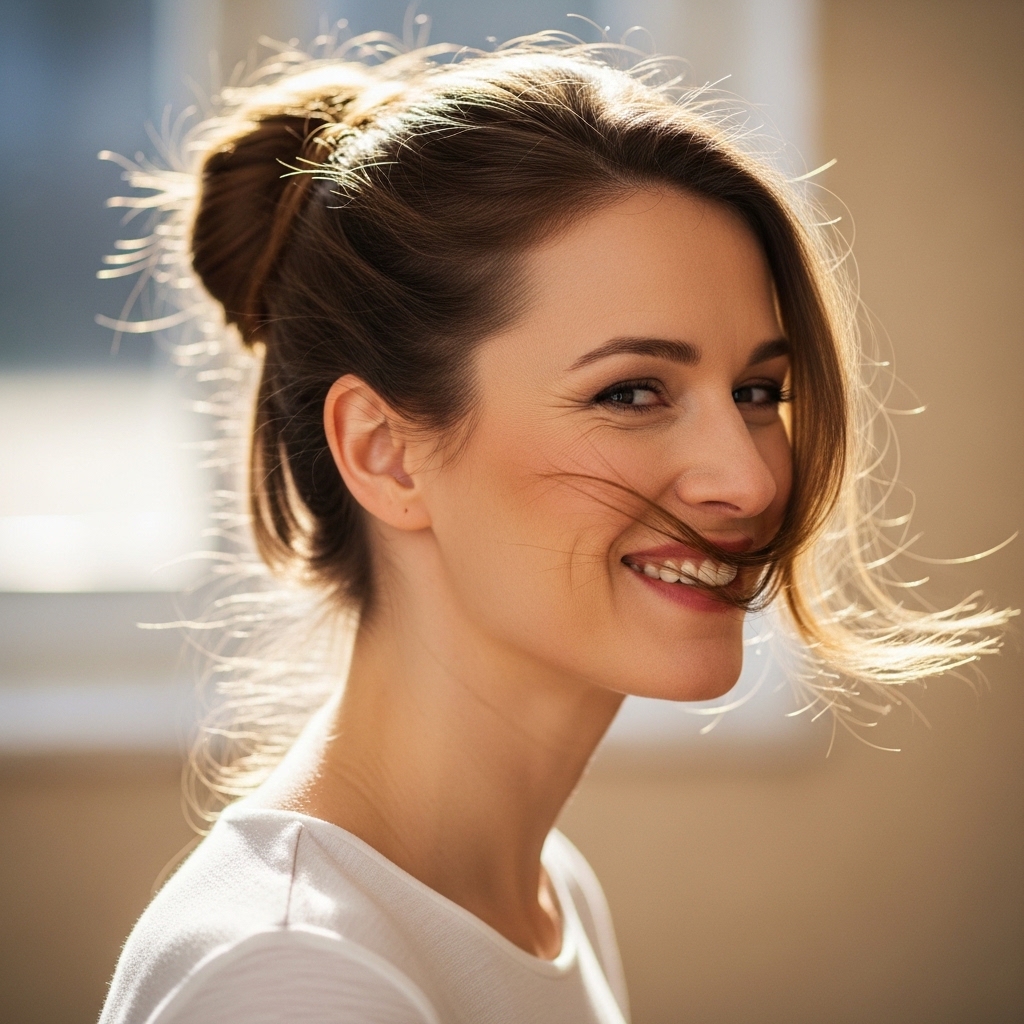
The “Undone” Finish Is Key
Step back and look in the mirror. If it looks too perfect, you’re not done. Touch it again. Pull out one more tiny piece. Let a pin slightly show (it’s chic!).
The final check: shake your head gently. The bun should move *with* you, not feel like a separate, stiff object. That’s how you know you’ve nailed the vibe.
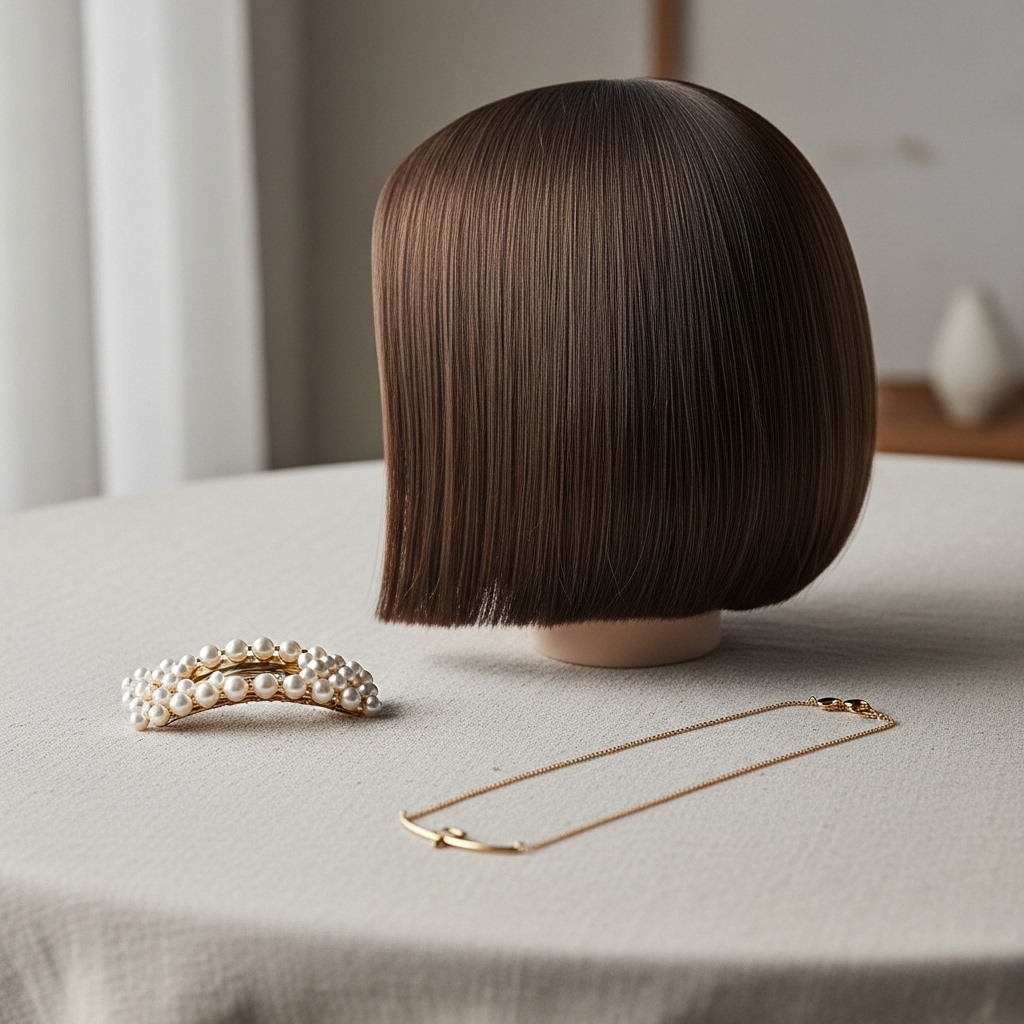
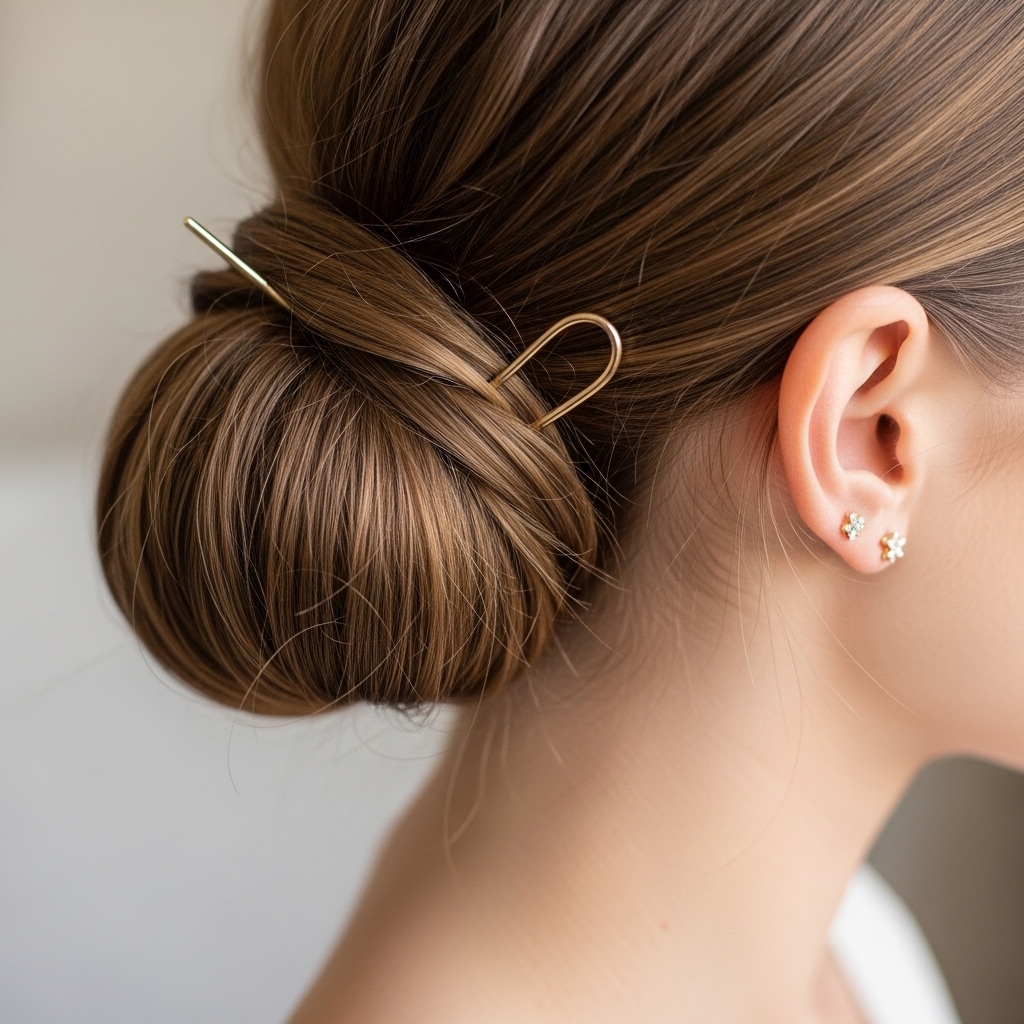
Accessorize for Extra Polish
This is where you can personalize it. Slide a simple pearl-encrusted pin into the side. Or use a silk scarf as a headband, tying the ends under the bun.
- A small, elegant barrette holding the face-framing pieces back
- A thin, gold chain wrapped through the bun
- Leaving the tail of your twist out and wrapping it with a ribbon
Transform It for Evening
Take this bun from day to night in seconds. Spritz a shimmer spray lightly over the surface for a glitchy glam hair moment. Or, add a dramatic hair cuff or jeweled pins.
You can also pull out a few more pieces and curl them for a romantic, red-carpet feel. It’s the perfect base to build on, proving that the best 2026 hairstyles will be adaptable like this.
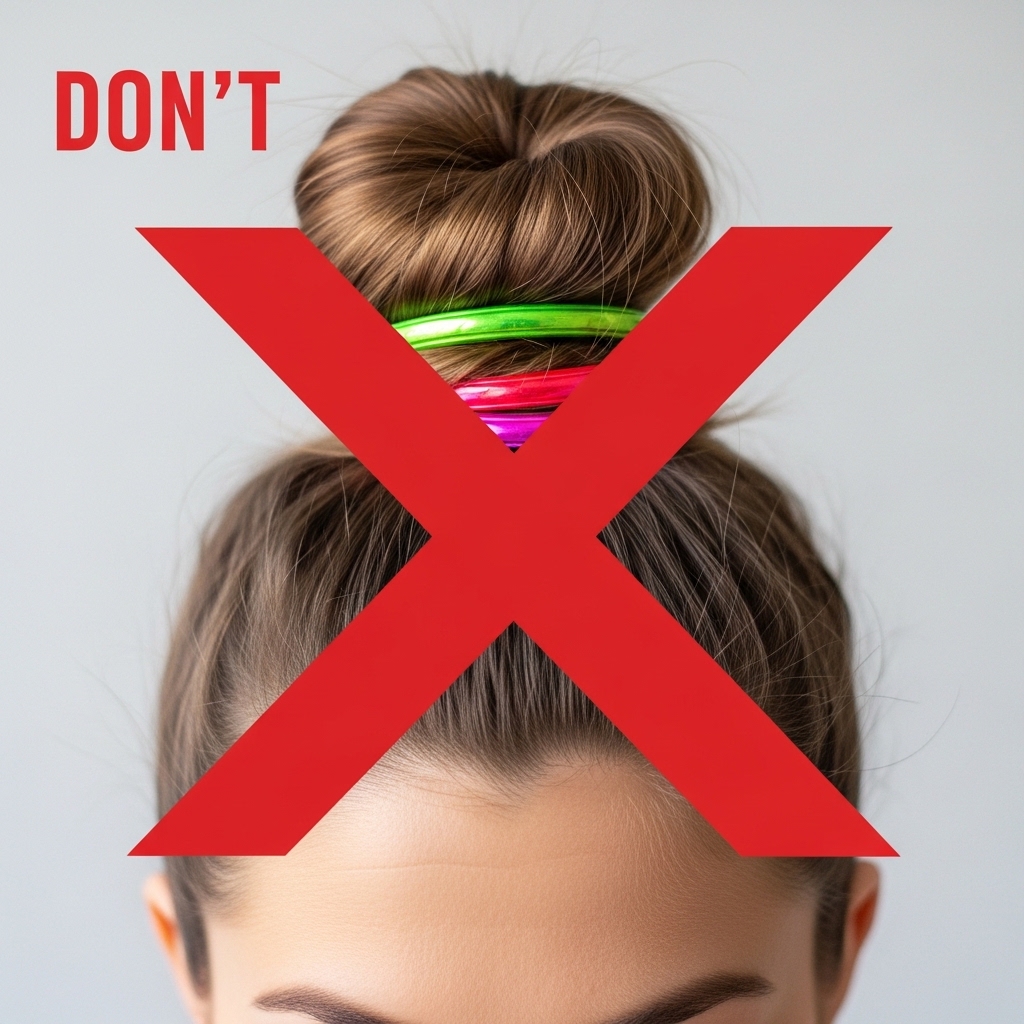
Avoid These Common Mistakes
First, placing the bun too high. It should sit at the nape, not the back of your head. Second, using a shiny elastic—it cheapens the look instantly. Third, pulling every single hair back.
Also, avoid over-spraying. You want movement. And finally, don’t make it symmetrical. A little asymmetry, like a piece that falls longer on one side, is what makes it cool.
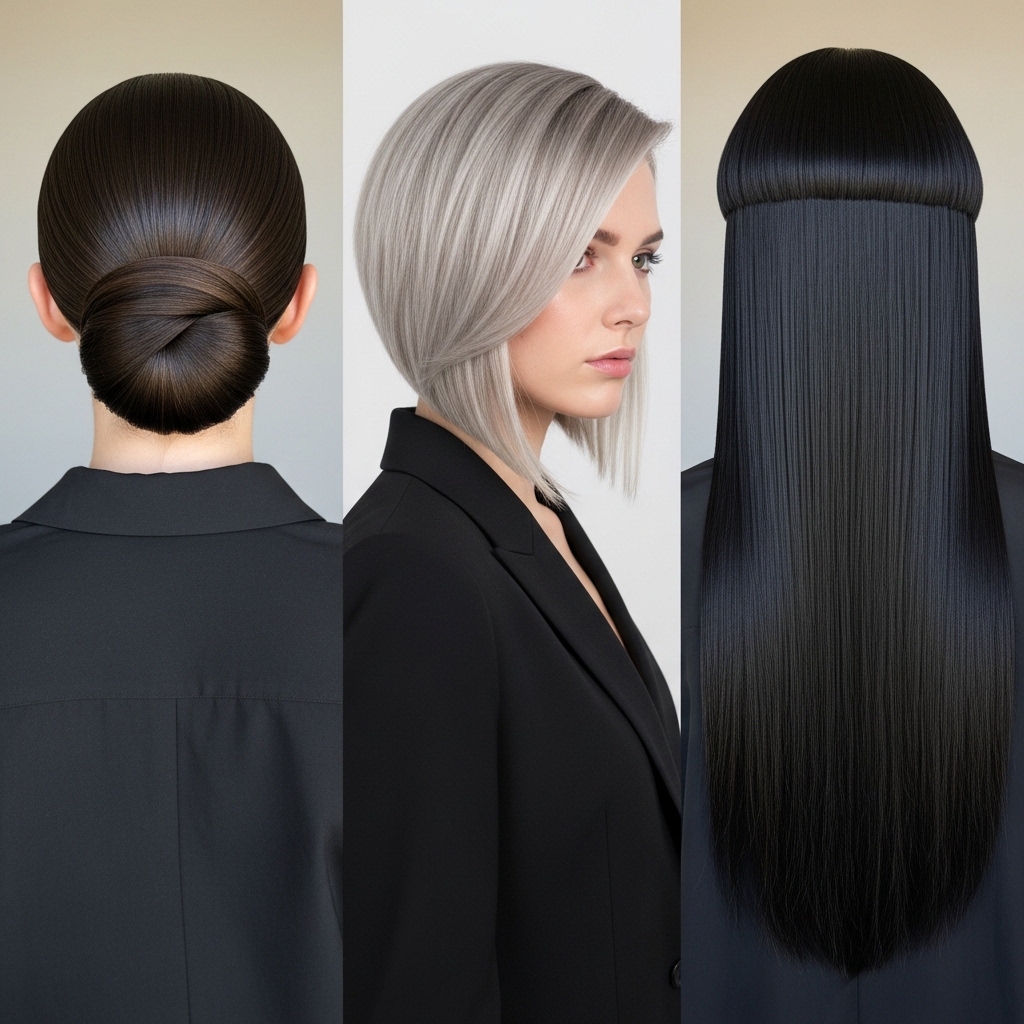
How It Compares to Other Trends
Unlike the edgy asymmetry of an asymmetrical lob or the bold statement of a hime cut, this style is about blending in, in the best way. It’s not trying to shock you.
It shares DNA with the quiet luxury bob in its philosophy—understated quality. And while it’s the opposite of romantic goth hairstyles in color and vibe, they both prize that intentional, artful detail.
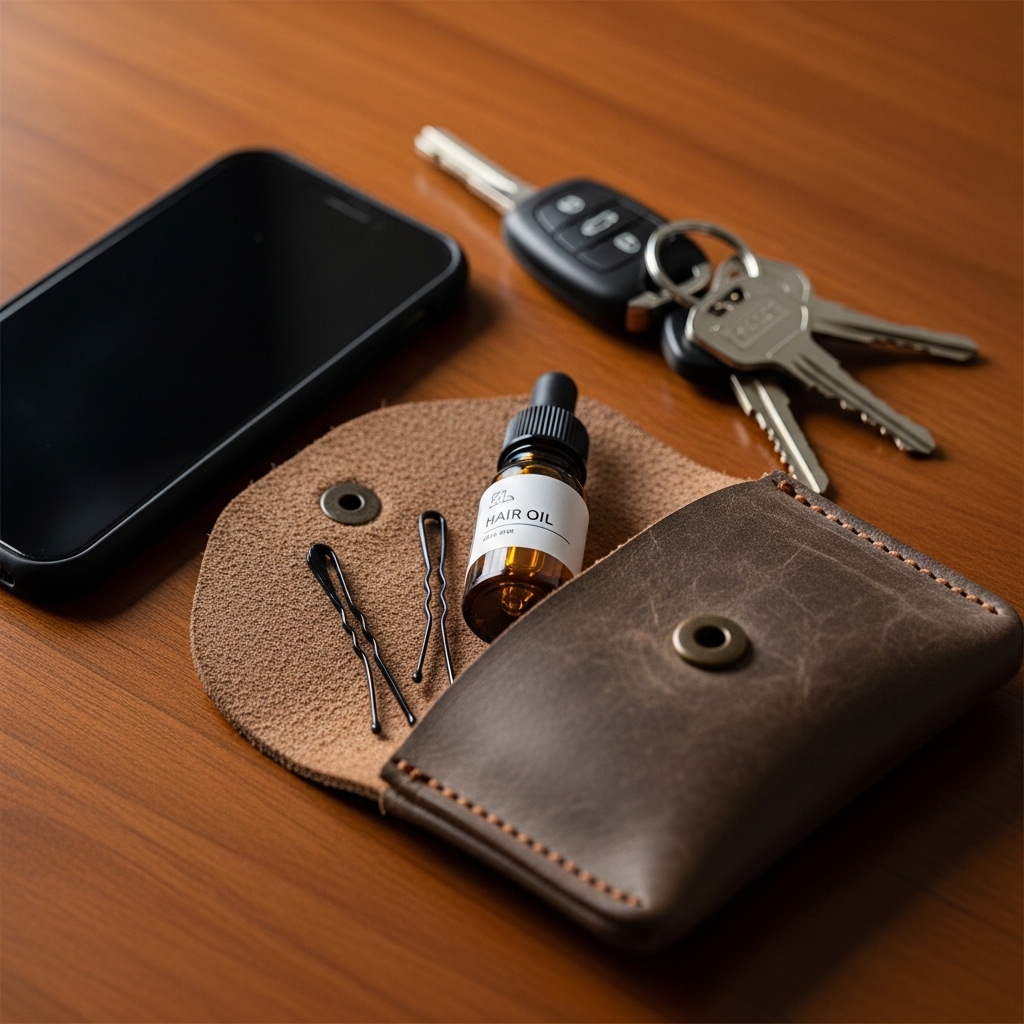
Make It Last All Day & Night
To fight sagging, criss-cross two bobby pins at the center of the bun’s bottom for a strong anchor. A very light mist of flexible-hold hairspray from a distance can help.
Carry a couple of extra pins and a travel serum in your bag. If it feels loose later, you can quickly re-pin a section without redoing the whole style. It’s incredibly forgiving.
The Mindset Behind the Style
This hairstyle isn’t just about hair. It’s about appearing collected and capable. There’s a reason it’s a staple of the “quiet luxury” aesthetic. It says you have more important things to think about than your hair.
It’s a uniform of sorts for a calm, put-together life. Doing it in minutes means you’re efficient and in control—that’s the real aspiration.

Your Final Step: Own It
The most important part? Confidence. Walk out the door and forget about your hair. Don’t constantly check it in reflections. The beauty is in its slight imperfection and ease.
You just mastered a look that people pay hundreds to learn in salons. You look expensive, effortless, and elegant. Now go have a day where your hair is the last thing on your mind.
And that’s really all there is to it. The perfect old money low bun isn’t about a secret technique or expensive products. It’s about a mindset and a few simple tweaks to how you normally put your hair up.
It’s become my absolute go-to. It works for the school run, a client pitch, or a last-minute dinner date. It makes me feel pulled together even when I’m just in jeans and a tee.
I hope this breakdown helps you get ready faster and feel that boost of quiet confidence. Some days, a great hair day is the best kind of armor.
Save this post to Pinterest so you can find the steps whenever you need a quick style fix! And tell me in the comments—what’s your forever, go-to hairstyle when you need to look polished in a flash?

