
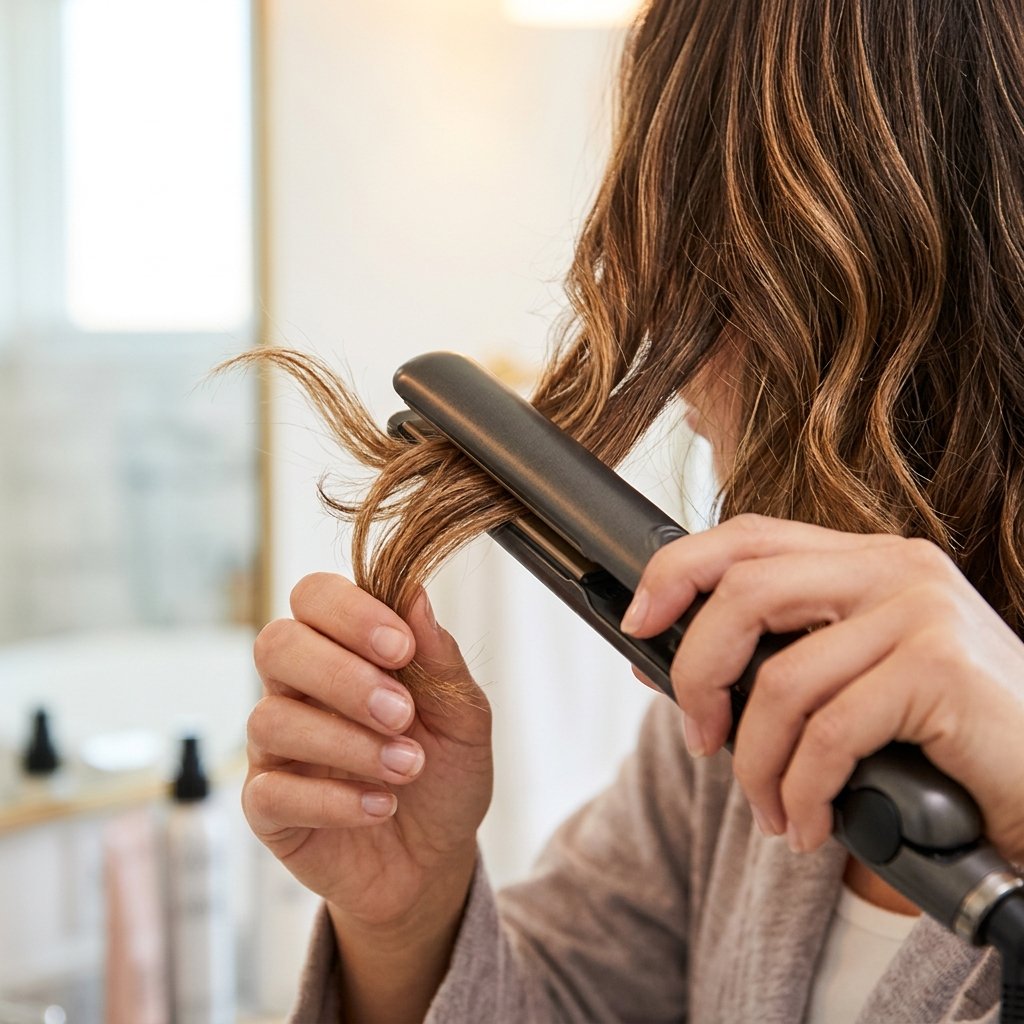
Mornings are not the time for a forty minute hair routine. Not when coffee is waiting and you have exactly one clean shirt. That is why lived in beach waves are my forever go-to.
These waves look like you spent an hour on them. You did not. Most of the tutorials below take five to ten minutes, and a few of them happen while you sleep.
You will find 27 real, beginner friendly methods here. Some are air dry, some use heat, and every one works on everything from a quiet luxury bob to long layers.
Pick two or three. Learn them by heart. Then your mornings get a whole lot easier.
1. The 5 Minute Air Dry Wave
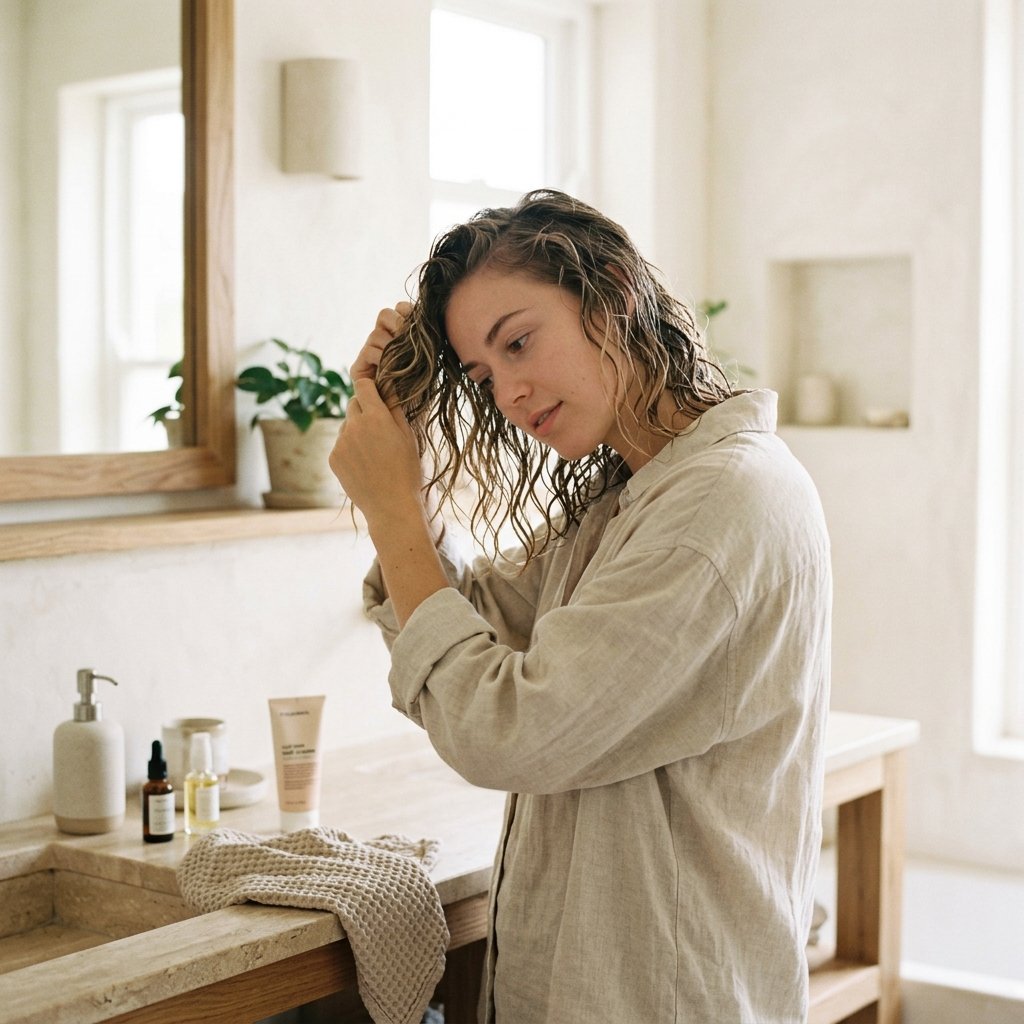
This is the tutorial I use the most. You do it right after you shower, then you walk away. That is the whole trick. No tools, no heat, no fuss.
- Wet your hair or wash it.
- Scrunch with a towel until it stops dripping.
- Spray sea salt or wave spray everywhere.
- Scrunch upward with your hands for 30 seconds.
- Leave it alone until it dries.
Do not touch it while it dries. Touching is what kills the wave. If you are rushing, point a blow dryer on low at your roots only and let the ends air dry.
2. The Sea Salt Spray Only Method
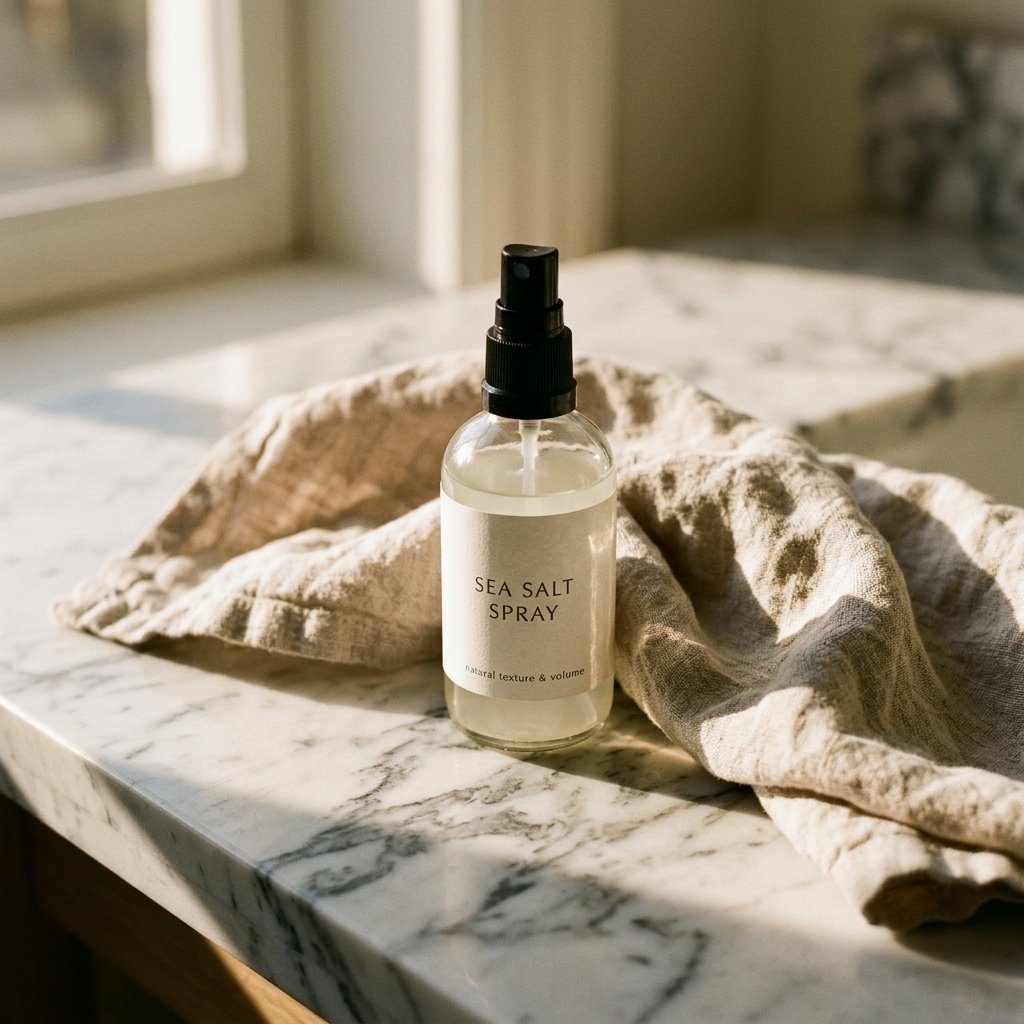
One product, one step. This is the laziest wave tutorial on the list, and it still works.
- Spray sea salt spray on damp hair, roots to ends.
- Scrunch with your hands, then squeeze once with a soft t-shirt.
- Air dry or hit it with cool air for two minutes.
Skip this one if your hair is already dry or brittle. Salt dries hair out fast. Use it two or three times a week max, and always add a tiny drop of leave-in conditioner to your ends first.
3. Overnight Braid Waves
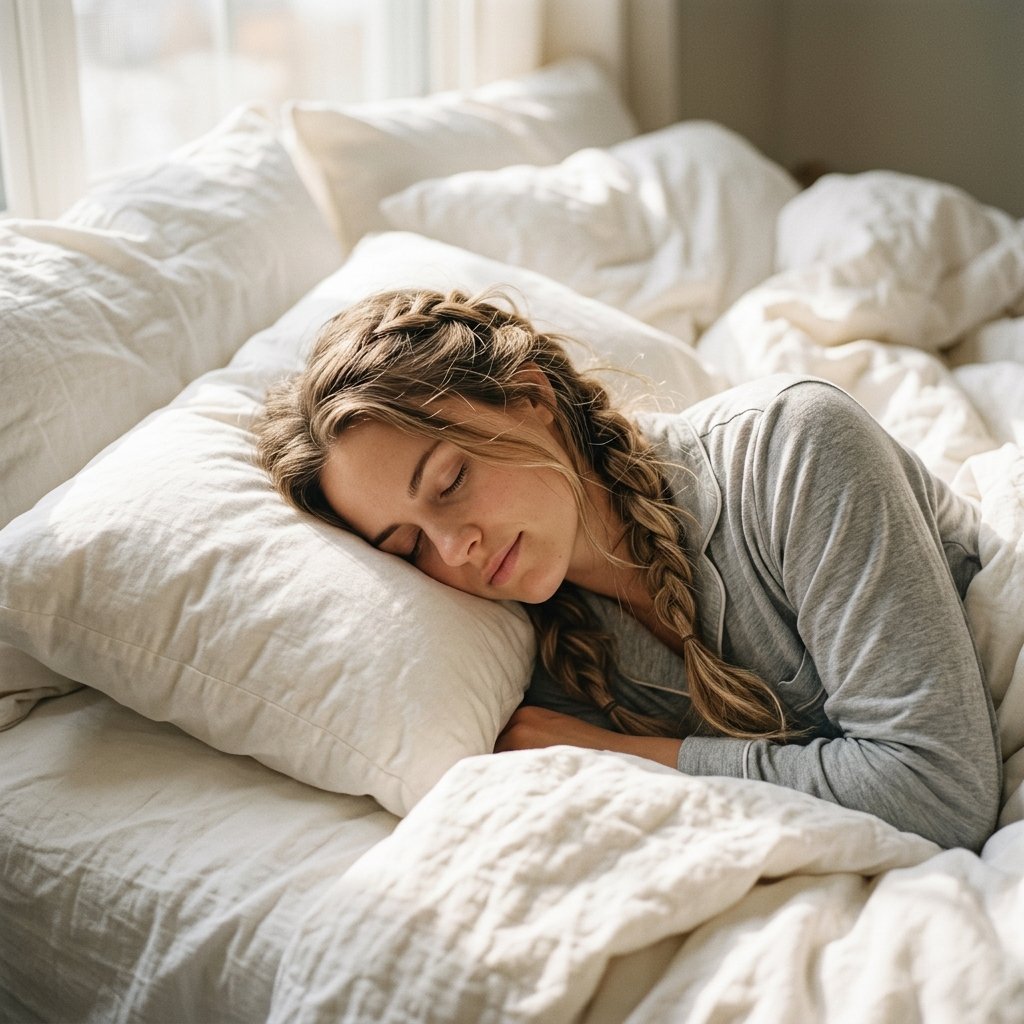
This is the original low maintenance morning. You do all the work at night and wake up basically done.
- Start with hair that is 80 percent dry.
- Mist with wave spray.
- Braid two loose braids, not tight ones.
- Sleep on a satin pillowcase.
- Undo in the morning and shake with your fingers.
Loose braids give you soft bends. Tight braids give you crimps. If you want that lived in look, keep the braid wide and messy. Never brush the waves out, just finger comb and go.
4. Old Money Hair Blowout Waves
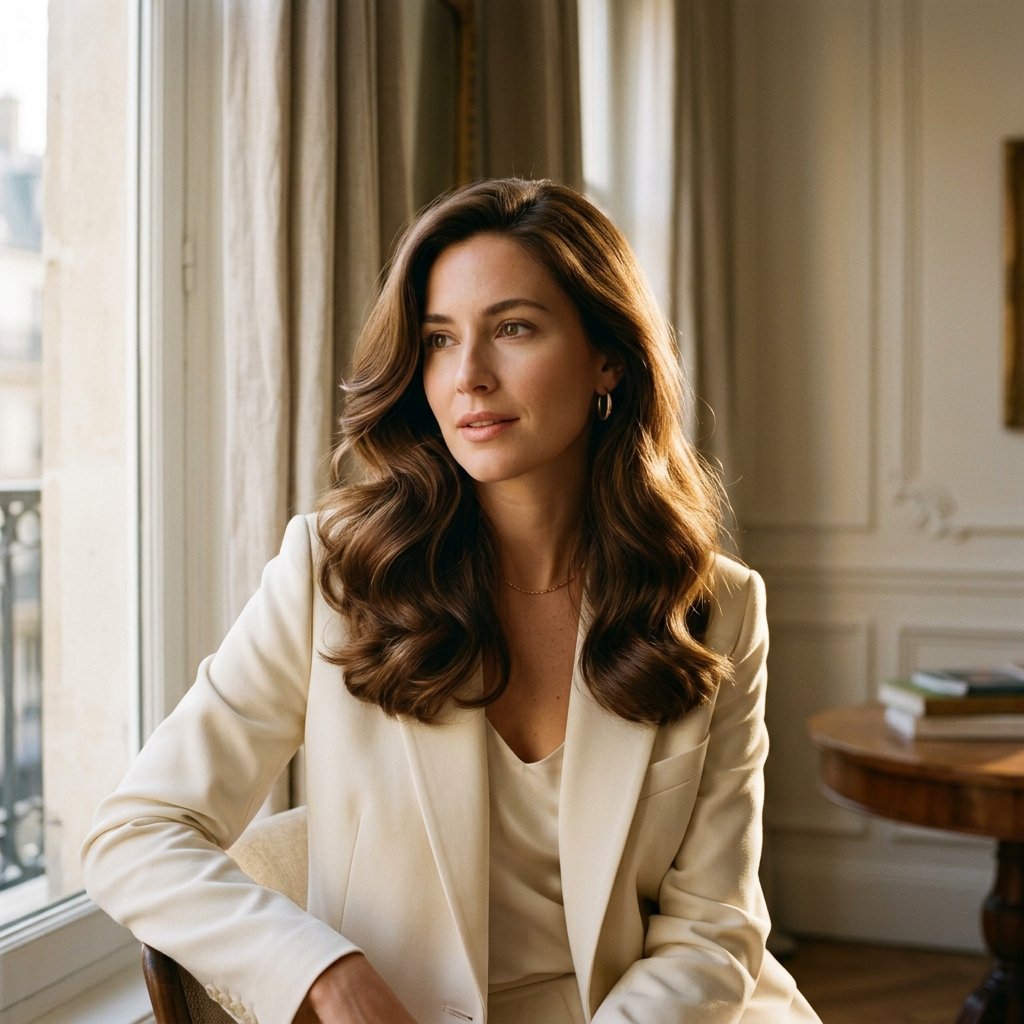
Old money hair is not complicated. It is just smooth, shiny, and slightly waved. Think quiet, expensive, and effortless.
- Apply a lightweight oil to damp hair.
- Blow dry with a round brush, pulling sections straight up.
- Once dry, wrap two inch sections around the brush and hold for five seconds.
- Brush everything out with a paddle brush.
The secret is brushing the waves out at the end. That is what makes it look soft instead of styled. One pass of shine spray and you are done.
5. Heatless Curling Rod Waves
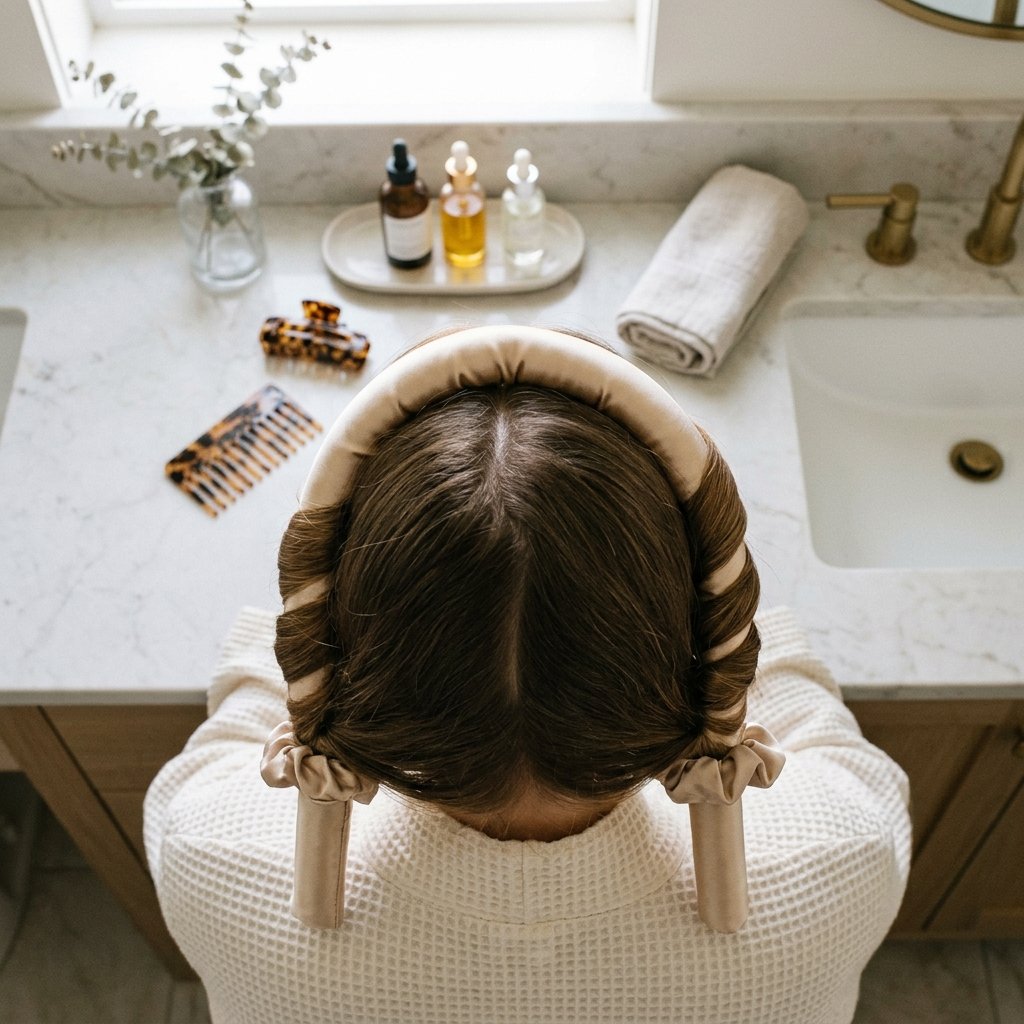
A heatless curling rod gives you the most consistent beach waves with zero damage. It looks intimidating. It is not.
- Wrap damp hair around the rod, away from your face.
- Secure with the scrunchies that come with it.
- Sleep in it or leave it for two hours.
- Unwrap from the bottom up.
- Shake out with your fingers.
Wrap in bigger sections for loose waves and smaller sections for tighter ones. The first few tries might look wonky. By night three you will have it down.
6. The Messy Bun Wave Trick

This one works on dry hair, which makes it perfect for a morning refresh. No shower required.
- Mist dry hair lightly with water and wave spray.
- Twist everything up into a loose bun on top of your head.
- Pin it and wait 30 minutes while you get ready.
- Let it down and scrunch.
You get soft, bendy waves with a little volume at the crown. Add dry shampoo at the roots before you twist for extra grip. This is my go to when I am on day two or three.
7. Quiet Luxury Bob with a Soft Bend

The quiet luxury bob is everywhere in 2026 hairstyles, and it works best with barely there texture. Not curls. Just a soft bend.
- Blow dry the bob smooth.
- Take one inch sections and wrap them around a one inch iron, only from mid length down.
- Leave the roots completely straight.
- Brush through once.
Straight roots plus a bend at the ends equals expensive. If your bob is blunt, this is the easiest way to make it feel fresh without a haircut.
8. Asymmetrical Lob Beach Waves

An asymmetrical lob is one of the most flattering cuts out there, and waves make it even better. The uneven length already creates movement, so you need less styling.
- Spray wave spray on damp hair.
- Scrunch and let it air dry halfway.
- Wrap only the longer side around a wand for five seconds per section.
- Finger comb, then tuck the shorter side behind your ear.
Tucking one side shows off the shape of the cut and instantly looks intentional. Two minutes of work, all day of payoff.
9. Hime Cut with Beach Texture

The hime cut is blunt side pieces with longer hair in the back. It is striking on its own. Adding beach texture makes it wearable for everyday.
- Keep the blunt side pieces pin straight.
- Add waves only to the back section.
- Use a small iron and wrap away from your face.
- Finish with a light texture spray.
The contrast is the whole point. Sharp in the front, soft in the back. It looks intentional and a little bit cool without trying too hard.
10. Romantic Goth Hairstyles with Loose Waves
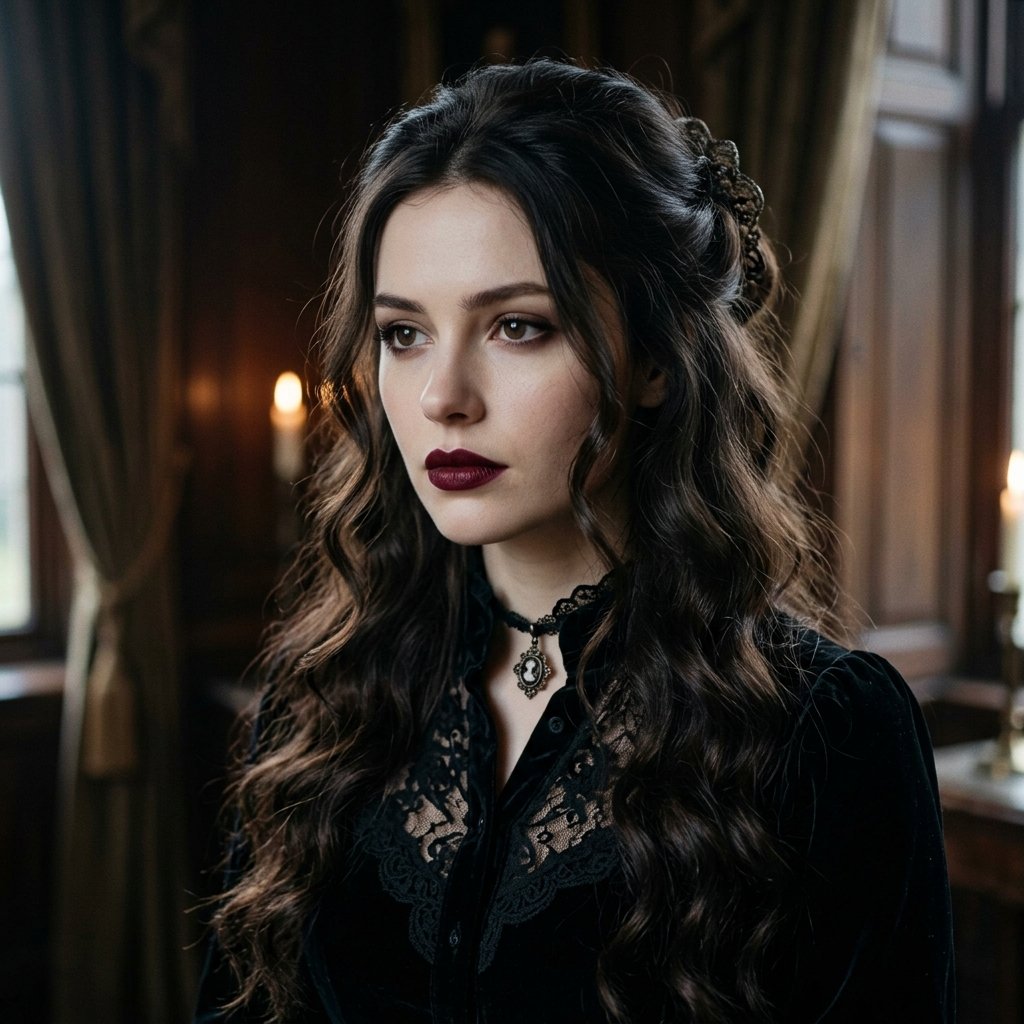
Romantic goth hairstyles live somewhere between soft and dramatic. Loose beach waves are the perfect base because they soften the whole look.
- Start with day old hair for extra grip.
- Wrap medium sections around a one inch wand, alternating directions.
- Brush through with a wide tooth comb.
- Add a little oil to the ends for shine.
Keep the waves soft and brushed out, not tight or crunchy. A deep side part and a black ribbon finish it beautifully. Think velvet and candlelight, not costume.
11. Vampire Haircut Sultry Waves

The vampire haircut is all about sharp layers and a slightly dramatic shape. Waves give it that undone, effortless edge.
- Blow dry with a round brush, lifting the roots.
- Wrap two inch sections away from your face.
- Leave the very ends straight for contrast.
- Mist with flexible hold spray.
Keep the finish more matte than glossy. Sultry beats shiny here. A middle part or a deep side part both work, so pick whichever suits your face shape better.
12. Glitchy Glam Hair with Piecey Texture
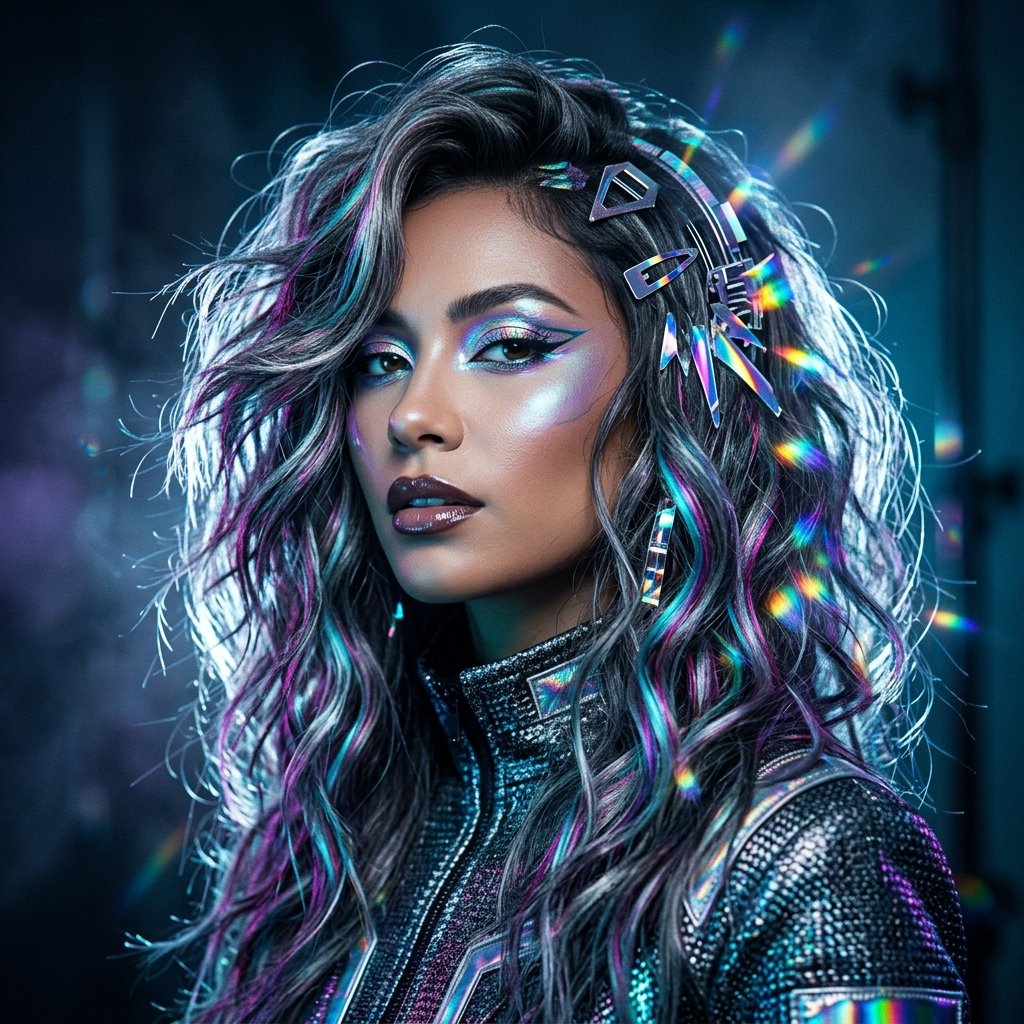
Glitchy glam hair is that slightly imperfect, piecey, almost digital age texture. It is fun and it hides a lot of sins on a bad hair day.
- Spray texturizing spray on dry hair.
- Scrunch small sections with your fingers.
- Pinch individual pieces to separate them.
- Add one small metallic clip or pin.
The goal is separation, not smoothness. If it looks a little undone, you did it right. This pairs beautifully with an asymmetrical lob or a shag.
13. Curling Iron Waves for Thick Hair
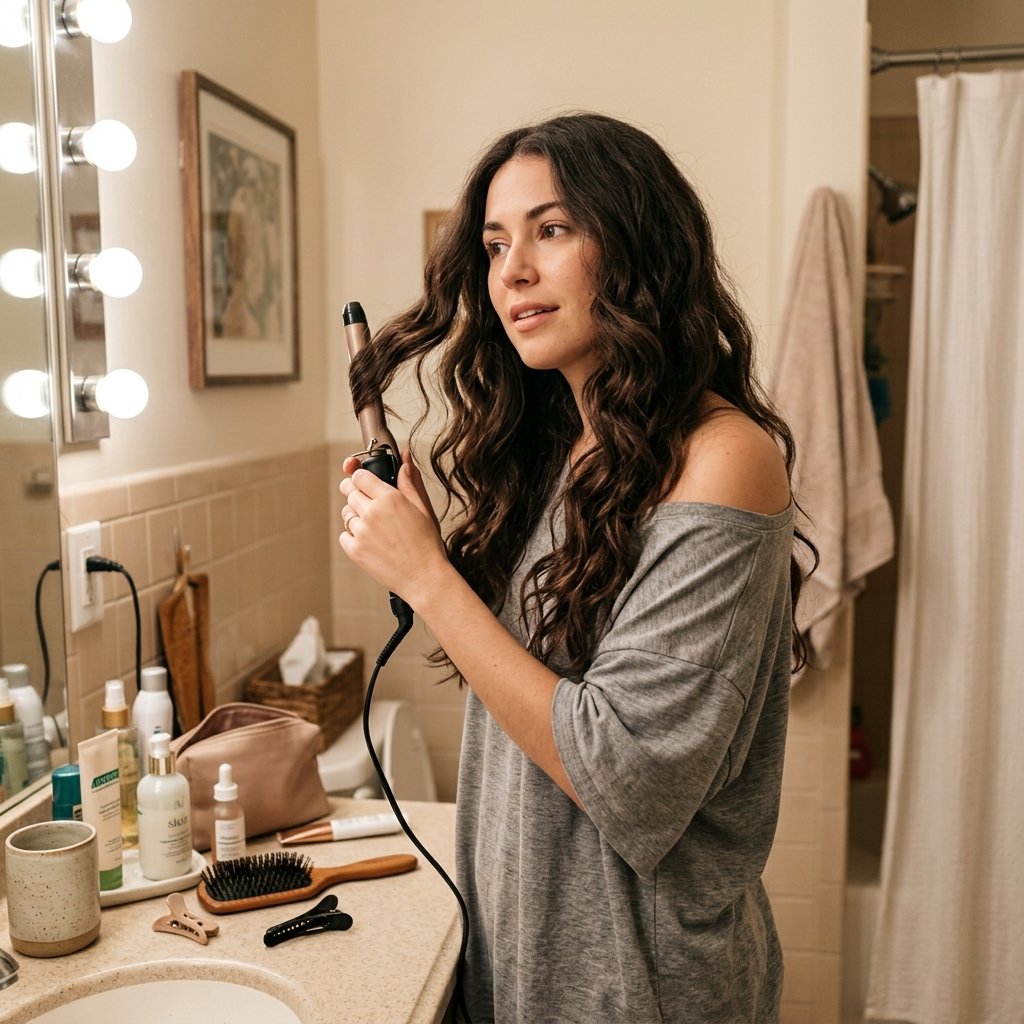
Thick hair holds waves beautifully but takes forever to style. The fix is fewer, bigger sections and less heat per piece.
- Section hair into four parts and clip them up.
- Use a one and a quarter inch iron.
- Wrap two inch sections, hold five seconds, release.
- Do not re-curl pieces that already have a bend.
Leave the last two inches of each section out of the iron. Straight ends make waves look modern instead of dated. Total time should be around ten minutes.
14. Fine Hair Waves That Actually Hold
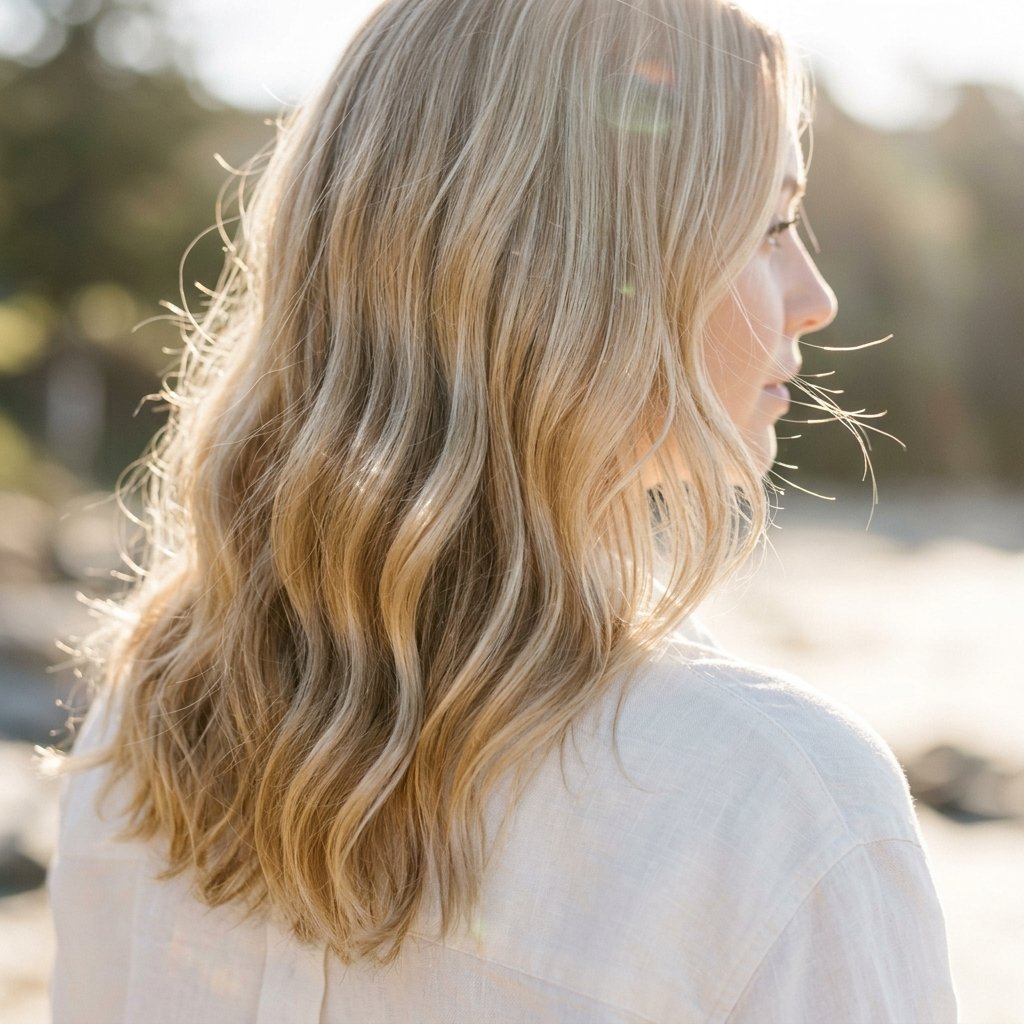
Fine hair is the hardest to wave because it falls flat in an hour. The secret is layering products, not using more heat.
- Apply mousse to damp roots.
- Spray wave spray on the ends.
- Blow dry upside down for volume.
- Wrap small one inch sections around a small iron.
- Finish with dry texture spray, not hairspray.
Skip heavy oils and creams. They weigh fine hair down fast. Texture spray is your best friend because it adds grip without weight.
15. Short Bob Beach Waves
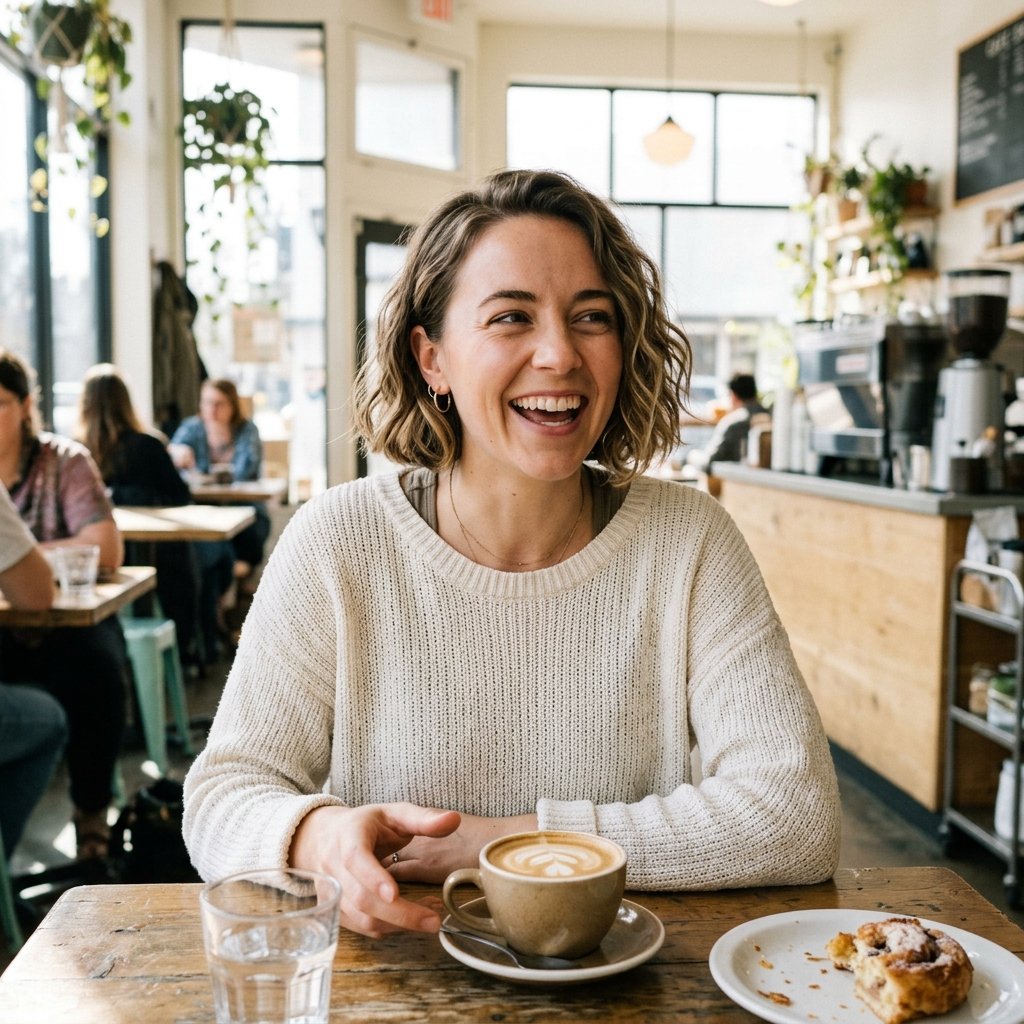
Short hair can absolutely have beach waves. You just need to work faster and use smaller sections.
- Spray a light wave spray on damp hair.
- Scrunch and let it dry most of the way.
- Wrap one inch sections around a small iron, alternating directions.
- Shake out with your fingers, never a brush.
Alternating directions is key. If every wave goes the same way, short hair looks stiff and helmet like. Mixing it up gives that soft, lived in finish.
16. Long Hair Waves Without the Weight
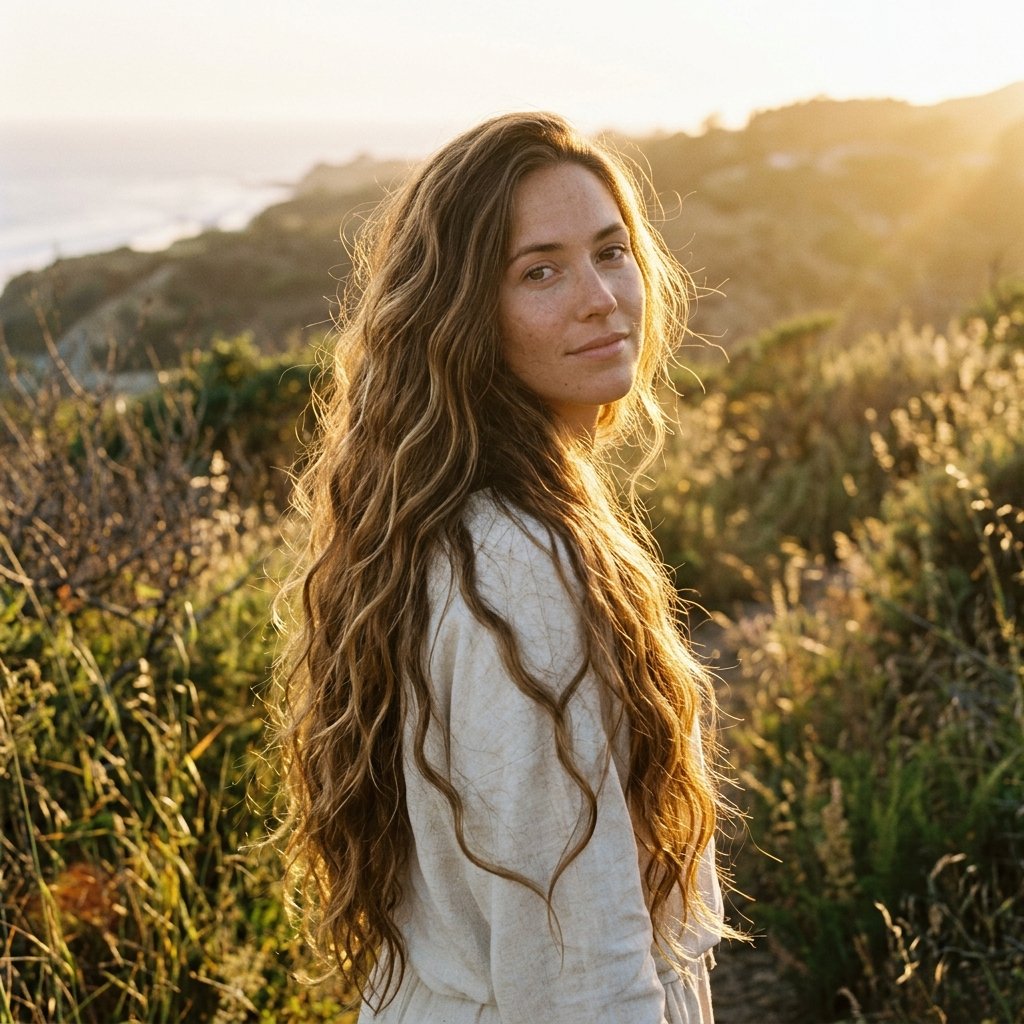
Long hair looks gorgeous in waves, but it can drag your whole face down. A few small tweaks fix that completely.
- Start waves at chin level, not at the roots.
- Use a large one and a half inch iron.
- Wrap sections away from your face.
- Add volume at the crown with a little backcombing or dry shampoo.
Roots should stay smooth and lifted while the mid lengths and ends do the waving. That balance keeps long hair looking light instead of heavy.
17. Diffuser Waves for Wavy Hair
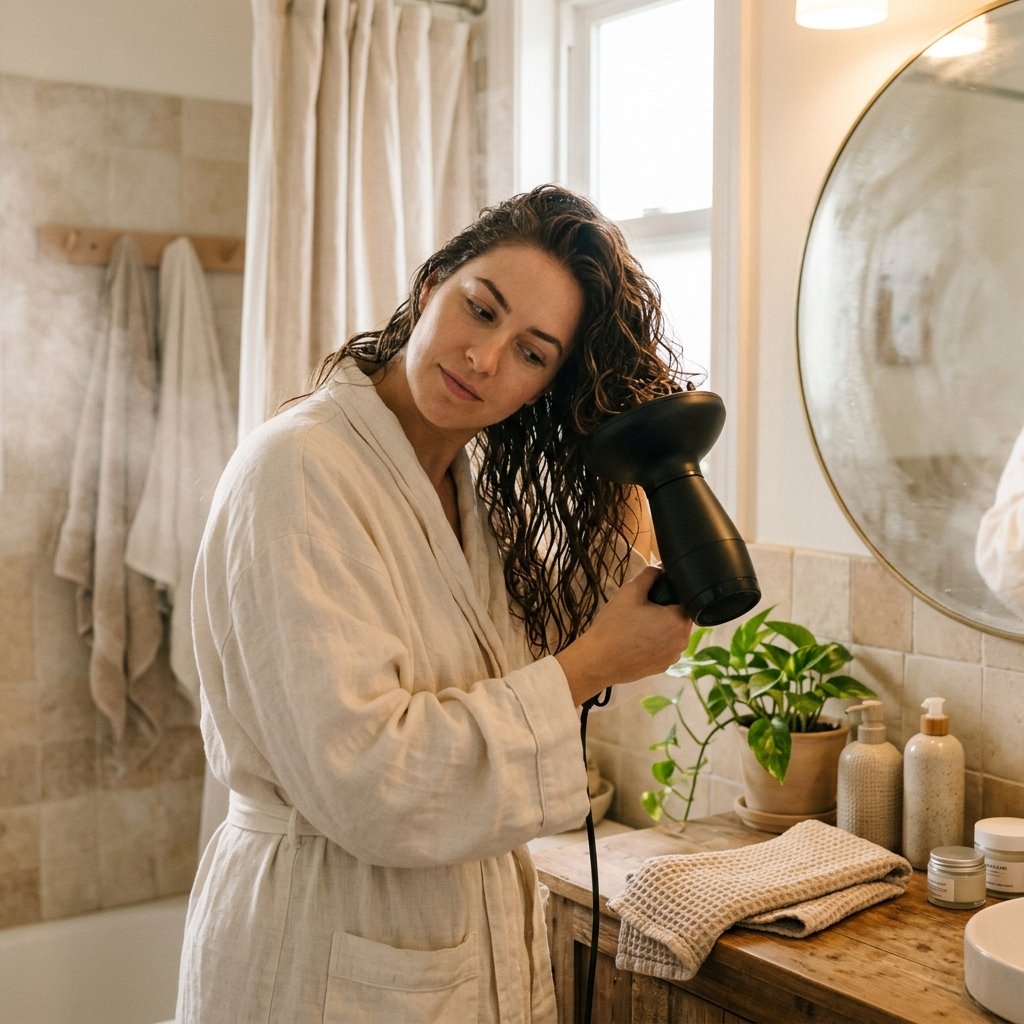
If your hair already has a natural wave, a diffuser is the fastest route to beach texture. It enhances what you have instead of fighting it.
- Apply a light curl cream to damp hair.
- Flip your head upside down.
- Diffuse on low speed and medium heat.
- Cup sections in the diffuser bowl and hold for 20 seconds.
- Finish with cool air to set the shape.
Never scrunch with a towel after diffusing. It breaks the wave apart. Use your hands only.
18. Twist and Pin No Heat Waves
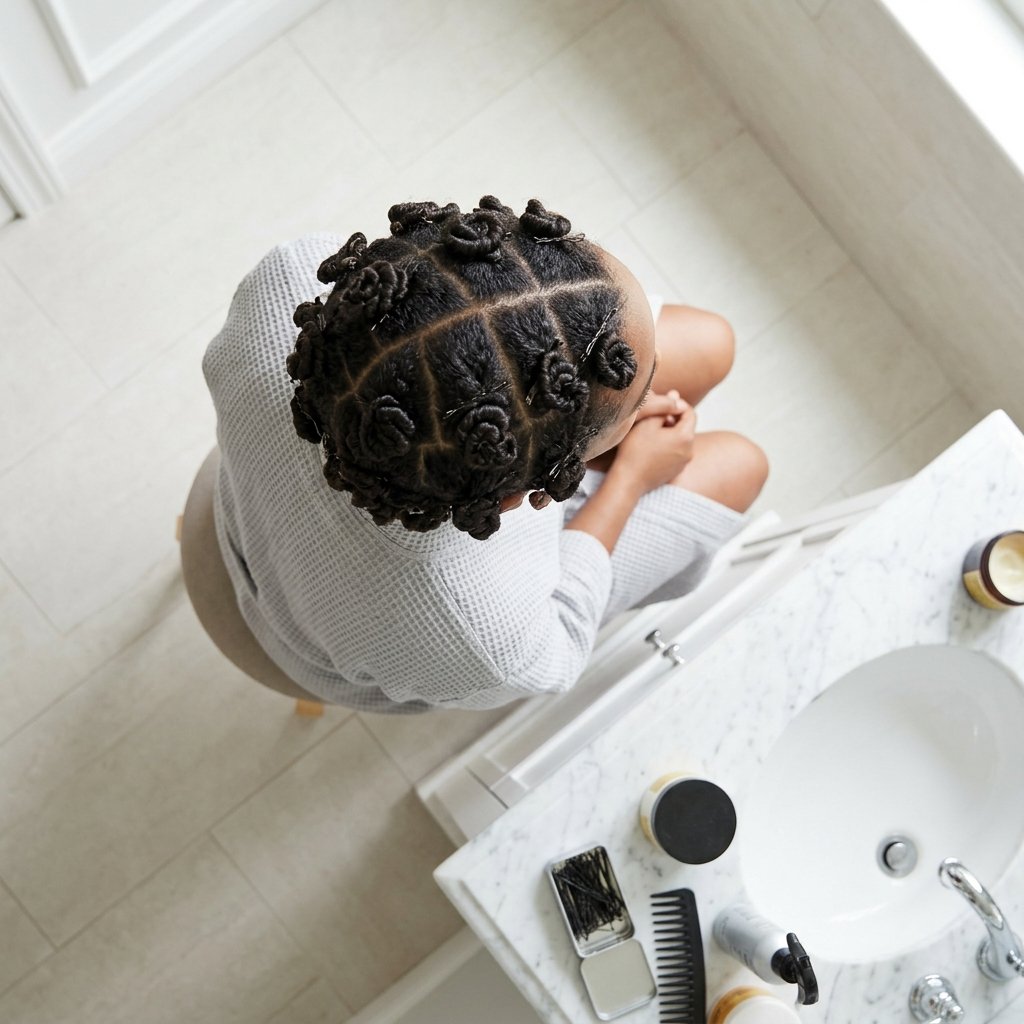
This is the no heat method that gives the most defined waves. It takes five minutes to put in and works while you sleep or eat breakfast.
- Mist damp hair with wave spray.
- Twist one inch sections and pin them flat against your head.
- Repeat all over.
- Wait 45 minutes or sleep on it.
- Unpin and shake.
Twist away from your face for a flattering shape. If you want looser waves, use bigger sections and twist less tightly.
19. Texturizing Powder for Gritty Texture
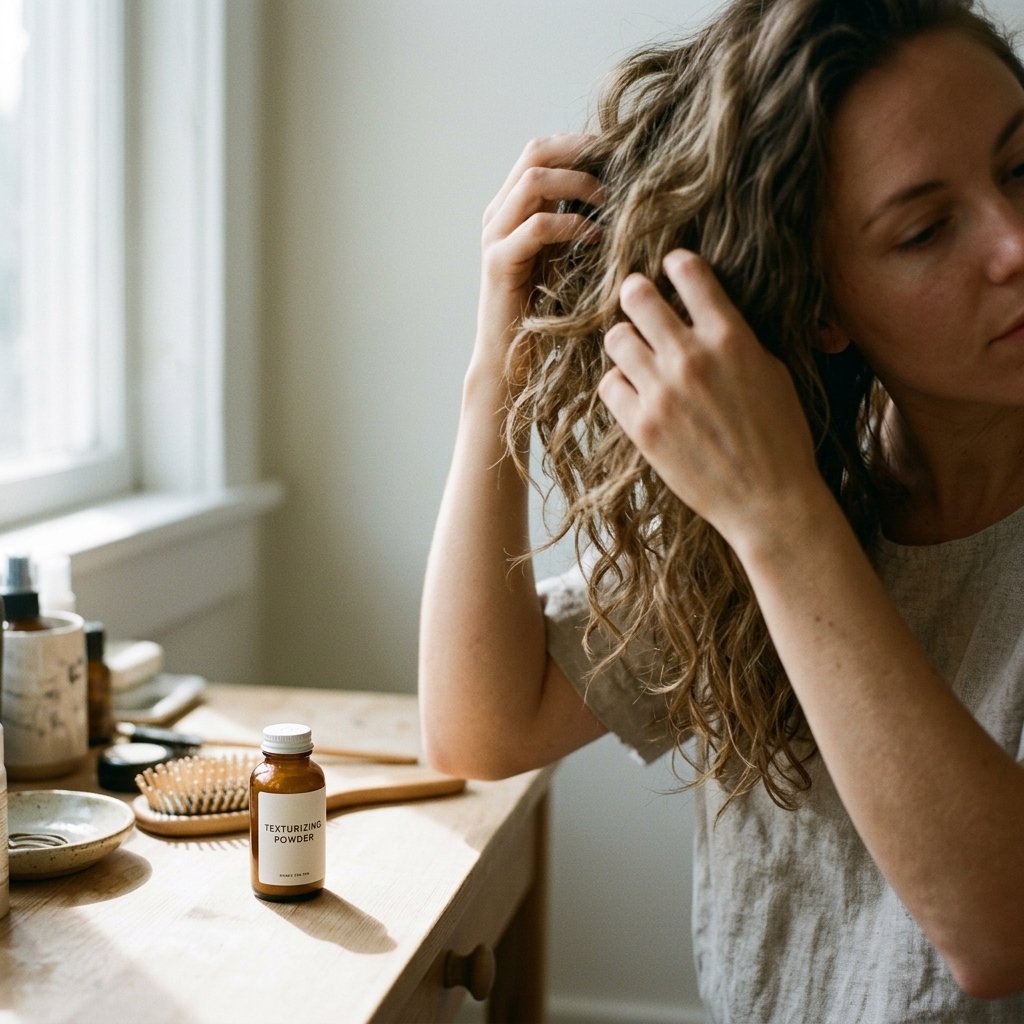
Texturizing powder is the most underrated product for beach waves. A tiny amount changes everything.
- Sprinkle a small amount at the roots.
- Work it in with your fingertips.
- Scrunch the mid lengths and ends with your hands.
- Pinch a few pieces for separation.
Use way less than you think you need. Too much and hair turns chalky and stiff. A sprinkle the size of a pea is plenty for most hair lengths.
20. Beach Waves for Curly Hair
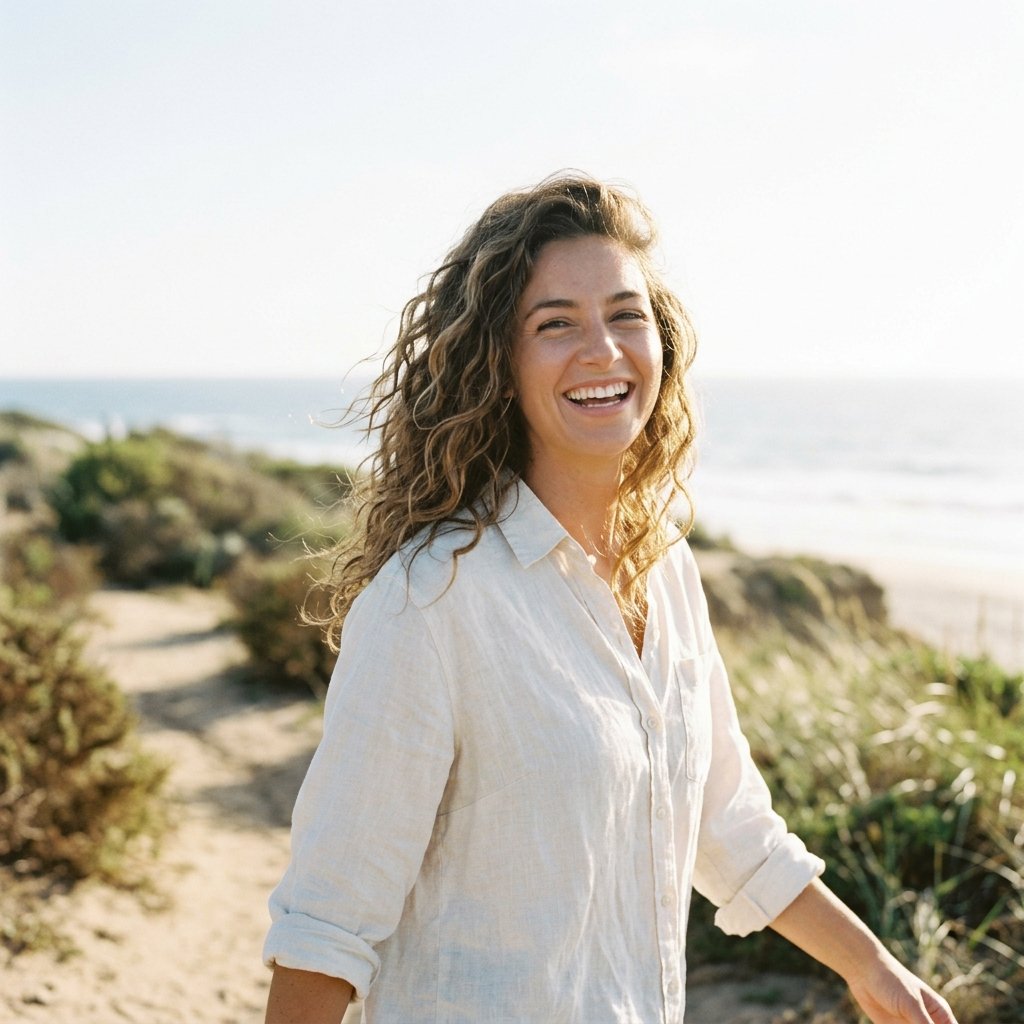
Curly hair does not need to become straight to get beach waves. You just stretch the curl a little instead of fighting it.
- Apply leave-in conditioner to damp hair.
- Wrap large sections around a wide barrel iron for a few seconds.
- Or braid damp hair loosely and let it dry.
- Separate with fingers, never a brush.
The goal is elongated, softer curls with a little grit. Add a light oil to the ends for shine. Skip heavy gels, because they make beach waves look crunchy instead of soft.
21. Satin Sleep Waves Setup
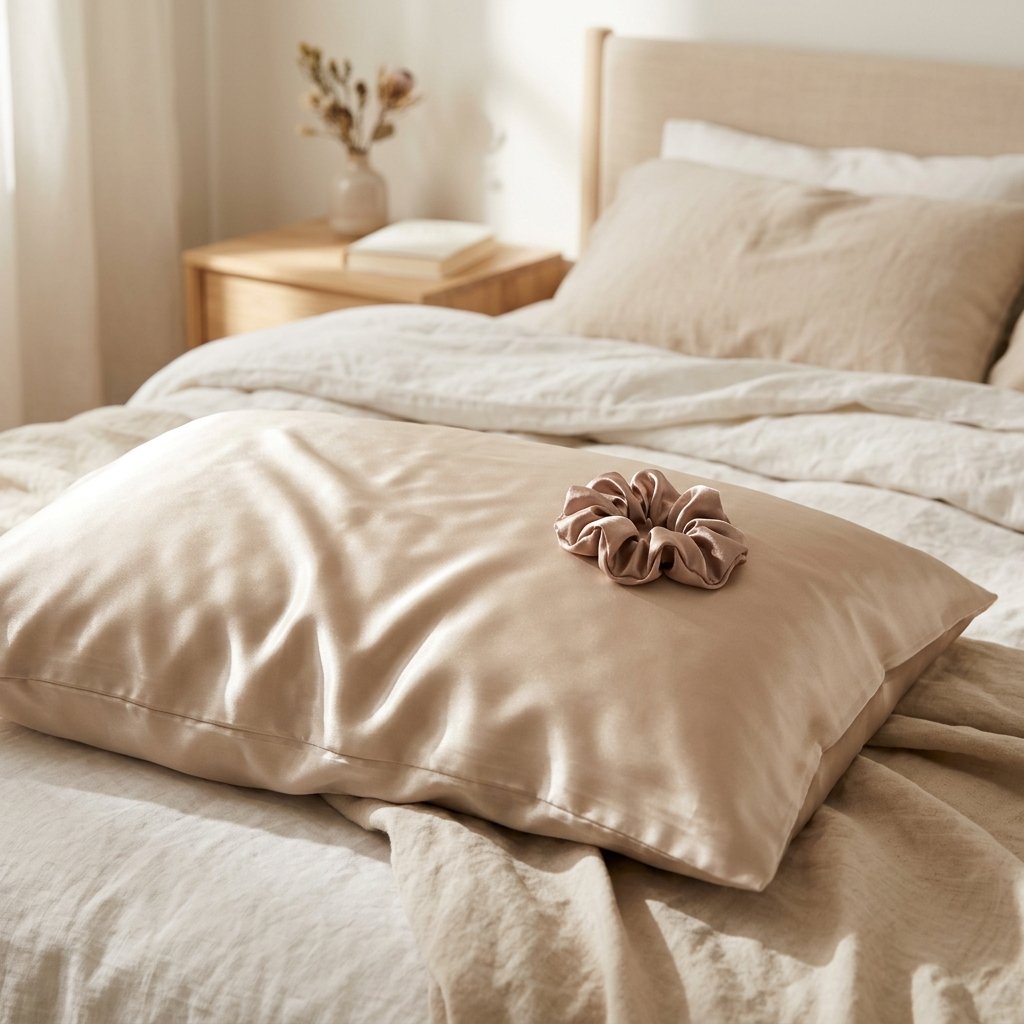
Half of good waves happen while you sleep. What you sleep on matters more than what you style with.
- Switch to a satin pillowcase to reduce friction.
- Use a silk scrunchie for a loose top bun.
- Never sleep with wet hair tied tight.
- Loosely pile hair on top of your head, do not twist hard.
Satin keeps your wave pattern intact and cuts down on frizz. This one small swap made the biggest difference in my own routine.
22. Second Day Wave Refresh
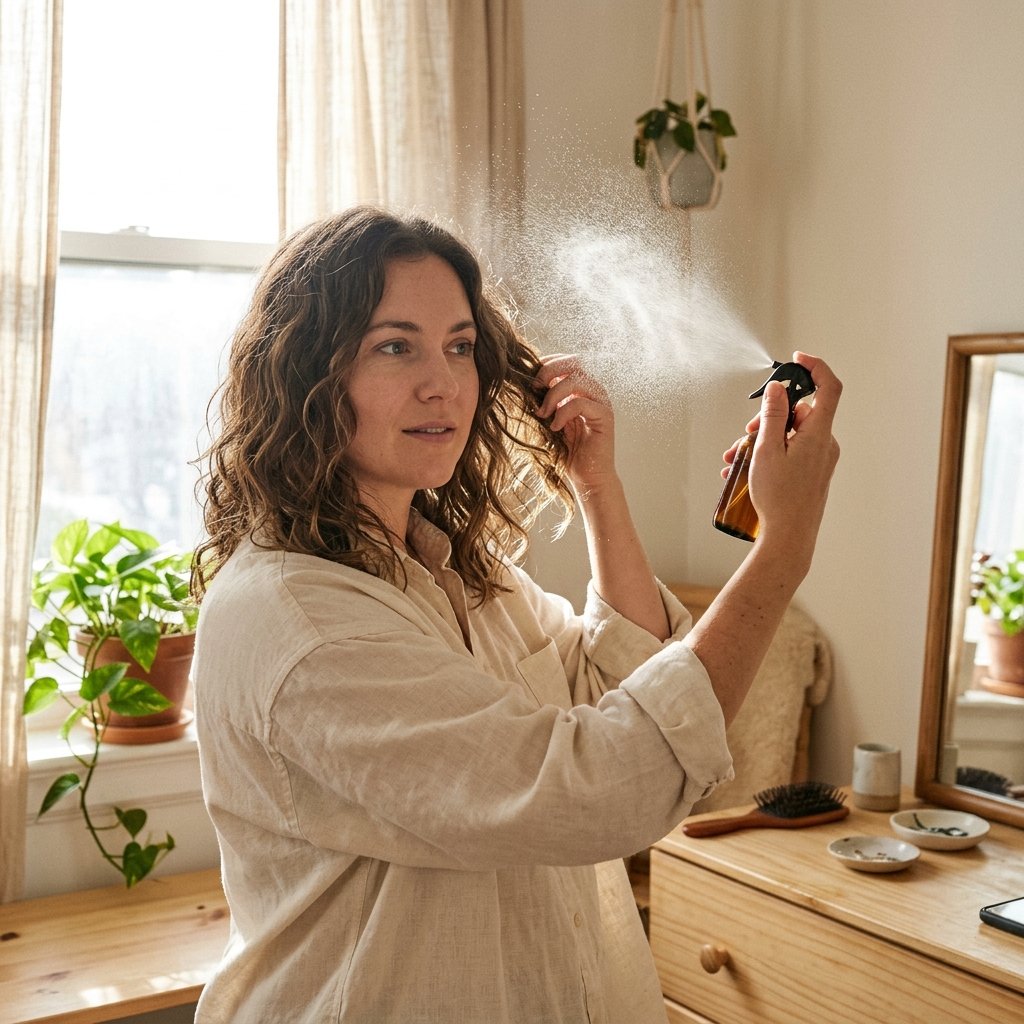
Second day hair is actually the best base for beach waves. It has grip, it has volume, and it holds shape longer.
- Spray dry shampoo at the roots.
- Mist the ends lightly with water.
- Scrunch with a small amount of wave spray.
- Twist two or three front pieces around your finger.
Do not wet your whole head. Just revive the ends and the front pieces. Five minutes and it looks freshly styled again.
23. Humid Day Beach Waves
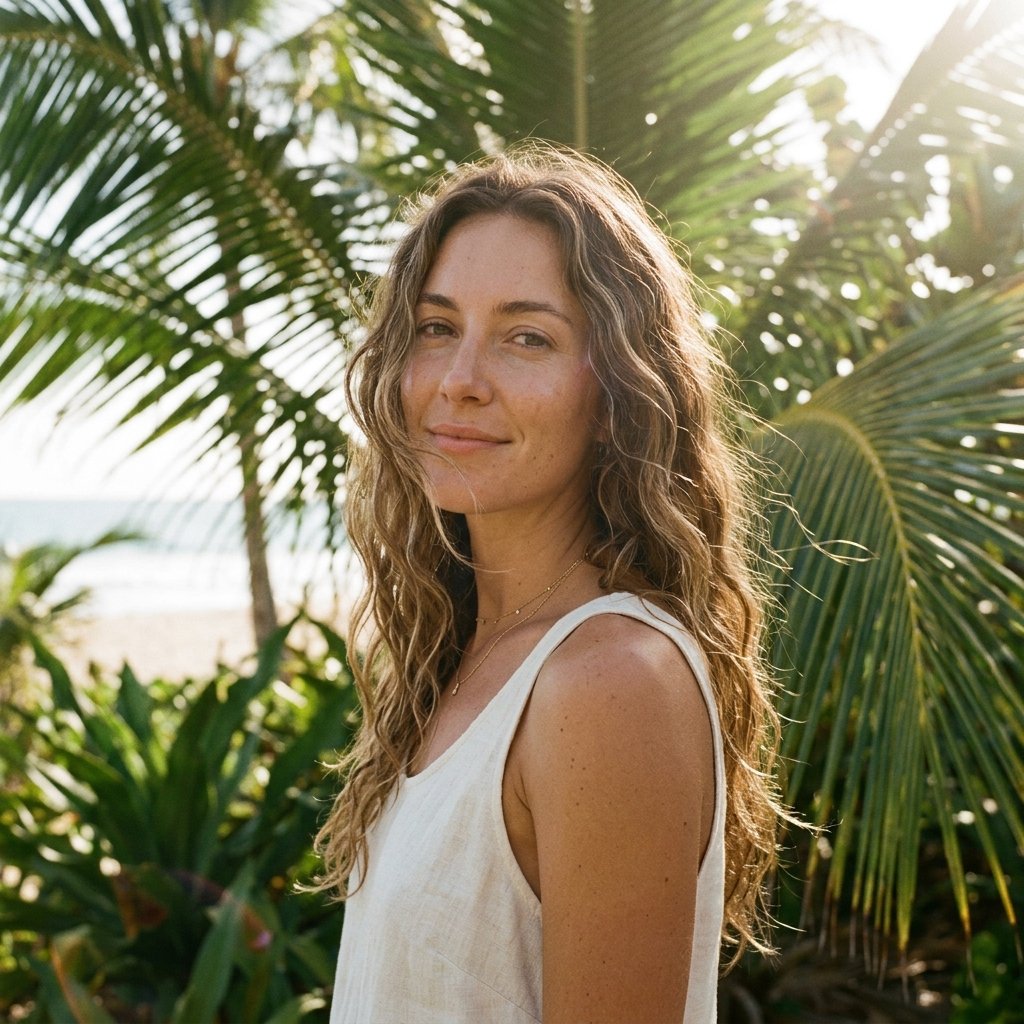
Humidity is the enemy of good waves. It turns soft texture into a frizzy mess by lunchtime. Here is how to fight back.
- Use an anti humidity spray before styling.
- Keep products lightweight and water based.
- Set waves with a blast of cool air.
- Finish with a tiny amount of finishing oil on the ends.
Avoid touching your hair during the day. Every touch adds frizz. If you are outside a lot, pull the front sections back with a clip and let the rest do its thing.
24. 2026 Hairstyles That Love Beach Waves
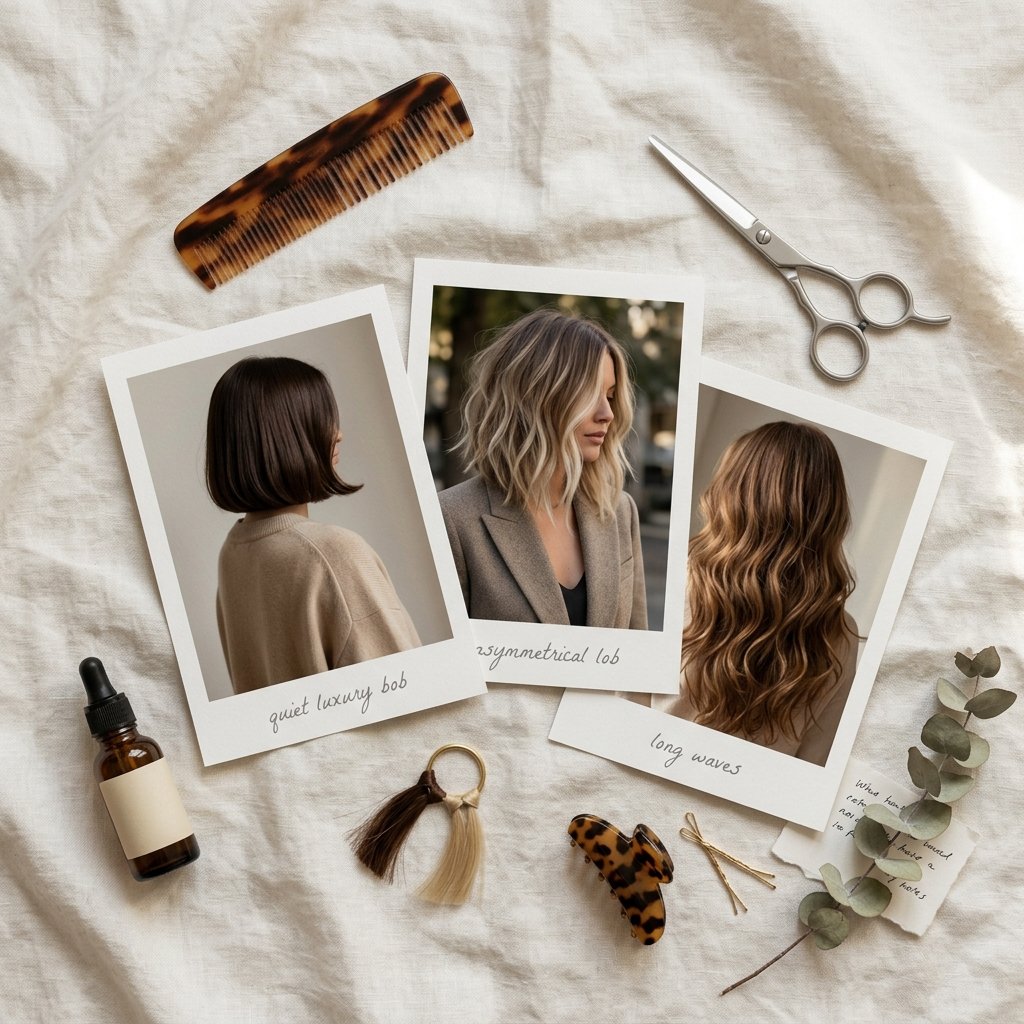
Not every cut plays well with waves. These 2026 hairstyles were basically made for them.
- Quiet luxury bob: soft bend at the ends, straight roots.
- Asymmetrical lob: waves on the longer side only.
- Hime cut: waves in the back, sharp in the front.
- Vampire haircut: sultry waves with straight ends.
- Romantic goth hairstyles: brushed out loose waves.
- Glitchy glam hair: piecey, separated texture.
All of these look better on day two hair than freshly washed. Plan your wash days around the looks you want.
25. Middle Part Curtain Waves
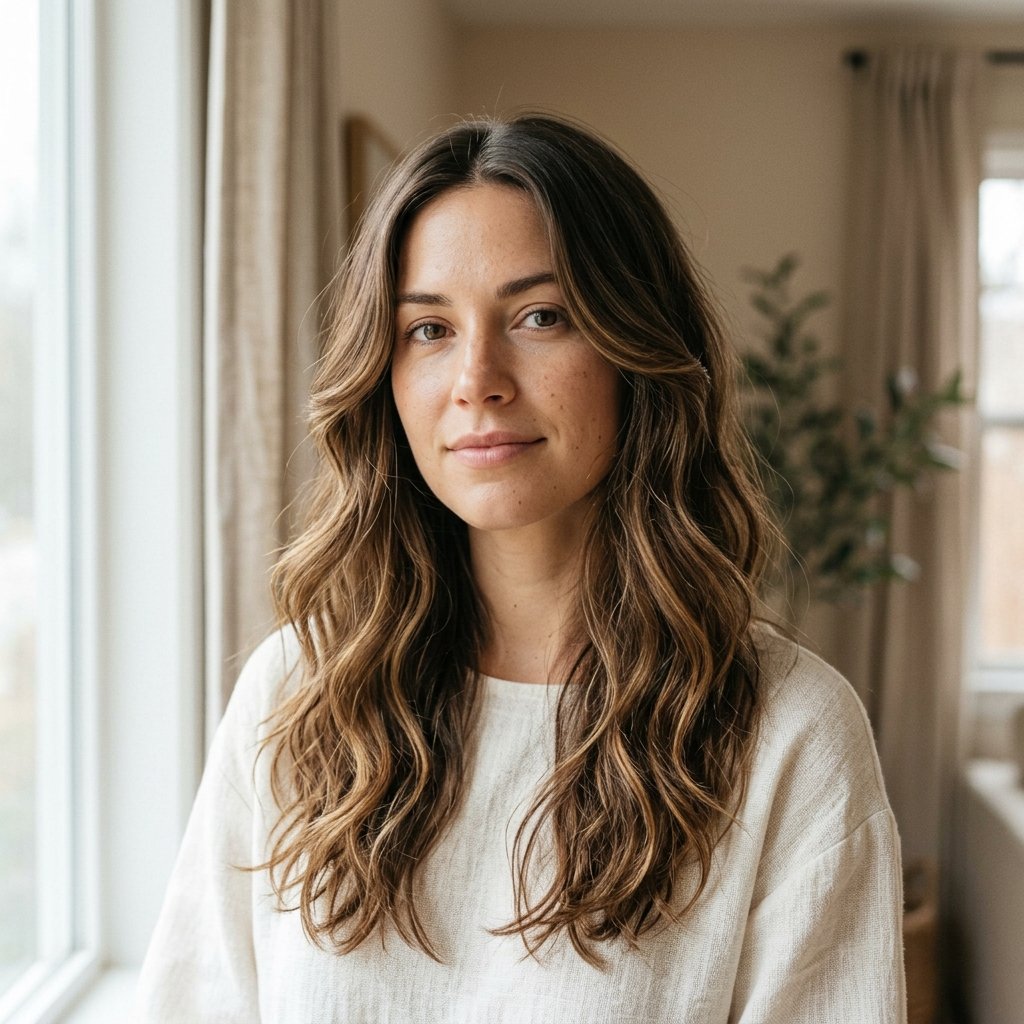
A middle part with waves framing both sides of the face is one of the most flattering, timeless looks you can do.
- Part hair down the middle while damp.
- Spray wave spray on the front sections.
- Wrap the two front pieces away from your face.
- Scrunch the rest and let it air dry.
The front pieces are what matter most. They frame your face and make the whole thing look styled, even if the back is a mess.
26. Waves with Face Framing Bangs

Bangs plus waves is a combination that works all year round. The trick is keeping the bangs smooth so they do not compete with the texture.
- Blow dry bangs straight with a round brush.
- Style the rest of your hair into waves.
- Keep any product off the bangs.
- Finger place the bangs at the end, do not brush them into the waves.
Smooth bangs, textured everything else. That contrast is what makes the look work.
27. The One Minute Flipped Ends Fix
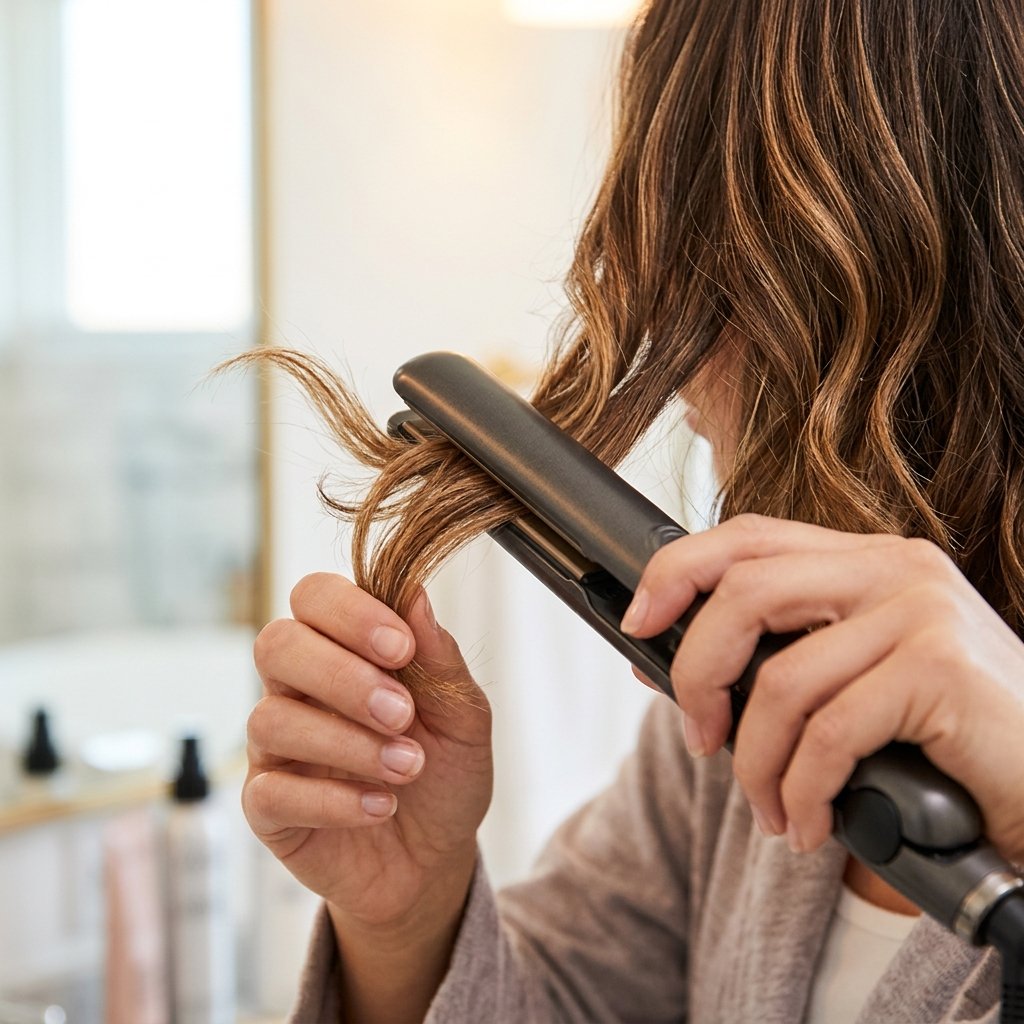
This is my emergency fix. When waves fall flat or look boring, flipping the ends outward changes everything in about sixty seconds.
- Take one inch sections at the bottom.
- Clamp a flat iron and twist outward.
- Hold for three seconds and release.
- Repeat around the whole head.
Flipped ends make any hairstyle look more modern and a little bit playful. It works on a quiet luxury bob, an asymmetrical lob, and long layers equally well.
Your Softest Morning Yet
You do not need all 27 of these. You need two or three that fit your hair and your schedule. The air dry method and overnight braids carry me through most weeks.
Start with the easiest one tonight. Wake up tomorrow with waves already done. That is the whole point of a low maintenance morning.
Save this post to Pinterest so you have it ready on your next rushed morning. And tell me in the comments which tutorial you are trying first, I read every single one.
