
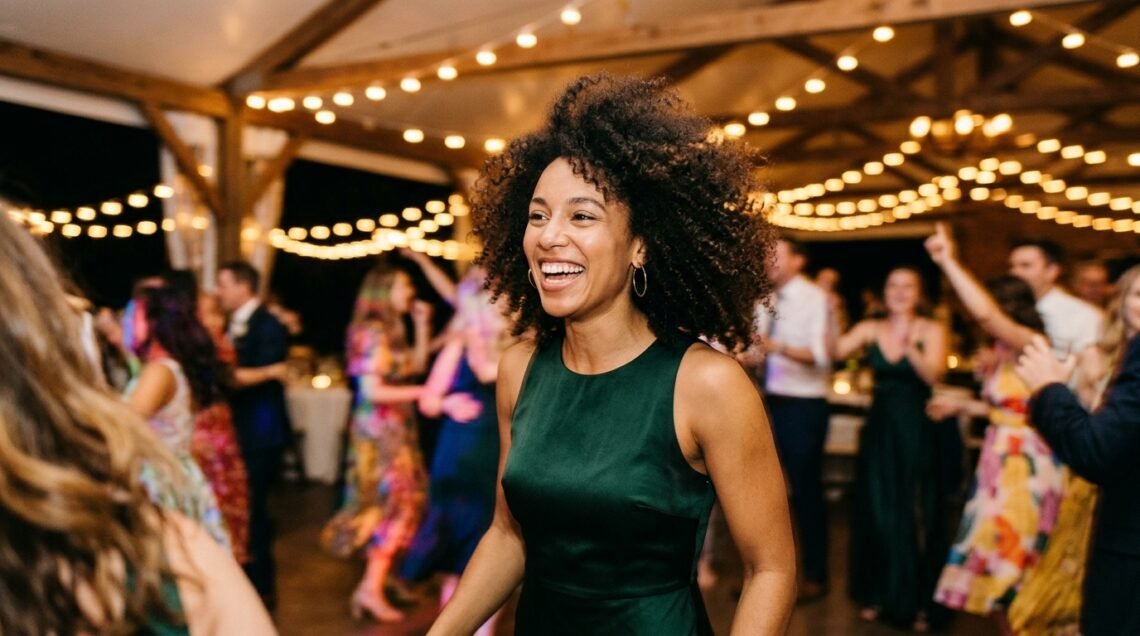
You know the drill. You’re standing in a bridesmaid dress that costs more than your rent, and your curls are already going flat at the crown before the ceremony even starts. I’ve been there. Twice last summer, actually.
That’s exactly why this list exists. Layered curls are the quiet cheat code for flat roots. The layers let the curl spring up instead of pulling down, and the right cut gives you volume that lasts through photos, dinner, and the dance floor.
Below you’ll find 26 layered curl looks for bridesmaids in 2026, from soft old money hair to romantic goth hairstyles. Every single one is doable with a round brush, a diffuser, or a 20-minute root trick.
Let’s get your hair as happy as the bride.
Why Layered Curls Beat One-Length Hair for Flat Roots
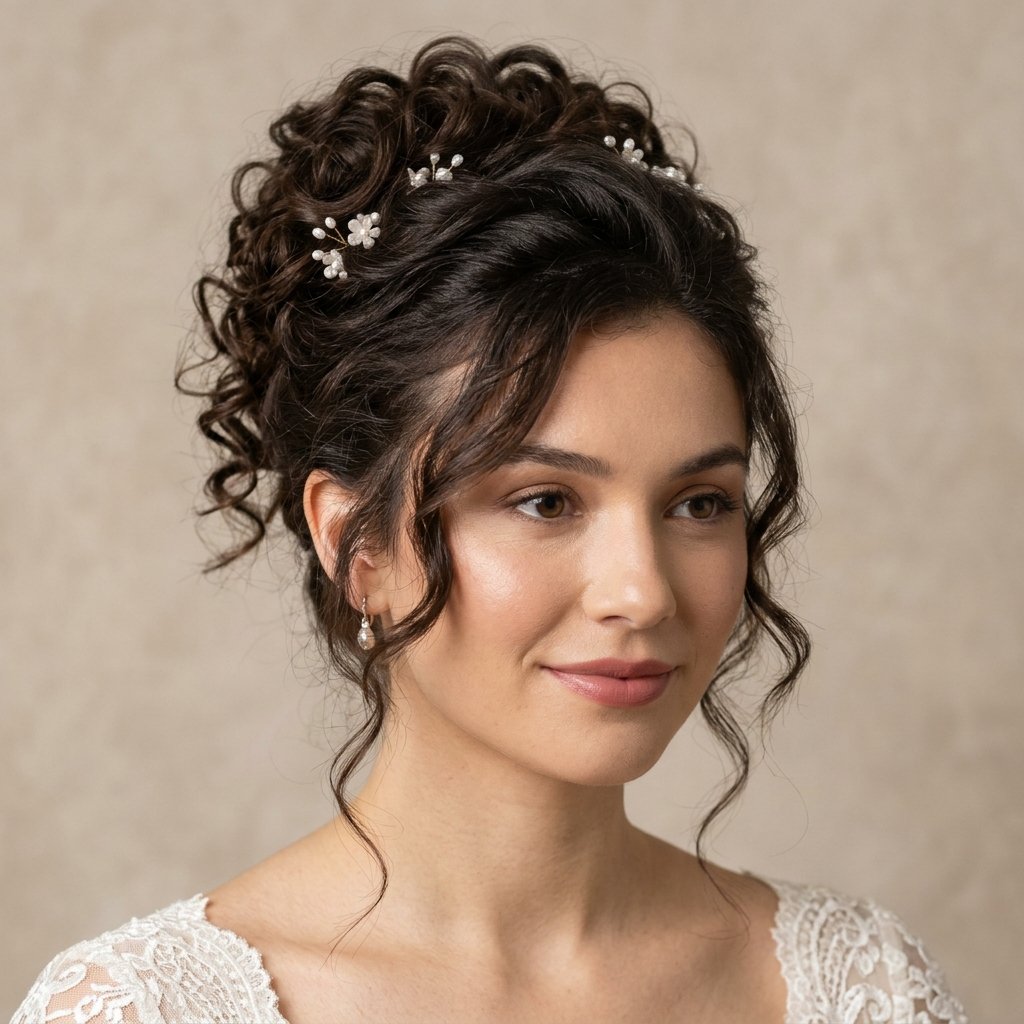
Here’s the honest truth: flat roots usually aren’t your fault. They’re gravity’s. One-length hair pulls straight down from the crown, so the curl near your scalp stretches out and your volume dies by hour two.
Layers fix that. Shorter pieces sit on top of longer ones, so the curl has room to spring up instead of hanging. It’s why so many 2026 hairstyles start with a layered cut, not a curling iron.
- Lift at the crown without teasing
- Curls hold their shape longer
- More movement in every photo
Pick the Right Layer Placement First
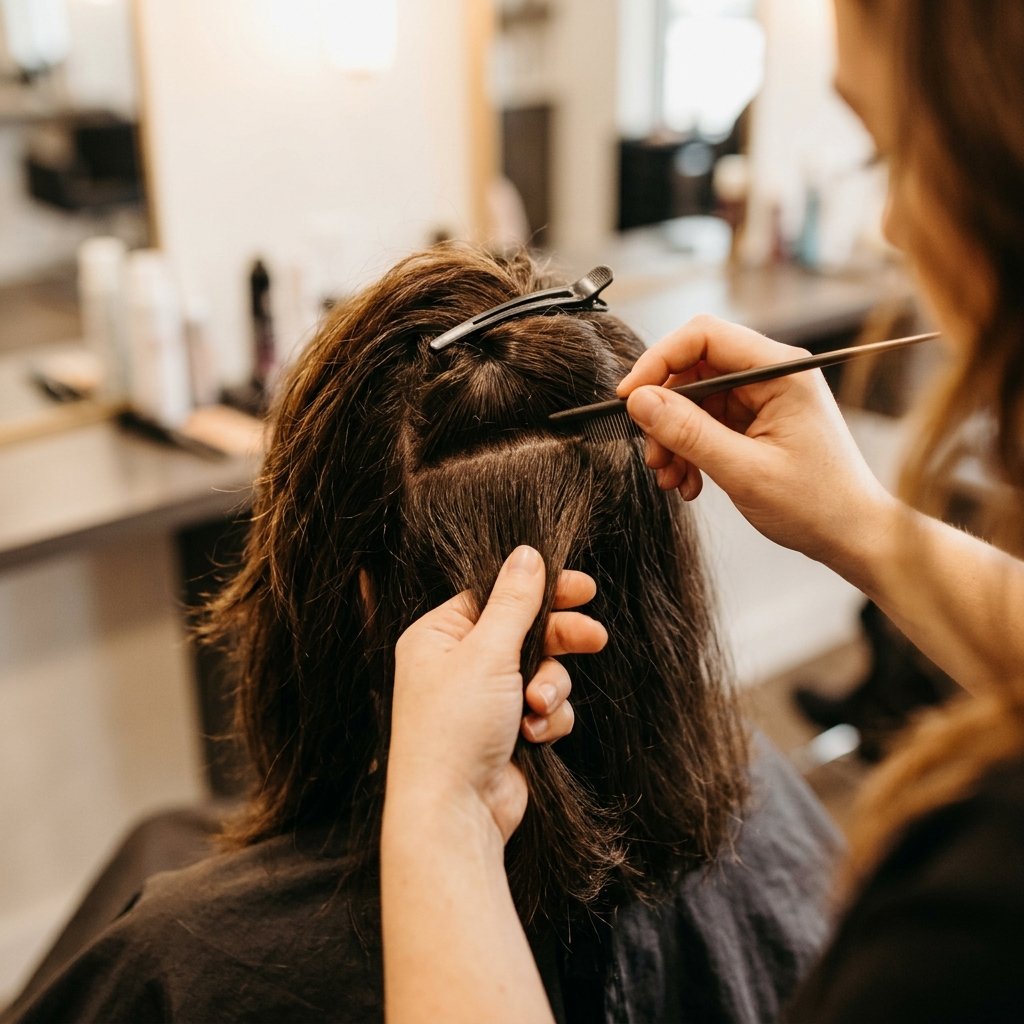
Ask your stylist for layers that start where your hair goes flat. For most of us, that’s chin to collarbone length. Too short and you get a surprise mullet. Too long and nothing changes.
Fine hair does best with blended layers plus a few face-framing pieces. Thick curls need internal layers to remove bulk without losing length. Bring two photos to the appointment: one of the cut, one of the curl pattern.
- Fine hair: blended layers and face framing
- Thick curls: internal layers only
- Short hair: a layered lob
The 60-Second Root Lift Trick
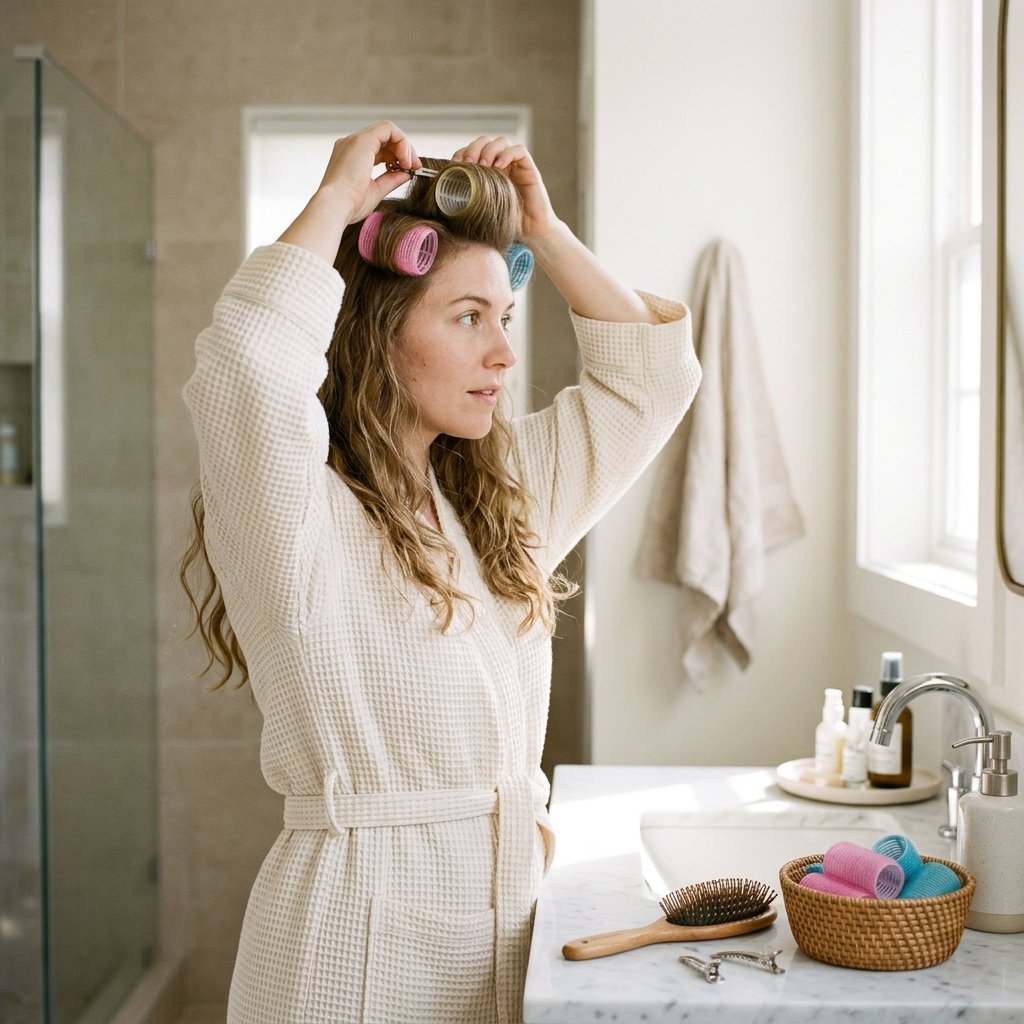
This is the trick I use before every wedding I’m in. On dry hair, spritz the roots with a little texturizing spray, then set two or three velcro rollers right at the crown.
Leave them in while you do your makeup. When you take them out, tease gently with your fingers, never a brush, and lock it with a light mist of flexible hold spray.
- Spray roots lightly
- Set velcro rollers at the crown
- Style your face, then remove
- Finger-fluff and set with flexible hold spray
Prep Your Hair Before You Curl Anything
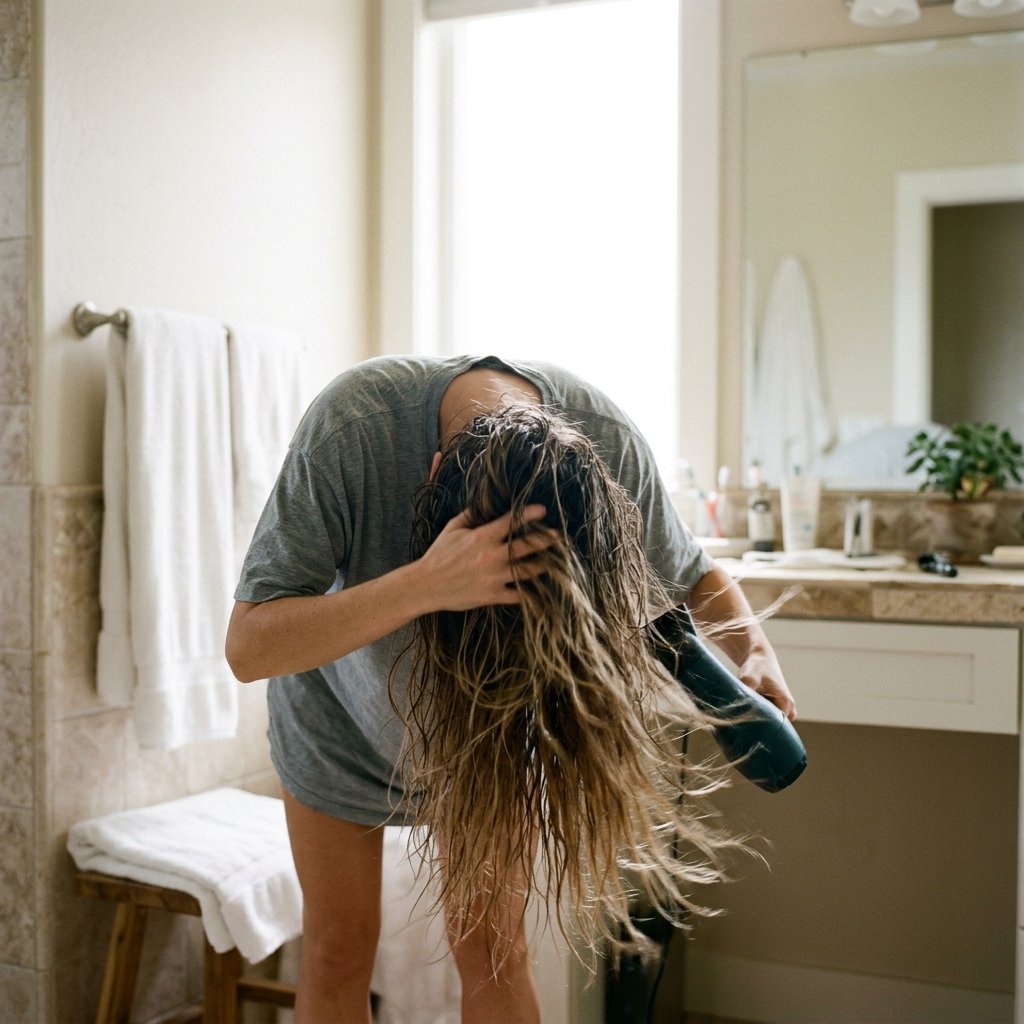
Volume starts in the shower, not at the curling iron. Skip heavy conditioner at the roots, then work a lightweight mousse into damp hair from mid-shaft up.
Flip your head over and rough-dry until you’re about 80 percent dry. That one move lifts the root before any heat even touches it.
- Mousse or root-lift foam, never cream at the scalp
- Rough dry upside down first
- Finish with a diffuser on low speed
Soft Old Money Hair for a Garden Wedding
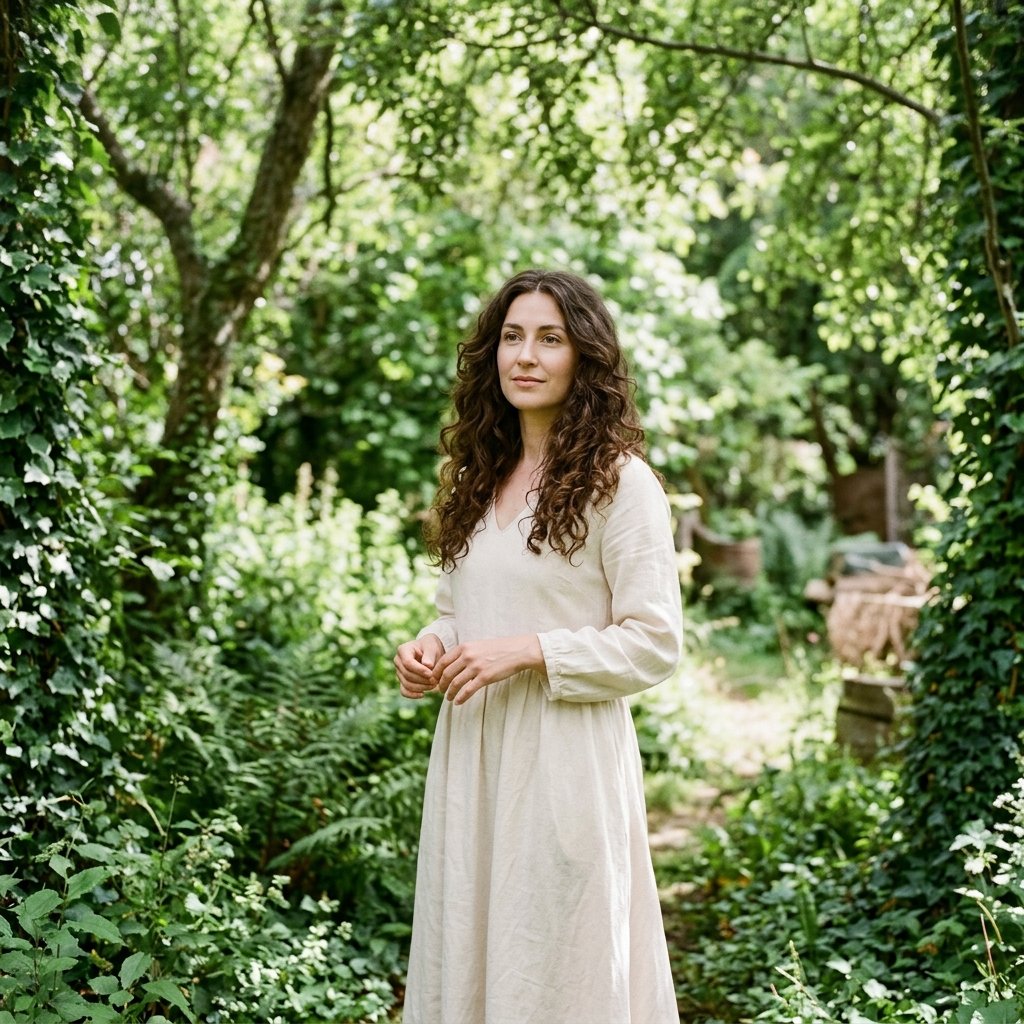
Old money hair is all about looking like you woke up like this, even though you didn’t. The secret is smooth roots and curls that start below the ear, so nothing looks fussy.
Use a round brush on the top section for shine, then wrap only the lower half around a 1.25-inch barrel. Leave the ends a little loose. Brush everything out with your fingers, not a comb.
- Middle or gentle side part
- Smooth, polished roots
- Curls only from mid-shaft down
The Quiet Luxury Bob With a Soft Bend
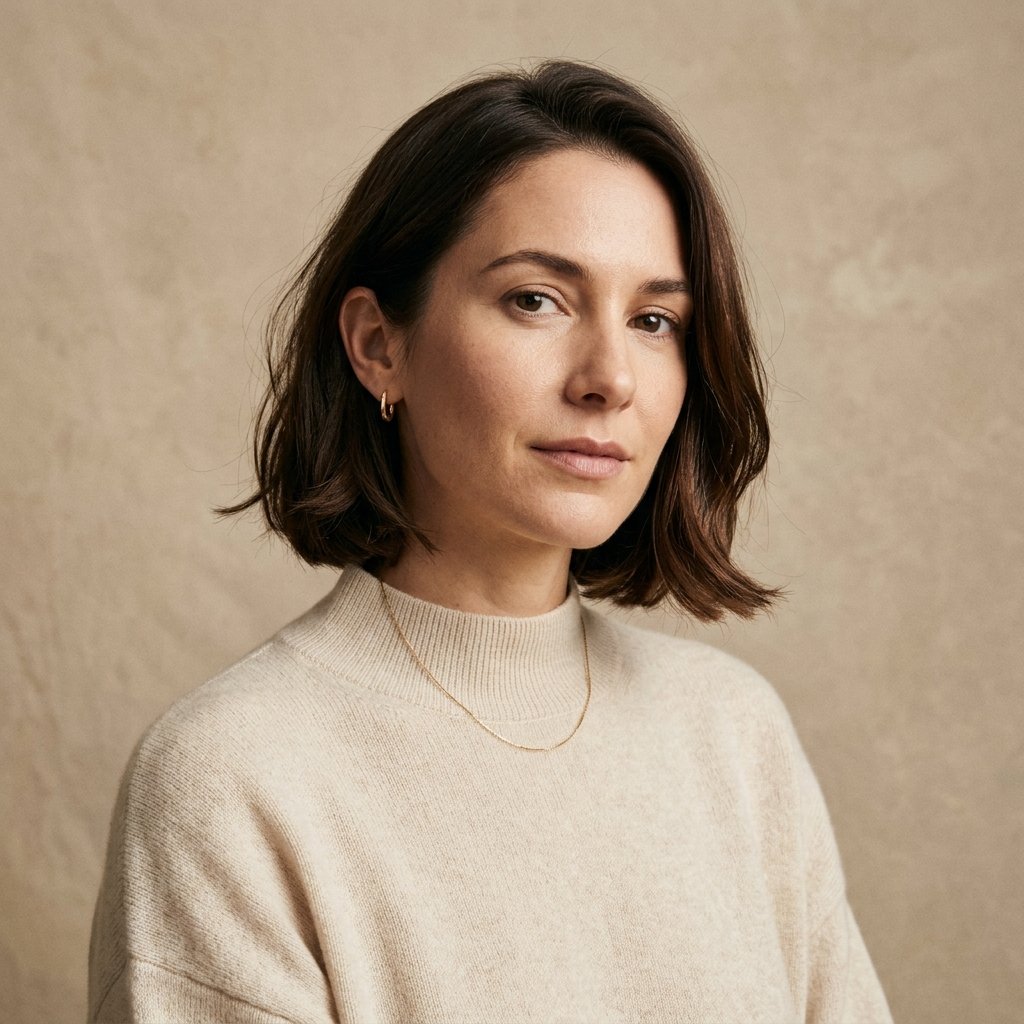
If you’re the bridesmaid who cut her hair short and never looked back, this one’s for you. A quiet luxury bob with layers gives you volume at the root without any visible effort.
Ask for a soft, blended bob with just enough layering to lift the crown. Style it with a 1-inch iron, bending the ends slightly off your face. Finish with a tiny bit of oil on the ends only.
- Blended layers, no harsh lines
- Bend away from the face
- Oil on ends, never roots
Romantic Goth Hairstyles With Soft Volume
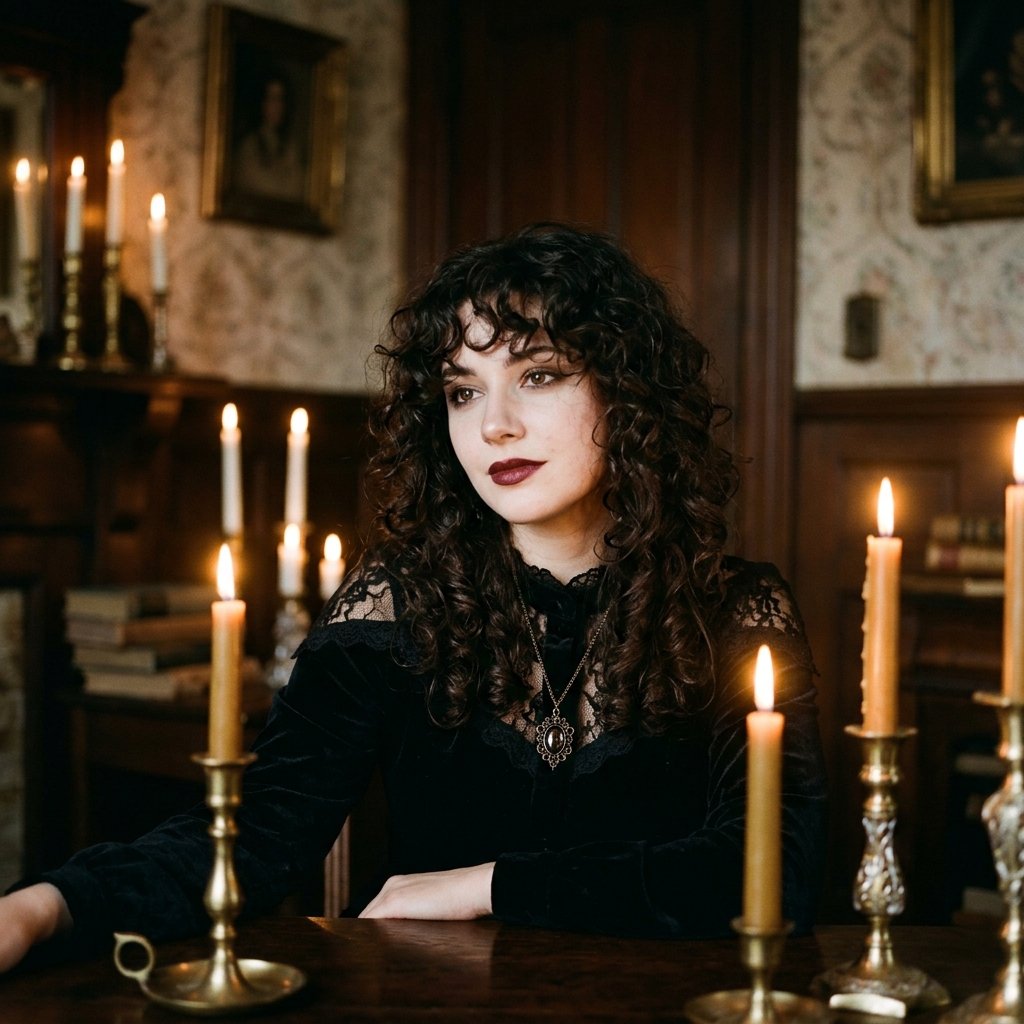
Romantic goth hairstyles work beautifully for an evening wedding, especially if the bridal party is wearing black or deep jewel tones. The trick is volume at the root and softness at the ends.
Set your whole head in pin curls, then brush them out gently for that soft, brushed-out texture. Keep the part clean and add a slim metallic clip on one side.
- Brushed-out pin curls, not tight ringlets
- Clean part for contrast
- One metallic accessory, max
Glitchy Glam Hair for the Edgy Bridal Party
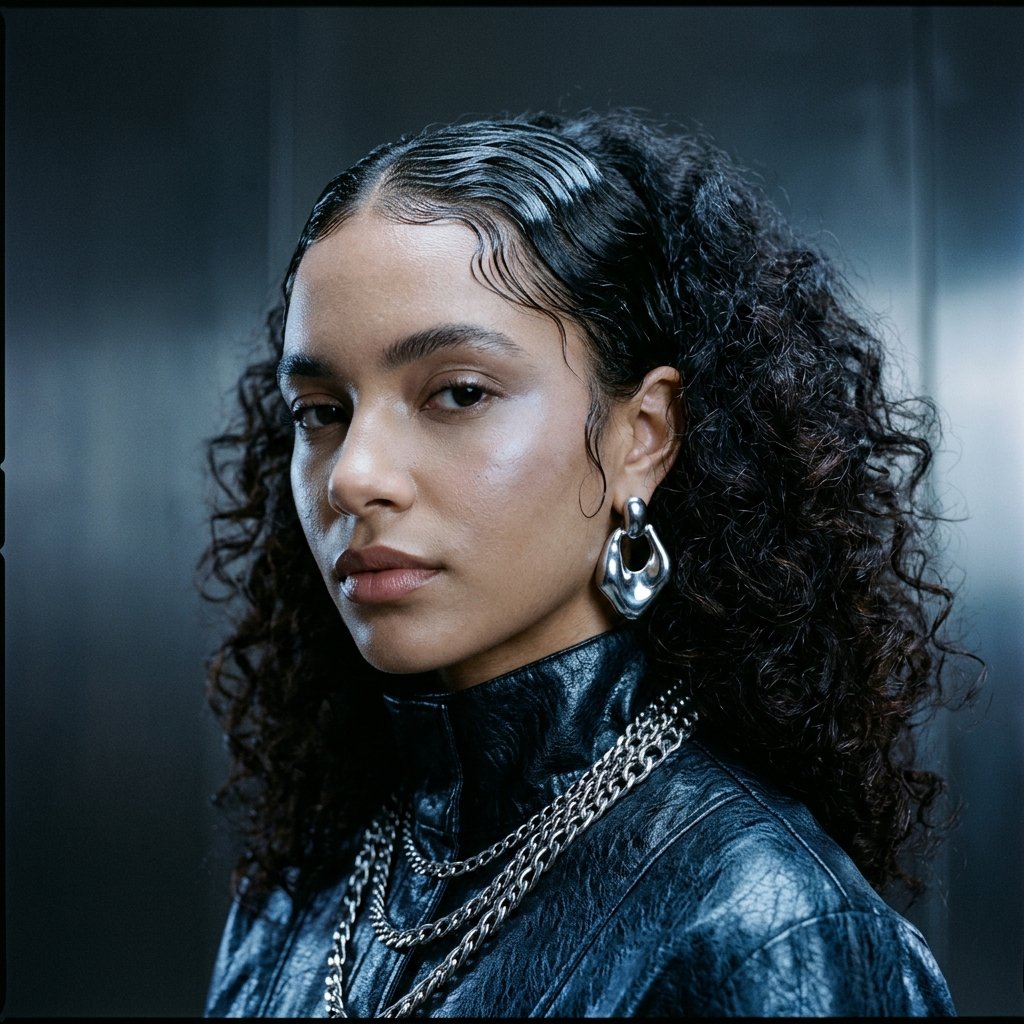
Glitchy glam hair is the fun one. It’s polished in one spot and slightly undone everywhere else, and it photographs like a dream under flash.
Keep the front section sleek and flat with gel, then make the back and sides big with layered curls. The contrast is the whole point.
- Sleek front, big back
- Layered curls for lift
- Silver or chrome accessories
- Set with strong hold spray
The Asymmetrical Lob With Curled Ends

An asymmetrical lob gives instant shape without much styling. The uneven length naturally creates lift on the shorter side, which means less fighting with your roots.
Ask for a long front and a slightly shorter back, with layers blended through. Curl just the ends with a 1-inch iron and leave the top smooth.
- Shorter side gets natural lift
- Curl only the last two inches
- Deep side part adds height
The Hime Cut With Soft Face-Framing Tendrils
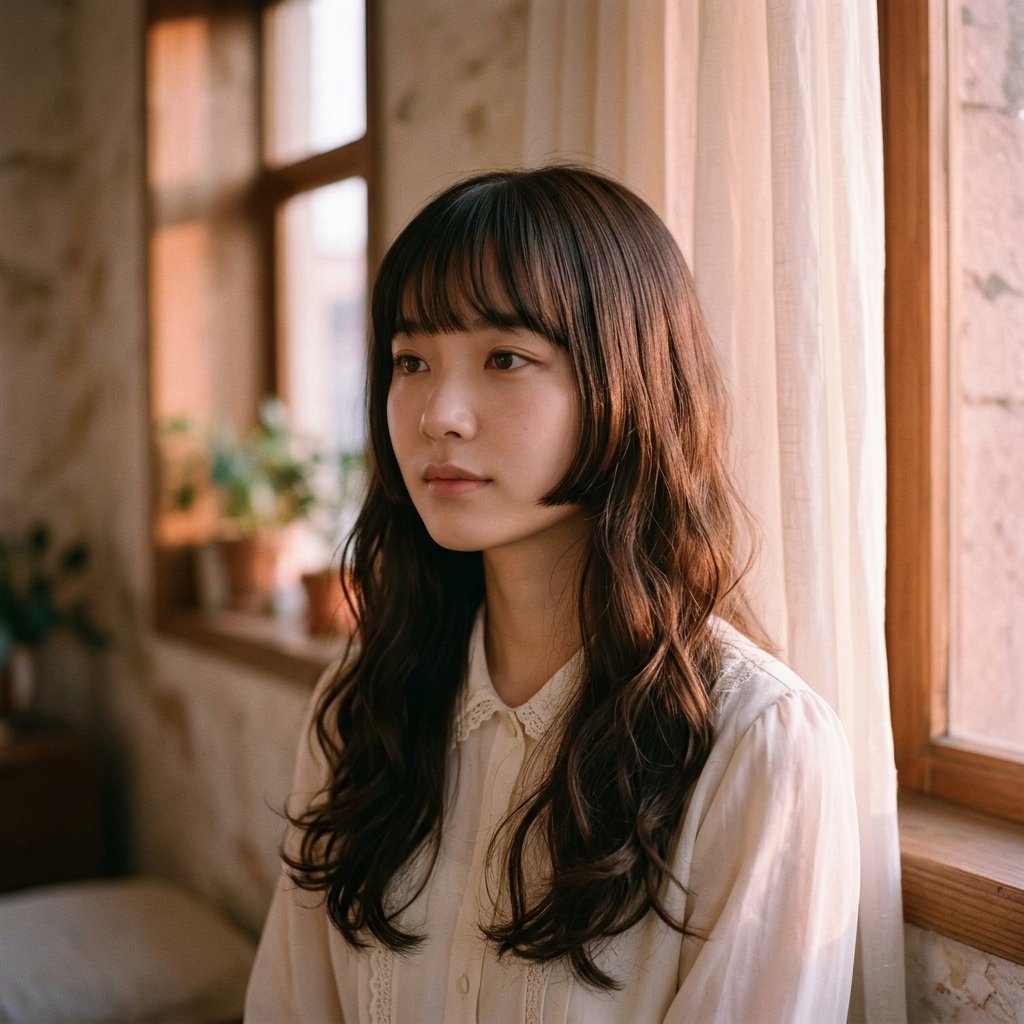
The hime cut is having a serious moment, and it works surprisingly well on bridesmaids. The blunt side pieces frame the face while the longer back gets curled for volume.
Ask your stylist to keep the side sections blunt and chin-length, then layer the back for movement. Curl the back only, and leave the side pieces straight and sleek.
- Blunt side pieces, layered back
- Curl the back, keep the front flat
- Perfect for straight-to-wavy hair
The Vampire Haircut With Bouncy Volume
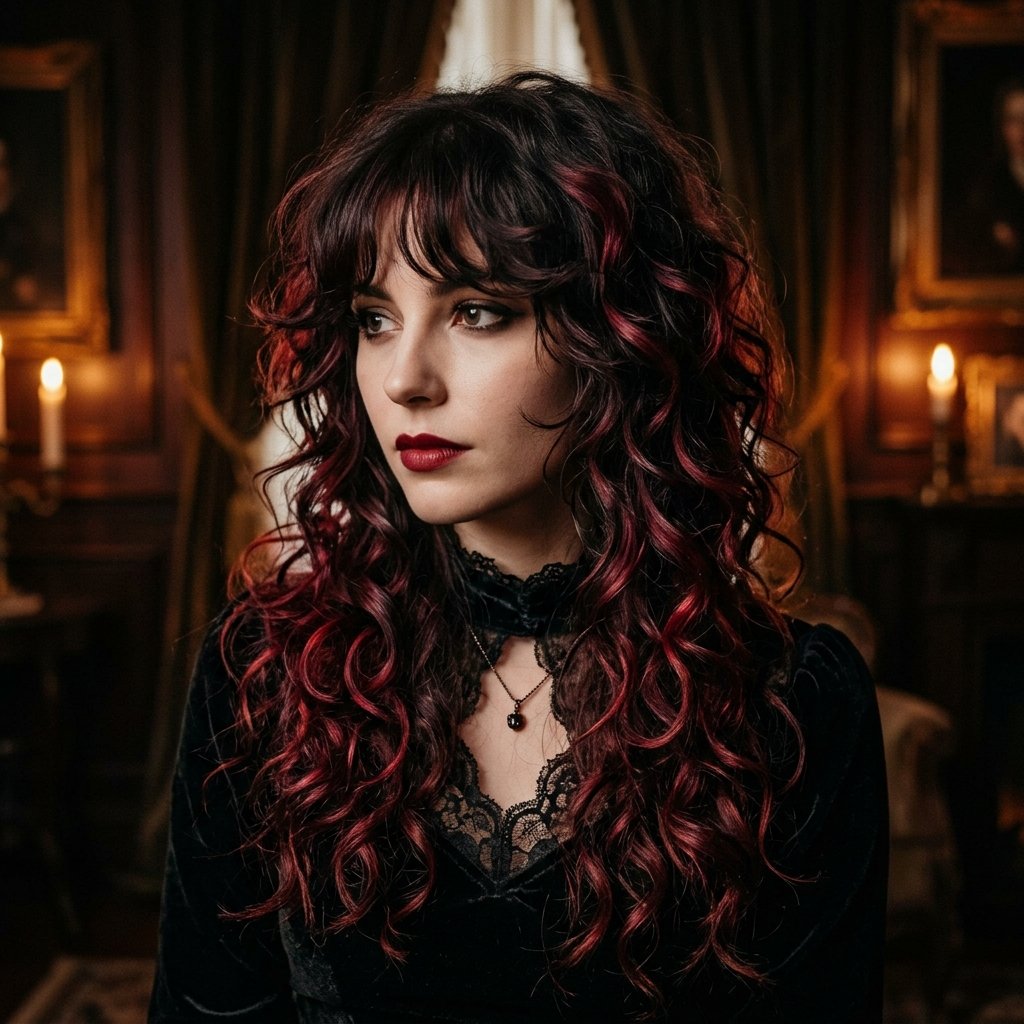
The vampire haircut sounds dramatic, but it’s really just long layers with soft, wispy face framing. The layers are what give flat roots a fighting chance.
Ask for long layers that start around the cheekbone, with the shortest pieces framing your jaw. Curl everything with a 1.25-inch iron and brush it out for that bouncy, lived-in look.
- Long layers starting at the cheekbone
- Wispy face framing
- Brush out curls for softness
2026 Hairstyles: The Layered Curl Edit
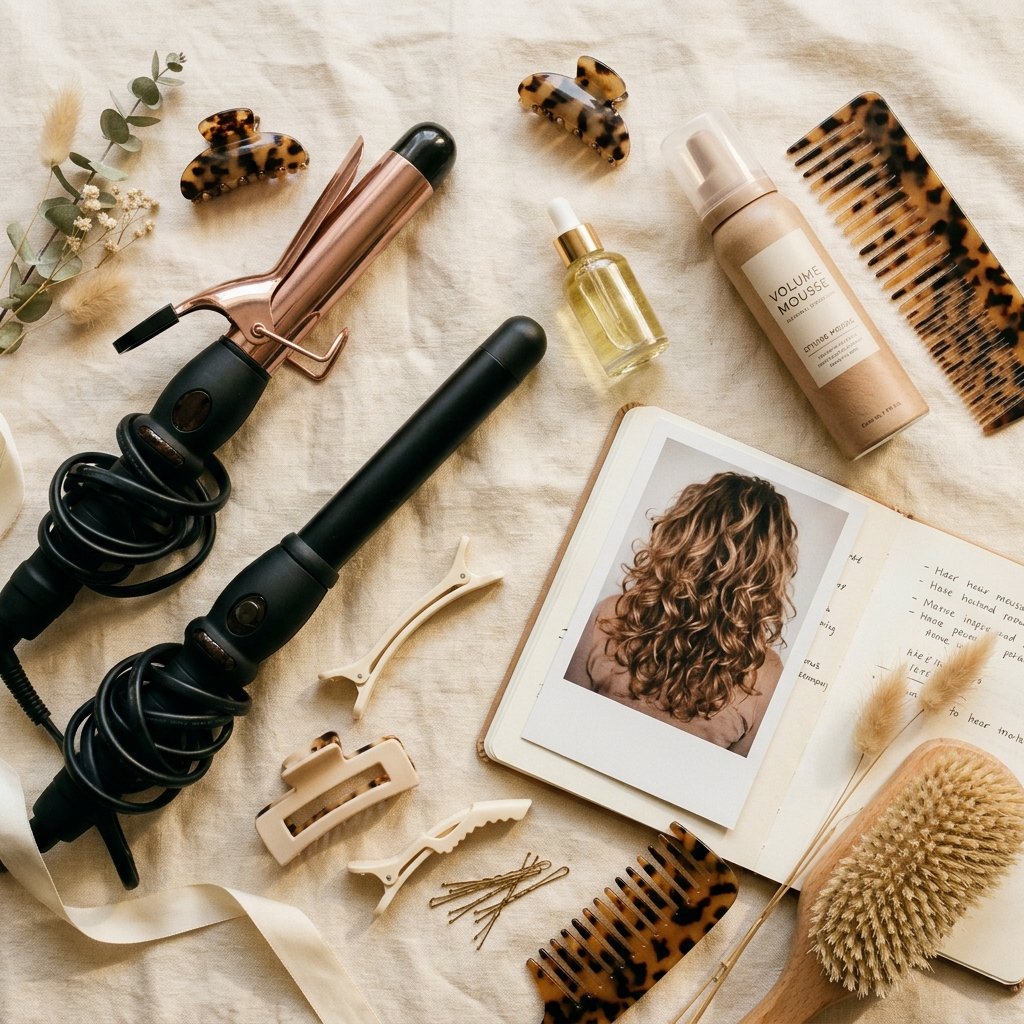
Every year has a vibe, and 2026 hairstyles lean toward lived-in volume. Nothing too perfect, nothing too stiff. Think healthy, bouncy curls with real texture.
The good news for bridesmaids is that this trend is forgiving. If a curl falls, it still looks intentional. Just keep the root lifted and the ends soft.
- Texture over perfection
- Volume at the root, softness at the ends
- Natural shine, minimal product
Half-Up Curls With a Volumized Crown

Half-up styles are basically built for flat roots. You get to physically lift the top section and pin it higher, which means instant height that lasts.
Tease the crown gently with a fine comb, smooth the top layer over it, and pin at the back. Curl the loose hair and let a few tendrils fall around your face.
- Tease the crown lightly
- Smooth the top section over it
- Pin with a small clip
- Curl the loose hair and go
The Curly Shag With Root Lift

If you have natural curls, a curly shag is one of the best cuts out there for flat roots. The layers are cut dry, curl by curl, so the shape follows your actual pattern.
Style it with a diffuser on low speed and high heat, then scrunch out the crunch with a few drops of lightweight oil. No brushing, ever.
- Cut dry, curl by curl
- Diffuse on low speed
- Scrunch out the cast with oil
Curtain Bangs Plus Layers for Fine Hair

Fine hair needs help, and curtain bangs plus layers is the kindest combination. The bangs add shape up front while the layers lift everything behind them.
Blow-dry the bangs with a round brush first, rolling them away from your face. Then curl the rest of your hair in one-inch sections, alternating directions so the curls don’t clump together.
- Round brush the bangs first
- Alternate curl directions
- Skip heavy oils near the roots
Soft Waterfall Curls for Long Hair
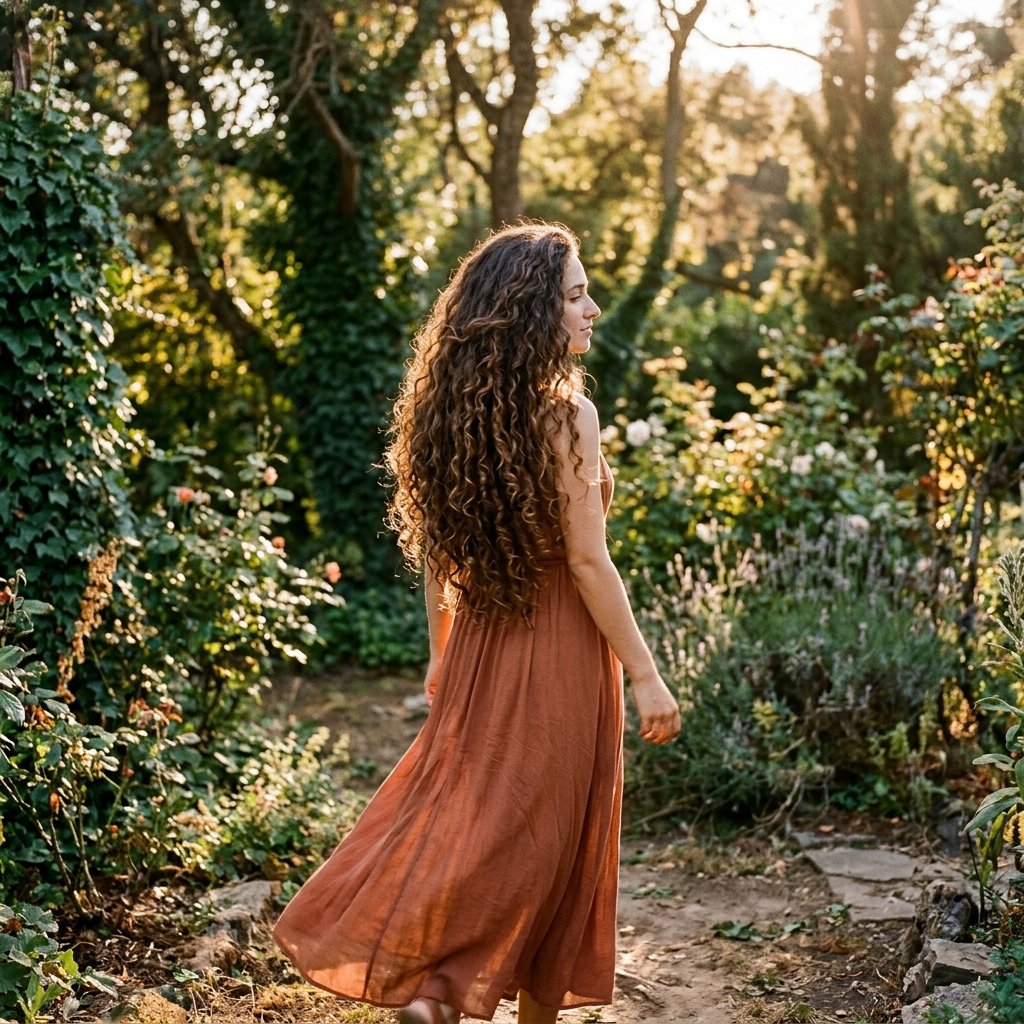
Long hair tends to pull down, so waterfall curls only work when the layers are deep enough. Ask for long layers that start at the collarbone to release some weight.
Curl in large sections with a 1.5-inch iron, keeping the ends slightly straighter for that flowing look. Pin each curl in a loop until it cools, then let them all down at once.
- Deep layers to remove weight
- Large barrel for soft waves
- Cool each curl before releasing
The Messy Bridesmaid Bun With Curled Tendrils
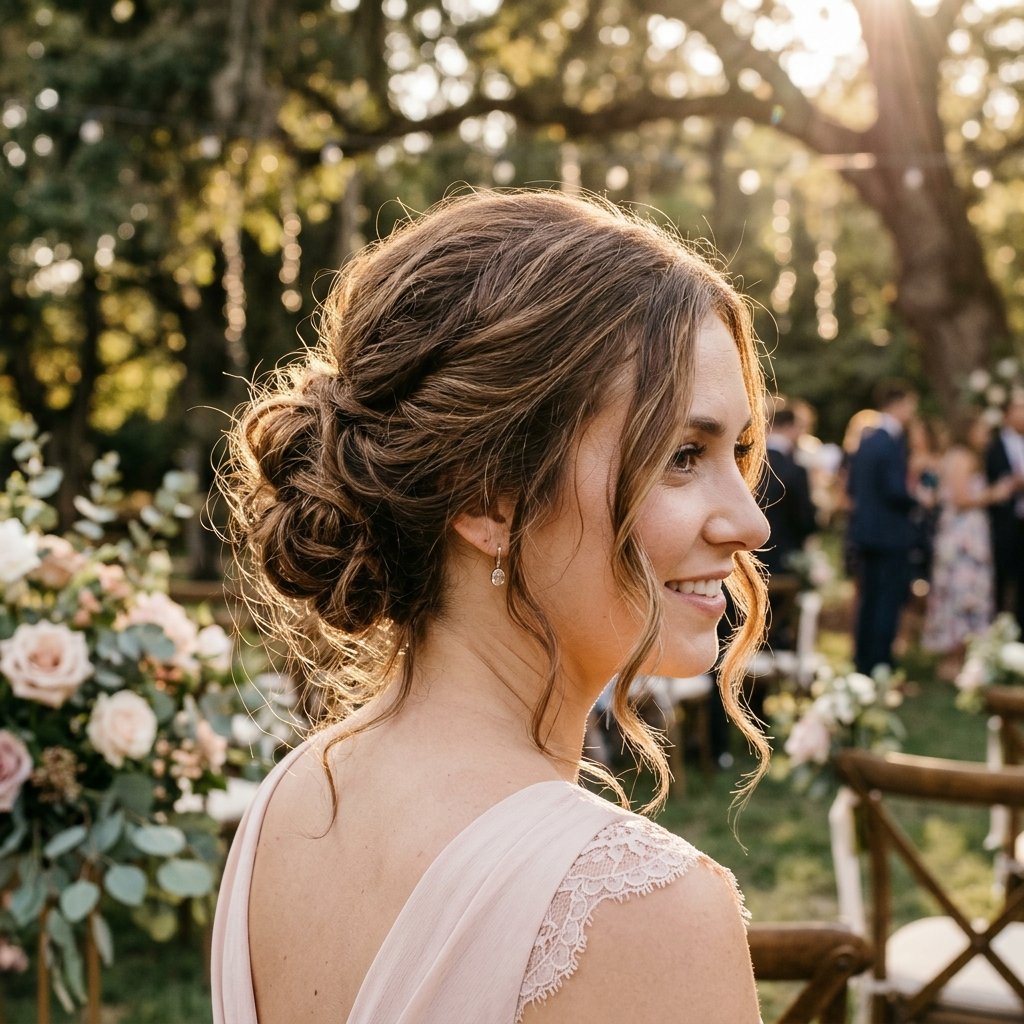
Buns are the easiest fix for flat roots because you’re building the volume yourself. A messy bun sits high, and the tendrils do the softening work.
Set the top and front of your hair in velcro rollers first. Then gather everything into a high, loose bun and pull out two or three curls around your face.
- Velcro rollers before the bun
- High placement for lift
- Leave tendrils loose
Twist-Out Curls With a Deep Side Part
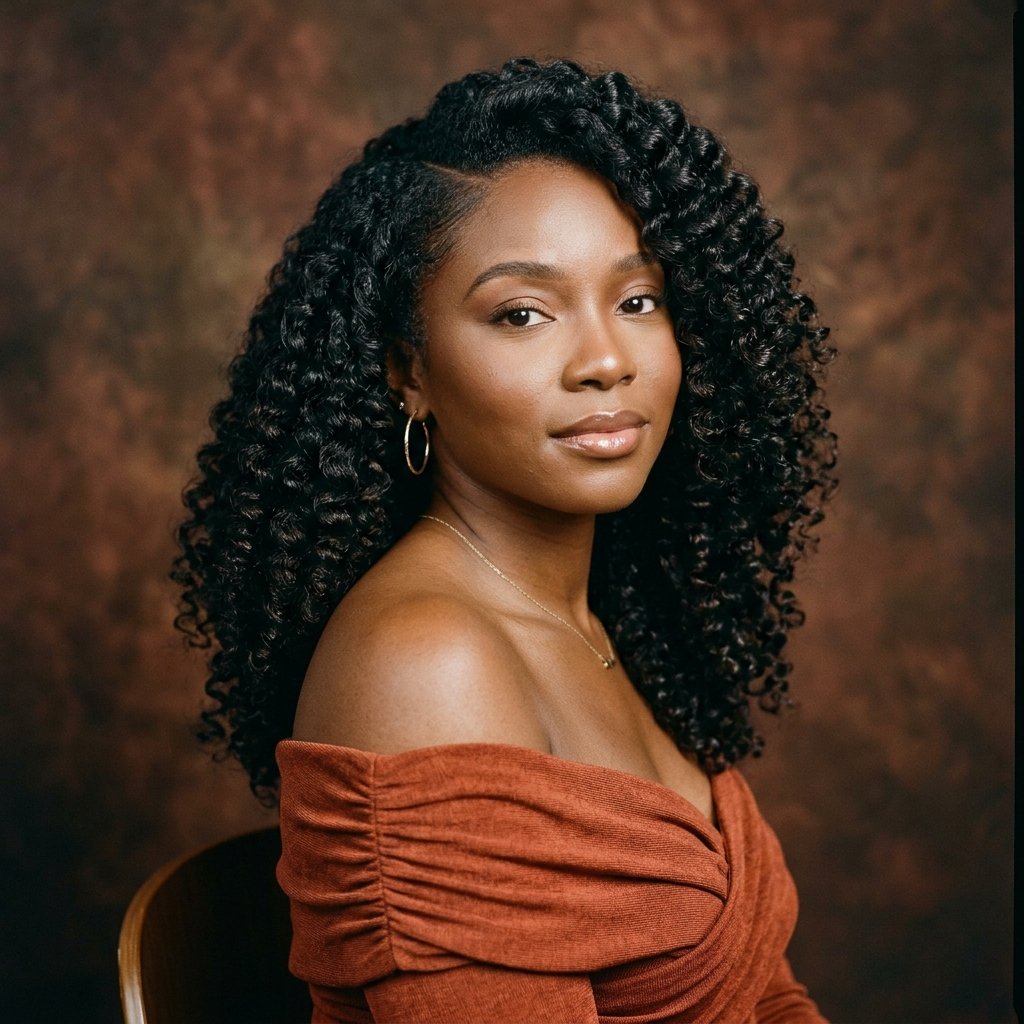
Natural girls, this one’s for you. A twist-out on freshly washed hair gives you definition and volume at the same time, especially with a deep side part.
Twist in small sections with a leave-in and a little gel, then let them dry completely before unraveling. Part deeply on one side and fluff at the root with a pick.
- Twist on damp hair
- Dry fully before unraveling
- Pick the roots, not the curls
Layered Curls With a Braided Headband
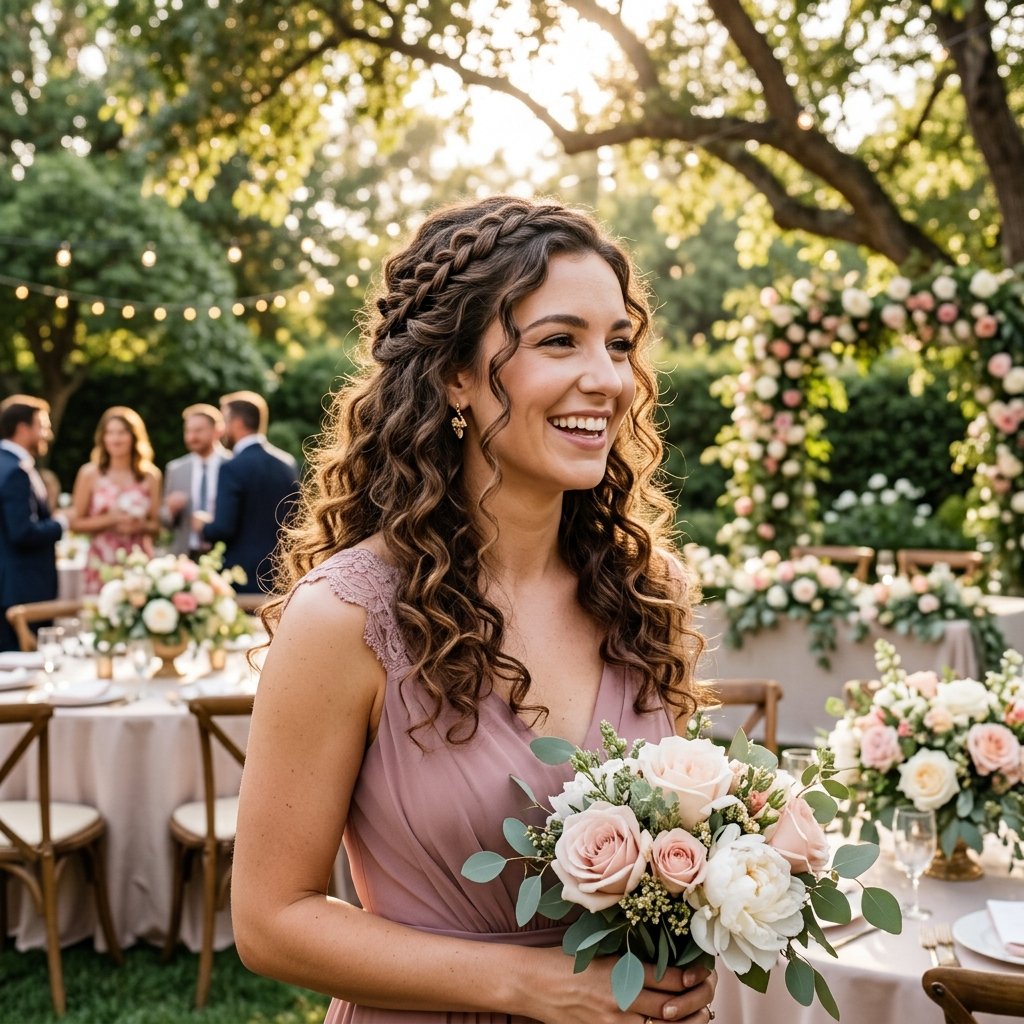
A braided headband is such an easy way to fake crown volume. You’re literally adding a raised section on top, and nobody can tell your roots were flat an hour ago.
Take a two-inch section across the front, braid it loosely, and pin it behind your ears. Then curl everything else and pull a few pieces out around your face.
- Braid loosely for texture
- Pin behind the ears
- Pull out face-framing pieces
Diffused Natural Curls With Real Root Lift
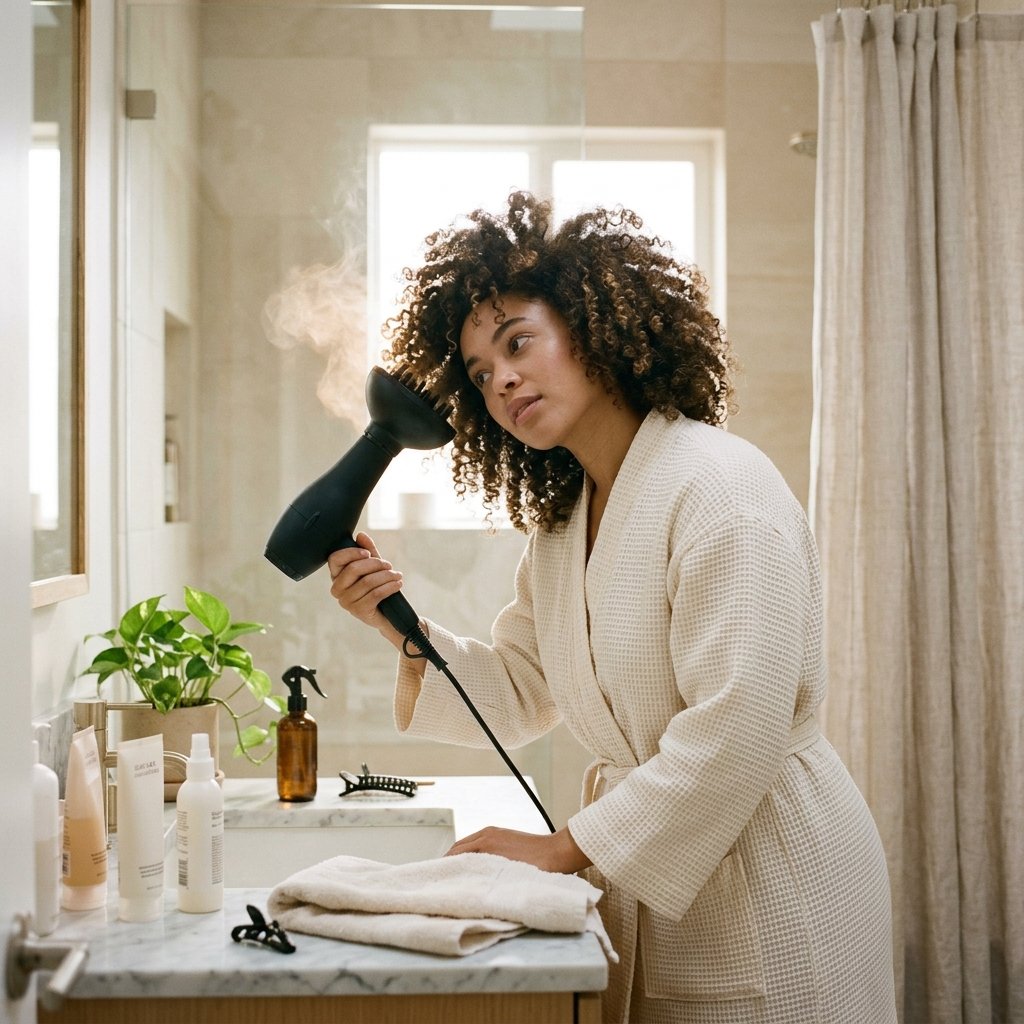
Diffusing is a skill, but it’s worth learning. The goal is to dry the root first, because that’s where flatness starts.
Flip your head upside down and hover the diffuser over the roots without touching them. Hold each section for about 20 seconds, then move on. Only flip upright when your hair is 90 percent dry.
- Apply styler to soaking wet hair
- Hover-diffuse the roots upside down
- Finish upright for the last bit
Sleek Roots, Curly Ends: The Contrast Look
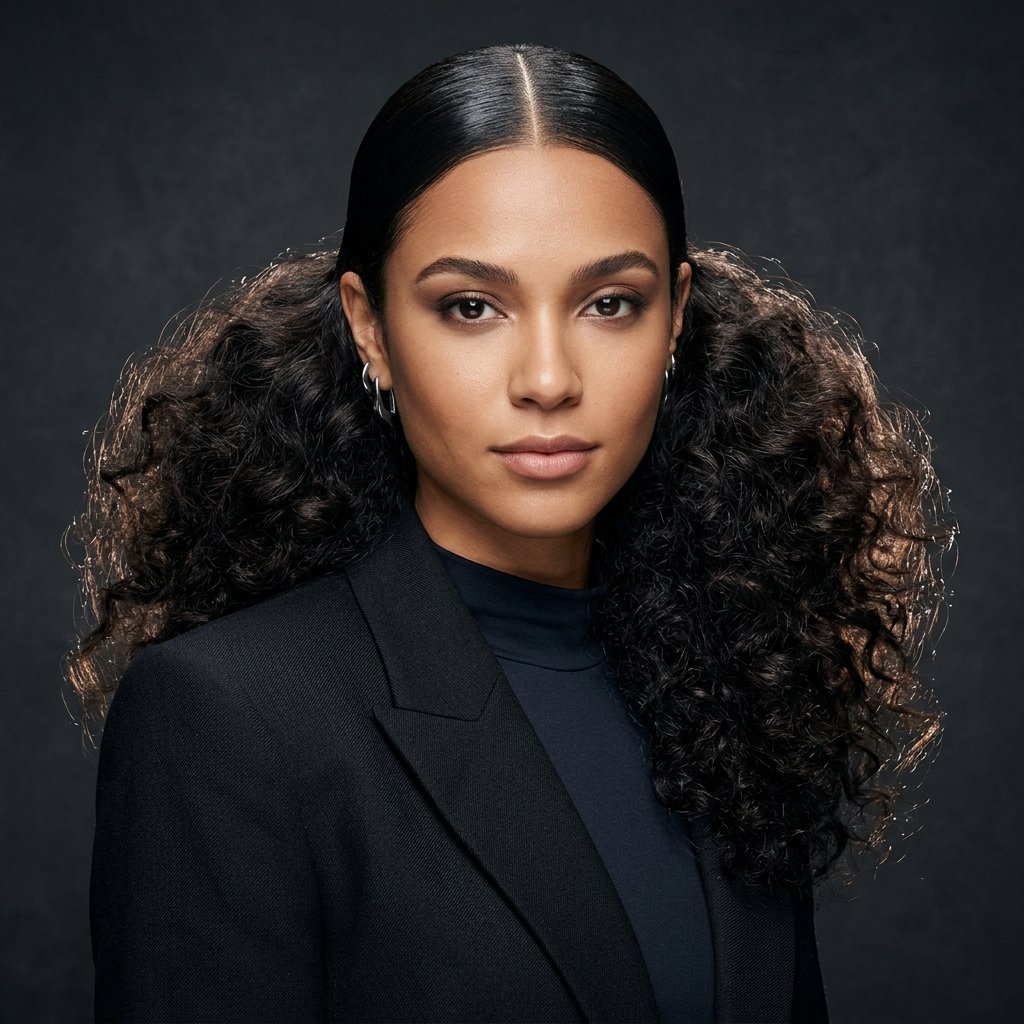
This one is everywhere right now, and it’s ideal if your roots refuse to cooperate. Instead of fighting them, you smooth them flat on purpose.
Use a small amount of gel and a fine-tooth comb on the top section, pressing it flat as it dries. Then make the mid-lengths and ends as big as you want.
- Gel plus comb on the roots
- Big volume from mid-shaft down
- Works best on day-two hair
Curls With a Middle Part and Lift Clips
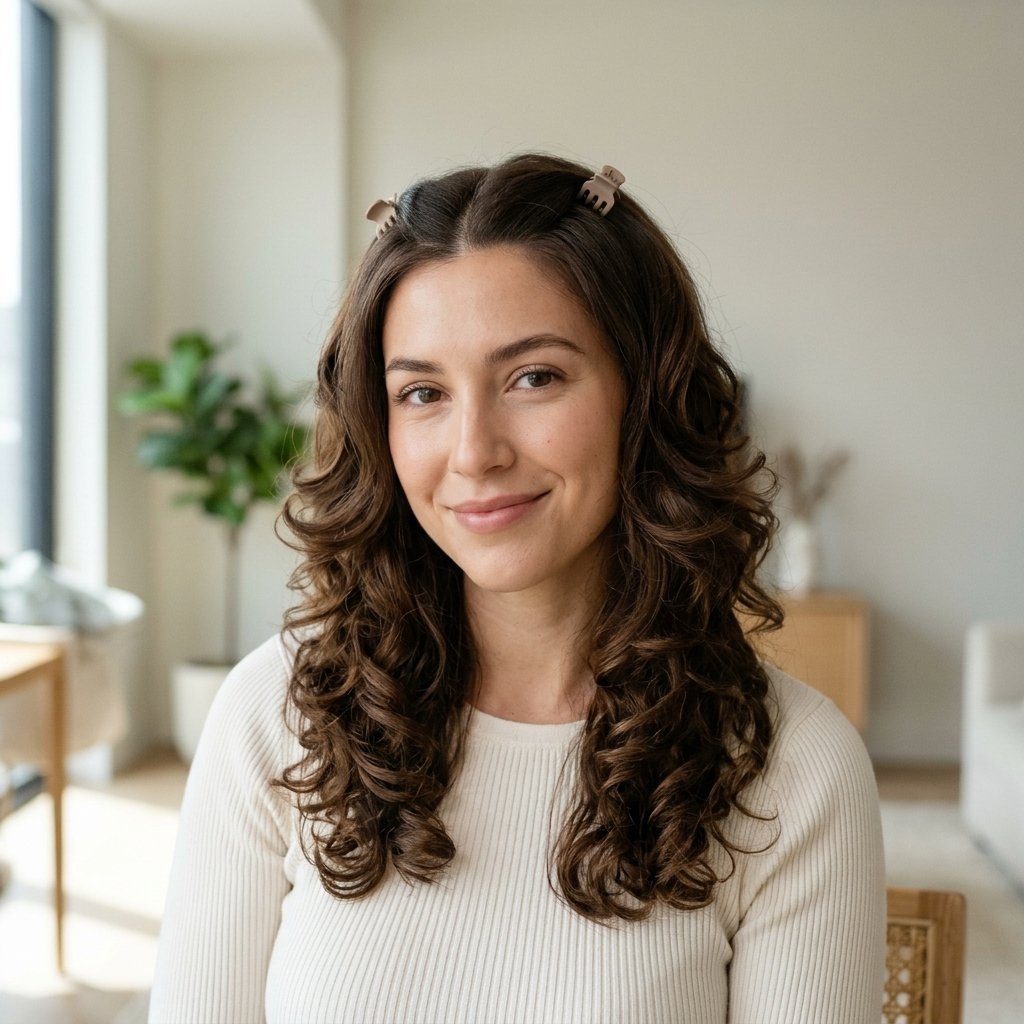
Lift clips are the underrated hero of flat-root styling. They’re tiny, cheap, and they hold the root up while it cools into shape.
Place them right along your part, about an inch back, while your hair is still warm from the iron. Let them sit for five minutes, then remove and fluff.
- Place along the part line
- Use while hair is warm
- Remove after five minutes
The Textured Ponytail With Curled Ends
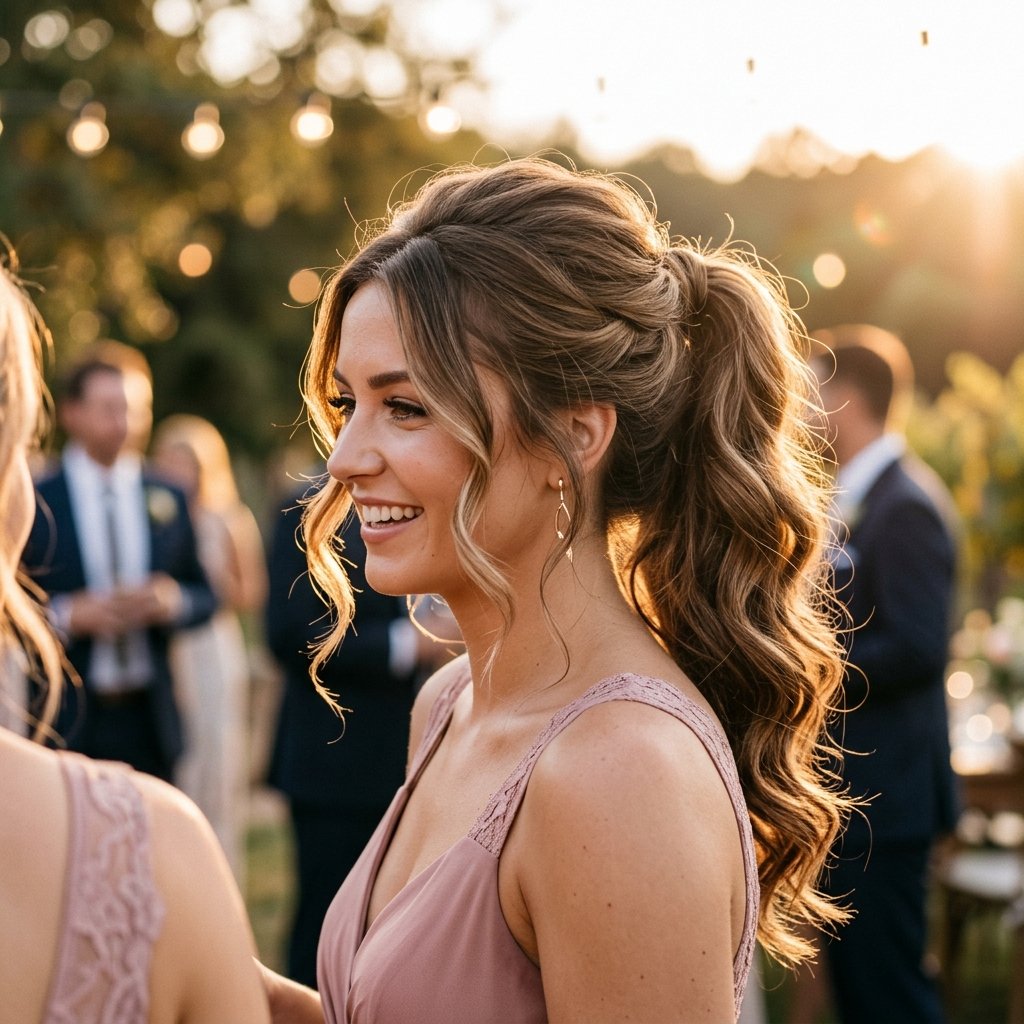
A ponytail is the easiest way to fake a facelift for your hair. Pulling it up and back lifts the whole front section instantly.
Curl the ponytail itself in small sections so the ends bounce. Then gently tug the hair above the tie to add height at the crown, and wrap a strand around the elastic to hide it.
- Tease the ponytail base
- Curl the ends for bounce
- Wrap the elastic with hair
Retro Bouncy Blowout Curls

If you want maximum volume, go retro. A bouncy blowout with layered curls gives that full, glossy, old-Hollywood shape that looks incredible in photos.
Blow-dry with a round brush, lifting at the root on every section. Then set the whole thing in large velcro rollers and let it cool while you finish getting ready.
- Round brush, lift every section
- Large rollers to set
- Brush out with fingers only
Curls Under a Veil or Hair Vine

Accessories can actually help your volume. A hair vine or veil clips into the back and gives the style structure, which keeps curls from collapsing.
Place the accessory slightly back from the crown so it doesn’t flatten your lift. Curl the front pieces away from your face so they don’t tangle in the veil.
- Clip slightly back from the crown
- Curl front pieces away from the face
- Pin the veil low, not tight
Match Your Curls to Your Dress Neckline
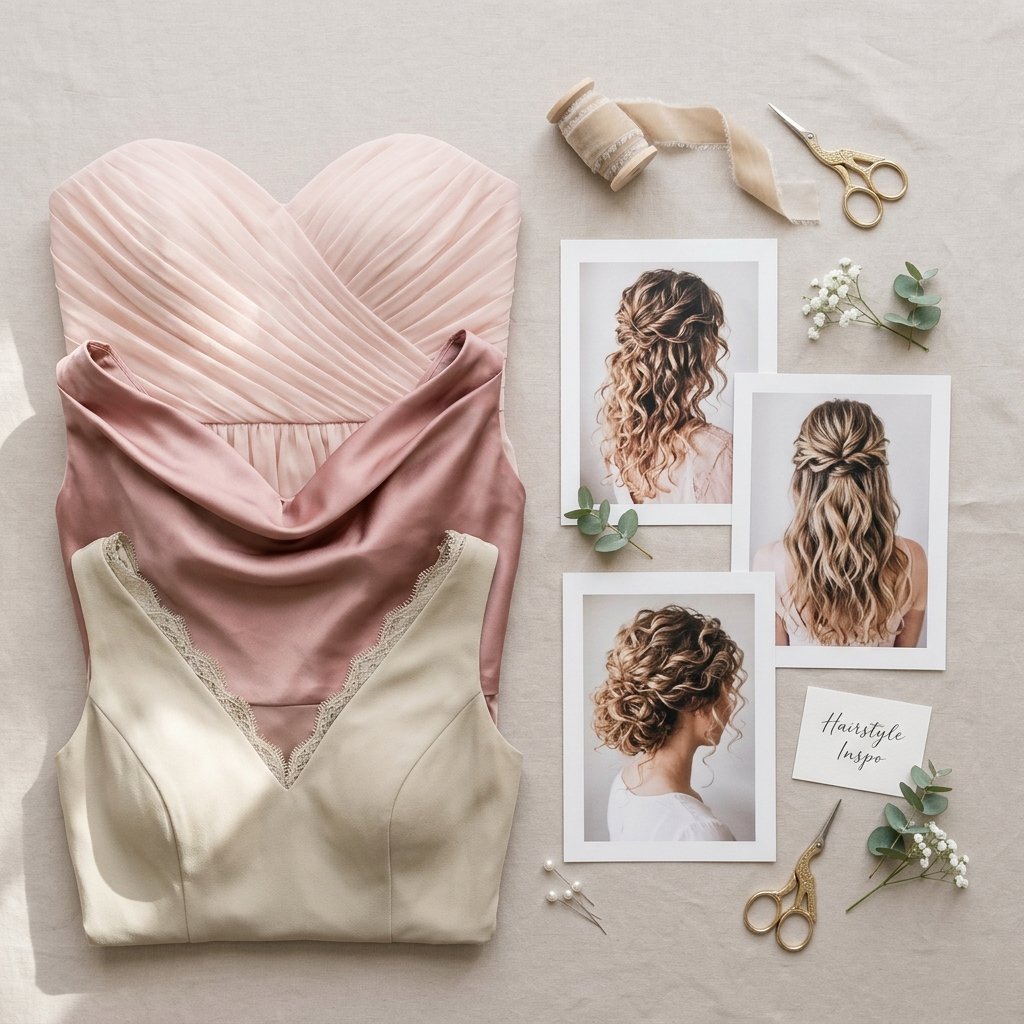
This is a small detail that changes everything in photos. Your hair shape should balance your neckline, not compete with it.
- Strapless or sweetheart: wear it down and big
- High neck: pull it up to show the collar
- Off-shoulder: soft tendrils framing the face
- Halter: sleek roots, volume at the back
Snap a photo of your dress on and test two styles before the big day.
Keep Volume All Day, Even Through Dancing
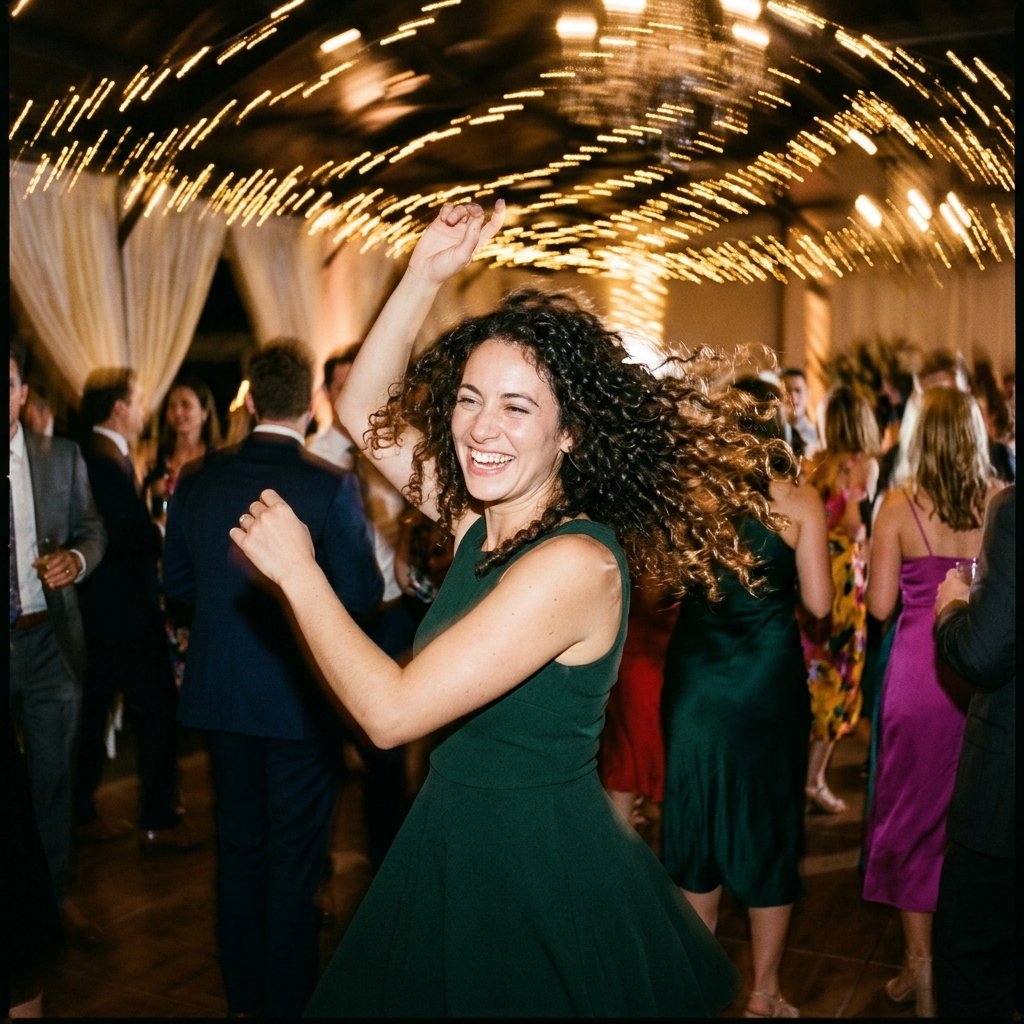
Volume that dies by dinner is the worst. The fix is layering your products in the right order and keeping your hands out of your hair.
- Mousse on damp roots
- Root lift spray on dry roots
- Flexible hold hairspray, light layers
- Carry lift clips in your bag
Skip touching your hair all night. Every time you run your fingers through it, you’re breaking down the shape you built.
Quick Root Fixes for Mid-Party Emergencies

Every bridesmaid needs a tiny repair kit. Mine lives in my clutch and has saved me at three weddings so far.
- Mini hairspray
- Two lift clips
- Bobby pins that match your hair
- A travel-size texturizing spray
Duck into the bathroom, clip the root up for two minutes, spray, and you’re back out. Nobody will ever know.
A Little Note Before You Go
Here’s what I want you to remember: flat roots are not a personality flaw, and they’re not permanent. A good layered cut plus one solid root trick changes everything.
Pick two or three looks from this list, test them before the wedding, and take notes on what actually holds. The best style is the one you don’t have to think about once the music starts.
You’ve got this. Have fun, take the photos, and dance until your feet hurt.
Save this post to Pinterest so you can find it again while you’re getting ready, and tell me in the comments which look you’re trying first. I read every single one.

